Disclaimer:
I’m in no way responsible if your blaster breaks. When performing this mod, you agree to and acknowledge the risk of breaking your blaster.
Materials/Tools Needed:
-Hot Glue Gun/Hot Glue
-Superglue
-Dremel with cutting attachment/sanding attachment
*- You can use another device to cut it off, I just happened to use a dremel.
-Phillip's Head Screwdriver
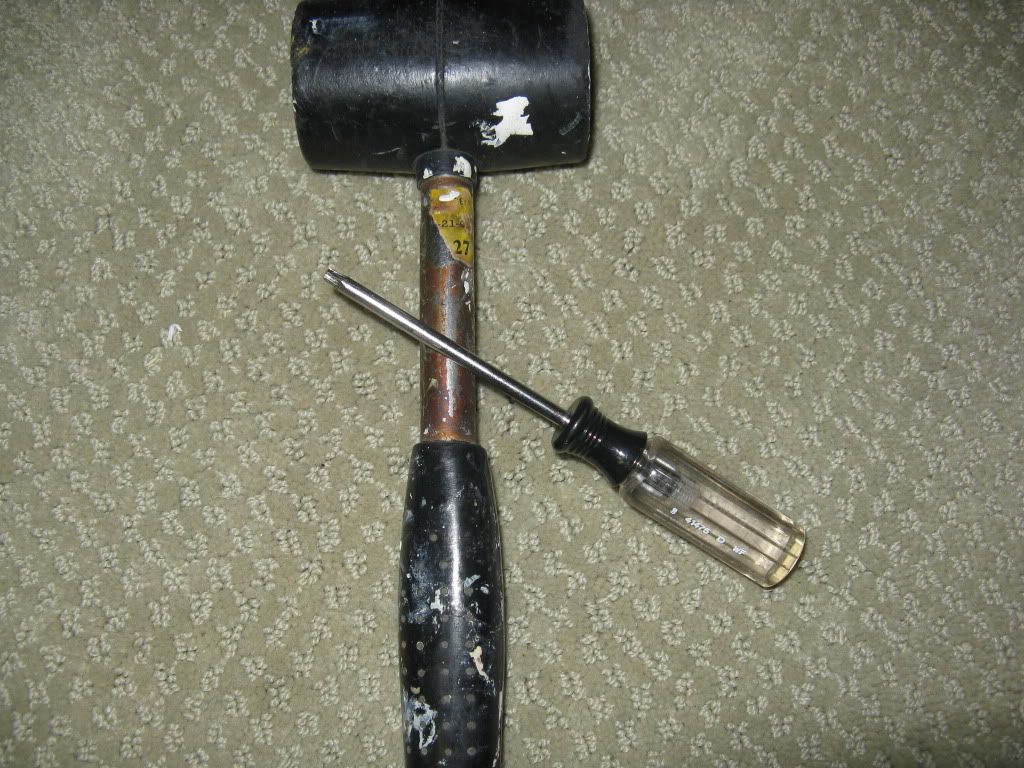
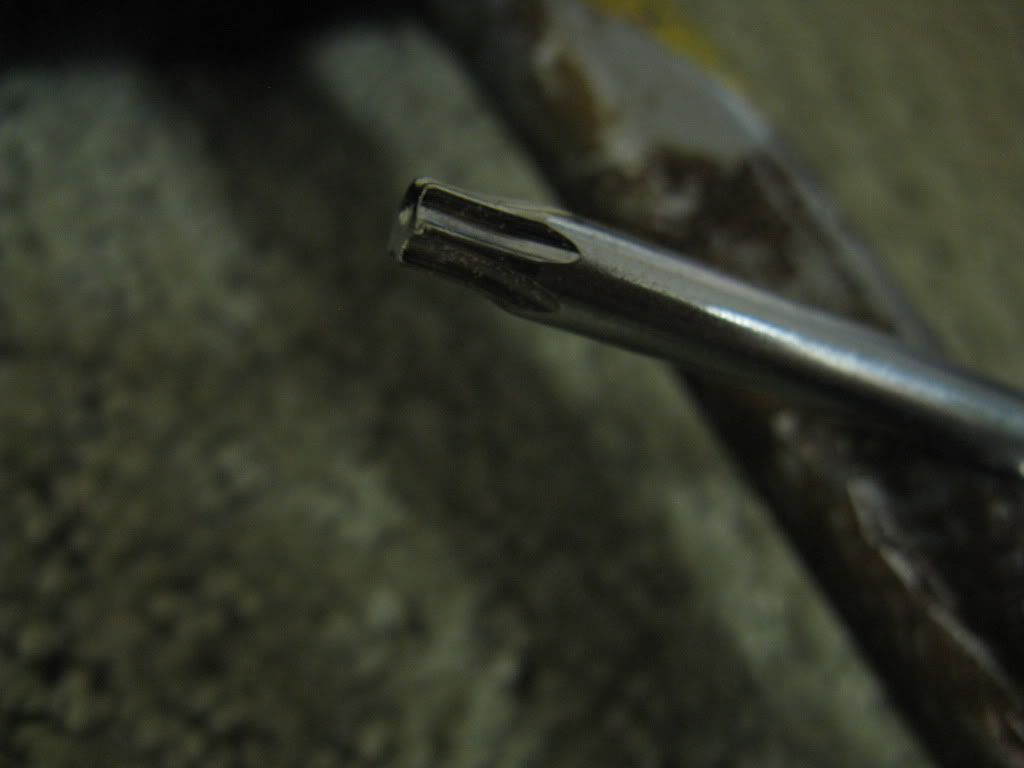
-Torx Head Screwdriver
-Rubber Mallet
-Silicone Grease
-Craft Foam
-Scissors
-Pencil/Pen
Optional:
-Replacement/Additional Spring
-Rebarrel the blaster
*PROTIP:
-Keep the screws in a Ziploc bag
-Screw Size:
-2 longest screws go in the pump grip
-2 shorter screws go in the handle
-Shortest screw goes underneath the pump grip
-Regular-sized screws go in the other screw ports
TURRET
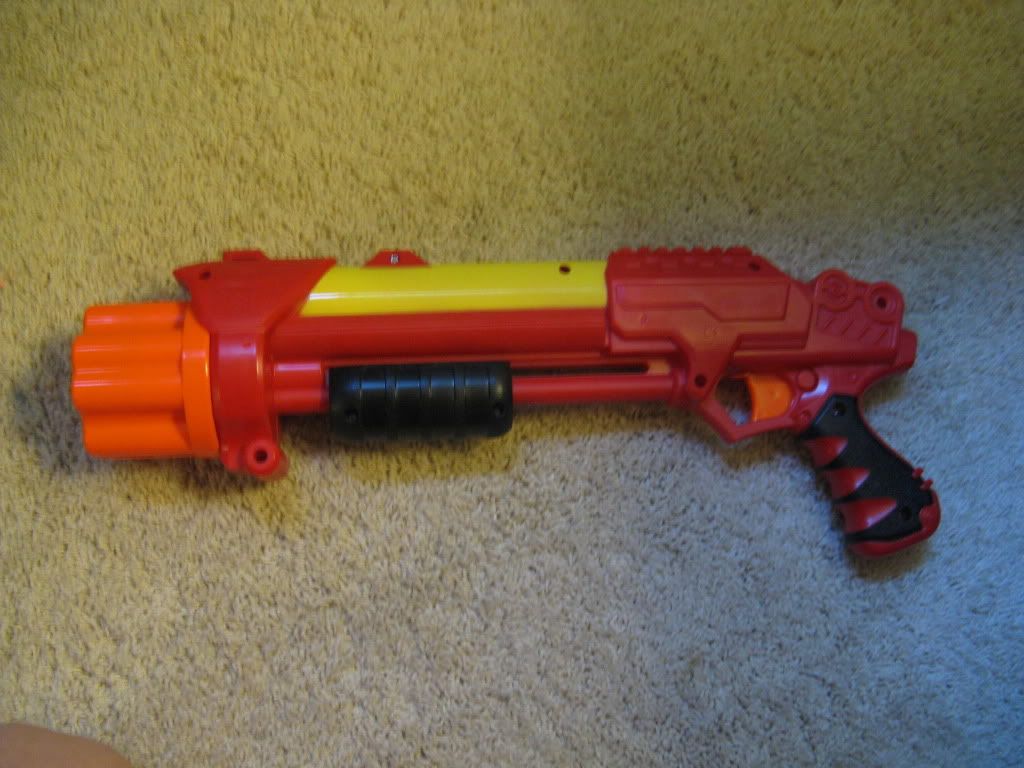
First, you want to acquire a tripleshot from your local TRU. Easy enough. And before someone asks, NO, I don't have access to these red/yellow tripleshots. I got it in a trade with mysterio:
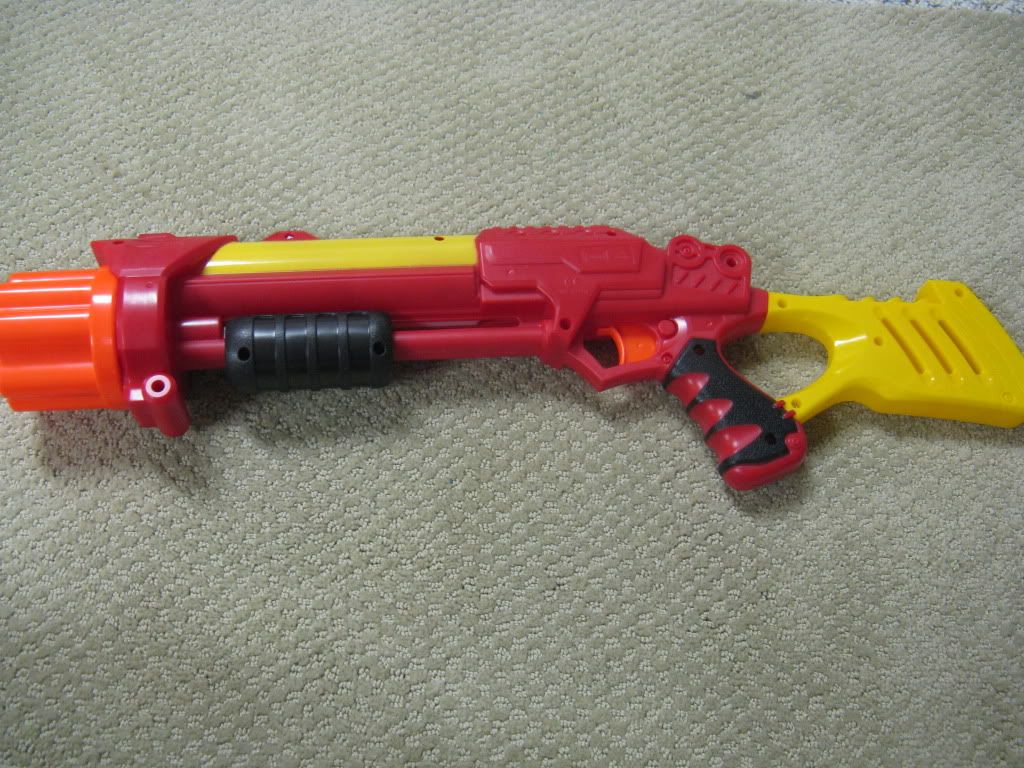
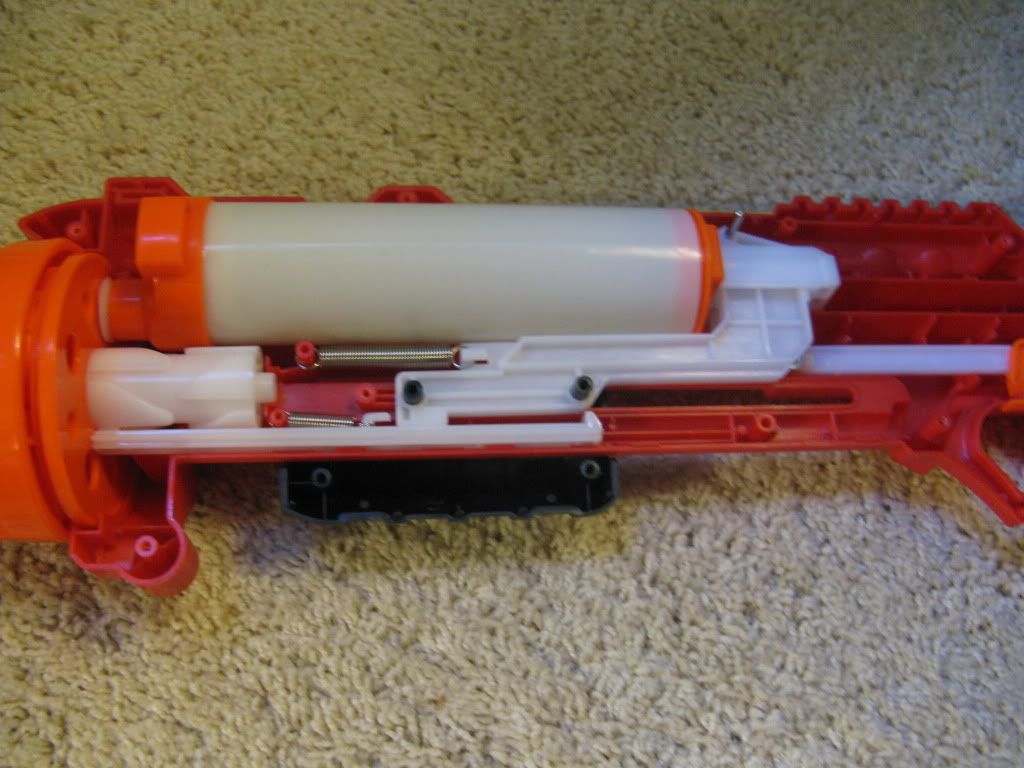
Next, unscrew your blaster. Use this picture as a reference, if a piece moves/pops out while performing the modification. Your internals should look like this:
Take the turret out of the blaster. You shouldn’t have any trouble doing this. Here’s what it looks like.
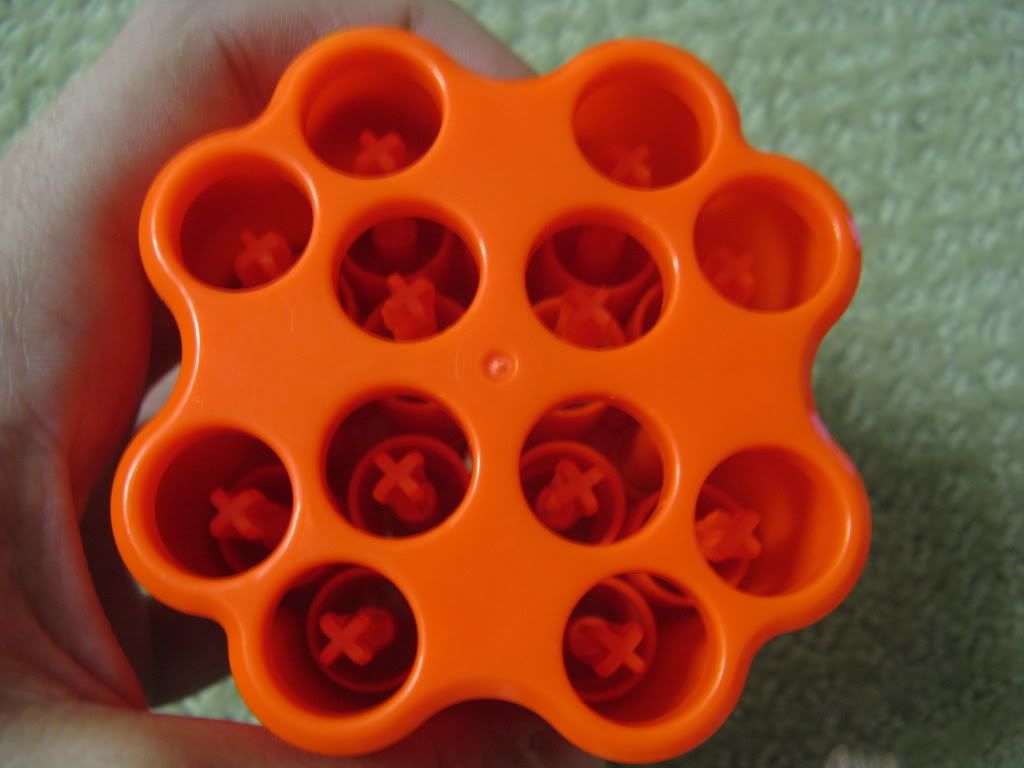
Once you have your turret, unscrew the four screws in the back with your screwdriver.
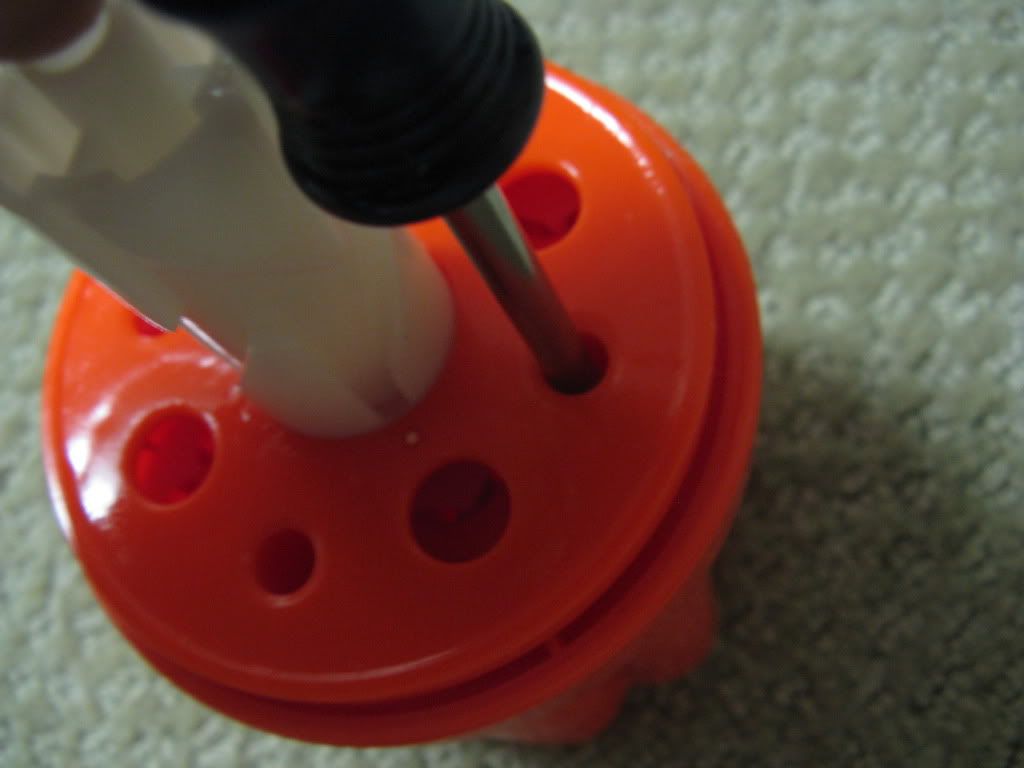
Now pull the turret apart. There will be three parts to it. You need EACH part of the turret.
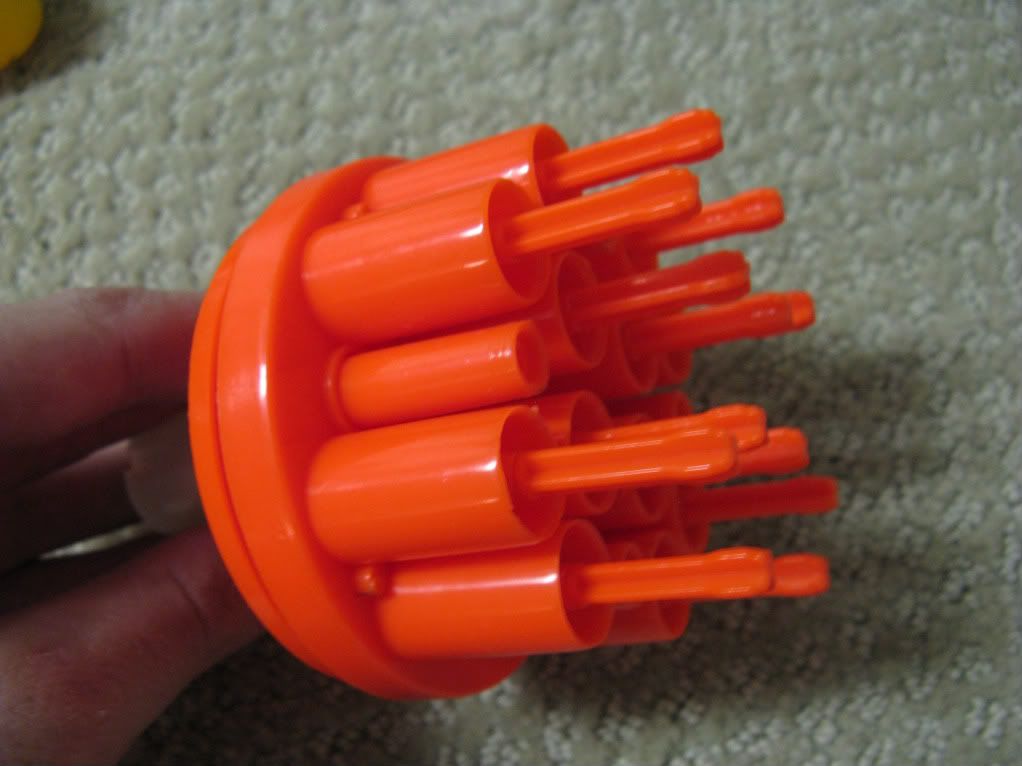

You’ll encounter 4 rubber white pieces. Take those out and throw them in the trash, they aren’t necessary.
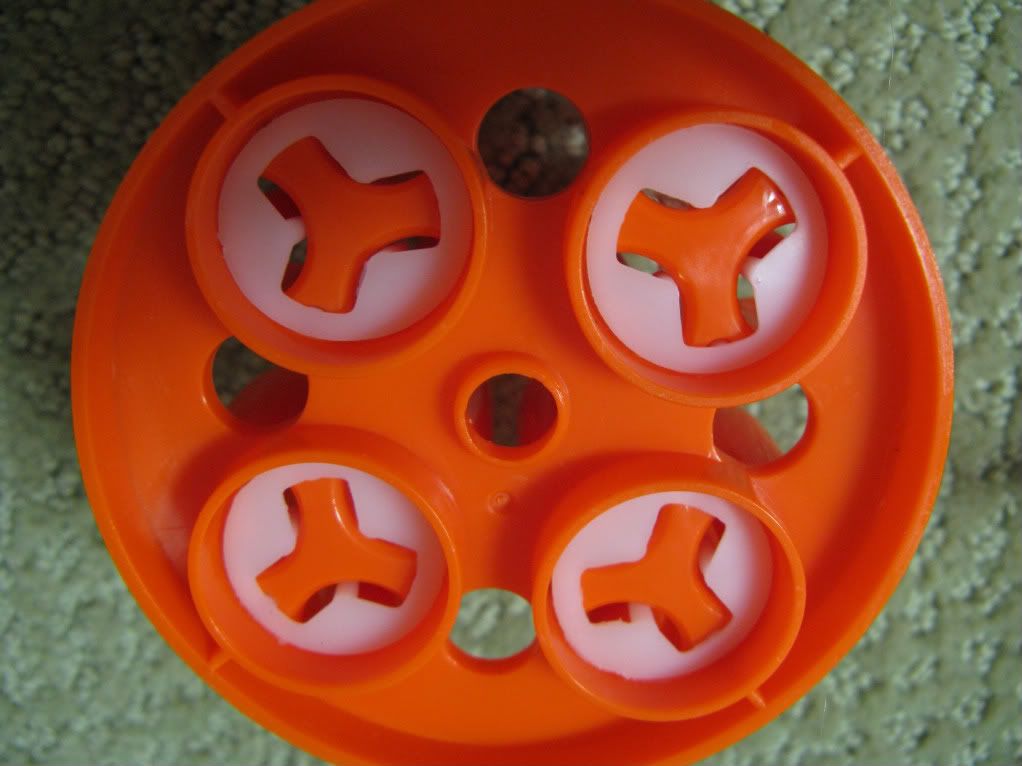
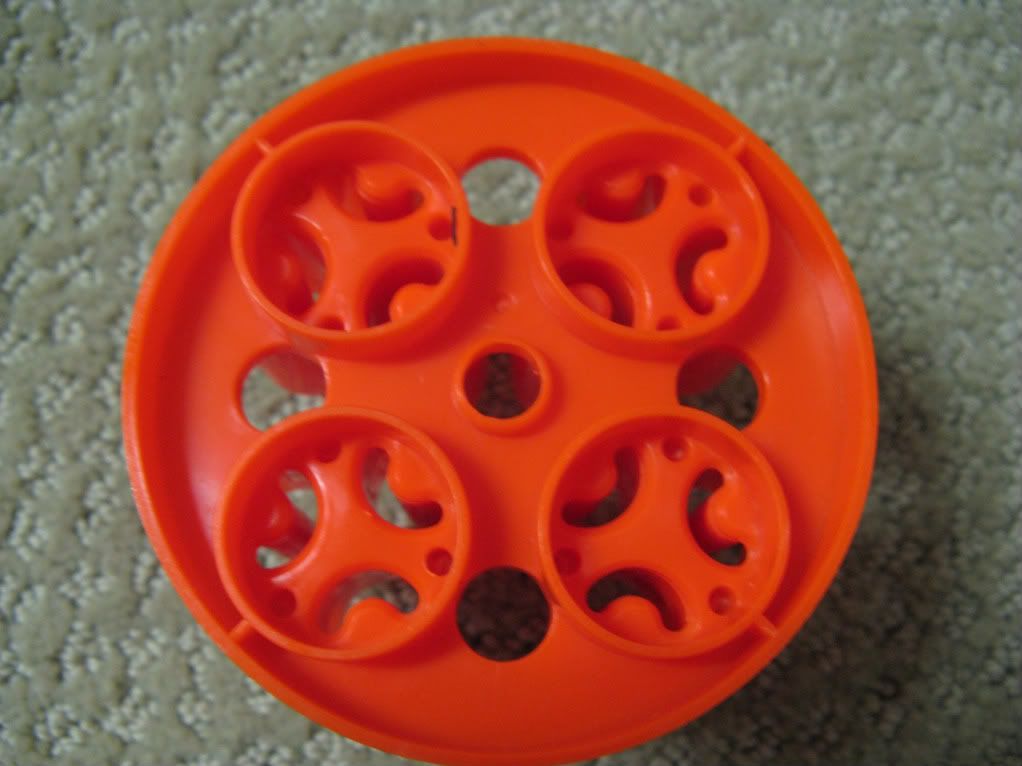
Snap the top parts of the Air Restrictor off with your thumb. Yes, they are THAT easy to break off. This will allow us to then hammer out the lower part of the AR.
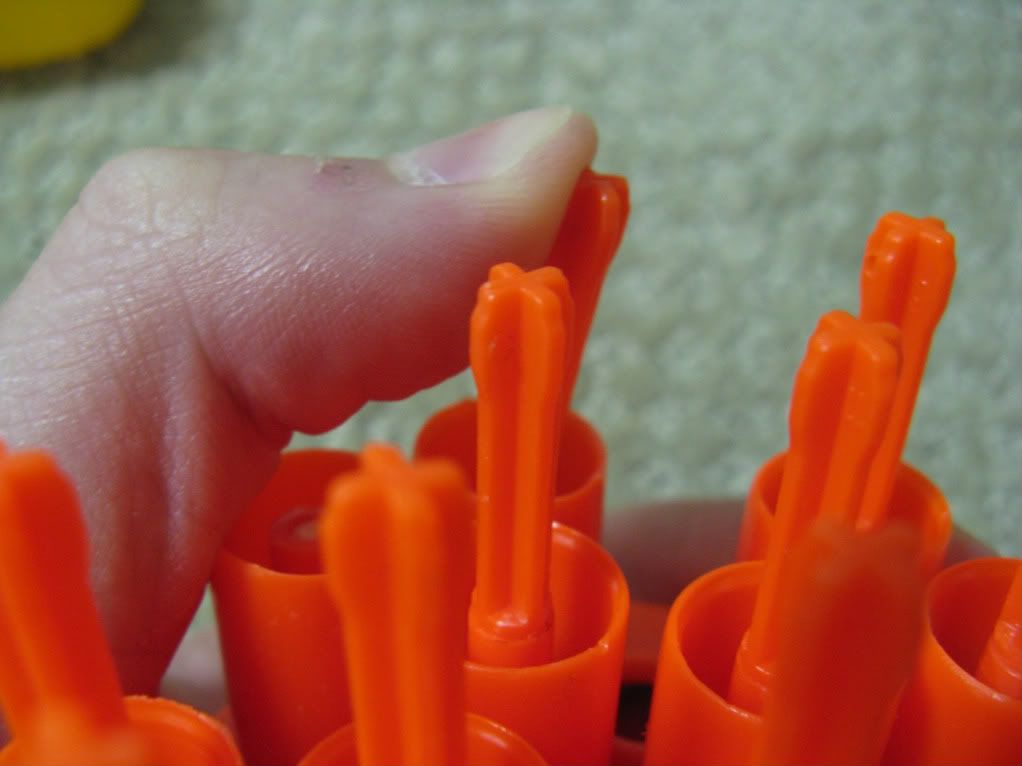
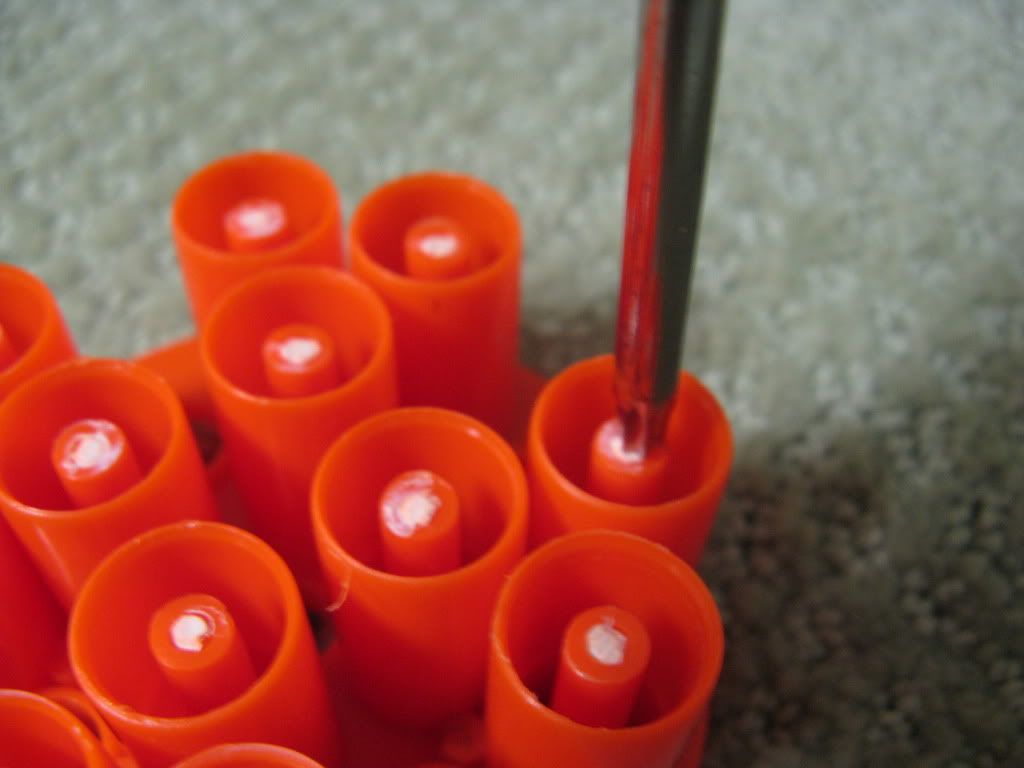
This is what the AR's will look like after you snap the top piece of them off:
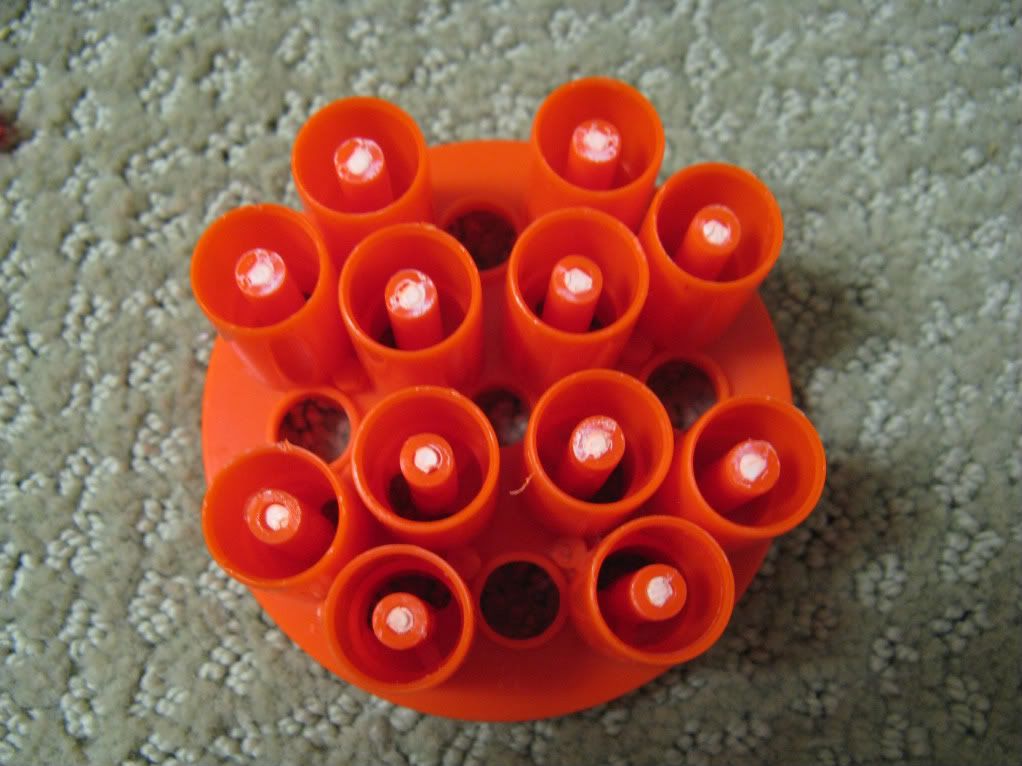
Once the aforementioned step is completed, get your Torx head screwdriver/rubber mallet ready. Then, place the hex head on the AR, and hit the screwdriver a few times with the rubber mallet. After a few hits, the post should pop out. Rinse and repeat, 11 times.

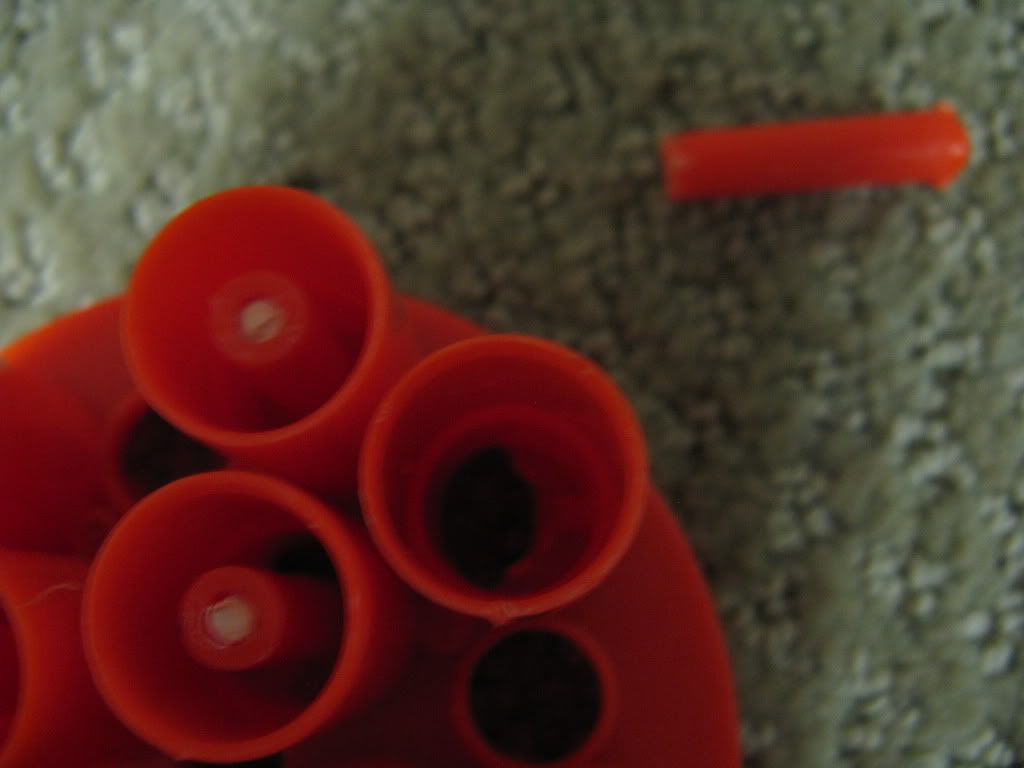
Finally, your done with that boring step! Your turret should now look like this:
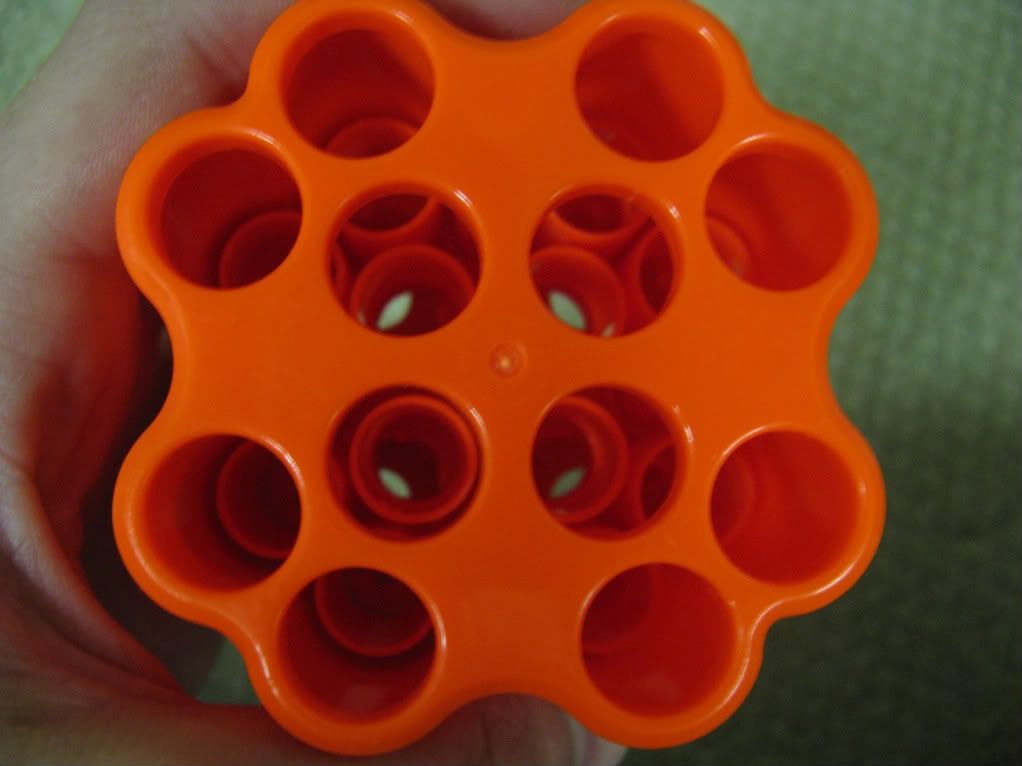
Screw it together with the 4 screws you originally took from the turret, and toss it aside. We have more work to do!
PLUNGER HEAD
Take the plungerhead out of the plunger tube and lets get to work! It should look like this:
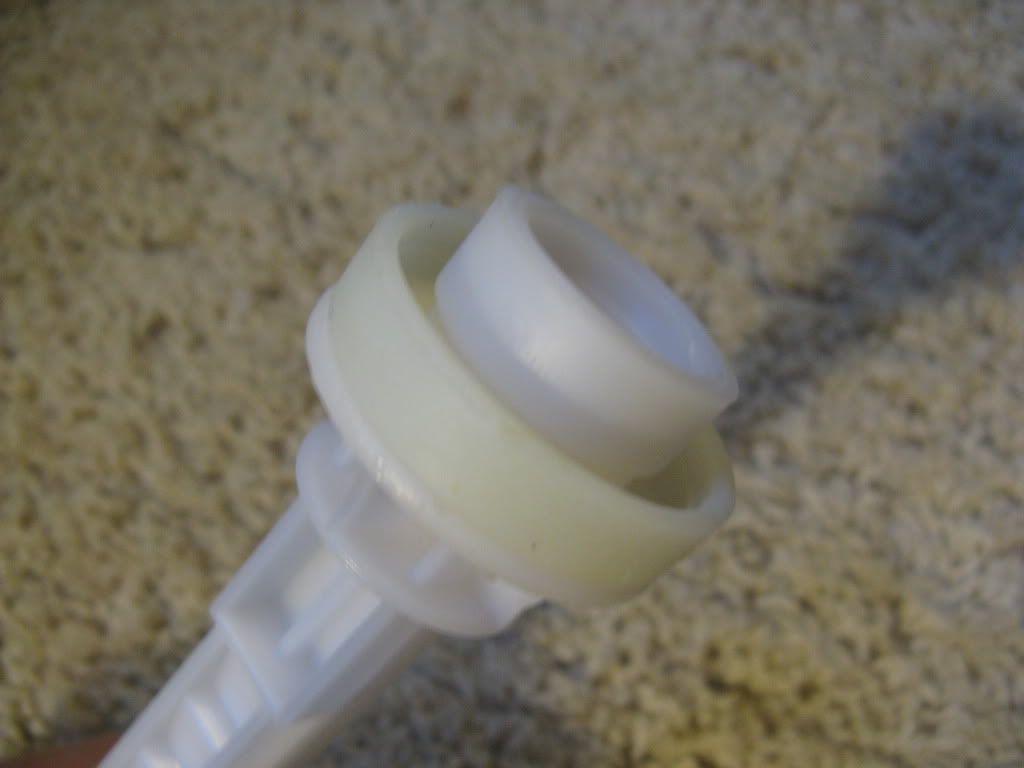
Next, take off the white rubber piece. It should just “pop” off. Save it for another blaster, it acts as a great o-ring/seal:
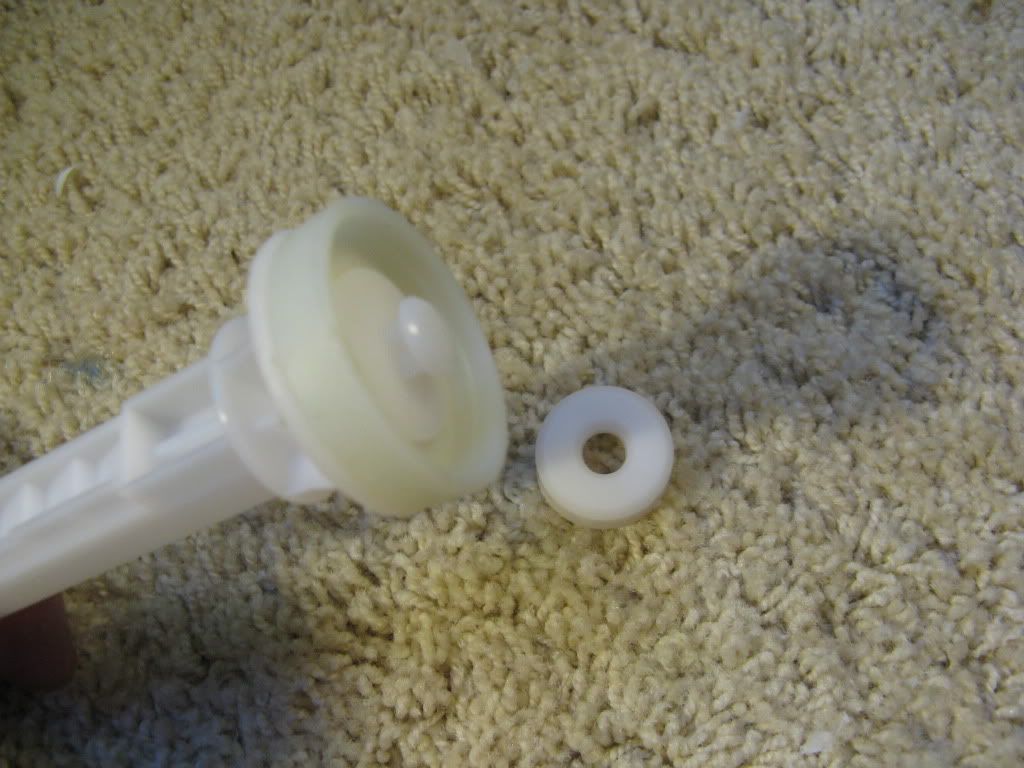
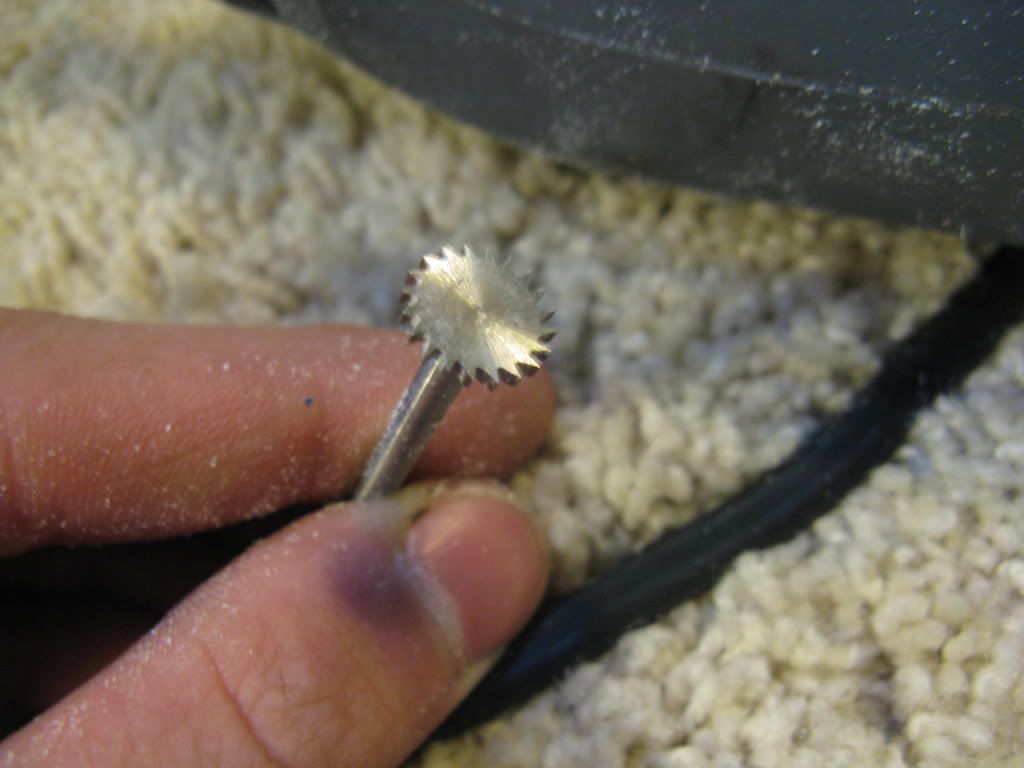
Remember when I said you need a dremel*? Get your dremel and cutting attachment set up:

Here’s a close-up of the cutting attachment I used:
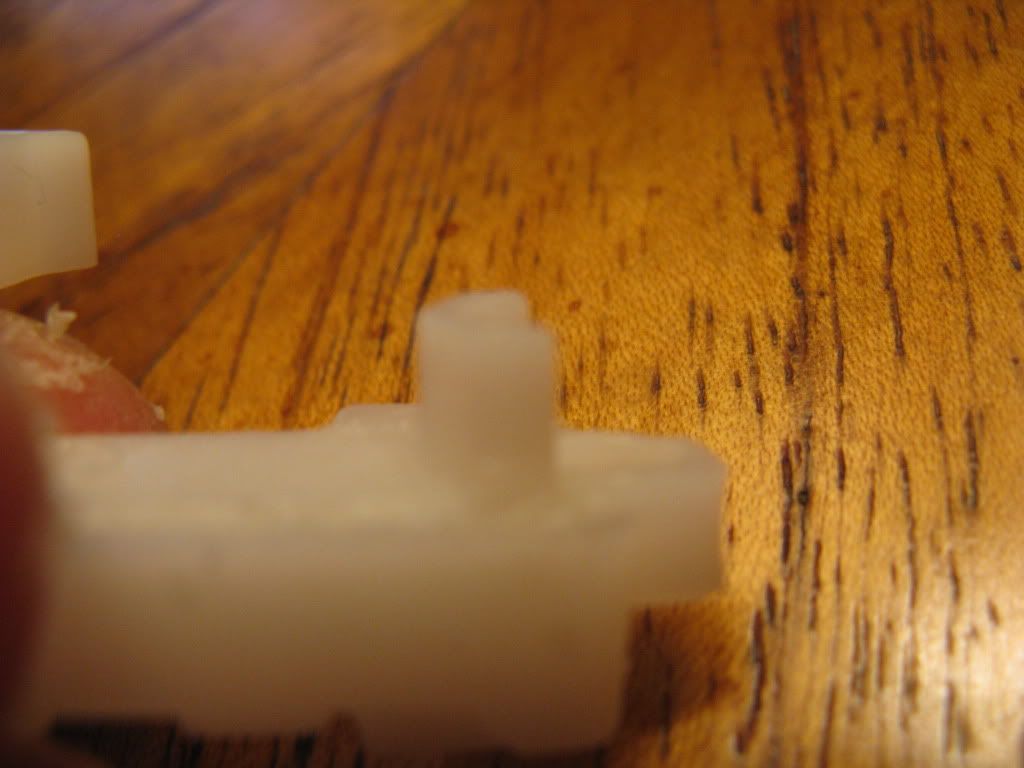
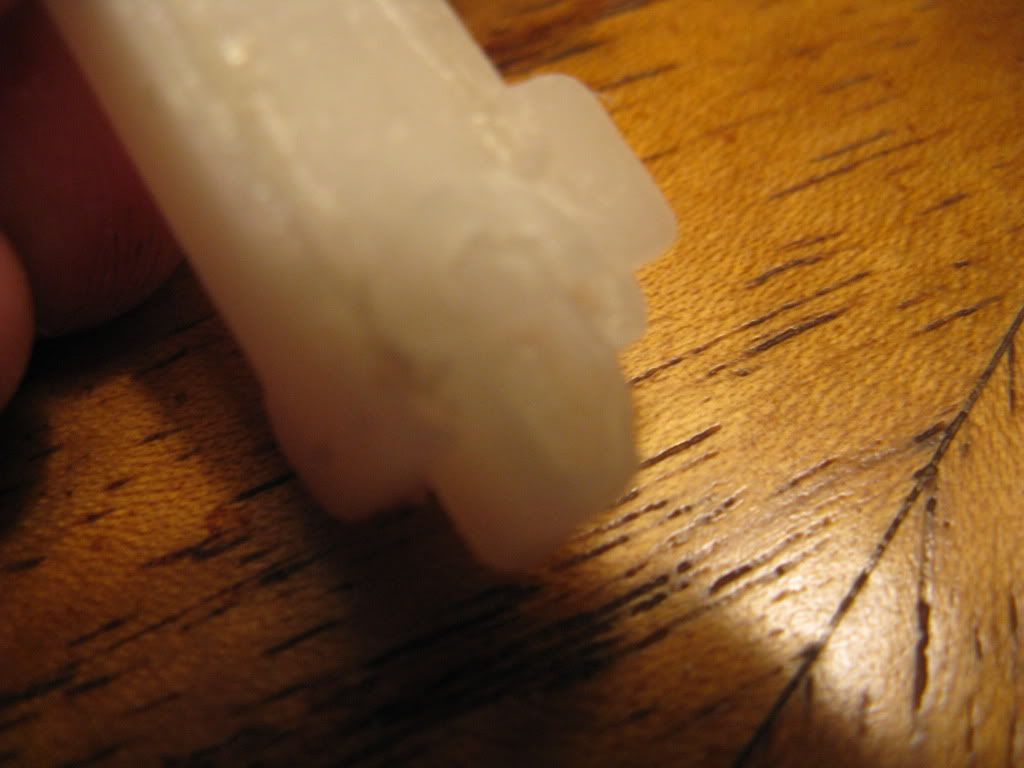
Take your plunger head, and cut off the gasket-looking piece that extends from it. After you cut it should look like this:
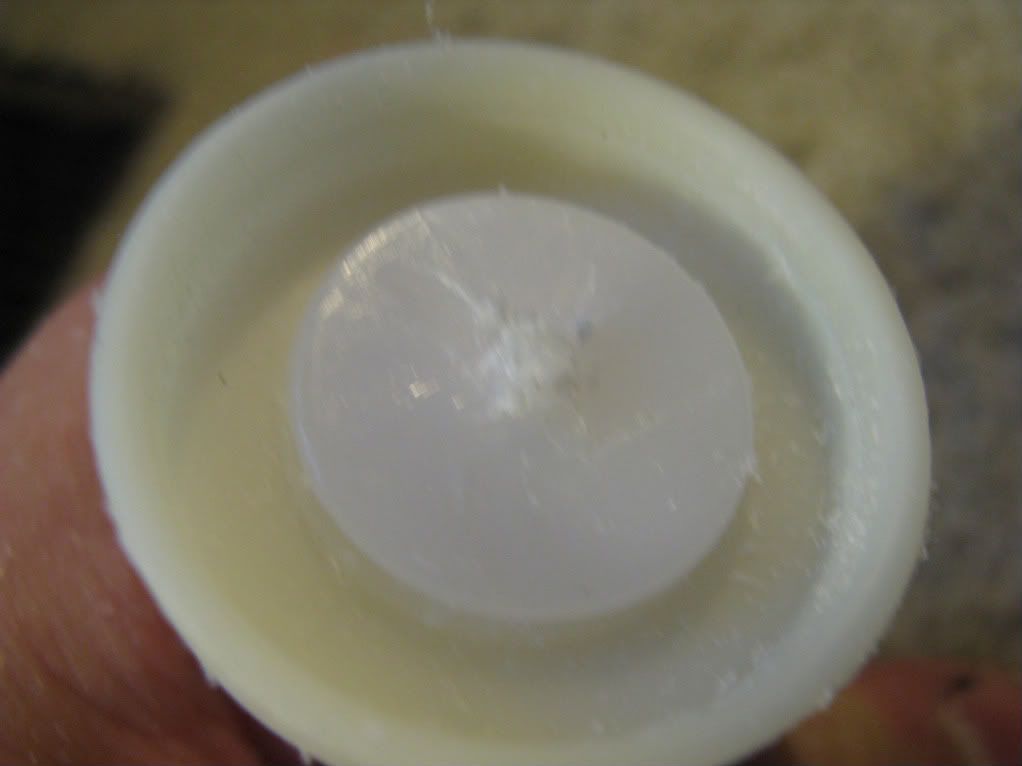
Sand the excess part of the gasket piece off with your dremel’s sanding wheel:
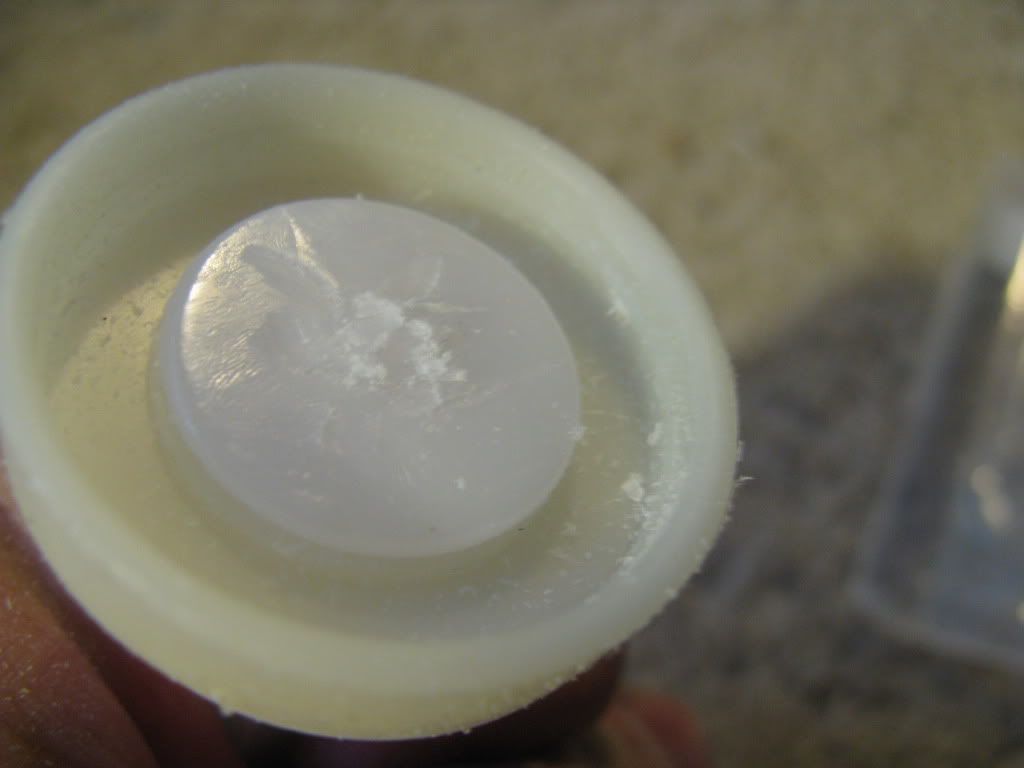
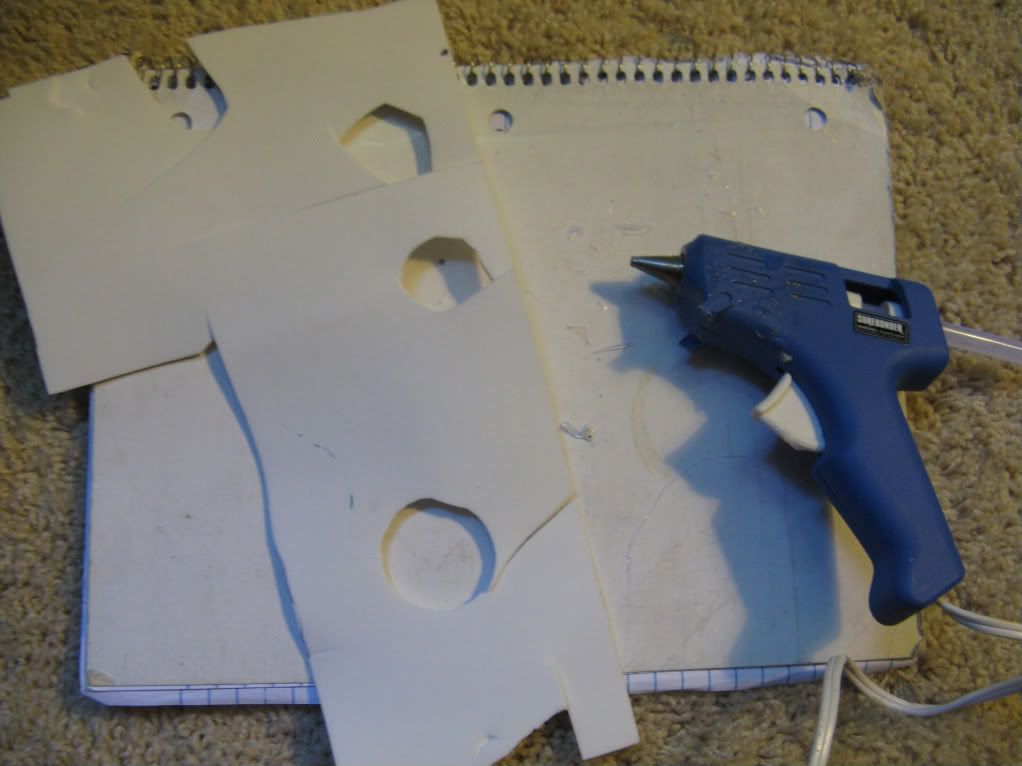
Now, get your craft foam and hot glue gun ready (I used a high-temp hot glue gun). Plug in the glue gun and let it warm up while we do the next step:
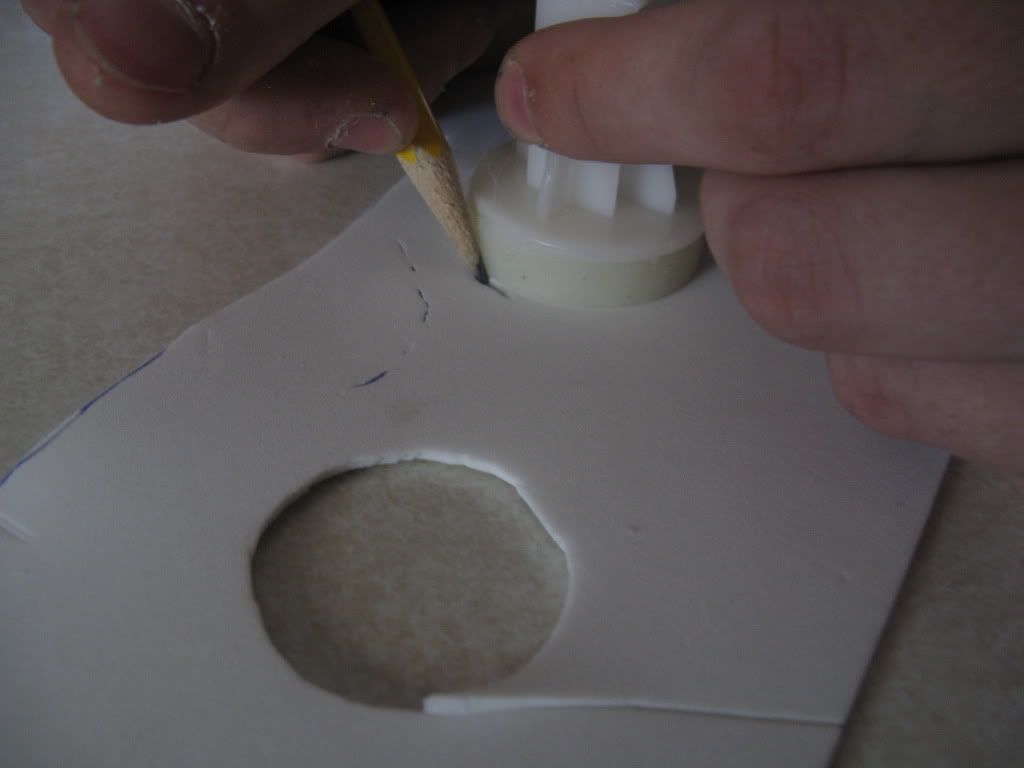
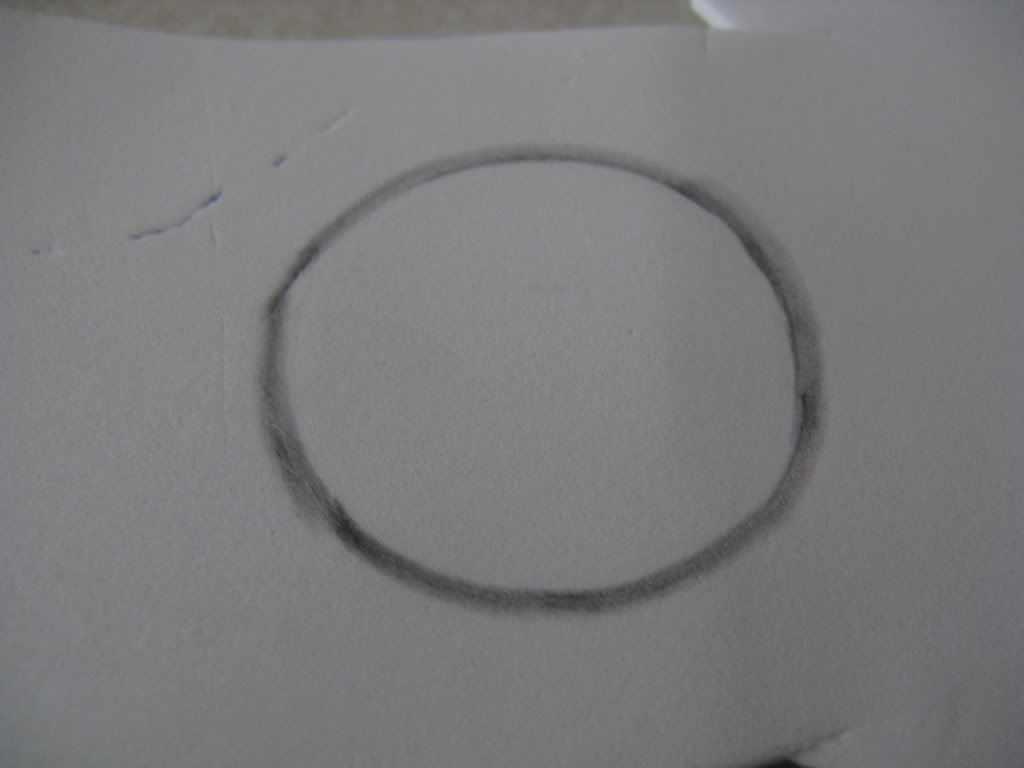
Lay your craft foam on a flat surface, and put your plunger head directly on it. Trace the outside of your plunger head with a pencil. Your trace mark should look like this. Cut this circle out:
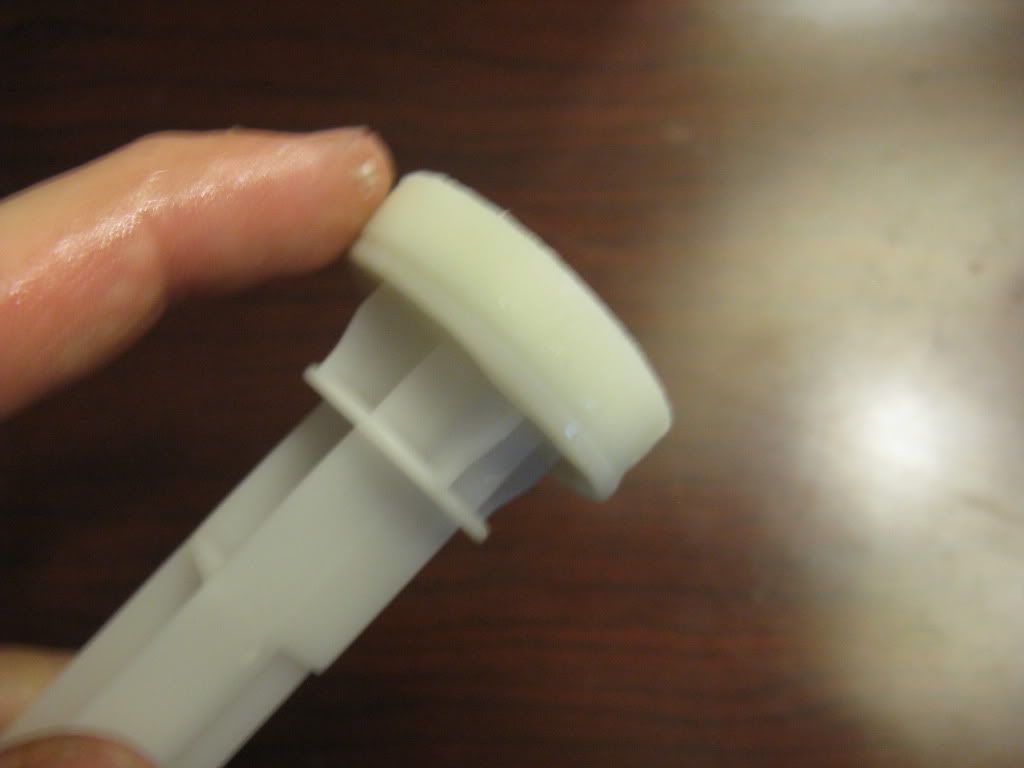
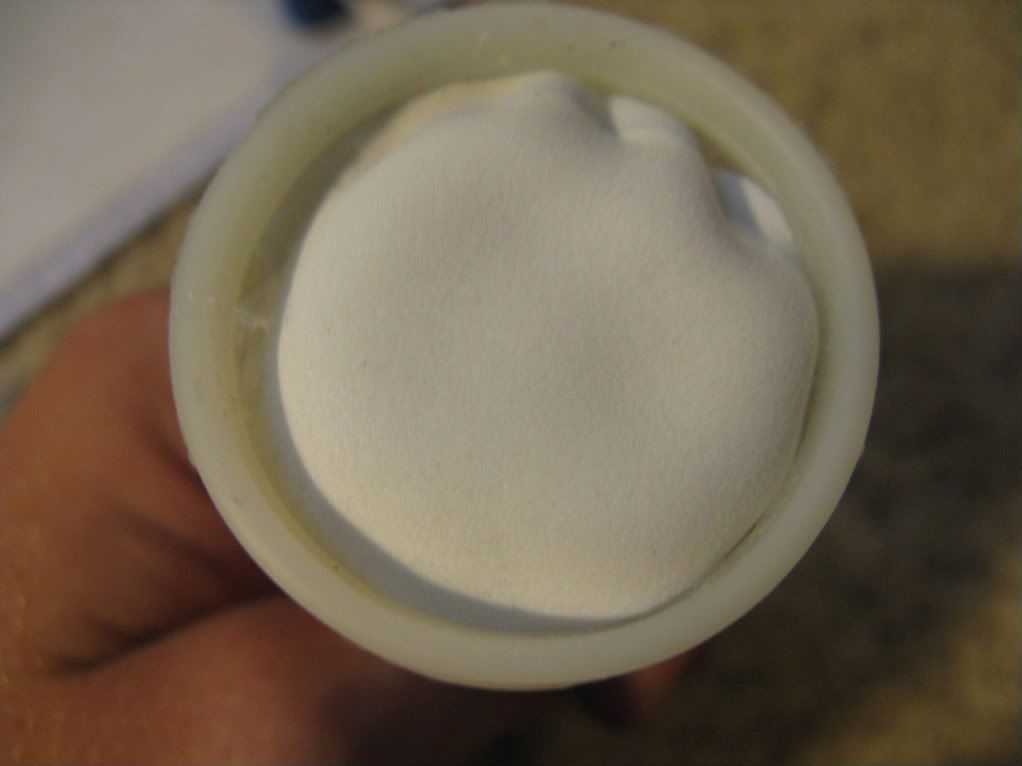
Ah yes, our hot glue gun has warmed up! Put the hot glue on the plunger head, and slap the craft foam on. I tucked the corners of my craft foam in the plunger head. Here’s what the end product should look like:
Edited by Noodleownz, 05 August 2011 - 11:18 AM.


