A homemade, consistent, metal free, mass producible dart head made from materials readily available at almost any hardware and craft store!
It uses a home made mix called "oogoo" as the main dart head material (silicone caulk + corn starch to shorten cure time). http://www.instructa...gru-Substitute/ Read it, it's great.
With recent advances made, I feel confident enough to present this as a completed and functional product. The bond of the head to the felt backing is nigh inseparable! I pulled with my fingers, and gave up. I pulled with pliers, and the head tore in half before separating from the felt!
Credits: Thanks to Darth Maker for the discovery of oogoo, Taerkitty for thinking up the felt backing, and Just some Bob for coming up with the gumdrop name. Also thanks to those who helped with other ideas, and encouragements while this concept was being developed. This has truly been a group effort, without the nerfing community (special thanks to Nerfrevolution.com, where this was developed), it would never of gotten off the ground.
The format of this write up will be a written format, supported with video of the process. That way everyone can see just how incredibly easy these things are to make.
Materials:
For pointy heads - a polyethylene (white plastic) cutting board of any thickness greater than 1/4".
For flat heads - 3/8 - 1/4" white plastic cutting board (2)
counter sink: "four cutter cutting bit" ((It's a counter sink with an adsustable center bit - sold at any hardware store)#10, or #12- though #12 heads have been known to jam a hopper - but that could of been a pre-felt separation issue. I'll have to re-visit #12's the increased surface area might help decrease pain.)
3M window and door silicone caulk (or any other clear silicone caulk with a ton of warning labels on the back. NOT GE II silicone. It cures by releasing moisture instead of absorbing it.) It should reek of vinegar while curing.
corn starch
Ziploc bags (to mix in) Gallon size for batches larger than 100 heads
square of felt large enough to cover your dart form.
Mineral spirits (optional - softens the final product)
Tools:
A work space you can temporarily stink up.
Drill press or drill with masking tape to mark a depth/ stop drilling ring
Wood paint stir sticks
scrap sacrificial board - opt. (to make a flat head form put it under your cutting board as you drill, any flat drillable material will work)
clamps/screws - opt. (helpful)
scissors
caulk gun
3/4" (or larger) scrap of PVC to use as a roller, longer scrap of cpvc to slide in and use as an axle.
Packing tape (or other) to tape your mixing bag to the table to hold it in place while you mix.
#10 (.375") or #12 (.425") "four cutter counter sink (For pointy head darts)(or a normal 3/8" or 7/16" drill bit - for less pointy heads) to drill your form with.
Uni-bit to pilot drill your form holes (for flat holes) (optional) They stay centered better, so you can space your holes closer together.
Materials Video: (click to open in new window and view. Not sure how to embed video. Feel free to PM me with pointers. Also, wow I hope I really don't sound like that. I sound like frekin' Kermit the frog.)
Form making basics
The majority of time spent on this project will be invested in making your form, but it's infinitely re-usable, so no big loss! Spend the necessary time to lay it out well, and do it up right.
Space your holes as close as you dare to drill if you plan on separating the heads with scissors, about 1/8" apart if you plan to separate them using a punch. Use the width of your counter sink as a guide. I laid the flat tip of mine on the edge of my board and traced around it with a permanent marker, then drew lines coming off of the point with a framing square. Try to line your holes up in straight lines so you have the option to cut them apart with scissors if needed. Off centering every other line will fit more dart heads on the mold, but it will add time to cutting them out. Leave at least a 1/2" border unrolled around the outside of your form.
To make a pointy head form: (Easiest, but not by much)
Set the depth of the internal shiny drill bit in the counter sink so it's barely poking above the black part of the bit (adjustable via hex screw). Chuck it up in your drill press / drill. Set your depth to 1/4" below the surface of the cutting board. (Less if you want shorter heads, more if you want taller heads). Drill out your heads. This plastic drills very easily and cleanly, but it did leave some scraps clinging around the center hole, so go back through and check to make sure their aren't any small pieces left behind.
To make a semi-flat head form:
Use some fine bolts (or even spare nerf gun screws) to join your cutting board to your sacrificial board. The sacrificial board will keep the edges on your exit holes clean and level.
Adjust the depth of the drill bit to to drill partially through your cutting board and into your sacrificial board. The size of the exit hole in the cutting board will be the diameter of the flat spot on your head. Your heads will be as tall as your cutting board is thick, so be picky when you buy your board.
Use a "four cutting" counter sink to drill your holes partially through your cutting board, and into your sacrificial board.
Credit for the backer board goes to Taerkitty and originally K9 for suggesting drilling through and using a backer board to take off the point.
To make a flat head board (cylinder):
Drill through your cutting board (1/4" to 3/8" thick board - board thickness defines head height) using a 3/8", or 7/16" bit (depending on how tight you want your tolerances, and how heavy you want them to be). Bolt another cutting board behind it.
To tip the cylinder heads in felt - prep felt discs by using a hollow punch and a hammer to pound through stacked layers of felt (I've gone through 6 at a time) separate the discs, and place one in the bottom of each hole. Gently separate the board from the backer (nothing holding the discs in place but friction), coat the back of the form in backing tape, re join the form and backer, then press the discs into the tape to hold them in place. (You'll have packing tape sandwiched between your form board, and backing board.)
(Currently developing similar method to tip them in dryer lint. - hopper feeding with out felt discs on the tips)
Mixing oogoo
Squeeze silicone caulk into a Ziploc bag (use a name brand bag with the double strips of seals. It's a wasteful mess if the bag opens while mixing.) 6 complete squeezes from the caulk gun makes 175 3/8" tall heads. If you want to add mineral spirits, to soften the final product, or oil based paints to change the color, add it and mix it in now. I don't have an exact ratio of mineral spirits figured out here. I just added and mixed till it didn't feel quite so thick. Tape your baggie down to a table, and mix it back and forth with the roller.
We haven't added the corn starch yet, so no rush. Make sure you have every thing you need for the rest of the process close at hand, and your form is secured some how to the table. If you're making flat head darts, screw or bolt your drilled head form onto an undrilled piece of cutting board. (That will keep oogoo from shooting out the back) Once you add the corn starch, the clock starts ticking!
Add 1/2 spoon full of corn starch for every 1 squeeze of silicone into your bag. Squeeze out the air, and tape your bag down to your table, make sure it is sealed, and mix it together with a roller. The corn starch shortens the cure time of the silicone from 24-48 hours down to 2-4 hours!
I thought I took video of the mixing, but it didn't take. It's pretty self explanatory, I'm sure you can figure out how to mix two or 3 ingredients in a plastic bag.
Filling the head form
Video (again, click to open in new window and view):
Written instructions:
Once mixed, roll every thing away from a corner, and lop off a large corner from the bag. Roll it back towards the corner, and squeeze the glob out onto the form.
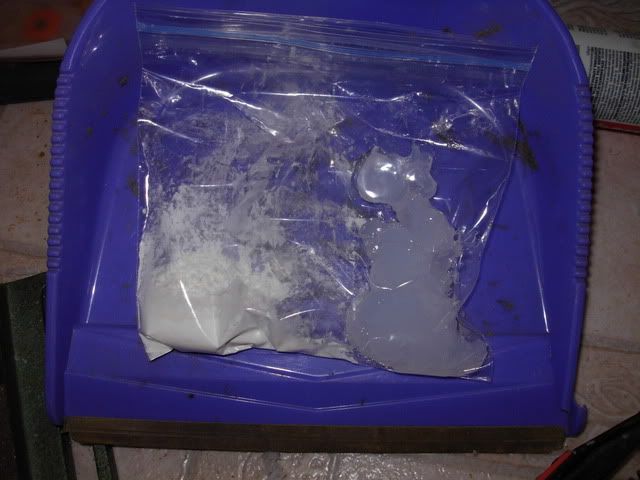
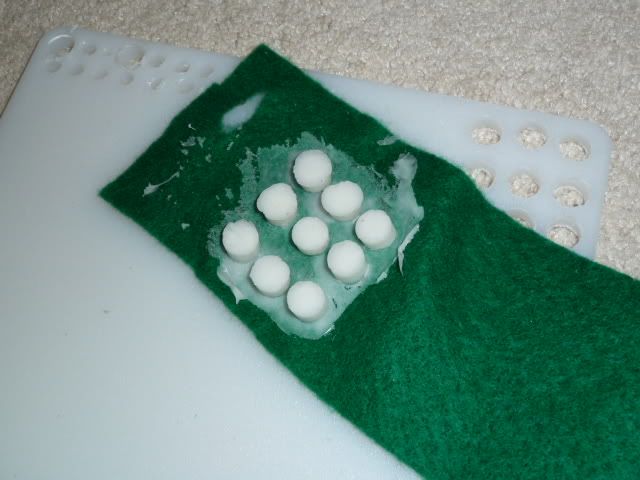
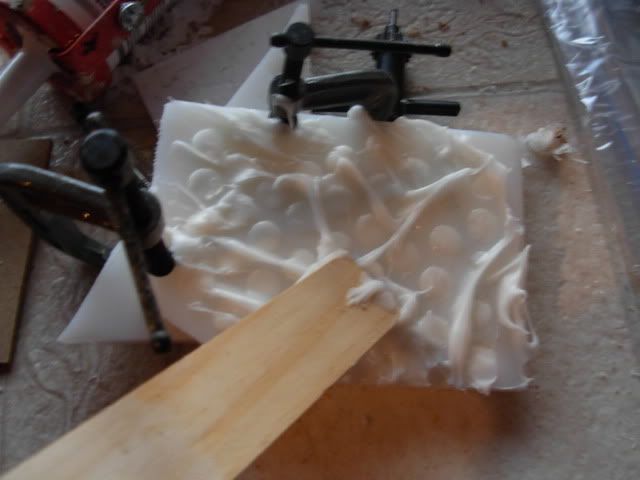
Glob of Oogoo waiting to be pressed into the head forms. You can see the backer board clamped to the head form board in this pic it was just a small, trial sized board though. I would recommend bolting them together. (It should reek of vinegar. Open windows and such.)
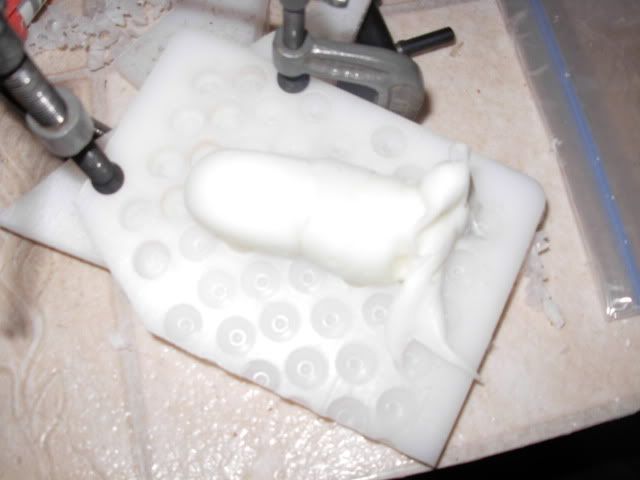
Smear it into the divots with a paint stir stick, scrape off the excess.
Lay your felt over the board, and go over the top of it with a roller. Rub your thumb swiftly over the top of the felt. This will help work the uncured mixture into the fibers of the felt.
Allow to cure (should feel semi firm if poked). I have waited as little as 4 hours to remove them from the mold.
[I'll add a video of the dart heads coming out of the mold as soon as I can take it.]
Once cured Pull the felt off of the mold, and the heads will come with it! Separate the heads by either cutting them apart with a pair of scissors, or use a punch and hammer (harbor freight - $8)
Pointy (before we discovered felt backing):

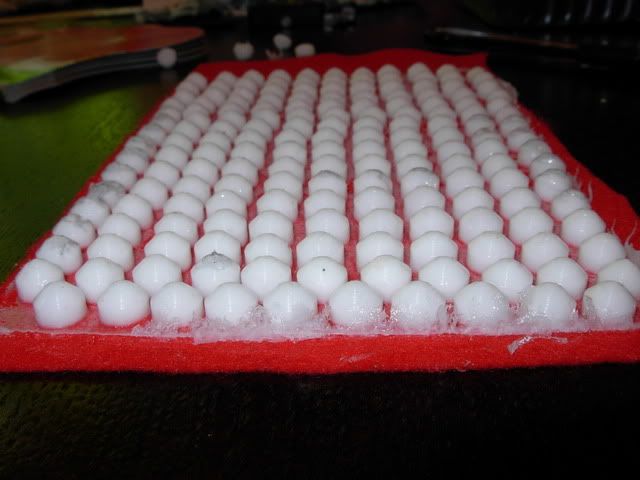
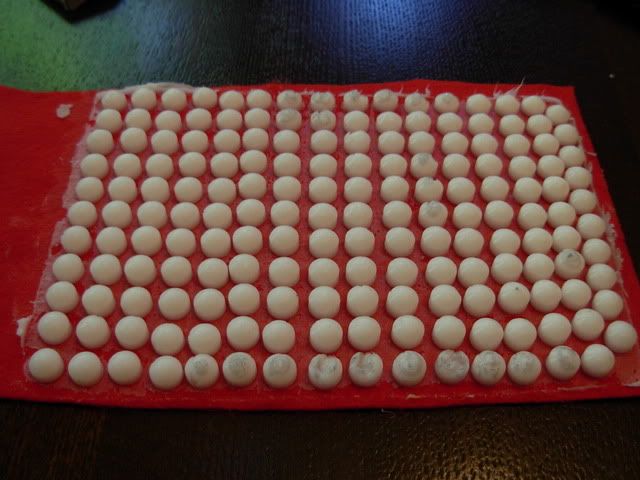
And after we discovered felt backing:
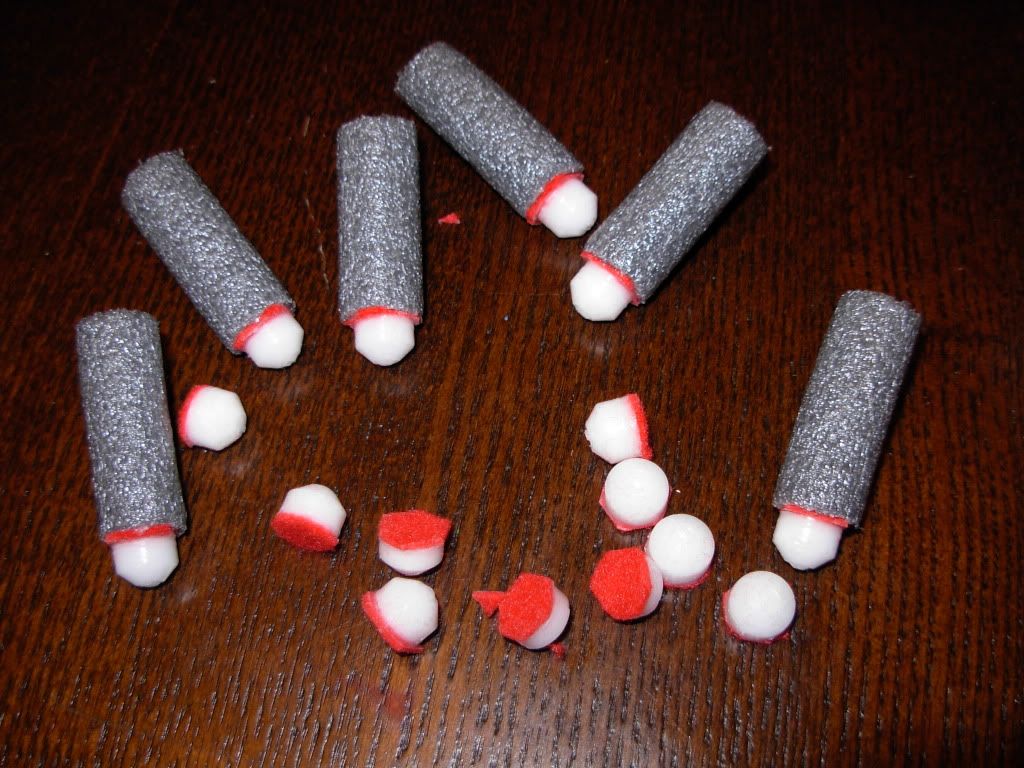
Flat (before we discovered felt backing):
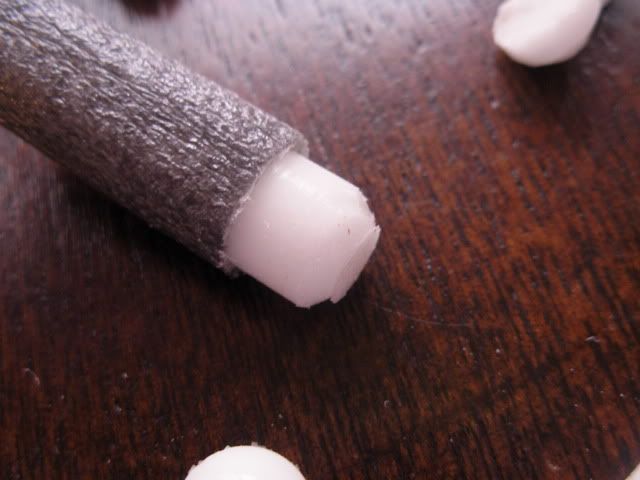
Cylindrical felt tipped heads:
[pic goes here once they're out of the mold]
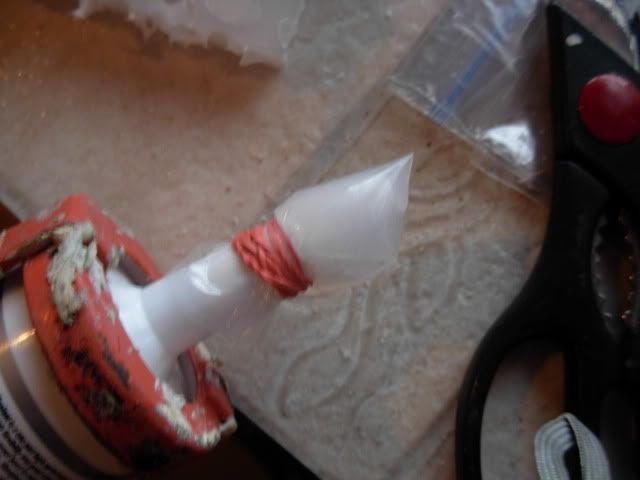
Note: save your unused tube of caulk for later by cutting a corner off of a plastic bag, fill it with silicone, and hold it on with a rubber band.
Now glue the felt side to your fbr using your favorite glue and be done with them! [I'll update with a pic of some finished darts later]
Ranges: depend largely on the size of the dart produced. Previous (heavier versions) flat heads have out ranged my slugs by 25'. It's raining all week here in Utah, can't do range tests.
Pain: Hurts
Hopper feeding: sucks.
We may want to work out some sort of padding/coating on the tip.
- feel free to throw out some suggestions!
(see slugs domes and other dart heads thread for development http://www.nerfrevol...t=2443&start=60, as well as the original counter sink dart heads thread: http://www.nerfrevol...&p=30679#p30679
[edit: added form description - cylindrical heads]
Edited by shmmee, 31 May 2011 - 10:58 PM.


