
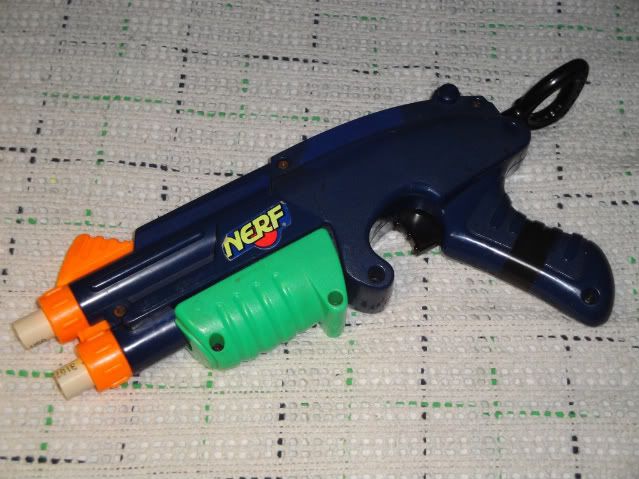
Not many Sharpshooter II mods out there so I figured I would dig mine out of box of goodies and fix it up. It ended up being much better than I expected.
First is first: Open up the gun. No tricks here.
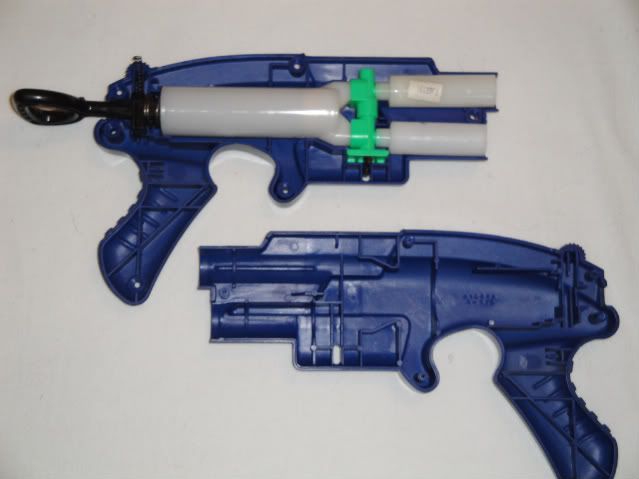
Basic Internals. Plunger tube is fairly large. (Trigger is missing in this picture, but it's not really important)
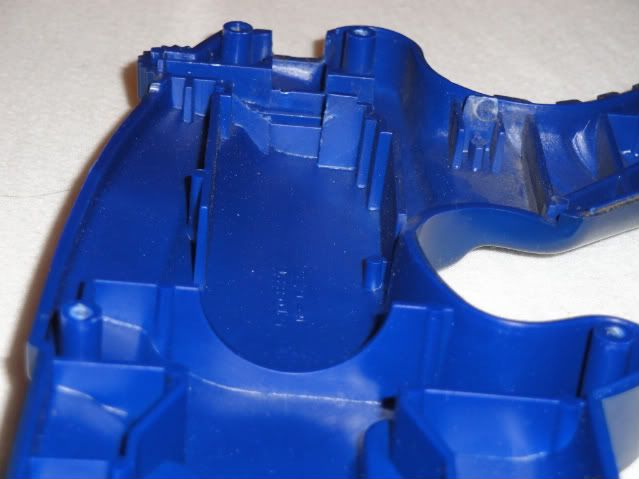
I then noticed in my blaster specifically (But I have heard of many other people with this problem as well) that the spring rest was cracked and even broken off in some places.
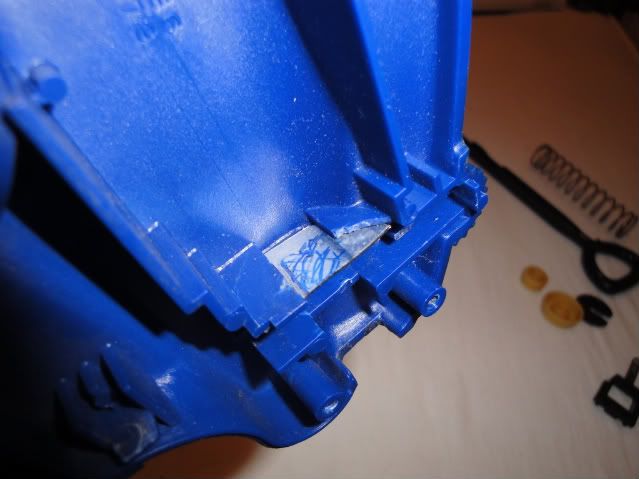
To combat this problem, I grabbed my sheet aluminum and tin snips. I cut a piece out for each spring rest. After dry fitting the pieces for size, mark where the plunger rod square hole needs to be cut.


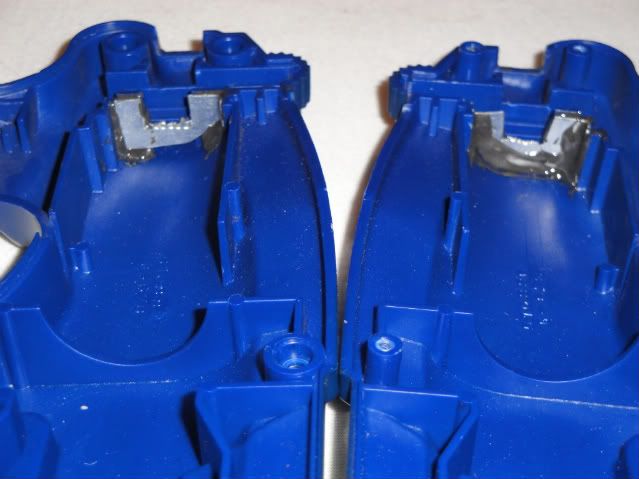
Once everything is cut and fits nicely, epoxy the aluminum plates in.
Now that the spring rests are bulked up, we can now move on to a basic spring and barrel replacement.
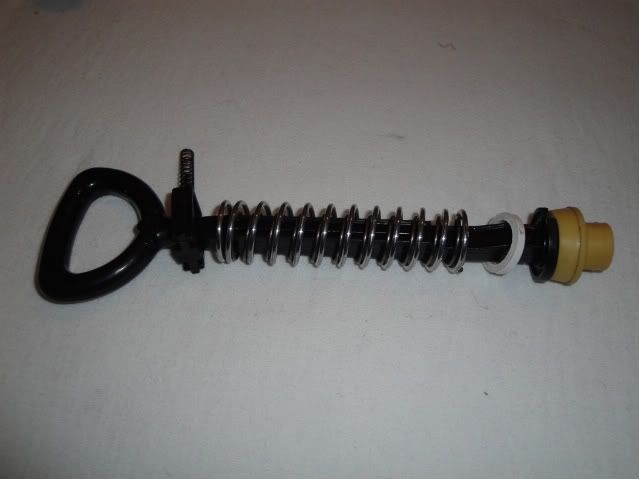
Remove the plunger head and add whatever springs you wish. I have a random spring I found in my parts, and an Ace 49 in mine. I added a small PVC spacer to compensate for my replacement springs being slightly shorter than the stock one.
Next take out the plunger tube assembly. I use CPVC for my barrels. After a wrap or two of electrical tape the CPVC fits very snuggly into the stock barrels. I glued them in, and then glued the barrels to the green barrel selector part just for good measure.

Now lube and reassemble the blaster, and enjoy.
This blaster is much better than I thought it would be after just simple mods. The spring rests are still holding strong with no sign of cracking or breaking. Looking back I could have replaced the plunger head, but I didn’t have the time or the materials at the time.
Ranges with 3/0 sinker Stefans at chest level, indoor not counting dart skip: 58 (top), 62 (Bottom)
First write up, hope it went well.
Comments/Questions?
Edited by Phree Agent, 16 March 2010 - 12:04 AM.


