This writeup is about separating the Longshot Front Blaster's (LSFB) trigger and handle from the blaster itself. I am sure it can be used with other blasters. I developed this for an integration, but it can be used also for 'stealth shots' where your hand is nowhere near the blaster (connected by the bicycle brake cable) and you can still fire it.
That's all there is to the theory. It's drop-dead simple. If you're just wondering what I mean by cable trigger, that's all, folks. This writeup is about one possible implementation.
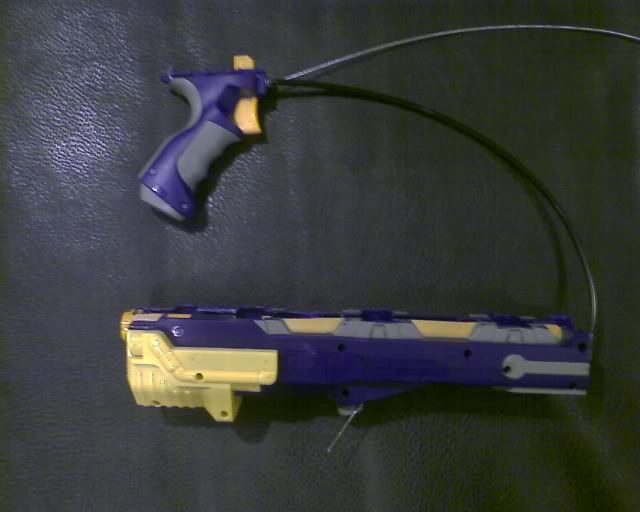
That's the completed proof-of-concept.
This is not about optimizing the LSFB - there are plenty of posts on how to remove the AR, lube the cylinder and maybe silicone-tape the o-ring (I planned to look at improving the blaster once I knew I didn't blow it up trying to mod it.)
This is only marginally applicable to the standard final resting place for an LSFB: the underslung 'M203' point under the Longshot. I remember reading someone concerned about the standard piano wire cutting into the plastic in the Longshot body. Using a bicycle brake cable was mentioned (that was the only hit I found for 'brake cable'). I just wanted to mention that1dude's post on the LS Front Gun Wire Help thread.
===
Required:
- Longshot Front Blaster
- Bicycle brake cable
- A way to cut the cable (I used boltcutters, but there are specialized tools for cutting the cable)
- A way to cut the tube, which is a steel coil (I used a hacksaw, neater ends this way)
- Pliers
- A mallet or hammer
- A knife
- Rivets - 1/8" diameter x 3/16" - 1/4" grip range
- Finishing Washers ("Rondana #6" is what I used)
- Wood Screw #6 x 1/2"
- Drill with 1/8" bit
===
Disassemble the blaster and remove the orange 'dot' and spring that serves to lock the LSFB in place when it's mounted on the front end of the LS. The LSFB will never go there again.
Close the blaster and screw down the upper right screw, the single long one.
Take the drill and make a 1/8" hole in the internal wall directly in line with the hole at the end of the LSFB you just cleared by removing the orange dot.
The underside of the LSFB has a flange that needs to be cut away to allow the cable anchoring mechanism freedom to slide. These two images show where it was cut from one half of the LSFB body. You'll need to do it for the other as well. This is the region normally covered by the handle if that were attached.
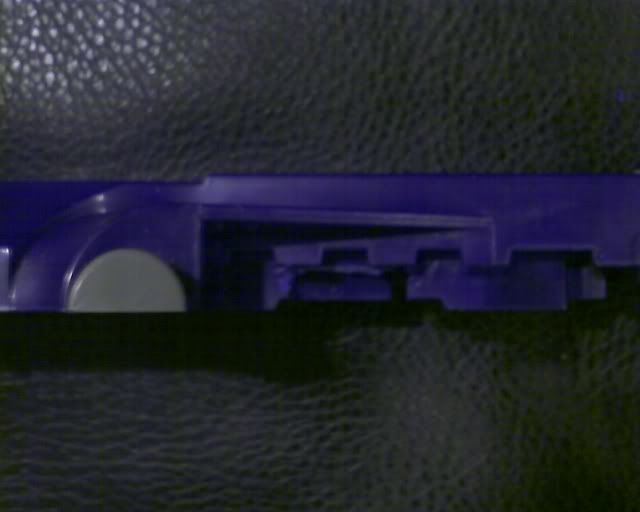
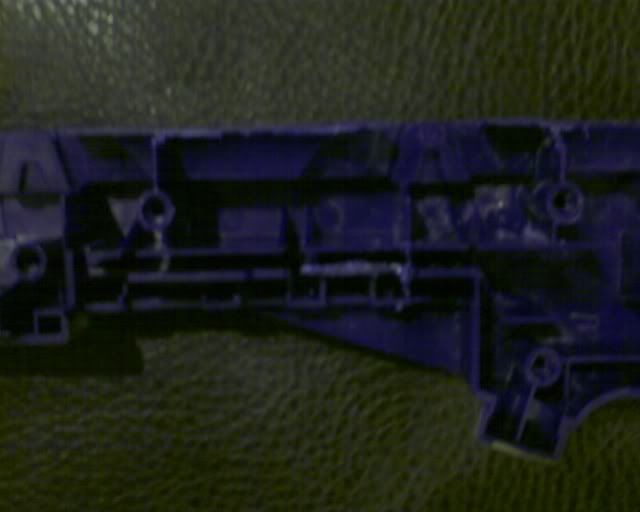
That's it for the LSFB for now. Set it aside.
===
Disassemble the LSFB handle.
Put an 1/8" hole through the front of the handle, above the trigger.
Take a pop rivet, hold the rivet body with the pliers. Place it against a hard surface, pull pin down. Take the mallet or hammer and strike the pliers. This should free the rivet body from the pull-pin. Do this for two rivets, three if you are going to thread two cables out of the trigger mechanism as is shown in the photos below.
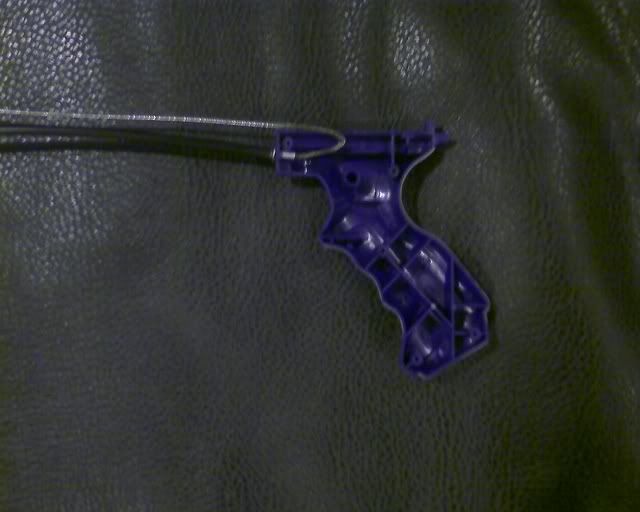
Take one of the rivet bodies and insert it in the hole. It should fit easily but snugly. This will keep the metal edges of the bicycle brake cable housing from chewing into the plastic handle.
Thread the bicycle brake cable through the rivet. It will be a close but loose fit. The bike cable must have a clean end; i.e., no stray 'wild hairs'. Trim it down if it does.
===
Take the trigger and put a 1/8" hole in it above the guide slot, toward the rear of the body.
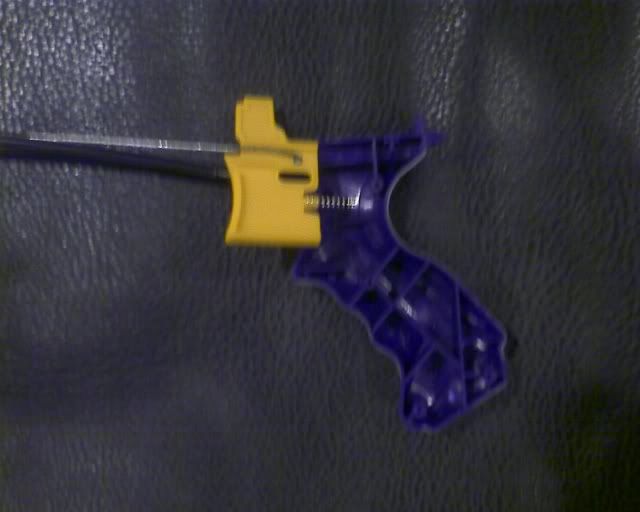
Thread the bicycle brake cable through it. To anchor the cable, crimp a 180-degree bend in it with the pliers. This will weaken the cable, but the cable will also eventually eat through the trigger. How often do you plan to fire your LSFB anyhow?
That's it for the trigger. Reassemble the LSFB handle, leaving one (or, in the photo, two) cables visible.
===
Thread the cable through the cable housing. I'm being deliberately vague about cable lengths because, well, to start with, I got it wrong for my own purposes and will have to get another length of cable + housing. It varies with your usage, but the cable needs to be at least a foot longer than the housing.
Now thread the other rivet body on the cable, wide-end (flange) first.
Next, thread the finishing washer on the cable "rounded" side first.
The LSFB has enough gappage once we pass through the 1/8" hole we drilled earlier that the cable can snake through. Have it enter the top of the trigger bar and thread through the slot.
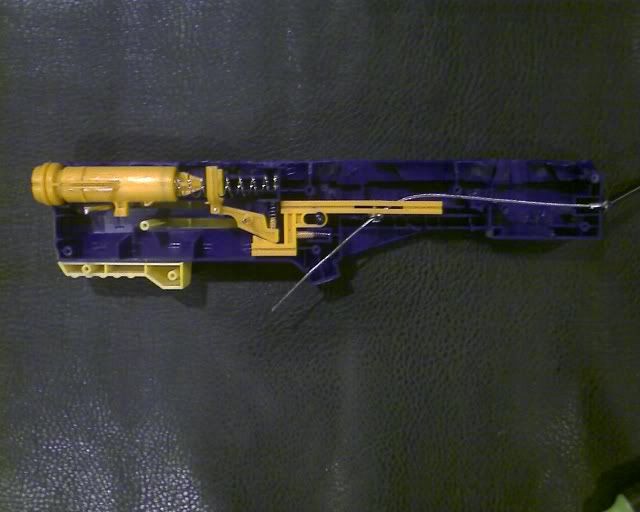
Lastly, because cable tension / length will need fine adjustment, use a finishing washer and wood screw as an improvised clamp. Thread the finishing washer on the cable concave side first (so the rounded side is 'out' when it is against the bottom of the trigger bar.
Determine the appropriate position and drive the wood screw through the washer and into the trigger bar slot.
===
The cable adds too much resistance to the trigger for the existing springs to return it to station. Given that this is a one-shot blaster, this is not an issue. The LSFB trigger has a front ridge that can be used to nudge it back forward.
Ranges: I didn't range it, but didn't do anything to it besides remove the AR. I'm guessing 20' or so.
Edited by taerKitty, 03 June 2009 - 01:18 AM.


