Materials required:
A Longshot
A LS scope
A Titan tank and pump
A Titan pressure gauge
A LSFG cocking handle set
A cut-down AR-15 spring(or other spring of your choice)
1' of 1/2" pvc
3' of 1/2 cpvc
Two 1 1/2" pvc couplers
One 12" piece of 19/32" Brass
Two 12" pieces of 9/16" Brass
One 12" piece of 17/32" Brass
One 12" piece of 1/2" Brass
6" of clear tubing
1 can of spray expanding foam
Plastic epoxy
Plumbers putty
Plumbers Goop
Hotglue gun and glue
electrical tape
Teflon tape
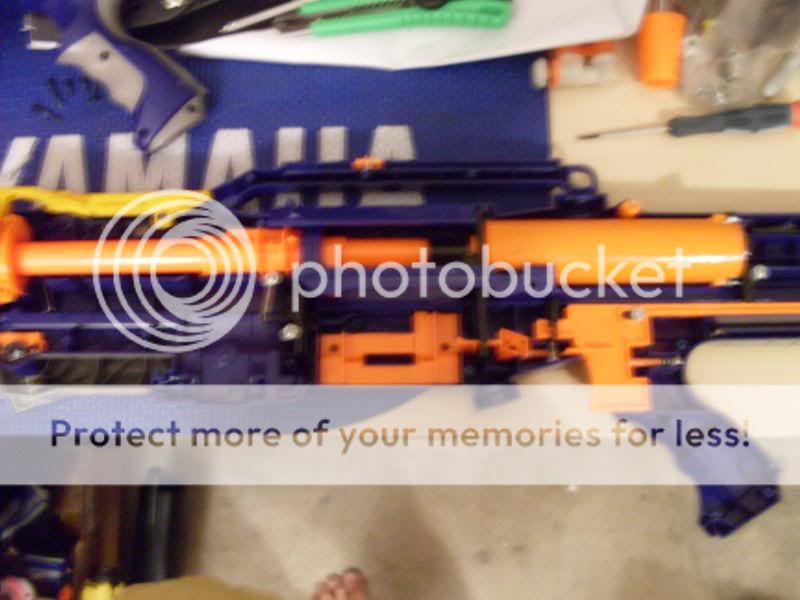
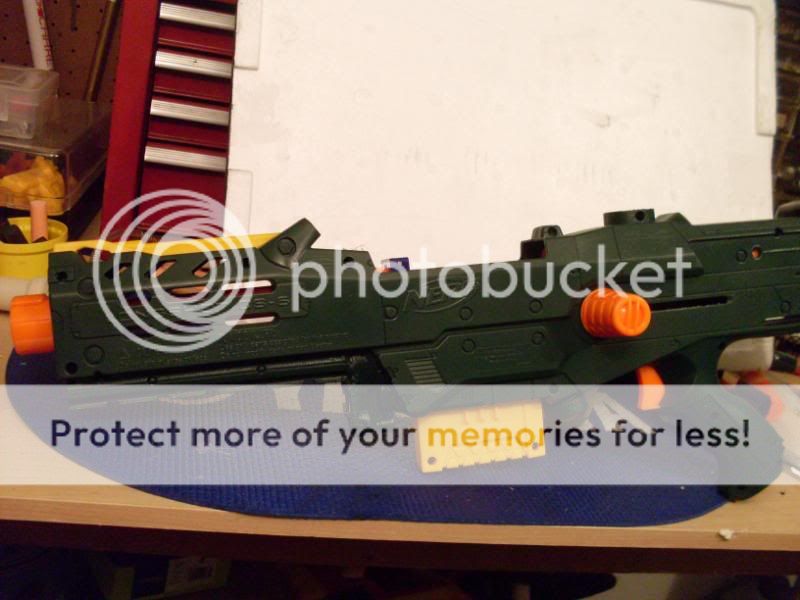
Alright, lets start with the LS first. Open that baby up, it looks like this--full of un-needed crap!
I decided to remove all the locks and priming indicater, as they are in my opinion useless and suck.
Next I remove the plunger/boltsled assembly, followed by pulling the plunger out of the tube.
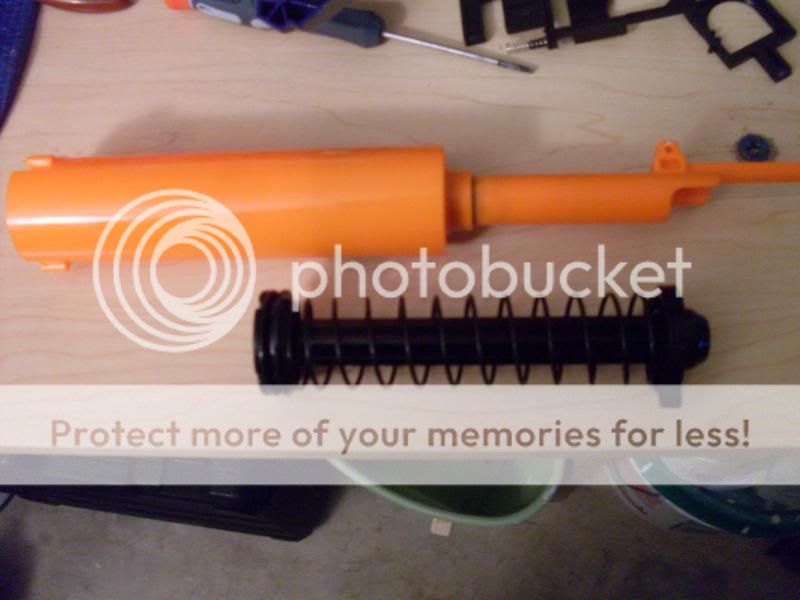
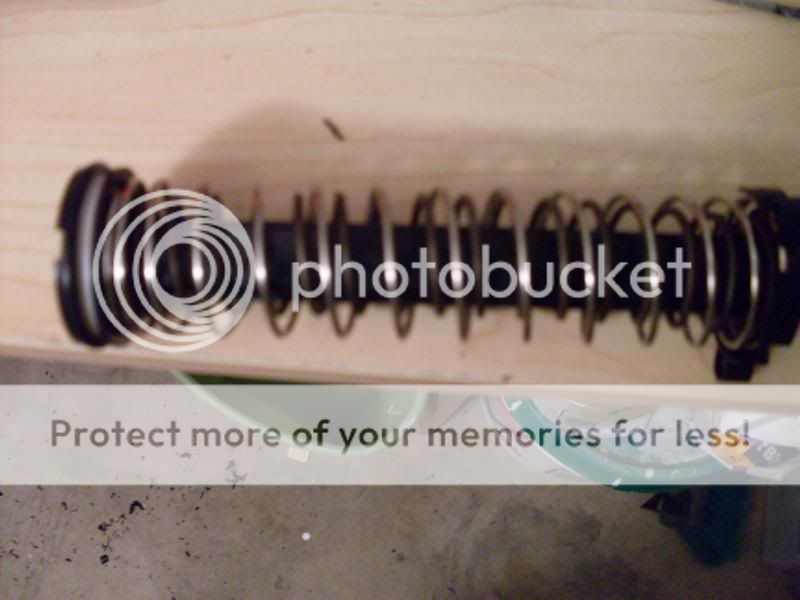
I used a cut-down AR-15 spring under the stock LS spring, as well as a bit of Teflon tape under the O-ring on the plunger head for a better seal. Before putting the plunger back in the tube make sure to add some lube.
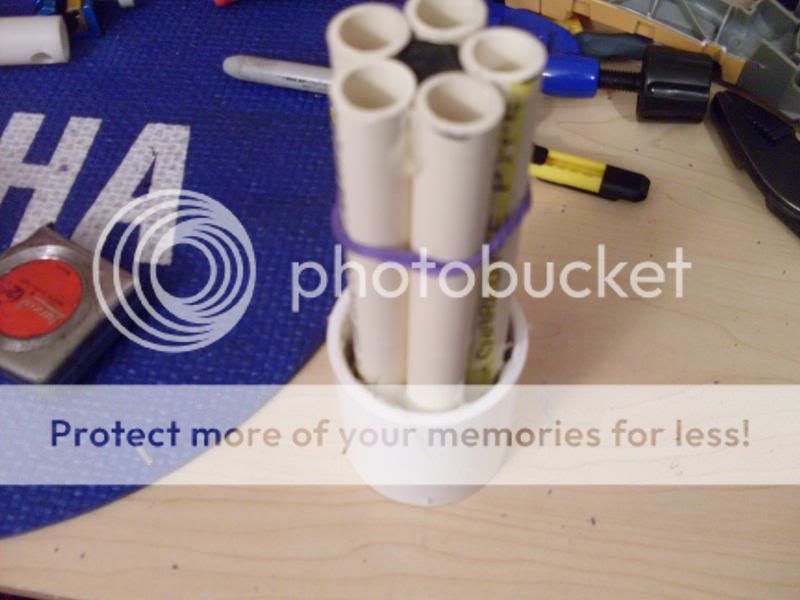
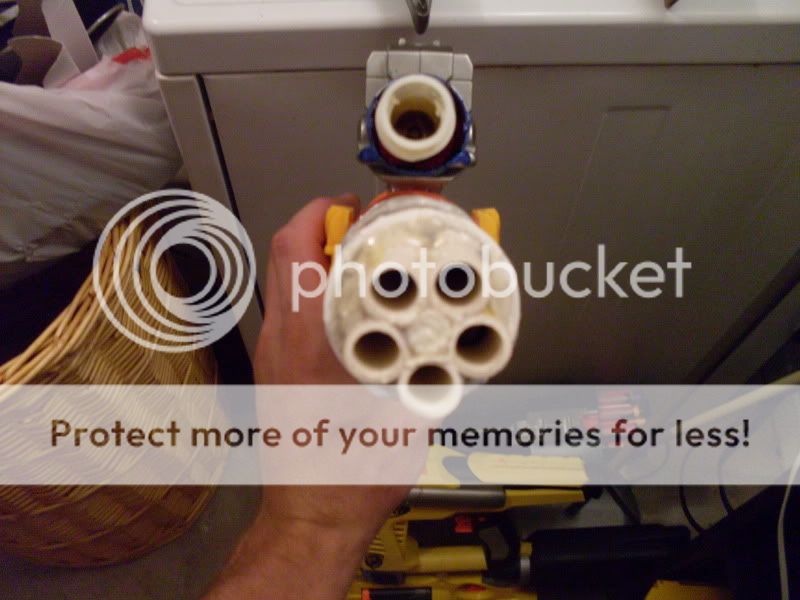
At this time I construct my Brass Breech(Hereticorp's modified Angel Breech), but I won't bother going in depth with that because its been posted a thousand times. Here it is though...
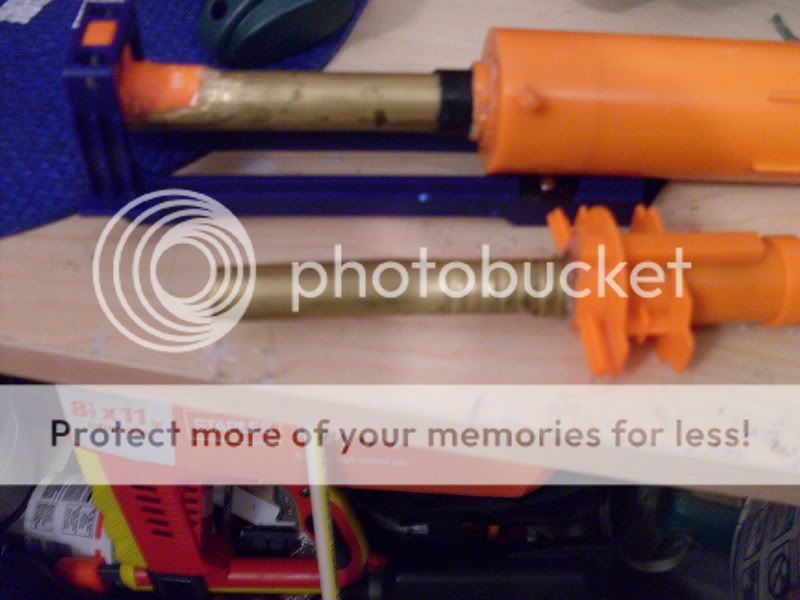
Do NOT forget to add a spring or two to the catch or your blaster will not stay primed. Writing pen springs work great.

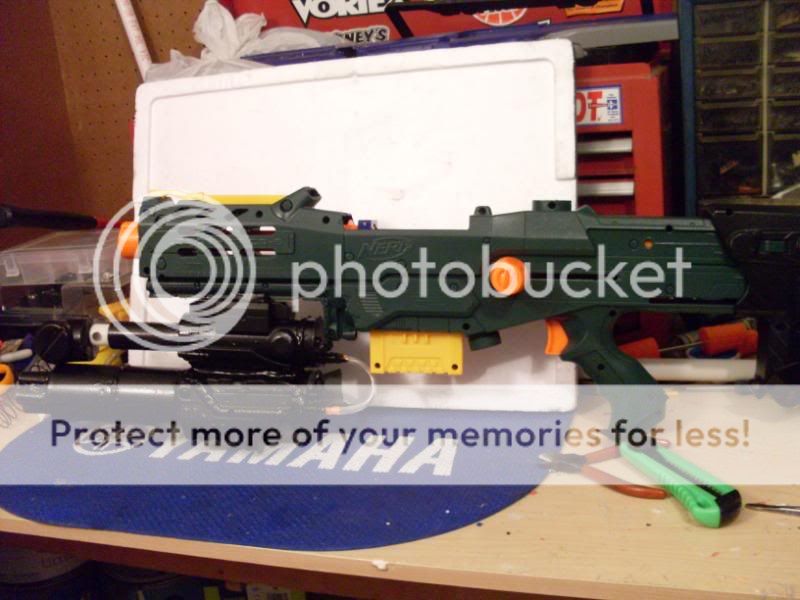
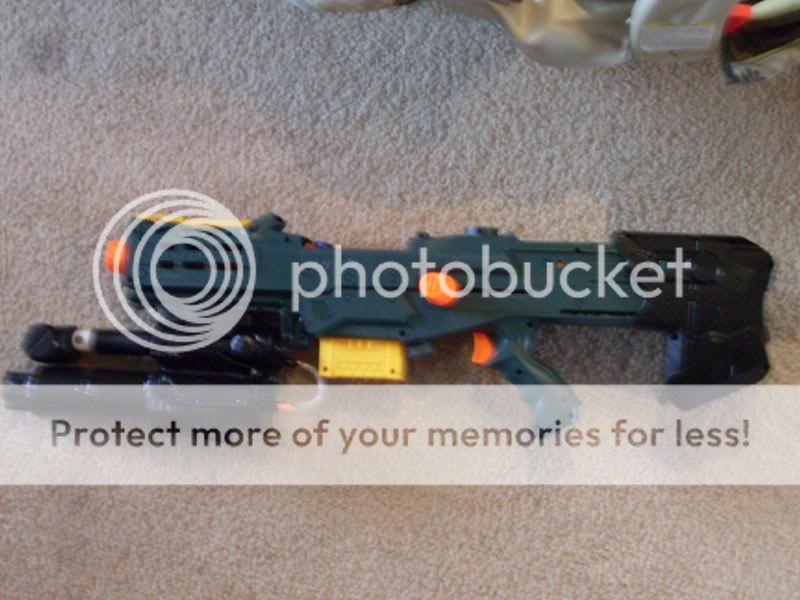
Now that the internals are taken care of, lets show the shell some attention. I used the standard 3" pieces of 1/2 pvc in the stock to prevent it from collapsing, the tripod legs and mounting location were removed, and the top tactical rail was removed for relocation.....


The rail was shortened by approx. 1", then epoxyed to the bottom of the LS. Make certain that when the rail in put into position, the rail halves line up to the LS shell halves.

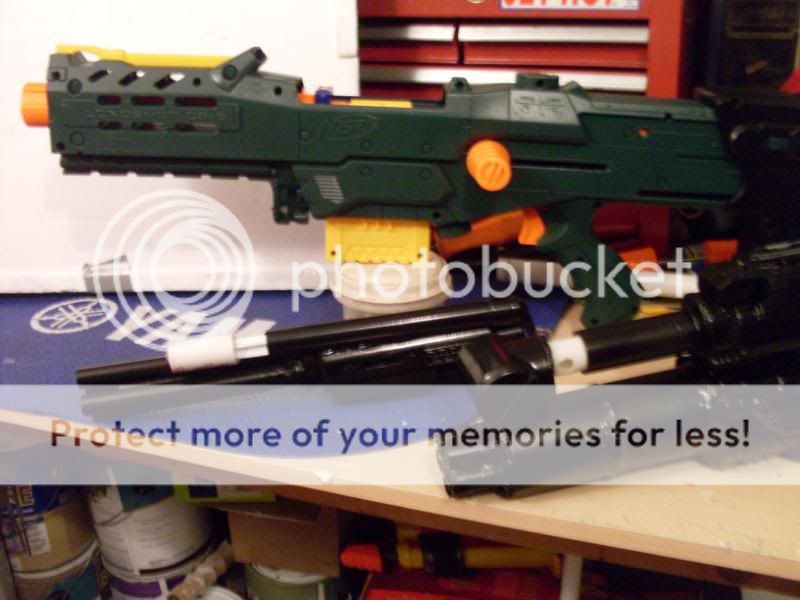
If you choose to, the shell can now be sanded and painted. Next we will adress the modular additions.

To start, take your LS scope and gut+cut it so that the shell looks like this......
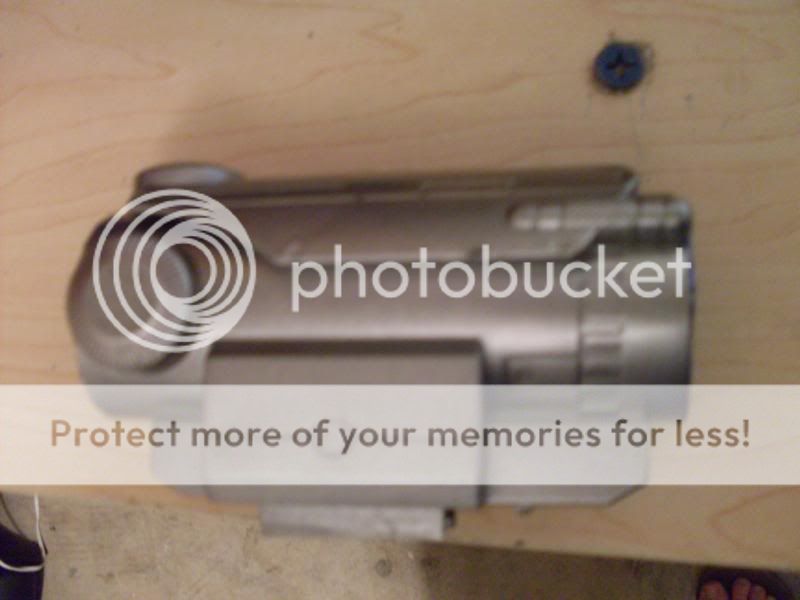
The LS scope will serve as the housing for the Titan's pump, as well as the attachement point for it's tank. Take your LSFG priming handle and remove the screw posts in both halves like so...

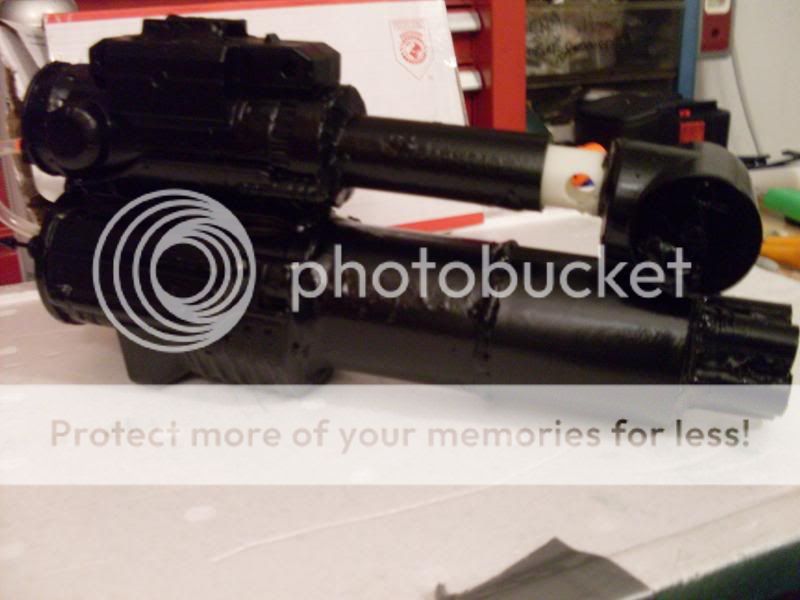
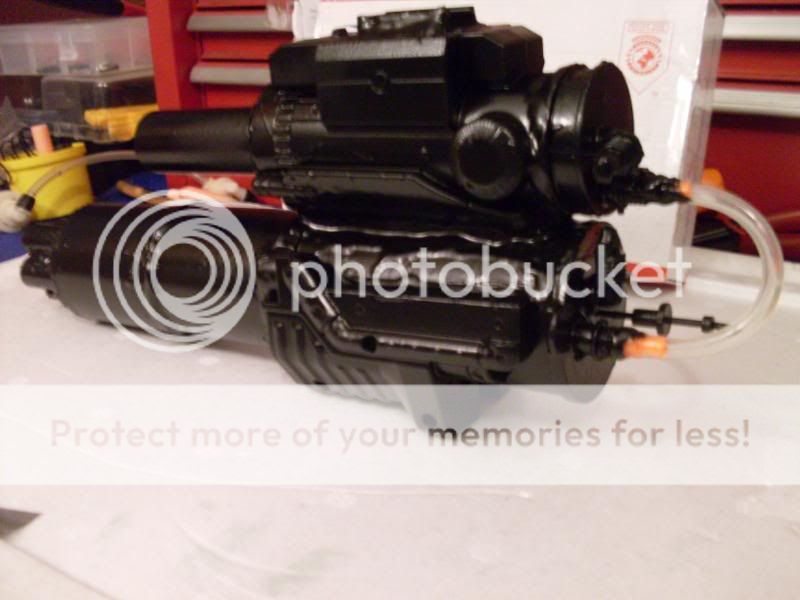
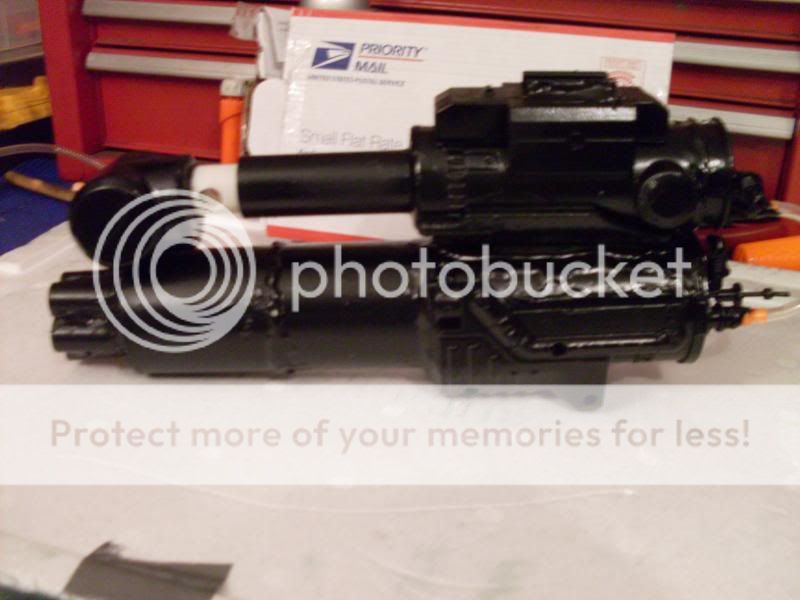
Now that we have prepared the main componets,lets build this thing! Slide the Titan pump through the LS scope, facing forward and epoxy it into place. Next, epoxy the Titans tank underneath, making sure to keeps things nice and straight. Lastly, epoxy your priming handles to the sides of the tank, filling the small gap in the middle with Plumbers putty. The handles give the tank a very nice feeling grip. It should look like this...