
Oh and here's a few pro's and con's compared to my other write-up:
Pro's (CPVC removable):
Different reload method
Easier reload
Multiple ammo types
Accurate
Con's (CPVC removable):
lower velocity
~70'
Pro's (my CPVC'd "
Higher velocity
Higher accuracy (although needs better darts)
More effecient
Higher ranges (assumed)
Con's (my CPVC'd "
Can only take micro's (but who uses megas anyway?)
Harder/slower reload time (RoF)
--------------------------------------------------------------------------------
MATERIALS
-12, 6 or 8 inch rods of CPVC
-Screwdriver/Drill
-Dremel
-Hot glue gun
-Hot glue sticks
-Silicone Lube (recommended)
-E-tape
-Another spring (optional)
-Hacksaw
-File (for cleanliness' sake)
-UNKNOWN drill bit sizes
--------------------------------------------------------------------------------
By the way, here's my other mod
So I can't really tell which is better...but here we go:
Step 1:
Cut the orange part off:
Step 2:
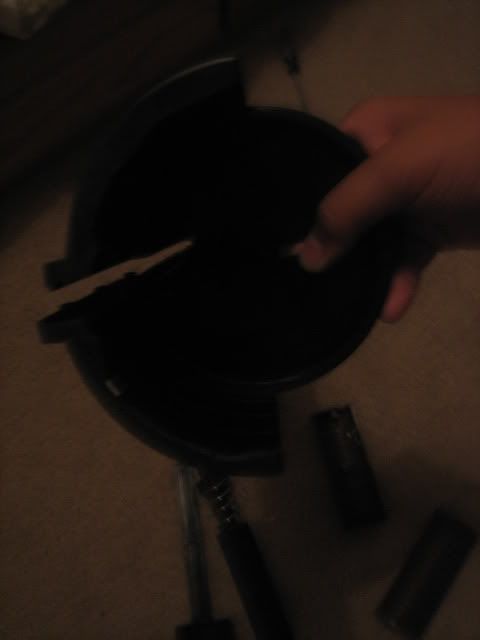
Open it up:
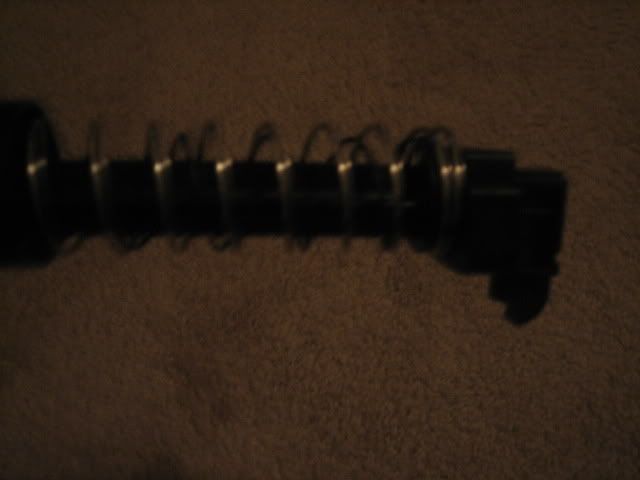
Step 3:
Optional: Add LS spring (or any other):
Step 4:
From FA_24's write-up...Hot glue the bottom plunger head, then add e-tape
Don't forget to add lube to the plunger tube and the plunger head

Step 5:
Unscrew Turret:
Step 6:
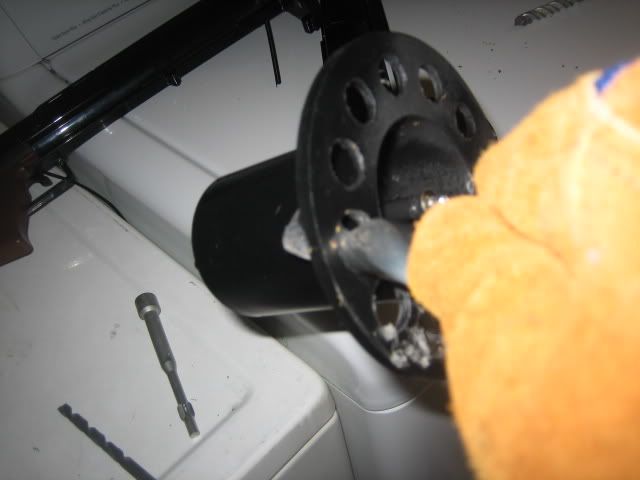
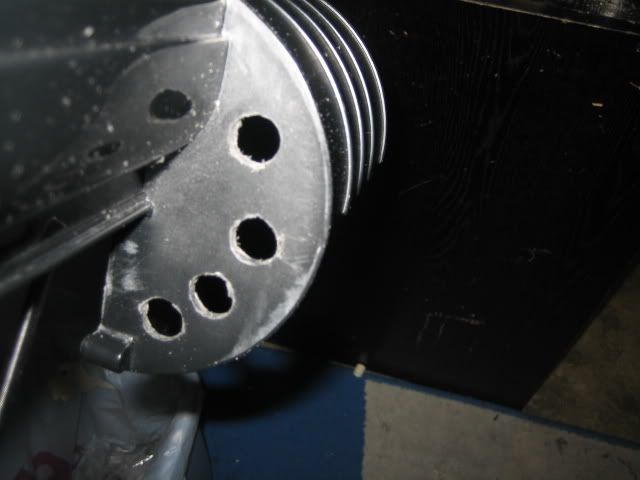
Drill/Dremel/File/"X-acto knife" the bottom of the turret to fit the CPVC pipe:
(I had the drill bit, but it was too big for my drill...so I used my hands
Step 7:
Put the turret back together
Step 8:
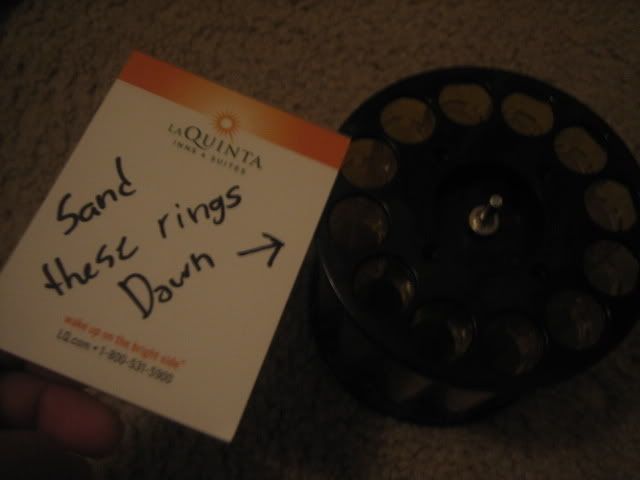
Sand the rings down: (I didn't have a dremel, so I used sandpaper/drillbit combo...)
Step 9:
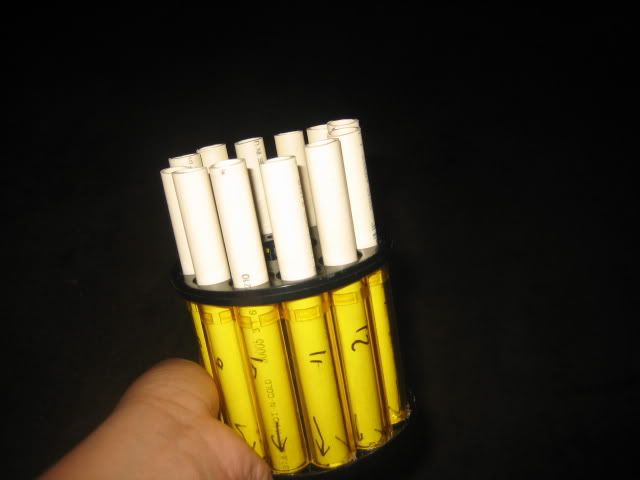
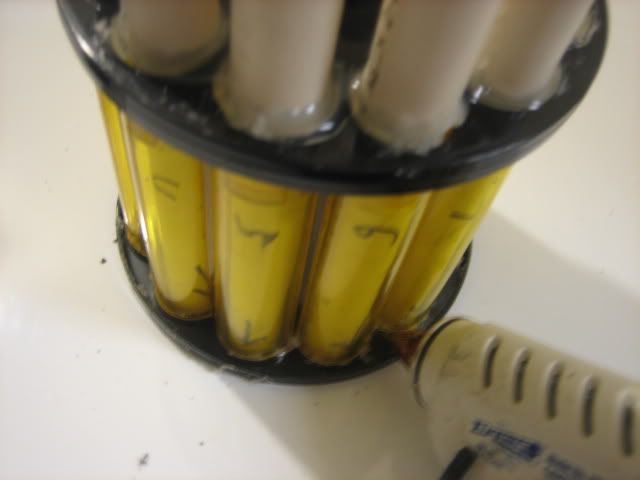
Put the CPVC in: (make sure you take out the original turret part, seen in the last photo)
Step 10:
Hot glue the CPVC into the turret:

Step 11:
Hot glue the turret, for a better seal:
Step 12:
Cut the shell
Step 13:
Drill/Dremel Holes in the back:
Step 14:
Close'r back up!: (I removed the rotation mech, 'cause I don't have the tools to make it rotate)
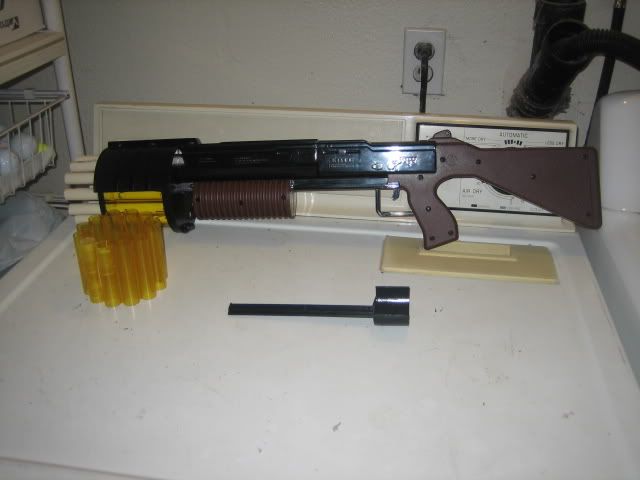
So there, I officially have my own "doomsayer" although I still believe it isn't worthy to be called that...
('cause it doesn't have "decor" in the middle...hehehe)
EDIT, Ranges:
Ok, first of all,
The problem was:
1.) My darts suck
2.) The barrel wasn't alligned right with the plunger, therefore causing shots to suck
3.) The seal not being good enough, I opened it and fixed that, will post pictures soon.
(From least to greatest)
-36'
-41'
-56'
-59'
-66'
-72'
Average: 55'
WORSE THAN MY PREVIOUS MODEL
But i'll blame it on my darts, which are crappy, over-expanded pieces of poop...except for that one dart that was pushed into the CPVC and got 72'...I was pretty surprised when that fired, then they all started being stupid and not going far...oh well, life is full of risks, and I decided to take one.
I only shot 6 because everyone was staring at me (like adults and little kids) when I was doing this...so there...I'm going to go and cut my wrists now and be depressed for the rest of my life for this failure...(no i'm just kidding, I wouldn't really do that...)
Edited by Watari, 20 November 2008 - 06:35 PM.


