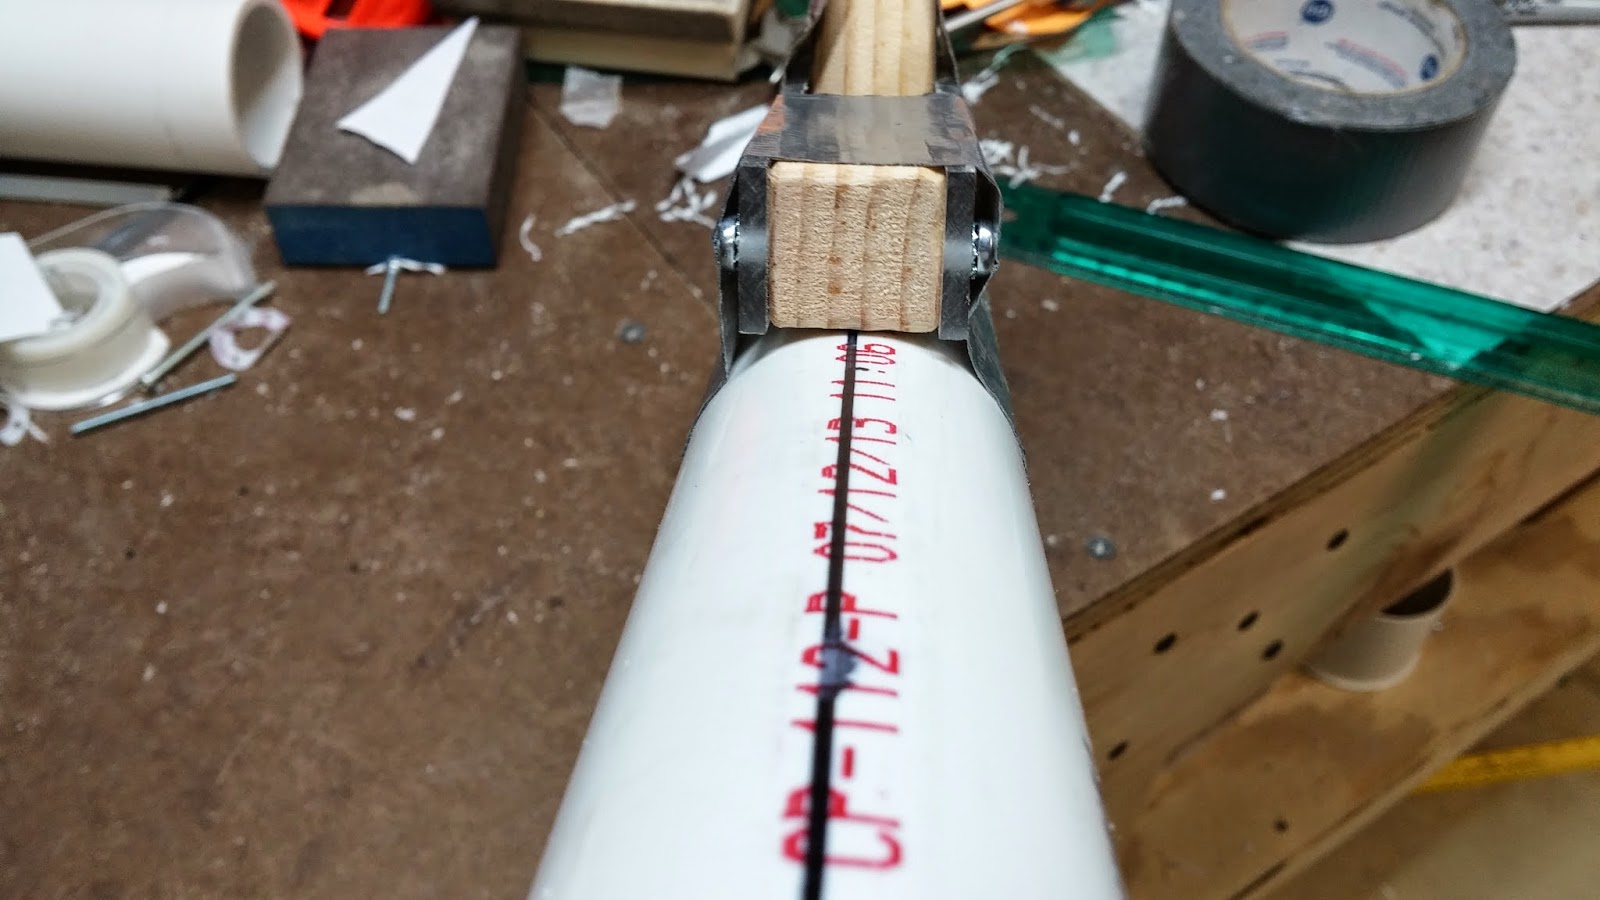
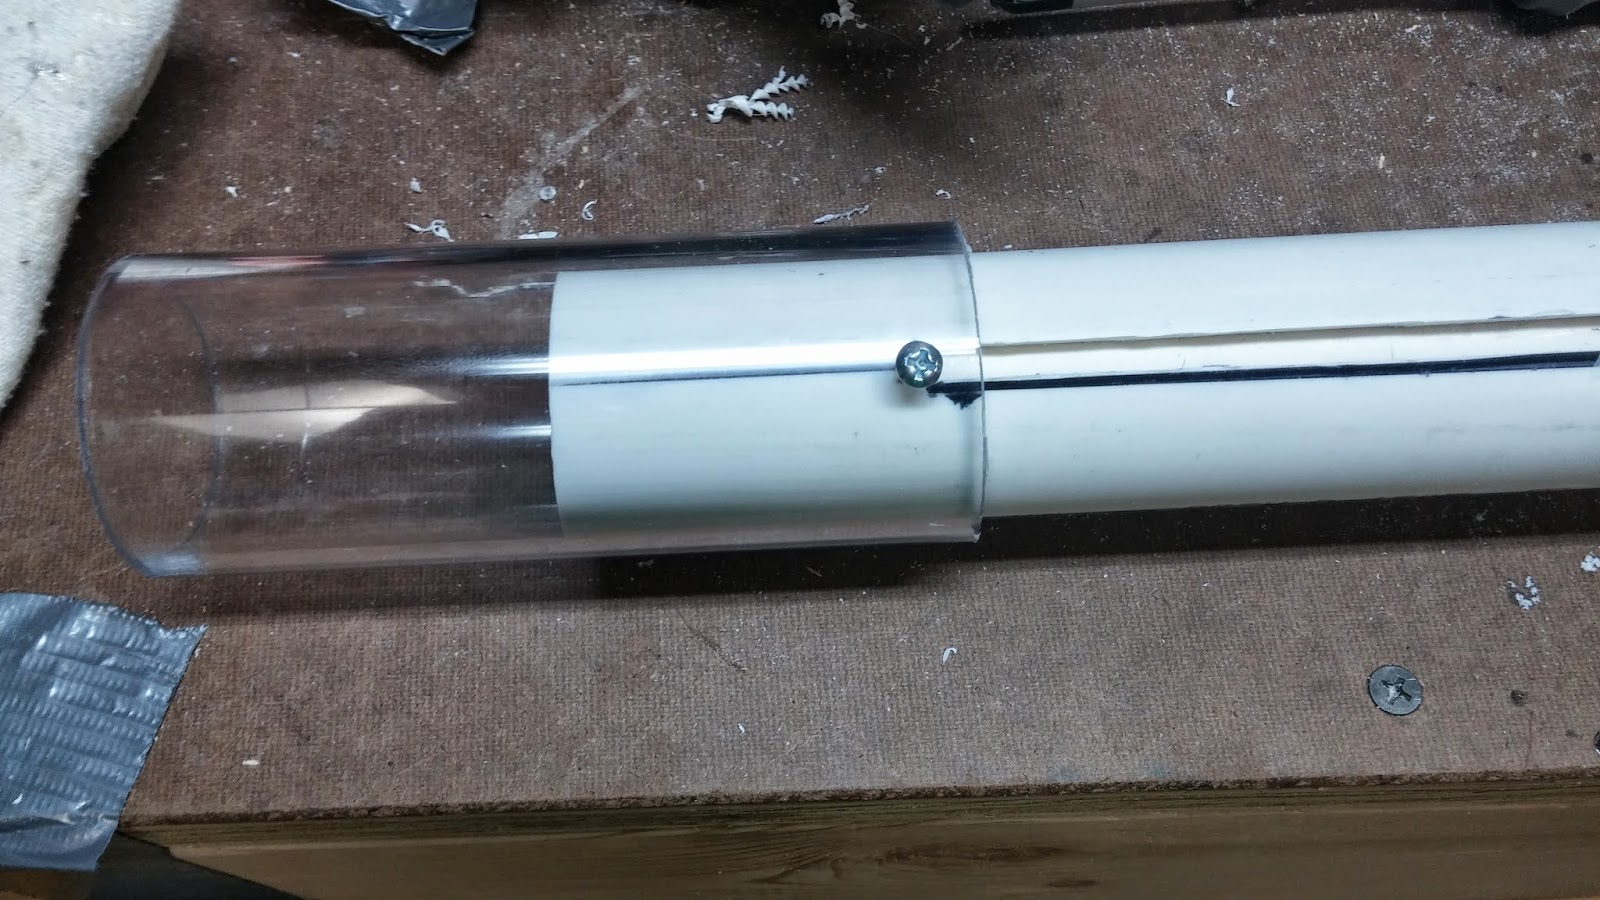
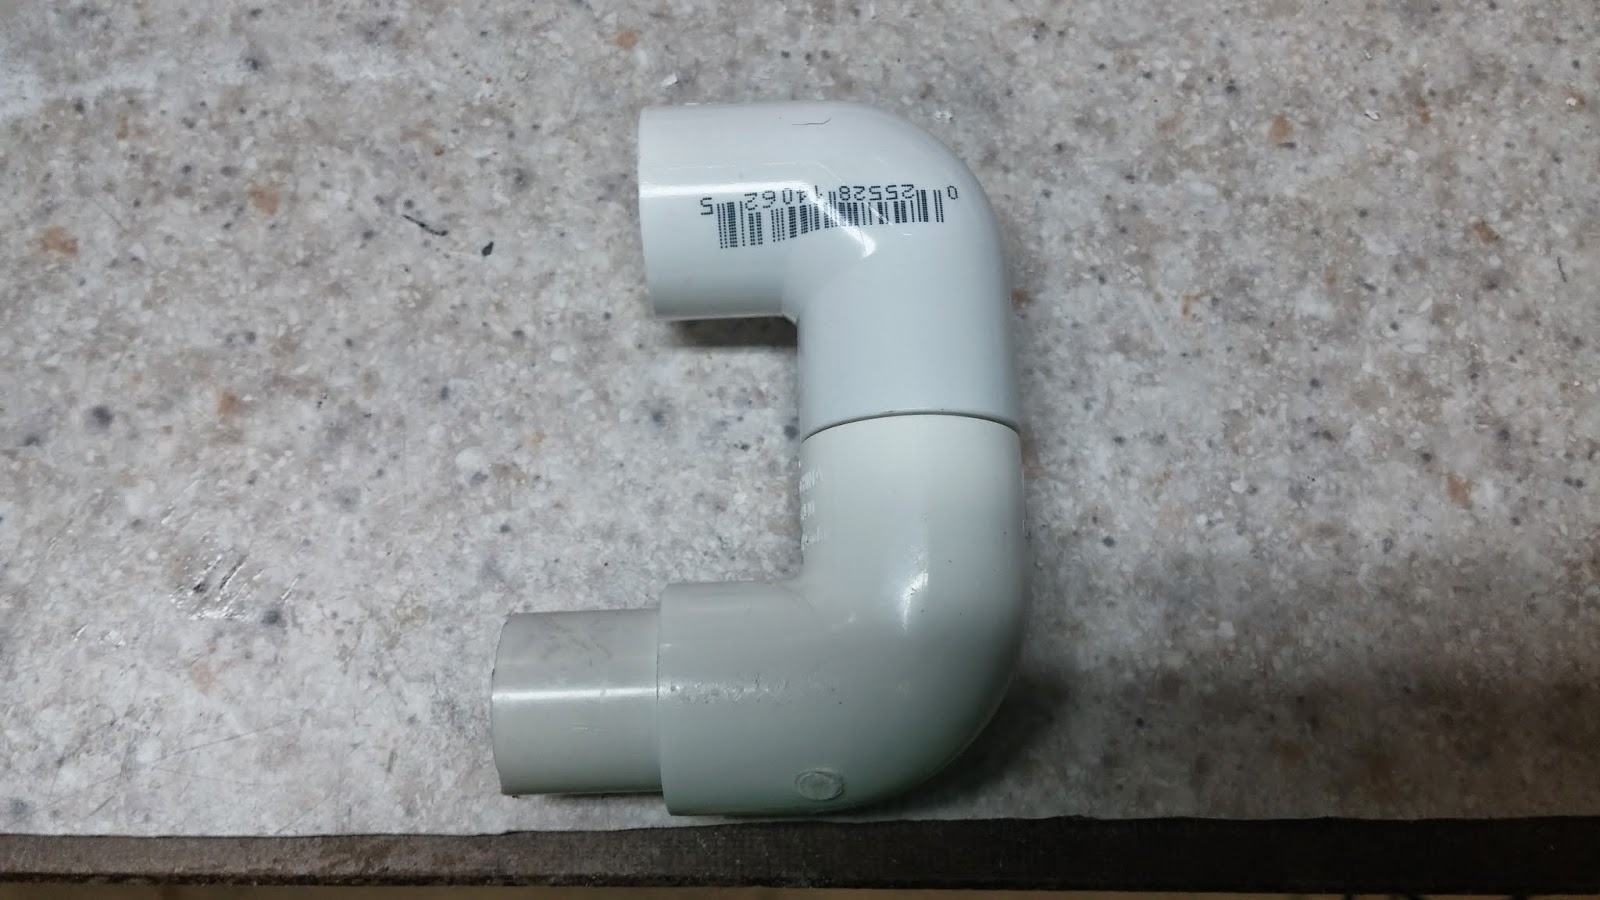
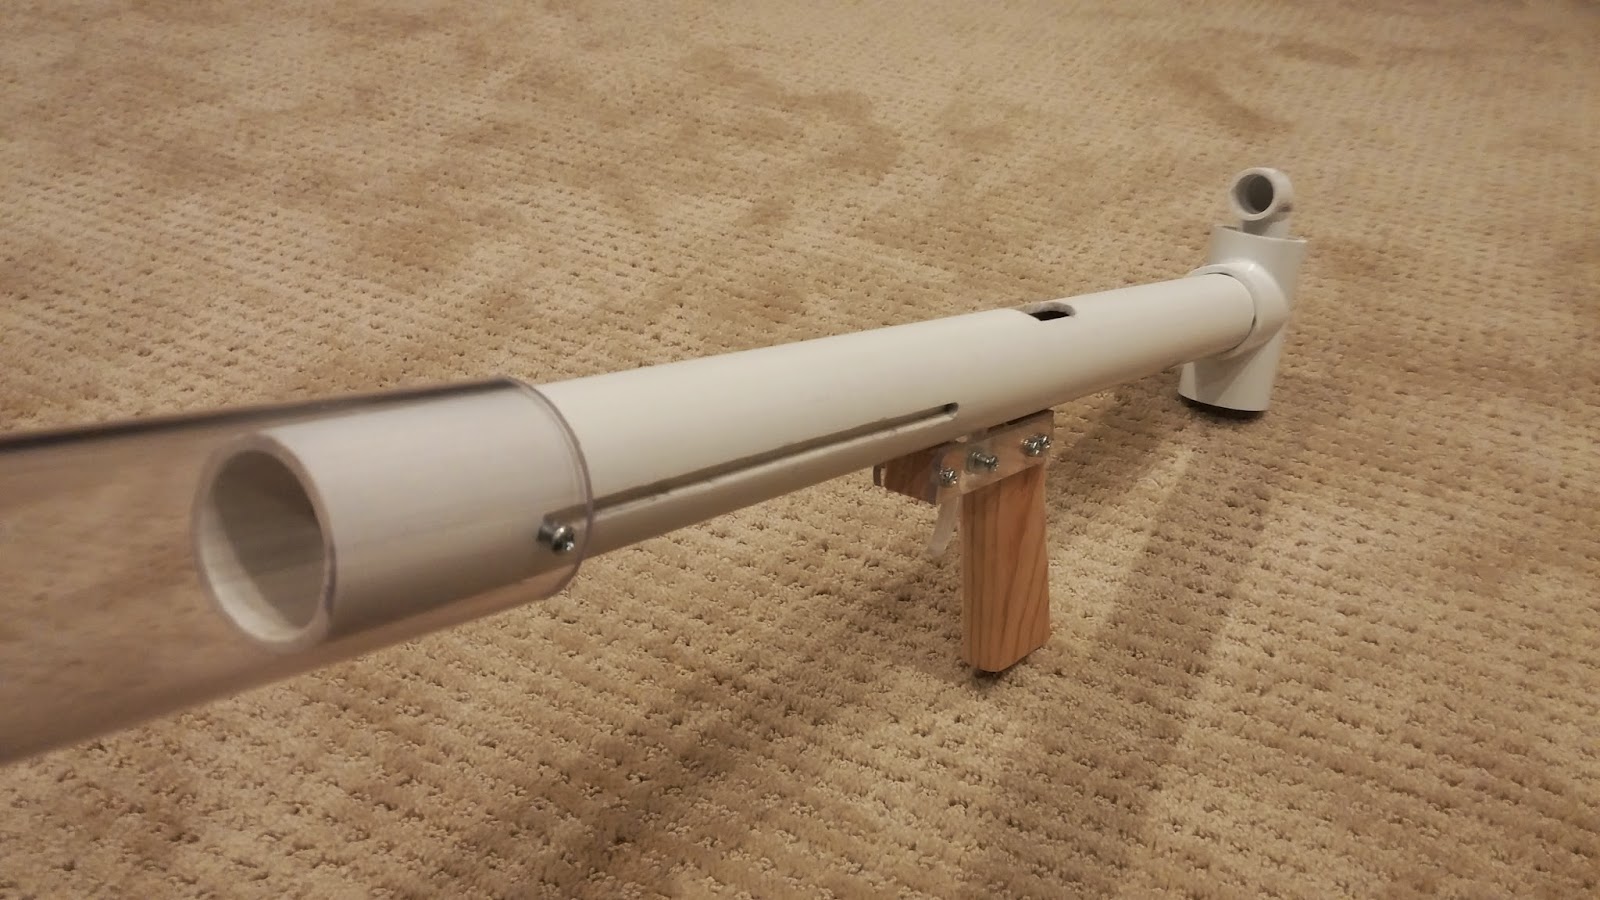
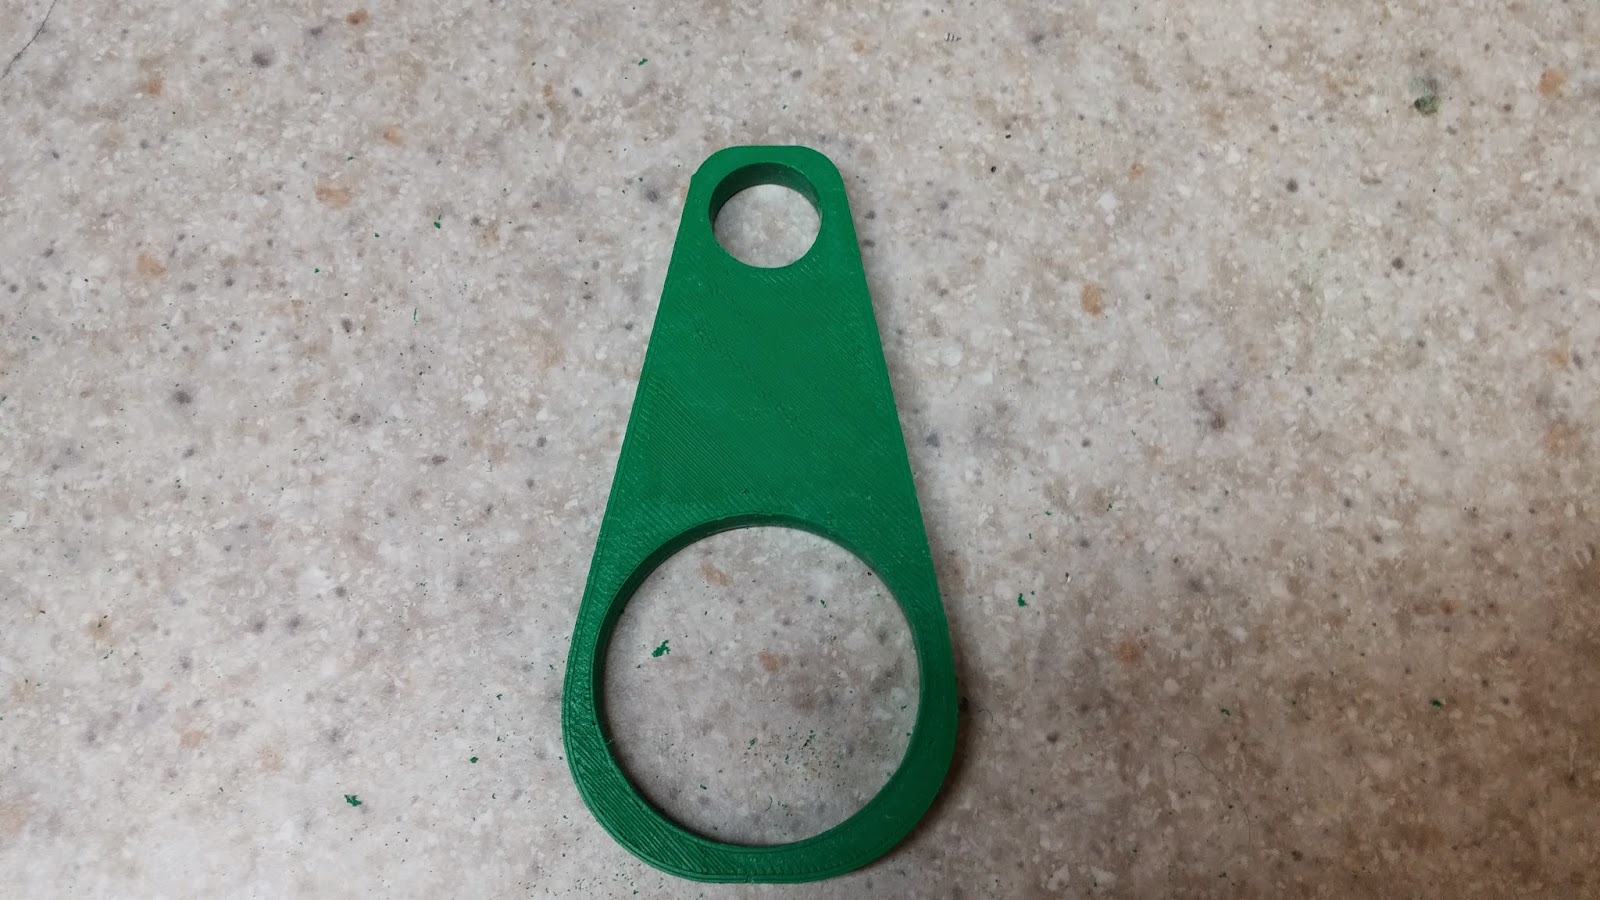
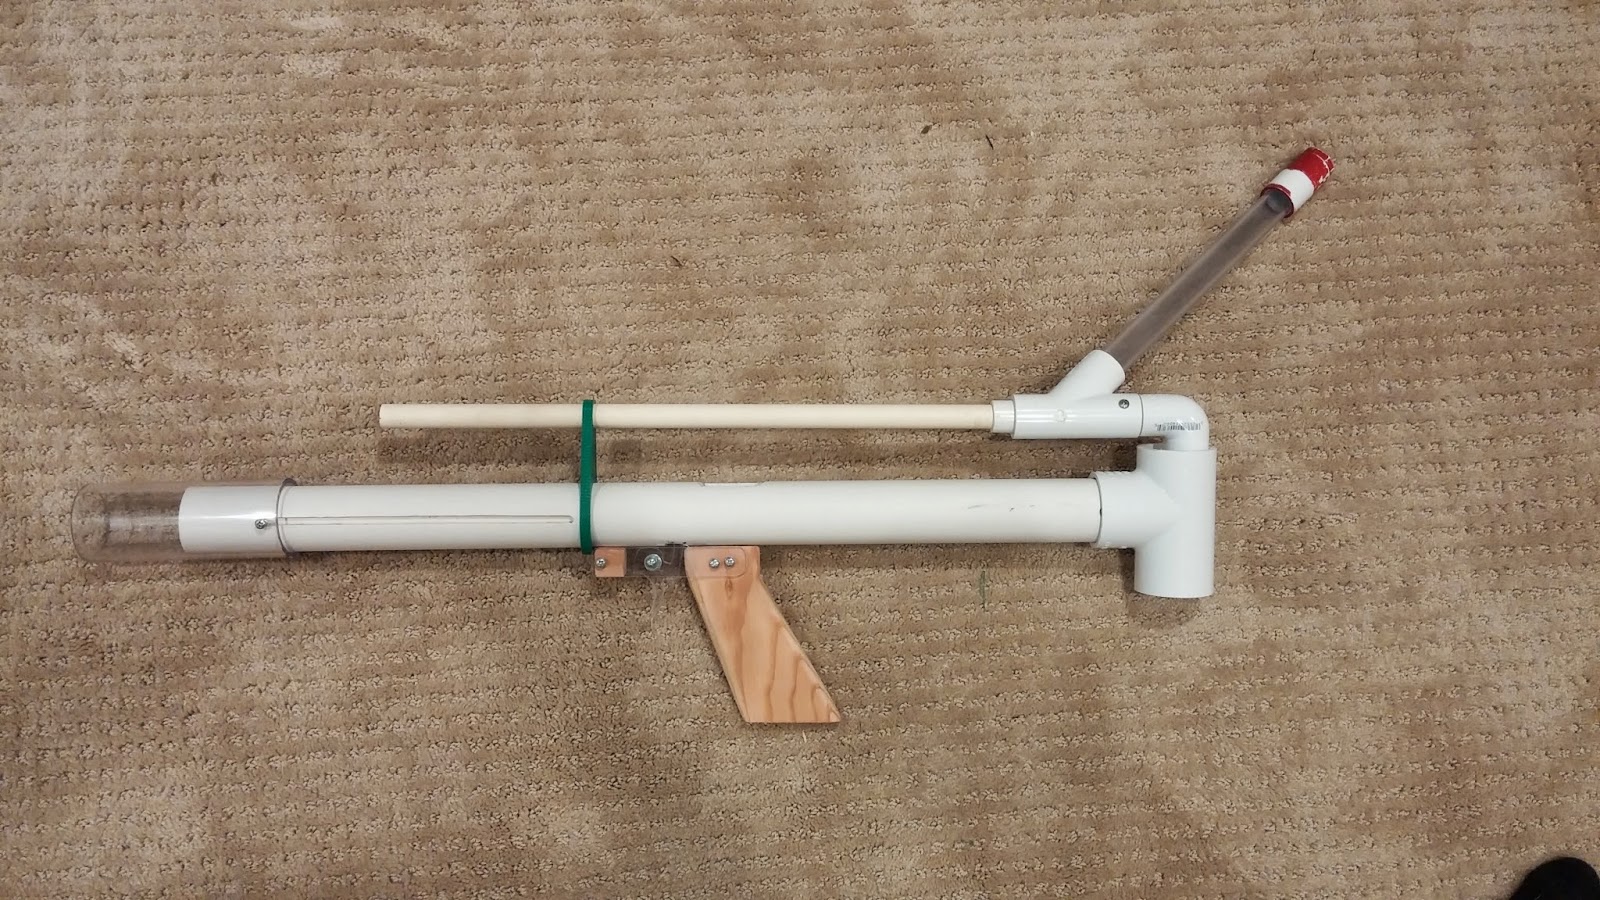
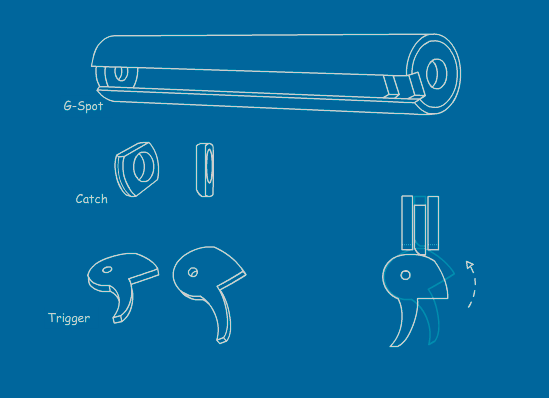
Here is the writeup for the bullpup. This blaster does take time to make, but if you have used a scroll saw and a dremel before, you will be fine. Since this blaster involves using those tools, it will be in the +bow category.
Credit:
- The rainbow clan for inventing the rainbow catch
- Ryan201821 for the Rainbowpump and the handle templates
- Makeitgo for making the Multiple Orgasm
Tools:
- Screw Cutter/Mini Bolt Cutter
- Circle templates (little thin plastic thing with shapes to draw)
- A Dremel/Rotary Tool
- Sanding Drum
- Cutting disc
- A Scroll Saw
- A Drill
- 7/64, 5/32, and 11/64 bits
- A countersink bit
- 1/2" spade bit
- Tapping wrench
- 6-32 tapping bit
- A saw that can cut PVC
- Hobby Knife
- A ruler
- A yardstick/long architectural ruler
- Sand paper with sanding block
- Sanding Sponge
- Sharpie
Before I start the parts list, I highly recommend buying the 1" and 1.25" PVC from your local hardware store to cut down on shipping costs. However, you can find most of the parts you need at http://www.mcmaster.com/ . I will include the part numbers so you can easily find everything. For screws and other hardware, I am overestimating the amounts so you have extras. In order to find the screws and hardware on McMaster, just type in the info for the screw into the search bar.
- 8538K18: 1/2" nylon rod
- 9637k26: [k26] spring
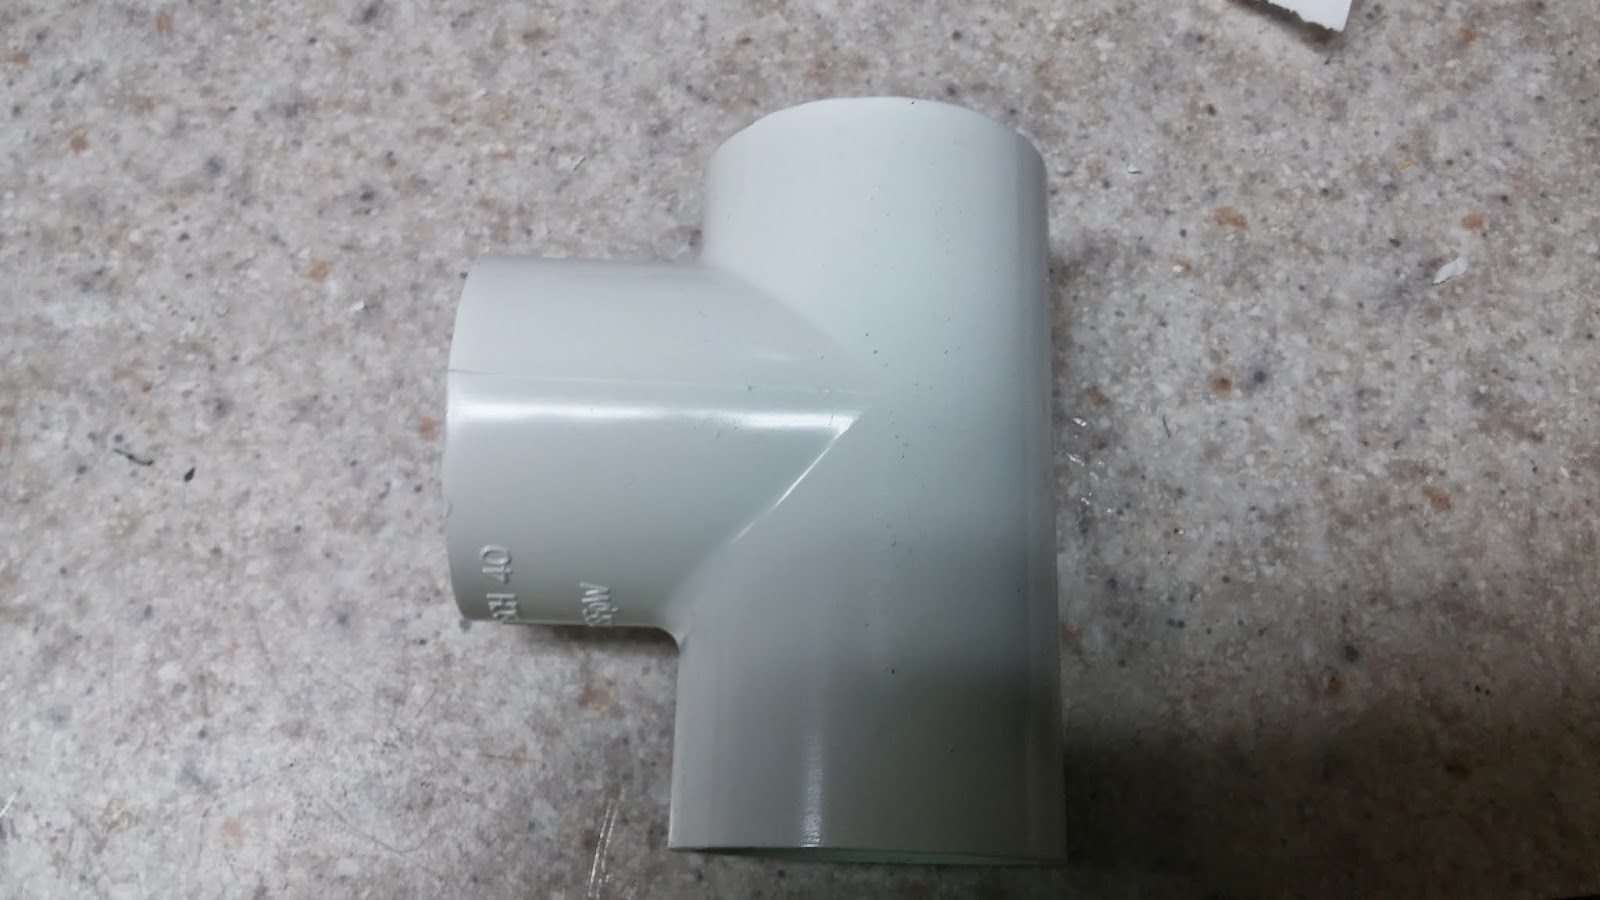
- 4880k44: 1.25” PVC tee
- 4880K21: 1/2" PVC 90º elbow (2x)
- 48925K91: 1/2" PVC Pipe
- 48925K93: 1" PVC Pipe
- 48925K94: 1.25" PVC Pipe
- 4880k314: 1” to ½” PVC reducing bushing
- 9245k51: PETG tube 2” OD 1.75” ID buy 1'. OR buy 1.5" thinwall PVC.
- 2044T43: 1/2" ID PETG tube. This is the kind used for barrels.
- 8574k281: ¼” polycarbonate sheet 6”x6”
- 9691K56: U-Cup seal 7/8" ID 1-3/8" OD
- 91735A146: 6-32 3/8" panhead machine screws--You need about 20 if you don't buy 50
- 91735A151: 6-32 3/4" panhead machine screws--You need about 8
- 90126A007: #6 Zinc-plated washers
You will also need to purchase from a hardware store:
(Buy more than two of each screw)
- 6-32 1 1/4” machine screw (3x)
- 6-32 3/4" flathead machine screw (2x) OR thin 3/4" wood screws
- 6-32 locknut (1X)
- Silicone/White Lithium Grease
- Plumber's Goop
- 3/4" thick wood. It doesn't matter what kind, but make sure it isn't too soft. Poplar is great for this.
Not from hardware store of McMaster:
- Maverick/Nitefinder catch spring or any catch spring with a diameter similar to those. You can probably find a small spring similar to these in a hardware store though.
You're going to want to start off by cutting out a 24" length of 1.25" PVC. Use a hacksaw, dremel, or scroll saw to cut it nice and square.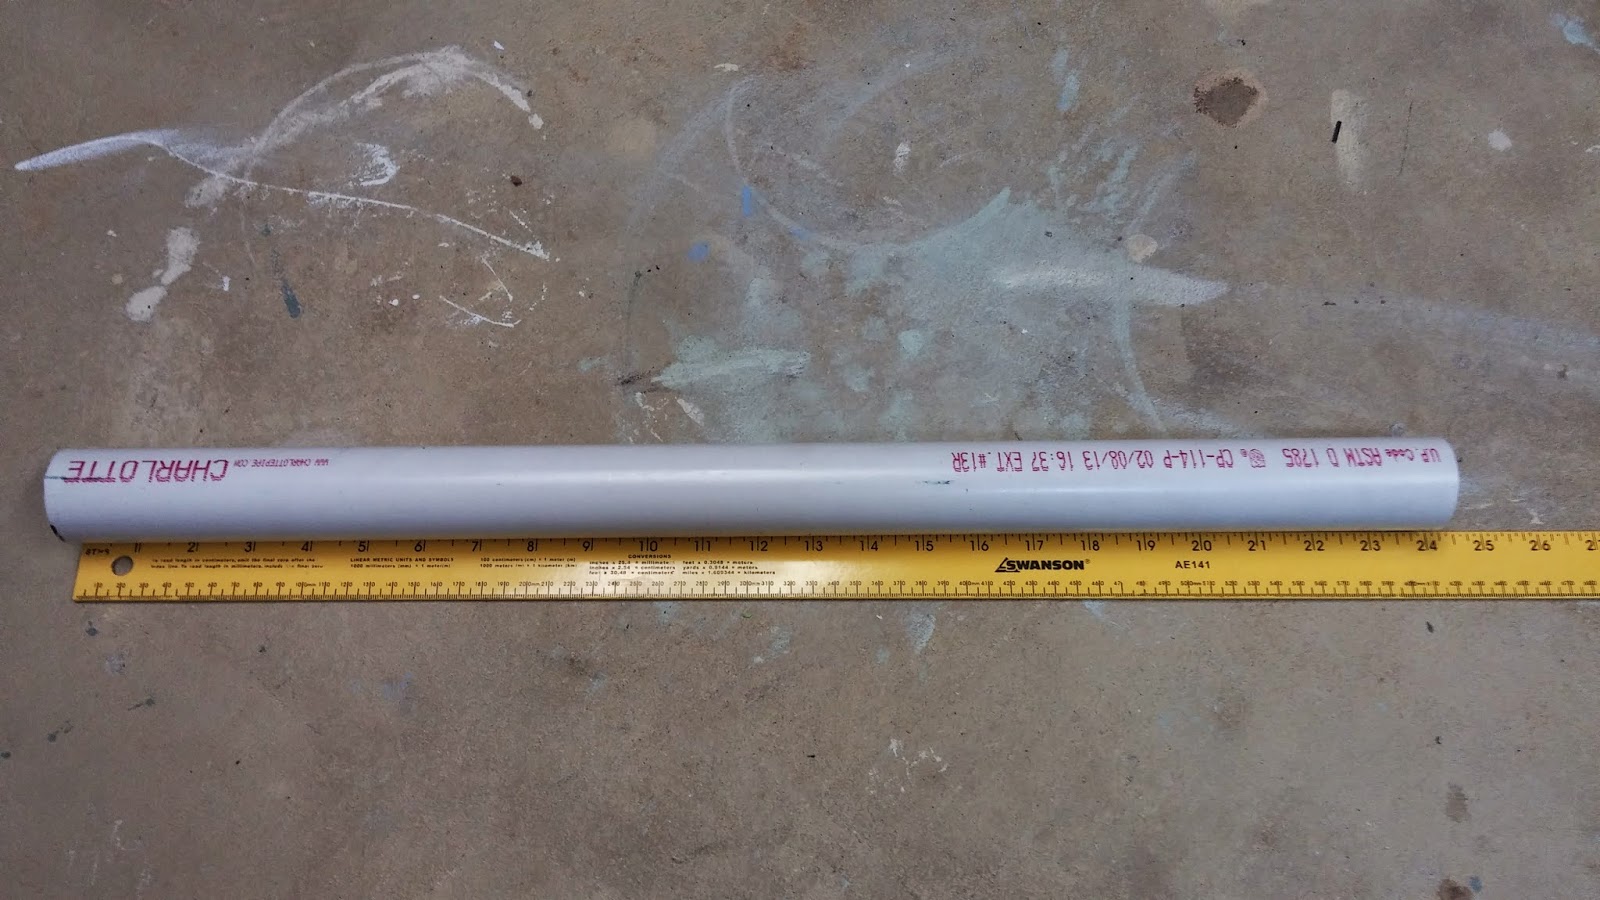
Next, make a simple quartering jig. This one is the most simple one out there. Cut out a 2" by 2" cardboard square.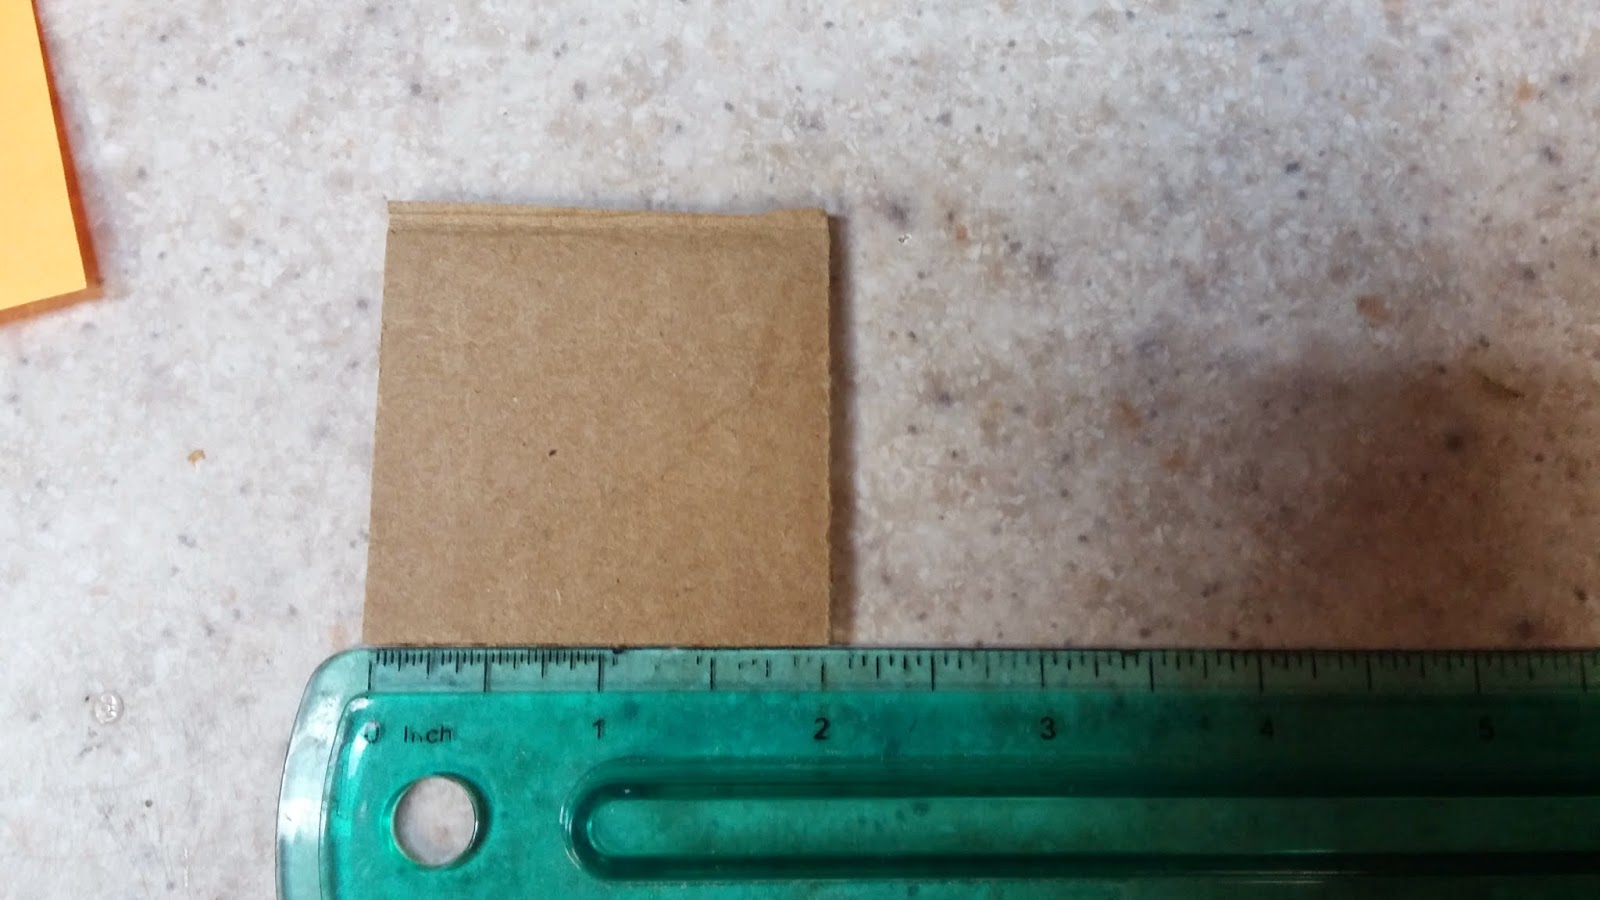
Try to place your PVC in the center and trace around it with your sharpie.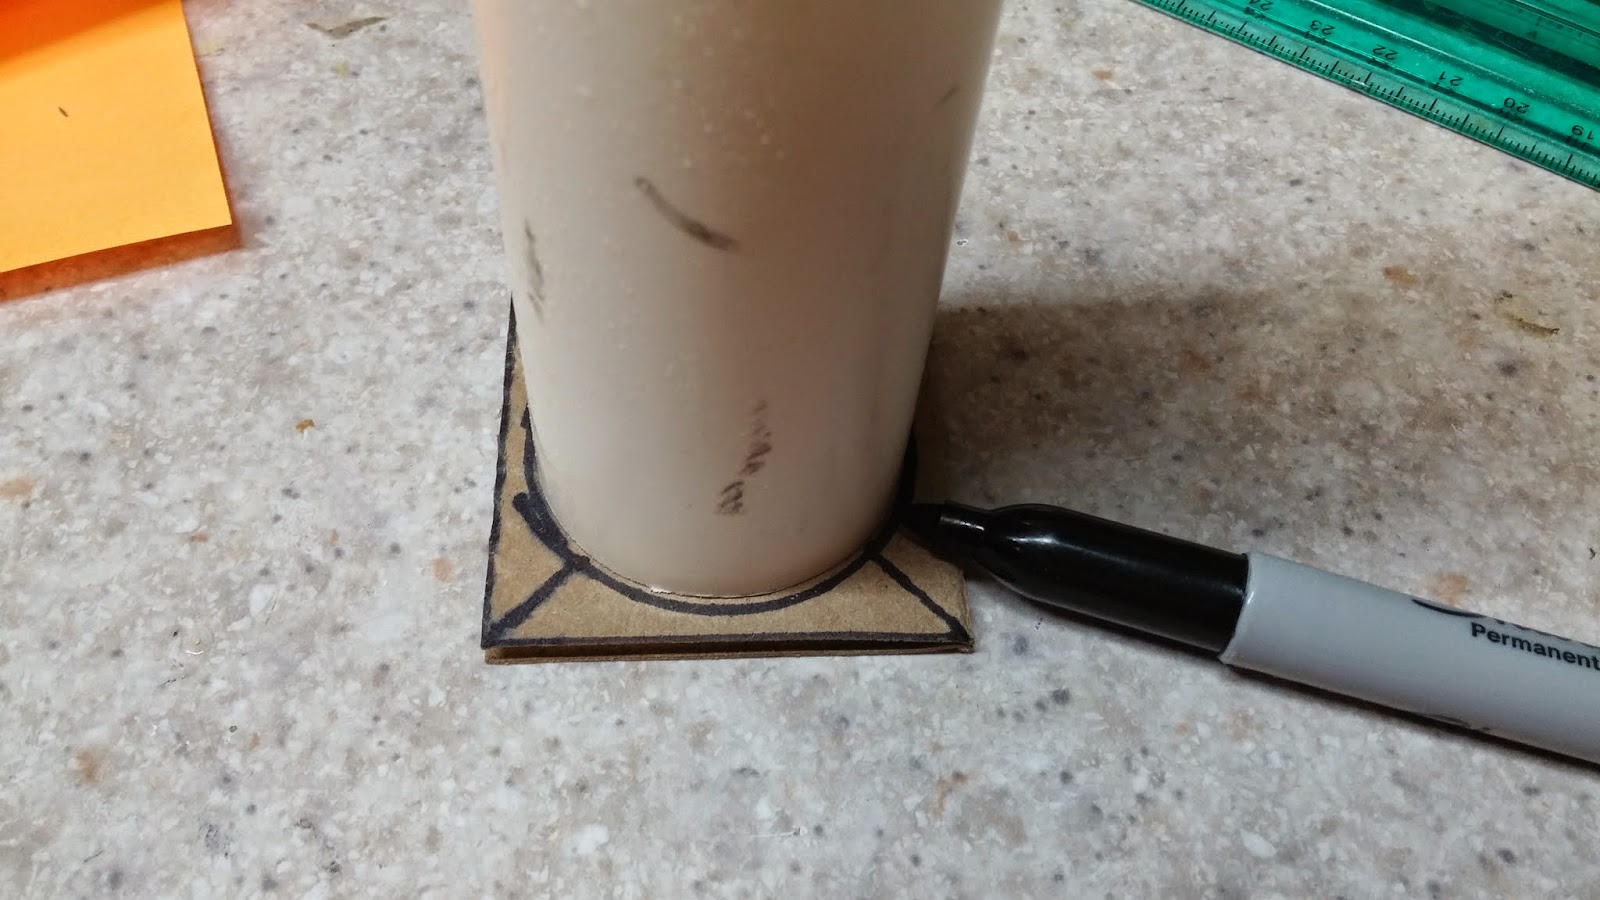
Line up the corners of the cardboard with the ruler and draw lines like this. Use the lines to make marks on your PVC.
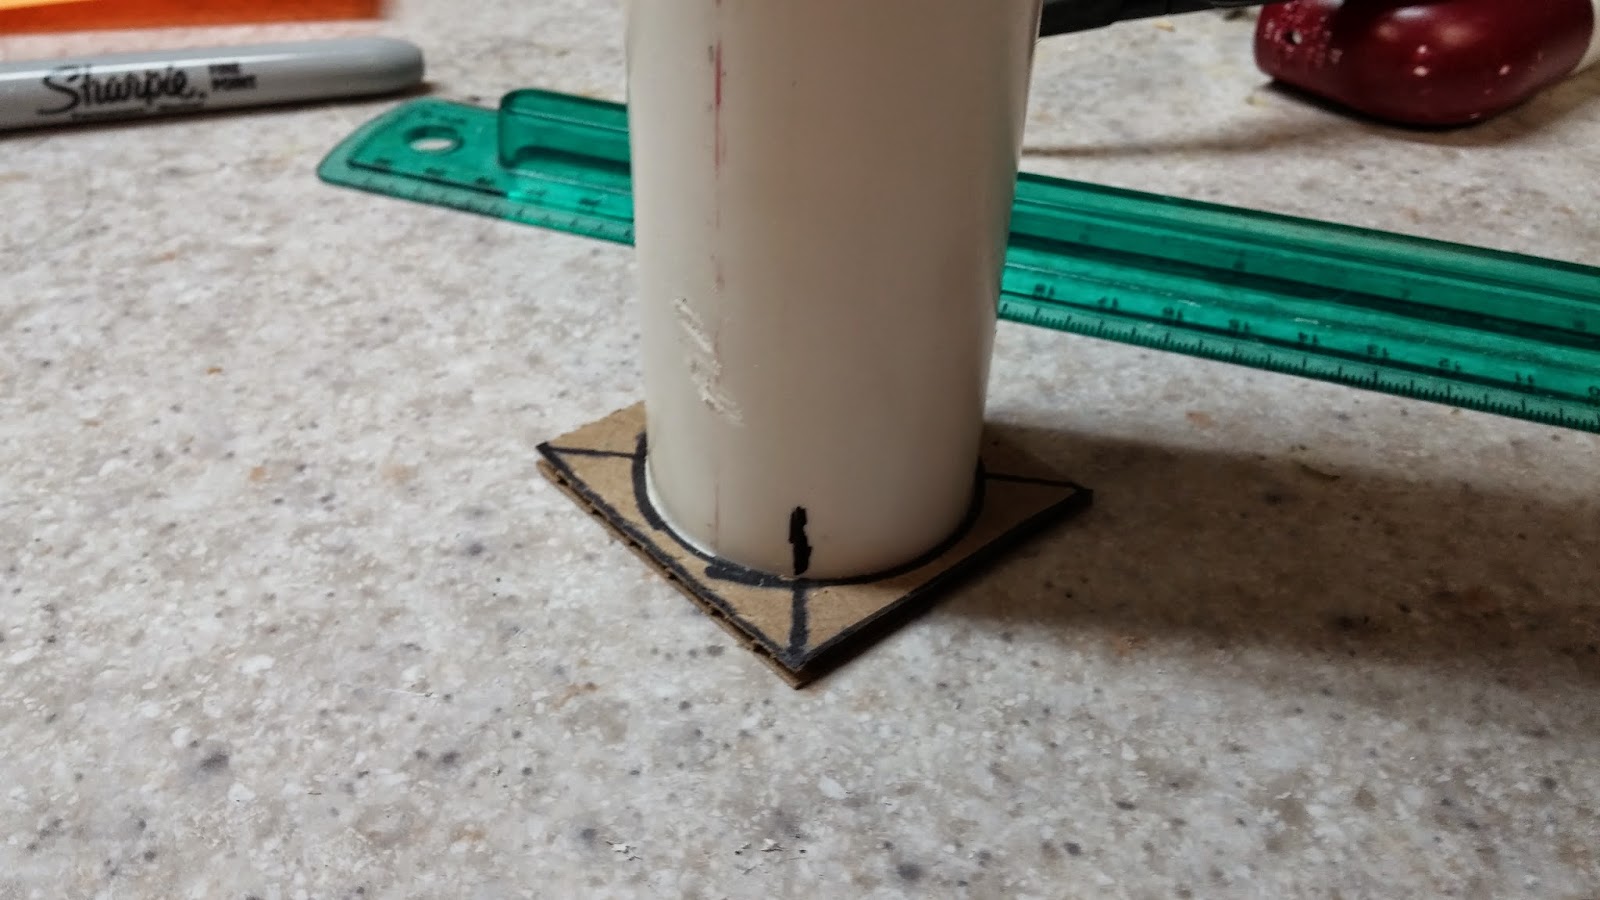
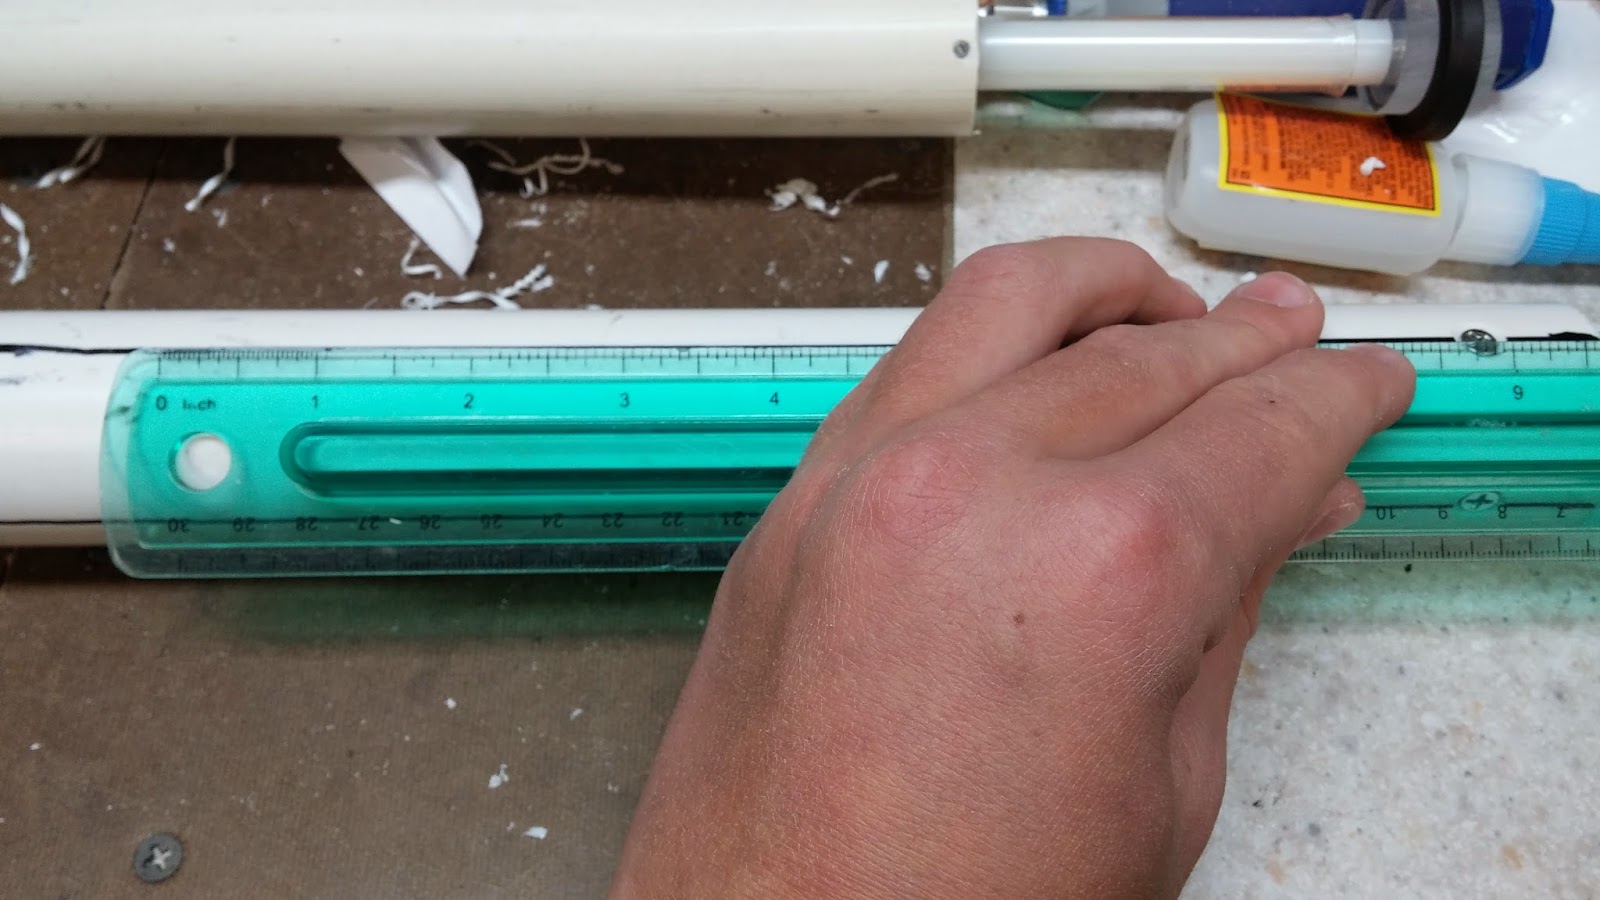
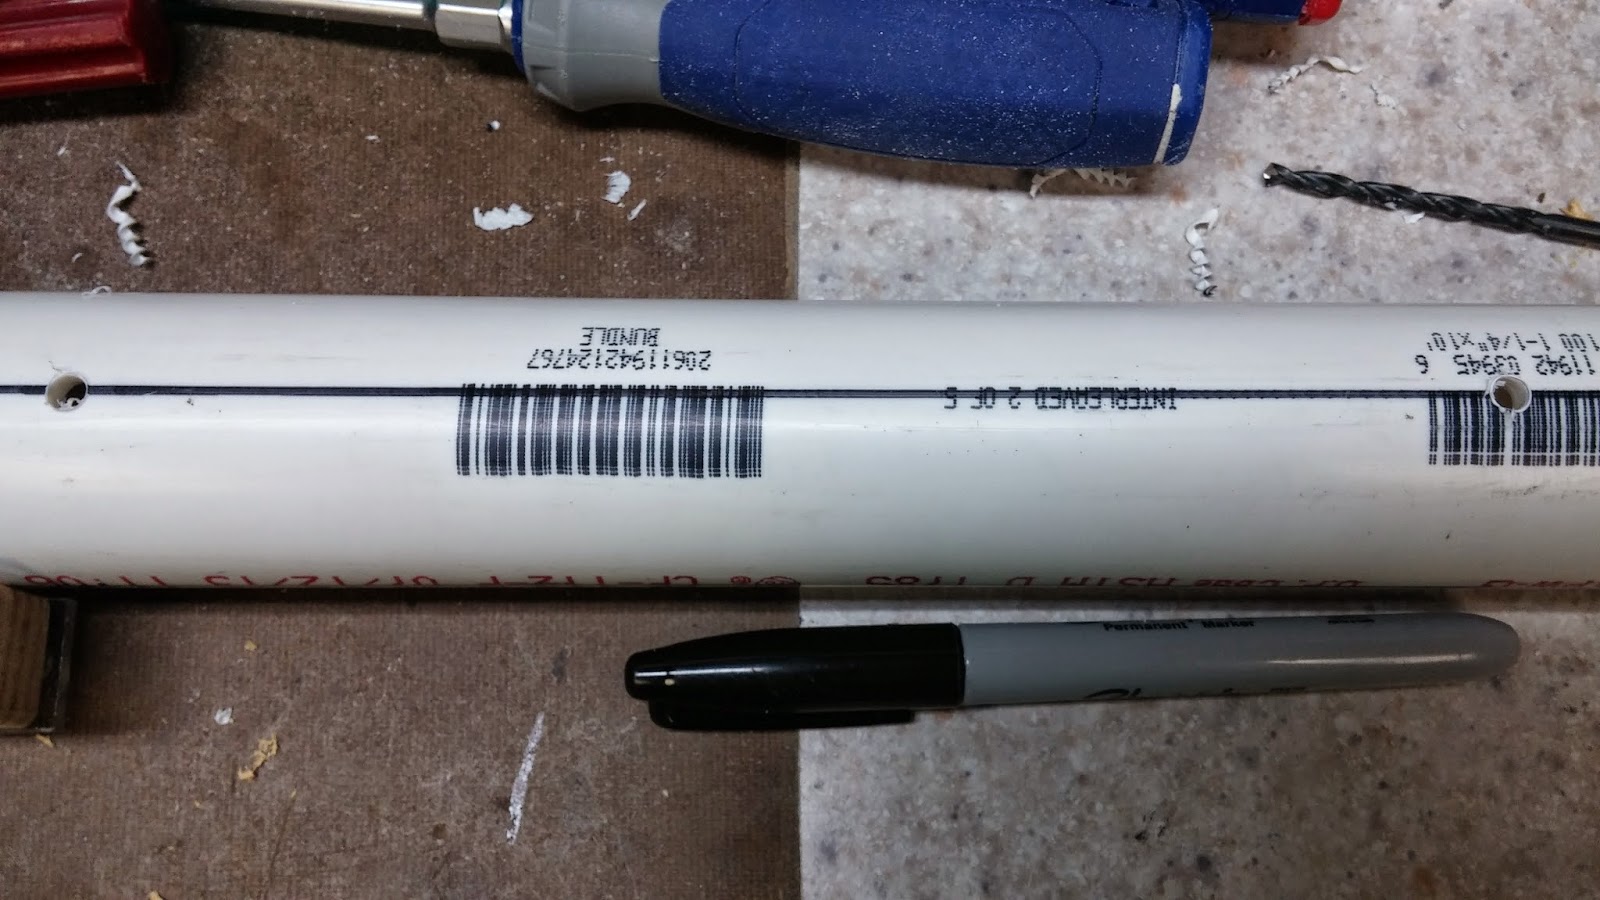
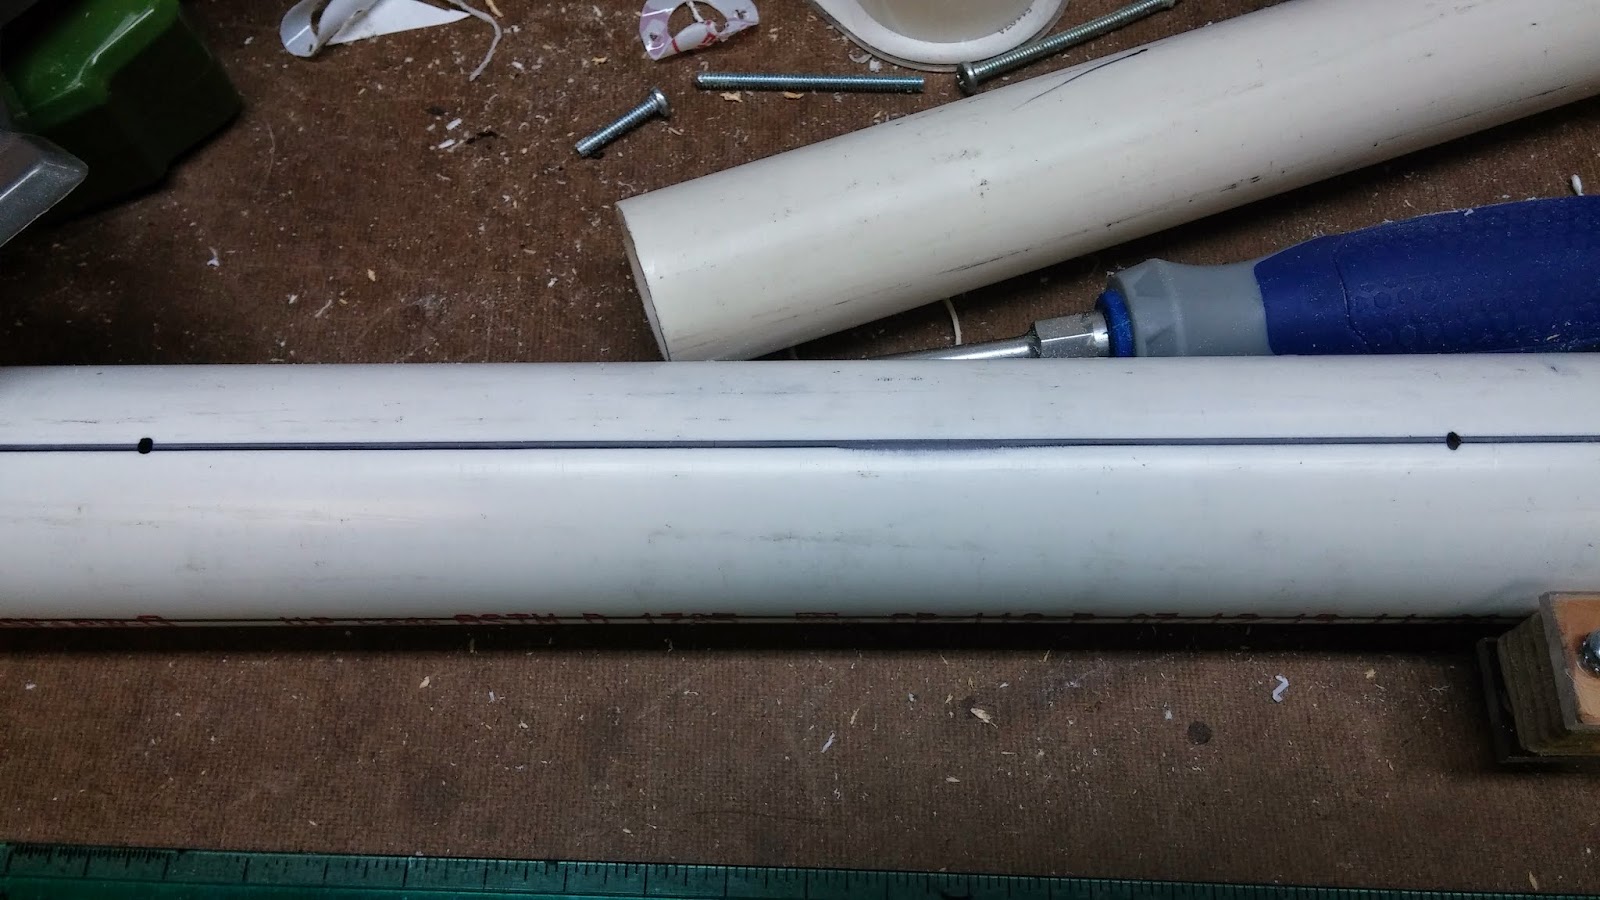
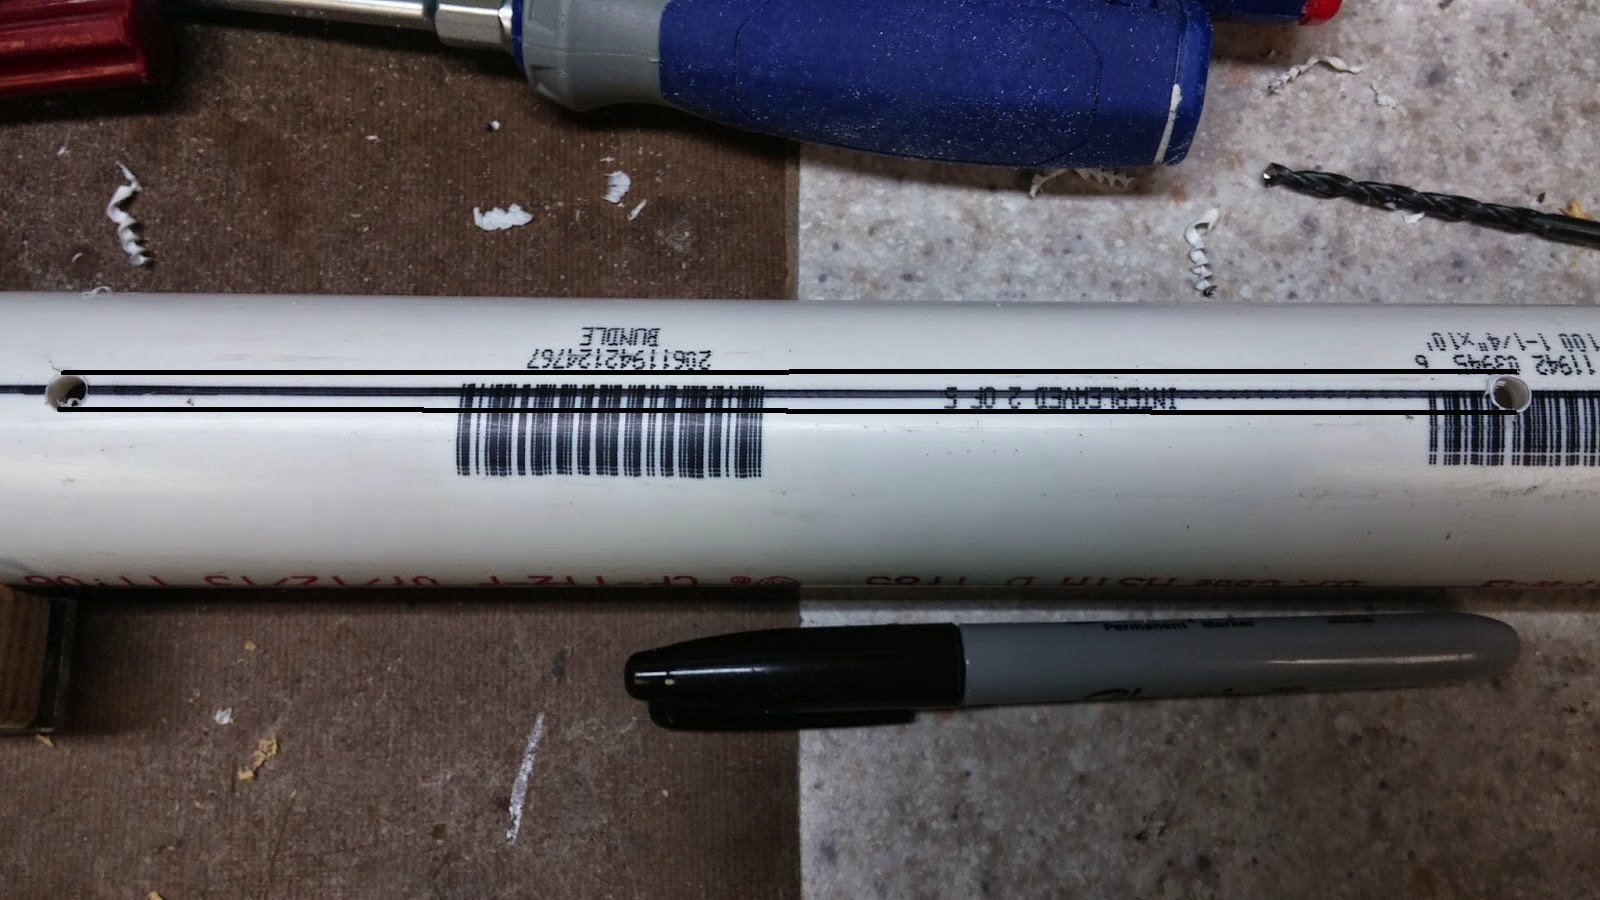
Use your ruler to draw four straight lines starting from the marks on the PVC to the other end.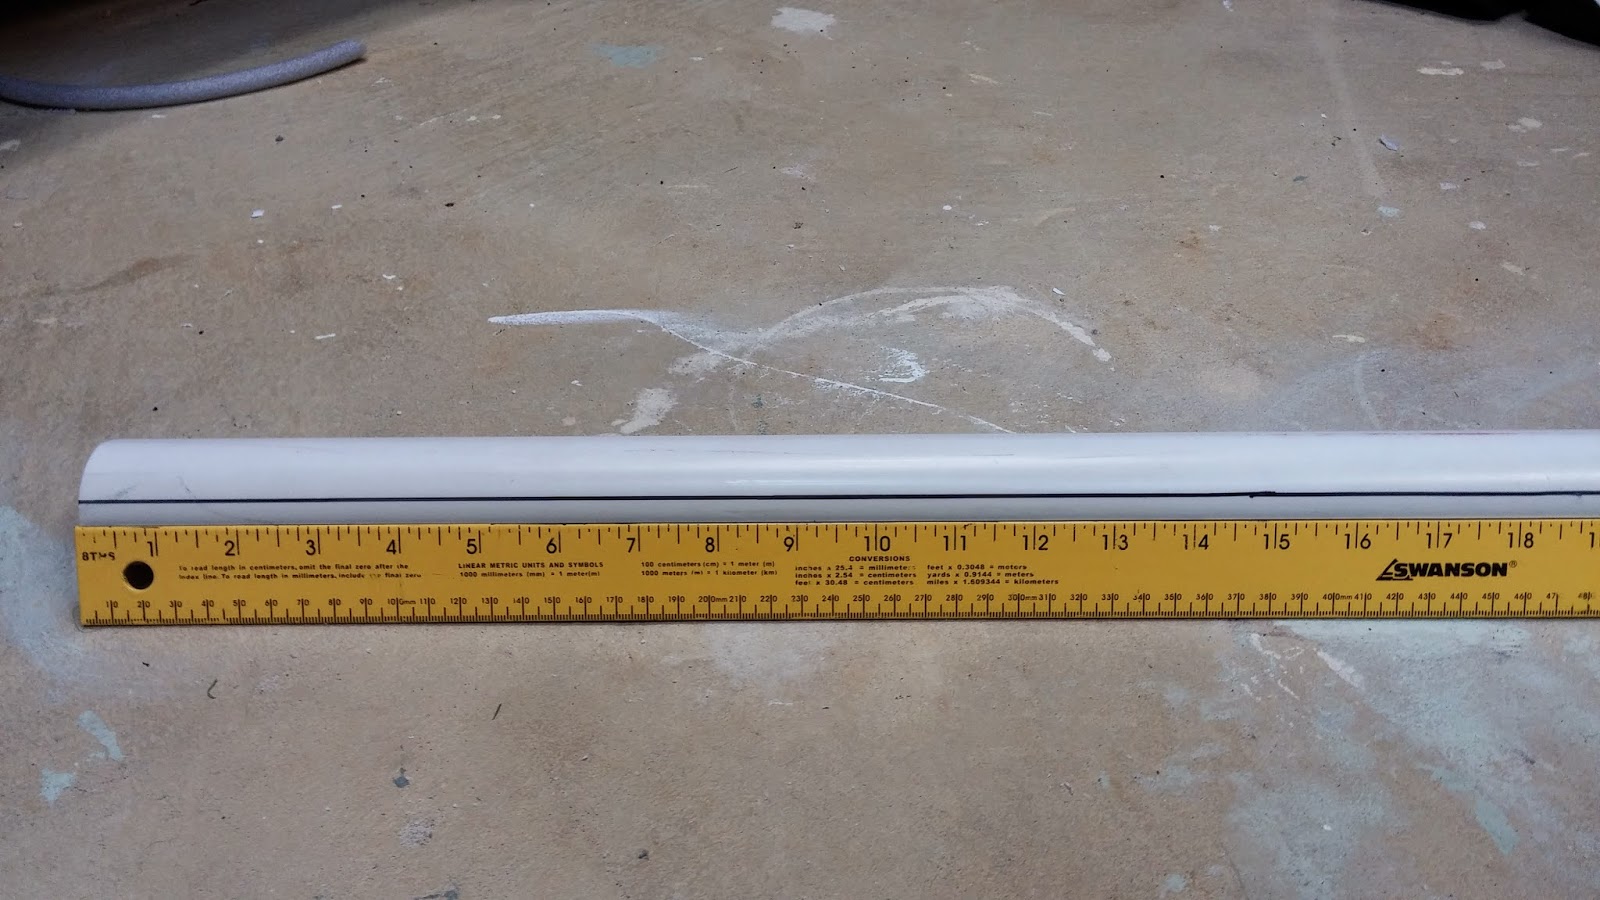
Now onto the bushing. You will notice that there is a part of the bushing that isn't the part that couples to the 1/2" PVC. Make a sharpie mark on this part of the bushing. Line up the bushing with the PVC like you are putting it in the pipe. Use the sharpie mark to make marks on each of the four lines of where you will be drilling the holes.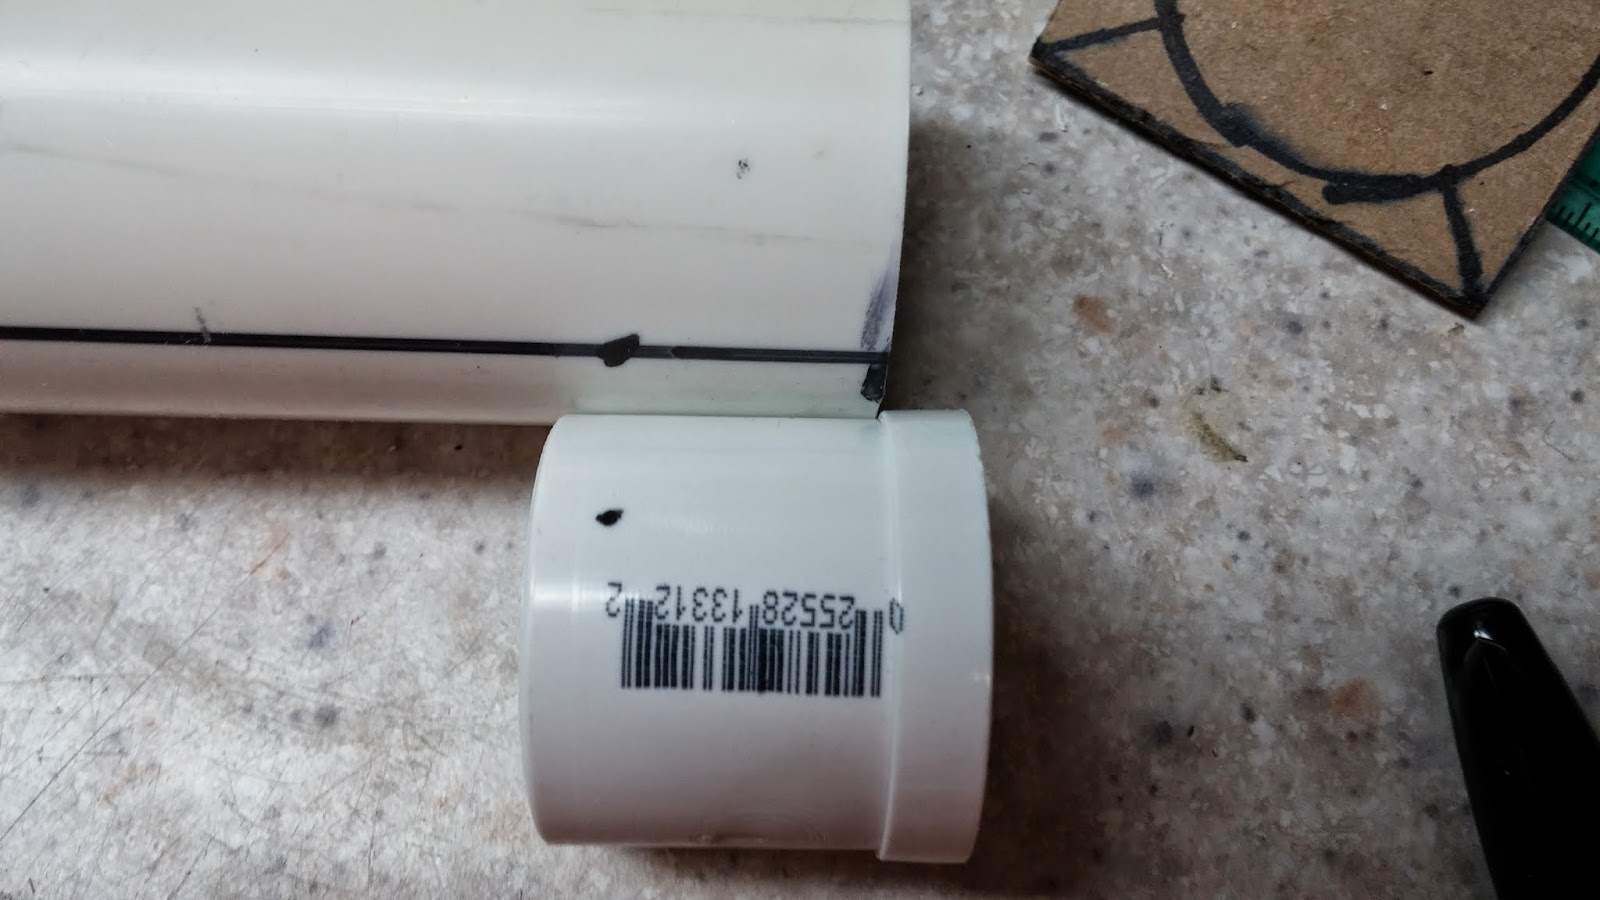
Wrap packing tape around the bushing until it fits snugly into the PVC. You want an air-tight seal, but you also want to make sure you can still fit the bushing in. Once you have used the desired amount of tape, cut of the excess.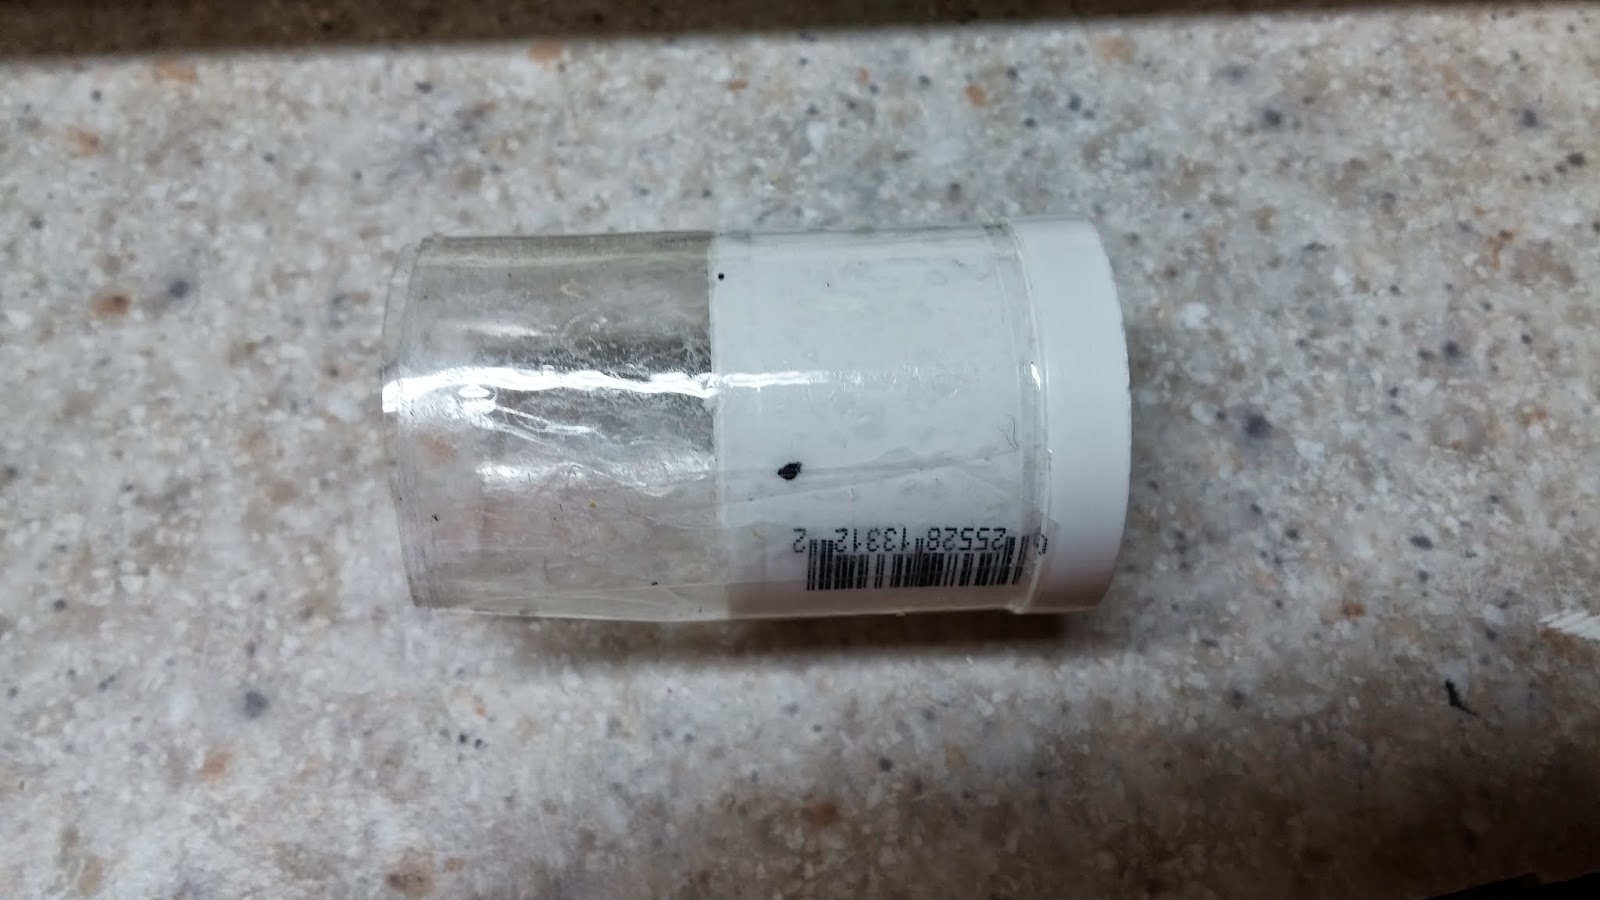
Put goop around the bushing like so and put it in the PVC.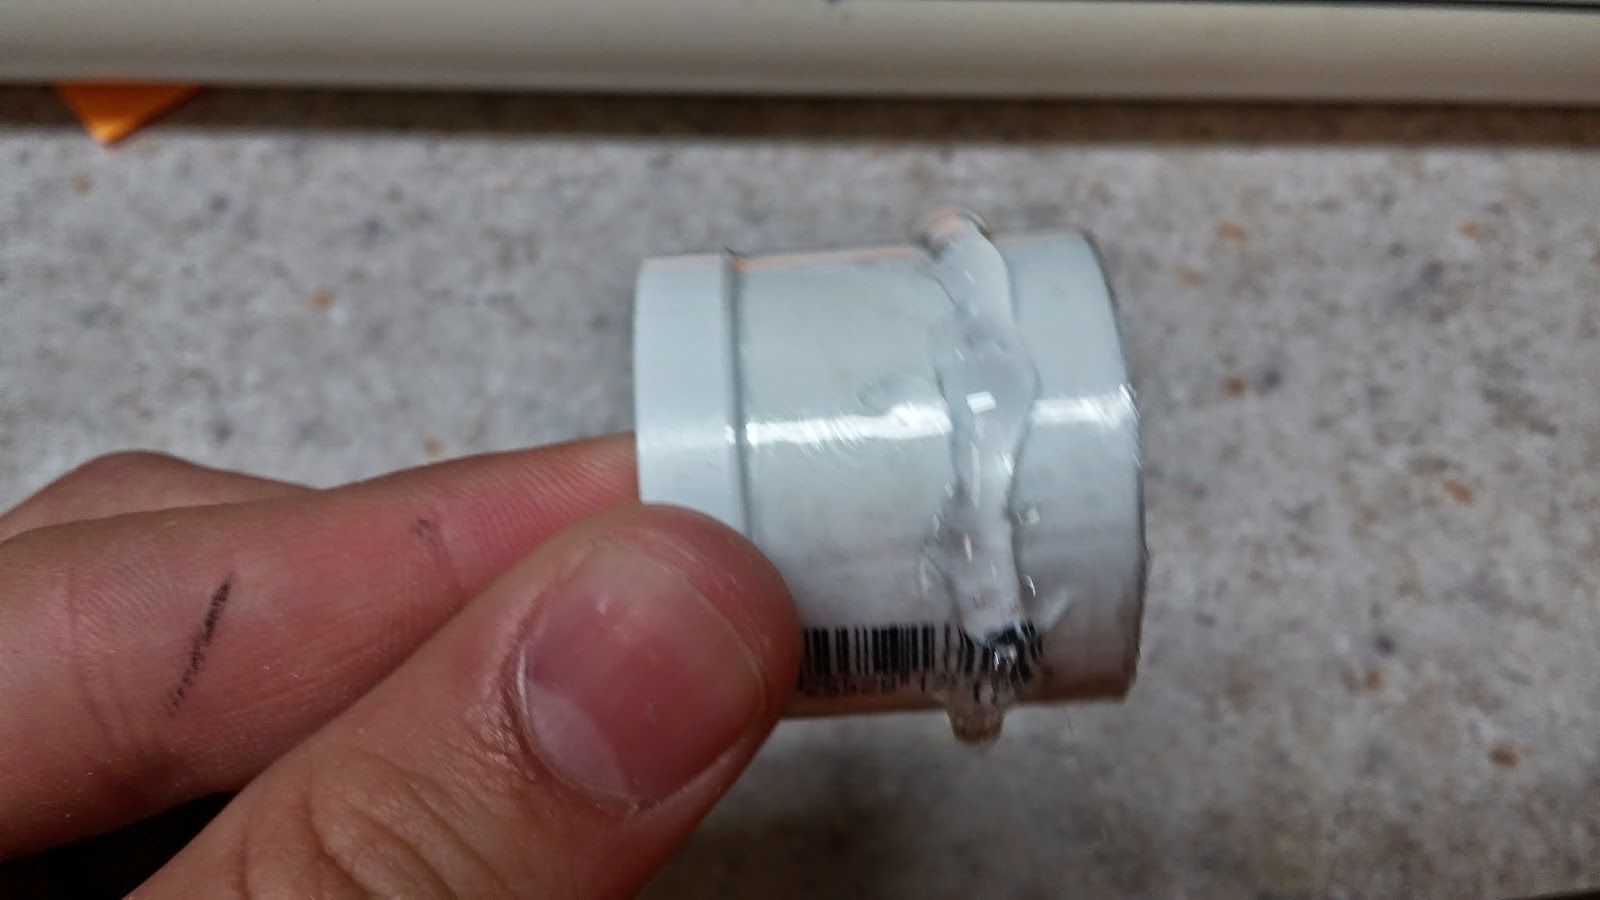
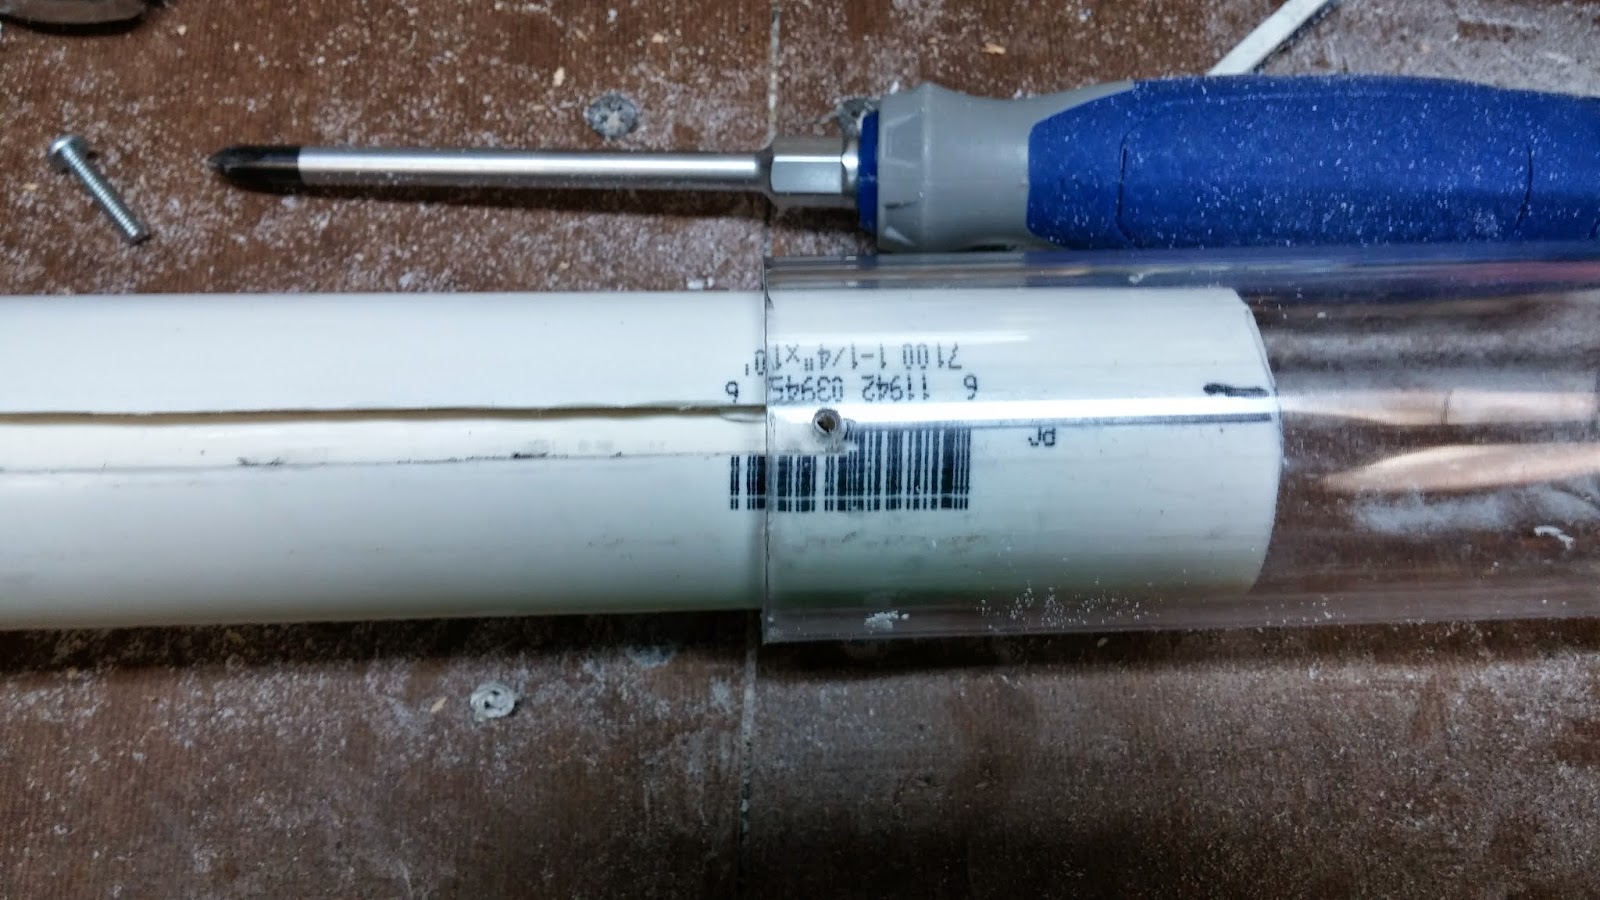
Drill the holes where you made the marks and tap into the PVC with your 6-32 tapping bit. Use your countersinking bit on the holes and then screw the 6-32 3/8" panhead screws into the holes. If you did the tapping right, you shouldn't need to use more goop here.
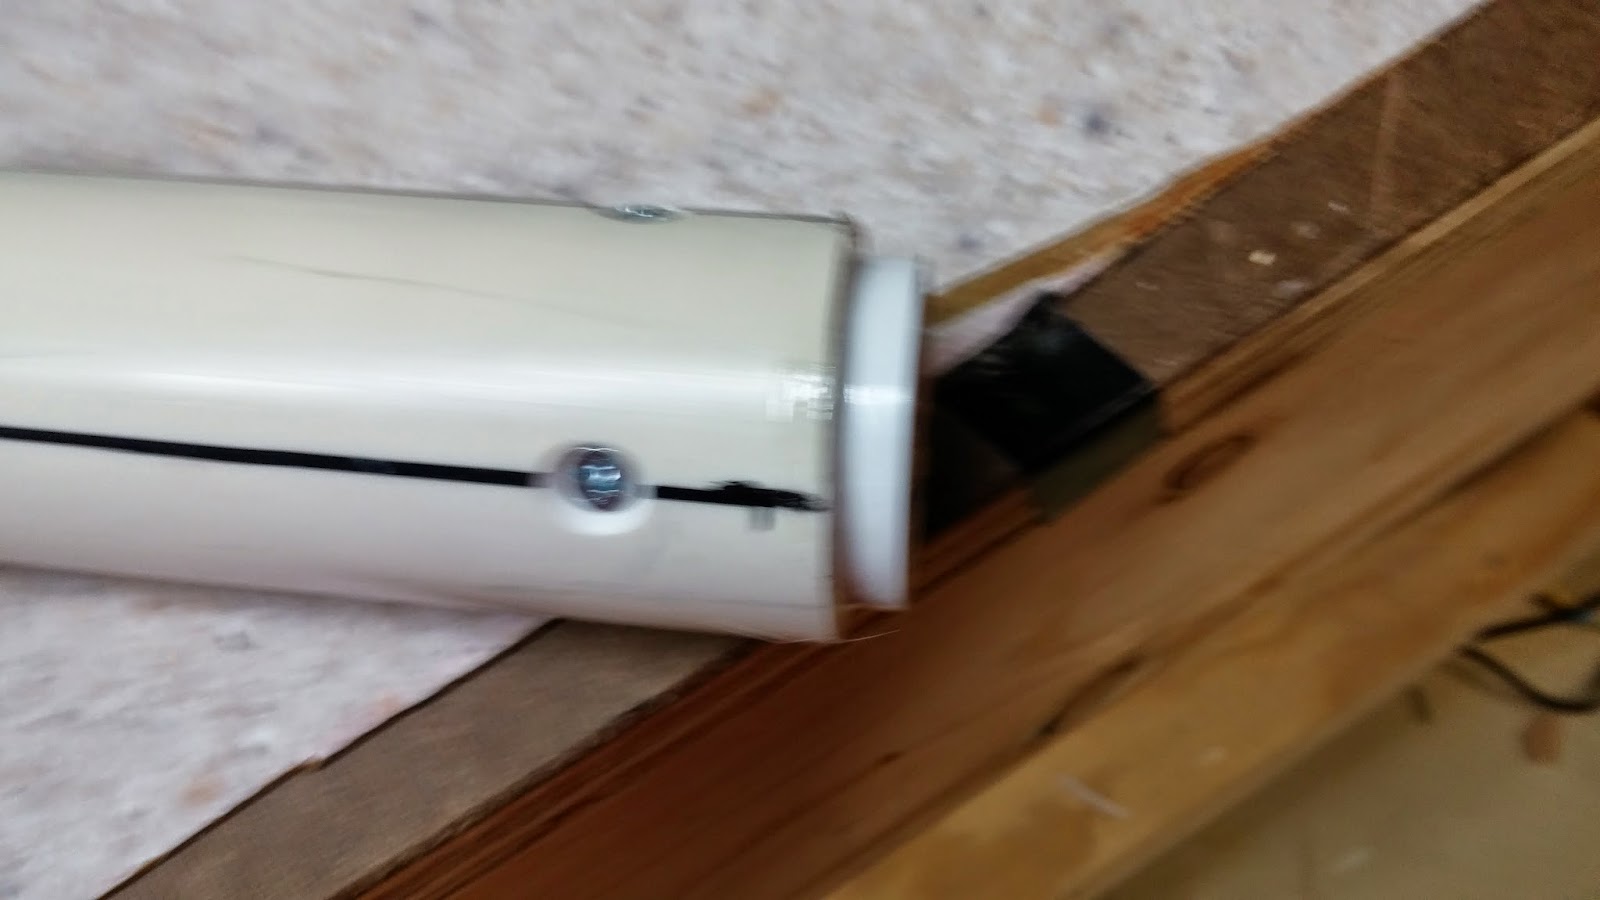
Set the pipe with the bushing away to dry. Meanwhile, you will be making the handle. Print out the templates made by Ryan201821. These templates can be found on his Rainbowpump writeup here. There are, however, many modifications to be made to these templates. I just used a pencil to do this.
First, extend the handle length by 2cm or 3/4" if you have a ruler without cm. Shorten the top of the handle by drawing a line 3/4" up from the small horizontal section. The picture explains it much better than I can. On the trigger guard (rectangle piece), draw a line to split it in half (2cm). On the trigger sideplates (big rectangle), draw a line 2cm in.
Cut out the pieces and attach the handle and trigger guard to the 3/4" thick wood. Attach the handle sideplates to your polycarbonate.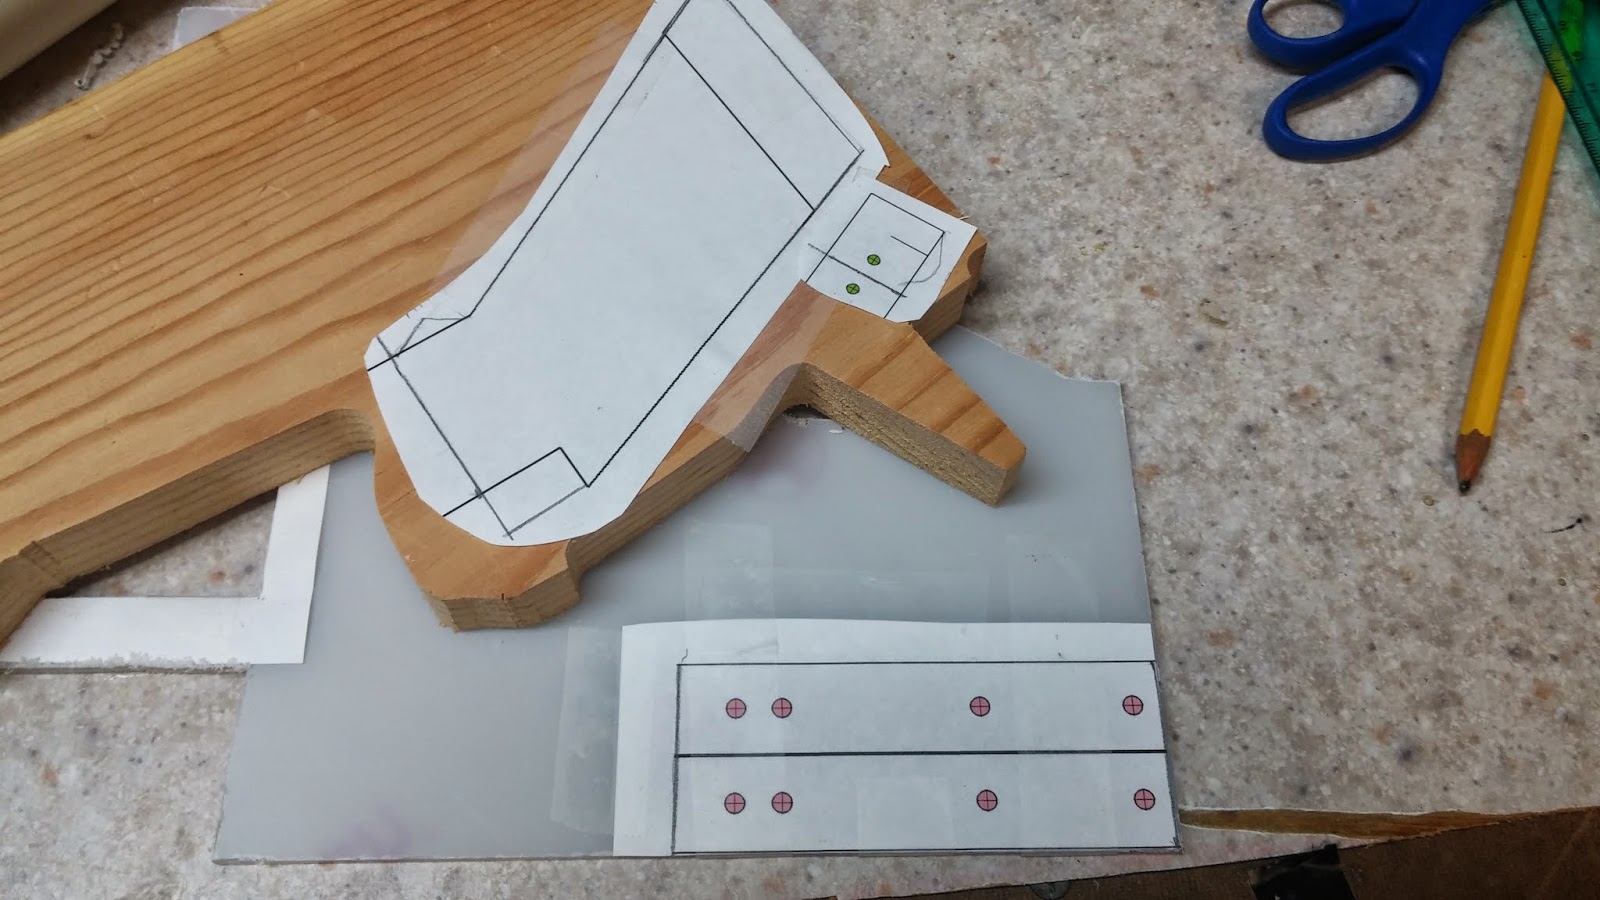
Cut out these pieces on your scroll saw. Once you are done, it should look like this:
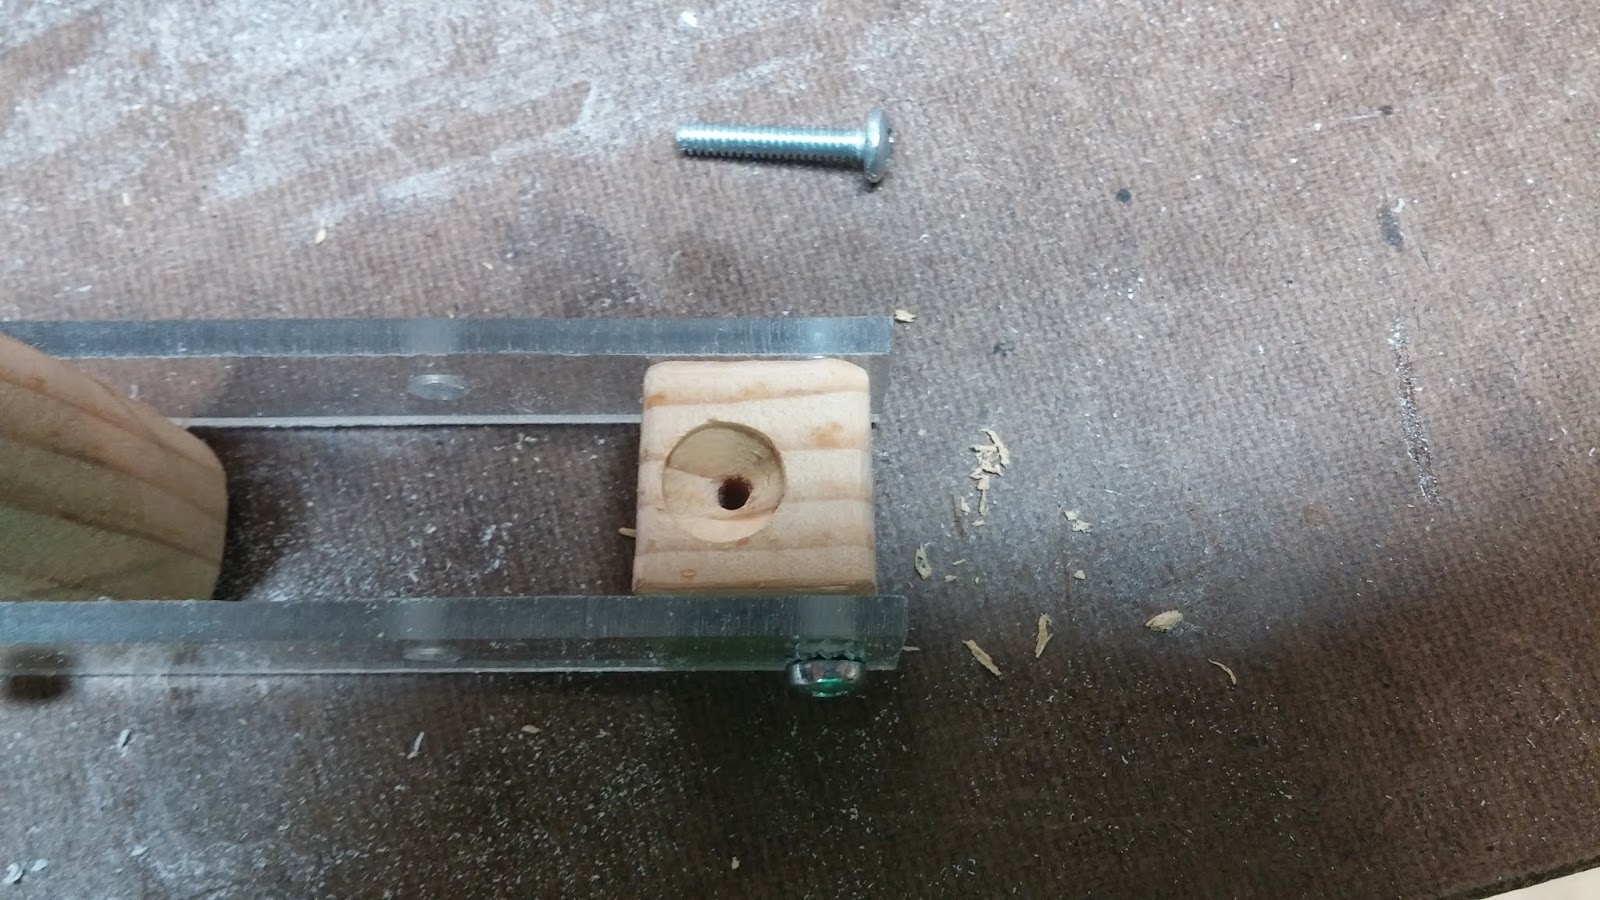
Drill the holes using the key from the template (5/32 for the polycarbonate, 7/64 for the trigger guard). After that, take the paper off.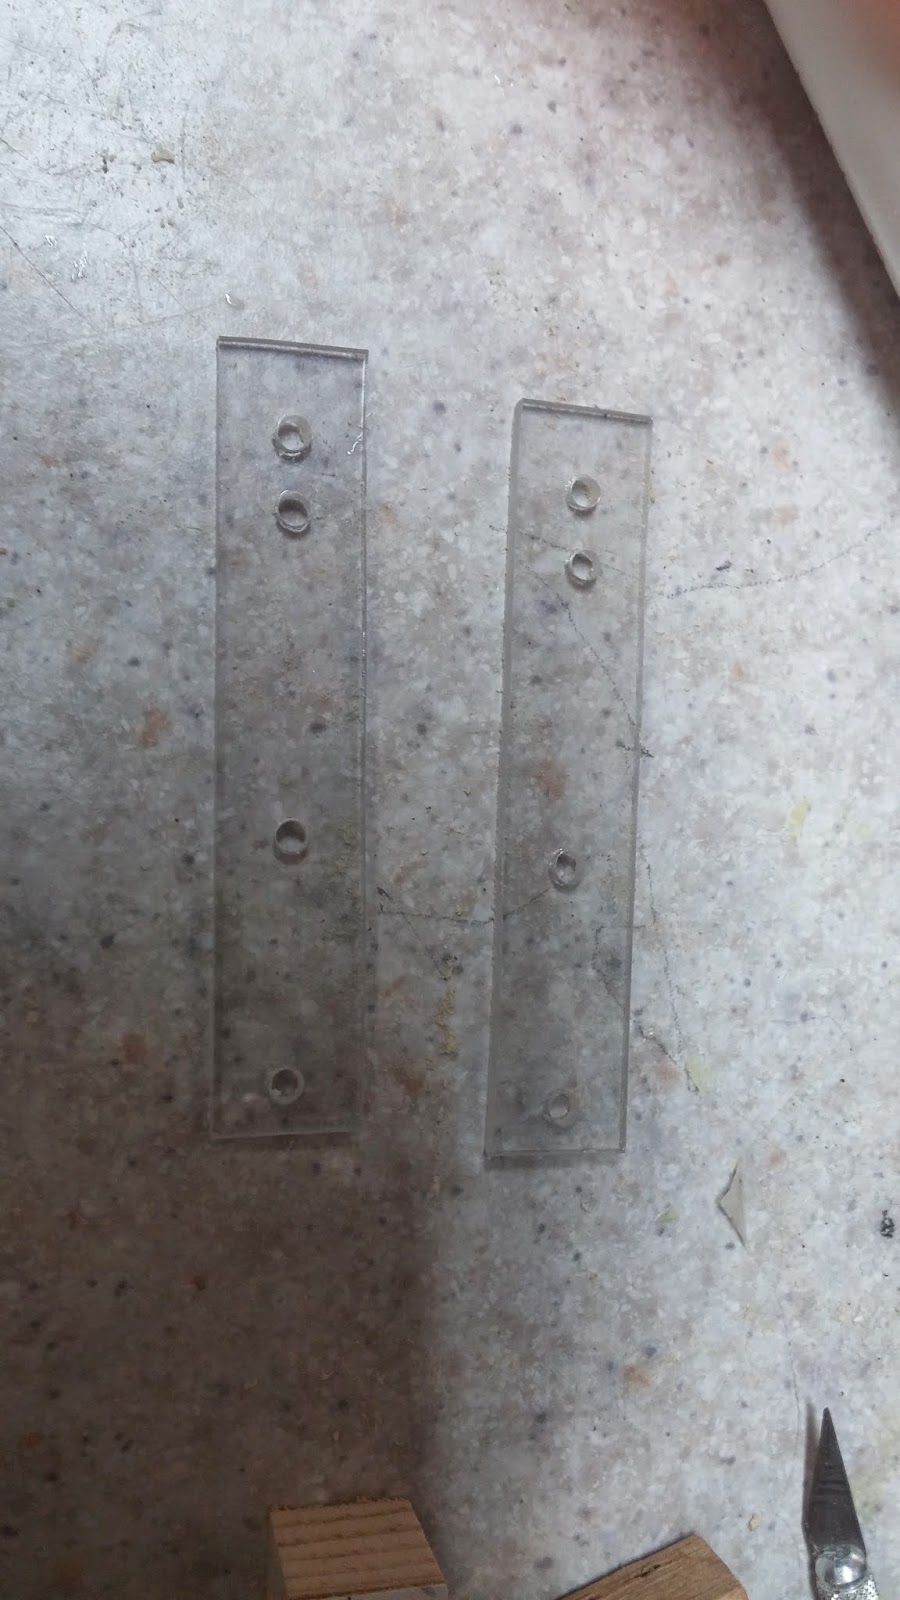
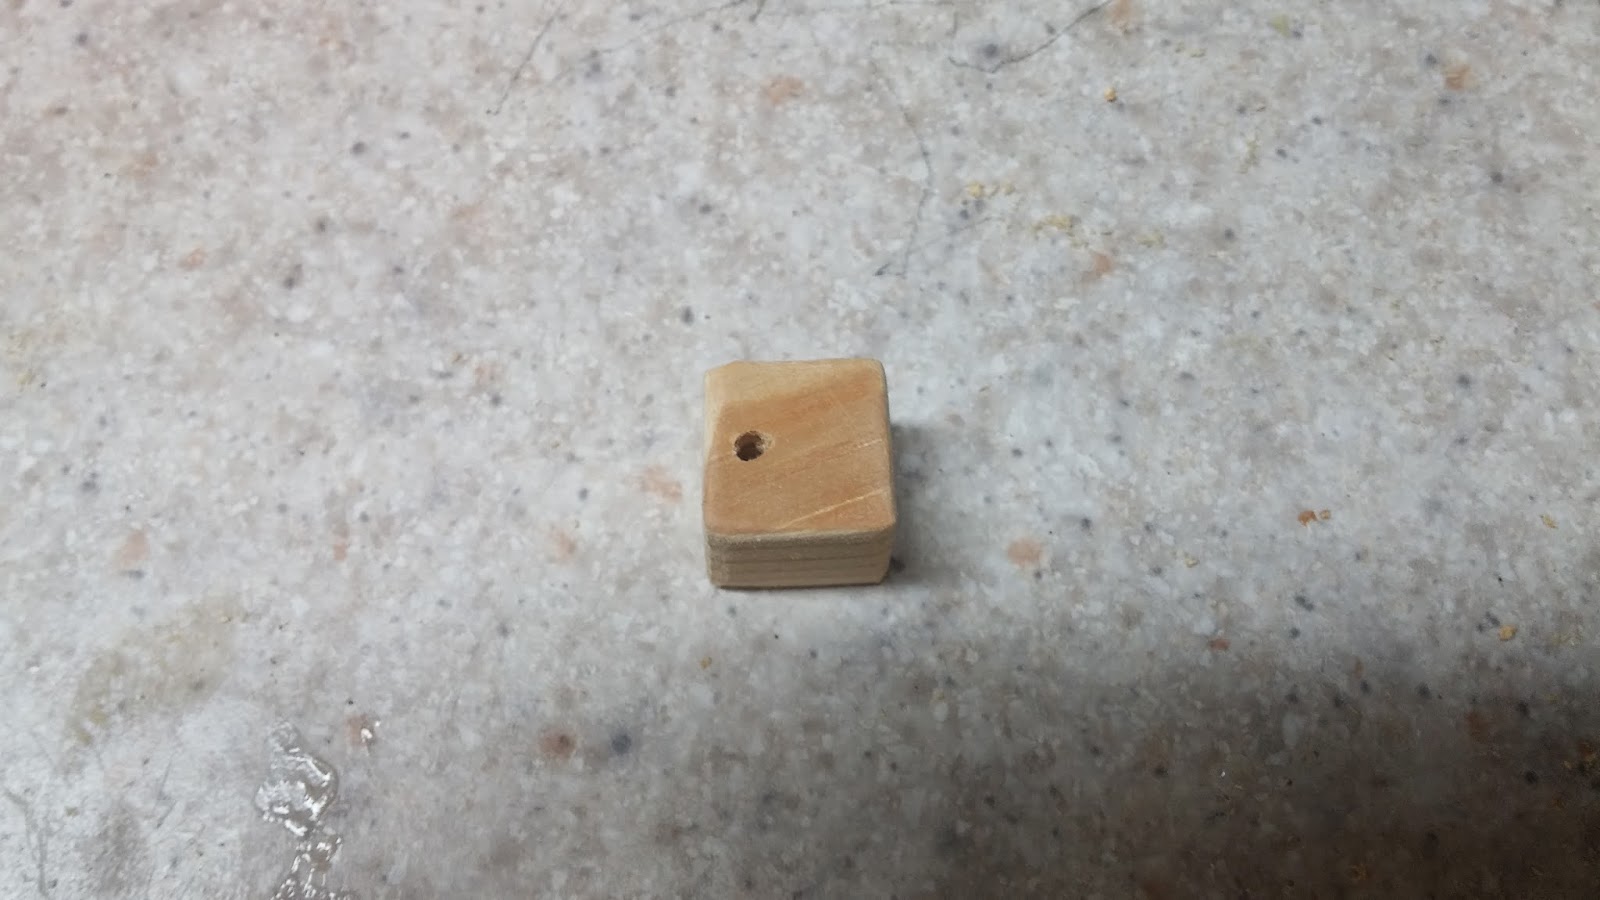
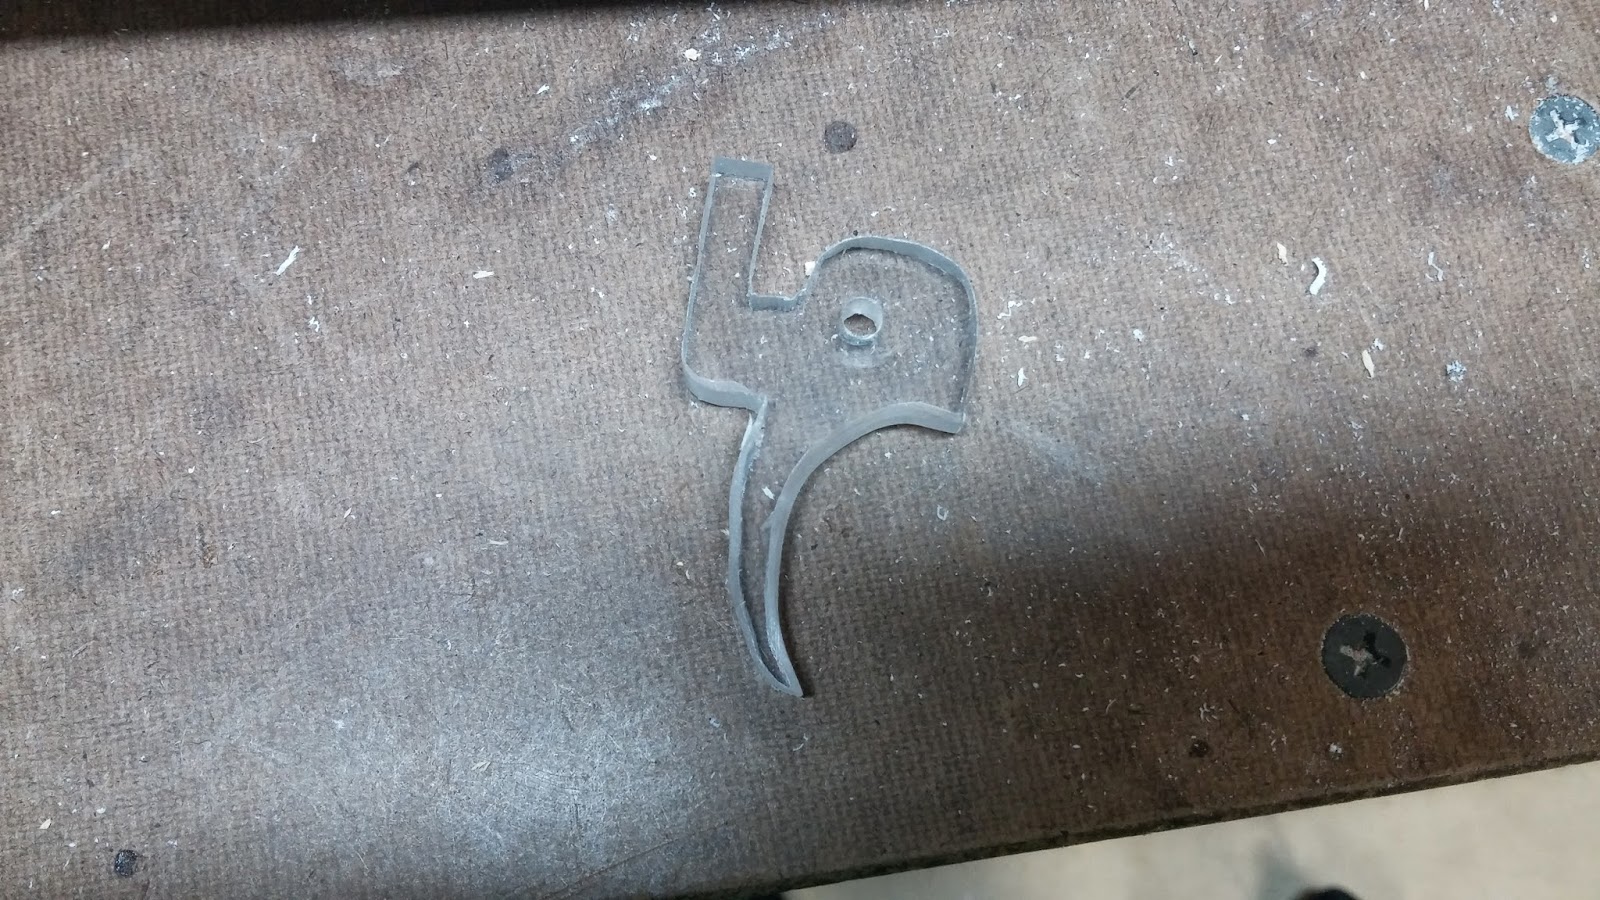
The final part of the templates is the trigger. I attached the trigger template to the polycarbonate and then modified it to look like this. You can make the trigger in any way you want except you have to have the 1.5cm rectangle part at the top. This can be seen in the picture and it is very important.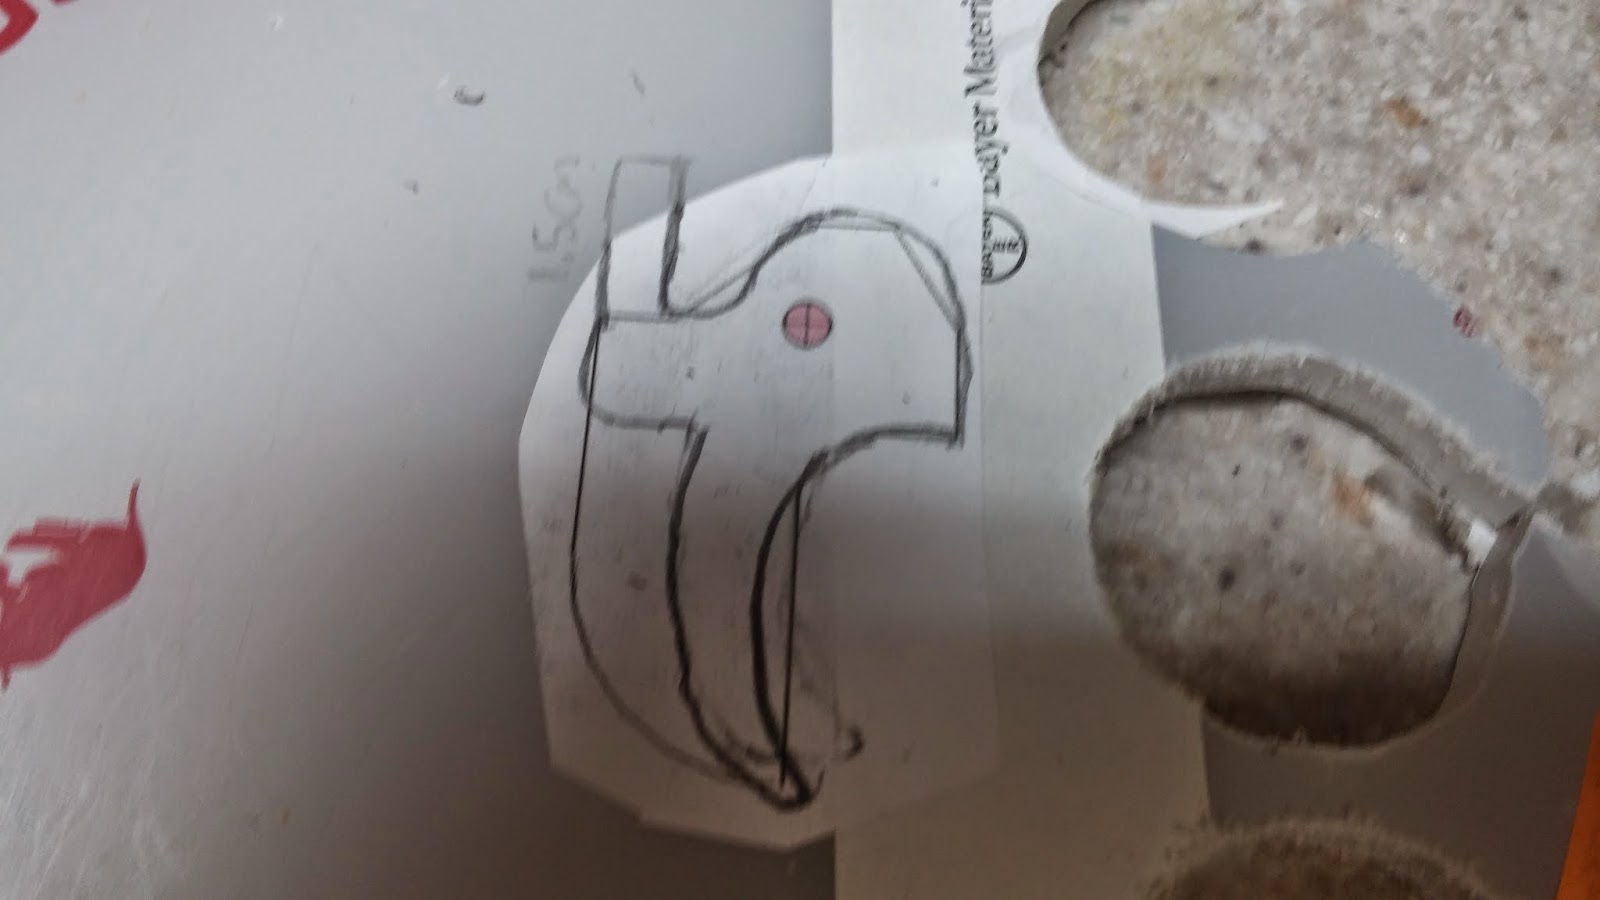
Next cut out the trigger. You can sand it down to make it more comfortable if you want.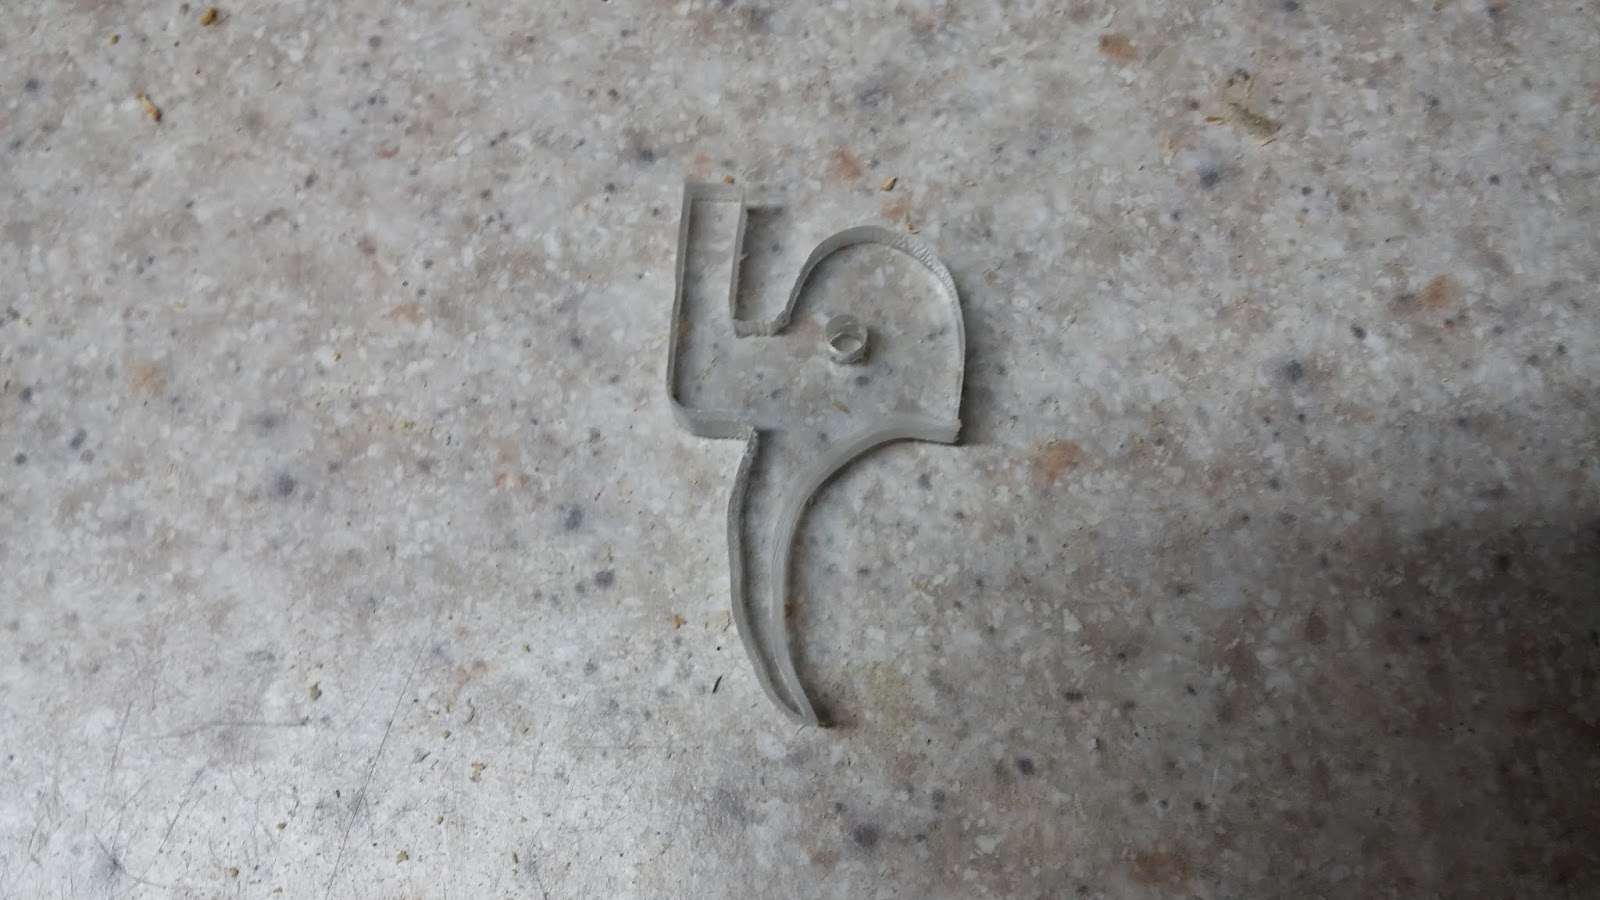
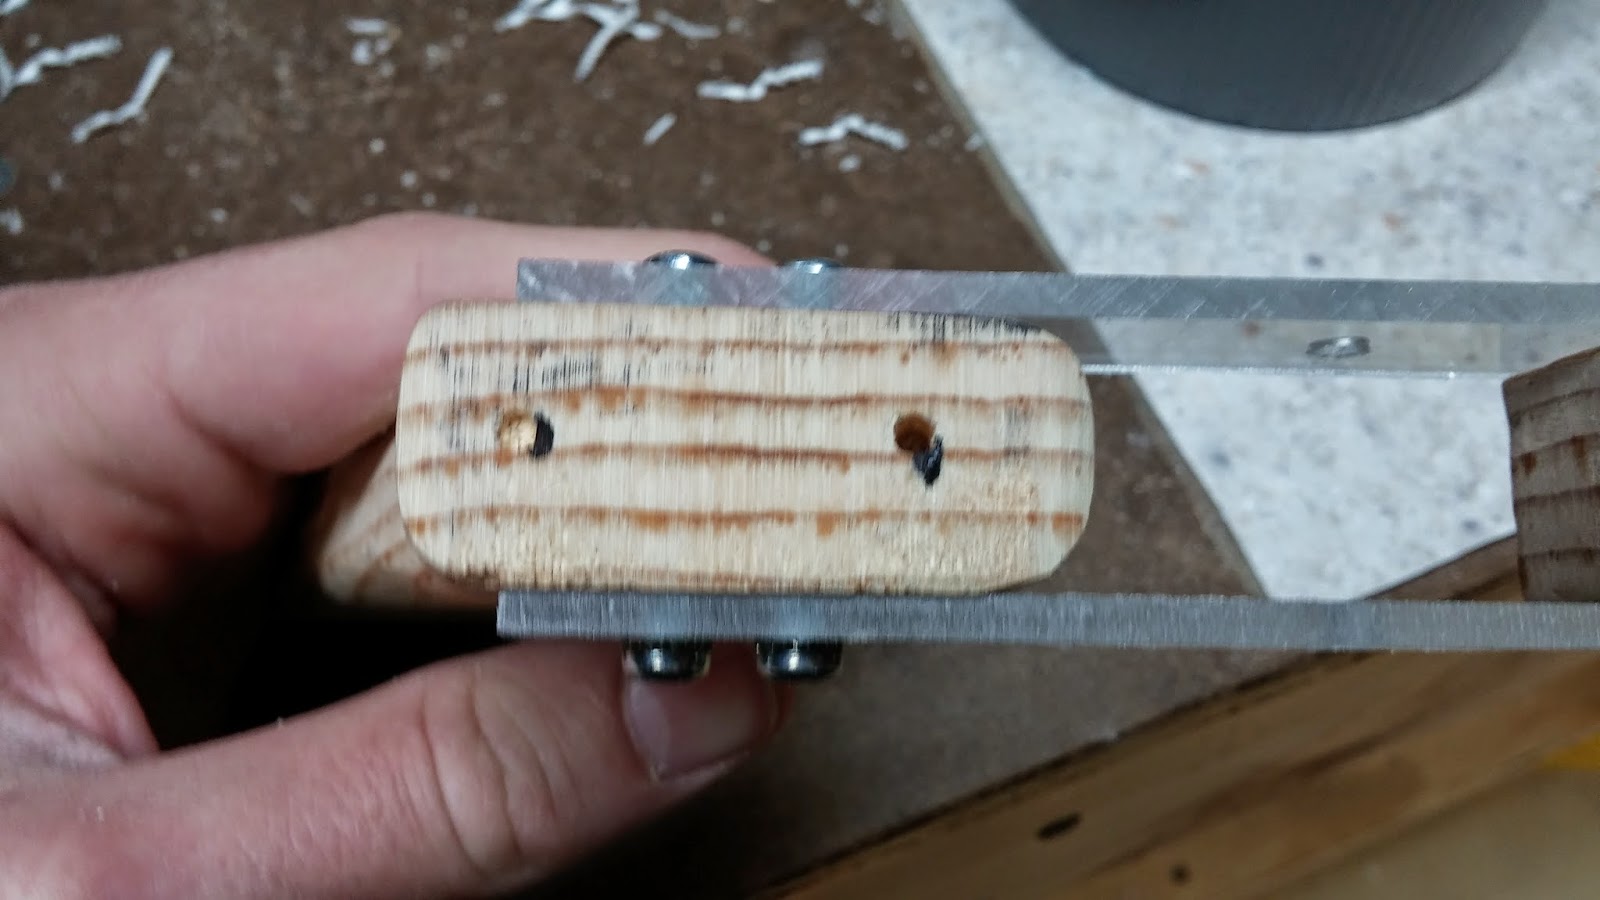
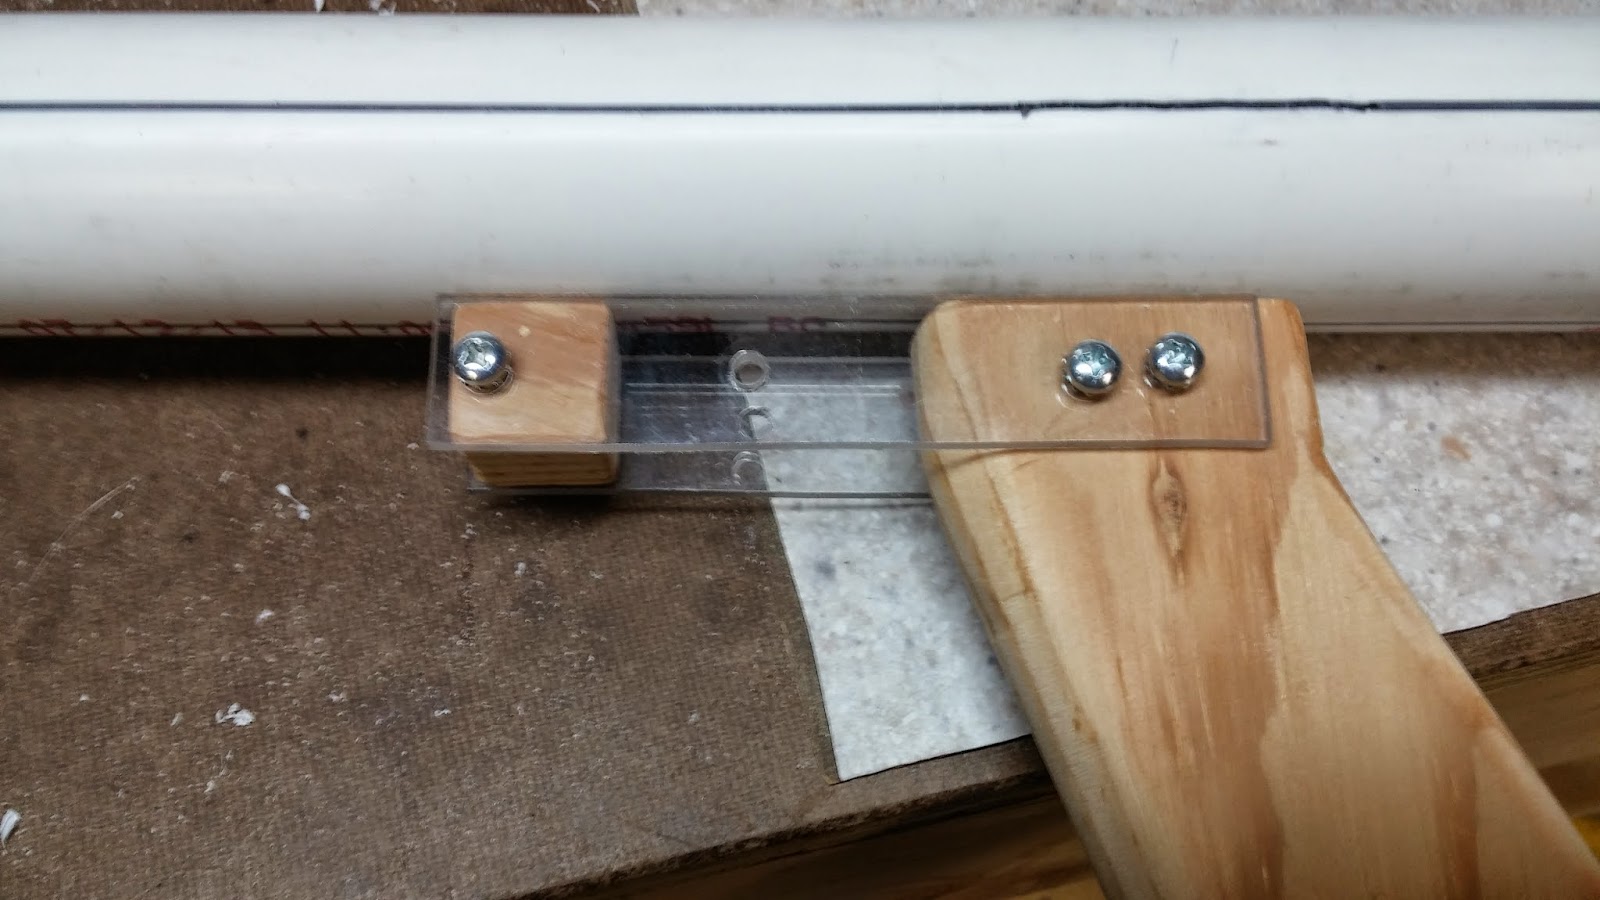
Now you want to put the handle together. The first thing you want to do is to attach the trigger sideplates to the trigger guard with 3/8" 6-32 screws. You can also attach the trigger without the washers to help with alignment. To do this just use a 1 1/4" 6-32 screw and a 6-32 locknut. Line up the trigger sideplates on the handle like so and mark where the holes are with a pencil. Drill the holes on both sides with a 7/64" drill bit.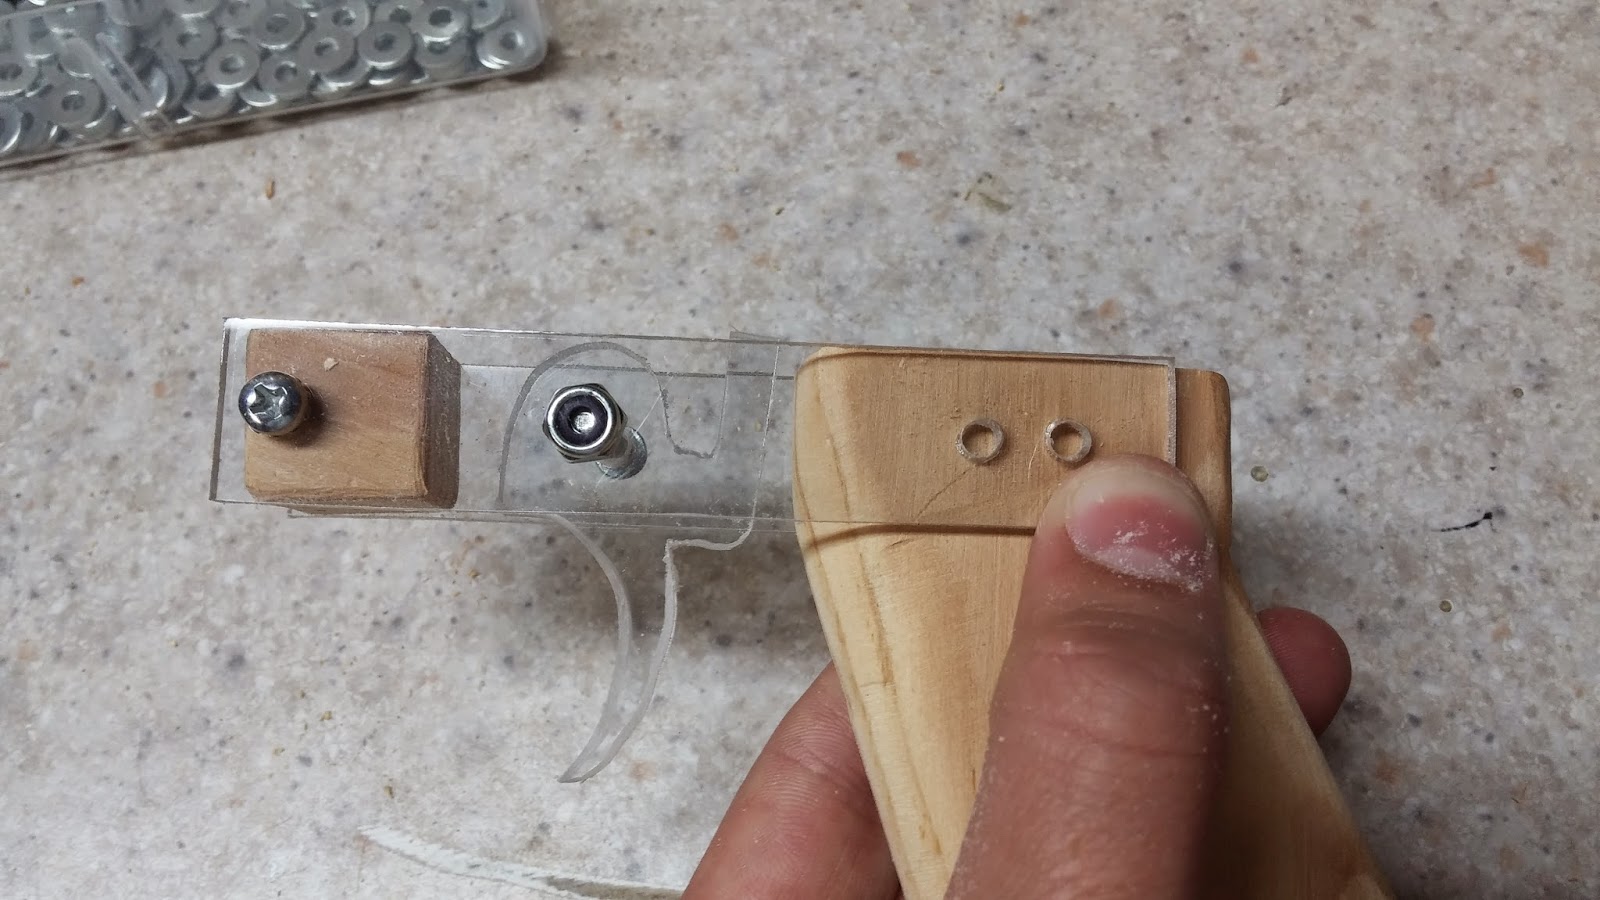
Screw on the handle with more 3/8" 6-32 screws and put five washers on each side of the trigger (if five washers is too tight, use fewer). Your handle assembly is now finished.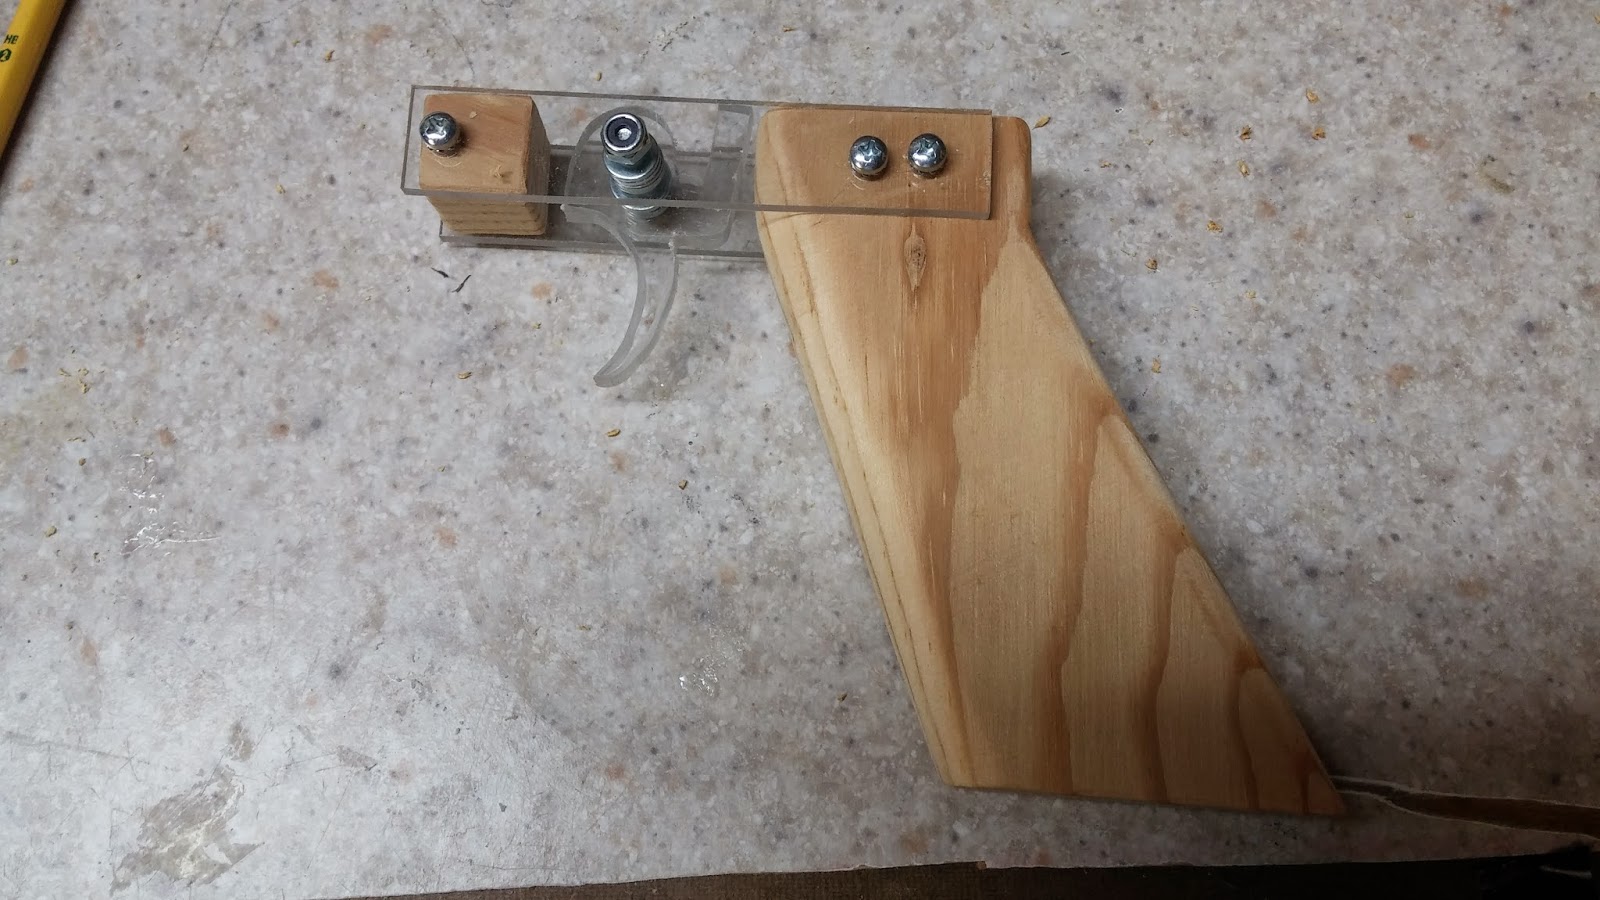
Next is the plunger head and plunger rod. To make the plunger head, you will need polycarbonate and the u-cup. First put the u-cup under the circle template and find a circle that is a little bit bigger than the u-cup.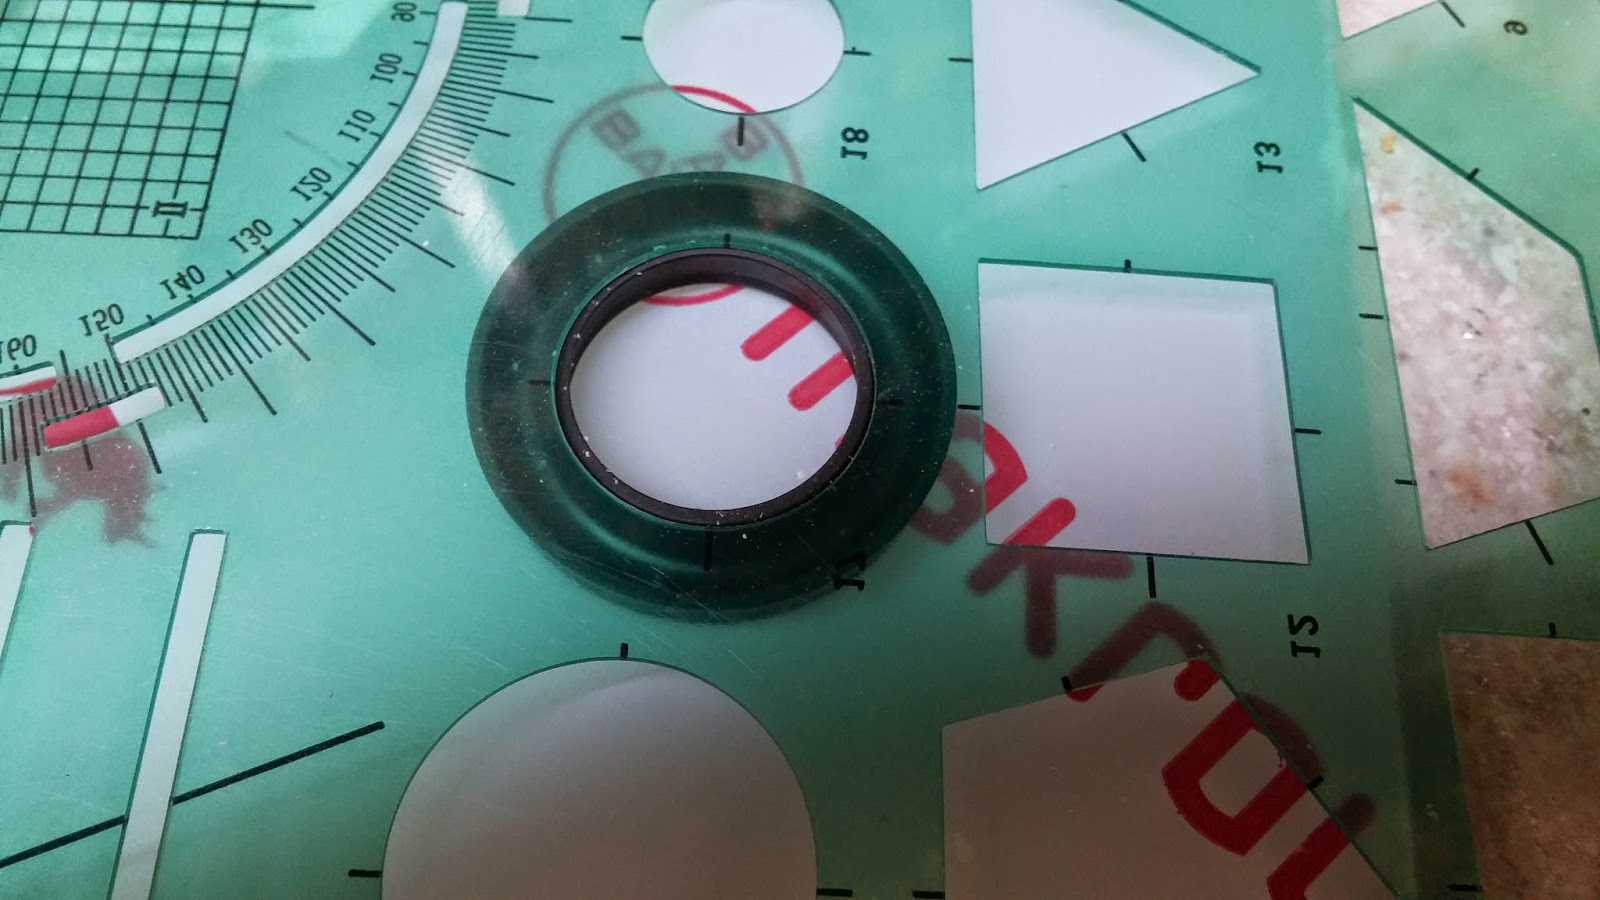
Trace two of these circles onto the polycarbonate. You will also want to trace the inside of the u-cup onto the polycarbonate. Do your best to draw a dot in the center of all three circles. A good way of doing this is by making two perpendicular lines through each circle and drawing the dot at the intersection.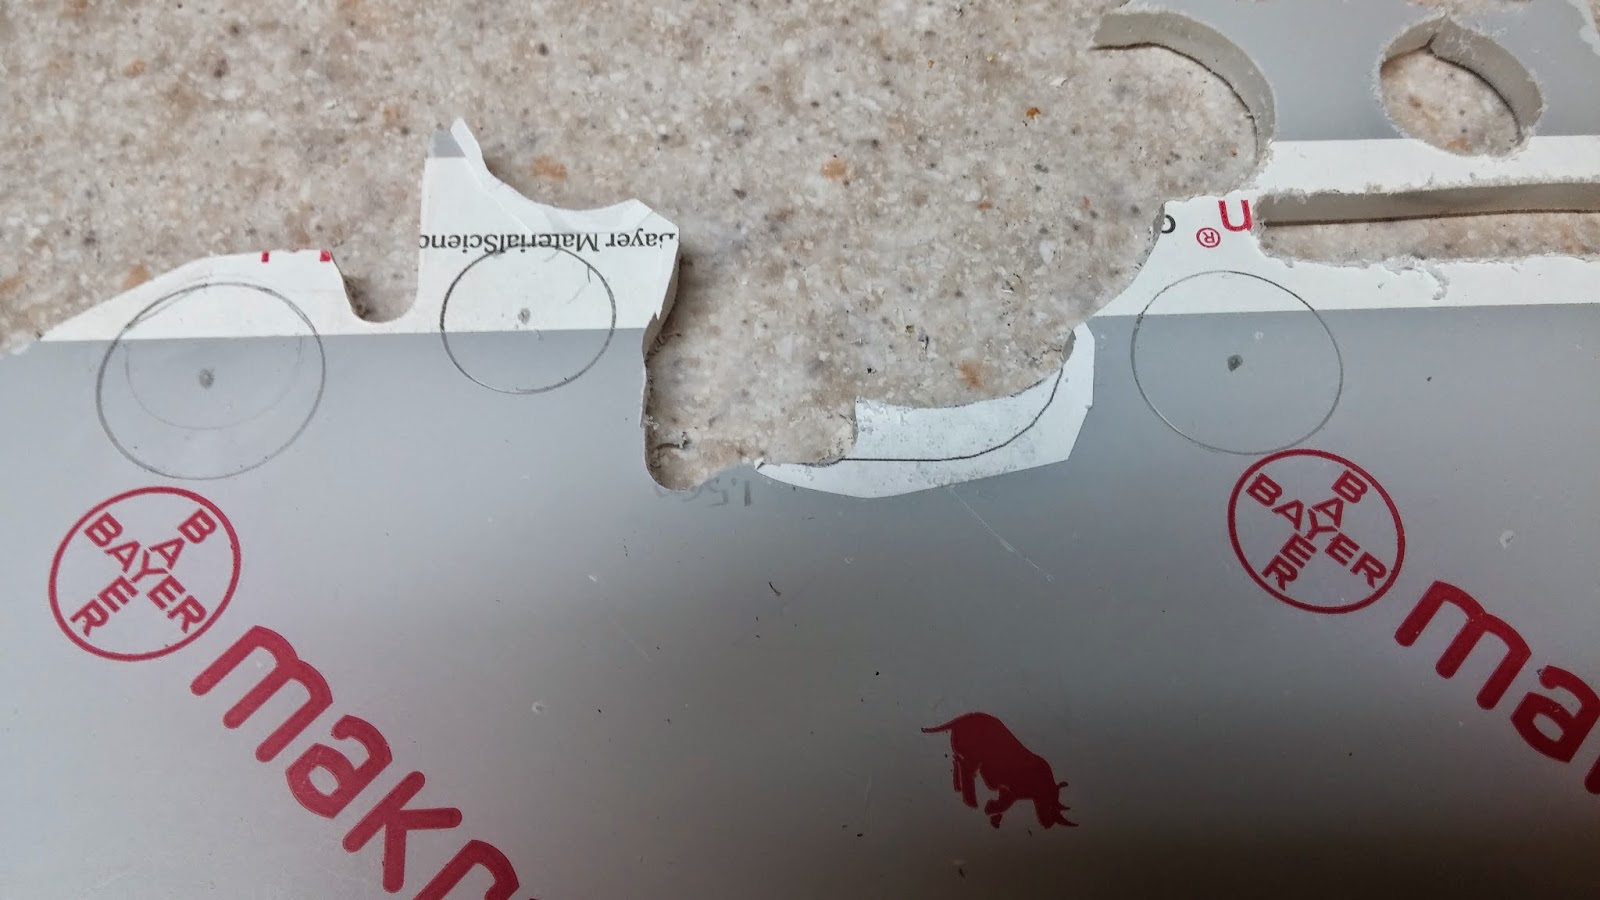
Cut out the circles with the scroll saw and drill a 5/32" hole through each center dot. It can be hard to cut circles on a scroll saw, so what I recommend is to cut a crude circle-ish shape bigger than the needed circle and then sand it down with a dremel or even sandpaper until it resembles a circle.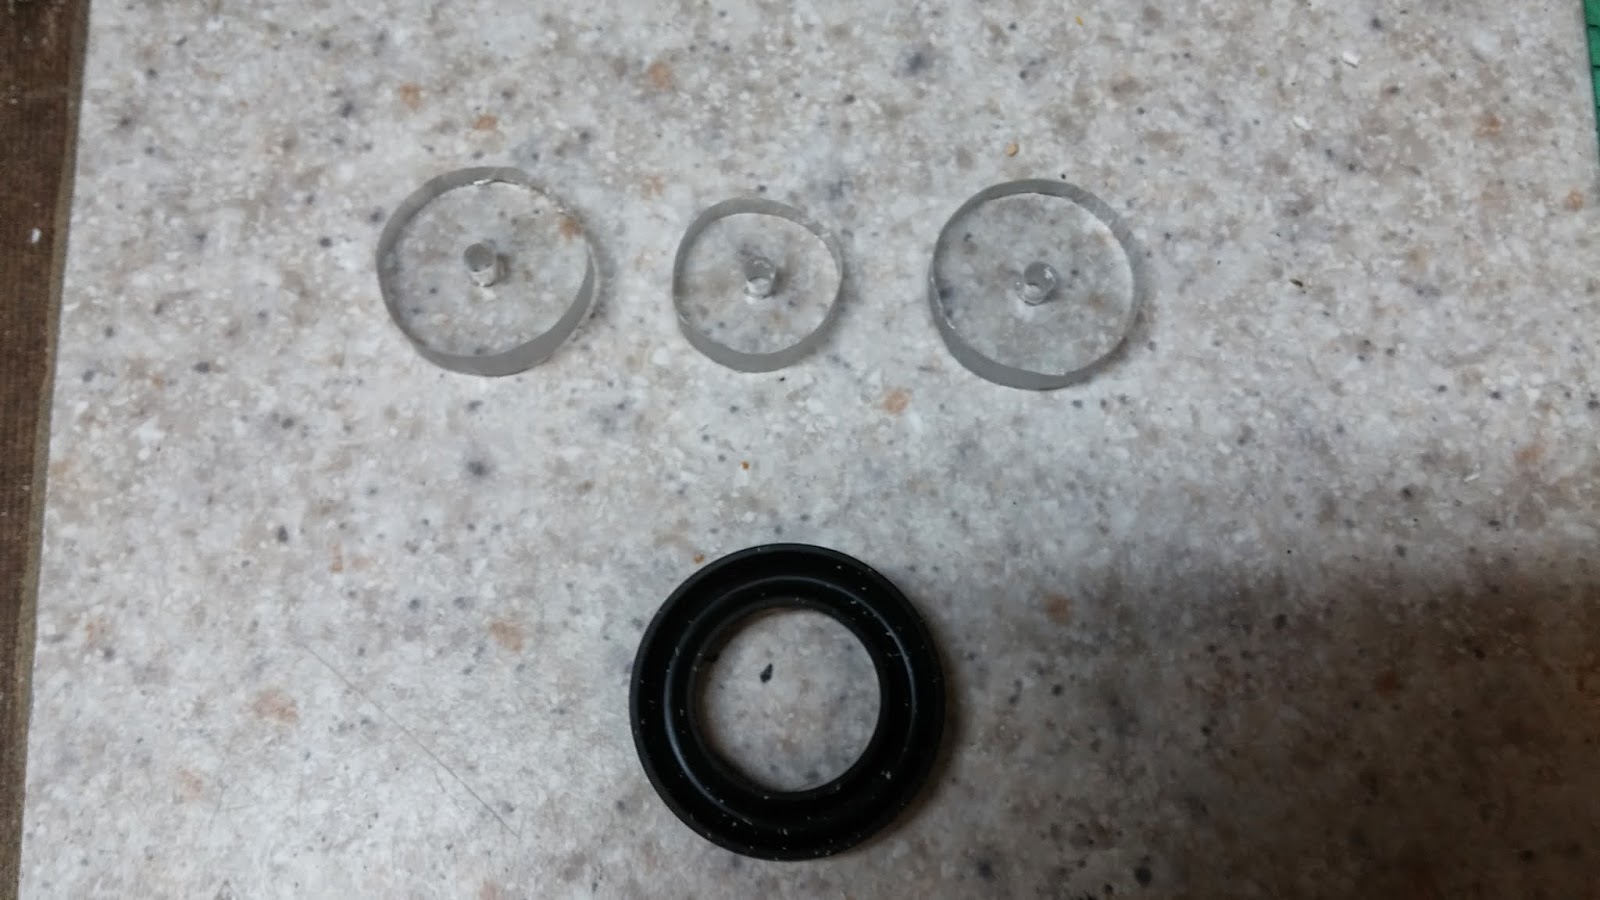
For the plunger rod, you will want two 1 1/4" 6-32 machine screws and the nylon rod. Cut the nylon rod to 13". Now on the piece of nylon rod, measure 3 1/4" into it and make a cut using any kind of saw that you want.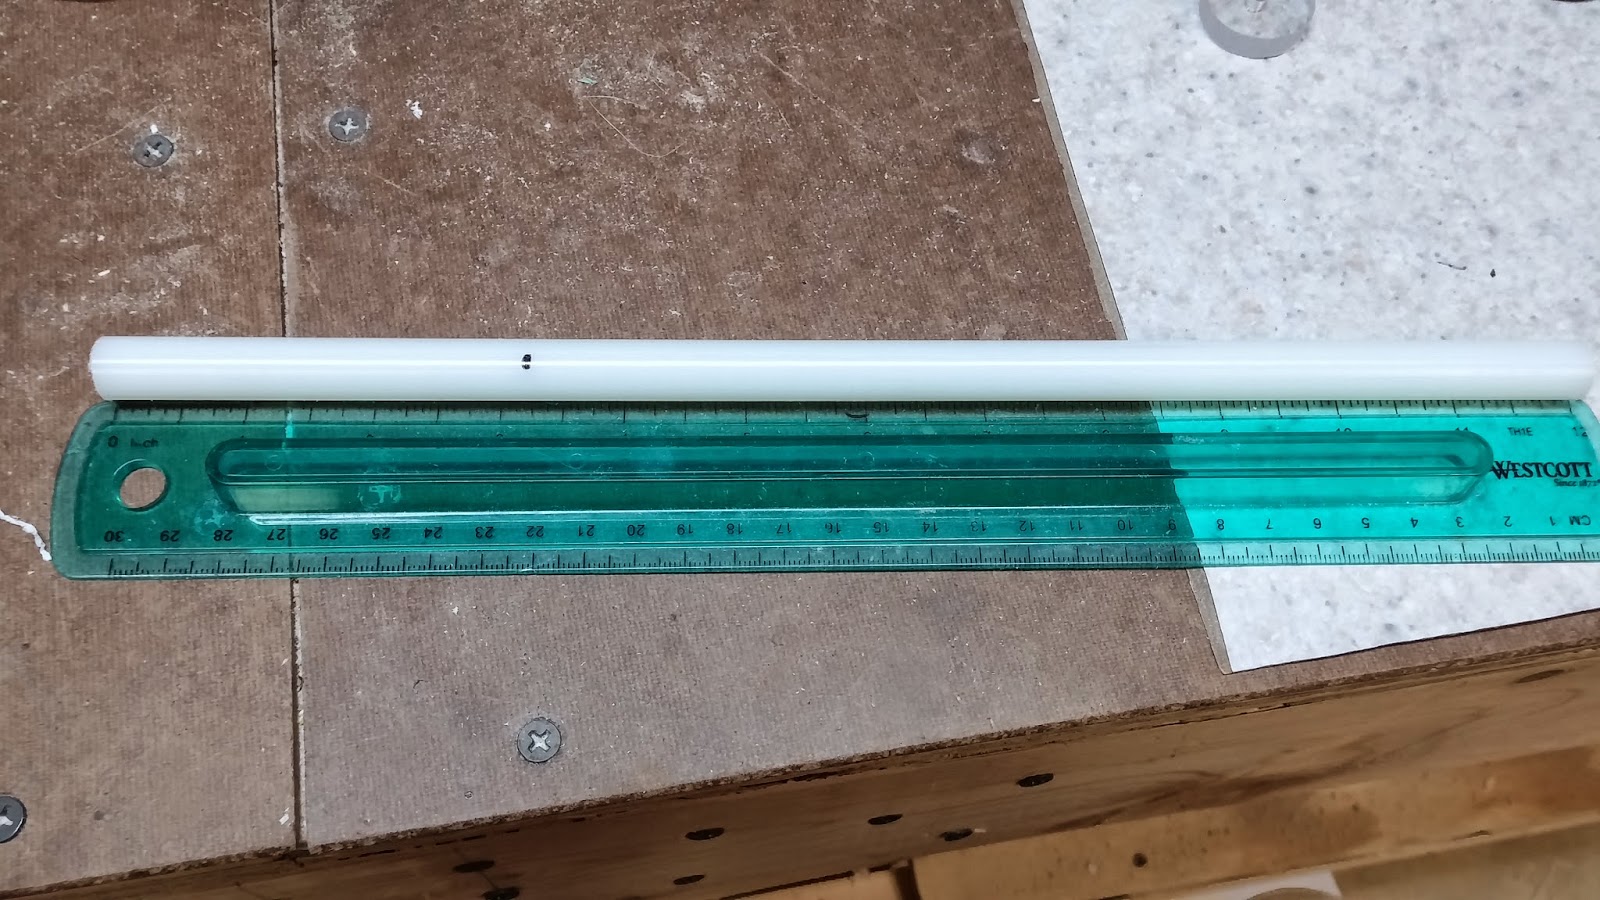
Make dots in the center of the ends of both rods except for the long one. The long rod only needs one hole. Drill a 7/64" hole into the rod where you made the dots and make sure that the holes are about 3/4" deep. Tap the holes with your 6-32 tapping bit.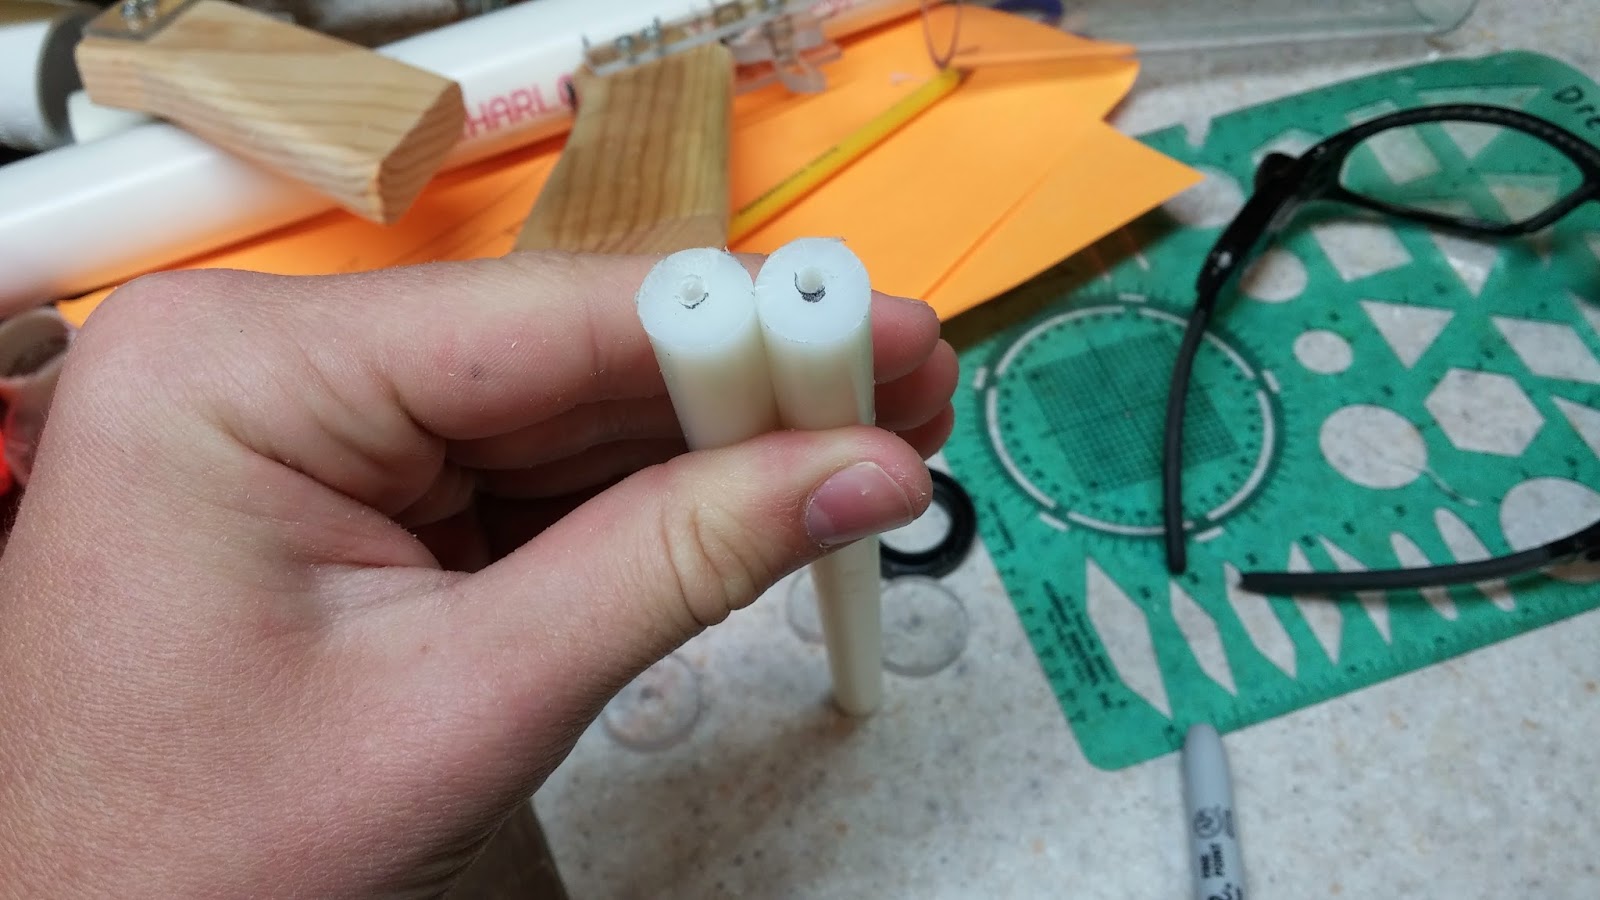
Secure the plunger head assembly on to the 3 1/4" piece of nylon rod with a 1 1/2" 6-32 screw. The small polycarb circle should be in the middle of the u-cup and the other two pieces should be on the top and bottom.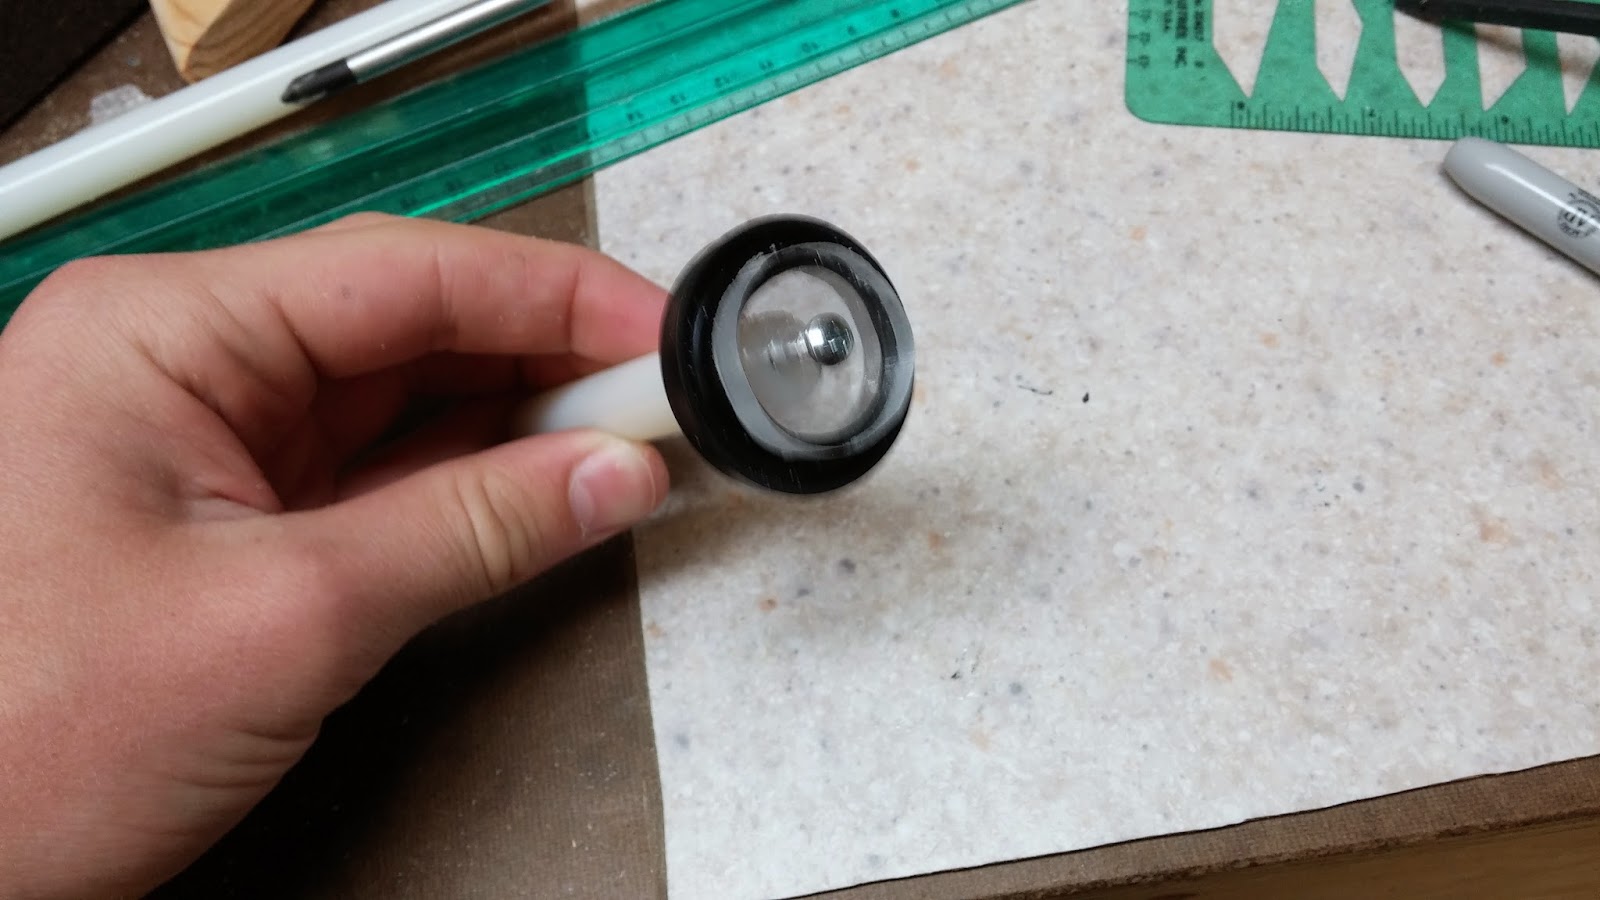
Now take another 1 1/2" 6-32 screw and cut the head off of it like the one in the picture below. This can be done with mini bolt cutters or some kind of cutting tool that looks like the one below. You can also cut the head off if you clamp down the screw and use a hacksaw.
Thread the screw into both pieces of nylon rod. Screw it in evenly and make it so there is about a 1/2" gap between the rods. I recommend gripping the screw with pliers to help get it into the rod. To make sure the whole plunger rod assembly is straight, slide the piece of 1/2" PETG over it. If it isn't straight, make adjustments until it is.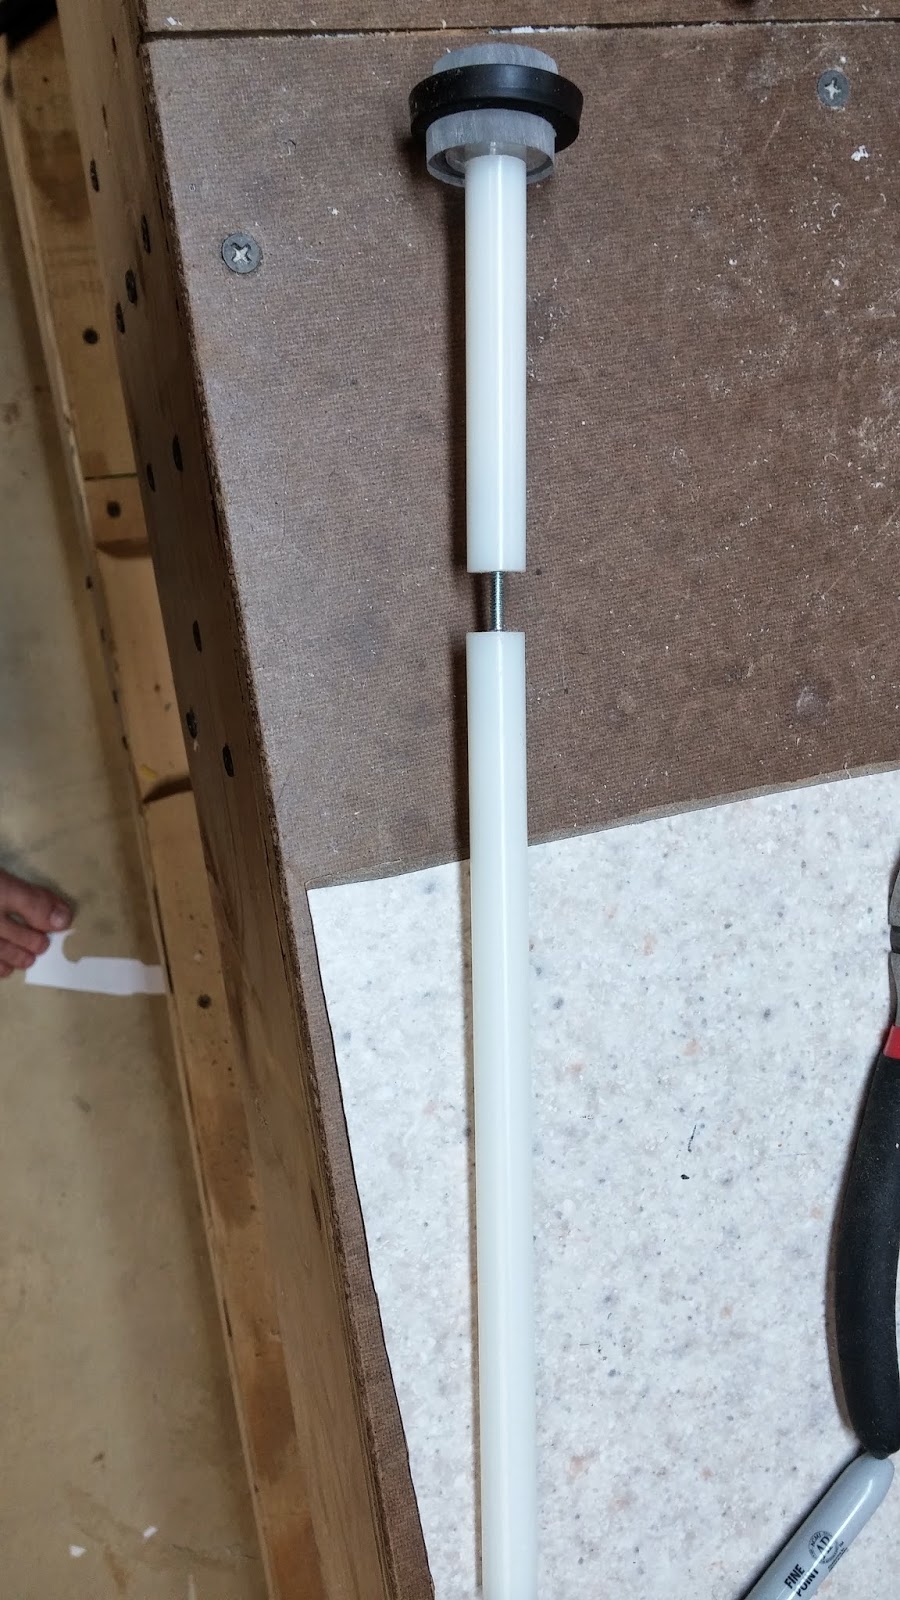
Now that the plunger assembly is finished it is time for the catch! This catch is a modified version of the rainbow catch that is scaled down to fit into 1" PVC. To start off you want to find a circle template that would almost fit in 1" PVC. It's ok if it is a little bit bigger but it can't be smaller. Draw three of these circles onto your polycarbonate, make a mark in the center, and drill a 5/32" hole in them.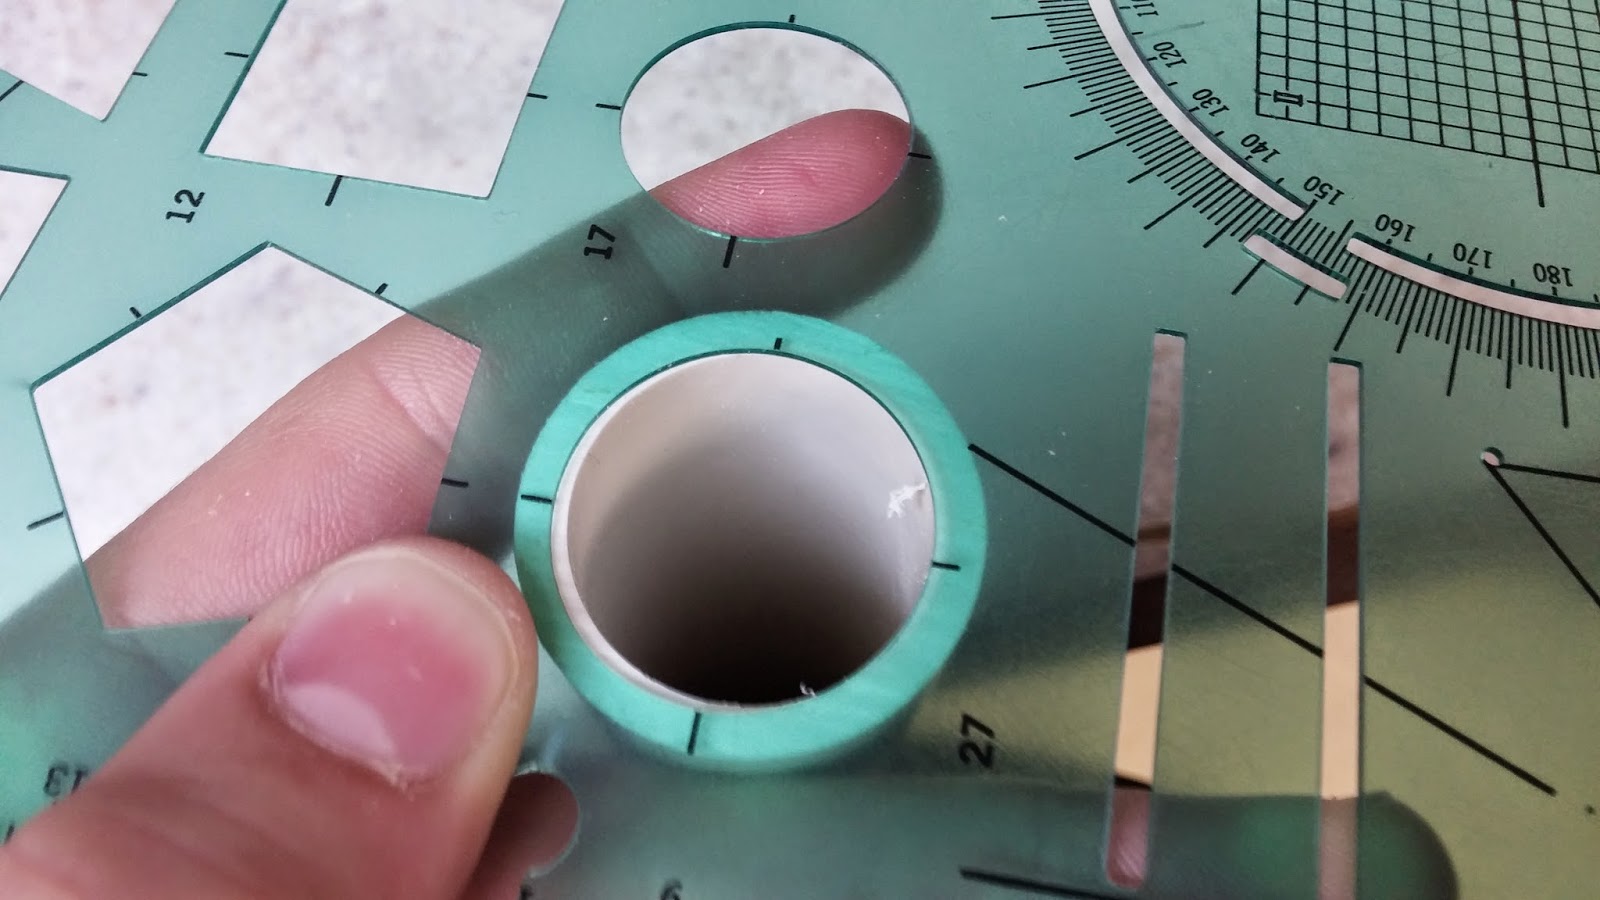
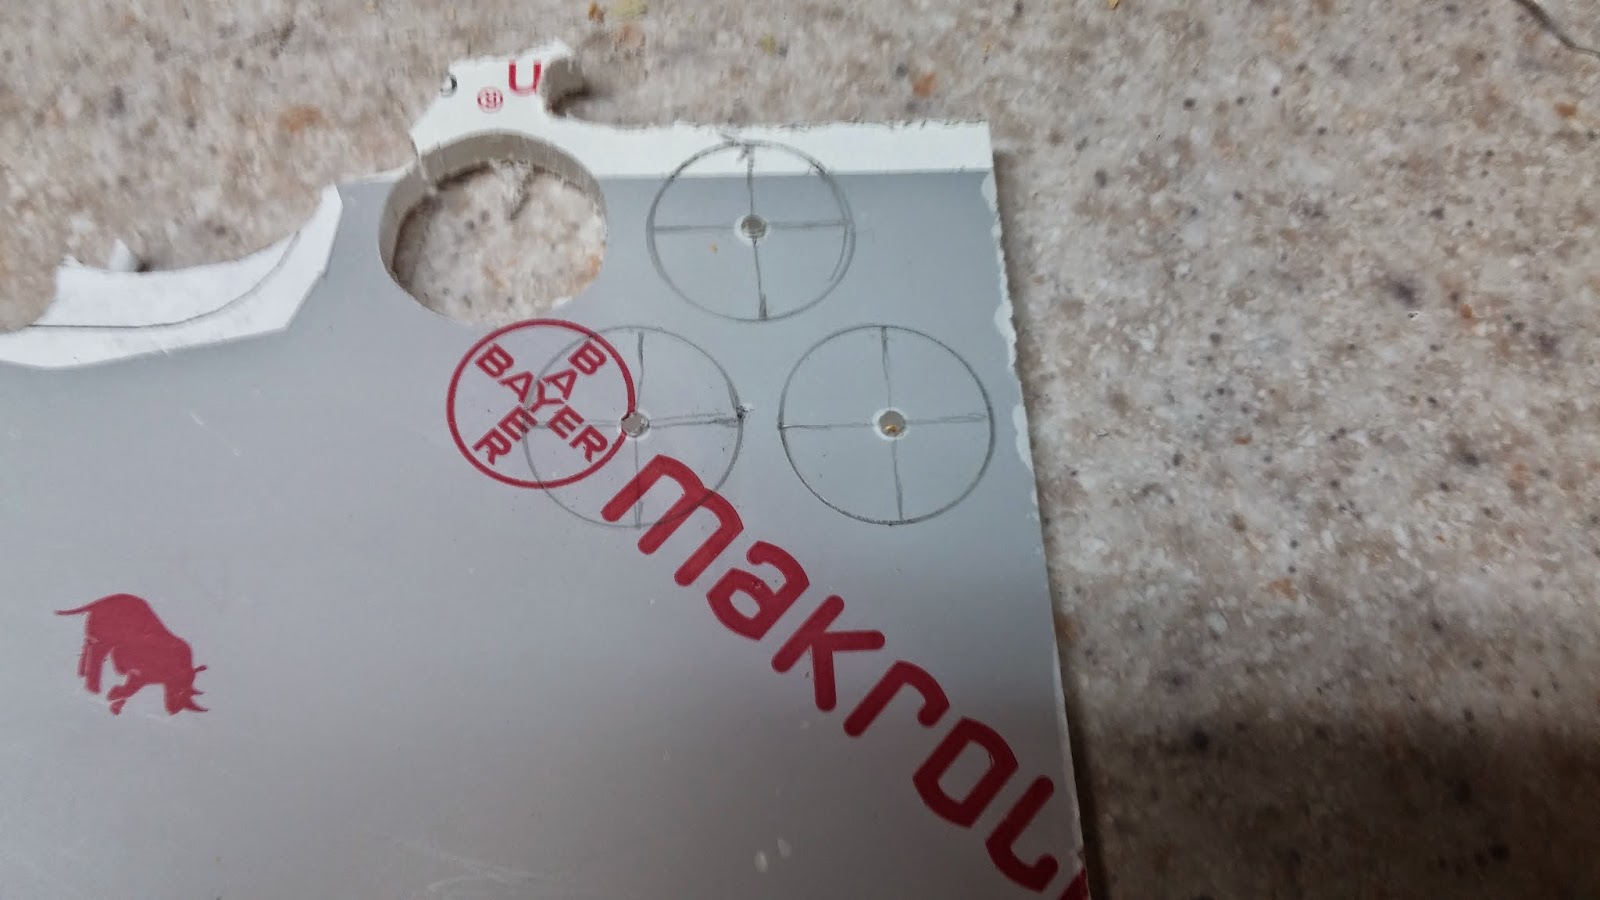
Using the 1/2" spade bit, drill holes into the circles using the previously drilled holes as a guide. You are going to also want to cut catch piece like what is seen in the top circle. There are no specific measurements for this, but just try to replicate it the best you can..jpeg)
Here are the pieces cut out. Make marks on the circular pieces of where you are going to drill the holes. To help with this, line up the middle (catch) piece with the hole in the circle piece and then make the marks on the outside of the catch piece. The marks should be around the area of where they are in the picture.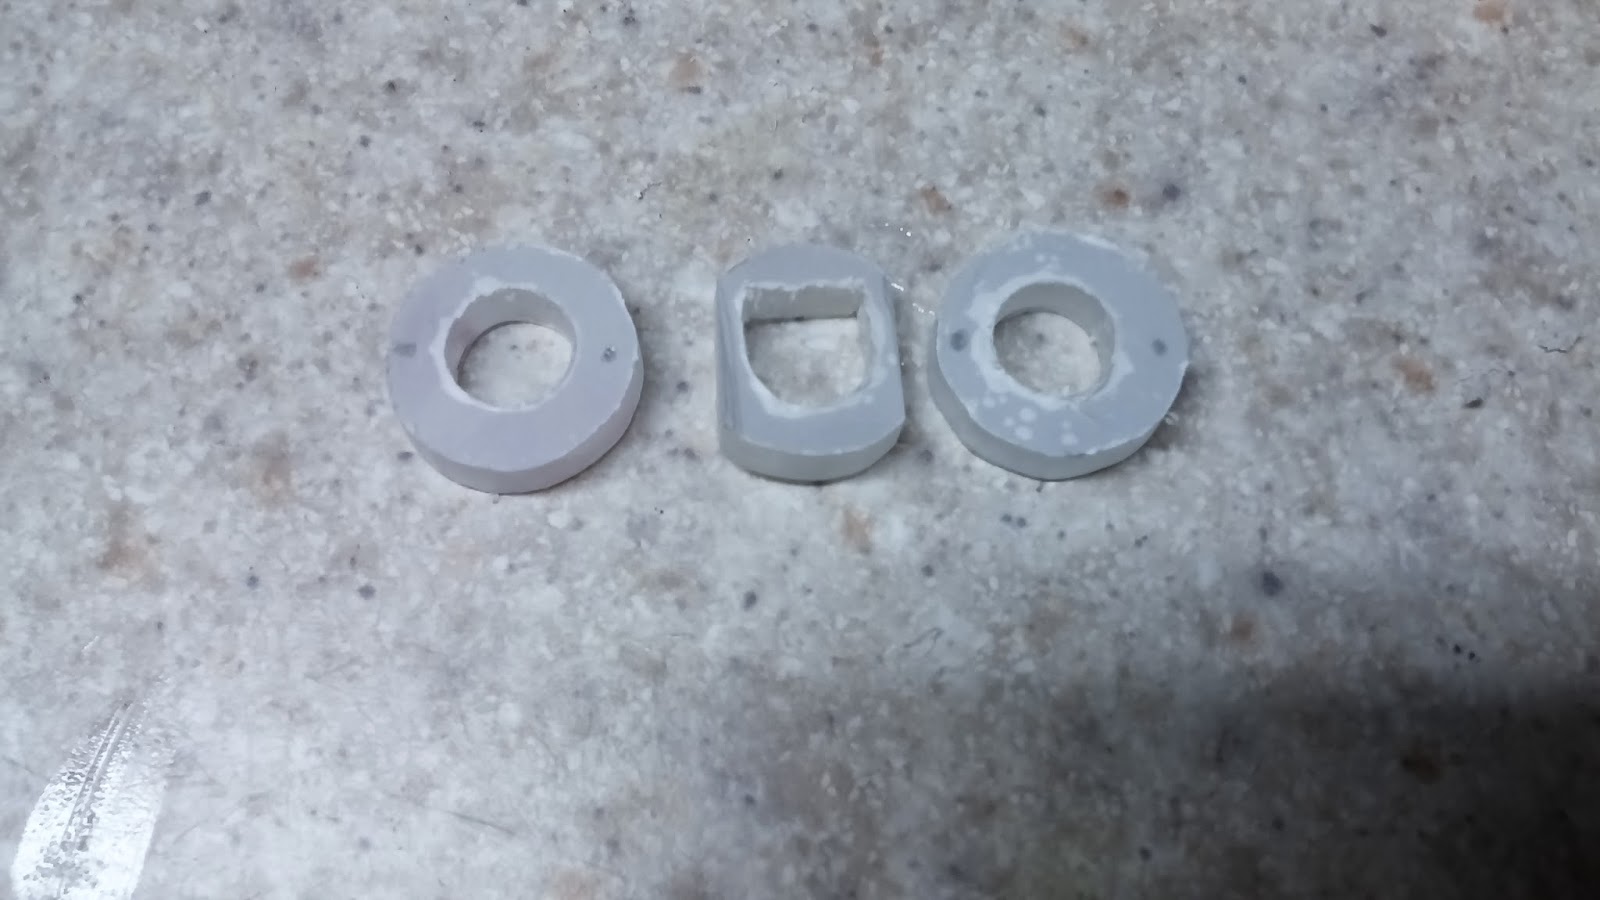
Drill those holes and tap them with the 6-32 tapping bit. There are four holes in the picture because I actually messed up the first time and made the holes too close together. Ignore the holes on the top and bottom of the pieces.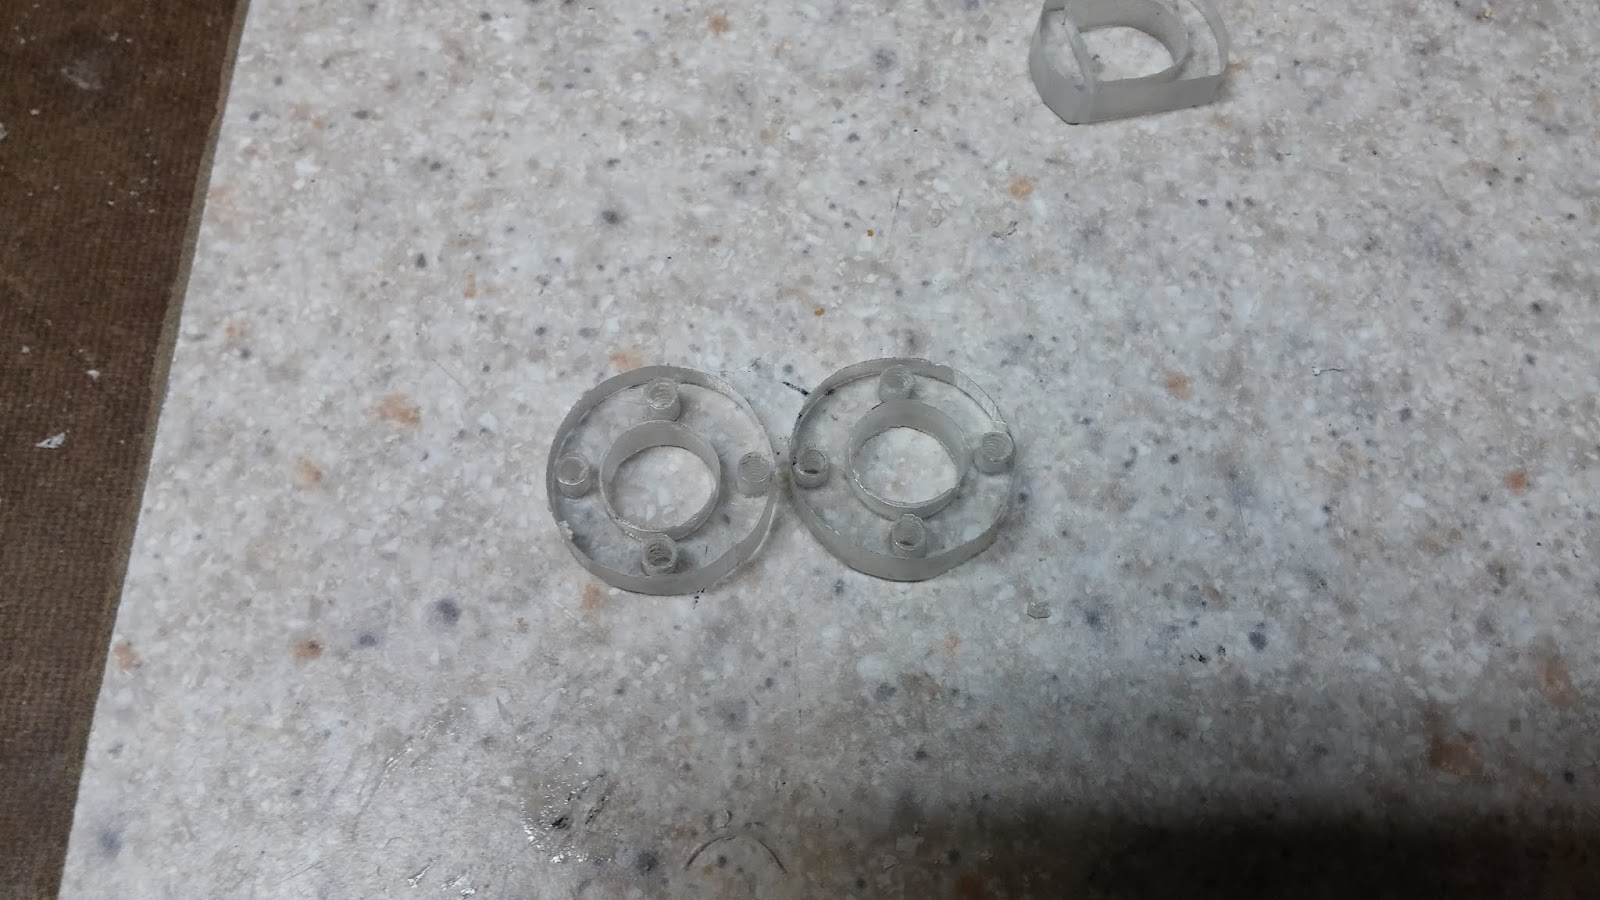
Screw together the catch using 3/4" 6-32 screws. It is good if the screws are hanging off the side a little bit. This picture shows the two circular catch plates and the actual catch piece fitting in between them. If your catch plate does not fit, sand down the edges until it does.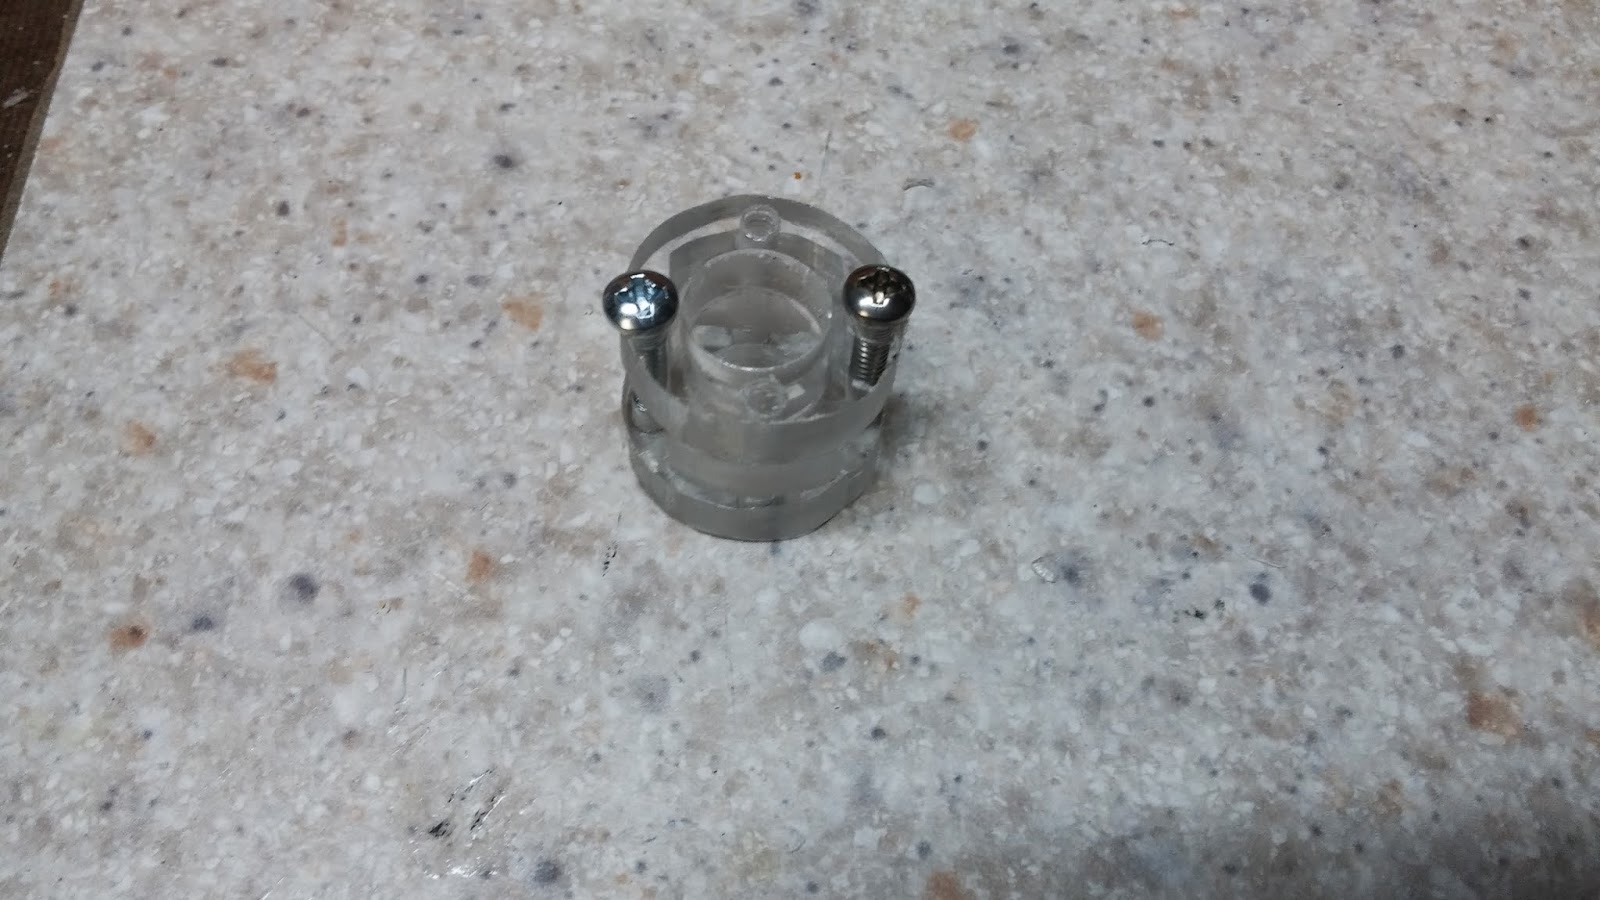
Once you make sure that the catch is put together properly (the catch piece can freely slide through the catch plates and the catch fits in 1" PVC), you can sand the overhanging screws down. Do this with your dremel's sanding bit or it will take forever. Now the catch should be able to fall all the way through 1"PVC. Cut the 1" PVC to 11.5"
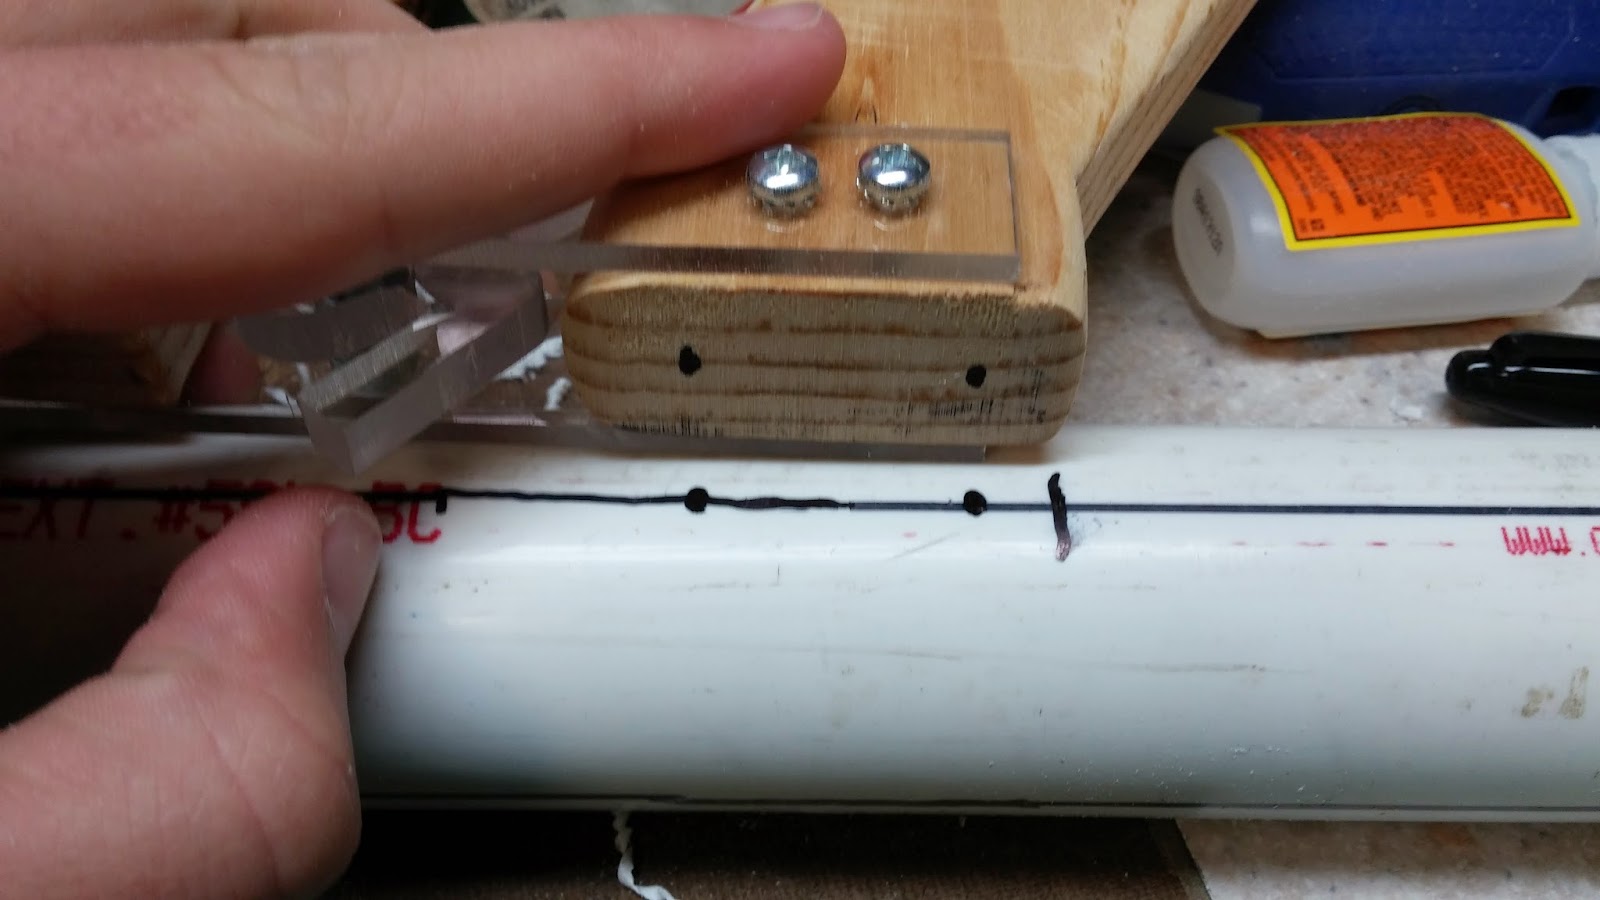
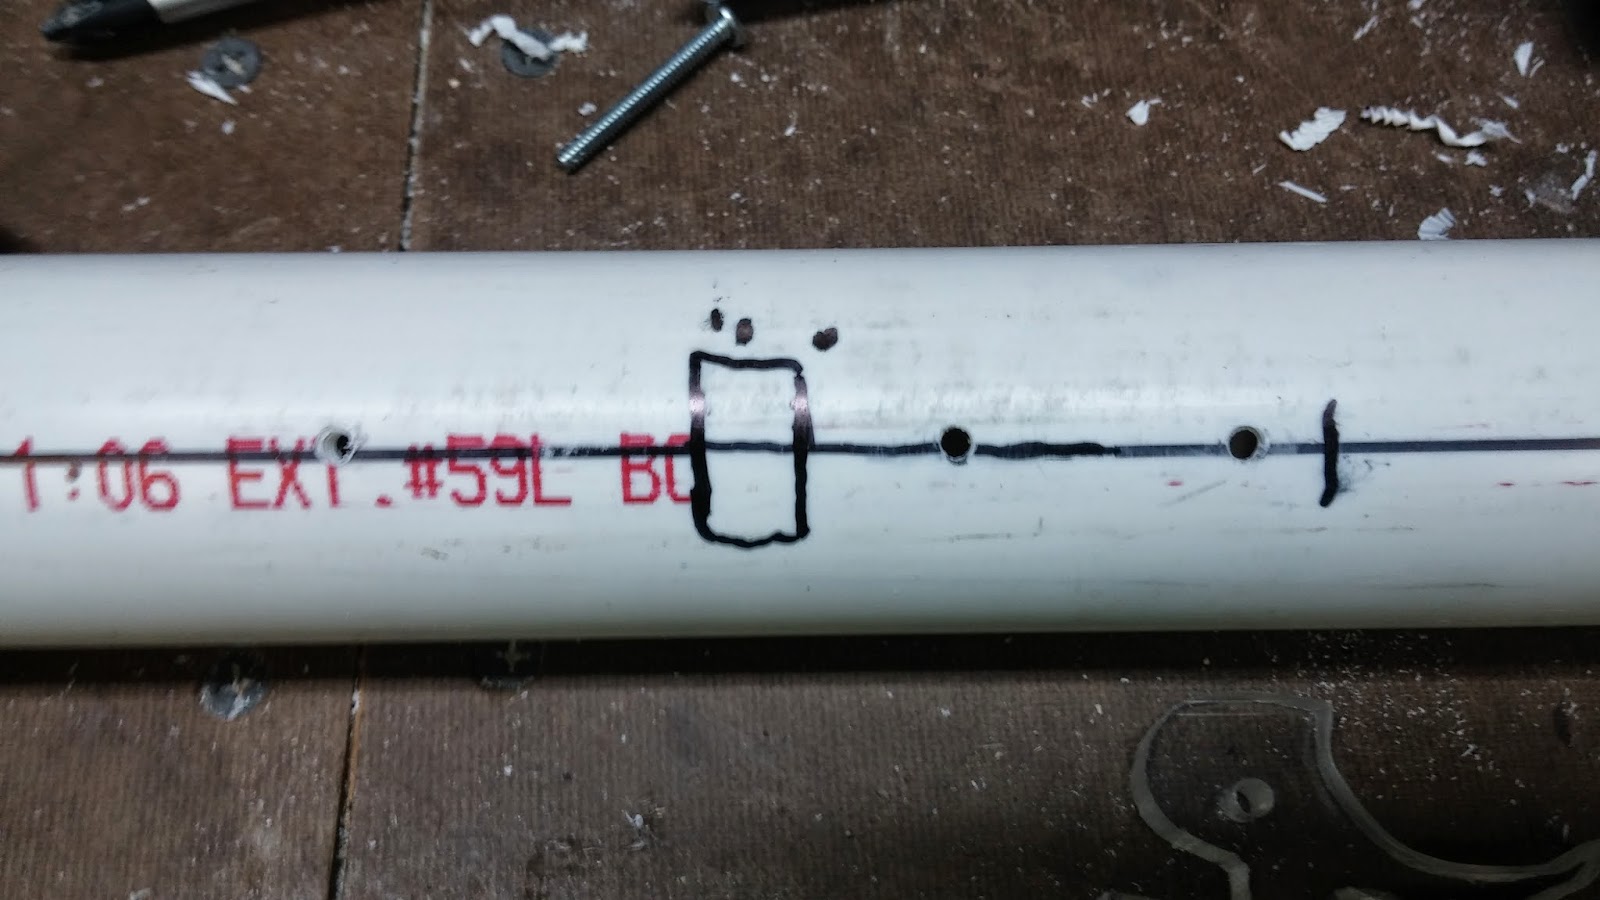
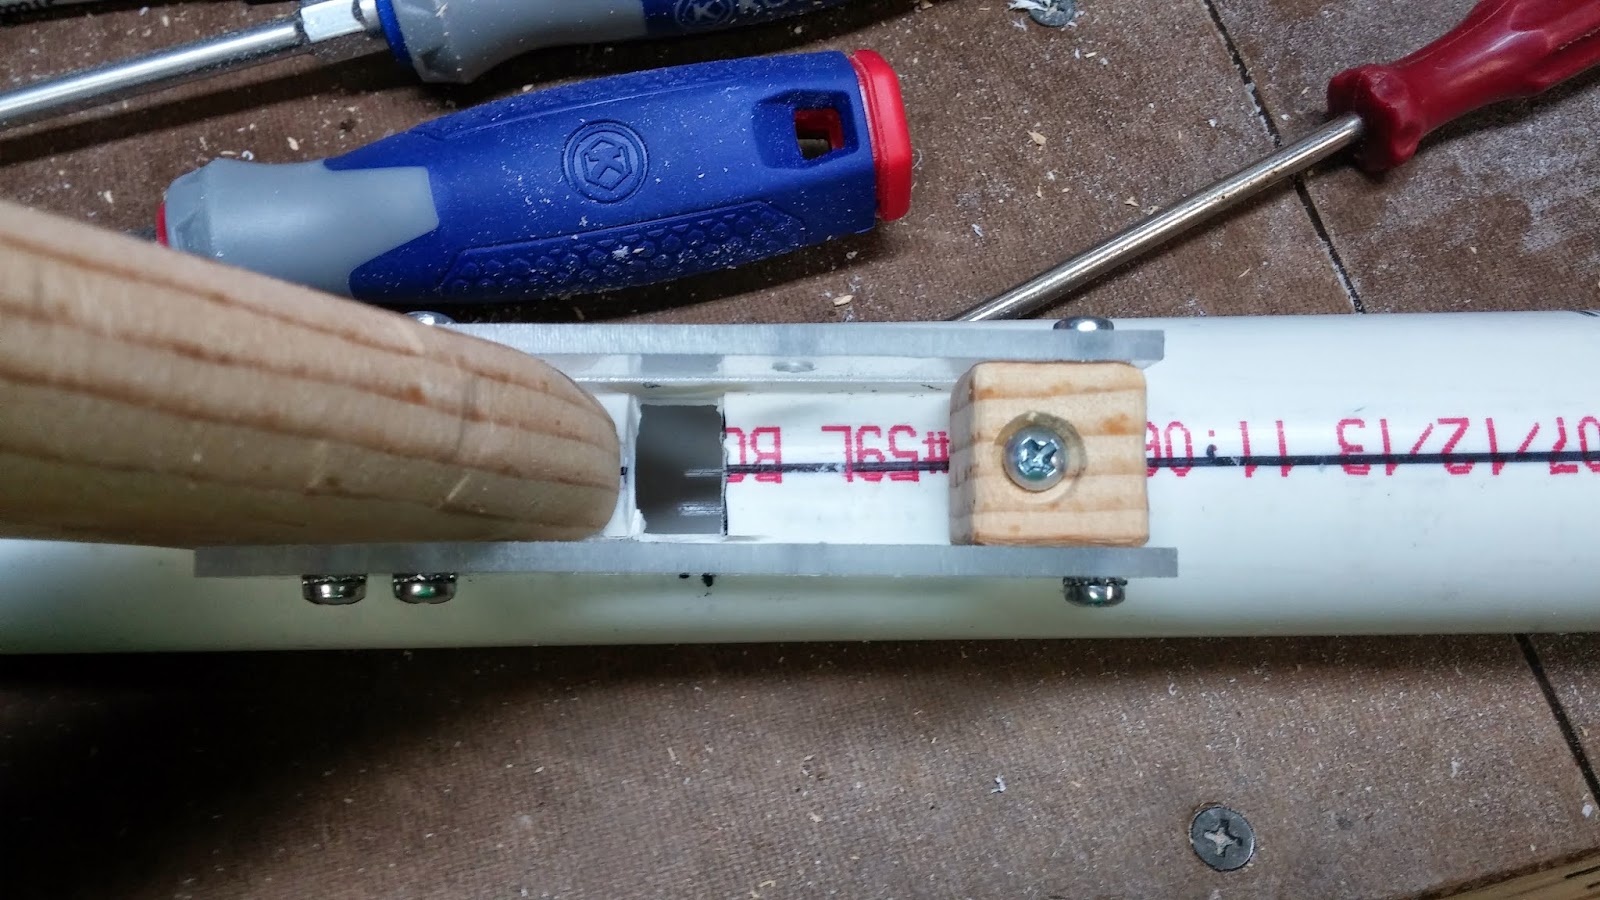
Line up the actual catch piece with the 1" PVC like this and draw lines on the outside of the catch piece.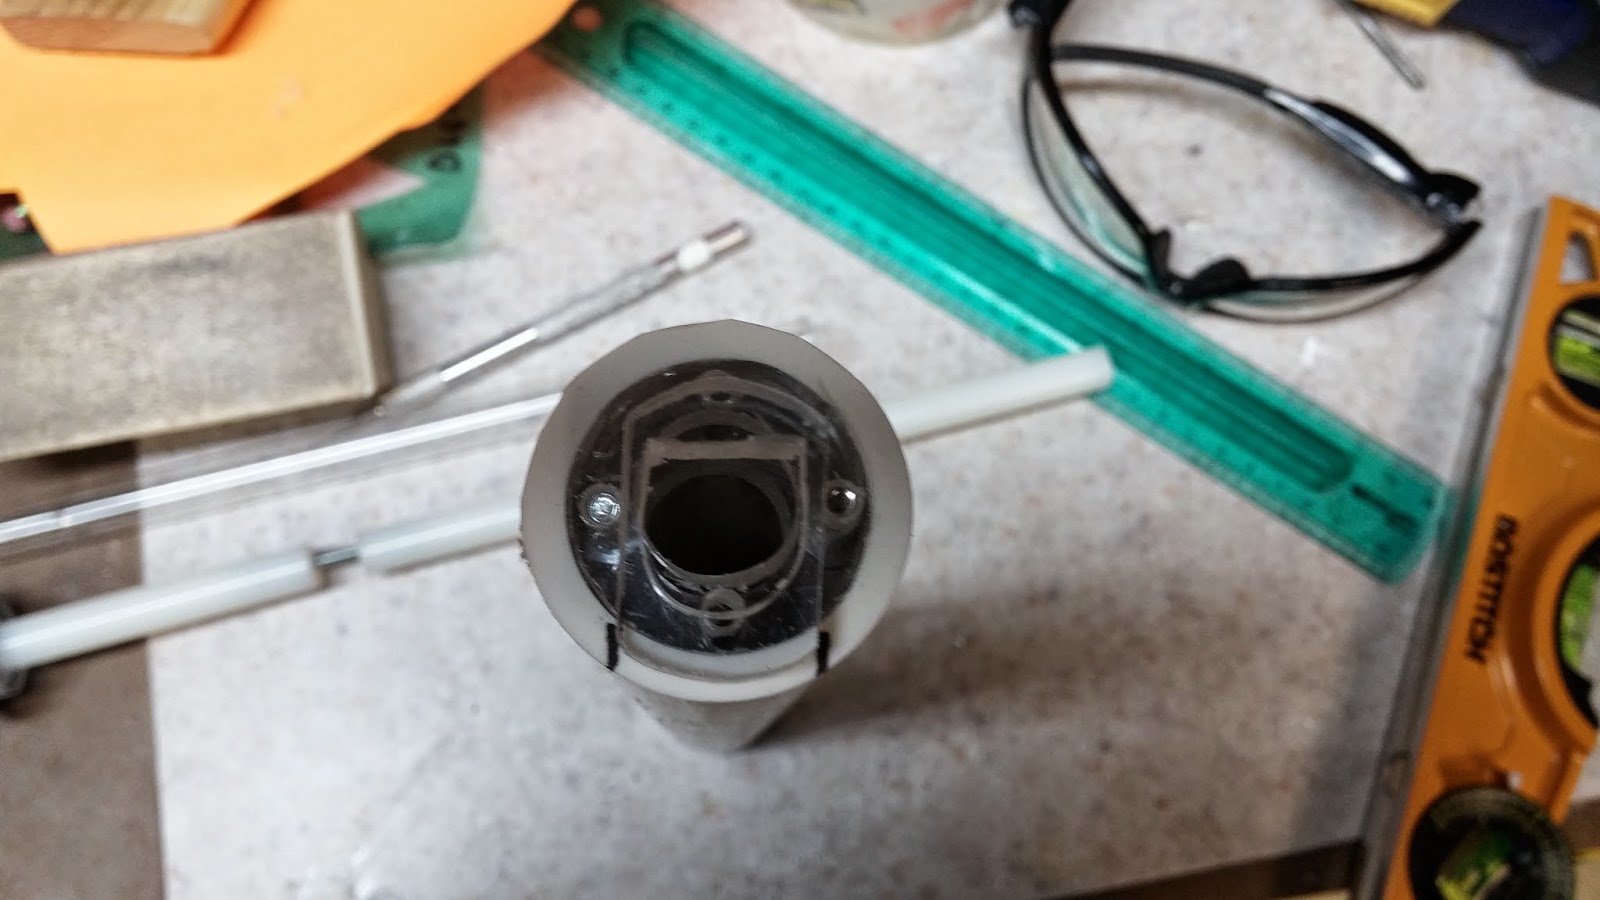
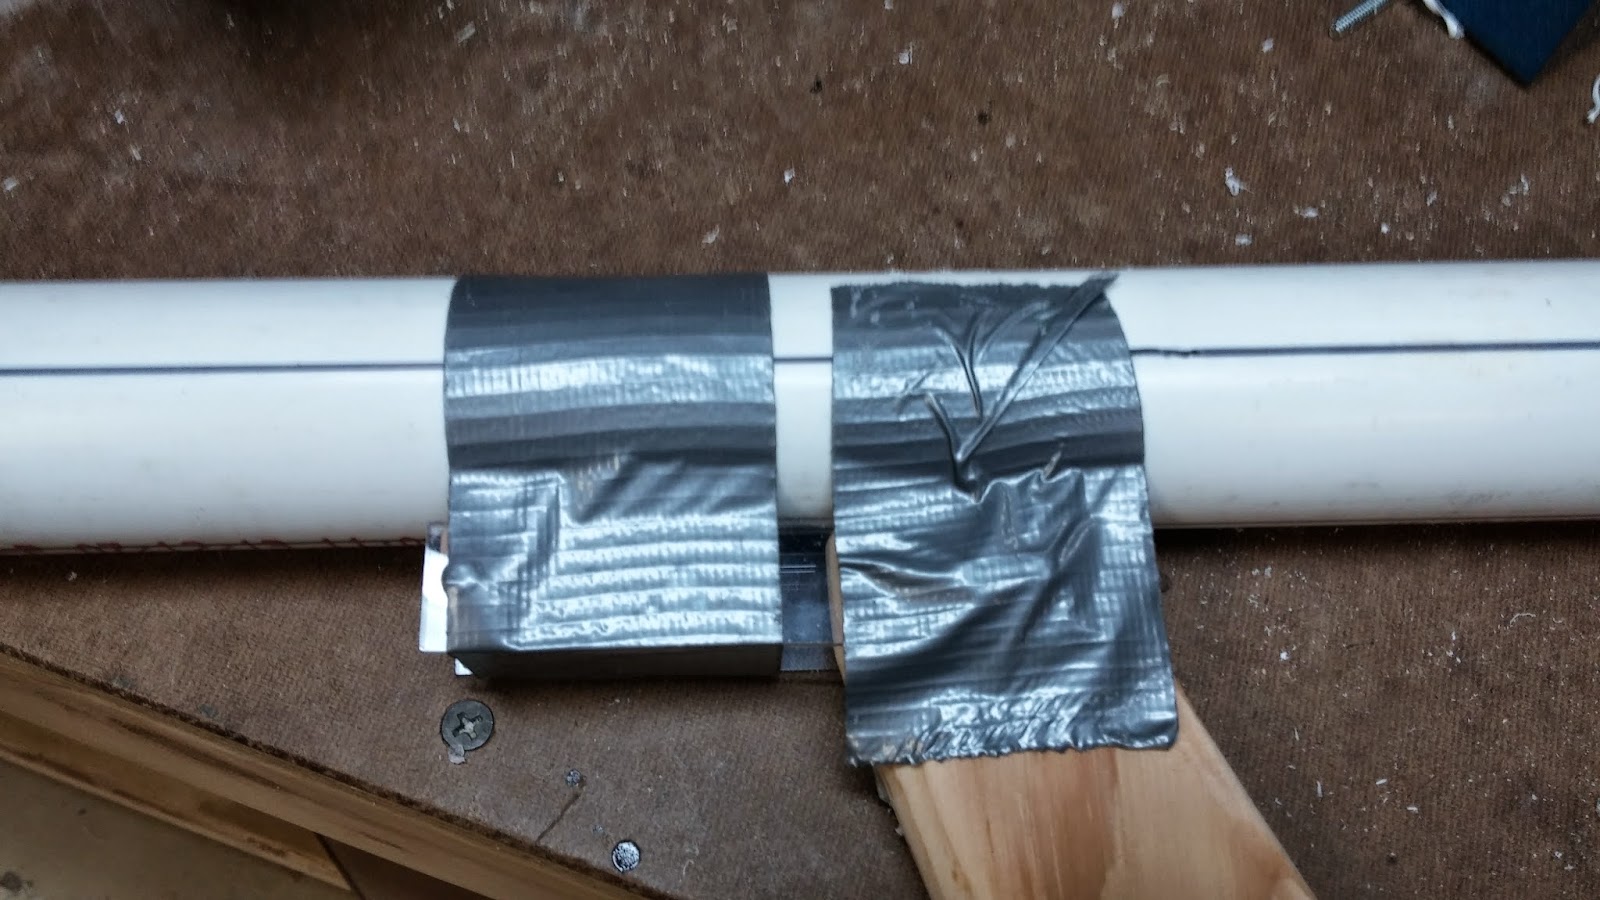
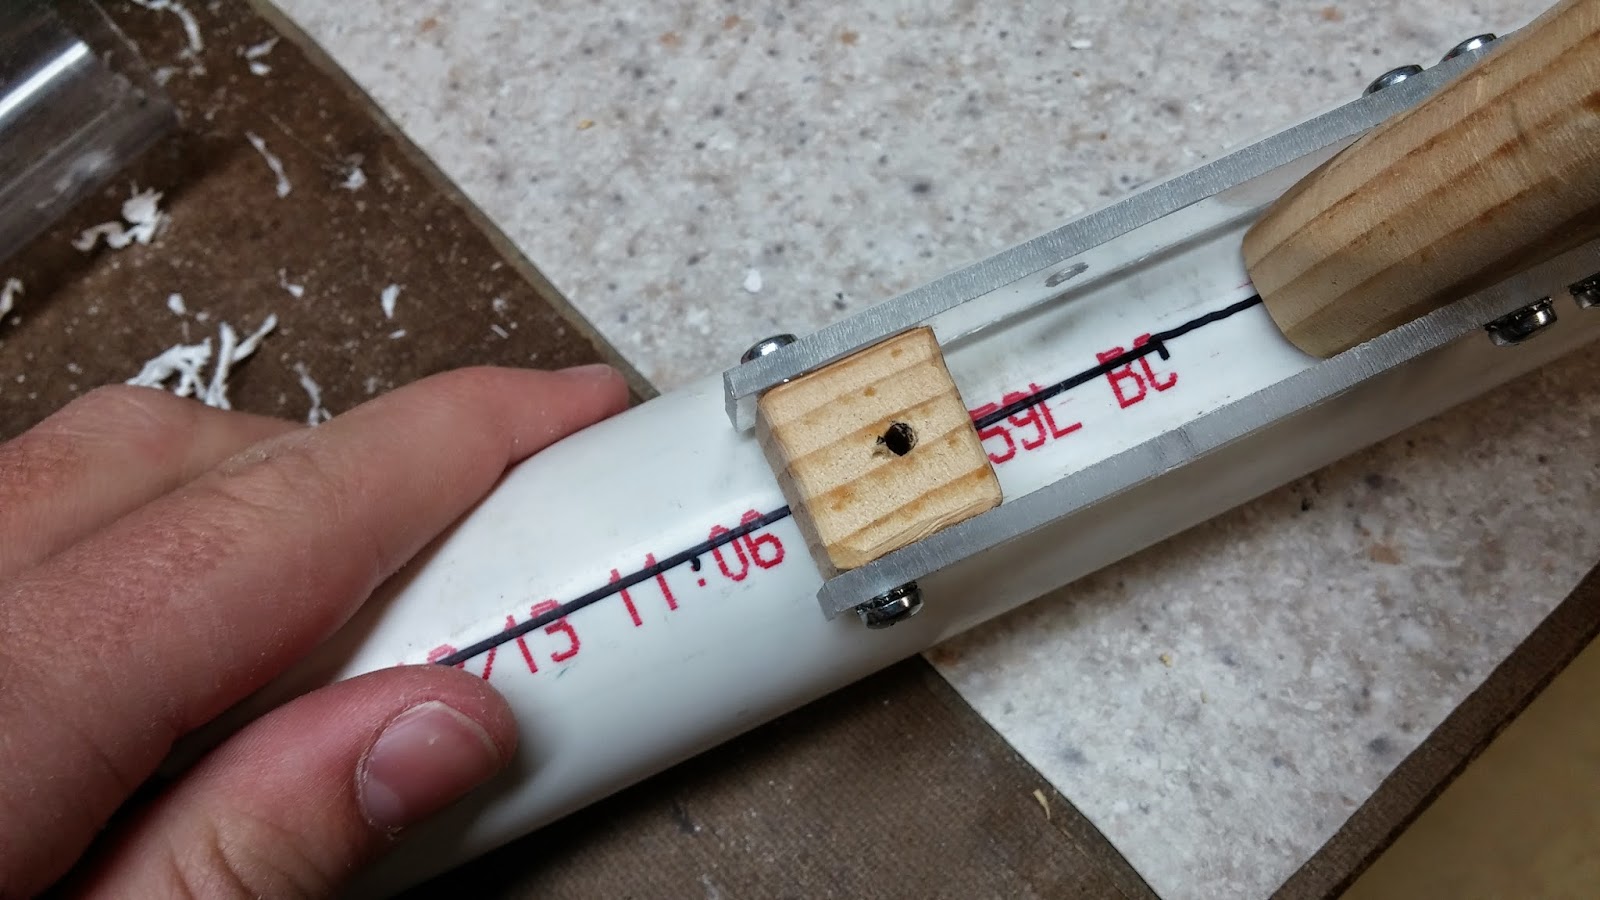
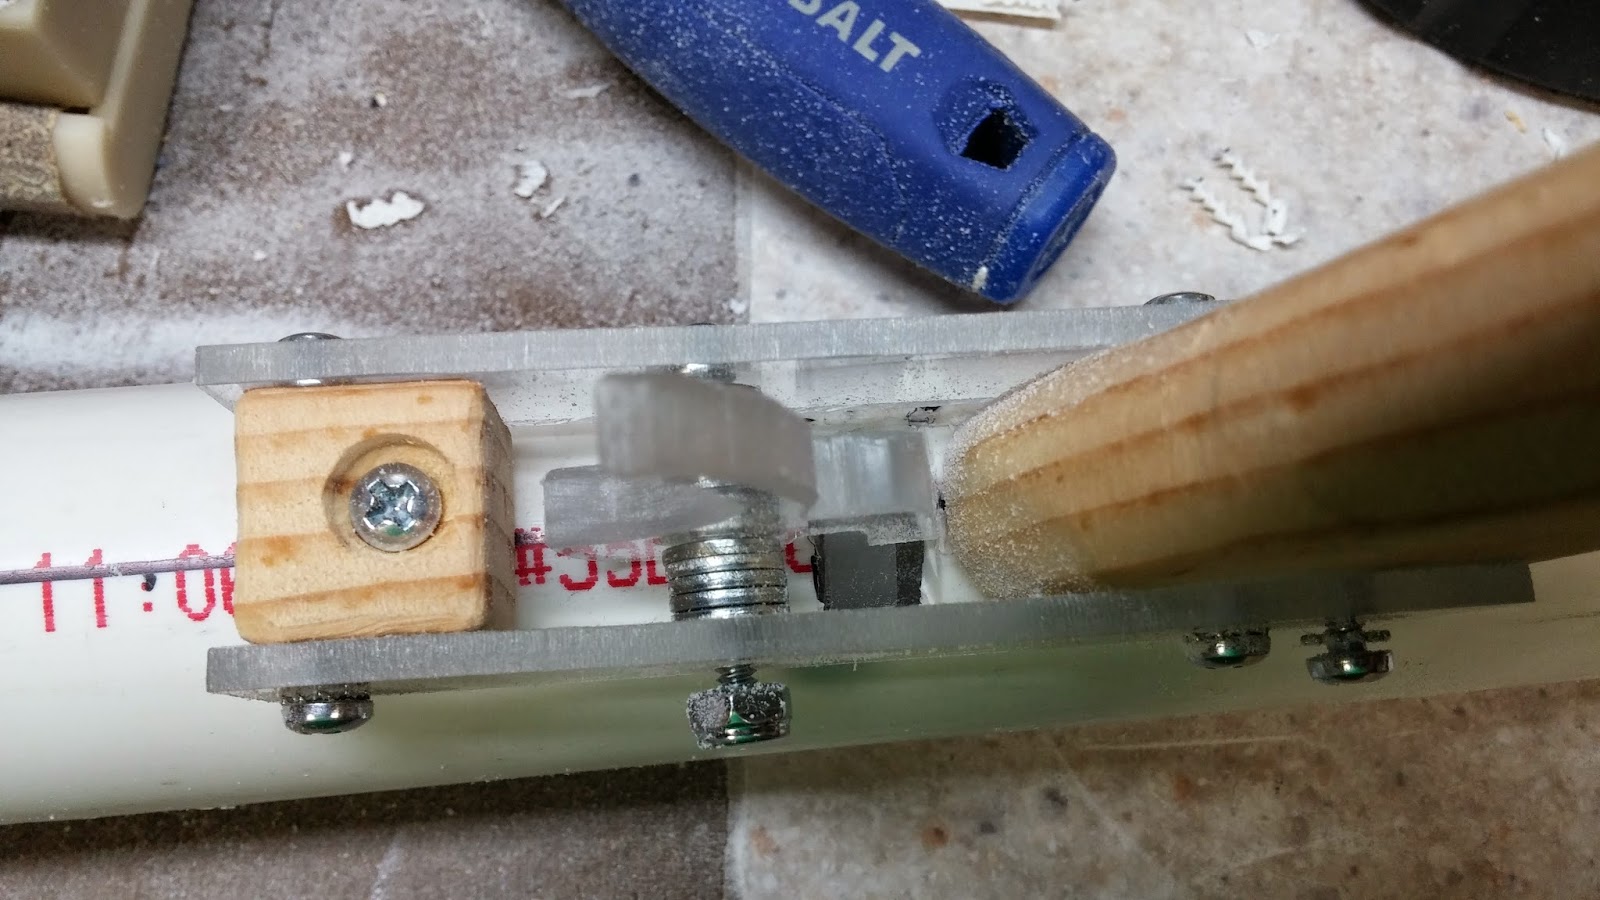
To fasten the catch to the 1" PVC, you want to out the catch plates in the PVC so that the screws already in the catch are facing away. Make sure that the catch is flush with the end of the PVC and make 3 marks of where you are going to drill. You will be drilling into the front catch plate without the screw heads. Drill the three holes with a 7/64" bit and tap them with the 6-32 tap. Finally, fasten the catch with three 3/8" 6-32 screws. Everything is better explained in the picture.
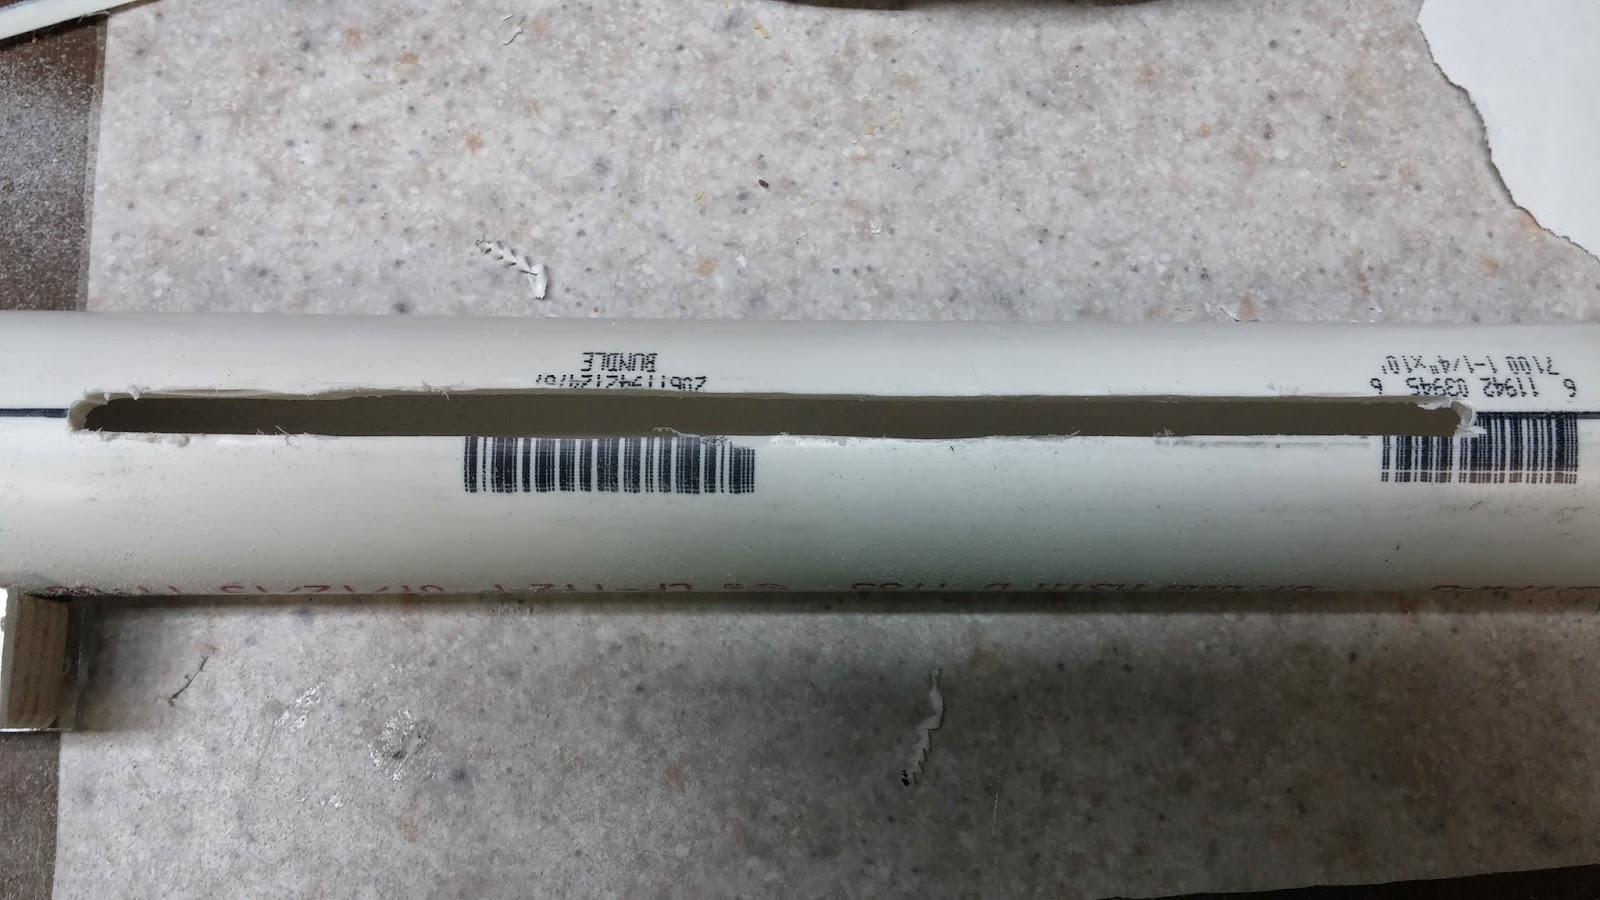
Extend the lines you drew earlier to be the length of the catch.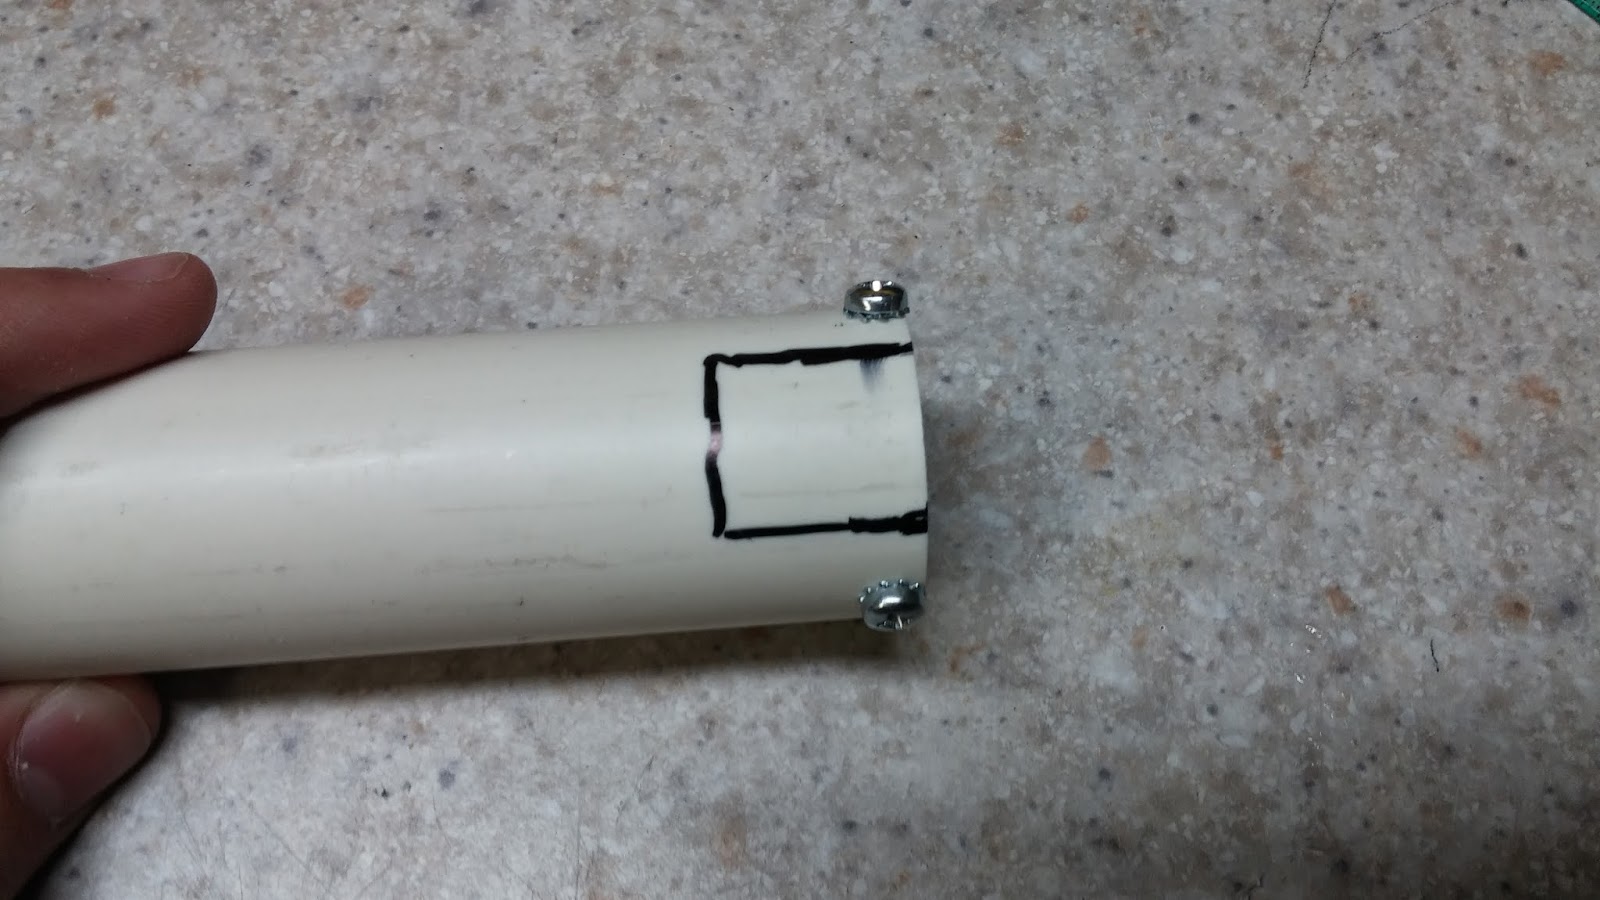
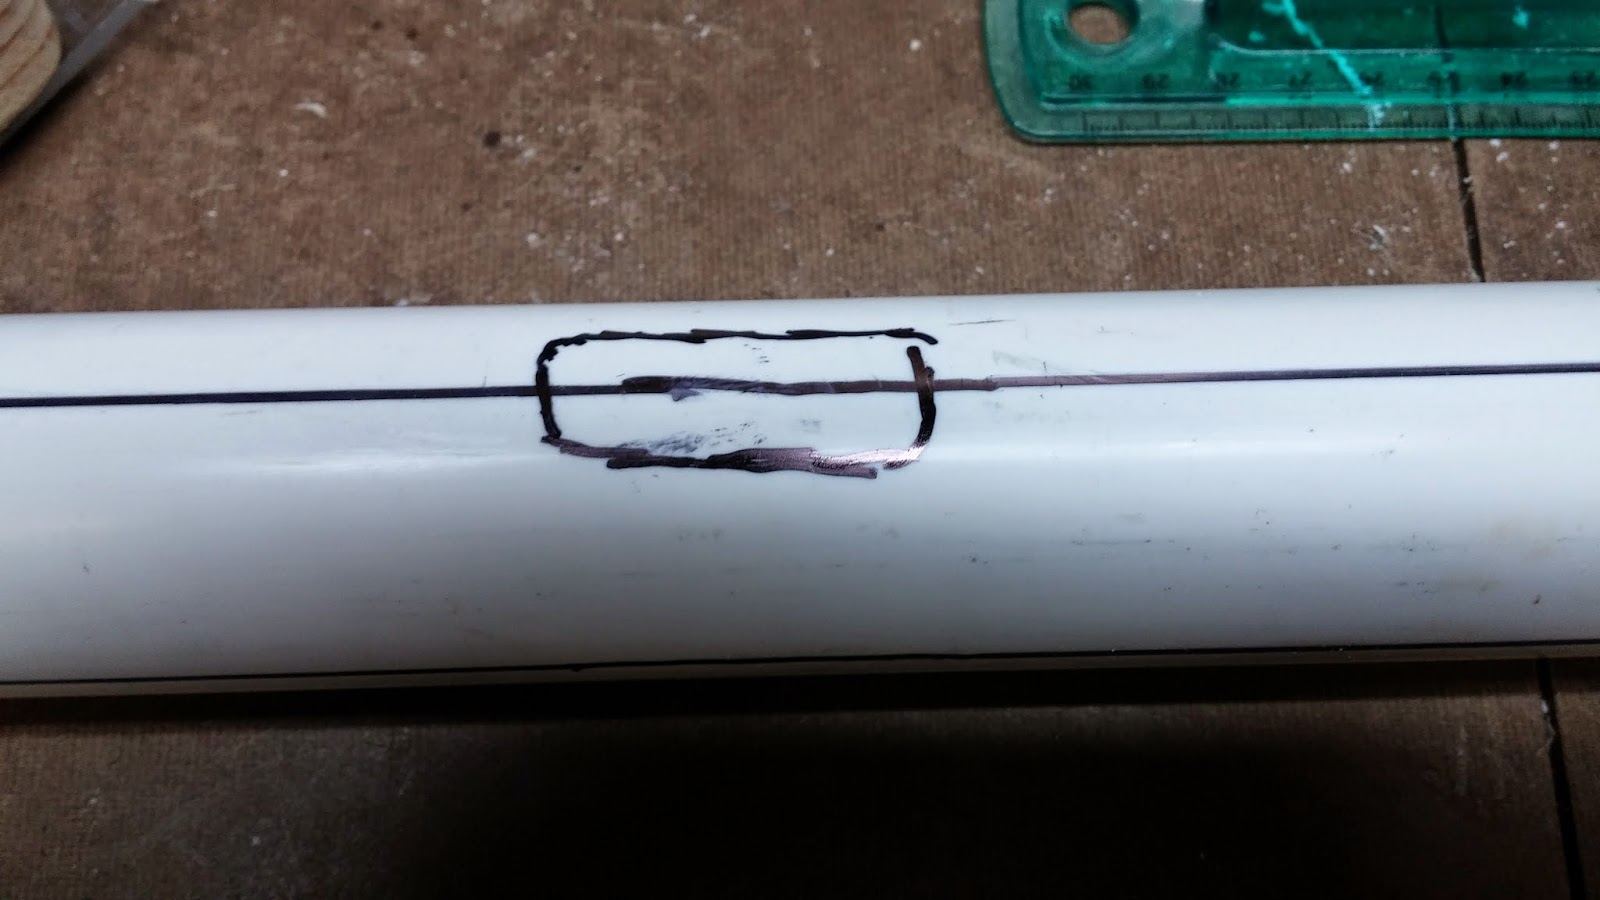
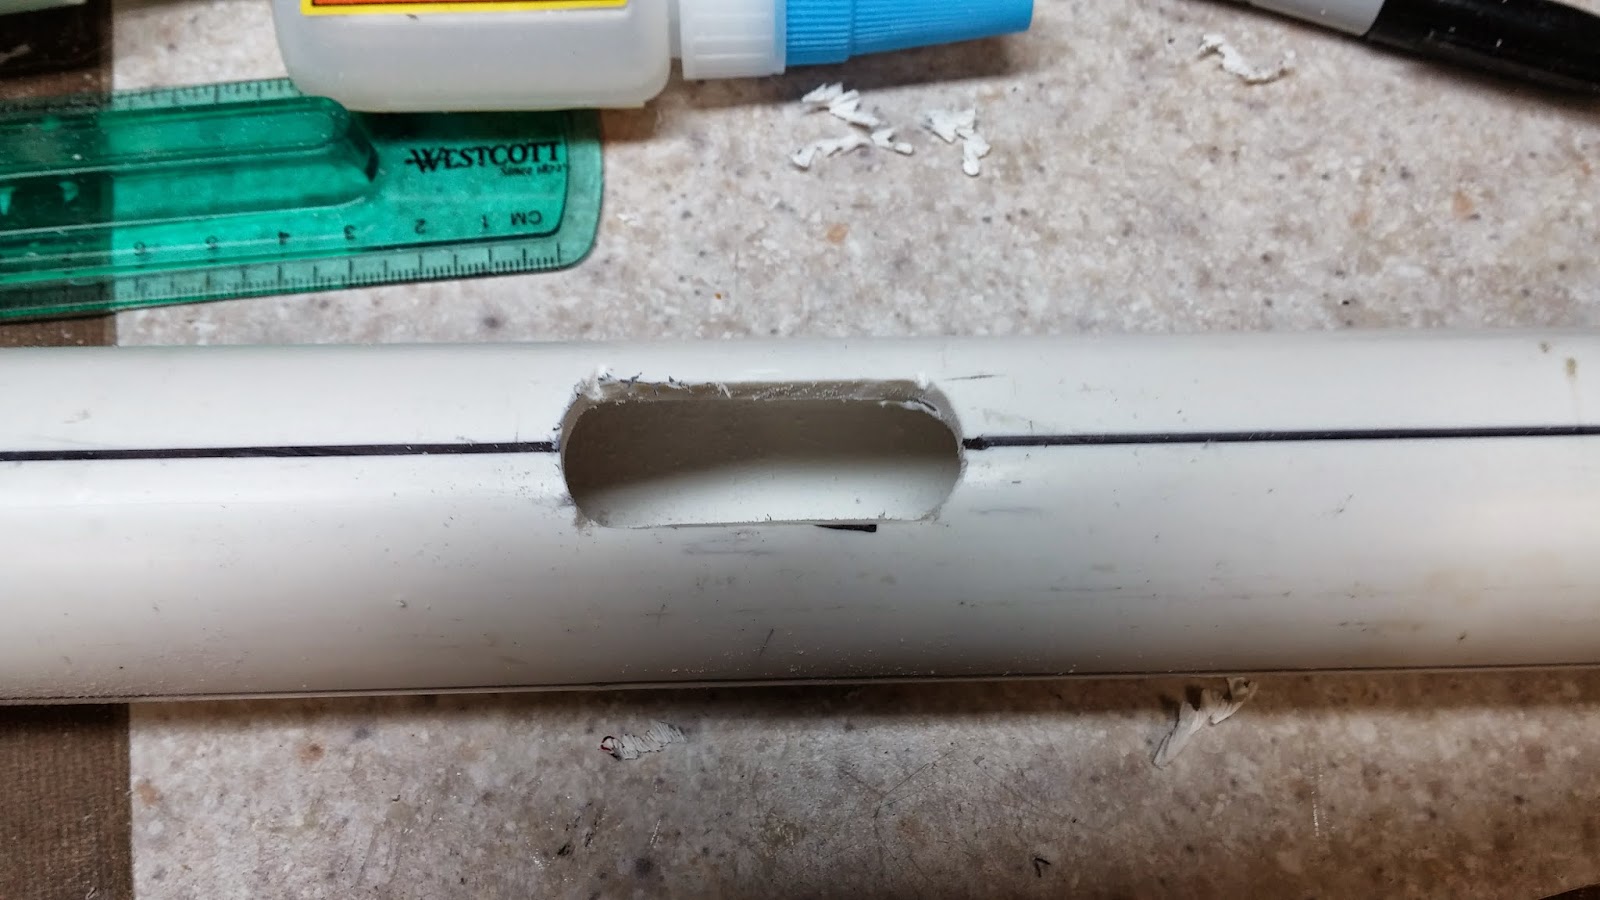
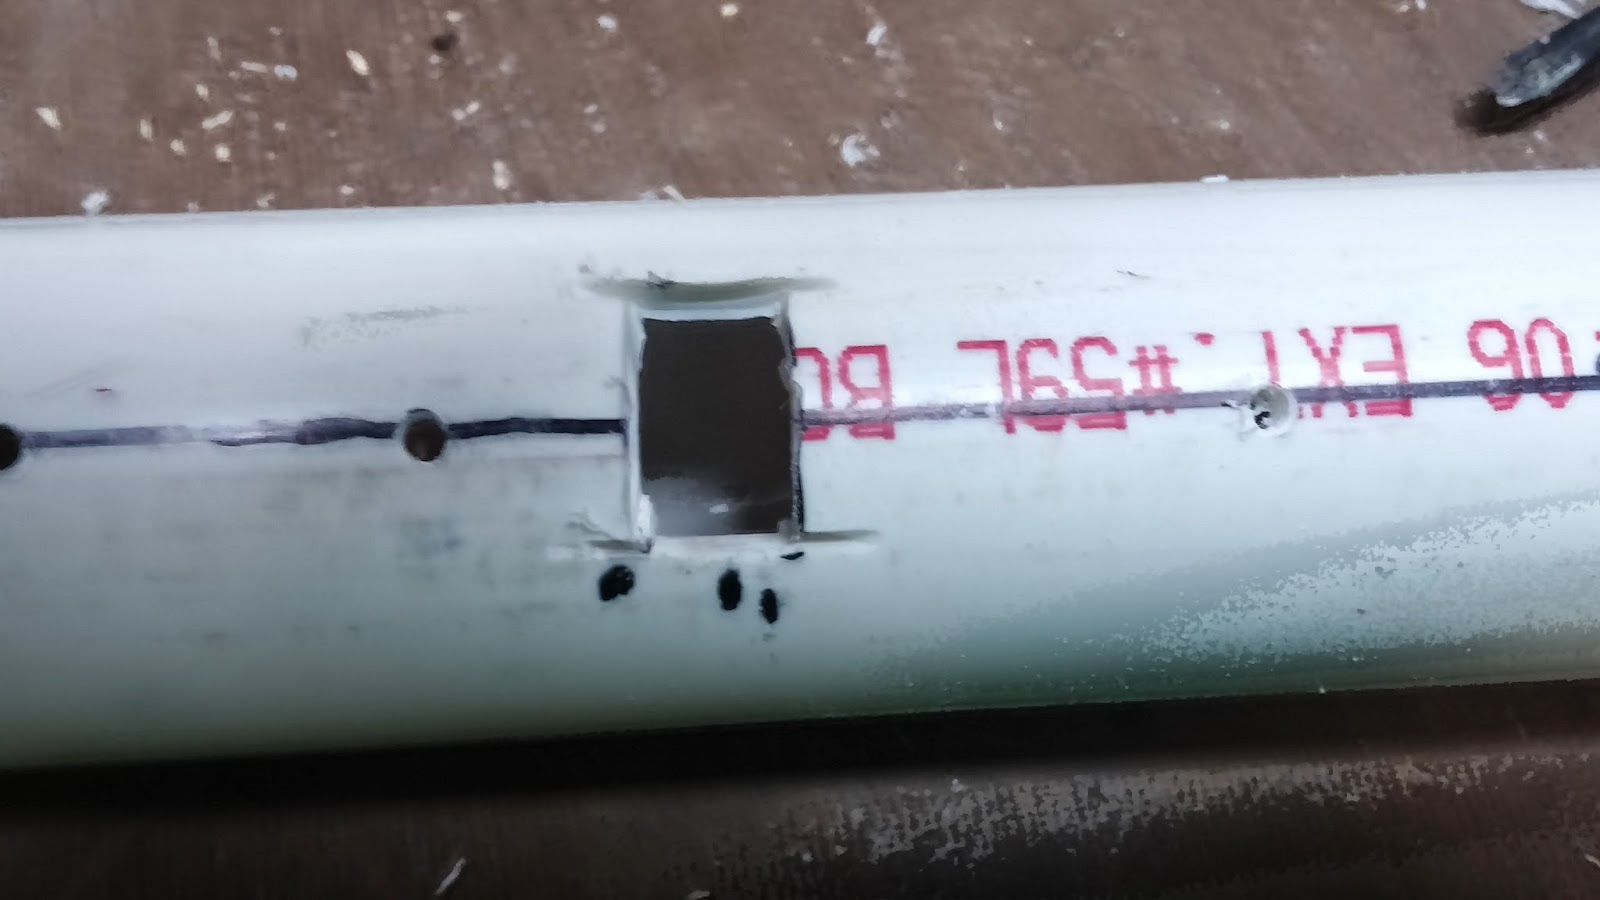
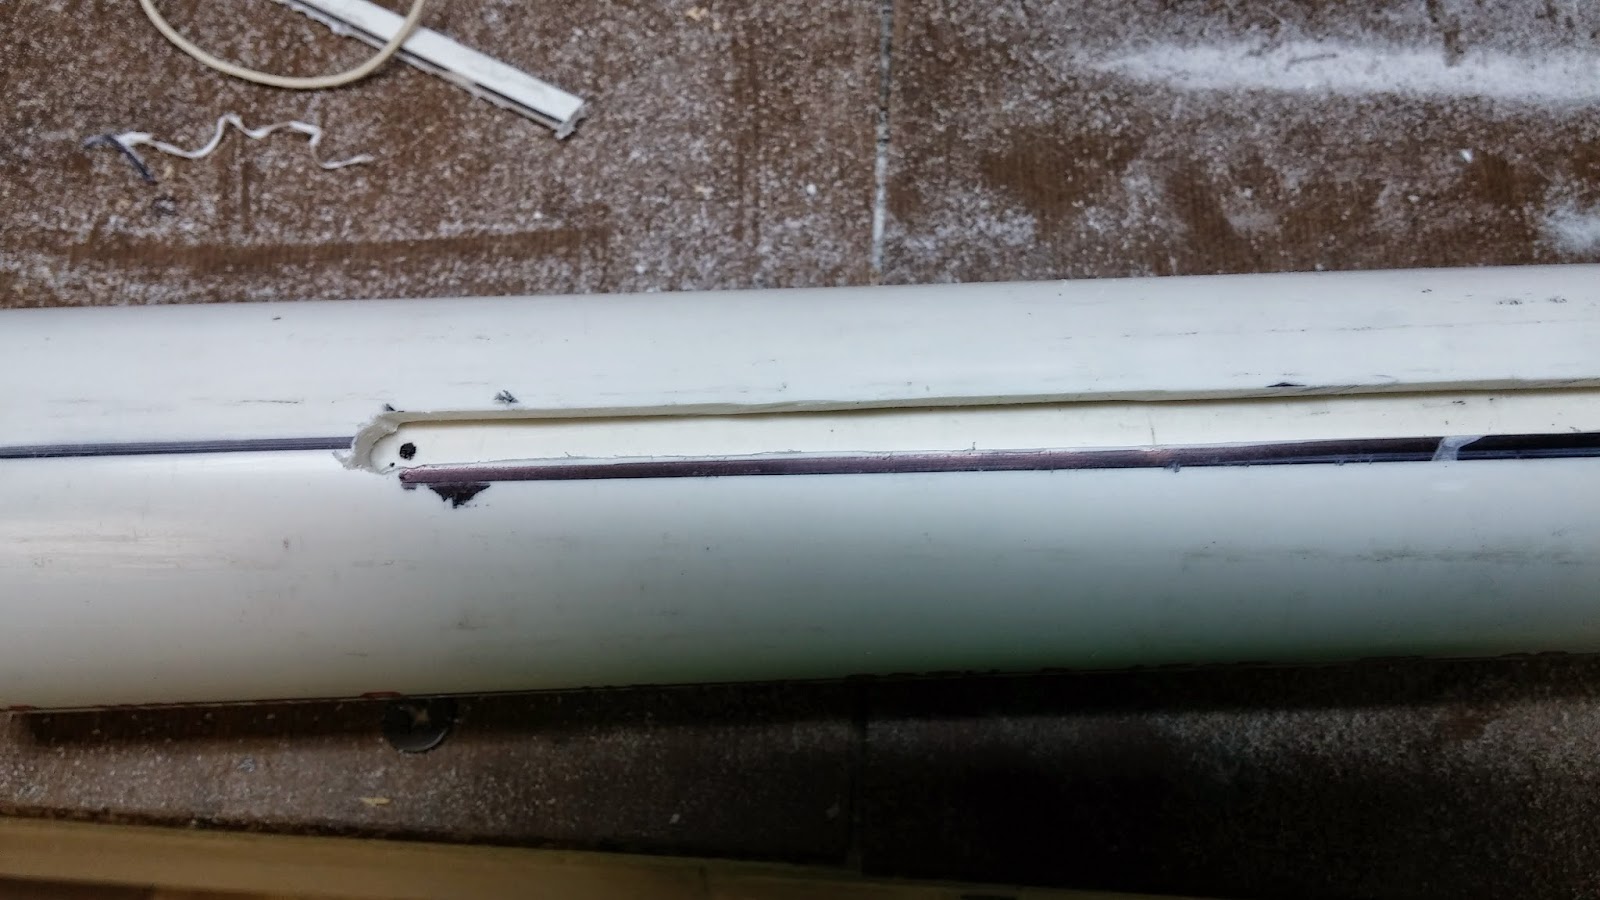
Cut out these lines with a cutting disc on the dremel. The below picture will also help with figuring out how to fasten the catch.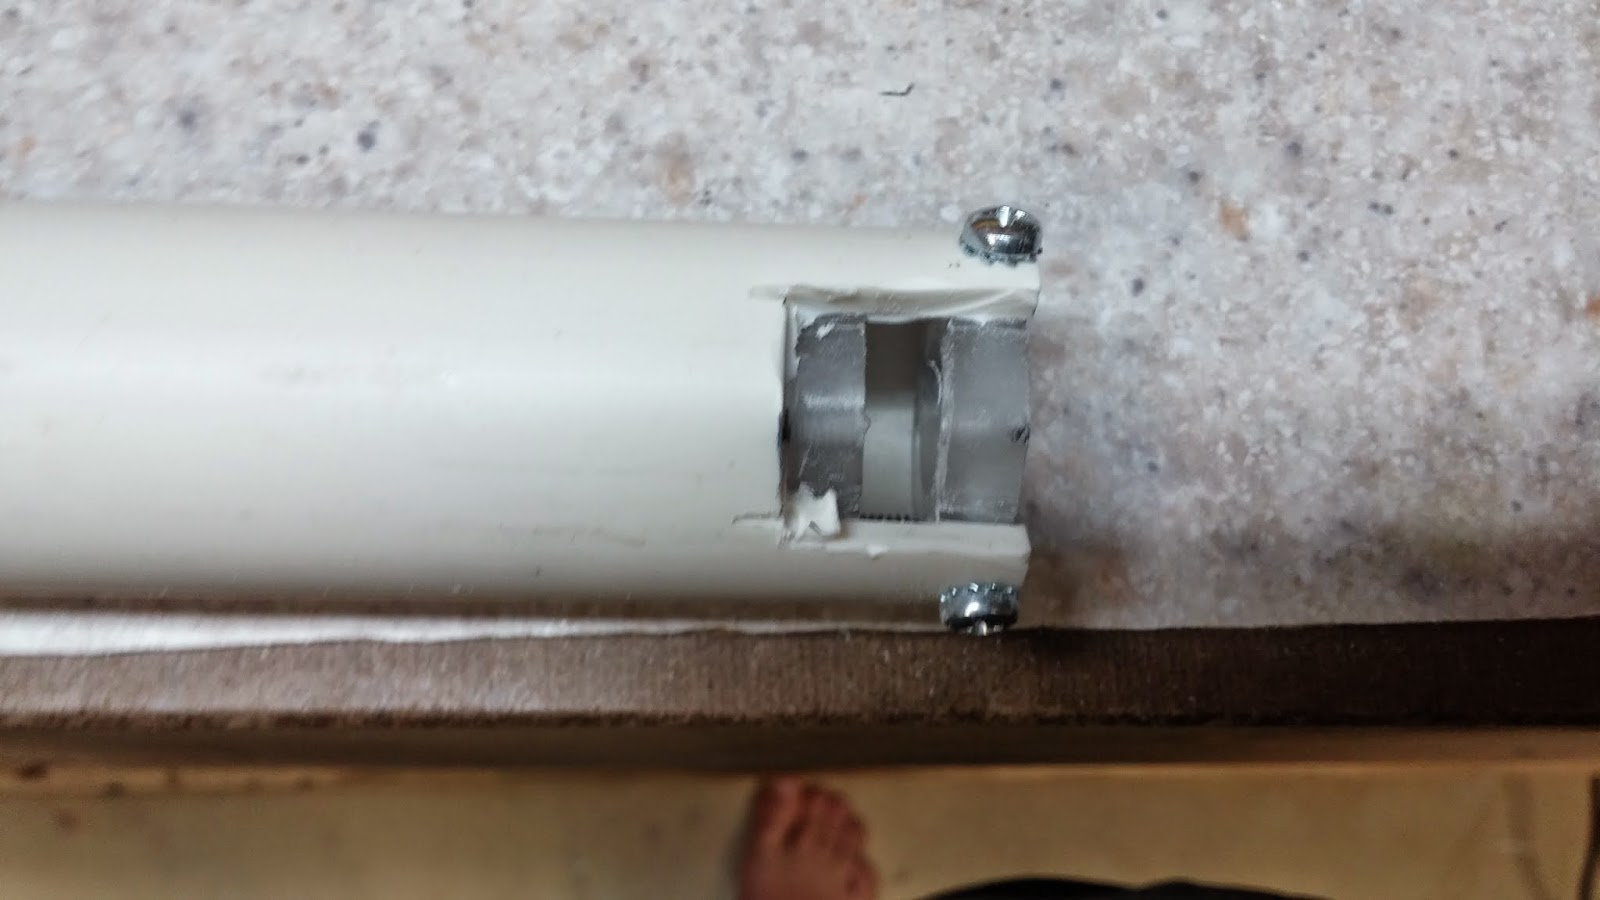
Cut the heads off of the screws that you used to fasten the catch. Use the same tool that you used earlier to cut the long screw. Screw the catch back in. I could screw the screws in all the way without using any tools, but if you are having trouble grip the screws with some pliers and screw them in.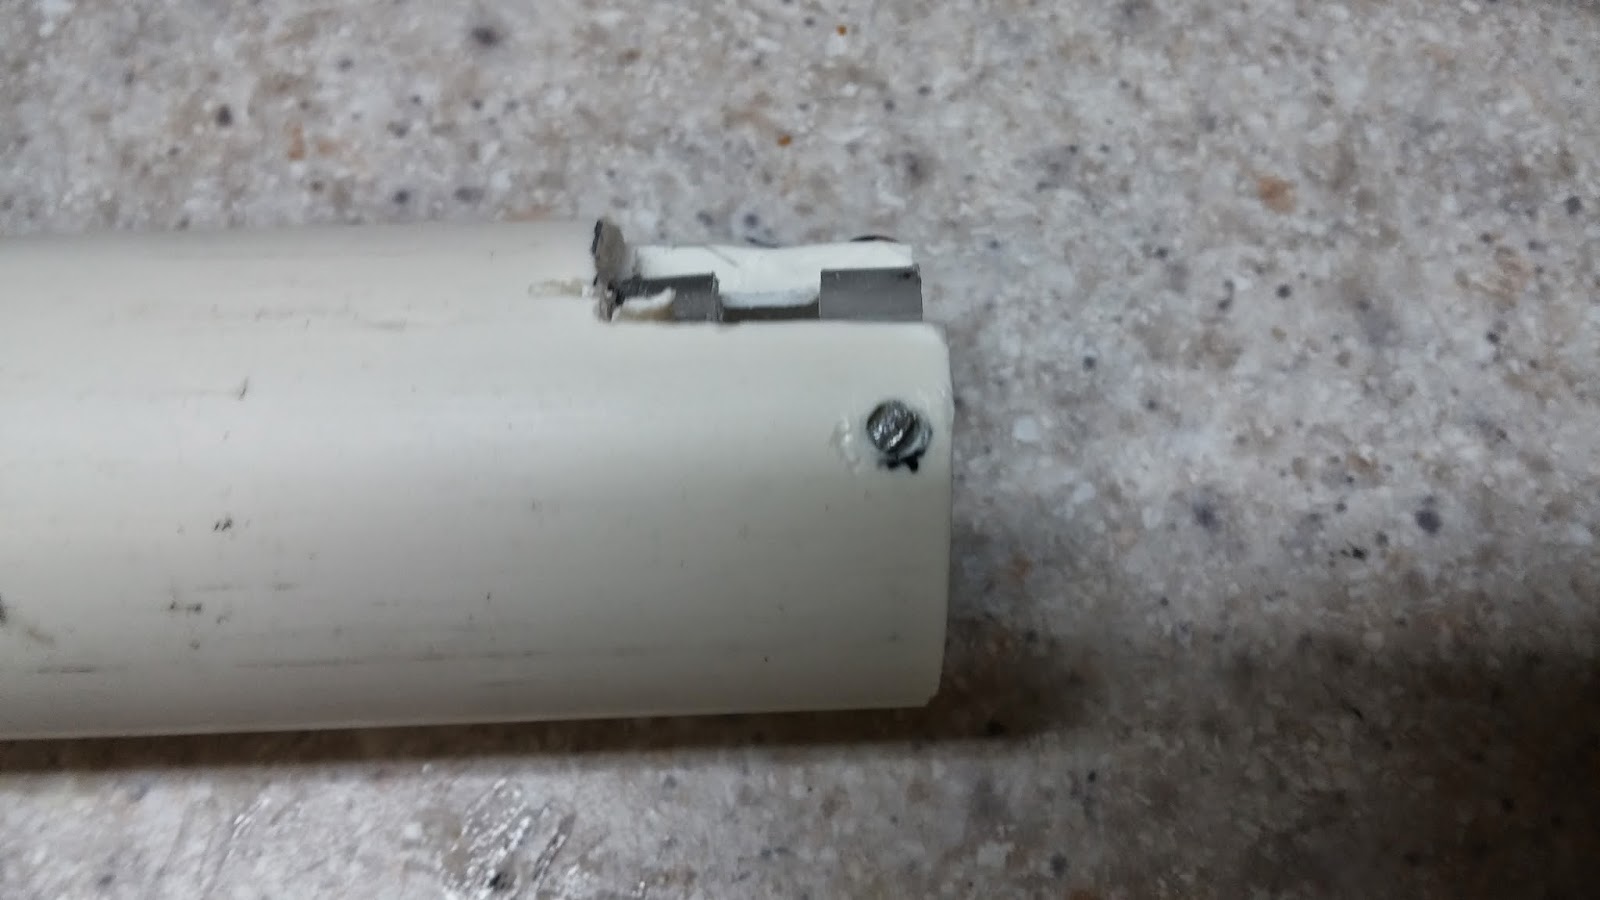
Edited by Aeromech, 23 November 2015 - 02:48 AM.


