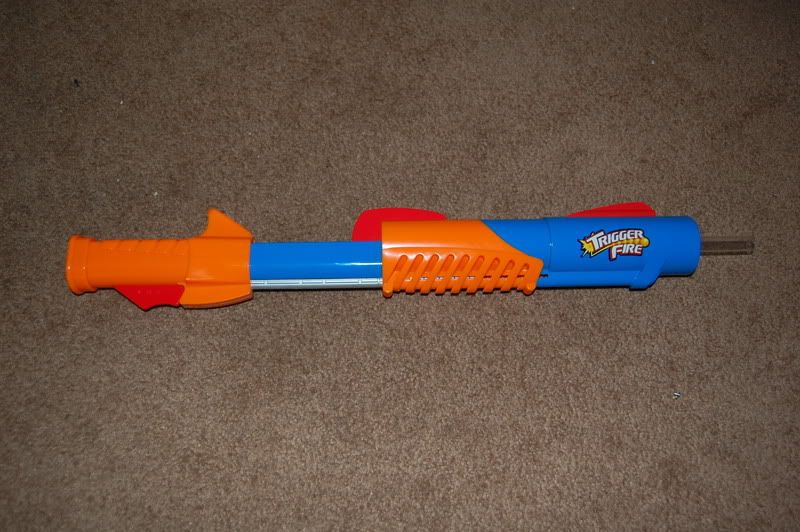
is my BOOMSTICK!!!
The single shot ballgun "Trigger Fire" modded to fire darts. Target's bottom of the line. You can find this online and in stores in the clearance bins. That's right, this sweet baby was made somewhere in China. Retails for about $7.00. It's got a pump action stock, orange and blue plastic, and a hair trigger. That's right. Shop more. Pay less at Target. You got that?
I figured I would paraphrase a quote from "Army of Darknes" to introduce my first real original mod that I named the Boomstick at "The Dart of War" in Maryland last month.
To start, this is what we have to work with.
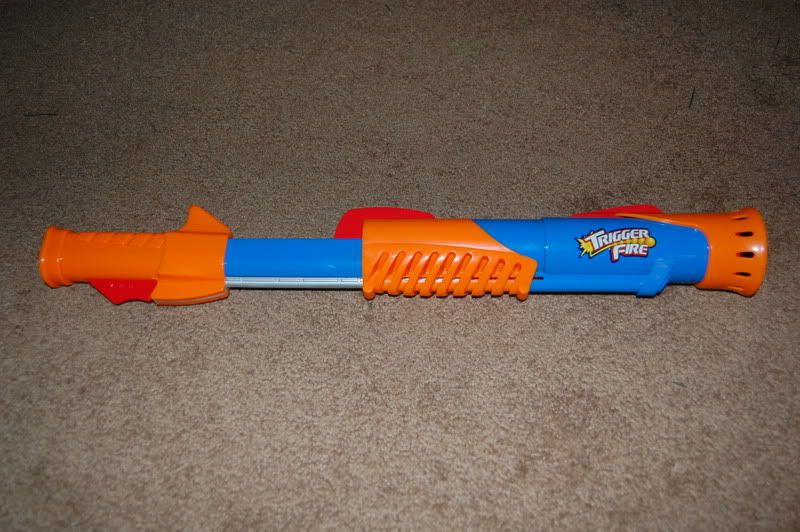
This is the Trigger Fire made by Zoom-O. It is a ballgun that has a few different traits compared to other more common ones like the Reactor. First off, it has a plunger rod that sits in an integrated plunger tube that is seperate from the ammo reservoir. The plunger rod has a 3" stroke and one hell of a beefy spring. The gun can hold 3 balls that are fired individually. Secondly, it has a trigger, which is even more unusual for a ballgun that doesn't run on batteries. This gun can't fire the balls for shit, but I had a feeling that it could do much better as a dartgun. Lastly, it is primed by pumping the body of the gun, like a shotgun.
First, I took it apart to check out the pieces.
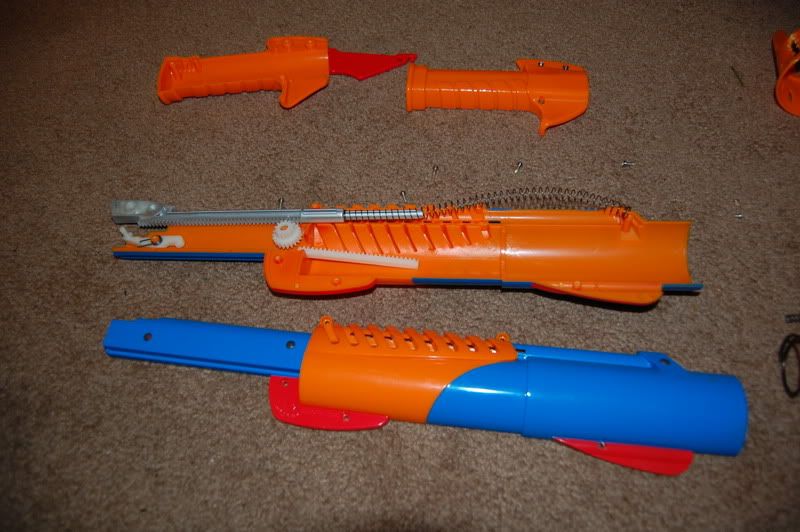
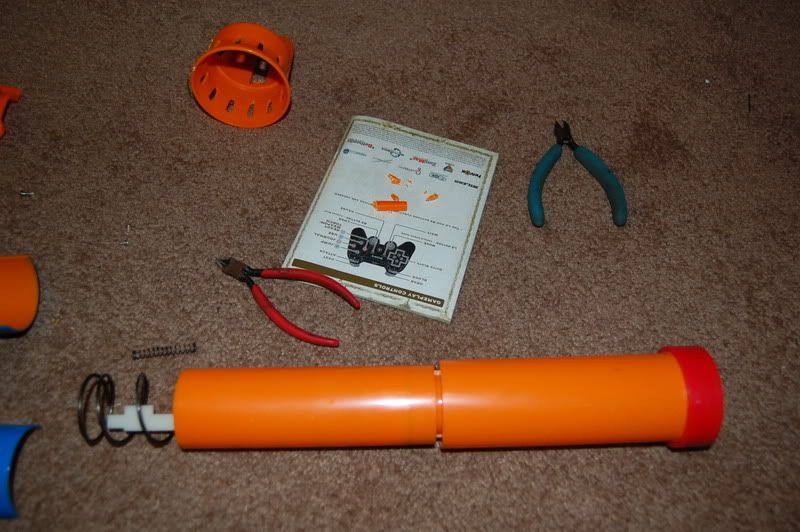
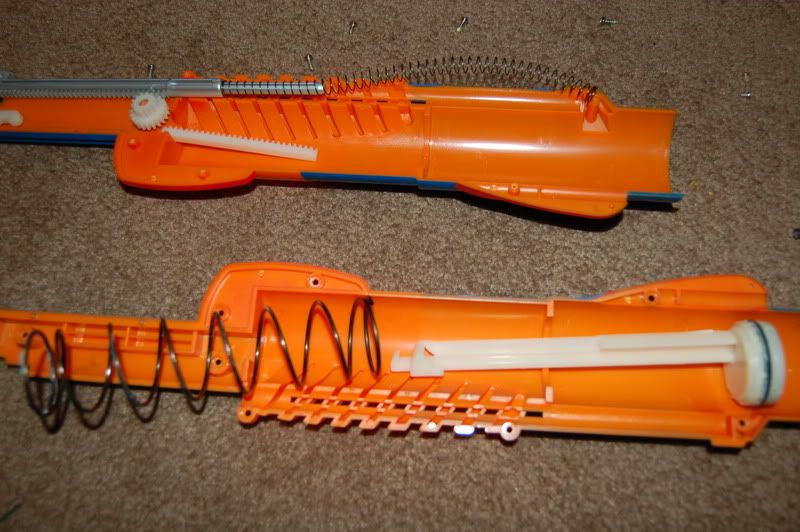
To open it up, you need to remove all the screws. First from the trigger assembly (amazingly, the springs don't want to fly away) then the front section. To open the front section, you will need to cut off the orange cone piece at the front of the gun. It is useless, so just trash it. Once this piece is gone, you can remove the barreland plunger tube assembly. There is a small spring in the front of the frame that held the cone piece forward. This spring is useless as well. On the front of the barrel is a red piece with the gasket that helps keepthe seal when firing balls. You can remove this as well as most of the ball chamber is going to be sawed off anyways.
In the third picture you can see how the plunger rod works. The spring sits behind the rod. Inside the rod in a little trough is a small rod with gear teeth. This interacts with a gearwheel (seen sitting in the top piece in the third picture, though upside down) that also works with the gray priming rod. When you pump the body of the gun, the priming rod pushes forward, which causes the wheel to move and to pull the plunger rod back to the catch mechanism in the trigger assembly. If you decide to do this mod, you can see what I mean. It is quite beautiful a design, in my opinion.
Now we shall make the new barrel setup, using the ball cradle/air restrictor piece that is held forward by a large spring in the front of the gun. It is the same piece that you would remove from a Reactor if you modded it to fire darts.
First off, cut off all but 1 1/4" of the front barrel.
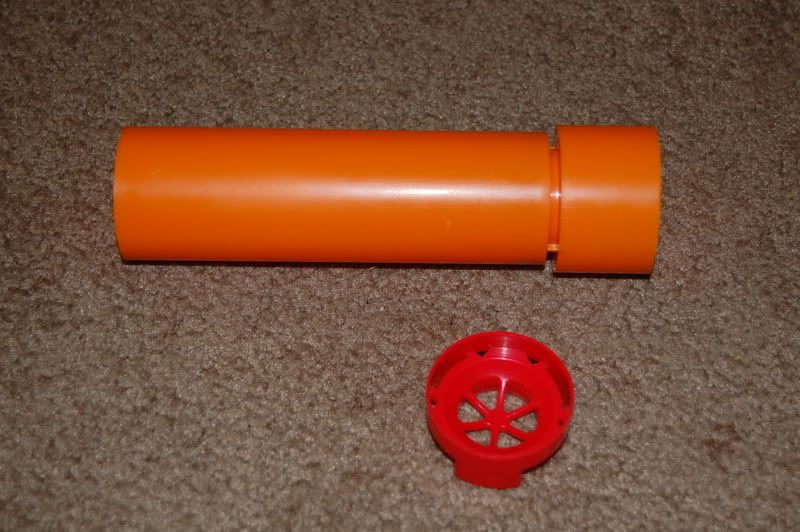
Then take the ball cradle/air restrictor and cut out the middle. This piece is what we are going to use to stabilize and center our new barrel as well as to help create our airtight seal between the barrel and the plunger tube section.
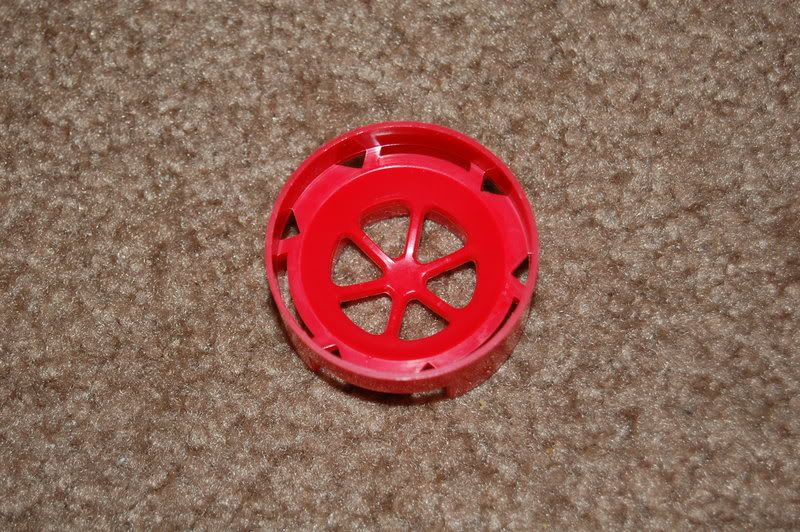
This is what it will look like once you cut out the middle of it.
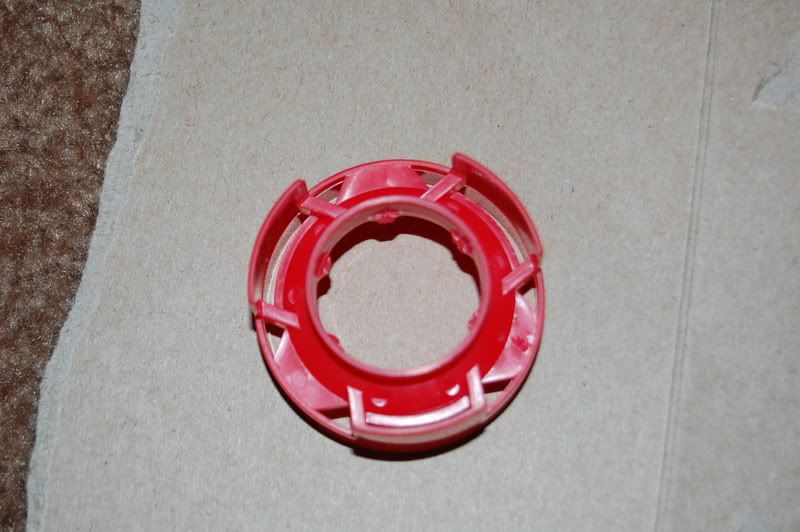
Then you will need your barrel material. I always use a combination of brass and OMC's PETG for nearly all of my barrels, but you can use whatever brrel materials you prefer and alter some of the steps as you see fit, but I find that brass works best for this gun. The brass was especially useful for this mod as it will have suction loading when I am done with it. Take a 2" long piece of 21/32" brass and a rubber washer (I can't recall the actual material name at this time of night) and place the washer over the brass near one end of it. Before you do this, take a pair of pliers and bend in the one end of the brass to act as a dart stop, so that when you load a dart, it won't fall into the plunger tube, causing a jam that will require you to dismantle the gun to fix it.
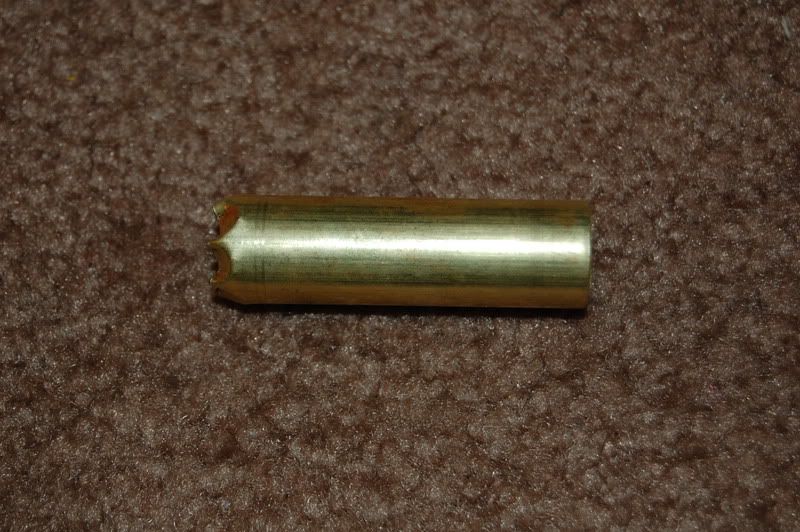
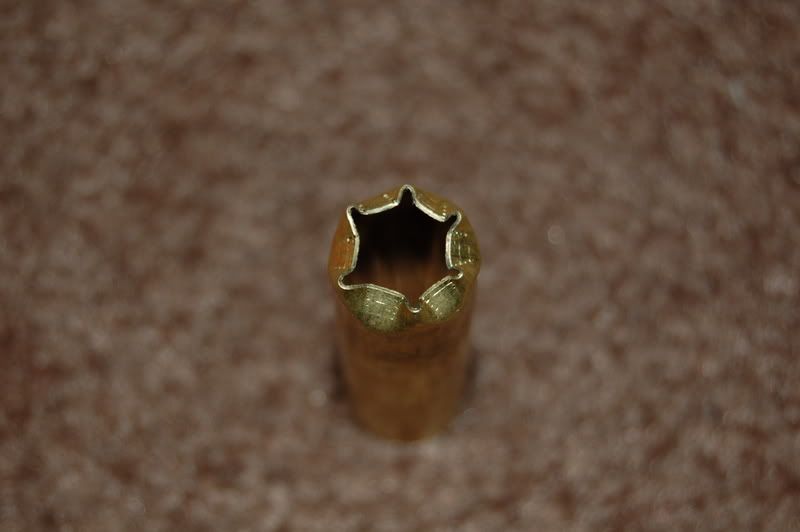
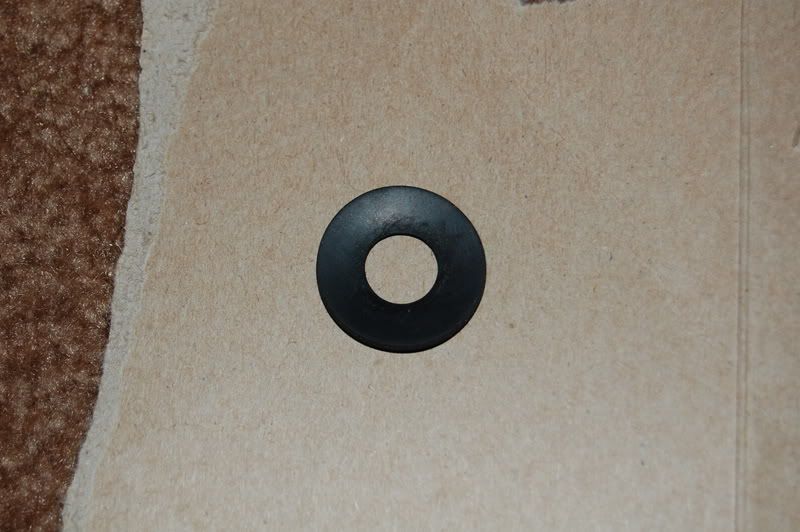
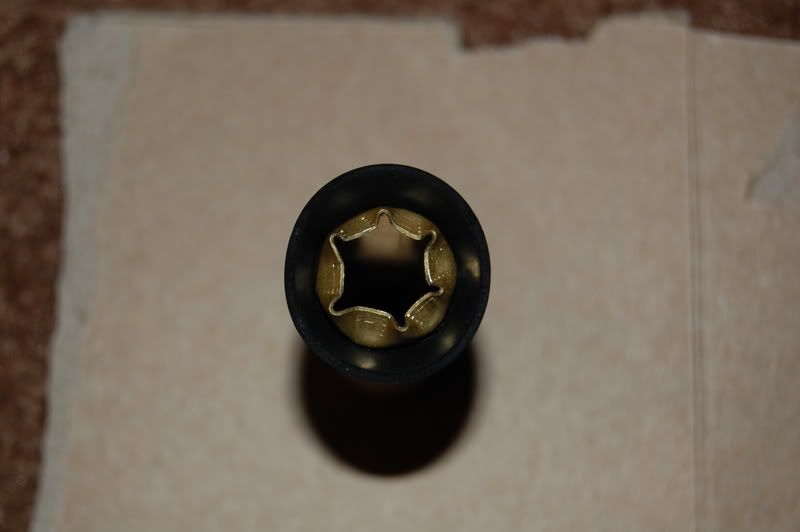
Now take the brass with the washer attached to it and insert it into the cutout cradle with the uncrimped end pointing out of the concave part of the cradle. Make sure that the waseher is flush with end of the cylindrical section at the back of the cradle and that the barrel is straight. Inject some epoxy into the front of the cradle to start to seal the barrel into place. Wipe any adhesive that seeps through the back side of the cradle from the center.
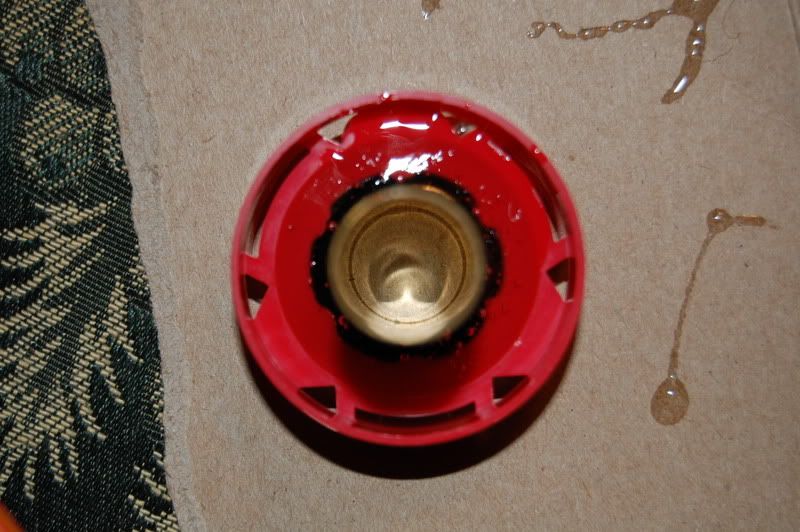
Once it is hardened, Place some at the back of the cradle to finish sealing the barrel into the cradle, making sure none of it leaks into the barrel itself.
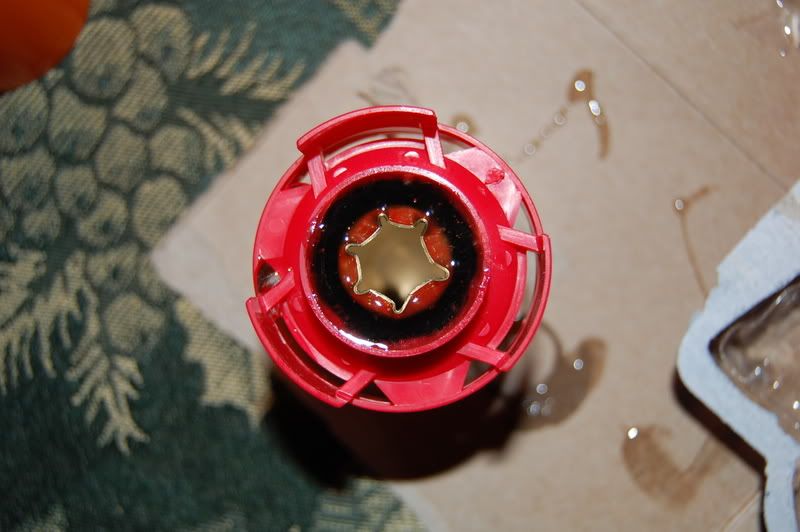
Now take the barrel assembly and place it into the front of the barrel/plunger tube part and slowly inject epoxy into the gaps in the cradle, filling the space under the cradle and starting to make your perfect seal. Wipe any glue that seeps into the top of the plunger tube area. There is a rubber gasket built into the top of the plunger tube that prevents the head of the rod from slamming into the top of the tube, so you don't want any glue on this area.
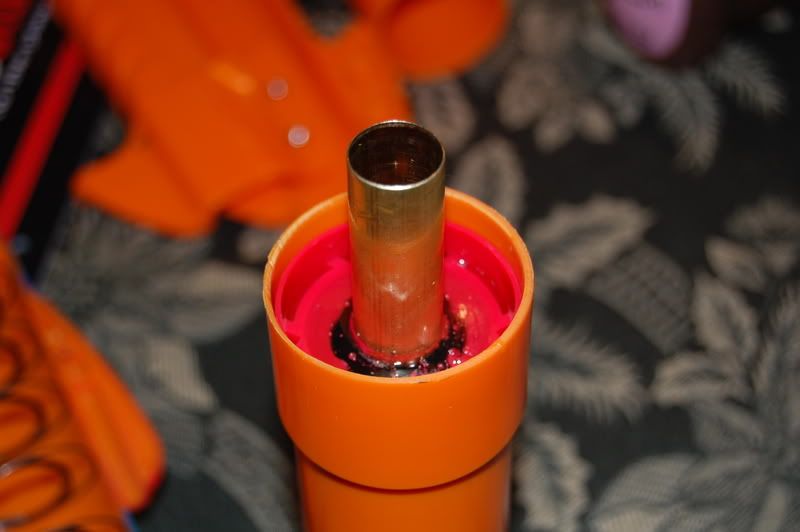
After the glue hardens, fill the rest of the open area with epoxy, finalizing your perfect artight assembly. Once it is set (wait 24 hours to be certain), now it is time to reassemble your gun.
In order of steps:
1-Place the plunger rod into the tube.
2-Place the small rod with the teeth onto the trough in the rod, ensuring that the piece is as far back as possible.
3-Place the spring into the tube and insert it into the shell. The spring sits against the frame like the recent NF.
4-Put the gray priming rod back into the frame with the guide tab in the track and the rod all the way back. The spring won't sit in place until you bring the two shell pieces back together.
5-Place the gear small side down in between the gray rod and the priming rod, ensuring that neither piece moves from its neutral position. If they do and you reassemble the gun, the plunger will not connect with the trigger catch.
6-Put the two halves of the front together, using a thin knife to hold the gray rod's spring inplace as you put it back together.
7-Put the trigger assembly back together and you are done.
Now to load it, simply place a dart in the front of the barrel and prime the gun. Be sure not to use darts that are too snug. If the dart fits just right and your seal is perfect, when you prime the gun, the motion of the plunger rod moving will suck the dart right down to the back end of the barrel with the crimped end stopping it from falling into the plunger tube. If your darts are too snug in the front of the barrel, it will be very hard to prime the gun, causing a misfire if it can catch or, more likely, when the gun slips before it is fully primed, causing the dart to shoot prematurely. Now just pull the trigger and fire away.
I still need a sling for the gun to holster it on my back (Groove's idea and a great one at that) to make it officially the Boomstick.
Ranges are about 70-80 feet flat and, if your darts don't suck, beautifully accurate.


