Jump to content


Exo

Member Since 14 Aug 2010
Offline Last Active Feb 12 2020 10:20 PM

Topics I've Started

NERF Magnus: AR, locks, springs

21 June 2014 - 11:27 PM

Let's see what we've got here: a basic, pistol sized blaster that's been released for 6 months and a week with no known writeups on this forum. For shame, NIC. I guess this hobby really is dying to noobs with wonderfully intellectual pursuits such as "OMG GAYZ! Wut shuud I doez wit dis gun?!?! Liek, im suck a nuub!"

Posted Image
Screws. One hidden under the slide. No big deal. A bunch of different sizes though, so stick them though a piece of paper with the blaster's outline drawn on, or leave them in the shell.

Posted Image
Guts. Pretty basic, really. Actually simpler than Recon by a vast margin, complexity is reduced via some pretty clever mechanical means. The plunger system actually uses a rodless SNAP style catch, unidirectional and super-low-mass. Remove the ammo feeder and the accessory clip. Easy to do, just pull up on the spring where it loops around the post, then slide the pusher away from the tube. Easy.

Posted Image
Get these two screws. Don't mix them with the shell screws.

Posted Image
Remove trigger pack and left mag/clip feedlip. It's pretty intuitive, even for a Chem Eng. (The joke is that Chem Engs can't do anything mechanical. Laugh.)

Posted Image
But this next bit, if you're a Chem Eng, you might struggle with. Pull the barrel off the slide. Then, pull up and away to clear the barrel from the dart tooth house, then slide the assembly
to your left at a diagonal to clear the shell.

Posted Image
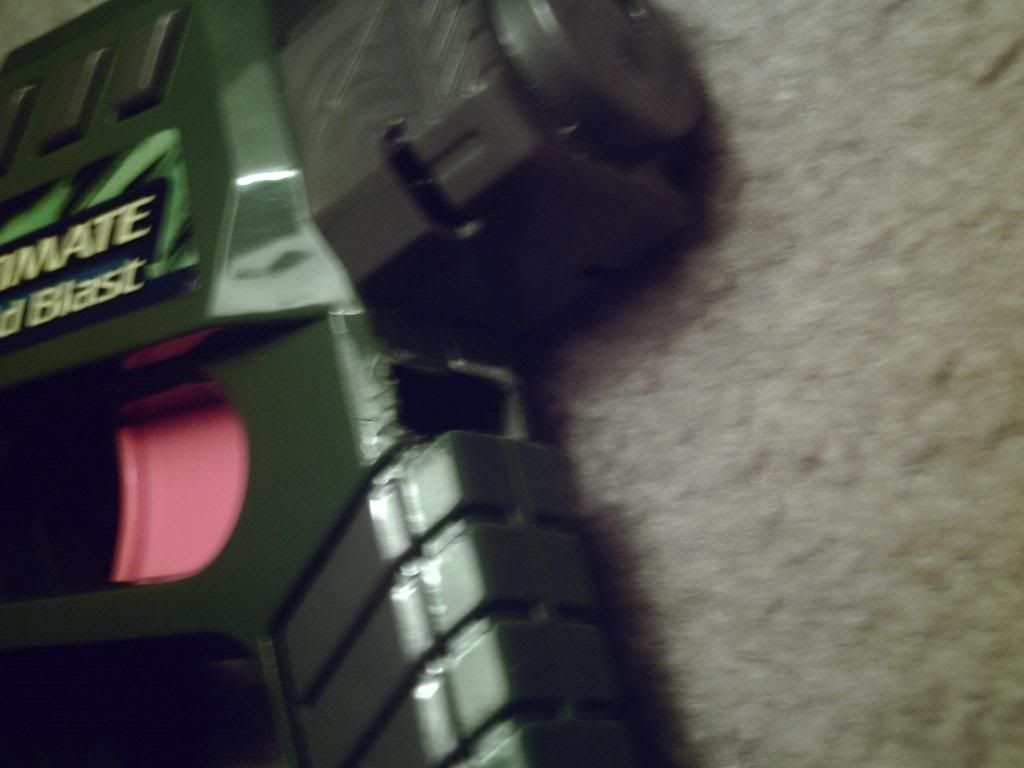
Here's the trigger pack opened. Easy, just a screw on the left face and a bunch of tabs, some of which Mayor Maynut be glued slightly. A little brute force with a screwdriver fixed that. Just push on the angled part of the tip of the tab. Make the trigger pack look like this.

Posted Image
You should have all this stuff laid out on your table. Chuck it in the trash. Alternatively, feel free to throw it on the ground and feel like a lonely island.

Posted Image
Now, if you're a Chem Eng, I suggest you get someone to help you with this step. Unscrew the screw on the PT, and pull the spring off the post. You'll want to use your left thumb to hold the outer shell away so that you can twist the plunger assembly clockwise with your right hand, and have the tab clear it's locking space.

Posted Image
Twist the barrel 180* from it's original position, and place it like so.

Posted Image
Continue to this step while screaming racist insults at your Asian roomates. I suggest something like "Hey, can you help me with math?" This should be pretty self-explanatory.

Posted Image
Fucking magnets, how do they work?

Posted Image
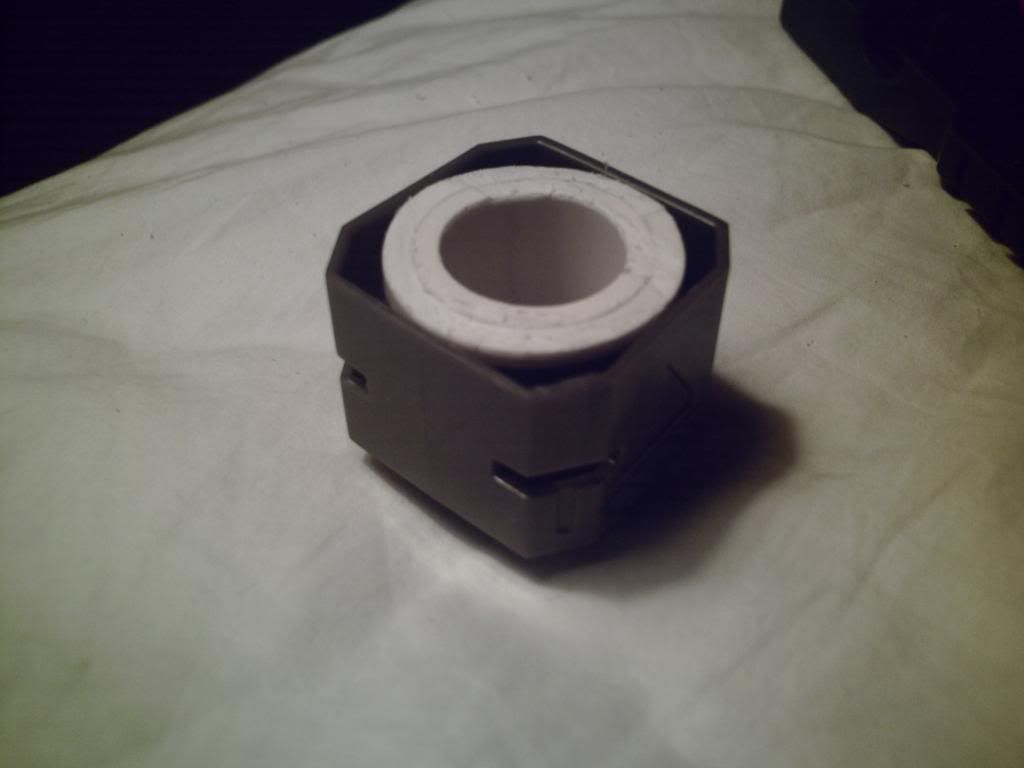
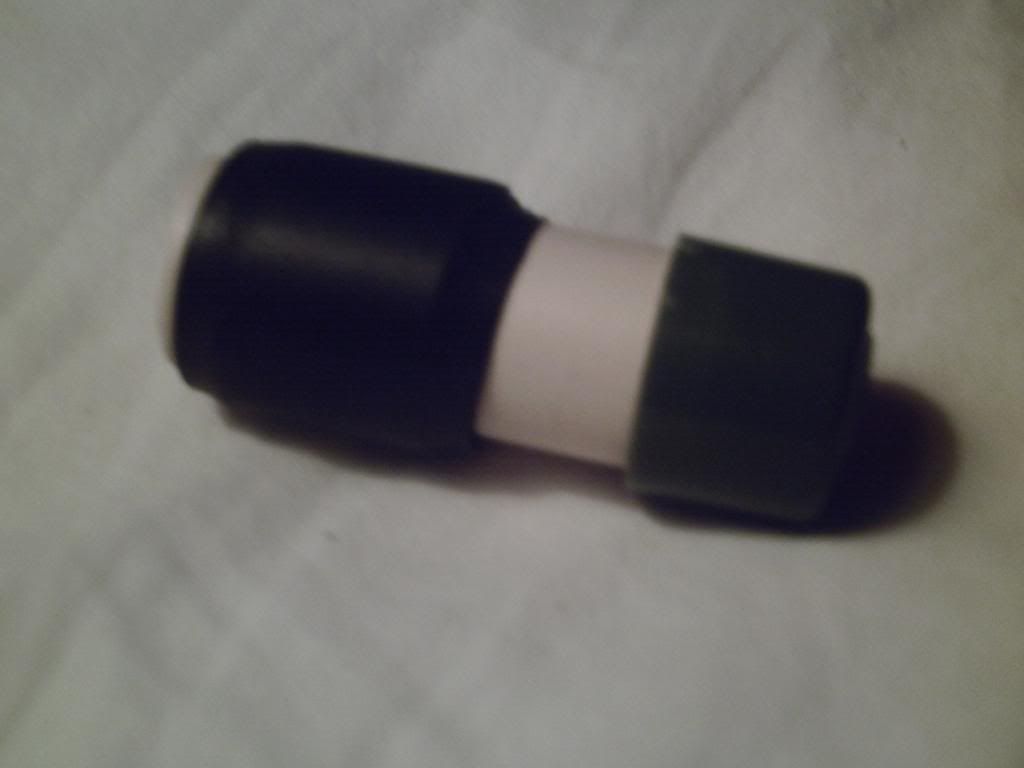
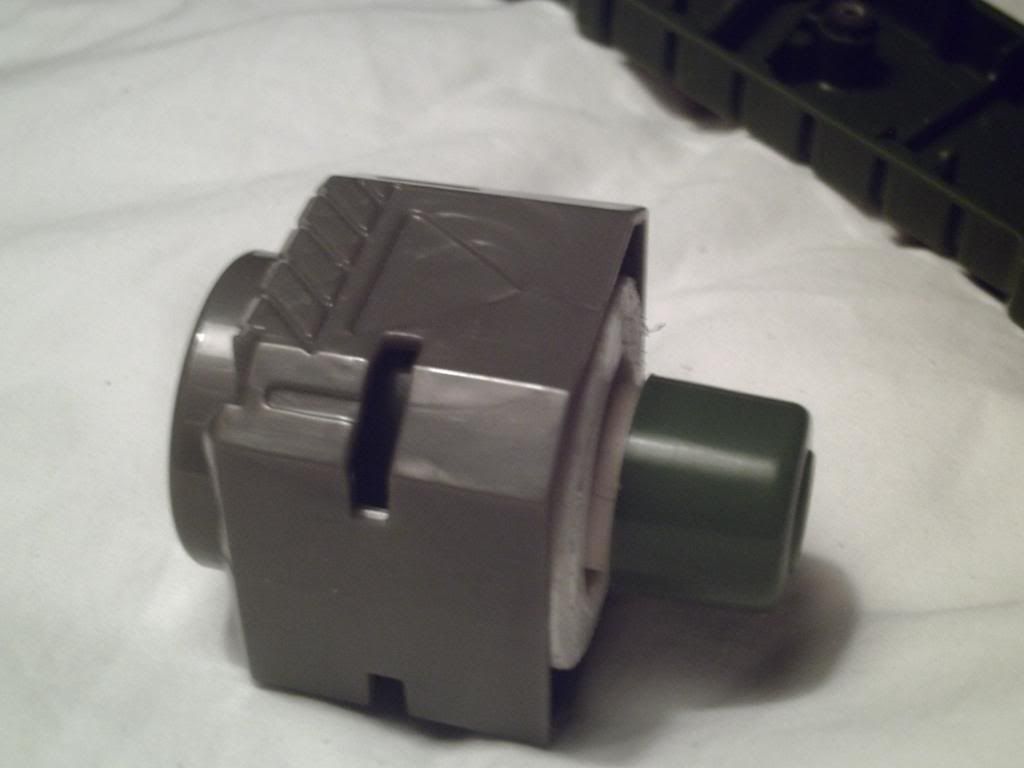
Boil some water, pull this apart. MIG-grade muscles recommended. Wiggle it laterally, should help weaken the bonds. Might take multiple dunkings, but it's the cleanest way to do it. Dry up all the parts. Pull out the AR pad and spring. Remove the peg if desired. Clean up the glueshit with a file, sand it a little with ~100 grit sandpaper, throw some super glue on there, push it together.

Posted Image
Lube's gone. Throw some more in there. This stuff works pretty well, should be ~#2 on the list for every nerfer. This tube's lasted me for about 3 years now. Only stuff better in my book is Silicone Grease, but that stuff's more expensive per unit volume.

Reassemble the blaster. If you're so inept that you need specific directions for doing something in reverse of a described manner, then I suggest you find another hobby, like finger painting.

Ranges: No stock ranges taken. 3 shots, with darts landing at 47'-56' flat, as estimated by a car-lot space being ~8'.

Speculative notes on accuracy: These darts are great. With a 45' angle shot, darts deviated from "perfectly straight" at final range by 5' at most. At ~30 feet, aimed shots missed a 3" thick pole by mere inches, and occasionally hit dead on. I have no doubt that this blaster with this ammo will reliably perform center of mass shots at close engagement distances. If a near-perfect match were found for dart size in FBR, homemade darts would perform COM shots at full range reliably.

Springs: It is possible to replace the stock spring with a new spring, assuming one keeps the length nearly the same, the full-compression length the same, and the outer diameter the same. The inner diameter can be varied, but the spring peg at the back of the plunger would need to be shaven down to accommodate.

Adding a tacticool stock mount to a BBURB

11 February 2013 - 12:31 PM

I had this project kicking around in my pile for several months, I wanted to make a permanently-attached stock made out of wood. I got tired of waiting around to get my willpower up to go play with my wood, so I came up with this: Why not put a tacticool stock mount on there? I had a spare one from a Spectre, and the colors matched fairly well.

So, here's what you'll need:
Hotglue or other form of glue, preferably 2 part epoxy.
Hacksaw
File

E-tape
Spare tacticool stock mount, mine's from a Spectre
1" PVC, 3/4" PVC, 1/2" CPVC
1 BBURB

I think that should be everything you'll need.

During this write-up, I will not be noting where I think you should put glue, that is up to the user. This WILL require some gluing in order for everything to stay together permanently.

So, take your Tacticool Mount Part (from here-on: TMP), and put a ring of 1" PVC into it, make sure that the ring is flush with the edge or lower than the edge of the TMP. Place a ring of 3/4" of equal size into the 1" ring, and wrap 1 layer of e-tape around the combined rings. It should slide snugly into the TMP.
Posted Image
Posted Image

Now, take your BBURB, open it up, and remove the green cup from the top of the blaster, right above the grip. Cut a length of CPVC about 1.5" long, and insert the CPVC into the cup. This is a tight fit, and you will see some stress marks appear in the plastic. If you wish to avoid that, just file down the CPVC a little at the end, so that it is thinner. Wrap several layers around the exposed CPVC, enough for a snug slide fit into the first ring we created. You will need to trim the CPVC length so that you have something that looks like the second picture.
Posted Image
Posted Image

You will need to cut the shell slightly for the stocks to attach. Once your glue is dry, insert the cup with the attached TMP back into its original position. And everything is done!
Posted Image
Posted Image

That is all. The intelligent ones among you will have noticed by now that your stocks will be angled up slightly once attached. I have found that that is not a comfort issue for me, if you were to hold the blaster so that the stock was at a normal angle, then your shots will be angled. If you hold the blaster so that the blaster is level with the ground, then the stock will be angled and the blaster will be low in your field of veiw. But, if you put a BBUSB in the integration slot, then the top of the BBUSB should be right at eye-level, perfect for pseudo-iron sights.

The QUICK way to reload the RoughCut

03 February 2013 - 02:26 PM

One dart at a time is just too slow when you have to reload 8 barrels. Having a fistful of 8 darts is also too slow, as you have to adjust each dart in your hand. Take a look at THIS VIDEO. Now, for this to qualify as a real post, here's some text.

After you have fired off a salvo or two, or four, you will let go of the blaster with your dominant hand, holding the blaster by your front hand. Then, tilt the barrels UP, and obtain two darts from any source. A BarrelBreak's ammo rail placed on top of the blaster is a good place to store ammo. You want to pinch the tips of two darts using your middle finger and thumb, placing your pointer finger on the face of the dart tip. Then, guide those two darts into the top two barrels on ONE COLUMN of the barrel assembly. If you try to put them into the top ROW, it will be much more difficult, due to the wedge shape that separates the two columns. Then, repeat that process on the other column. You should have 4 darts placed into the blaster, two in each column, which will give you two salvos. Prime the blaster at this time. Then, repeat the above process twice more on the bottom 4 barrels, and you will have a completely loaded RoughCut. The dart pegs can slow down the loading process as a whole, and once removed, any reloading process you use will be much smoother and quicker.

QC(F?) are all welcome!

SSHAMP

15 December 2012 - 01:42 PM

The purpose of this homemade was to take the basic design of the HAMP and simplify it as much as possible. Here is what transpired.

Materials:
A couple feet of 1.25" PVC
A couple feet of 1" PVC
A couple feet of .5" PVC

Now, based on how you want your SSHAMP to be built, you will need:
A 1.25" PVC endcap
2 .75" to .5" bushings

OR

A 1.25" coupler
A 1.25" to .5" bushing
A .75" plug

You may also need some masking tape or some clear tape. Do not use duct tape, it's non-sticky side is too sticky for what this will be used for, if it is even needed.

Tools:
Saw
File
Scissors
Hammer
If you really want it: Pipe Solvent

Start off with this stuff:
Posted Image

And this for an inverse plunger (no deadspace, I swear):
Posted Image

Or this for a standard plunger:
Posted Image

Cut your 1.25" PVC as long as you want the draw to be, plus a few inches.
Attach the endcap or the coupler and bushing to one end of your newly cut pipe.
Posted Image

Cut your 1" PVC to be equally long if you are making an inverse plunger, or at least 6" longer if you are making a standard plunger.

After reaming out the lips on the bushings (inverse plungers only), hammer them into the 1" PVC, one on each side.
If you are making a standard plunger, just pound the plug into one side of the tube.

For an inverse plunger, take the .5" PVC which should be longer than the plunger assembly, and push it through the bushings in the 1" PVC until it is flush with one end.
Posted Image

For a standard plunger, just put the barrel on the bushing mounted to the 1.25" PVC tube.

Now, slide the plugged end or the end that is flush with the barrel of the 1" PVC assembly into the 1.25" tube.
Posted Image

And you are done.
If your 1" PVC fits very loosely in the 1.25" PVC, you may want to wrap some tape around the 1" in order to improve the seal slightly. Don't use duct tape or electrical tape, they are too sticky on the non-sticky side.

Ranges: 5' to 150', depending on your strength, barrel length and fit.
This was meant for stock darts, although you could easily modify the design to work with all types of darts.

Discs with a level

09 November 2012 - 09:16 PM

Discs are interesting ammo. If they are fired perfectly level, as determined by a bubble level attached to the tacrail, they will fly just like any dart will. When angled just enough to tip the bubble, they will float miraculously. HERE is a video demonstrating this concept. This probably isn't that surprising to most people, but I thought I'd start a discussion on discs and their flight characteristics.