Find content


Chief Keener and I worked on this together and we have not gotten very successful ranges out of it, but I will explain that later.
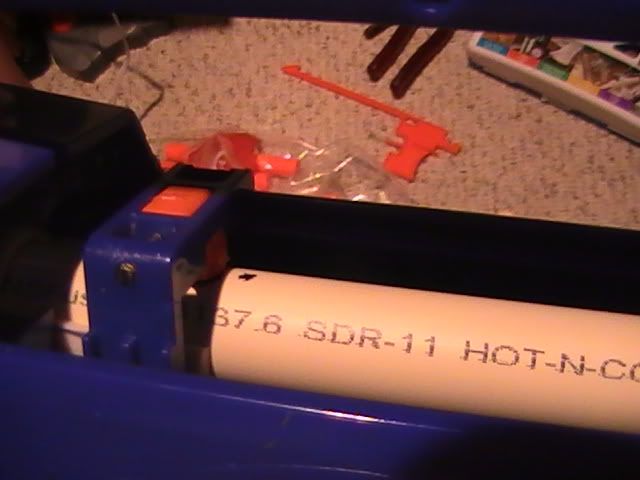
What you will need:
- Rough Cut 2x4
- enough Cpvc to make 8 barrels
- small sticks (we used bamboo kabob sticks)
- 8" of 15/32 brass
- pipe cutters
- Dremel or other way of cutting plastic
- glue
- tape
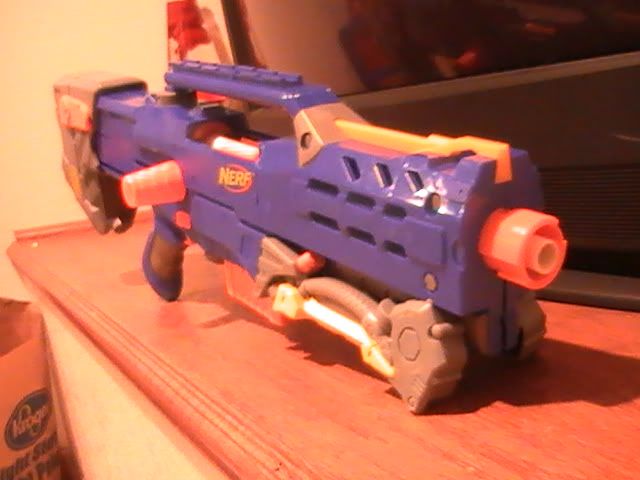
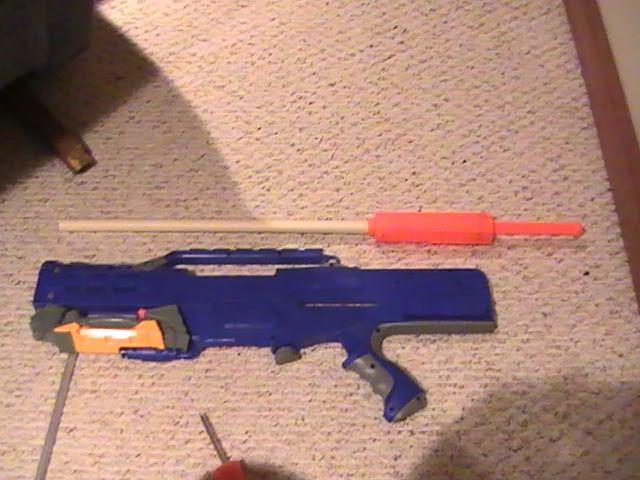
The Main Blaster:
Take apart the rough cut and do the normal seal improvements, locks removed, whatever.
Then remove the barrels from the front. They are glued on and a little bit of effort will be needed to pry them apart.
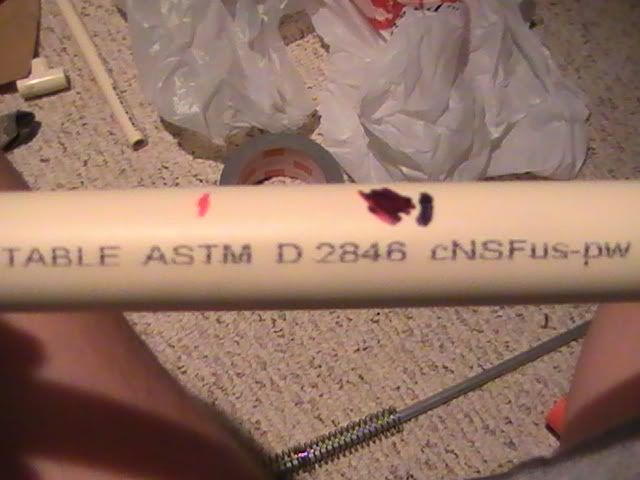
The Barrels
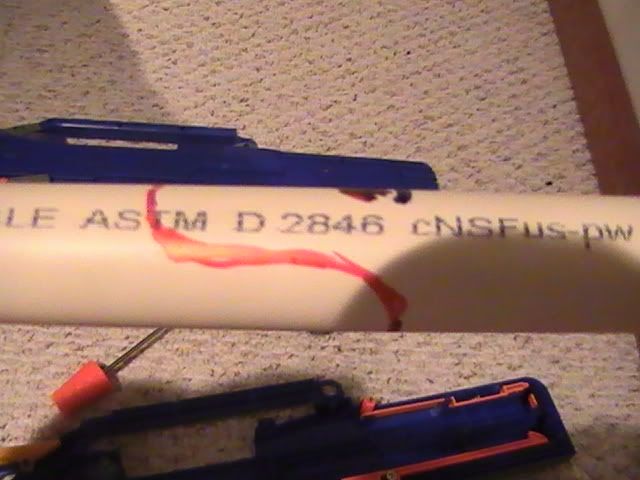
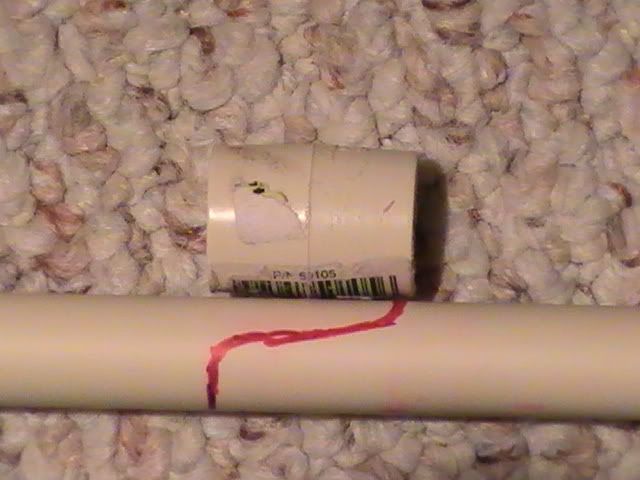
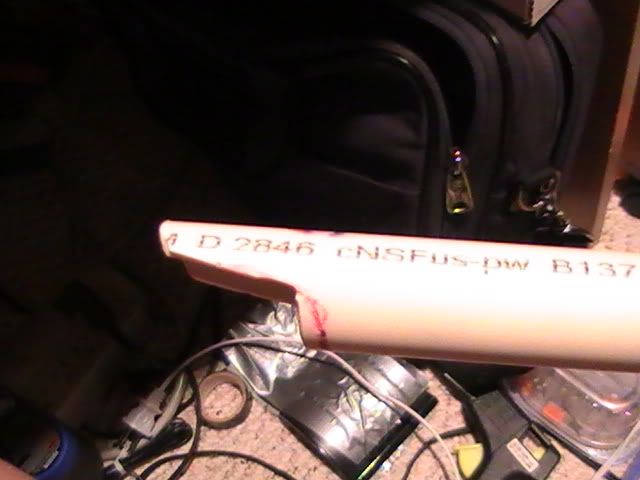
First, cut the barrels off at the nub at the base.

like so.
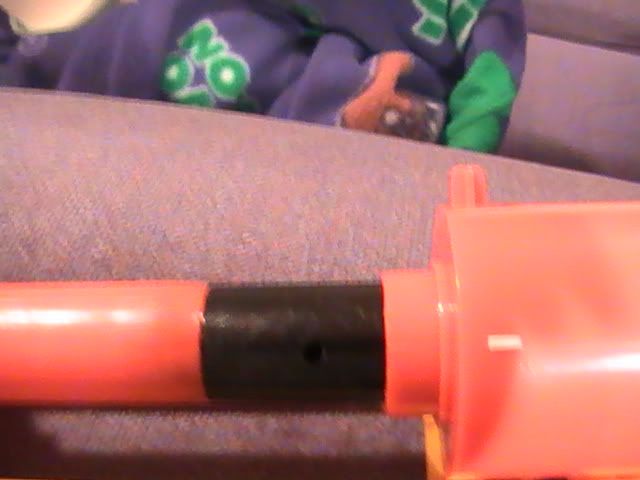
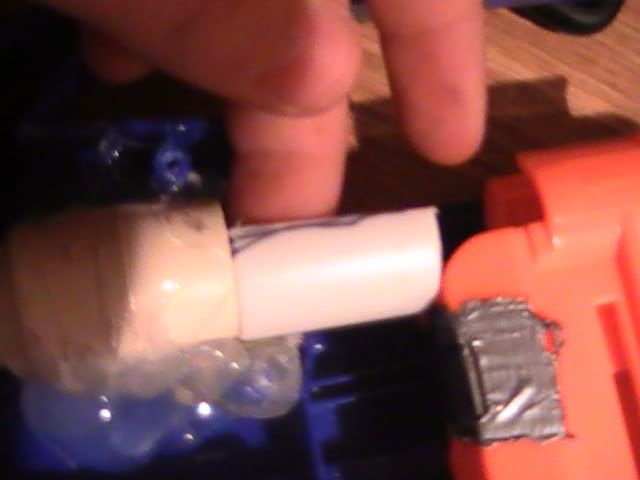
Next take your 15/32 brass

and cut it into 8 one inch sections


Then choose a desired barrel length, and remember what length you chose for later on.
We chose 3" barrels.
Cut up your 8 barrels and get your 8 brass stubs.

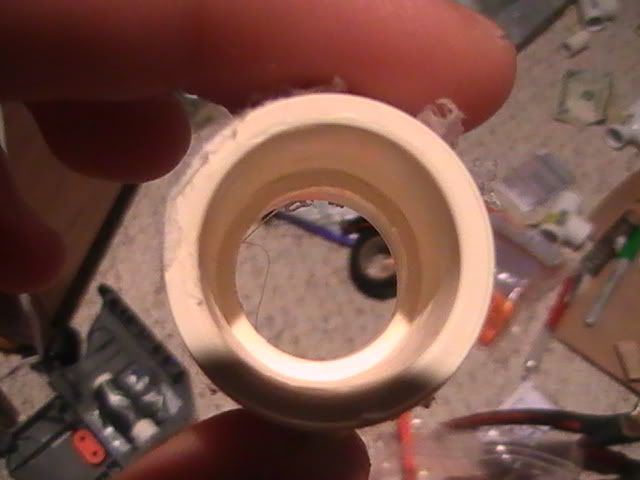
Dont put your brass in like this, but this is how the brass is going to sit when the barrel is on it.

Mark off how much of the brass sits in the orange piece. We will be putting the barrel all the way to that line.
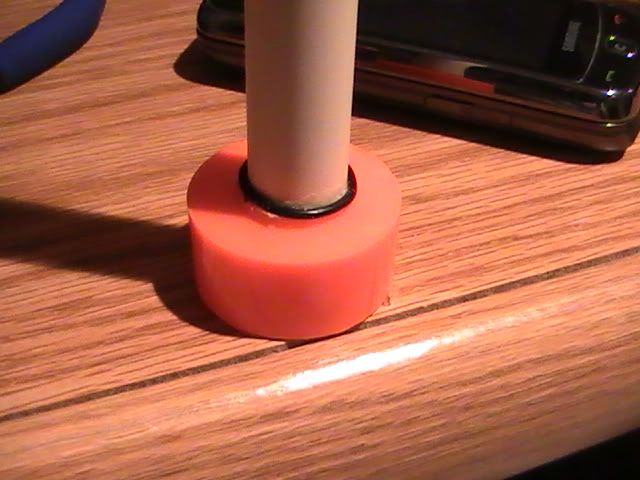
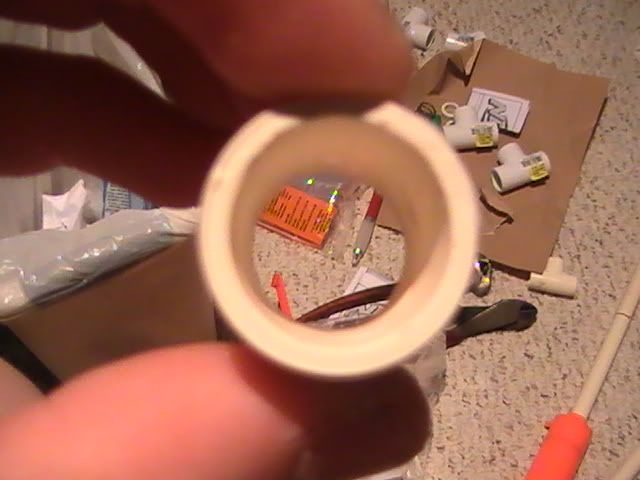
Then put the barrel on that line and glue it in like this:

*Protip* put the part that is slightly curled in facing into the barrel so it acts as a dart stop.
Then glue in the barrels, we used hot glue but Goop would probably work better.

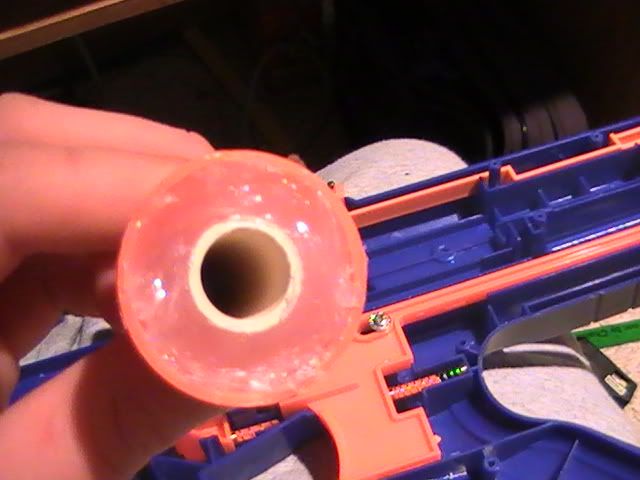
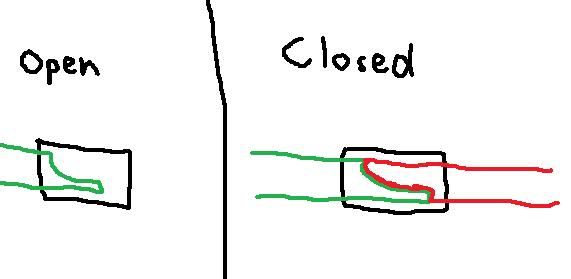
The Air Restrictors
This is a very crucial step in the mod. This is what makes the top dart on each side shoot one by one. Or should I say 2 by 2.
Anyways, take your rods and cut them to your barrel length minus the dart length plus an 1/8" to 1/4".
So we used a 3" barrel with 1" darts so the rods were 2 1/4" long.
This insures the darts push back the air restrictors.
So get 8 of those

Next we will cut the nubs off of the AR's.

Then wrap some tape at the end of the stick to make it thick enough to fit in the indented hole on the AR.
Glue them in straight up.

Finishing steps
We had to sand out the orange parts behind the barrels to let the AR's travel smoothly.

Chief Keener also doubled up on the glue for the seal.
Put her back together and it will look something like this:

Final Comments
So the ranges we are getting currently are terrible. 10' to 30'.
But it is using stefans. The stefans have to be a very perfect fit because if it is too loose the AR will push it out and if it is too tight it will not shoot farther than 15"
That is why I labeled it as a proof of concept more than a mod.
Hope you enjoyed, and I look forward to see what you think.