Jump to content


slowguitarman

Member Since 10 Dec 2007
Offline Last Active Private

Topics I've Started

Double-capacity Standard Size Ls Mag

14 October 2009 - 05:37 PM

I did this modification a long, long time ago. I probably did it in like June '08, but I could never find springs to make it work properly. I need springs that are stronger than AR springs but weaker than...anything else I can find. I figured it would be easier to post this and let other people in on the search for springs.

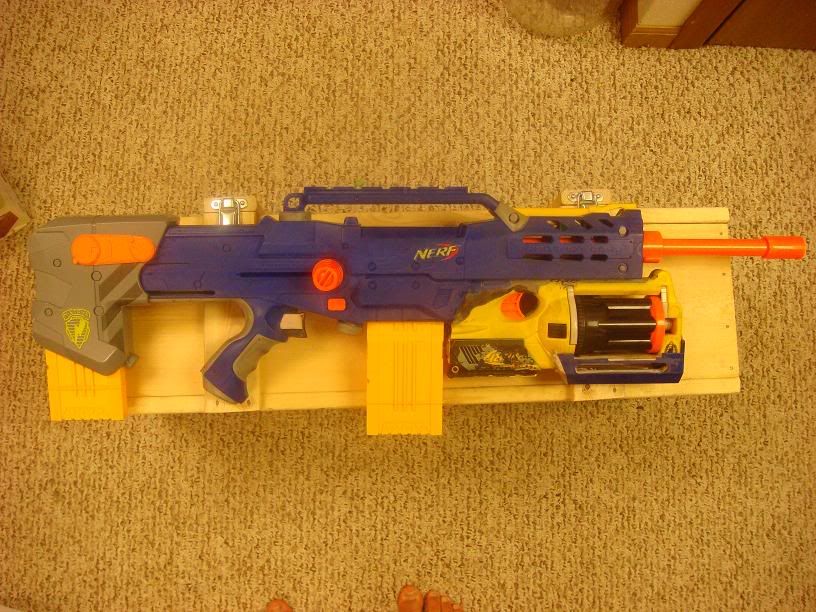
The idea behind this is to double the amount of ammo you can carry. If the right springs were found, a douple LS mag could hold up to 28 shots, but even 10 per side would allow for 20 shots, so if you made two of them, you'd have 40+ shots on tap before needing to reload.

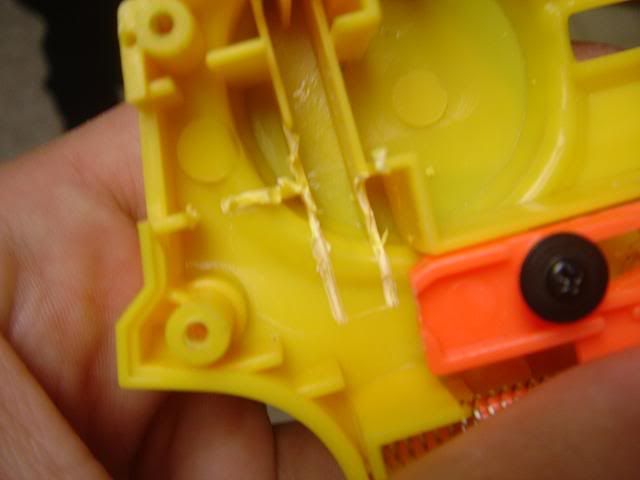
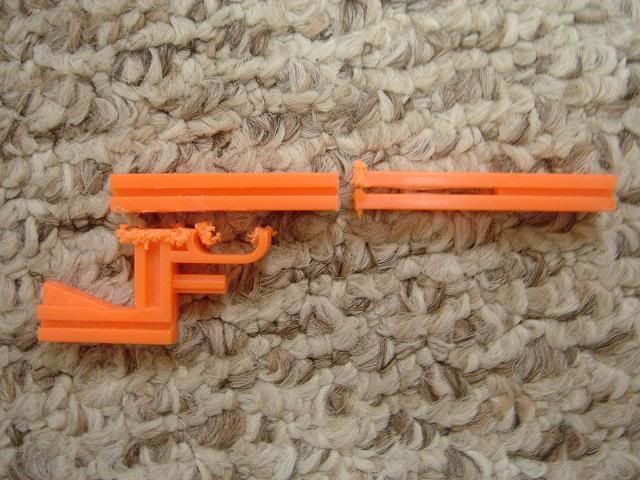
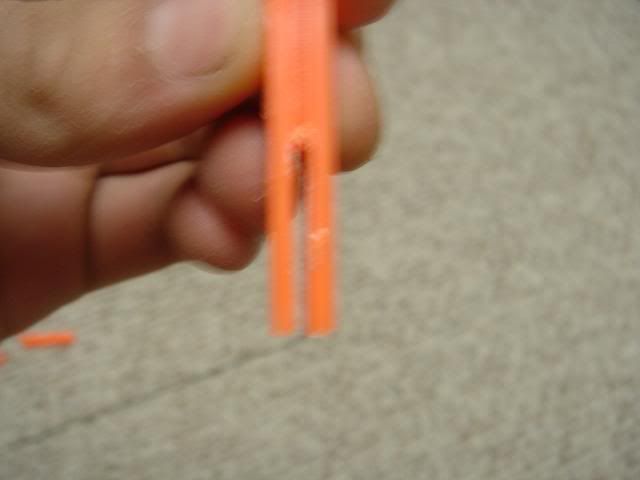
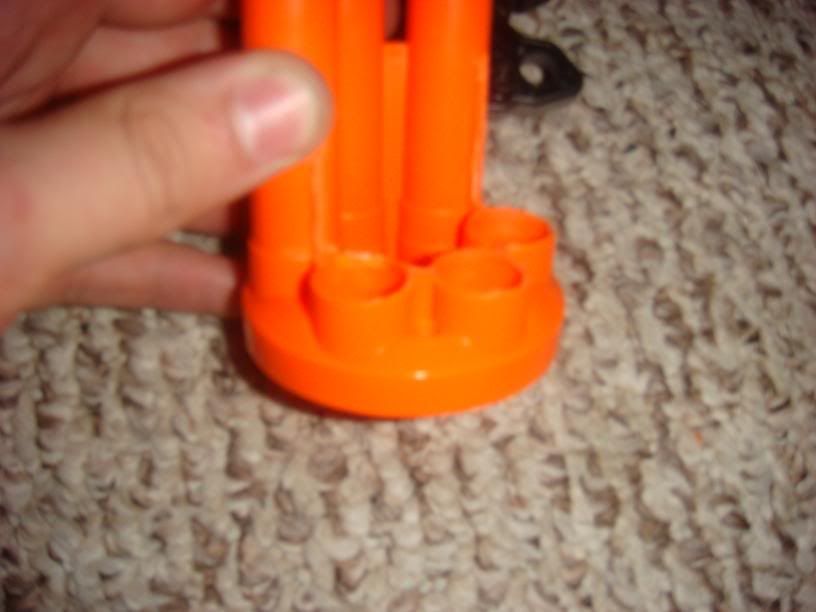
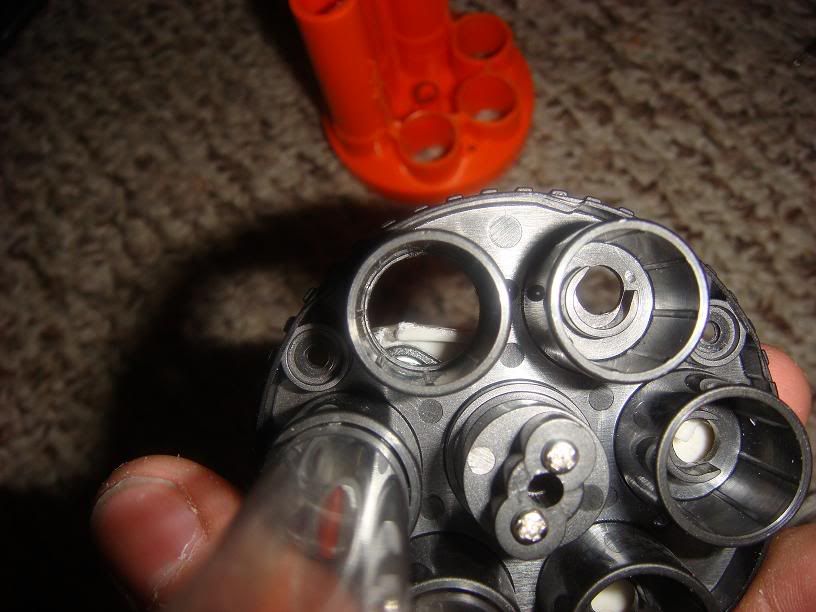
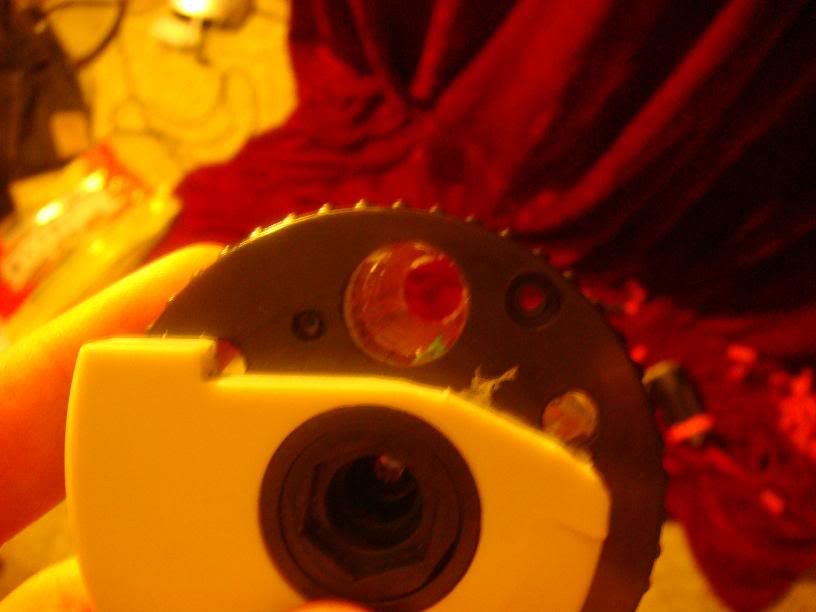
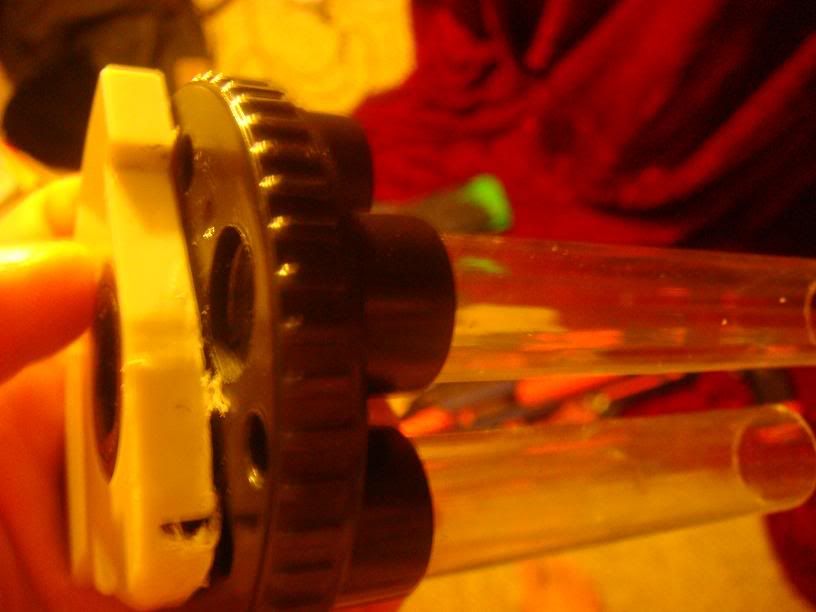
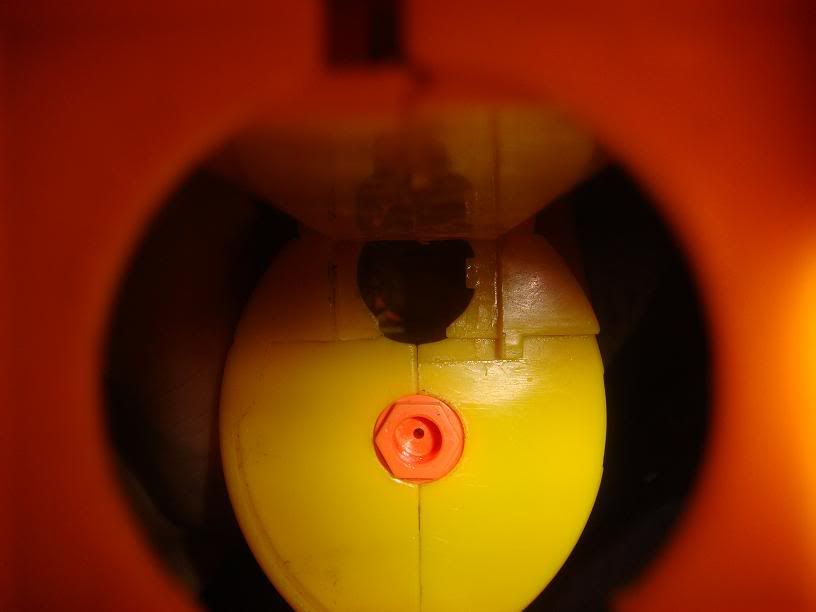
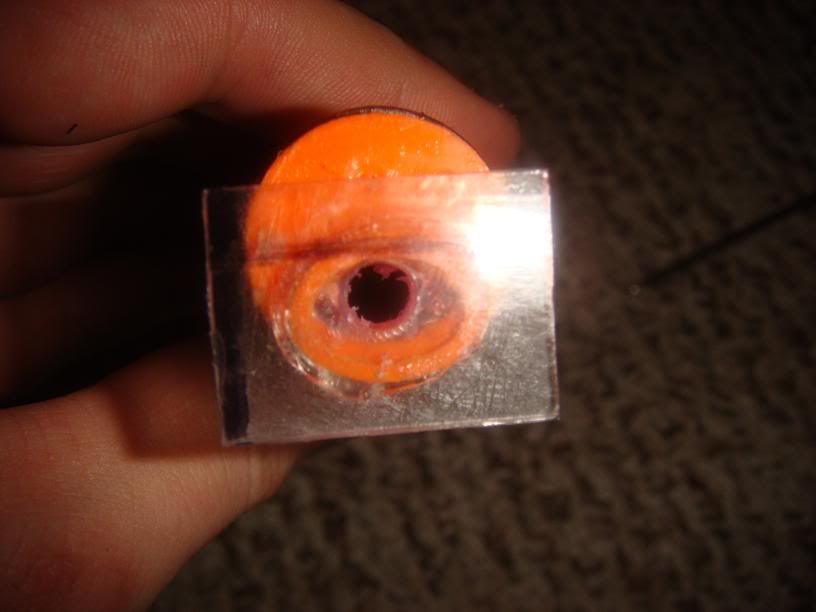
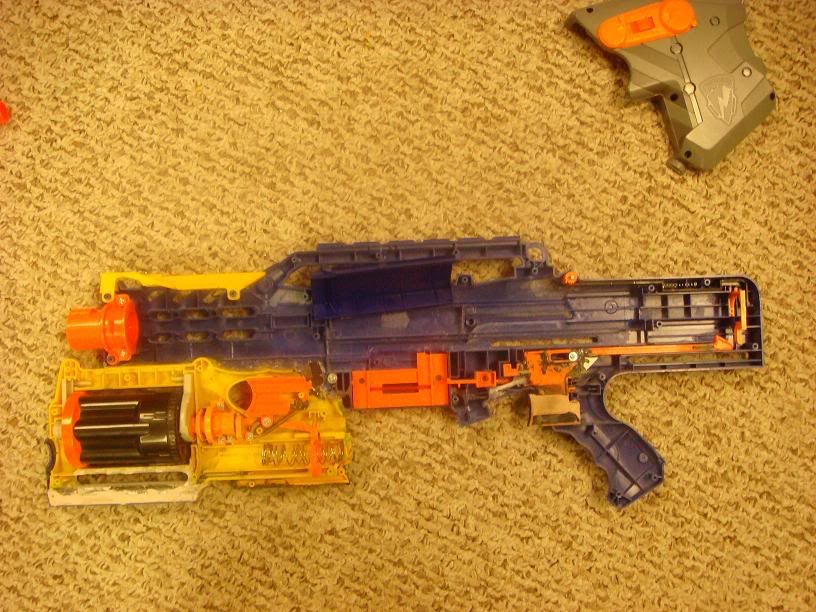
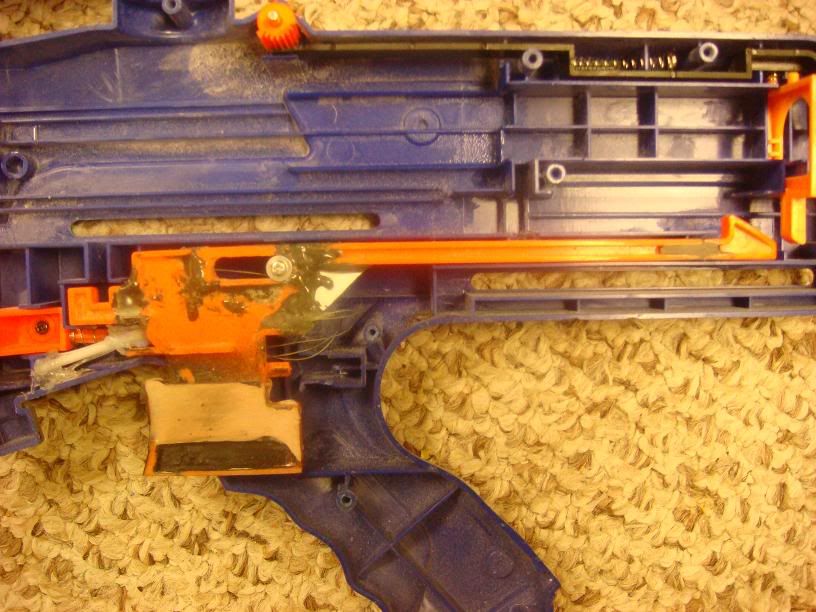
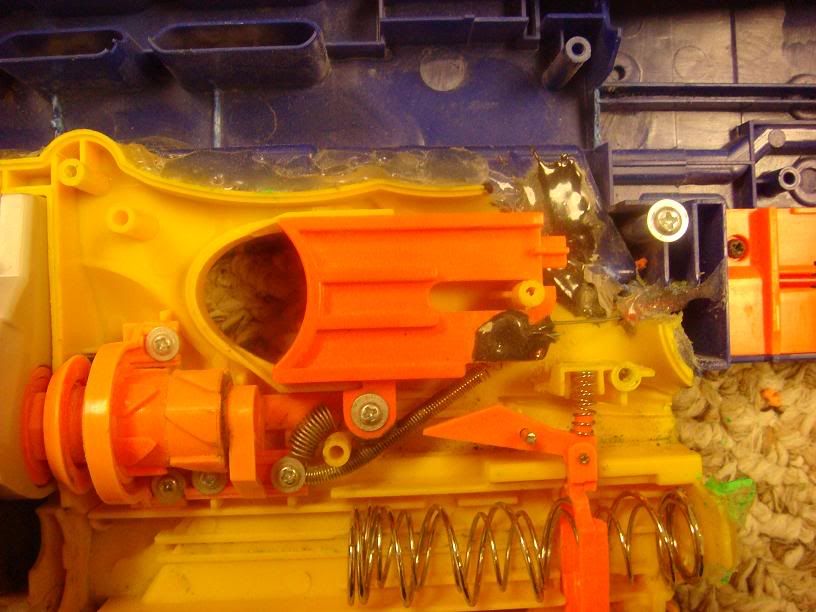
Here are some pictures of a normal LS mad modded to hold 12 darts. It works, but the springs are too weak for it to work properly.

Posted Image
Posted Image
Posted Image
Posted Image
Posted Image

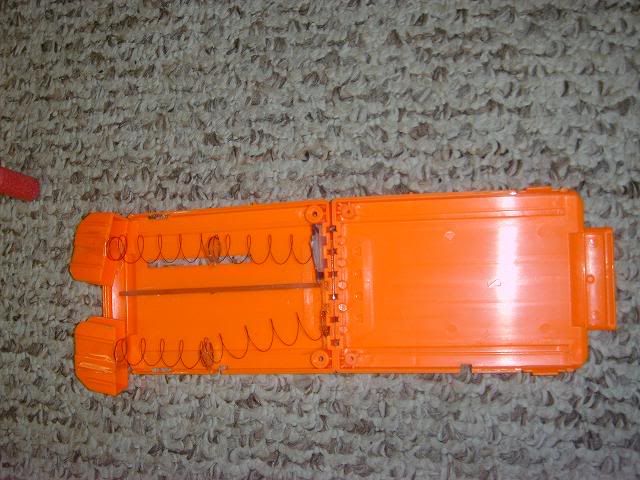
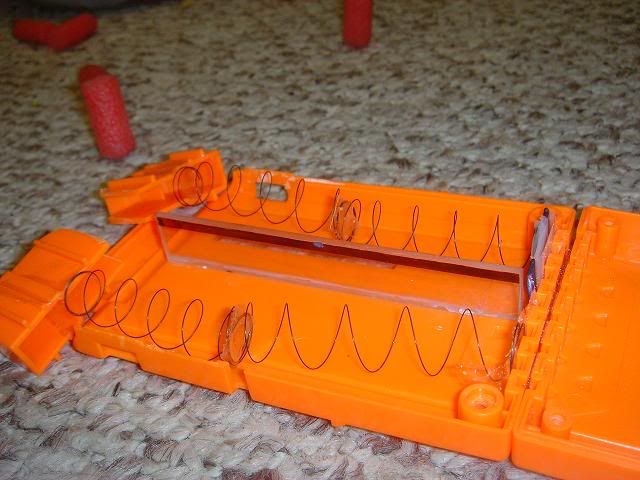
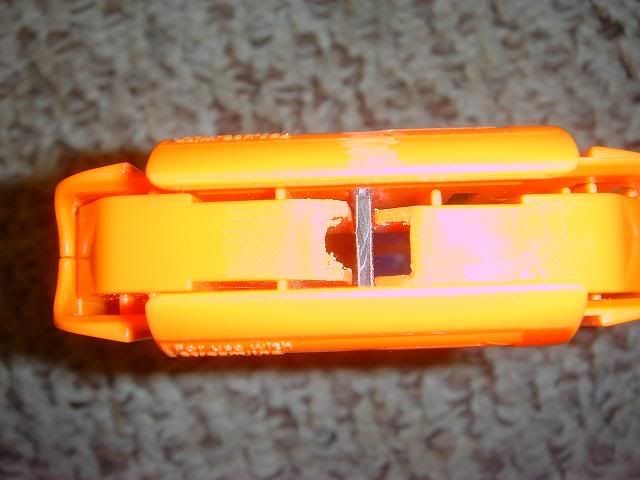
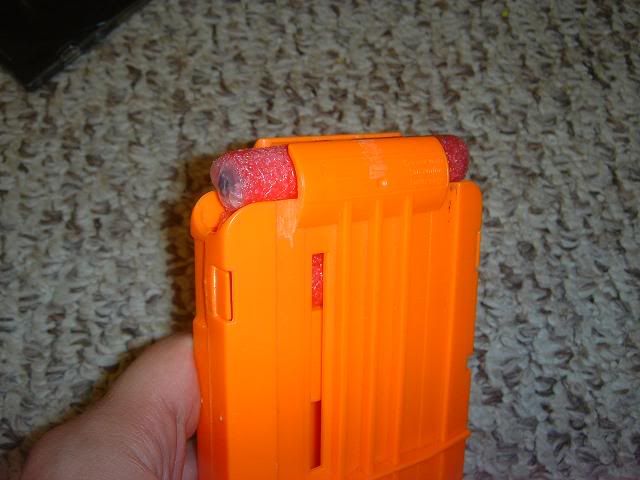
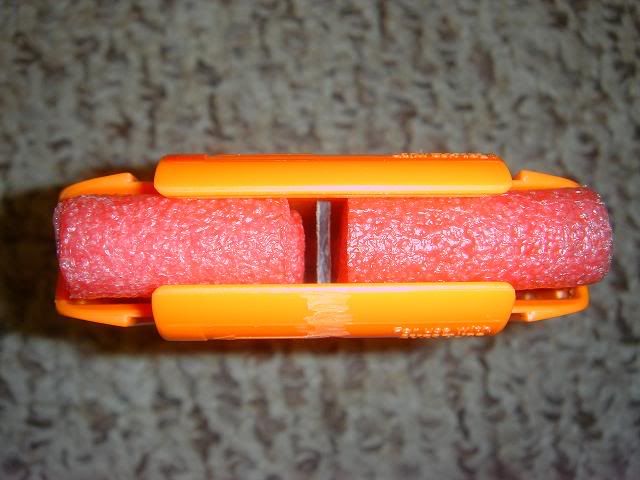
If you don't understand from the pictures, you have to shoot 6 shots and then flip the mag around the other direction. You then have another six shots.

Splitfinder 2000

24 July 2009 - 07:43 PM

Well, I first have to say that if it weren’t for the contest ending tonight, I would never post this. It’s not up to my standards for my own work, but it is still functional and will hopefully get people a start for obtaining a Splitfire without shelling out $70+ nowadays.

The original idea came for this when I made the Boltok pistol. I figured that if one tank in an NF shell was good, two would be better. Also, because of new pump placement, I figured I could use two full-sized pumps instead of one shortened one.

Here’s a little pro and con list for this gun vs. the SF:

Pros:
Way cheaper
Longer range
Less pumps

Cons:
You have to build it
Takes up two AT2k tanks

Materials:

1 Nitefinder
2 AT2k tanks and pumps
1’ 9/16” brass
~6” 19/32” brass
Epoxy putty
Some sort of super glue
Hot glue


The best place to start is probably with the NF shell. You need to make room for all the tubing and the tanks. It’s a fairly tight fit to get everything in, but it can be done without too much hassle. I’ll try to let the pics speak for themselves as to what has to go in order to everything to fit.

Here’s the stock shell:

Posted Image

Now, cut out the little posts sticking up inside the “laser”:

Posted Image

After that, cut out this area for the top tank:

Posted Image

You also need to remove some stuff in these areas in order to get the tubing where it needs to go:

Posted Image
Posted Image

You can also remove the Nstrike rail completely. I forgot to take a picture of this, but you just have to cut straight across the top. You’ll be able to tell in the pics where the pumps are attached.

Once you get all the stuff done on the shell, you can start on the triggers.

The trigger on the bottom tank is going to be a keyring on the pin of the tank. To do this, just bend it down about ½” from the back of the pin:

Posted Image

Now, just split the ring a bit and put it over the pin. Make sure that the ring is about 1/8” away from the NF trigger when it’s epoxied into place.

Posted Image

Now move onto the other trigger. This tank will fire from the original NF trigger. To do this, you need a part from the LS front gun:

Posted Image

It could be replaced with a different piece, but this is the easiest thing to use. Once you have the piece, cut it like so:

Posted Image

Take the top left piece from that pic and cut a slit in it about halfway up and wide enough for the NF trigger to slip into You‘ll also have to cut out a slit in the top of that piece that‘ll go around the tank pin:

Posted Image

Successful Rear-loading Maverick.

29 March 2009 - 05:44 PM

After some searching, I am unsure as to whether or not someone has actually completed this type of mod before. From what I found, I didn't see that any had, so I am posting mine with a writeup. I also have to say that my gun isn't complete. This was just to test out the idea before performing the mod on Miget's Mav.

Stuff you'll need:

-Dremel with:
Cutting bit
Small sanding drum or similar high-speed cutter
-Phillips screwdriver
-Hot glue gun
-1/8" Polycarbonate sheet
-2' Petg

The best place to start is probably the turret because it is nice and easy.

In order for the mod to work, you also have to do the "roulette mod."

After the "roulette mod," you have to disassemble it and then cut off the original barrels:

Posted Image

After that, use your bit of choice to widen the holes in the back of the turret. The hole should be wide enough to get a dart through but not wide enough for the petg to go through. You should have a small lip:

Posted Image
Posted Image

After that, all you have to do is cut and insert the petg:

Posted Image

I had the best luck with 2.5" barrels.

Now put your turret back together and sit it aside.

Onto the shell!

All you have to do to the shell is turn the oval-shaped opening for the plunger tube into a rectangle. The rectangle should be about 1" wide (2.5cm):

Posted Image

Now for the plunger tube.

I personally did the "straw mod" on mine, but it isn't necessary. You also need to get a good seal in the tube, so use whatever method you prefer (new o-ring, e-tape, etc.)

You also need to shorten the little oval that sticks out of the front on the plunger tube. After cutting it down, it should be about half the length that it was originally. Be careful with this part because if you leave the oval too long, the turret won't be able to rotate.

Now, for the rear-loading to work, you need to make the turret seal against a larger area than that little oval. To do this, cut a rectangle of polycarbonate that fills the rectangle that's cut into the shell of the gun. You have to make sure that it's large enough to cover the entire hole in the back of the turret. Once you cut that rectangle, attach it to your plunger and drill a hole in where the opening is:

Posted Image

This will probably be the trickiest part of the mod. You have to get that rectangle large enough to seal but not so large that it doesn't fit with the turret in.

After doing all of that, I would recommend that you do CaptainSlug's mod of relocating the trigger spring and gluing the clutch together. If you do that mod, your turret should rotate pretty nicely.

Put it all back together and you're done!

Ranges:

I don't have officially measured ranges, but I am getting about the same ranges as I was with the mav on Miget, so this mod definitely doesn't hurt ranges, and in most cases, it will probably help your ranges because it now has a good seal.

I realize that the mav isn't the greatest, but there is already one stuck to my LS, so I am going to try to make it decent, at least.

Questions? Comments? Insertion into the mod directory?

Thanks for reading!

Longshot Ranges From A Stock Breech?

28 March 2009 - 05:37 PM

Because of reasons which I cannot state, I want to know if anyone has modified a Longshot to shoot 90'+ flat without doing any mods to the breech other than sealing the little hole in it.

It should be obvious that I did search for this info before posting. Most of what I found, I do not believe, and most of what I found wasn't really relevant to what I was looking for.

DO NOT POST here if you aren't posting with ACCURATE, MEASURED and FLAT ranges, and this info should be first-hand info. It should be either your gun, a gun that you helped to range test or a link to a gun that may answer my question. I have done a good bit of work with the LS, and I know what kind of ranges I was getting for the mods I have done.

DO NOT make this a dick-wagging contest or a flame-fest. Again, I will probably know whether or not you are lying by what you post.

Miget - Super Modified Ls

23 March 2009 - 04:54 PM

First, I gotta say that I didn't intend to post this until it was 100% done, but I started this mod back in September of '07, and it got put on the back-burner, so I am going to go ahead and post it since it's pretty much functionally done.

Here she is: Miget

Posted Image

The name comes from a little play on its original name "Megatron Gen. 2 Tribute" or "MgtG-2T." That was annoying to say though, so since the first part is "Mgt", I decided to call it Miget.

I realize that some people don't like linked triggers, but I do, for the most part. The big problem with linking the trigger of a mav or similar blaster (like the DTB) to the trigger of an LS is that the LS has a tiny trigger pull, but the mav has a long trigger pull because of the rotation of the turret being part of the pull.

I fixed this problem by giving the LS a longer trigger pull and slightly shortening the pull on the mav.

Here's a look at the internals (minus plunger tubes and such):

Posted Image

Now here's a closeup of the LS trigger:

Posted Image

Notice how the long part coming from the trigger has been shortened and the groove of the trigger has been lengthened. The actual trigger has also been lengthened.

Here's a closeup of the mav trigger:

Posted Image

There wasn't as much done on this end, but to make sure the rotation worked fine, I added two return springs. I also added a bit of JB Kwik to the part of the trigger that moves this catch, which makes the gun fire sooner. Since the gun fires sooner, I also had to modify the rotation gear to make sure the turret was in place to be fired. To do this, I shortened the back half of the gear and sanded the back of the teeth on the front half. I am not going to go into a lot of detail here unless someone actually plans on replicating this, then I will try to help as much as I can.

The two triggers are linked with Spider-Wire fishing line, which is amazing stuff. It doesn't stretch or break. This was the only suitable type of line I found for the job. I tried many guitar strings of differing gauges and other fishing lines, but they all either broke or stretched too much. The guitar strings also gave a very hard trigger pull. The line is also run through little pieces of pipe to keep it from getting shredded by the shell.

Both of the guns have the typical mods done to them. Mav has a LS frontgun spring added, improved seal, ARs removed and cocking bar reinforced. The LS has an LS/BBB/RFSG spring combo in it, an Angel breech, added o-rings and reinforced catch.

There is something about the Angel breech that I changed though. I have never seen anyone else do this, so I will post it up. The little orange nub that was glued to the 19/32" brass kept breaking on me. I used fishin' glue and I tried letting it cure for a long time before using it, but even with just the LS/BBB springs, it would break after a magazine or so worth of shots. Because of that and something that Forsaken told me while I was in Canada, I decided to get this thing working better.

Posted Image

I sanded down half of the original barrel and sanded down the edges, so the mags could fit over the breech still. Now, even with the three springs I have in there, it hasn't broke after loads of firing tests.

RANGES:

I know that someone will inevitably ask, so I will just post them now.

LS: Average 90'

All tests were done outside with no wind in ~40* weather with felt-tipped stefans weighted with 3/0 fishing weights. I measured the spacing of the parking lines and then counted lines. I also shot at CNP and hit her in the middle of the back 3 out of 4 times from 72'

Mav: Average 35'

All testing was done indoors with felt-tipped stefans weighted with a single BB. I measured these ranges with a tape measure. It's not as good as I'd like, but hopefully I can get it shooting better with one of Lt. Stefan's springs.

I also made a shotgun grip for this, but I may not use it. I made it from steel, so it is quite heavy. Also, I have elbow troubles from a motorcycle crash a few years ago, so priming a high-powered gun with my left arm repeatedly makes it hurt quite a bit. With the regular LS priming mech, it is easier to just grab the handle and then push forward with my right arm.

Hopefully my trigger-linking technique will be useful for someone here. Also, if anyone wants pictures of the shotgun grip I made, I will post some.

Questions? Comments?