
 Find content
Hello everyone, Im pretty new to these forums and modding nerf in general. I took apart a rampage painted it, and removed the air restrictor. I put it back together primed it once, fired a dart, and the priming handle got stuck in the fully forward position. I took the blaster apart again, made sure everything was in the right place put back together, and same thing happened. It's like something is getting caught somewhere inside, but I don't know where it would be. Does anyone have any idea where the problem could be?
I'm still in FNG status so my ability to reply is limited, I can take pictures and edit them into this post if anyone needs or wants them.
Mr Blue Dot
Member Since 16 Nov 2012Offline Last Active Jul 07 2014 08:49 PM
Topics I've Started
Rampage drum magazine drum magazine
01 December 2012 - 11:49 AM
Hello everyone, I was looking around for something like this, couldn't find anything, so I thought I'd just post it myself  />/>/>
I took apart a rampage 25 dart drum magazine so I could paint it and took a bunch of pictures. This magazine uses 12 screws total all the same size, and 2 springs (only one of which will be removed). The only tool you will need is a philips head screwdriver. I used a sandwich bag to hold all
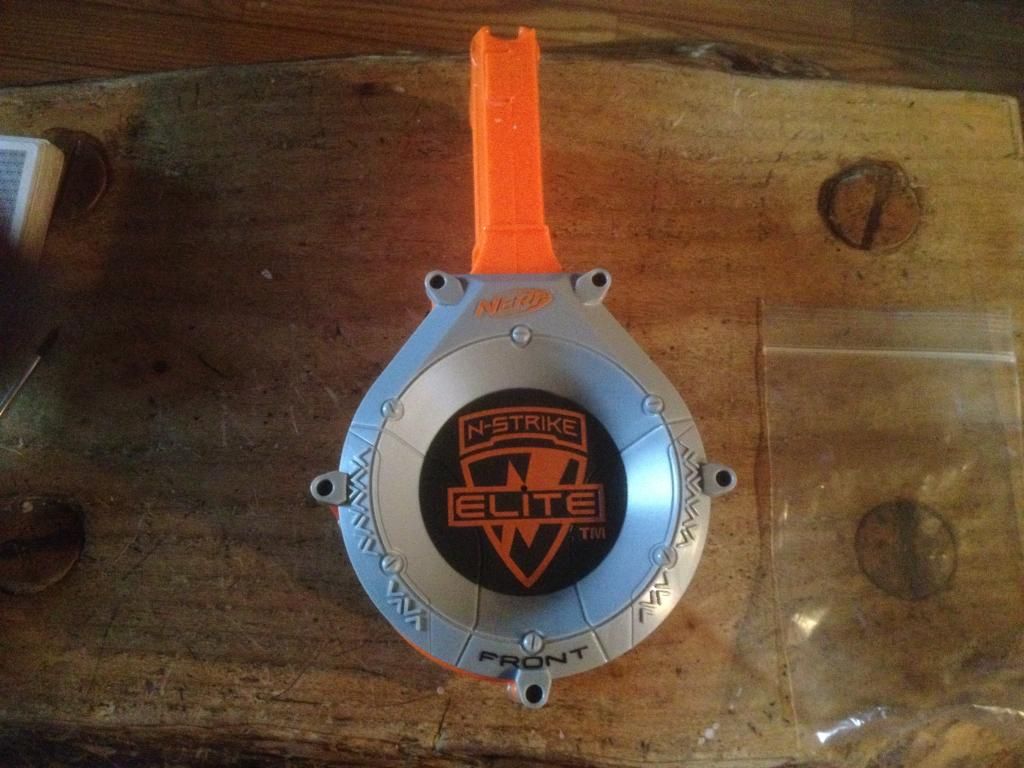
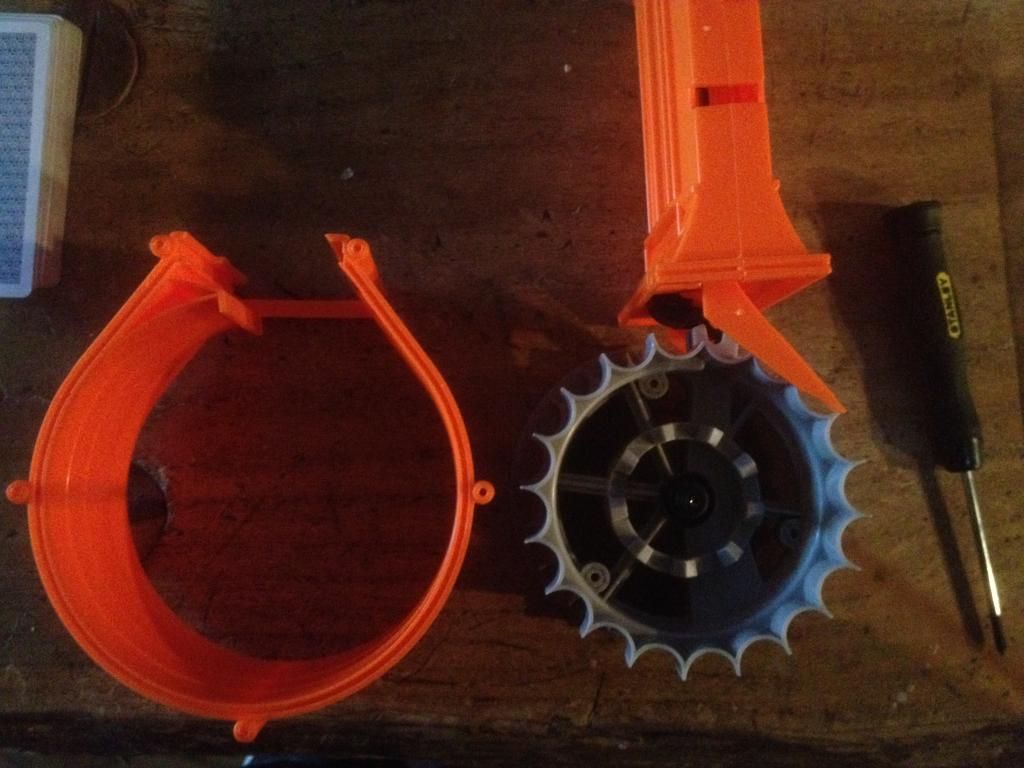
There are five screws on the front (grey part) of the magazine and five screws on the back (clear part). I started with the front.
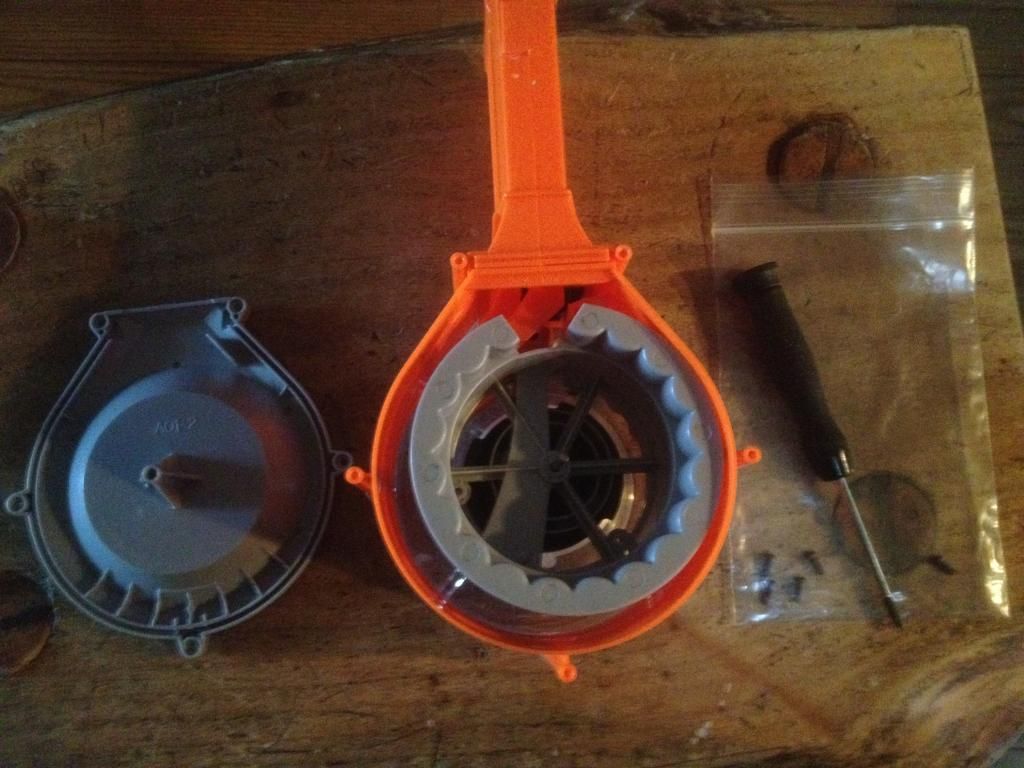
This is what the magazine looks like after the front plate has been removed. Go ahead and flip the magazine over at this point to get to the back plate.
After the screws have been taken out of the back plate, slide it straight up off the slot. The jam release knob should stay on the inner drum and not come off with the back plate, but if it does be careful because...
...there is a tension spring right underneath the knob. Take note of it's location and set the spring aside. Turn the magazine over again.
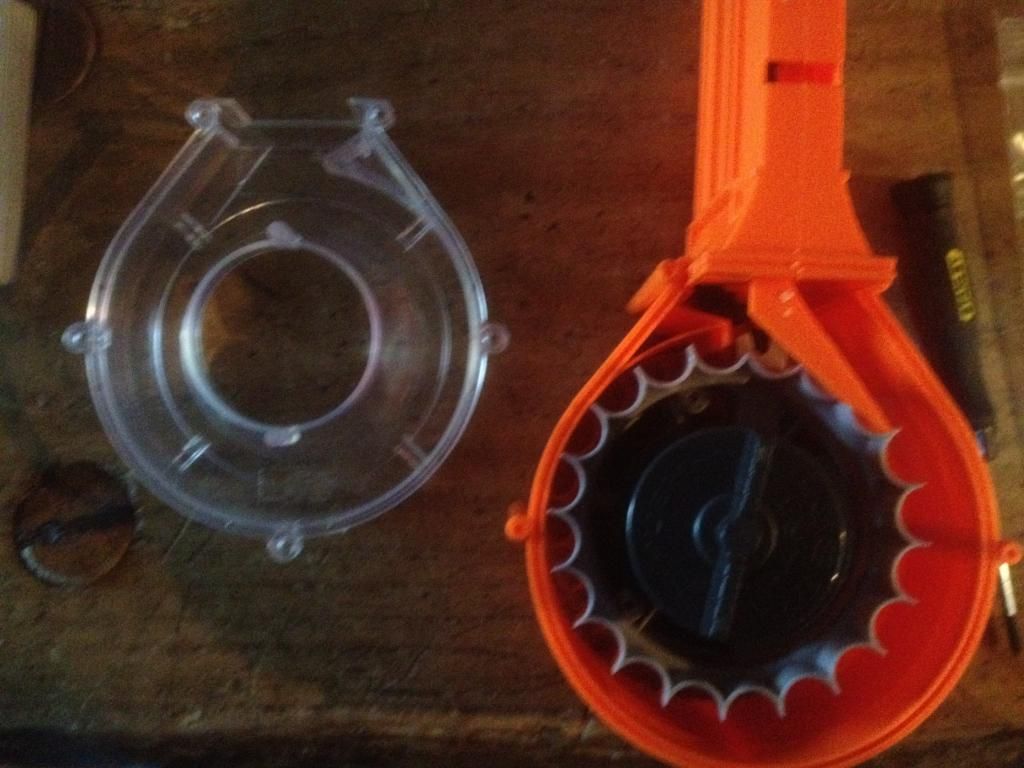
The drum wall slides right off easily.
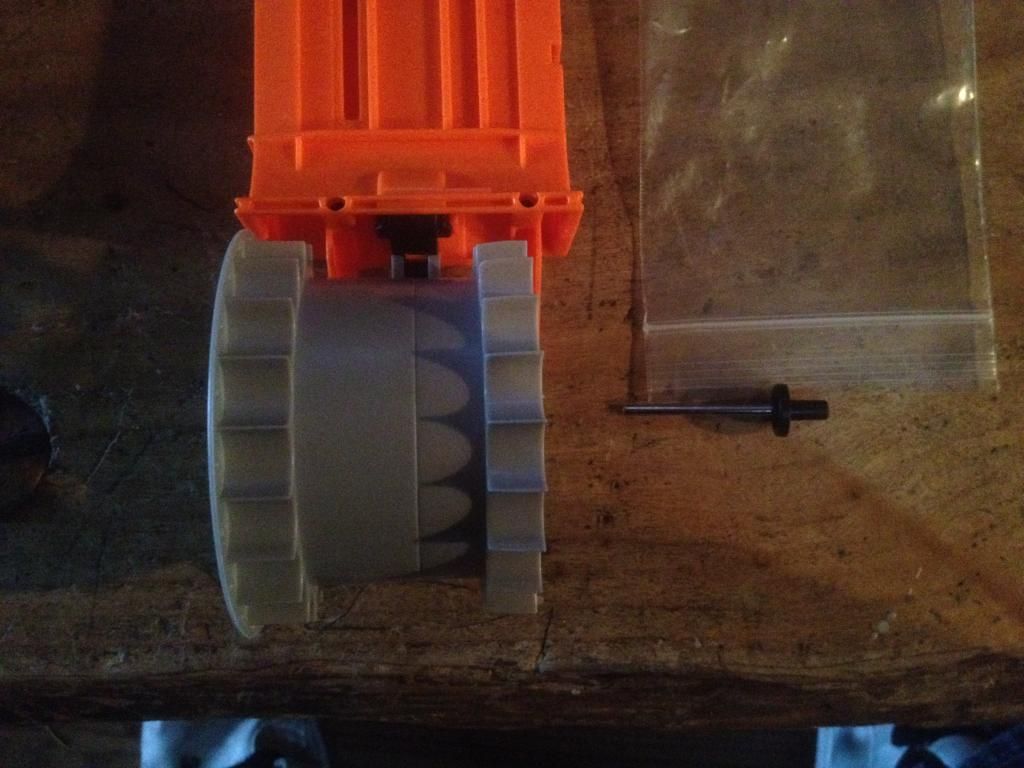
Take out the center rod. It just sits in there, so no tools are needed.
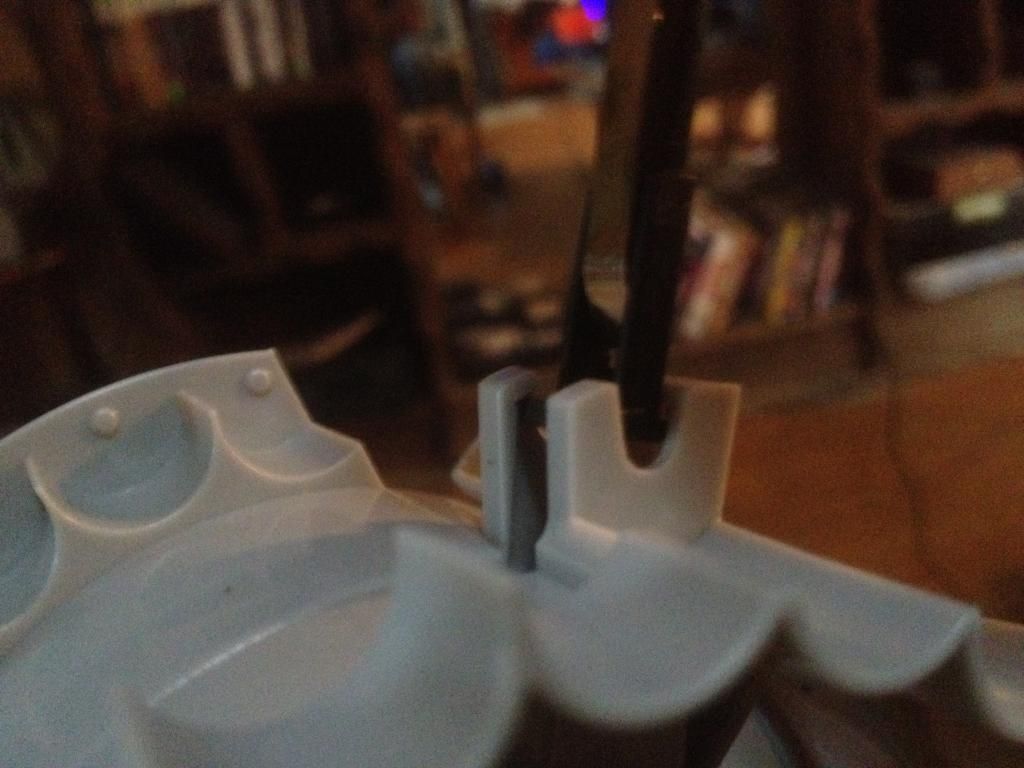
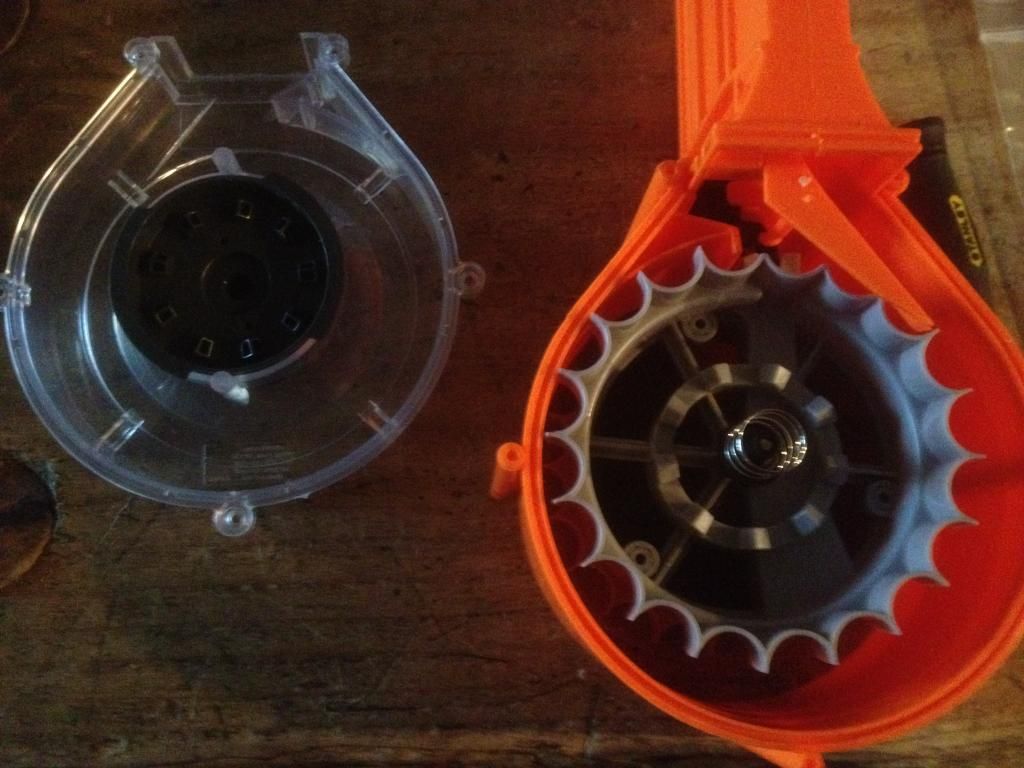
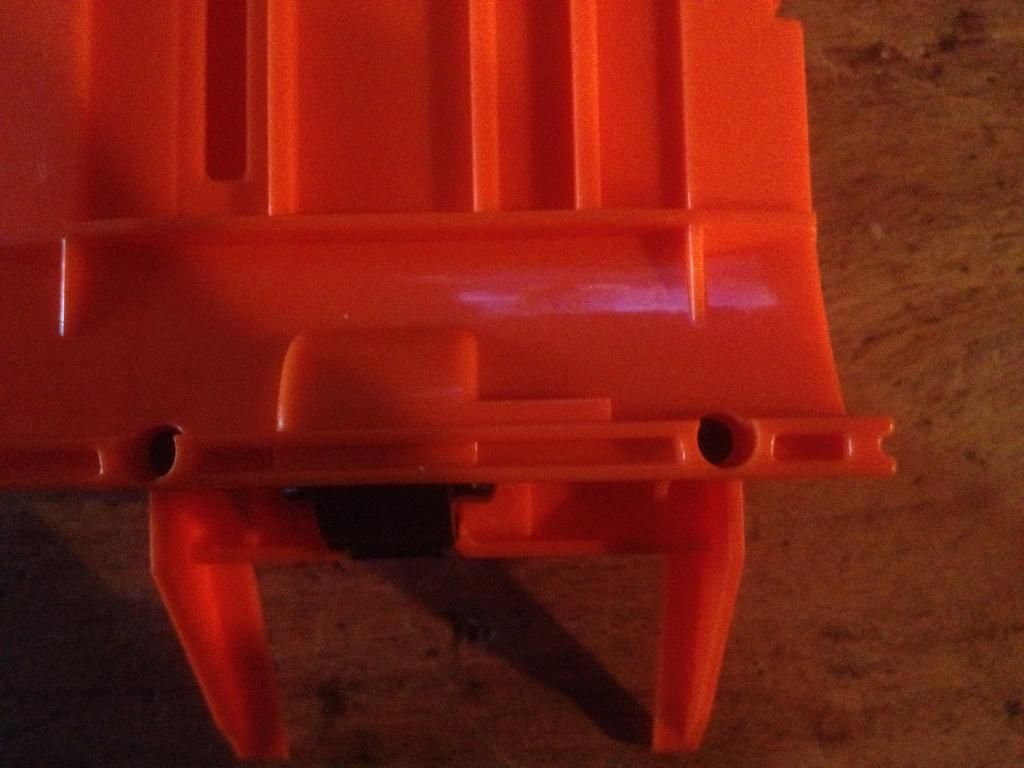
This is where the dart pusher connects to the inner drum. The mechanism here is much like a tape measure as you will see. If you don't plan on painting the inside of the drum then skip this next step.

To remove the dart pusher I tilted it to the side, then gently pulled on the grey plastic holding it opposite the side I was tilting the black plastic rod to. It popped right out.
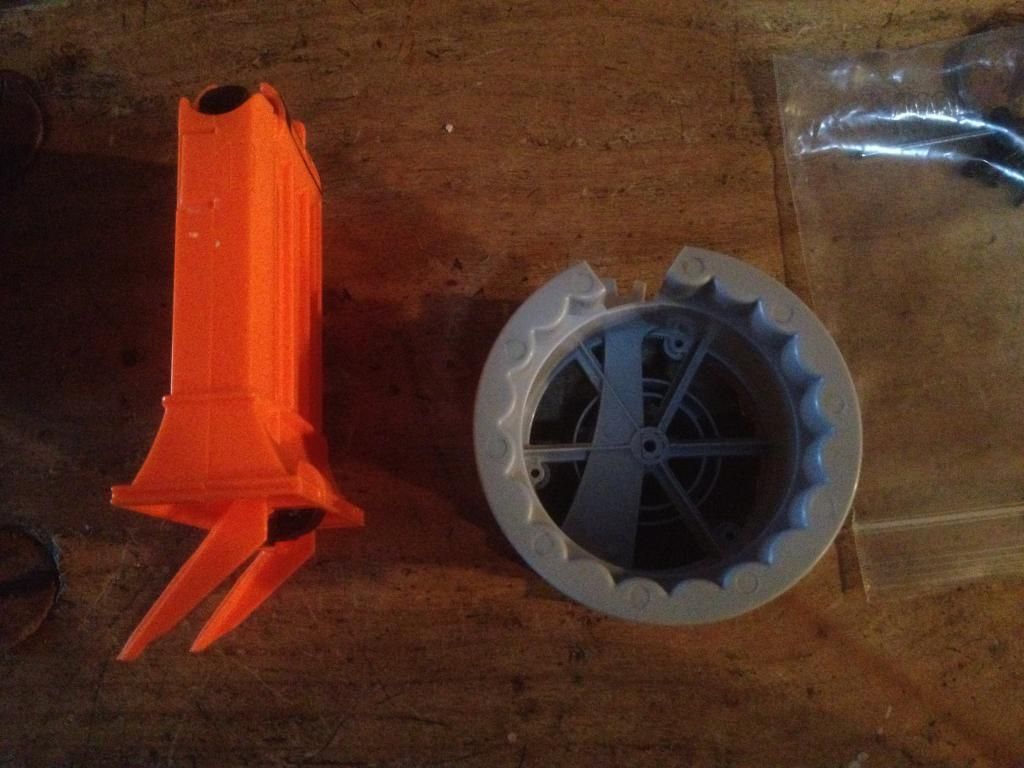
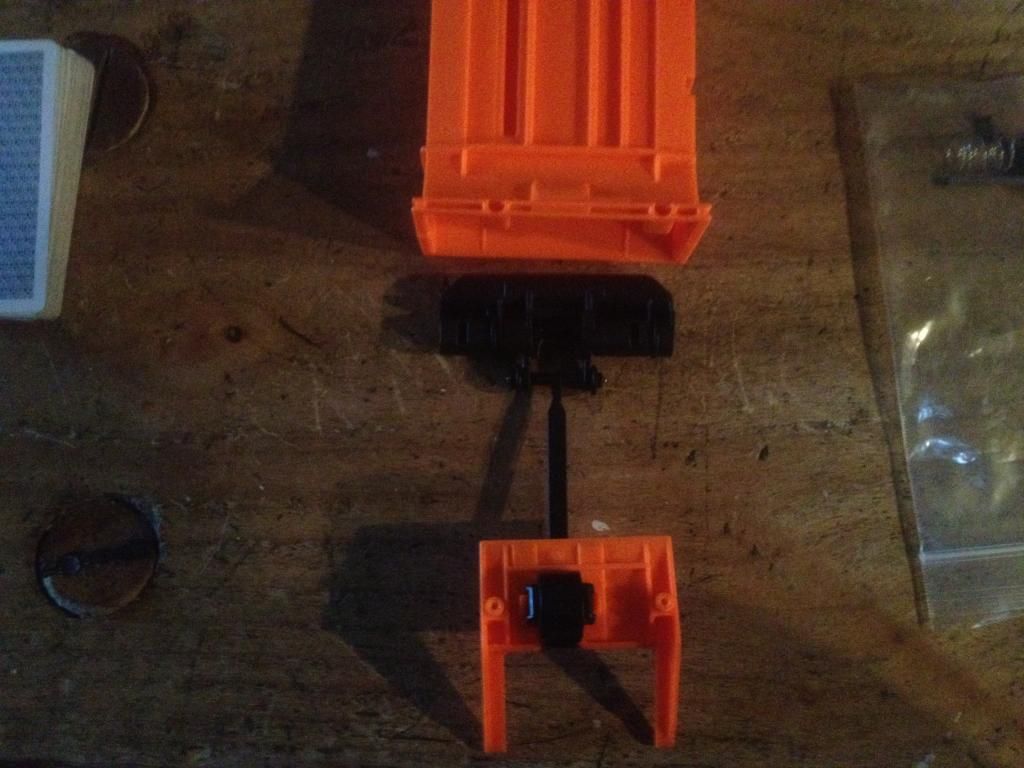
Here are the two pieces separated from each other.
Here are the final two screws. If you don't want to paint the inside of the drum you can just remove these two screws without detaching the dart pusher from the inner drum.
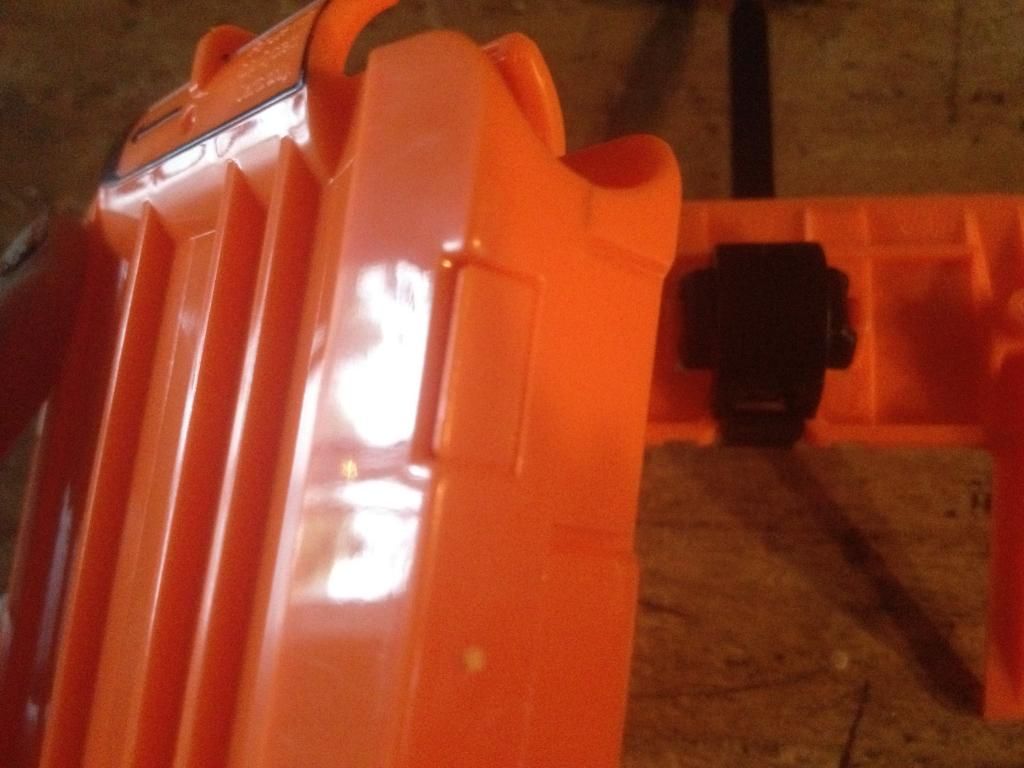
The dart pusher slides right out after the screws are removed. Take note of the way the dart pusher comes out of the magazine, it will need to go back in the same way when it's put back together.
There are two tabs like this on the magazine that you can pry apart to separate it into two halfs. I didn't because they appeared to be glued, and also because I can paint this piece as it is.
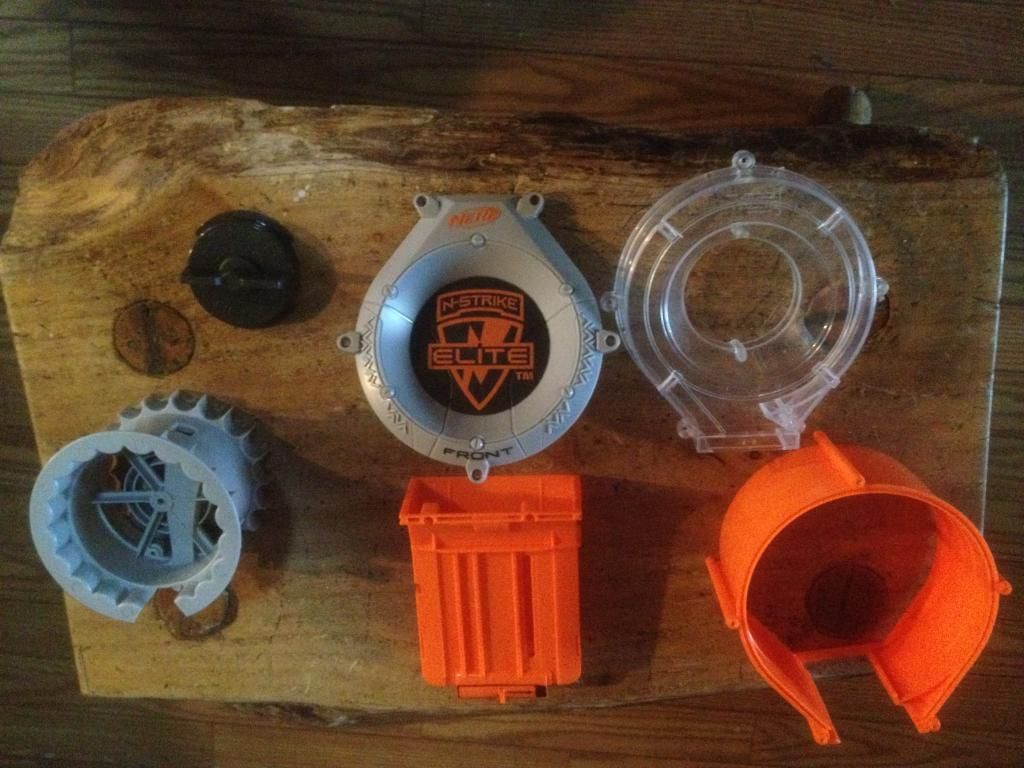
and here are all the pieces ready to be sanded, prepped, and painted!
If you have any comments or questions just post away. This is my first post on these forums and I hope that some one finds this useful. I'm tearing apart a few different guns to be painted, and I have found that the guns usually need to be broken down further than you would need to for modding. If there is an interest, I can take pictures and post more break downs like this. Let me know what you think!
/>/>/> I took apart a rampage 25 dart drum magazine so I could paint it and took a bunch of pictures. This magazine uses 12 screws total all the same size, and 2 springs (only one of which will be removed). The only tool you will need is a philips head screwdriver. I used a sandwich bag to hold all
There are five screws on the front (grey part) of the magazine and five screws on the back (clear part). I started with the front.
This is what the magazine looks like after the front plate has been removed. Go ahead and flip the magazine over at this point to get to the back plate.
After the screws have been taken out of the back plate, slide it straight up off the slot. The jam release knob should stay on the inner drum and not come off with the back plate, but if it does be careful because...
...there is a tension spring right underneath the knob. Take note of it's location and set the spring aside. Turn the magazine over again.
The drum wall slides right off easily.
Take out the center rod. It just sits in there, so no tools are needed.
This is where the dart pusher connects to the inner drum. The mechanism here is much like a tape measure as you will see. If you don't plan on painting the inside of the drum then skip this next step.
To remove the dart pusher I tilted it to the side, then gently pulled on the grey plastic holding it opposite the side I was tilting the black plastic rod to. It popped right out.
Here are the two pieces separated from each other.
Here are the final two screws. If you don't want to paint the inside of the drum you can just remove these two screws without detaching the dart pusher from the inner drum.
The dart pusher slides right out after the screws are removed. Take note of the way the dart pusher comes out of the magazine, it will need to go back in the same way when it's put back together.
There are two tabs like this on the magazine that you can pry apart to separate it into two halfs. I didn't because they appeared to be glued, and also because I can paint this piece as it is.
and here are all the pieces ready to be sanded, prepped, and painted!
If you have any comments or questions just post away. This is my first post on these forums and I hope that some one finds this useful. I'm tearing apart a few different guns to be painted, and I have found that the guns usually need to be broken down further than you would need to for modding. If there is an interest, I can take pictures and post more break downs like this. Let me know what you think!

