Jump to content


The Manta

Member Since 05 Mar 2012
Offline Last Active Mar 24 2020 02:34 PM

Topics I've Started

Buzz Bee Range Master Brass Breech

11 August 2012 - 02:18 PM

I recently acquired the Range Master, and the stock ranges EASILY achieve 60 feet with a slight angle. the AR removal boosted ranges by about 5 feet, but I wanted to shoot slugs, as well as boost that range. This is what I came up with.

Materials:
1. 1/2" brass
2. 17/32" brass
3. Electrical tape
4. 3/4" PVC endcap
5. About 3 inches of 3/4" PVC
6. About 3 inches of 1/2" PVC
**HELPFUL TIP: When you take out the screws, flip it over, as the internals are on that side.

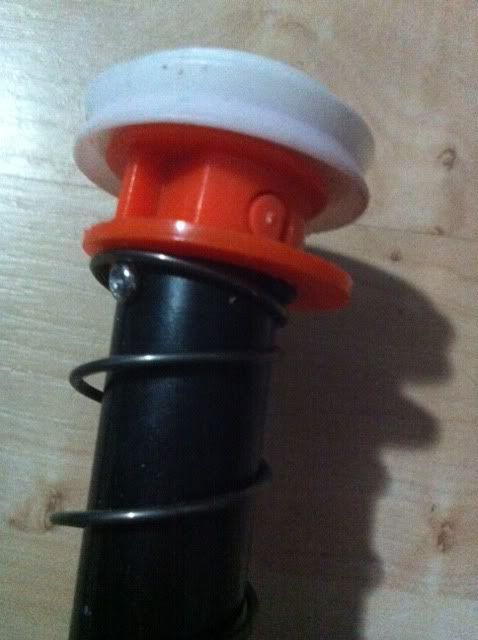
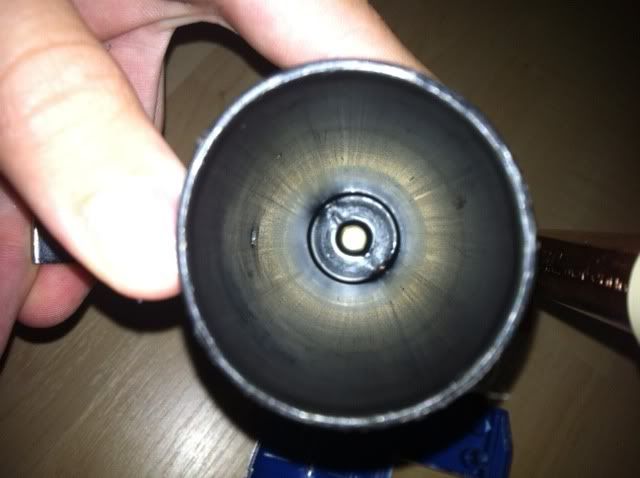
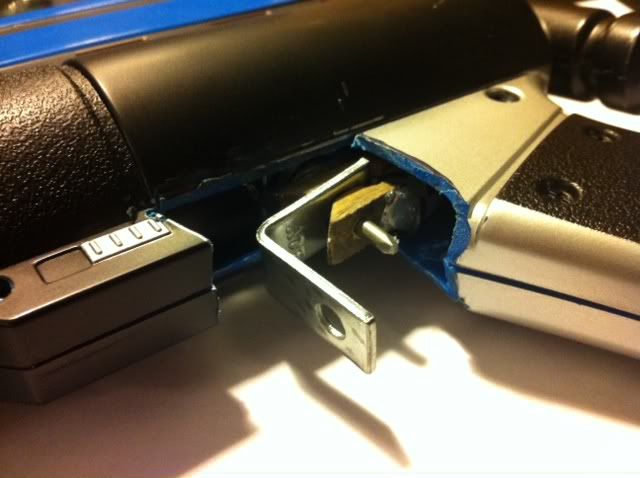
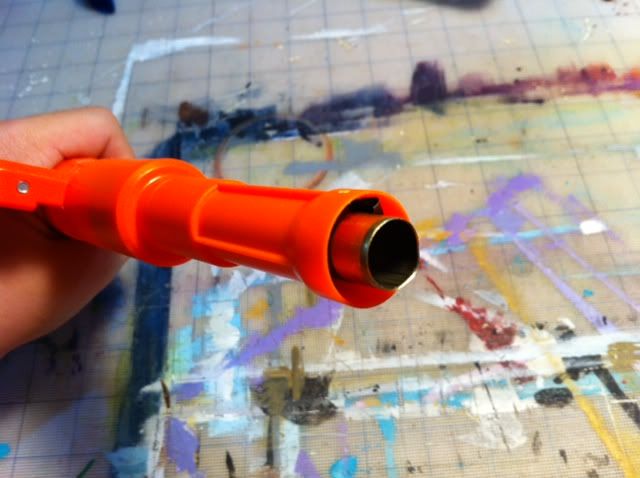
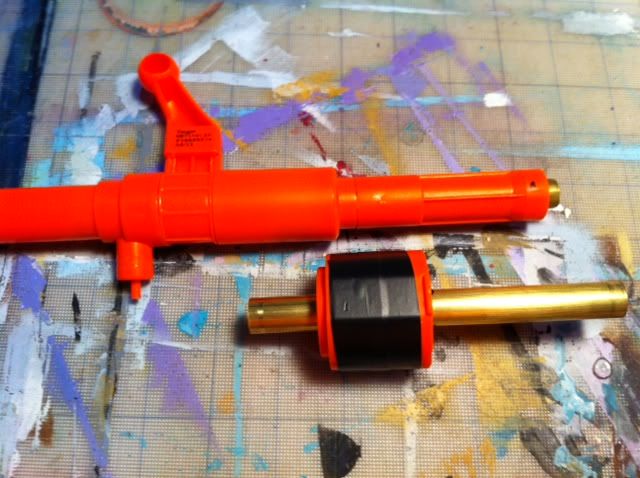
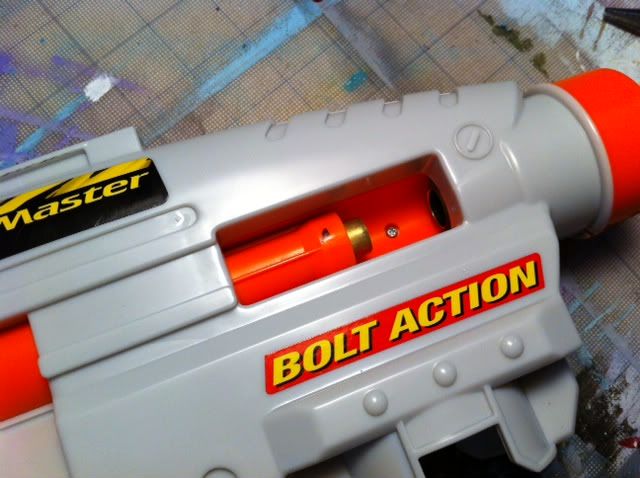
First off, you need to remove the dart tooth:
Posted Image
next, cut your 1/2" brass to 2.5"
Posted Image
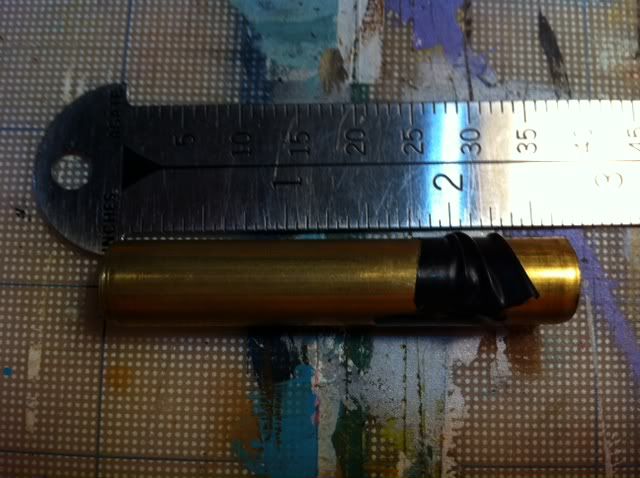
Wrap it in E-tape to fit in the bolt (you could also glue it, but I wanted it to be removable.
Posted Image
Next, nest your 1/2" PVC, 3/4" PVC, and 3/4" PVC end cap. Wrap this in E-tape to fit in the threaded "barrel extension port." Again, you could glue these pieces.
Posted Image
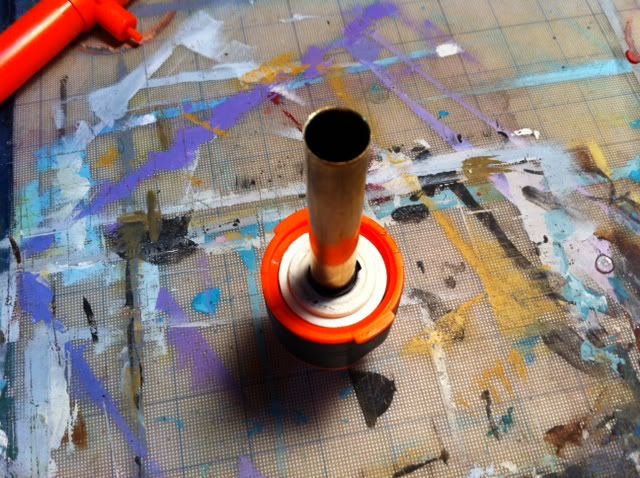
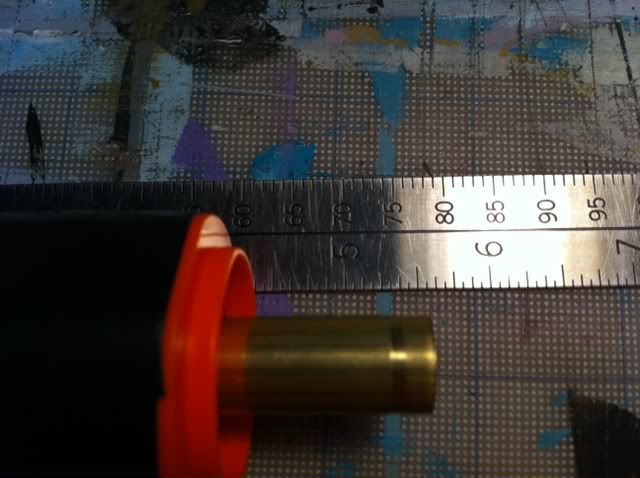
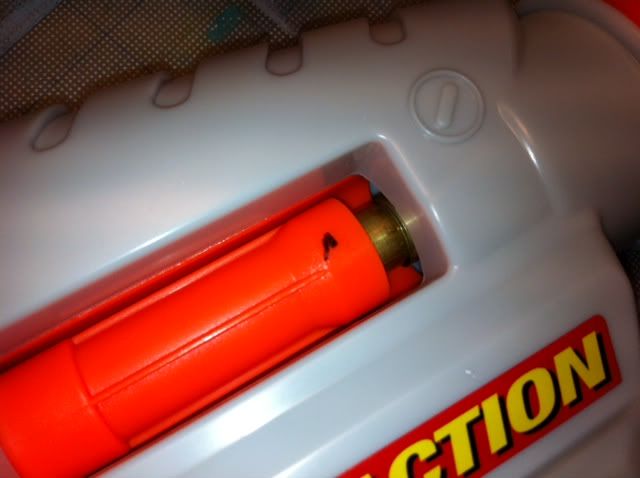
Cut your 17/32 brass to a desired barrel length (I chose 5.5 inches, but it could probably use more). then wrap it in E-tape to fit 1/2" PVC. Once again, you could glue this.
Posted Image
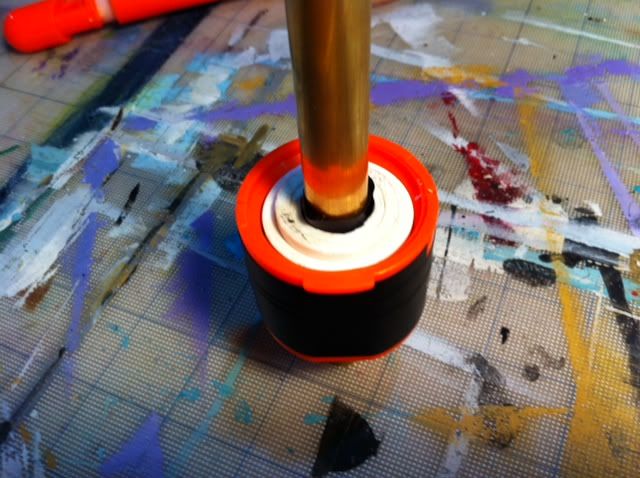
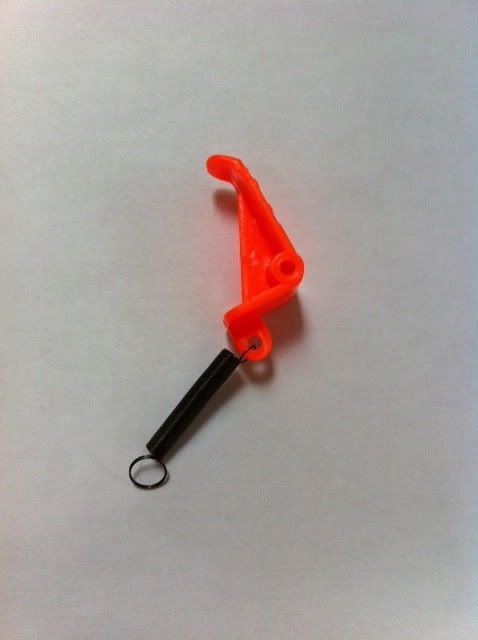
You should have the brass sticking just over an inch from the orange. Also, wrap the orange in E-tape to keep it from wobbling.
Posted Image
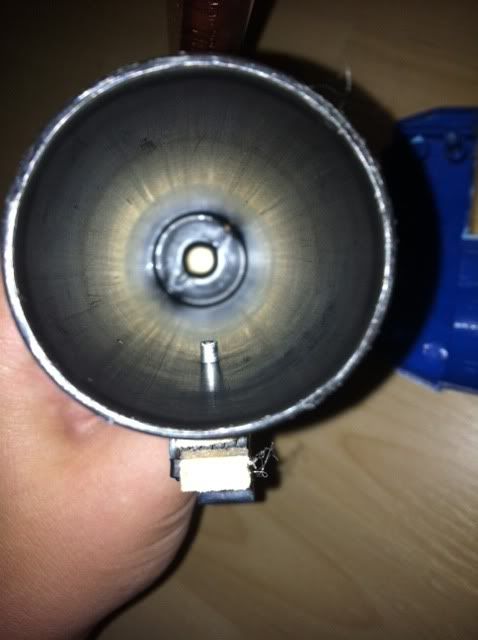
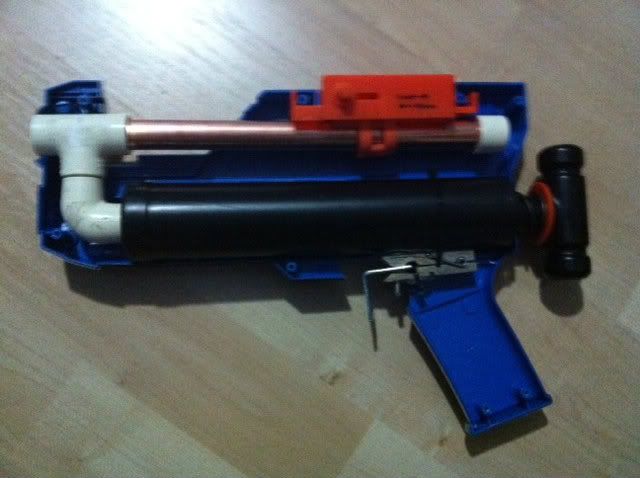
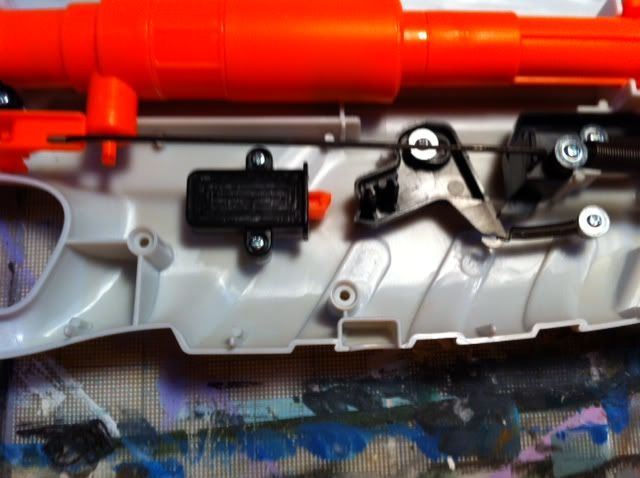
Here are the finished internals:
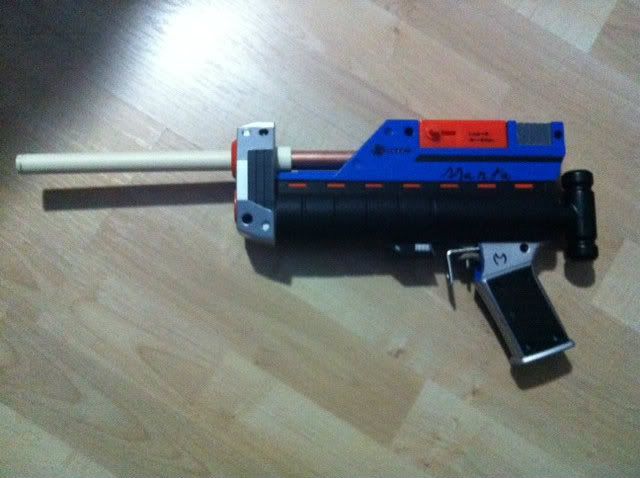
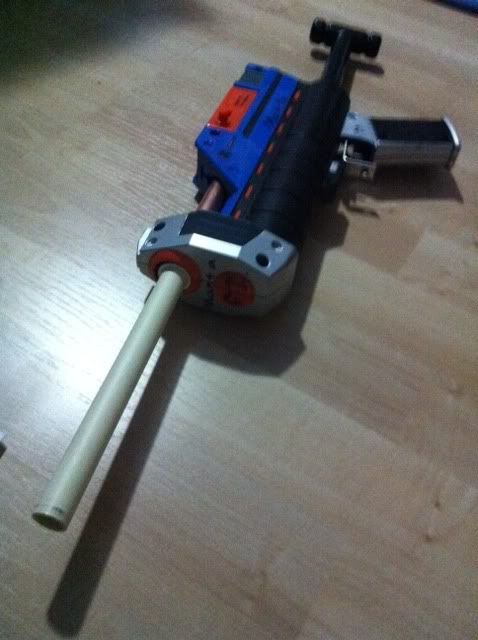
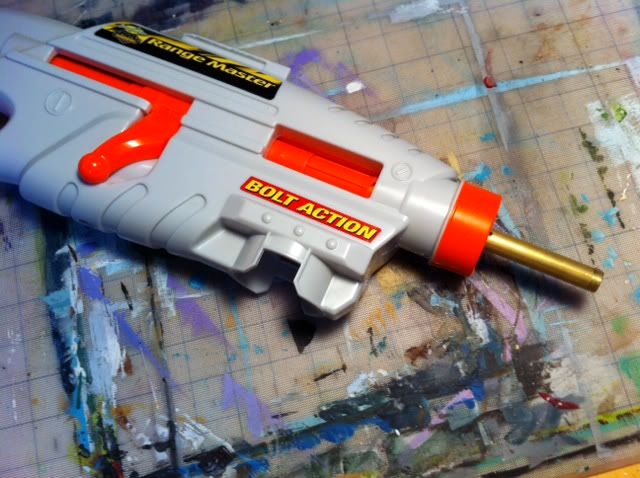
Posted Image
And in the shell:
Posted Image
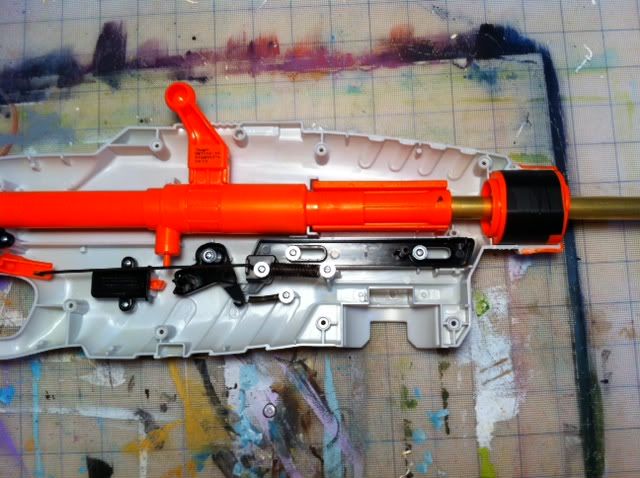
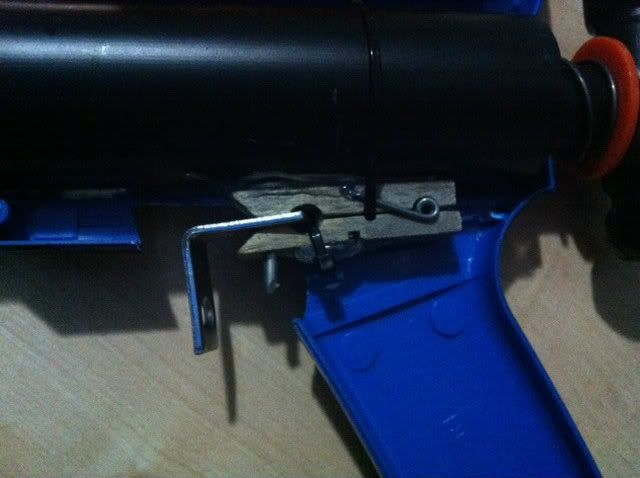
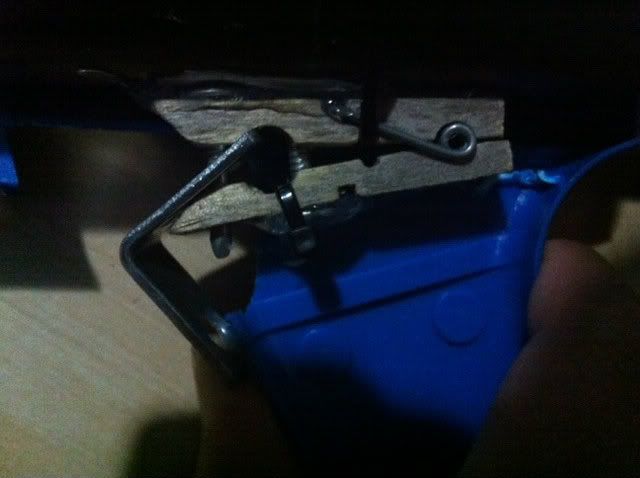
Overview of how the bolt works:
Posted Image
Posted Image
Posted Image
Posted Image
Pretty cool, right?
Posted Image
Ranges: mid eighties to high seventies.
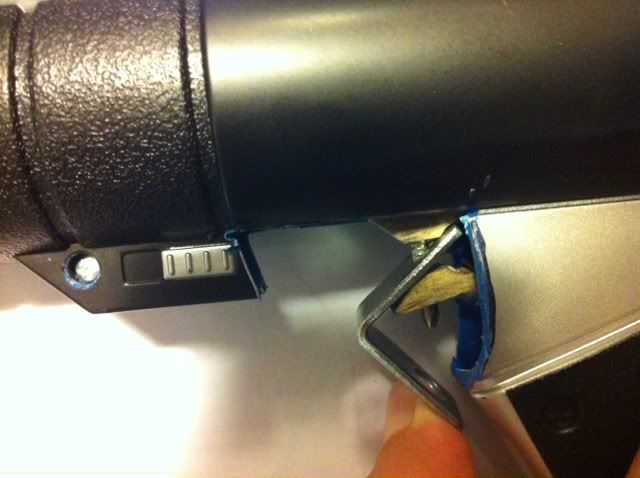
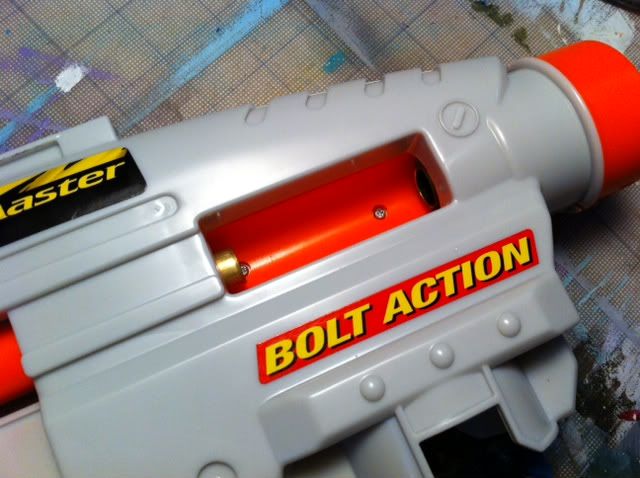
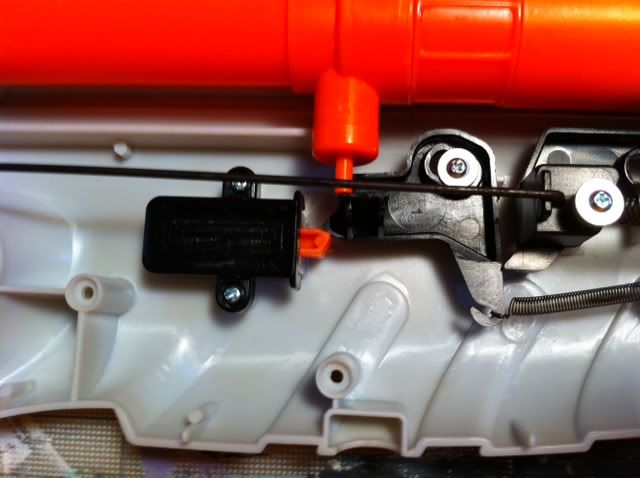
Also, this is how the air release works:
Posted Image
The black triangle type shape moves up to hit the blast button, but it is stopped by an orange piece:
Posted Image
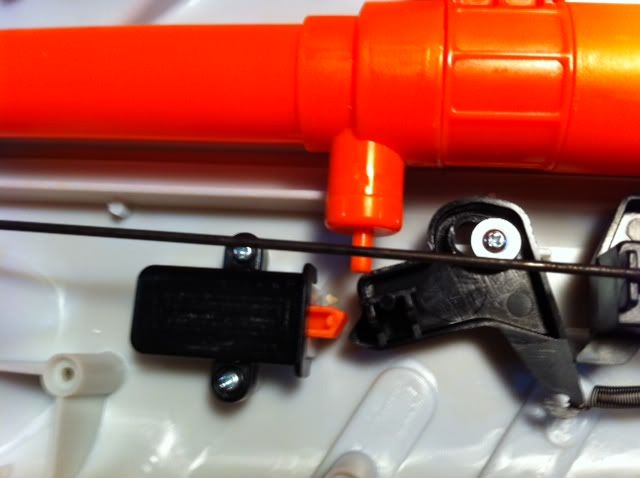
The orange piece holds it back until sufficient pressure is built up by pulling the trigger, then it moves back (spring loaded). This makes the black piece "flick" the blast button at a fairly high speed.
Posted Image
I'm not sure about back pressure tanks, but with normal ones I know it is beneficial to release the air quickly.
Questions or comments?

Xploderz Xblaster 200 trigger mod

01 July 2012 - 06:12 PM

So, this is my first contribution to the forums, so if I am doing something wrong please tell me.
Alright, so I got the Xblaster intending to do Eraser475's excellent mod, but noticed my plunger head was different:
Posted Image
It did not have the white spacer in it, so I was able to get more draw. That also meant that I could not make the clothes pin that far forward without sacrificing draw, so I set about creating my own design.
This is a post mod writeup, so I do not have in-progress pictures, but I feel it can be understood by the pictures. This is what you clothes pin should look like completed:
Posted Image
When the L bracket is pulled back, it forces the clothes pin open, while held in place by a nail:
Posted Image
The nail on the bottom (you can barely see it) is the nail that catches. Here is a view of the nail moving up and down:
Posted Image
Posted Image
The hole for the nail is drilled 2 inches from the back.
I also had to put some screws in to keep the orange disk from moving, giving the nail something to catch on:
Posted Image
Here is a picture of the finished internals, complete with a copper/cpvc RSCB:
Posted Image
Here it is with the cover on and a 7 inch cpvc barrel (I do not know if this is optimal, so if anyone knows, please let me know).
Posted Image
Primed:
Posted Image
Trigger closeup:
Posted Image
Posted Image
It gets 5.25 inches of draw, not bad for a stock draw length.
RANGES: With the RSCB, it tops out at about 80, averaging in the 70's
Well, thats it, questions or comments?