Jump to content


CaptainSlug

Member Since 17 Feb 2006
Offline Last Active Aug 10 2021 11:37 AM

#358196 1995 Crossbow CAD Files

Posted by CaptainSlug on 24 February 2017 - 05:10 PM

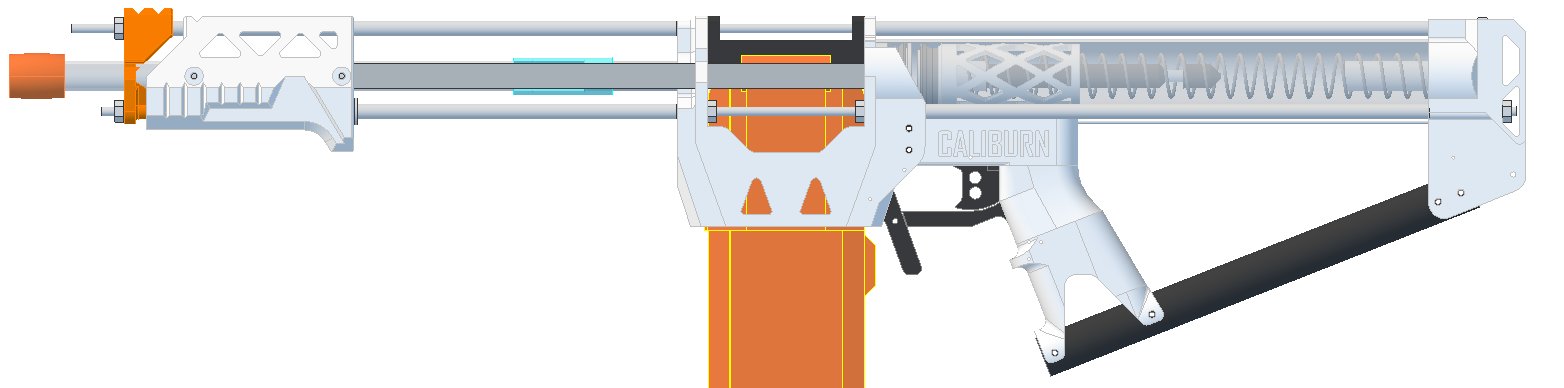
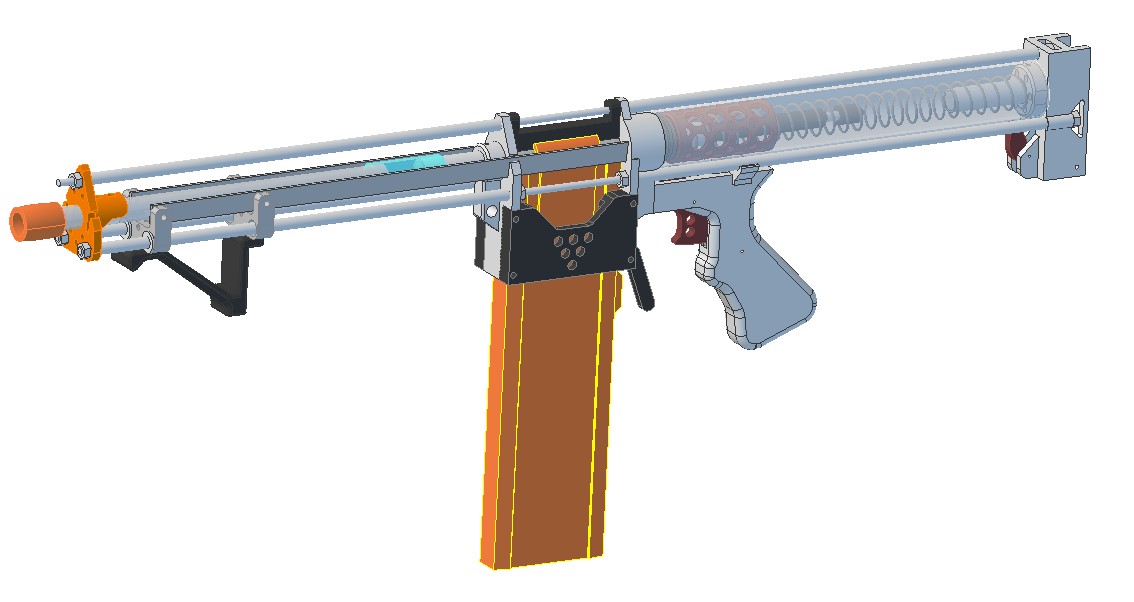
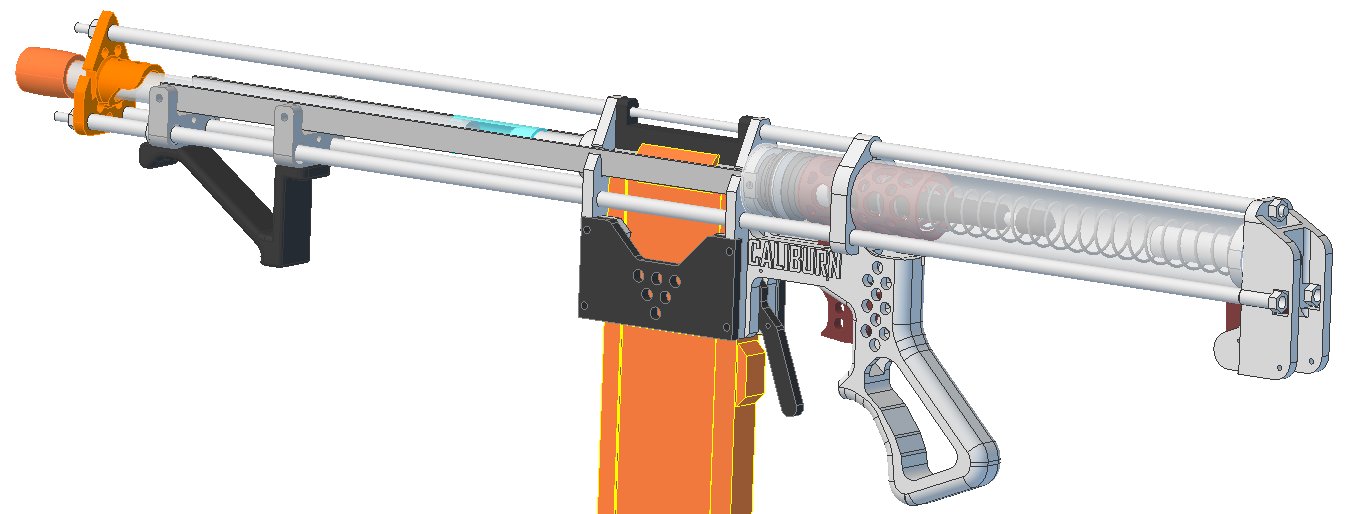
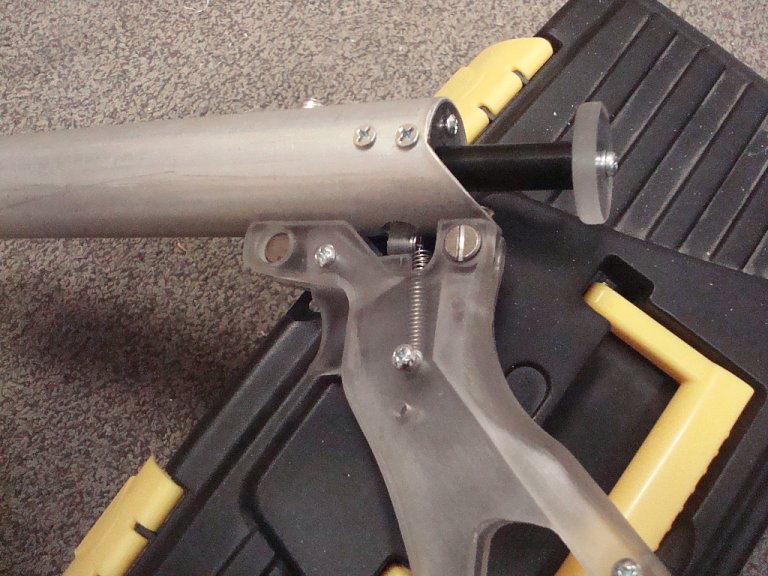
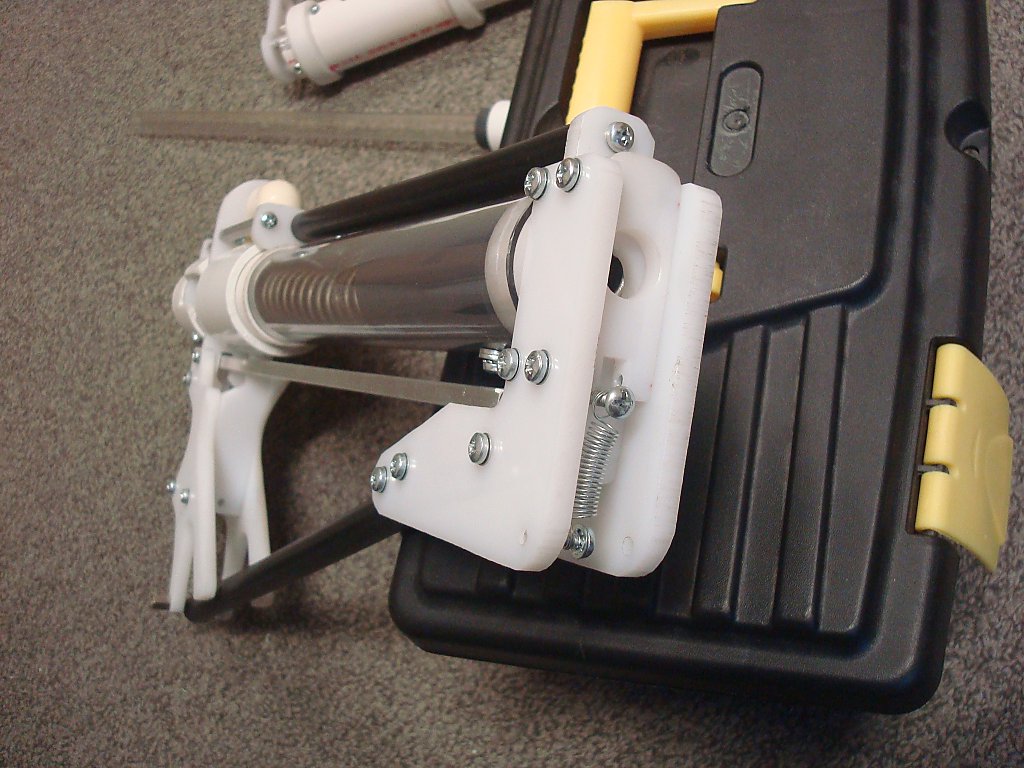
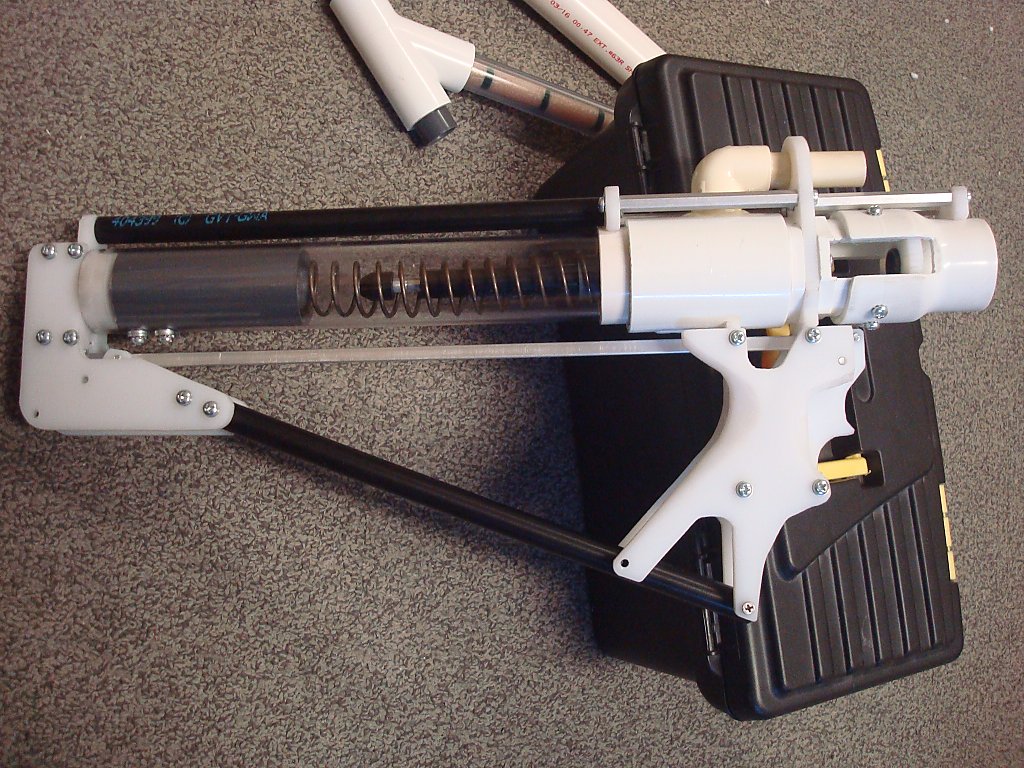
I haven't modeled the springs yet. I'll add them to the set soonish, then make the STL files available.


STEP 214 Format: http://captainslug.c.../Crossbow95.zip (2.6mb)


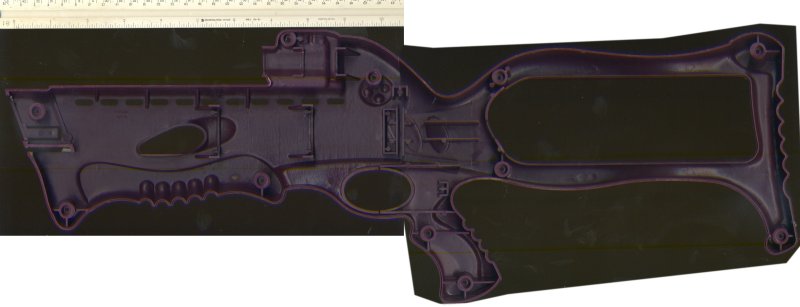
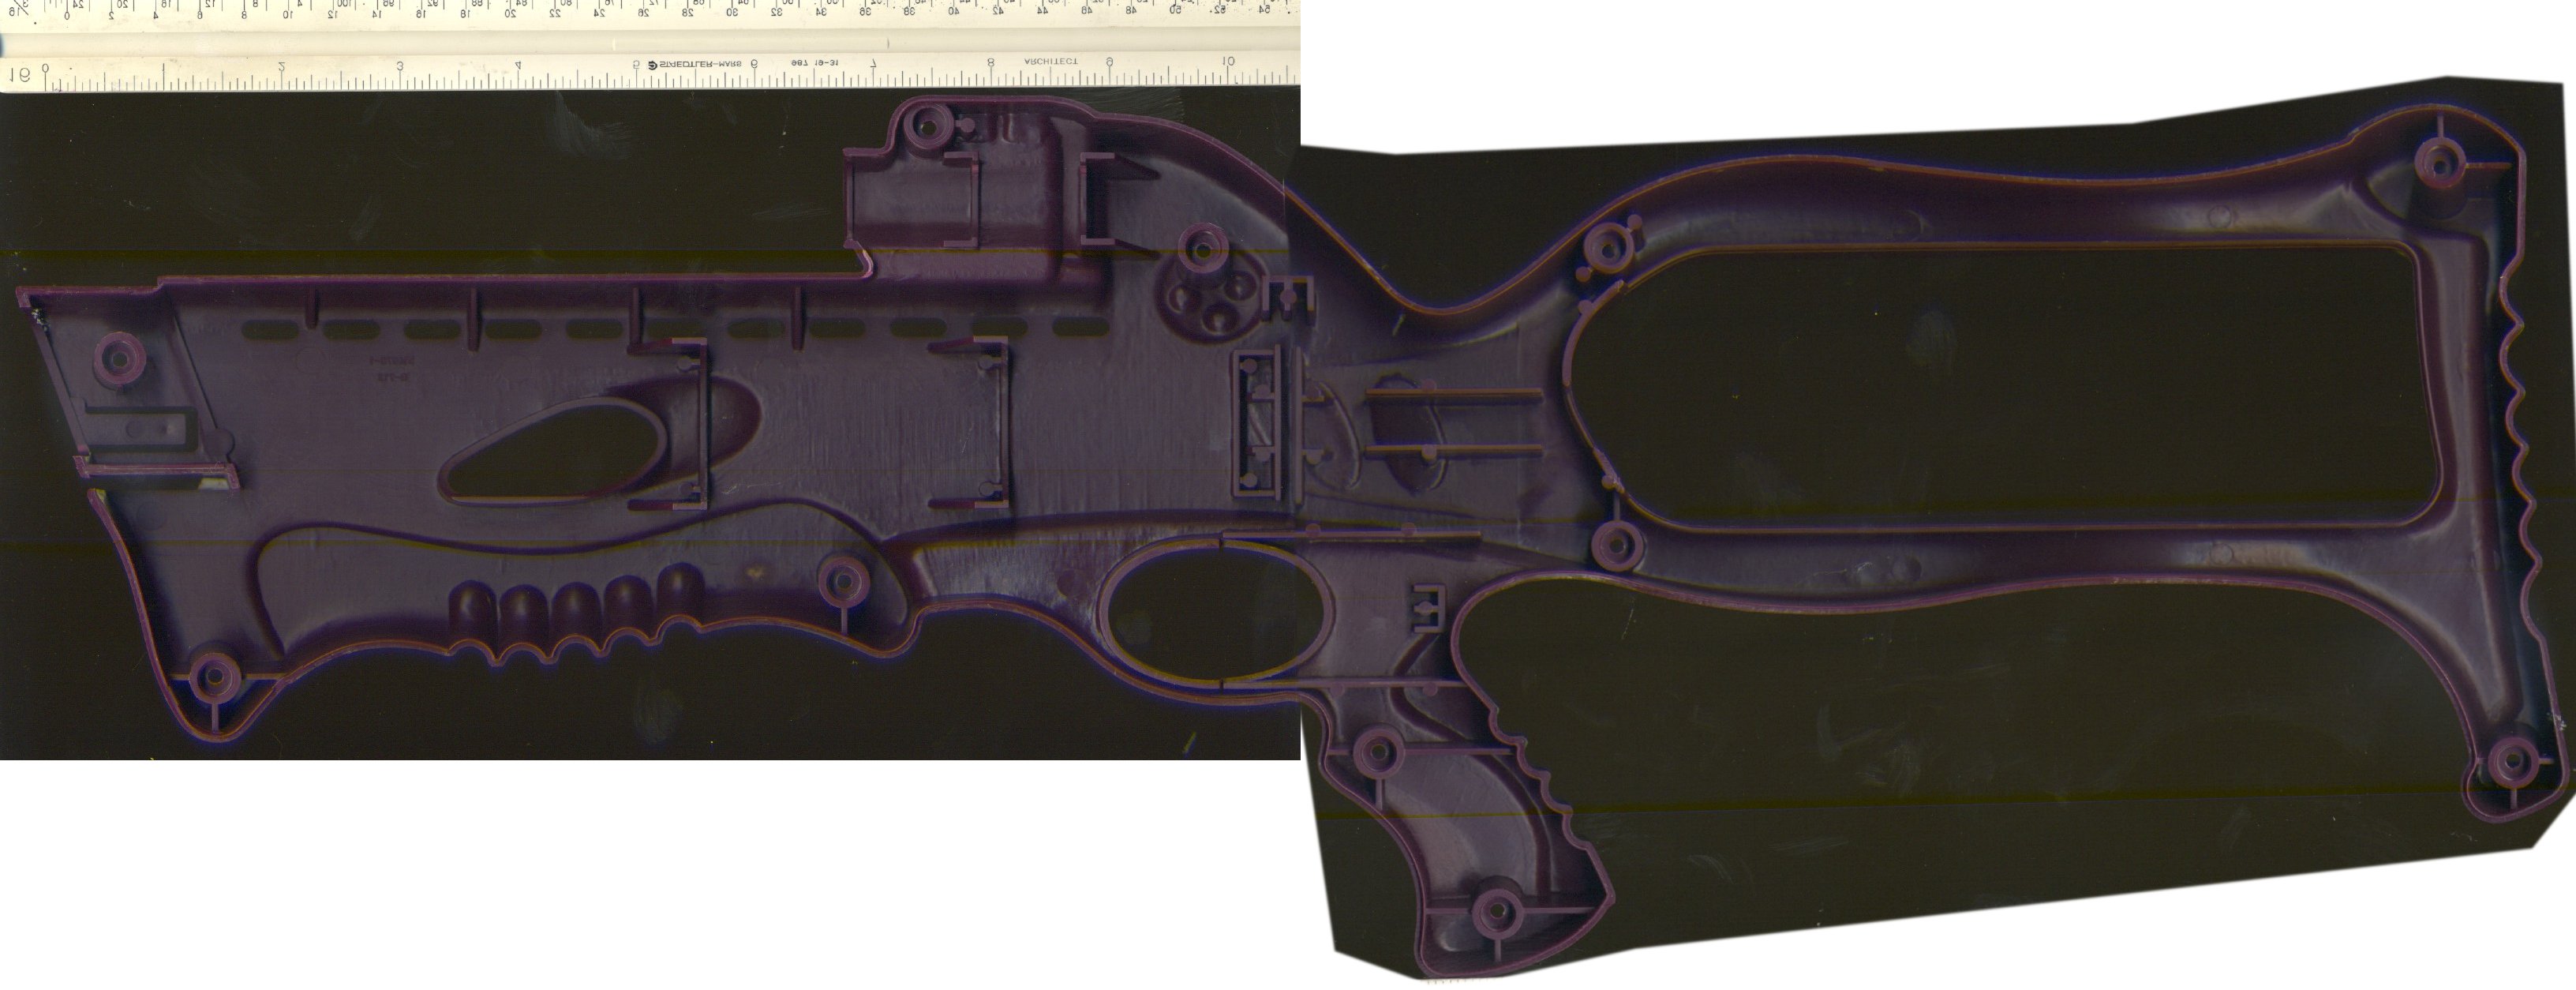
Stitched Shell Scan: http://captainslug.c...erf/cb95_s1.jpg

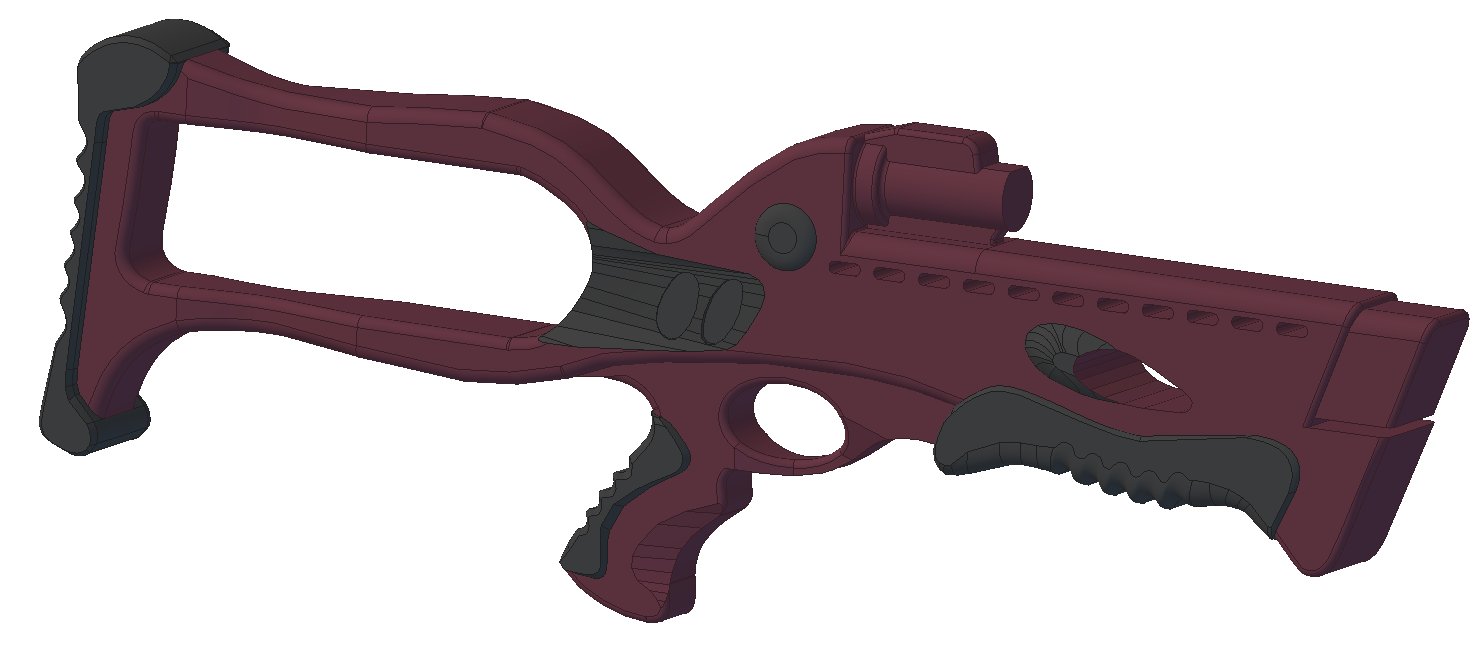
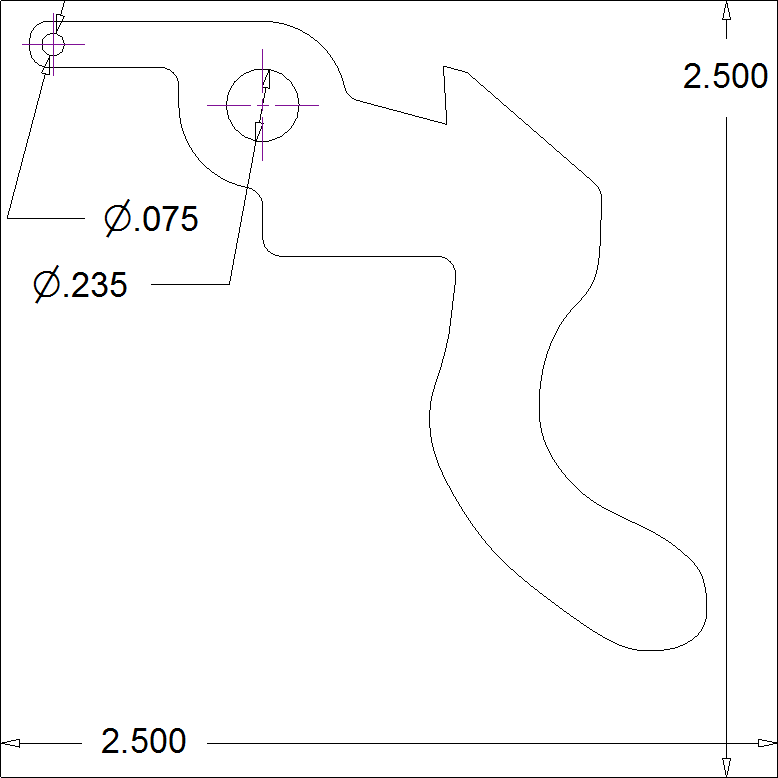
Exterior DXF: http://captainslug.c.../Crossbow95.dxf

Cutaway DXF: http://captainslug.c...bow95inside.dxf

c95_11.jpg

c95_12.jpg

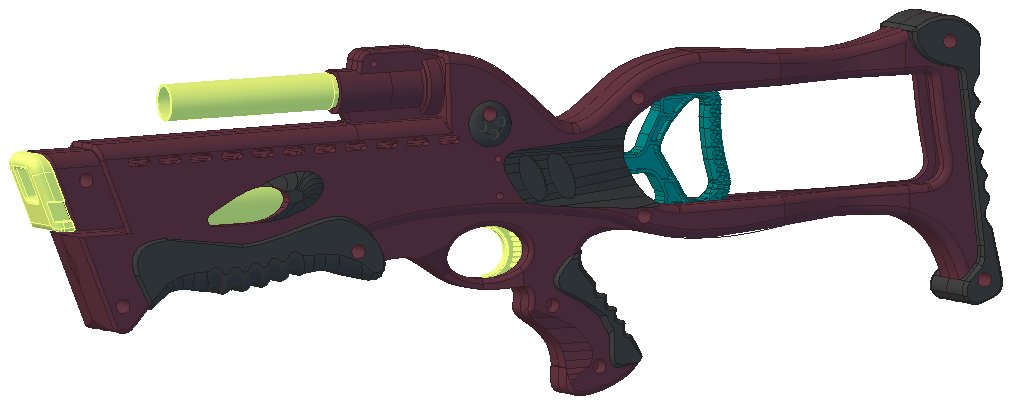
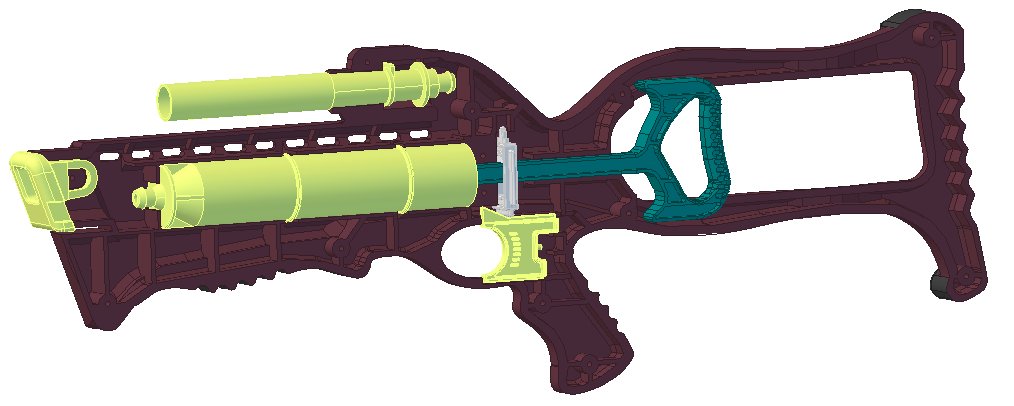
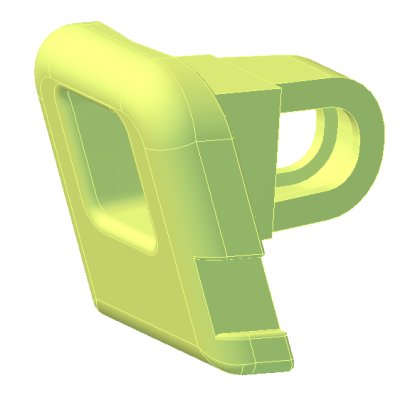
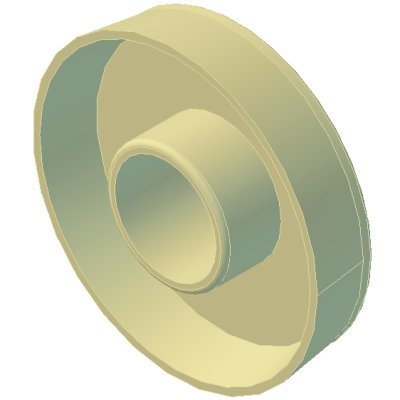
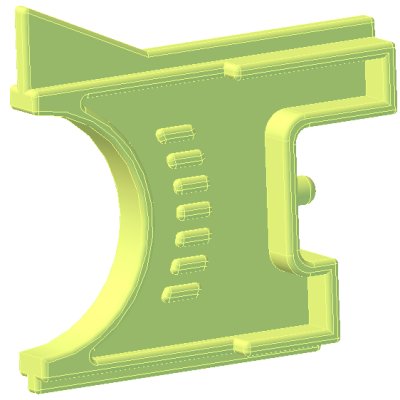
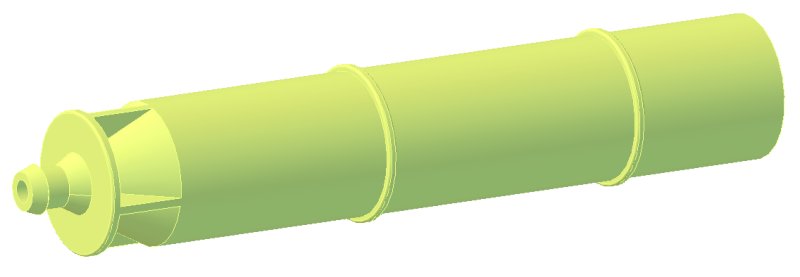
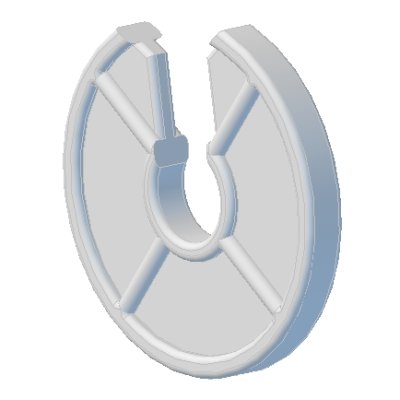
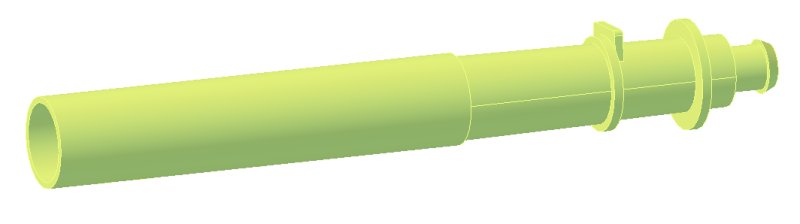
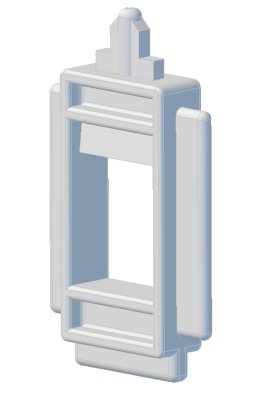
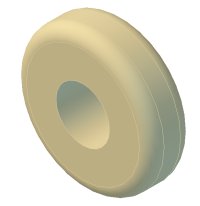
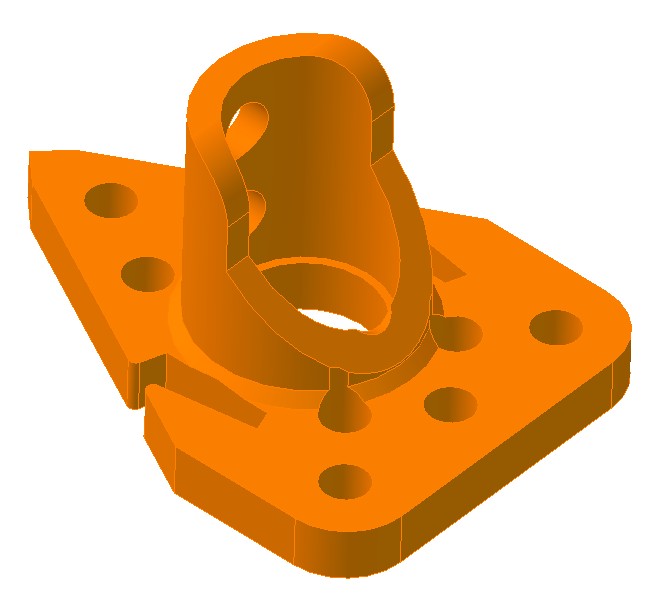
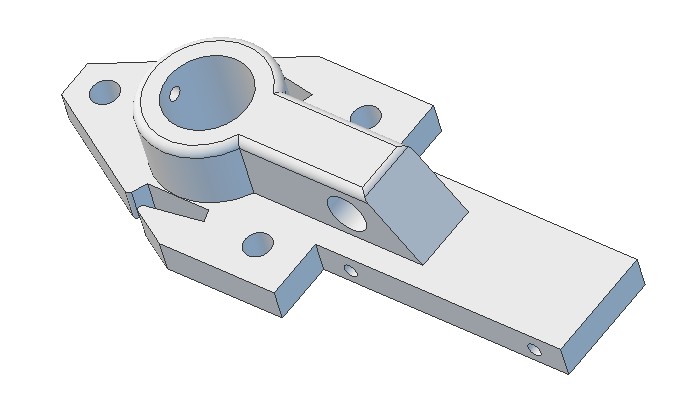
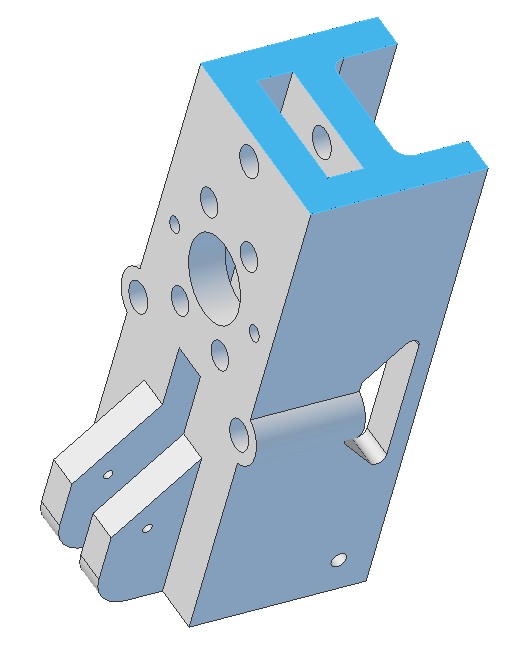
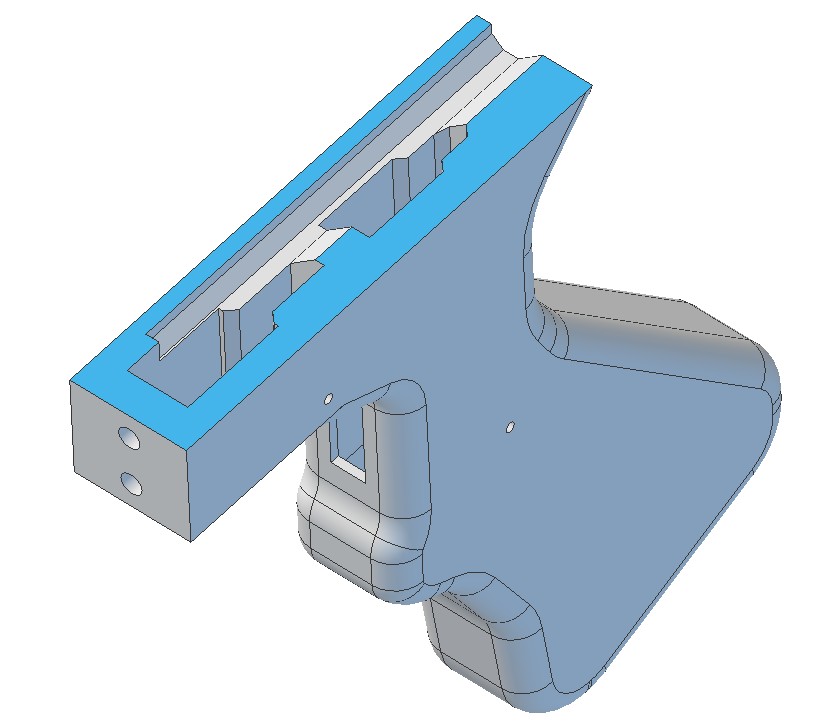
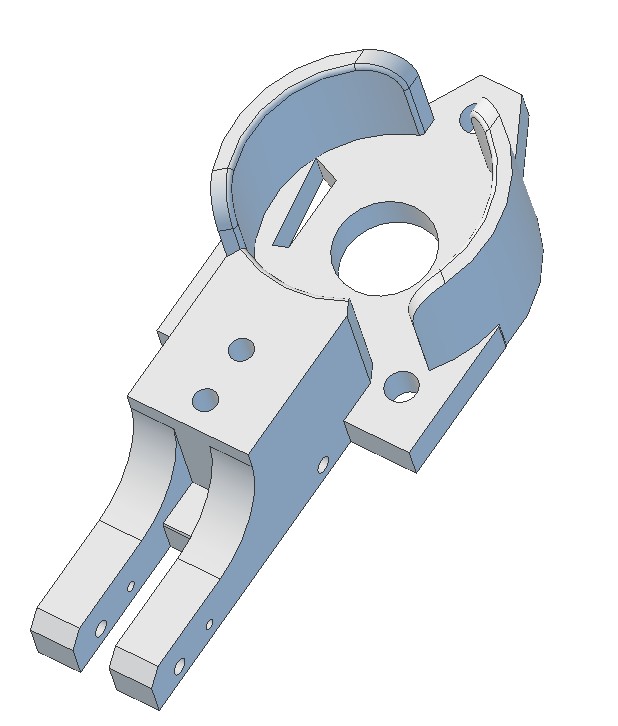
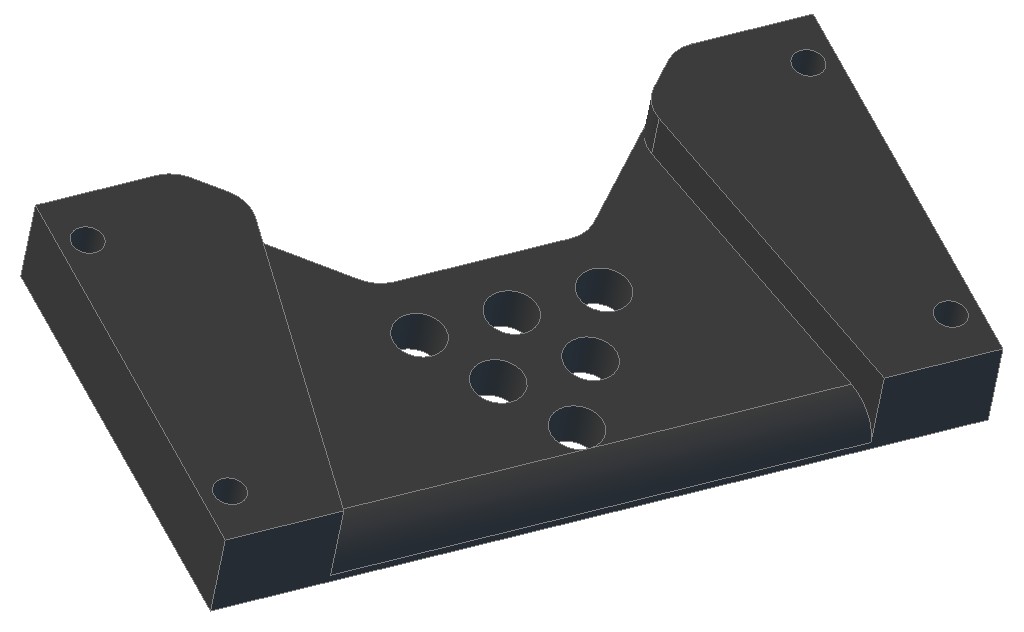
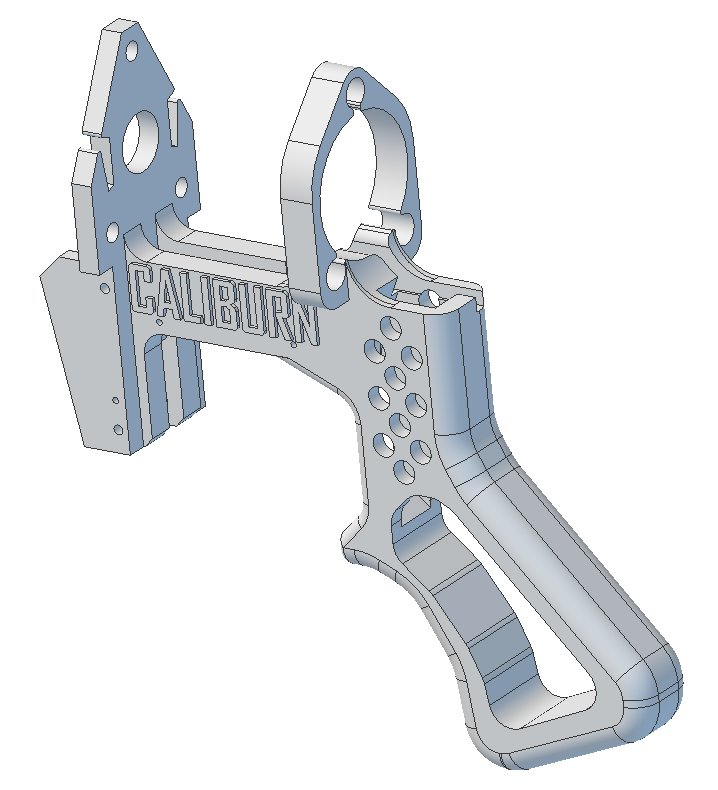
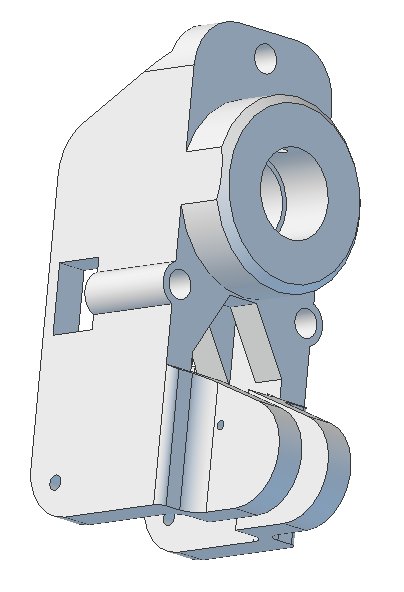
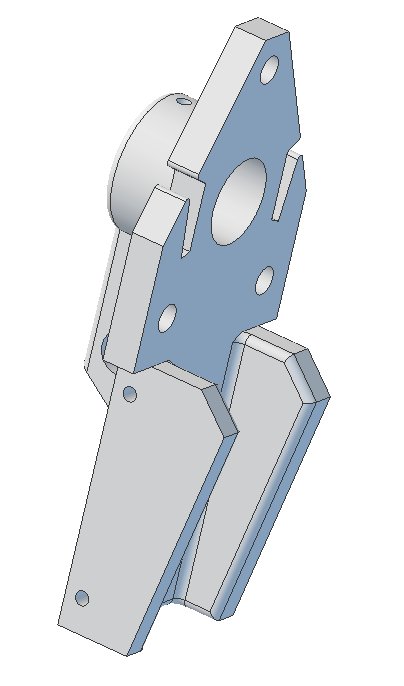
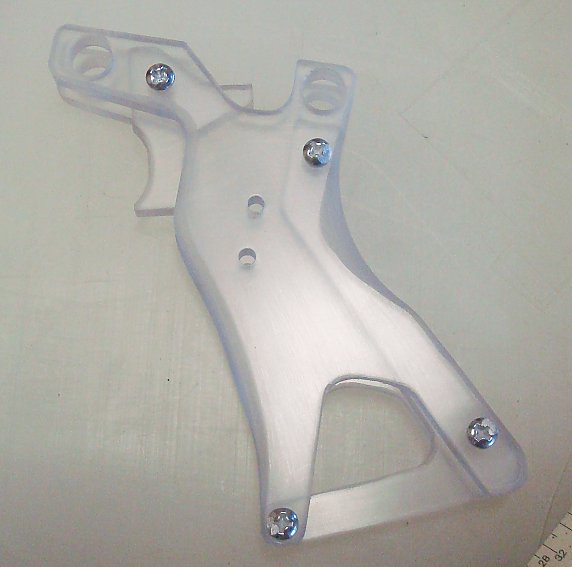
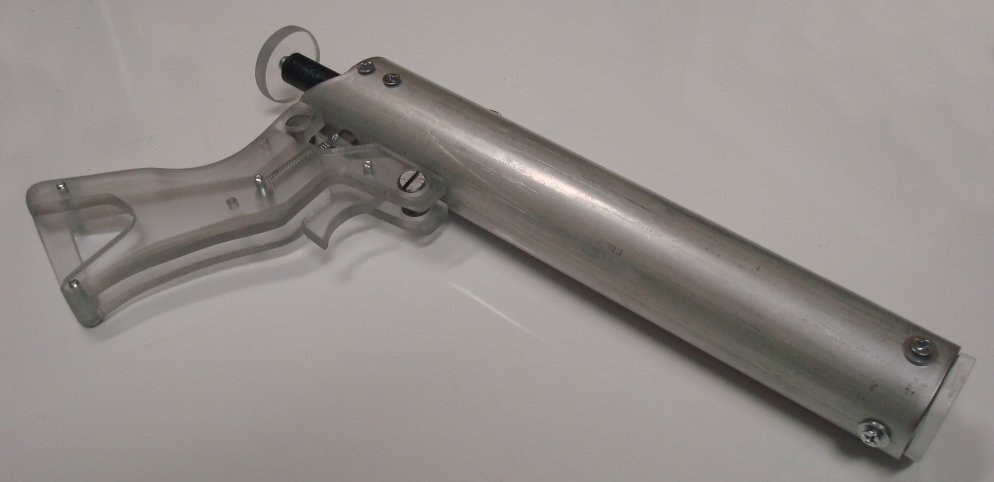
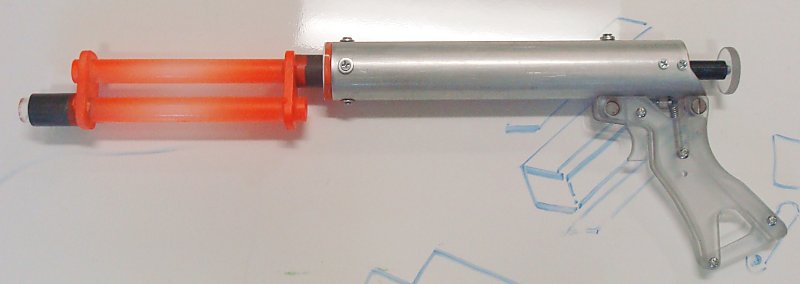
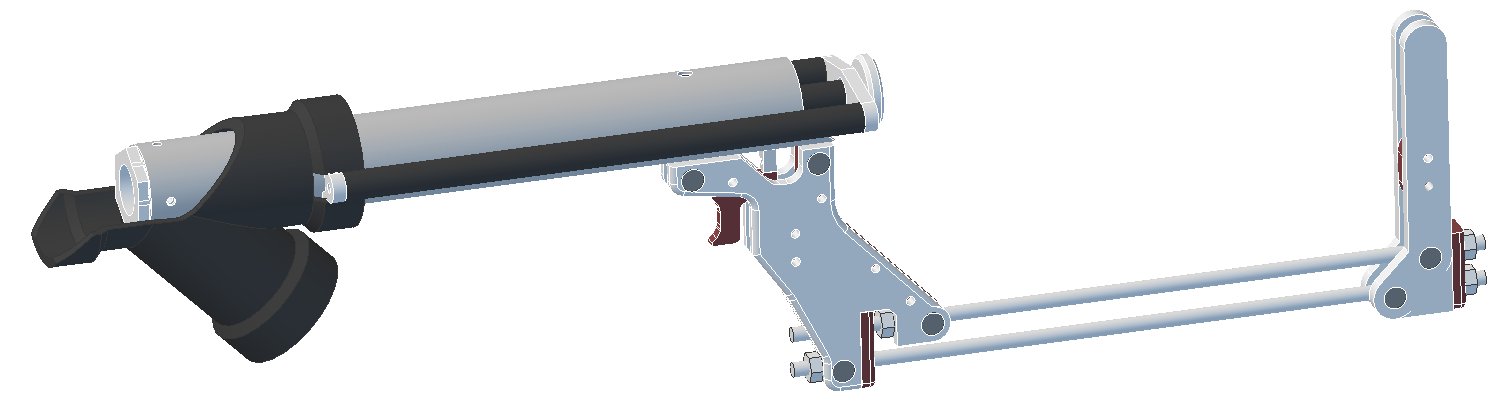
The internal parts are 100% measurement accurate. The shell however isn't exactly dimensionally perfect. It's been altered for improved strength and more compatibility with 3D printing (hopefully).


  • 6


#358186 Koosh Vortex Tornado Scans (Now a shell replica concept thread)

Posted by CaptainSlug on 24 February 2017 - 12:21 PM

This is still a work in progress. This isn't a laser-scan and I only just started the internal features, but I do have the exterior as done as it can be without having access to more expensive equipment.

The goofy process used is to scan the inside of the shell using a flatbed scanner.

c95_10.jpg

This is two and a half scans stitched together with the ruler in each of the scans to confirm scaling and orientation. The scanner does add some optical distortion so that overall dimensions have to be checked against the shell.


The scan can then be loaded into drawing mode in Solid CAD software and traced. Those flat traces can be used to extrude out a solid model version of the shell. Alternatively the features that you want to copy could be filled in black and saved as a 2-color image and software such as Inkscape could convert that image into a DXF file, though that process can be kind of annoying and the DXF it makes can sometimes be kind of messy.


Anyway, I copied the outlines of all the features into a part and modeled all the exterior features. And after 3 hours of doing that I have this.

c95_09.jpg

So this is only likely to be a 93% accurate reproduction of the original shell and there are some features I'm going to drop (such as the bow arm attachment feature which nobody will use). A more accurate model would require an alternate method such as a CMM. We have one at work now but I'm still being trained how to use it. This model also doesn't require extreme precision since I can use the 100% accurate models I made of the rest of the parts to error correct all the internal features while modeling them.


The next step is to copy all of the internal features such as cross-members, posts, part cutouts, and then the inside contour of the shell. These all have to be modeled as separate parts to keep the file sizes down. They can later be merged together with boolean operations either in the CAD software or externally as STL files using Blender.


  • 3


#358170 Koosh Vortex Tornado Scans (Now a shell replica concept thread)

Posted by CaptainSlug on 23 February 2017 - 04:38 PM

Mostly done. I still have to do the springs and the shell.
c95_00.jpg
c95_01.jpgc95_02.jpgc95_03.jpgc95_04.jpgc95_05.jpgc95_06.jpgc95_07.jpgc95_08.jpg
I didn't realize that the tubing that connects the plunger tube to the arrow post has a spring inside of it that keeps the tubing from collapsing at bends. I haven't had an entirely stock one of these in my hands since the mid-90s.
 
Edit: I will make STL and STEP files available once the assembly is fully modeled.
  • 1


#358140 Caliburn: Mag-fed Pump-action Springer

Posted by CaptainSlug on 22 February 2017 - 04:01 PM

Meaker VI has been providing a lot of feedback and I think this is as far as it's going to get. The Mag Well is now one part, as is the grip.

rs3_14.jpg


  • 1


#358068 Caliburn: Mag-fed Pump-action Springer

Posted by CaptainSlug on 19 February 2017 - 07:10 PM

I'm rusty on bed printing because I've been spoiled by work-related projects which are primarily laser-sintered and don't have the same design constraints. So here's another stab at using Meaker's input to re-approach how all these parts go together.

rs3_05.jpg
rs3_06.jpgrs3_07.jpgrs3_08.jpgrs3_09.jpgrs3_10.jpgrs3_11.jpg
The Grip is split into two primary parts, with the back of the magwell being printed front-side down on the bed, and the grip upside-down on the bed (as is typical). They get bolted together with two screws. A smaller third upper piece can be glued on or wedged in place.

The stock piece similarly gets printed upside-down.
  • 1


#358022 Caliburn: Mag-fed Pump-action Springer

Posted by CaptainSlug on 17 February 2017 - 02:59 PM

Had some downtime at work today. Worked up a 3D-printed version of this design that's held together by 10-32 threaded rods and spacers.

rs3_00.jpg

rs3_01.jpgrs3_02.jpgrs3_03.jpg

The foregrip slides on the outside of the forward pair of parallel threaded rods (covered by spacers) using some sleeve bearings.


Thoughts?


  • 1


#357992 Caliburn: Mag-fed Pump-action Springer

Posted by CaptainSlug on 15 February 2017 - 05:02 PM

caliburn_c37.jpg


Construction Write-up is done and added to the first post. The Template set and partslist have been updated as well.


http://captainslug.com/caliburn.html


Two of the parts in the write-up are optionally 3d-printed. If you don't have access to a printer those parts are available here.


https://www.shapeway...Y4NG/fgrip-ring


https://www.shapeway...RVQ4Q8DU/frame2


And if you want to add nameplates to your grip panels, here are the ones I'm using.


https://www.shapeway...49LW5/nameplate


I vinyl dye then sand mine to get them to look like this.


rs_27.jpg


  • 1


#357461 Replacement PAS Trigger

Posted by CaptainSlug on 05 January 2017 - 05:01 PM

deep_03.jpg


Uses an extension spring rather than the original and annoying torsion spring. Made out of 1/4" polycarbonate (which is typically .230" thick).


Template: http://captainslug.c.../pastrigger.png


STL File: http://captainslug.c.../pastrigger.stl


https://www.shapeway...oduct/58FRXDLLC


  • 1


#357336 PaNWar 1.0 - Aiming to be the largest war in the Northwest!

Posted by CaptainSlug on 29 December 2016 - 07:50 AM

I don't really want to necro old posts (not that this post is that old), but i really want to know if there will another war like this around the same date. It would be my first "real" nerf war, and that would be quite awesome.

Thanks in advance if you reply

In future, just PM the war host about this.


  • 1


#357225 Pushbutton Water Bottle Caps

Posted by CaptainSlug on 19 December 2016 - 10:30 AM

These were discovered by pSyk, and they work really well for being so cheap. They include a foam gasket in the lid and on the threaded side. The lid is spring-loaded and flips open once your depress the pushbutton. The ID at their narrowest point is .600"


He goes over using water bottle threaded necks glued on the OD of clear PVC in order to put these on a hopper magazine. I did the inverse and turned down some pipe couplers.


pbbc_00.jpg

I turned the OD down to .995" then cut them in half.

pbbc_01.jpg

I then filled the gap with 2-part epoxy (Plexus M310).

pbbc_02.jpg


I ordered these for $5 each on eBay.


http://www.ebay.com/itm/191724939561


  • 2


#356990 Staining PVC Parts

Posted by CaptainSlug on 02 December 2016 - 02:48 PM

This is an alternative process to that of Vinyl Dye. Vinyl Dye still produces very nice results, however it can be somewhat expensive to buy and comes in a very limited palette of colors. This process however comes in a nearly UNLIMITED variety of colors (darker shades may be difficult however) for very little investment. For $40 you can mix up to 6 colors and still have dye leftover to make another batch. The color mixtures last for up to 3 months when kept in jars and can stain several dozen parts.

sb2s.jpgrs_14.jpg

Most of the Purple on the Caliburn prototype is an absurdly expensive spray vinyl dye I found called "Meltonian Nu-Life" that's originally intended for doing touch-up repairs on shoes. It comes in all the colors that shoes typically come in, including purple, raspberry, pink, and a bunch of other ones.

Pink: https://www.amazon.c...k/dp/B002TEJMZE
Purple: https://www.amazon.c.../dp/B002TEFNYI/
Raspberry: https://www.amazon.c...y/dp/B002TEJN4Y


The plunger part however was experimentally stained using an expired can of Purple Primer. The color turned out very very dark and very interesting so I wanted to find a way to make my own primer in other colors and found a tutorial on how to do so. But that tutorial was extremely short and did not provide much in the way of detail.

For dying PVC you need a fair amount of supplies. I need to take some photos of the table I'm using for this, but it's not very complicated to explain.
dye_00.jpg

First, you need Oatey's Clear Cleaner.
51cUin7A%2BuL.jpg
http://www.lowes.com...Cleaner/4750193

Only buy the large container. The smaller sizes are only slightly cheaper and won't really be enough if you want to mix more than one color.

Second, you need to have multiple 1-quart Ball jars. You can buy a case of 12 from Wal-mart or a grocery store for $11.

41vuCMu5NNL.jpg

You won't be able to use the lids that come with them, but you will need the rings. The vapor from the clear cleaner will start dissolving the gaskets on the lids that come with these after only a day. So I've started just using aluminum foil and the canning rings to cover these containers.

Third, you need to buy petroleum(oil)-based dyes. Water-based dyes WILL NO WORK. I bought this primary color set from Amazon. But you can also use "fuel dye" which comes in other colors as well as a nasty UV green which could look pretty neat. Any oil-based dye set will work and they're available from a variety of suppliers.

https://www.amazon.c.../dp/B00NJ69X4Q/


OTHER SUPPLIES you are going to need

  • kitchen gloves
  • Aluminum Foil (to use with the canning rings, and to set down the parts while they dry)
  • a few lengths of PVC to use as stirring sticks and color testing pieces,
  • paper towels for rubbing the stain onto your parts,
  • Somewhere outside where if you spill any of this stuff you're not going to ruin anything.

Follow the instructions on the clear cleaner container. I've found that the stain cures insanely fast, and even more so in colder weather.

1. You split the clear cleaner into multiple Ball jars. You only need a little bit in each one. Have some left over for prepping the parts you intend to stain so that you can clean the lettering off of them prior to stain. Alternatively you can sand the lettering off instead.
2. PUT ON THE GLOVES. Getting the clear cleaner on your hands after adding the fuel dye will make your hands look like they have some terrible disease like jaundice or something. I would also advise having extra latex gloves available. Vinyl gloves WILL NOT WORK. I bought some and the clear cleaner will eat holes in them in under 5 minutes.
3. The amount of lamp oil dye you need to add to the cleaner seems to be variable between colors. Red or blue take mere drops to work. Yellow however is somewhat weak and you may need to to do a squirt or two from the bottle to get enough color. MORE DYE does not always mean MORE COLOR. Often times you just need to apply multiple coats instead of adding more and more dye.
4. Use paper towels on a test piece to confirm that the mixture is producing the color you want. The solution will appear WAY darker than it will when you get the paper towel wet with it, and infinitely darker than the stain will look once it goes on the PVC.
5. If the color rubs on too light or not the right hue, adjust the dye balance as needed. This takes multiple tries.

6. Use paper towels and dip them into the clear cleaner that hasn't had dye added to it.
7. Wipe the clear cleaner on your actual parts to take the lettering off and prep them
8. Wait 5 minutes.
10. Use paper towels and dip them into the dyed clear cleaner.
11. Use the dipped paper towel to wipe stain onto your actual parts.
12. Set the parts aside on a sheet of aluminum foil or hang them from hooks. If doing so in colder temperatures or high humidity the evaoprating cleaner will tend to cause the stained parts to draw moisture.
13. Wait 5 minutes
14. Apply extra layers of stain to add more color as needed


If you want an even coat of a single color avoid using more than one dye mixture at a time. Applying one mixture to another that was previously applied can produce unpredictable results. You can however get really interesting fade effects from one area of a part to another and get tie-dye effects inbetween. For example applying an "Orange" mixture to a part stained with a pure Blue dye mixture can cause the Yellow dye component from the "Orange" mix to leach out into the Blue dye creating Green areas. So be aware that every application results in a remixture of the dye components on the surface of your part. Blending colors in the mixture itself is much more predictable than trying to do so on the part itself.

This process seems lengthy, but once you have jars of color mixes you like, the results are extremely repeatable and it takes no time at all.
I've tried this process on things other than PVC and the results are nowhere near as good.


White Polycarbonate ends up looking kind of weird, though this may be because it's translucent white instead of an opaque white. I also worry that the cleaner is going to harm the structural properties of those parts, so I do not advise using it on that material if you can avoid it. I'm going to stick with using vinyl dye or Krylon fusion on polycarbonate.


Acrylics should be quite compatible with this process, but I don't have any on hand to try.

It should however work really well on all the plastic types listed on the container of cleaner. But keep in mind that the stain is VERY transparent when applied so it cannot be used to recolor blasters that already contain pigment. It's only useful for turning WHITE plumbing parts into other colors. You can also use it to tint clear PVC tubing to different colors.


Initially I was dipping my parts into the stain to color them, but it turns out that when you first add the dye doing the process this way will wash prior layers dye off and the dye won't seep into the parts as readily so you end up with a very light application of color. In order for the stain to really take hold you have to wipe it onto the parts using paper towels since doing that allows the cleaner to evaporate and leave the dye behind in the plastic.


This changes over time as the cleaner mix evaporates. The longer the solution sits, the higher the proportion of lamp oil dye gets so your color mixtures WILL darken over time AND you will be able to switch to staining parts by submersion after the mixtures have sat for a week or more.


FINAL NOTE: Clear PVC Cleaner is nowhere near as chemically strong as Purple Primer. Be aware that using either product on PVC parts will cause those parts to swell dimensionally. This is especially true with Purple Primer which can cause stronger dimensional changes. So parts that need to fit precisely probably should not be stained using this process (or only done sparingly or selectively) if you do not have the ability to post-machine your parts to correct for this. The breeches I stained with purple primer had to be touched up by -.002" on diameter afterwards.


  • 2


#356984 NERF part dimensions

Posted by CaptainSlug on 02 December 2016 - 09:20 AM

https://www.amazon.c...s/dp/B001AQEZ2W


  • 1


#355861 Durendal: My take on a Rainbow Catch

Posted by CaptainSlug on 20 September 2016 - 08:53 AM

This design was inspired by both Lucian's use of cross dowel nuts, and the Rainbow catch. Adding both of these things provided an opportunity to cut the part count of a Plusbow (even a Rev.3) in half. All simply because the grip is attached to the plunger tube using this type of hardware, allowing it to simply be a sandwich of 3 polycarbonate pieces.
 
Write-Up: http://captainslug.com/durendal.html
 
Templates: http://captainslug.c...l_templates.doc
(Includes plunger tube templates for 3 different blaster size options)
 
Pistol only templates (no stock attachment points): http://captainslug.c...late_pistol.doc
 
Partlist: http://captainslug.c...al_partlist.xls

rp_01.jpg
rp_02.jpg
rp_03.jpg
rp_04.jpg
rp_05.jpg

The next step is to make a shorter version that matches the proportions of a typical Rainbow Pistol. The one pictured has 3 more inches of spring and a bit more stroke so it's shooting awfully far for a "pistol". I will evaluate the feasibility of making the grip parts out of plywood or hardwood.

Also in the works is a full spring version with an optional stock.
rl_00.jpg
Special thanks to: Lucian, KaneTheMediocure, Carbon, and rork
  • 1


#355757 PCSR: A new homemade design

Posted by CaptainSlug on 24 August 2016 - 11:02 AM

It's completely done, here it is with the spring guide. I will post a new thread once I have a construction write-up done.

But for now, here are the templates and partlist.


PARTSLIST


TEMPLATES


pcsr_10.jpg

I'm going to be making grips without the upper rest from now on. There's no point in one being there on a platform that doesn't have recoil and they're the source of all of the relative difficulty people are having with sanding their grip panels enough to be comfortable.

pcsr_11.jpg

The center of mass is nicely placed just above and behind the grip on this design. The ability to take-down everything without any tools is also pretty nifty. Snakerbot's redirect is working perfectly too.

pcsr_12.jpg

In making this I discovered that my catch plates were much more complicated than they needed to be. A 9/16" through hole works perfectly fine and doesn't required as much travel. It just need to be precisely placed relative to the edge that the trigger linkage pushes on.

pcsr_13.jpg

The lower stock rod is acting as a tension member against the spring load. So I've switched to just using a long screw and a thumb nut to secure it to the bottom of the grip.

pcsr_14.jpg

Length tolerances on a few of the parts can be fussy and it took some time to get the pump-grip, plunger, front tube, and so on all interacting perfectly. The pusher rod has to be long enough to push the plunger back, but short enough that it retracts to a position that won't impede the plunger firing. And if it's too short the end of the pusher rod is too close to the redirect seal.

All of these interactions also impact the dimensional requirements for the length of the slots in the front tube, the plates mounted inside the grip, the length of the grip itself, the placement of the catch on the end of the plunger rod, etc.


But with the whole front half of the blaster being so easy to remove, adjusting most of these is a piece of cake.


  • 2


#355470 Apocalypse 2016 - August 6th in Ocean Township, NJ

Posted by CaptainSlug on 10 August 2016 - 08:53 AM

For anyone wondering, I'm not really that cool in person. I apologize to anyone who WANTED to meet me but didn't realize I was even there.


+ Being hit in the safety goggles a few times; as much of a pain as they are, I'm glad I wear them over my prescription glasses.

Step 1: Go to an optometrist and get an eye exam, or request the script from your last one. They'll bitch at you, stomp their feet, try to give you a partial script, but you are legally entitled to get the FULL script from the eye exam in writing (because you paid for the service).

Step 2: Order glasses online. http://www.zennioptical.com/for instance has tons of pairs with prescription lenses with their lowest priced ones being $6.95. They also have plenty of prescription sports goggles/sunglasses for under $30. You will simply need to copy the numbers from your paper script into the fields before adding the glasses to your cart.

Step 3: Not give two shits if your glasses get fucked up because you didn't spend much on them. They have lots of options for coatings, but frankly I find the majority of them pointless aside from tint.


There are plenty of other sites and some of them offer a free "try them on" package of five frames of your choice with dummy lenses so you can make sure they fit.


Optional Steps


Step 4: Buy huge Granny-Style clip-on sunglasses and put them on your new frames.

Step 5: Trace around the edges of the frames onto the Granny-spec lenses using a permanent marker

Step 6: Cut along this line using whatever tool you want. Sometimes even garden shears or tin snips will work.

Step 7: Sand the edges

Step 8: Now you have flip-up sunglasses that aren't enormous.

Now you have tinted lenses


  • 1