Jump to content


Photo

Star Wars Rebel Trooper Blaster Mod

Build your own high powered springer? Piece of cake.

14 replies to this topic

#1 bpso86

bpso86

    Member

  • Members
  • 618 posts

Posted 13 August 2007 - 11:01 PM

Well, we've all seen how big the gun itself is, and the potential, and now it's time to tap into it. Props to everyone in the original star wars blaster thread for suggesting it, and now, on to the mod.

Materials Needed:

Dremel+attachments
screwdriver(s)
duct tape/gorilla tape
rebel trooper blaster
nightfinder plunger tube
handyman spring from home depot
rubber bands (Staples #84 are my preferred weapon of choice)
lube
sandpaper
machine screws with matching nuts
drill/drill bits
xacto knife

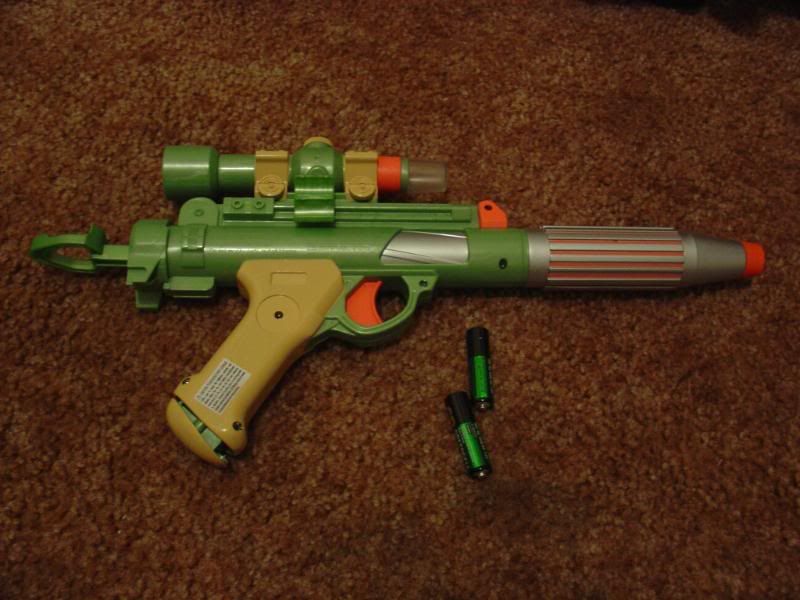
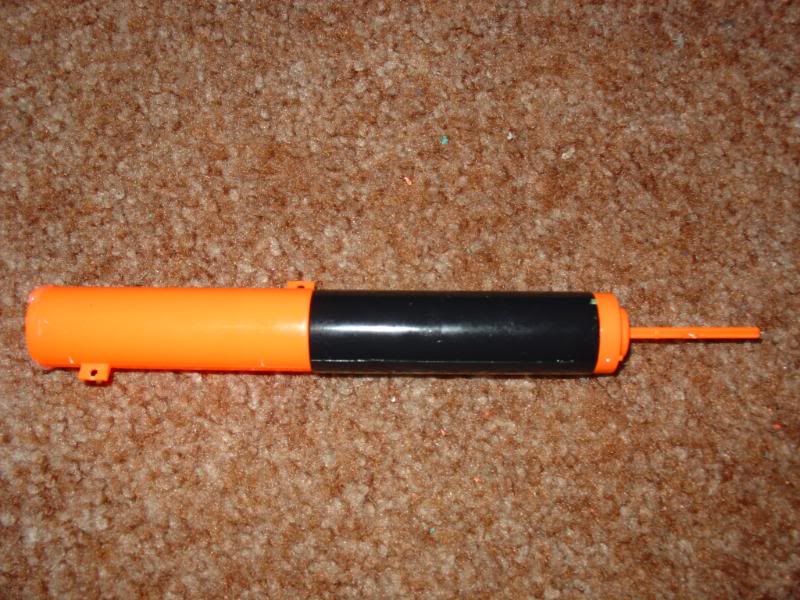
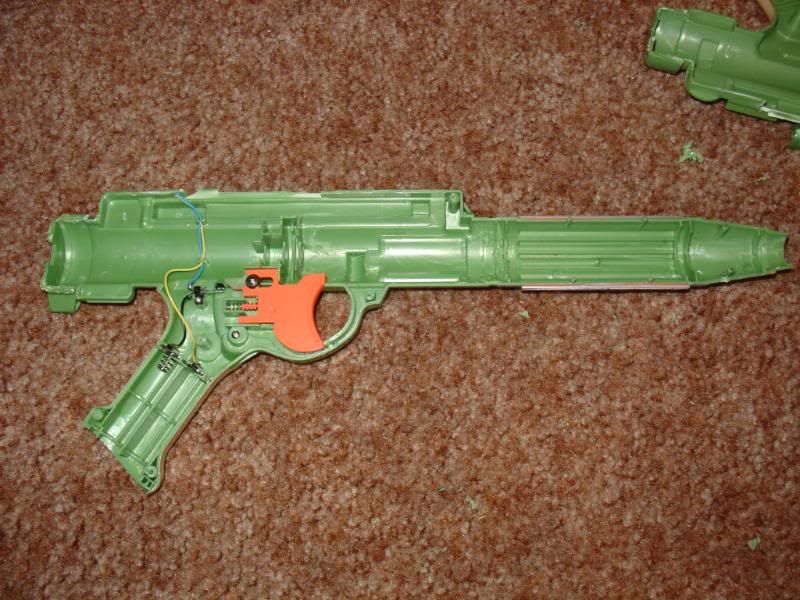
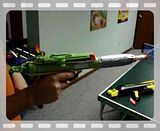
Okay, before we start, here's a reference picture:

Posted Image

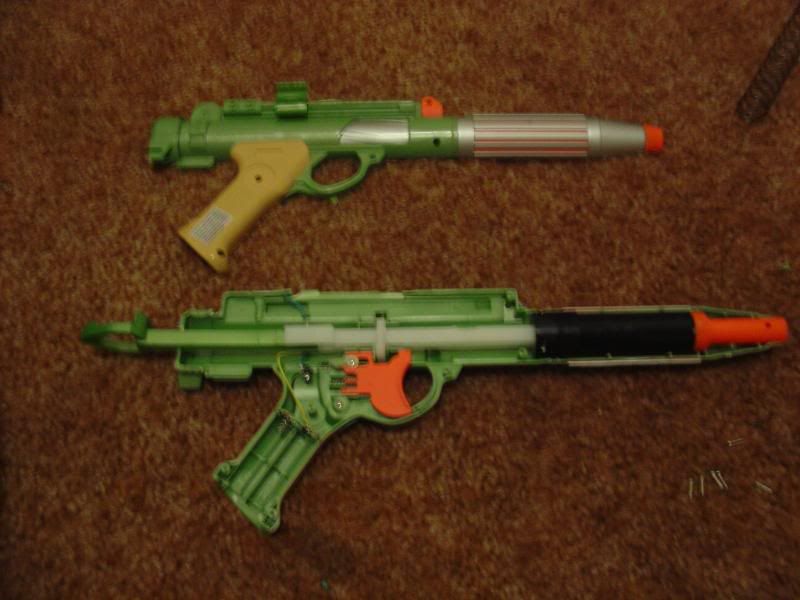
Now, open this guy up. I couldn't for the life of me pry off any of the end caps (there's an orange one at the front, a big one in back and the top is attached to itself somehow as well), so I just cut them. I cut along the centerline of the gun for the front and the back, and just hacked off the dinky light portion. Looks much better, eh?

Posted Image

The gun opened up, for reference (notice the tiny plunger tube!):

Posted Image

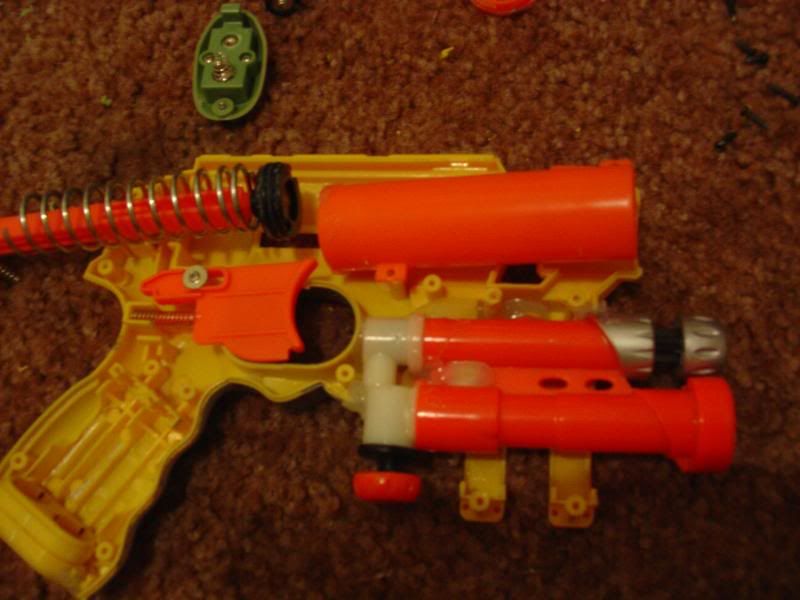
Now, if you have a spare nightfinder, take it out and take out the plunger tube, as shown below. You'll be needing it later.

Posted Image

Next, take out the plunger tube from your star wars blaster by removing the two screws and the black plastic cover holding it down. Line it up with your nf plunger tube. Looks familiar, huh?

Posted Image

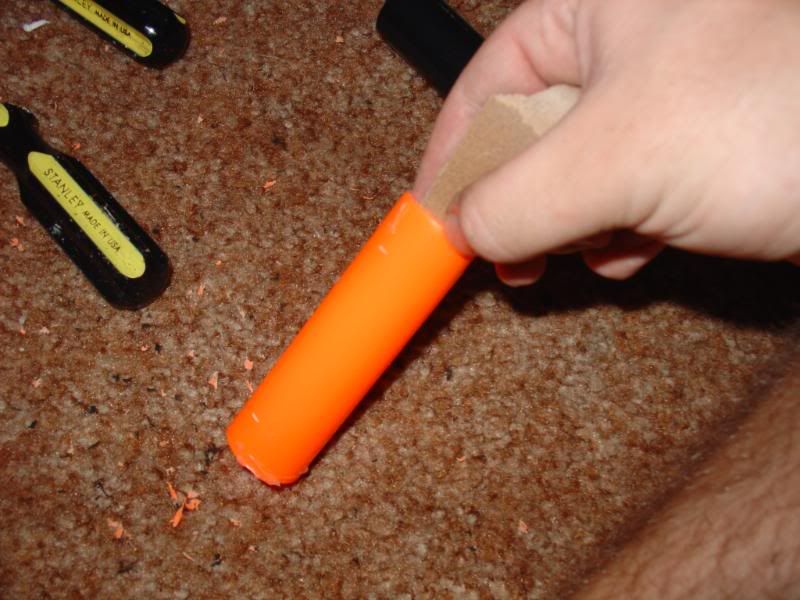
Next, we need to sand down the edges of the tubes where they'll be connecting. Take your sandpaper and sand down the insides of the back end of one (I chose to use the back of the star wars one, and the front of the nf one). For this, one of the plunger tubes will not need the extra attachments at front. In my case, it was the nf tube. You can also (and should) sand down the screw ports on the nf plunger tube. You won't be needing those.

Posted Image

Once they're both sanded down, take and test fit the two up next to each other. The nf tube should be in the back, and the star wars tube in front if you did it like me. Take and line them up, tape them together with your gorilla tape, and check to make sure the plunger rod slides relatively smoothly through both of them. If so, you don't have to adjust them!

Posted Image

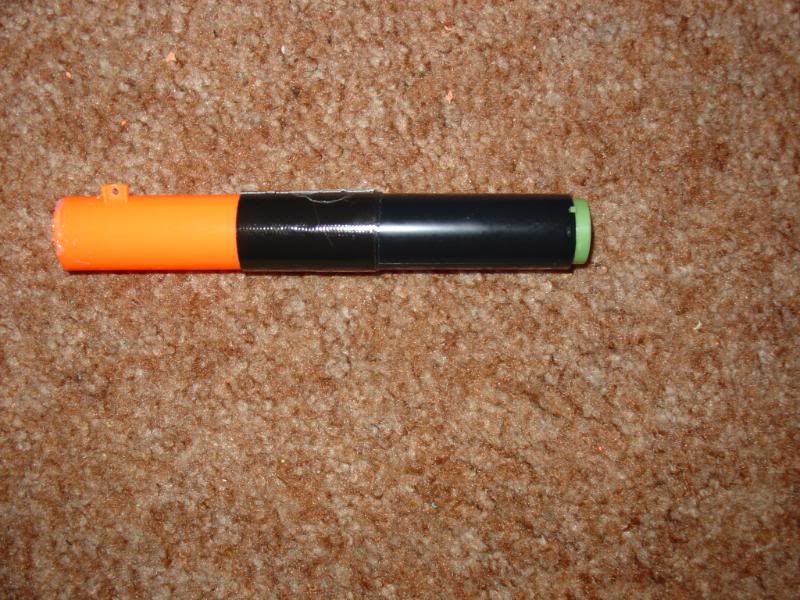
Here they are attached. Nice and smooth:

Posted Image

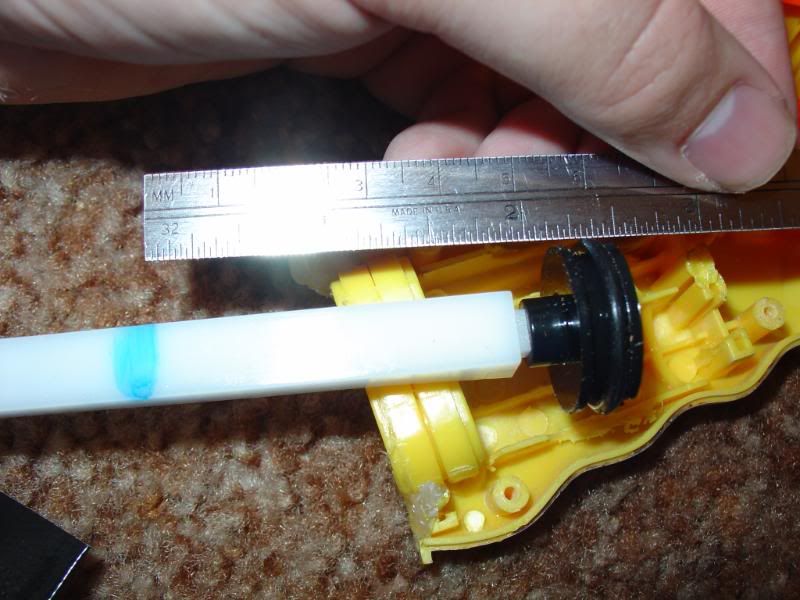
Now it's time to work on the plunger rod. Take out a ruler and place a mark two inches from the back of the plunger head on the plunger rod. This will be your reference mark for cutting later.

Posted Image

Now, with this extra power comes extra responsibility (to not have your foamy weapon blow up in your face), so let's reinforce where the catch will "catch". I had a convenient metal rod that fit perfectly inside of the plunger rod:

Posted Image

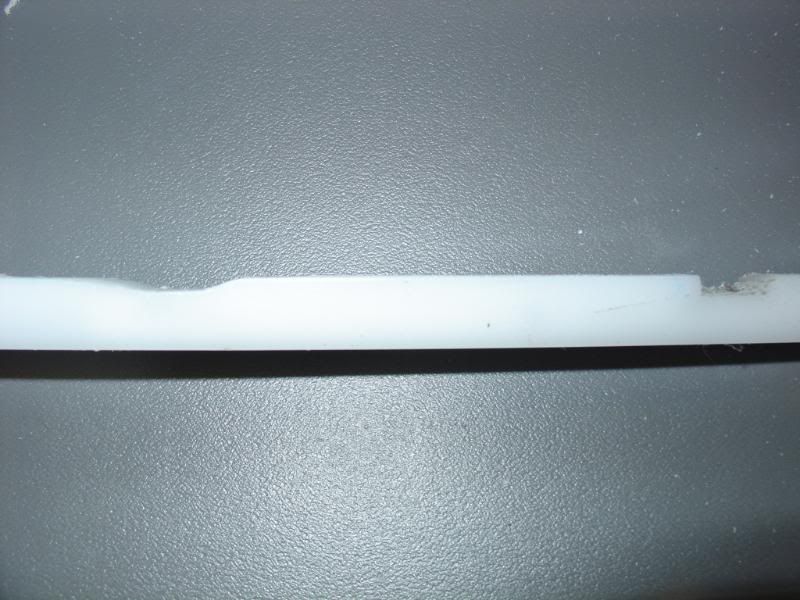
Now, after that's done drying and fits well, it's time to cut and sand your plunger shaft. We need to sand down the old catch portion. Do this with a dremel or sandpaper, but I prefer the dremel. All you really need to do is make sure it's not sticking out anymore and make sure that it's smooth. Once this is done, take and make a reference cut at the mark you previously made, the same depth as the old catch (about 2-3mm, maybe a bit more). You will need to cut about .5-1cm forward of this cut as well, to give the catch some room, as shown below:

Posted Image


Now we're done with the plunger shaft. Only one more part to go, and that's the case. Time to dremel all of the useless stuff out of there to make room for the extra plunger shaft! So, start by dremeling out everything that would get in the way of the plunger shaft, like so:

Posted Image

Test fit the double plunger tube, and make sure it fits in with BOTH HALVES of the shell. If it does, you'll need to continue to dremel out the rear of the casing, where the plunger rod exits the case when you cock it. Widen this part enough so the large part of the plunger rod (with the screws that attach) fits through cleanly.

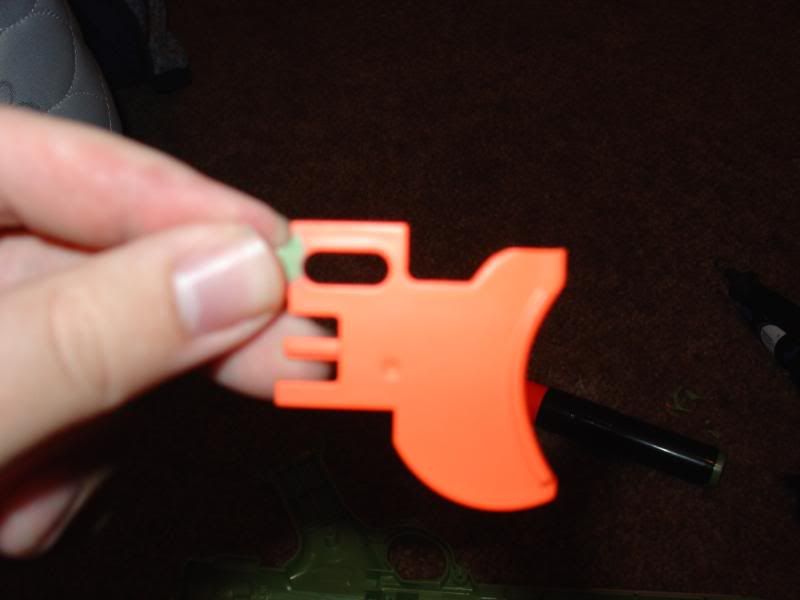
Now, we also need to modify the trigger, as you've probably noticed. Cut off the top tab on the trigger, as shown:

Posted Image

Now, something for the huge spring to rest against. Take your machine screws, and find a drill bit that is relatively the same size, but a tad smaller if you must. Drill two holes on either side of the plastic holders by the catch, and insert the screws to test fit:

Posted Image

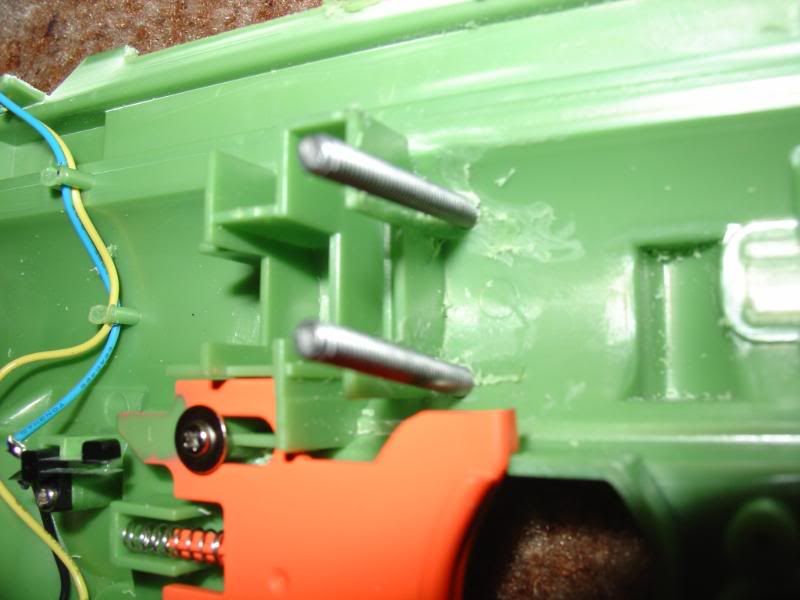
Make sure the screws don't catch on the plunger rod when you pull it through, or else it could wear out the plastic prematurely.

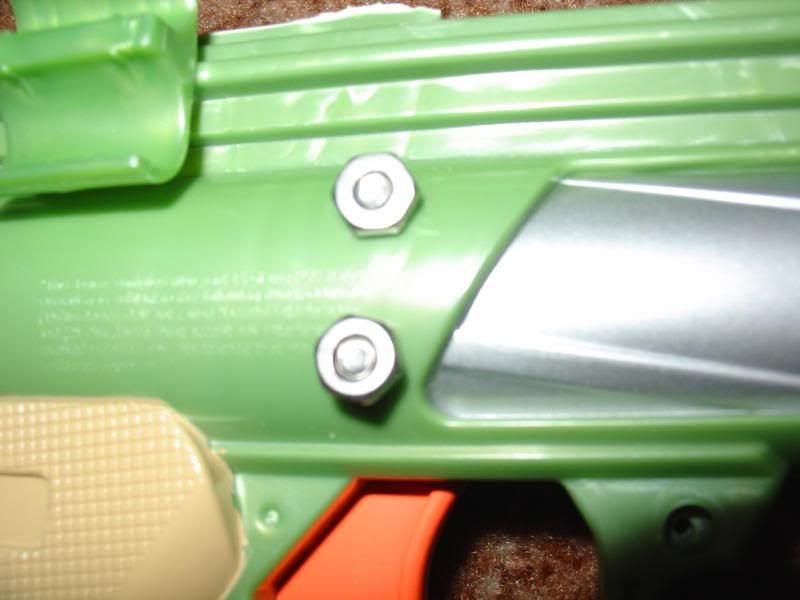
Next, we need to drill exit holes in the other side of the case to attach the screws, and to add ease of shell removal. So, take some paint and put it on the ends of your machine screws, and place the other half of the case on top so the screws make a mark where they would hit. Drill two more holes in here, test fit, drill again if necessary, and close up the case with nuts on the bolts. If you've done everything right, the spring should rest against these screws, which go through the entire width of the gun, and can be removed to reopen the shell:

Posted Image

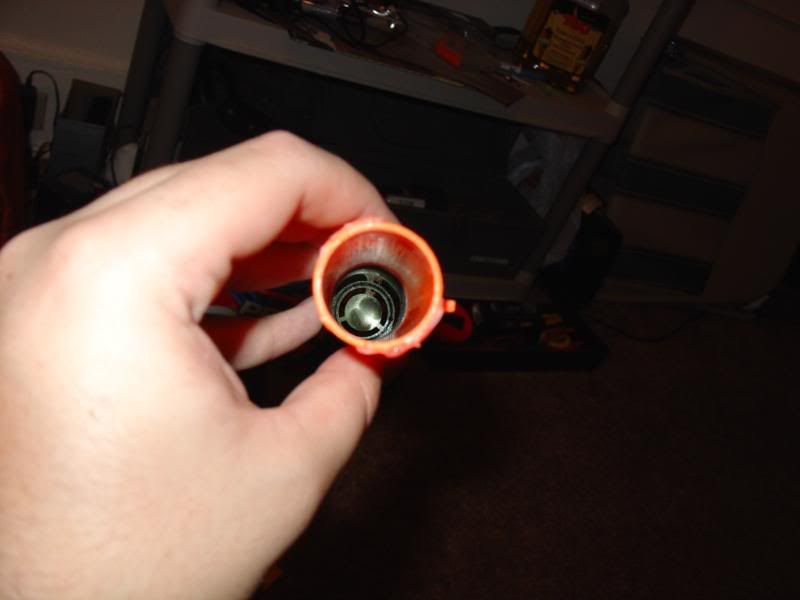
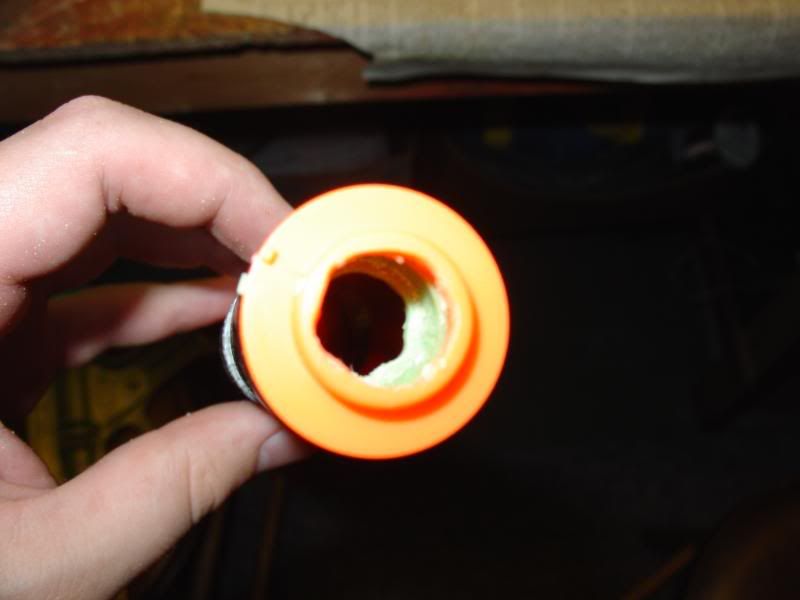
Finally, we need to drill out the air restrictors and the barrel post. Do this with any tool you want, same process as a nightfinder:

Posted Image

Finished product should look something like this:

Posted Image

All that's left is to put everything in the case and close her up! Now, notice that I didn't glue down/secure the plunger tube, and that's because it fits snugly in the case with duct tape around it. You should also add a screw/bolt to the rear of the gun, right above the hole for the plunger rod to go through, and definitely secure the front. I chose to use my favorite weapon of choice, duct tape. Internals assembled:

Posted Image

And the final gun itself, cocked:

Posted Image


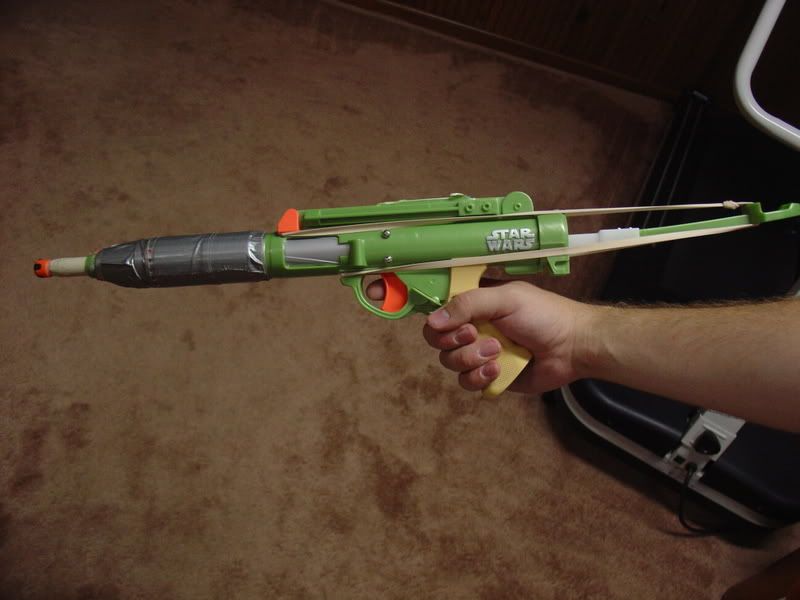
Now, you'll need to add rubber bands to get the full effect, because the handyman spring will only propel the plunger halfway down, and you want that full length to be mercilessly attacked. Make sure the rubber bands spread the tension evenly, not pulling the plunger rod upwards (I fixed this, just forgot to take a picture of it). Add a barrel of your choice, and voila! A small-ish spring powered gun, with great ranges! I test fired this gun against my maxshot, both with cpvc barrels, and this definitely outranged the maxshot and outpowered it. No official ranges yet, though.

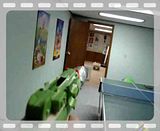
Oh, and just for kicks, a couple of firing vids (short) in my basement. For reference, my basement is about 45' long, and the second shot hits the opposite wall, level, with hardly any decrease in vertical height. That should give you some idea of the power of this gun.

Cocking/firing:

Posted Image

Shorter vid, but the better shot:

Posted Image


As always, keep up the great modding, and if you have any questions ask away.
  • 0

#2 penguin807

penguin807

    Member

  • Members
  • 358 posts

Posted 13 August 2007 - 11:14 PM

Nice mod. More powerfull than the Maxshot? That's saying something. Where did you buy it?
  • 0

#3 JRoD

JRoD

    Member

  • Members
  • 15 posts

Posted 13 August 2007 - 11:14 PM

Great mod, really innovative to expand the plunge tube and shaft like that. Although when it's fired it sounds like there is a lot of room for the spring to move around in, maybe you can add another spring, or a piece of one to use up this space.
  • 0

#4 All Star

All Star

    Member

  • Members
  • 283 posts

Posted 13 August 2007 - 11:19 PM

Awesome! I must have one! I think you should have used mini bungee cords instead of one giant rubber band though.
  • 0
"One fish, two fish, red fish, blue fish"

- DR. SEUSS

" Would you eat them on a train, would you eat them on a plane?"

- SAM I AM

#5 bpso86

bpso86

    Member

  • Members
  • 618 posts

Posted 13 August 2007 - 11:44 PM

Nice mod. More powerfull than the Maxshot? That's saying something. Where did you buy it?


I actually got it off of Hasbro's website a while back, using a coupon code. It was pretty cheap, probably around 15 bucks or so. And yes, that is saying something. It makes sense, with the increased volume available. What most people don't understand about nerf guns is that, even if you replace the small spring with a large one, the volume is also very important for adding power. That's why this gun has such massive power.


Great mod, really innovative to expand the plunge tube and shaft like that. Although when it's fired it sounds like there is a lot of room for the spring to move around in, maybe you can add another spring, or a piece of one to use up this space.


I designed it to take full advantage of the single spring inside, hence the 2" available for the spring to compress. If this were any larger, the plunger rod wouldn't be able to come back as much, and I wanted to use up all of the available space in the plunger tube.

Awesome! I must have one! I think you should have used mini bungee cords instead of one giant rubber band though.


I'm glad you think so, but I had two mini bungees available, and I didn't use them. First of all, they don't stretch as far, and that really is a long ways for the plunger rod to travel, and rubber bands have more flexibility and you can add as many as you want to get your desired tension. I actually used two of them tied together, which works very well.
  • 0

#6 Retiate

Retiate

    Member

  • Members
  • 778 posts

Posted 13 August 2007 - 11:56 PM

Awsome mod. You can't fit a section of another Handyman spring or just the stock NF/Rebel Blaster spring in there with the spring it already has? That would add a lot of power. Do you always use stock taggers, or are they just there in the video? If you use Stefans too, does this thing outrange the Maxshot with Stefans also?
  • 0

#7 SHADOW HUNTER ALPHA

SHADOW HUNTER ALPHA

    Member

  • Members
  • 1,116 posts

Posted 13 August 2007 - 11:57 PM

Very nice. With this mod, even if you miss, you'll scare the shit out of the opposition with that bang.

I do have one suggestion, though. If the spring's length was the important factor to you, couldn't you have glued it to the machine screws to reduce the noise? I don't think the momentum of the spring following the plunger is doing much of anything for you besides make noise.

Edited by SHADOW HUNTER ALPHA, 14 August 2007 - 12:25 AM.

  • 0
The only commonly shared fate among us all is death. I turn to the shadows so that I may not be unfamiliar with hell's corridors when I arrive. - SHADOW HUNTER ALPHA

Founder of the Shadow Militia.
Founder of Nightshade Laboratories and The Nightshade Armament Corporation.

#8 bpso86

bpso86

    Member

  • Members
  • 618 posts

Posted 14 August 2007 - 12:21 AM

Awsome mod. You can't fit a section of another Handyman spring or just the stock NF/Rebel Blaster spring in there with the spring it already has? That would add a lot of power. Do you always use stock taggers, or are they just there in the video? If you use Stefans too, does this thing outrange the Maxshot with Stefans also?


I pretty much always use stock taggers, except when I attend the occasional war outside of our university. I gave this gun to my brother, though, and he uses it indoors... so taggers was the go-to ammo.

And contrary to popular belief, adding a second spring does not always increase the force. Basic mechanical vibrations studies will show that springs in parallel and series configurations have different equivalent spring constants. For instance, if we had two springs with spring constants of 2 and 4 for example, adding them in series (one after another) would give an equivalent spring constant of 6, because the spring constants are just summed. This will allow you to decrease the total spring compression (delta x) and still maintain the same spring force (F=kx). On the other hand, adding springs in parallel causes the spring constant to be added in an inverse fashion. For example, with the same two springs (k=2 and 4), the equivalent spring constant would be 1/(1/2 + 1/4), or 4/3. This is a much smaller spring constant, which results in a smaller force generated per unit length of spring stretch. Now, I believe that placing one spring inside of another is a form of parallel spring addition, but placing them end to end attached is series spring addition.

Another reason why I didn't add a larger spring/second spring was that I wanted to make this blaster useful, and not too powerful for consistent use. My goal wasn't to make the most powerful spring powered blaster (FA_24 can have that award), but to make a very powerful, reliable springer. The rubber bands also add a surprising amount of force, this thing takes some effort to cock.


Very nice. With this mod, even if you miss, you'll scare the shit out of the opposition with that bang.

I do have one suggestion, though. If the spring's length was the important factor to you, couldn't you have glued it to the machine screws to reduce the noise? I don't think the inertia of the spring following the plunger is doing much of anything for you besides make noise.


I did think about attaching the spring to the machine screws (not with glue, but with zip ties), but my longshot makes the same loud bang and scares the hell out of people. I kind of like the loud bang, it makes people look around and wonder what the explosion was. And if we're toting guns with bright paintjobs, firing bright orange ammo, who needs to be stealthy?

And you're right, the momentum of the spring isn't going to do much. (Inertia is the measure of the reluctance of the object to change either its state of rest or, if it is moving, its motion in a straight line. It should be emphasized that 'inertia' is a scientific principle, and thus not quantifiable.) <-- momentum is the force of a mass in motion, just fyi.
  • 0

#9 SHADOW HUNTER ALPHA

SHADOW HUNTER ALPHA

    Member

  • Members
  • 1,116 posts

Posted 14 August 2007 - 12:28 AM

I can't believe I keep interchanging inertia and momentum. I'm screwed for physics in two years...

As for stealth, I don't know. I kind of like sneaking up on people in my tiny basement like I'm part of a Spec-Ops unit and poking them in the neck with my TTG. It makes me feel like Sam Fisher, and that's just badass.

Edited by SHADOW HUNTER ALPHA, 14 August 2007 - 03:16 AM.

  • 0
The only commonly shared fate among us all is death. I turn to the shadows so that I may not be unfamiliar with hell's corridors when I arrive. - SHADOW HUNTER ALPHA

Founder of the Shadow Militia.
Founder of Nightshade Laboratories and The Nightshade Armament Corporation.

#10 KBarker

KBarker

    Member

  • Members
  • 131 posts

Posted 14 August 2007 - 12:50 AM

Very nice, this looks a lot like my original NF rifle, I taped two NF plungers together just like you did. You're not going to get the full benefit out of the larger plunger unless you use a longer barrel and ram stefans all the way down it, however. I might have to get one of these and try it myself, although I'm a little turned off by the price. I saw one at Fred Meyer for about $25 I think. Great mod!
  • 0
-KBarker

My Fighting Robots: http://www.TeamVelocityRobotics.com/

#11 Thom

Thom

    Member

  • Members
  • 759 posts

Posted 14 August 2007 - 12:58 AM

That's awesome. I never thought that combining two tubes like that would work. Do you think that performance would improve if you used something continuous, like McMaster #8628K68?
  • 0

#12 bpso86

bpso86

    Member

  • Members
  • 618 posts

Posted 14 August 2007 - 01:06 AM

That's awesome. I never thought that combining two tubes like that would work. Do you think that performance would improve if you used something continuous, like McMaster #8628K68?


Honestly, I don't think it would help a whole lot. You really can't tell that there are two separate plunger chambers in there when firing, it doesn't get stuck or anything. Plus, I didn't have to custom make a plunger head as well, which is good since I don't have the tools to do it properly.

And KBarker, here's the link to it on Hasbro's website:

http://www.hasbrotoy...BR=495&ID=18490

Like I said though, I didn't pay that price, I had a coupon and that's probably the only reason I got it.
  • 0

#13 frost vectron

frost vectron

    Member

  • Members
  • 526 posts

Posted 14 August 2007 - 02:52 AM

As a Star Wars fanatic, I have to say that this is incredible.

As a nerf fanatic, I haveto say this is incredible.

That means that this is just bad ass to me. I'm glad you took the concept and made something real out of it. This is how it should be done, people! Great job.
  • 0
Latest Modification: The Professional

"I am a leaf on the wind--watch how I soar" - Hoban "Wash" Washburne, Serenity.

#14 Thom

Thom

    Member

  • Members
  • 759 posts

Posted 14 August 2007 - 06:47 AM

That's awesome. I never thought that combining two tubes like that would work. Do you think that performance would improve if you used something continuous, like McMaster #8628K68?


Honestly, I don't think it would help a whole lot. You really can't tell that there are two separate plunger chambers in there when firing, it doesn't get stuck or anything. Plus, I didn't have to custom make a plunger head as well, which is good since I don't have the tools to do it properly.

I guess it doesn't matter if it works fine as-is, but I picked that tube because the ID is the same as the NF plunger tube's.
  • 0

#15 bpso86

bpso86

    Member

  • Members
  • 618 posts

Posted 14 August 2007 - 12:01 PM

Thanks, frost. That means a lot coming from an experienced nerfer such as yourself.
  • 0


1 user(s) are reading this topic

0 members, 1 guests, 0 anonymous users