
I did not invent this mod. It is simply a tank relocation for the Sm5k and a brass breach. I was very excited to build this monster, so I documented some of it. First let me point you to the NH Modification section:
http://nerfhaven.com/mods/sb_sm5k/
And let me quote Renegade's post in the Mod/PJ Pictures thread:
Here's my newly modded sm5k. Been working on it for the past week or so. Wanted a long range gun that could shoot stock darts and mega stefans. This bolt actually give me a very fast reload time. I feel that RoF is more important than range on a gun. I'm able to just push the bolt forward, shove a dart in then pull it right back. No fiddling around with a removable breech barrel for me. The stock makes it a lot easier to aim and is comfortable. The silencer works, but not as well as larger ones do. It's constructed of 1/2'' Thinwall PVC for the main "barrel" and 1'' Thinwall PVC for the outer body. It lessens the loud long pop to a quick less audible "woomp." Do silencer's serve a purpose in a real nerf war? I believe yes and no, but that's for another time. Anyway, to the pictures.
Mods:
Tank Relocated
Pump Plugged
Bolt Action Breech Barrel System
Accessories:
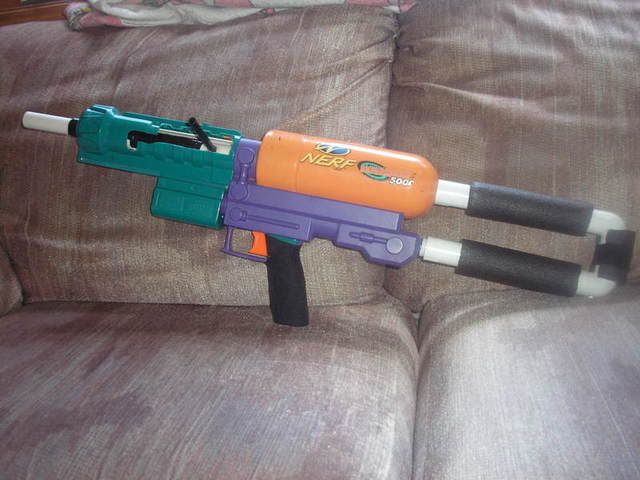
Stock
Silencer
Did some range test's mega stefans got 97-100 feet, and stock taggers 92ish feet.
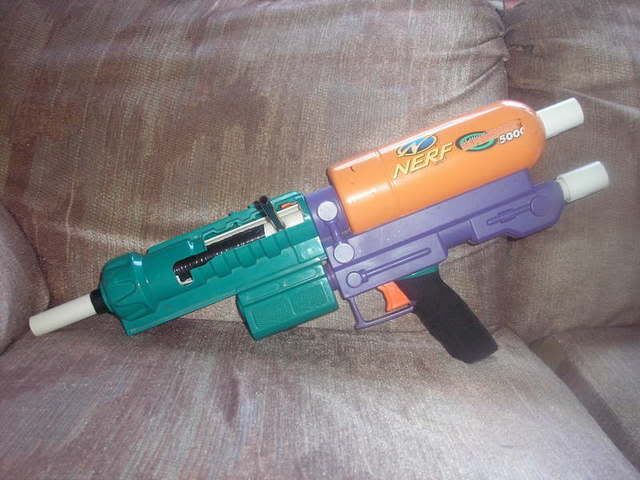
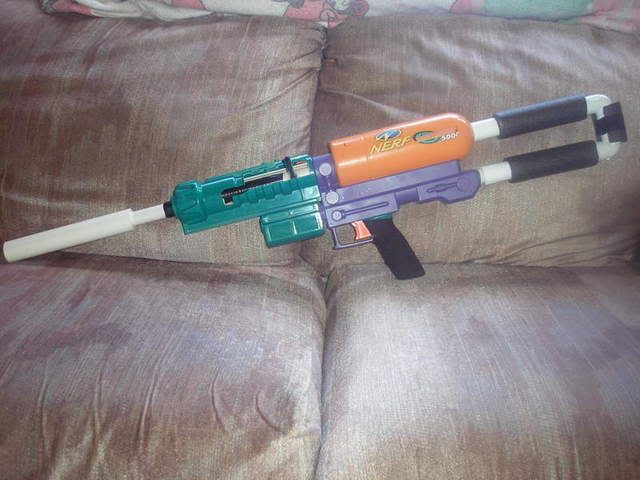
These two sources being stated, let me introduce you to my SM5K:
The Story: So I brought my Max Force: Rattler into a war a few weeks ago. Needless to say, it owned. It owned until I started getting out-ranged by a SM1500 and an SM500. After being shot from out of my range multiple times, I decided to build a counter weapon.
At first I was planning to do Angel's LS mod, but seeing as how my next local war was only two days away, I went to the junk pile and pulled out my Sm5k.
In two nights, I transformed it from a leaking, broken piece of plastic into a sharpshooting beast.
Tools:
Dremel, definitely the dremel.
Pipe cutters / Hacksaw
Materials:
12" of your favorite brass (I used 17/32" for my main barrel)
3" of brass that will fit over the main barrel (I used 9/16")
Small segment of 9/16" Brass (if you are using 17/32" for the main barrel)
3" of 1/2" PVC
1 Carriage Bolt
1/2" length of 1/2" CPVC
(1) 1/2" CPVC Endcap
Plumber's Goop (or your favorite adhesive)
On to the mod...
First we do a standard Tank Relocation (write-up from the link in the beginning). Basically, you just dremel away crap in the case until the tank fits into this position:
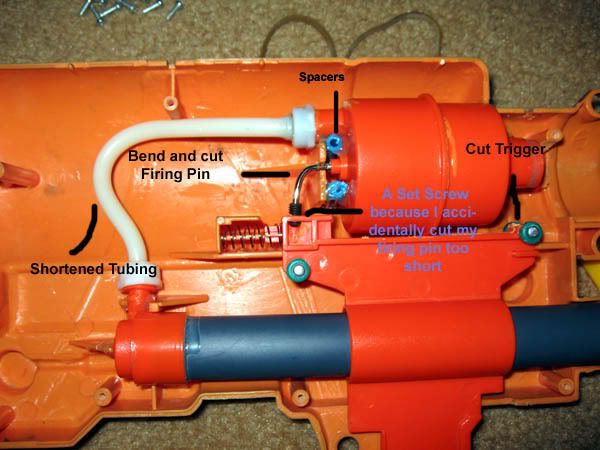
The write-up by Sylent_Blade is a lot more in-depth and easier to follow than anything I can write. Basically dremel out things in the case so the tank will fit, cut the firing pin and bend it as close to 90 degrees as you can, cut down the trigger so only what you see in the photo remains. Then you want to insert the firing pin into the trigger, cut the tubing shorter, and then goop everything into place.
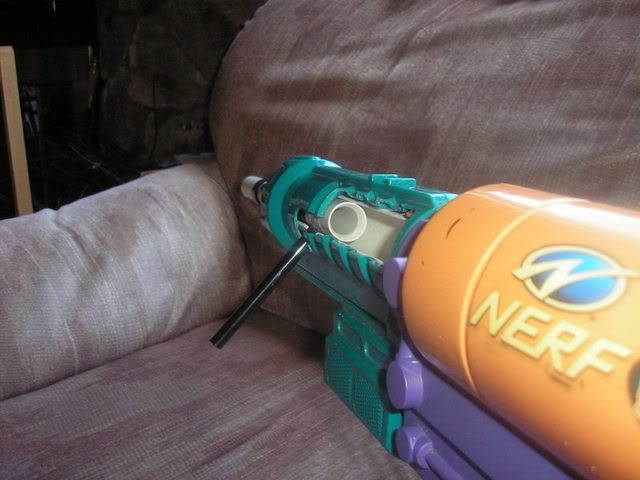
Next, room must be made for the barrel and breach. I'm a lefty, so my breach is on the right side of the gun (I reload using my right hand while my left hand is on the trigger). Most right-handers should put the breach on the left side of the gun.
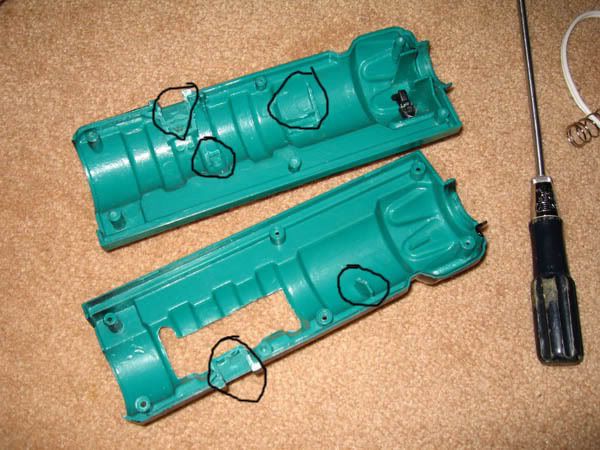
The parts in the black circle-like shapes are parts that I dremeled out. Notice the size and placement of the breach. The cut-out is 2.75" long and approximately 1" across.
Now we move on to building the barrels. The tip of the air tank has an inner diameter of 9/16". This means a piece of 9/16" brass will fit inside of it perfectly, making the barrel sturdy. Since I used 17/32" as my main barrel, I put a small length of 9/16" on the end where it inserts into the air tank, and I used the cutting tool to put a tightening ring around it.
If you are using a 9/16" brass for the main barrel, then your main barrel will fit directly into the air tank. I used 17/32" brass because my darts are a little skinny.
Now we want to build the breach/breach handle. Take your breach cover (9/16" brass if you are using 17/32" as the main barrel, or 19/32" brass if you are using 9/16" for the main barrel). It should be about 3" long. You want to cut a piece of 1/2" PVC just as long as your breach cover. You want to take the 1/2" PVC Coupler and dremel out the insides so the entire thing slides on top of the 1/2" PVC. PVC Cement the coupler onto the end of the 1/2" PVC so they are flush with each other. Now Drill a hole 1/4" away from the end (drill through the end with the coupler on it). Thread your carriage bolt through it, then remove the carriage bolt.
Cut a hole in your 1/2" CPVC Endcap just large enough for the threaded end of the carriage bolt to fit. Put it in so the head of the bolt is sitting inside the endcap. Put your small length of 1/2" CPVC into the endcap. I reccommend that you fill the endcap with plumber's goop, then PVC Cement that small length of 1/2" CPVC into the 1/2" CPVC Endcap to ensure nothing moves when you reload.
Now you want to take this contraption (the carriage bolt + CPVC stuff) and screw it into your PVC with the coupler cemented to the end. Use some loctite or superglue on the thread of the carriage bolt just before you screw it in, so it will stay forever. Screw the bolt all until it is flush with the inside wall of the 1/2" PVC (You still need to fit your brass breach cover inside the PVC!). Take your 3" length of brass (whichever size you are using) and plumber's goop it inside the 1/2" PVC. There is the bolt handle.
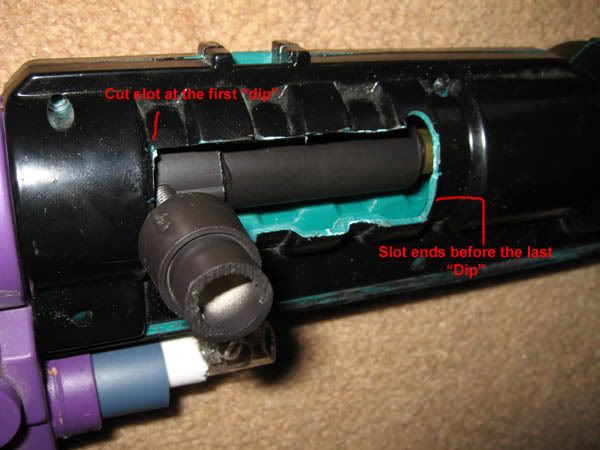
Now you are ready to assemble this thing. Slide your brass breach cover over the main barrel. You might want to lube the breach so it will slide easier (it will prolong the life of your handle).
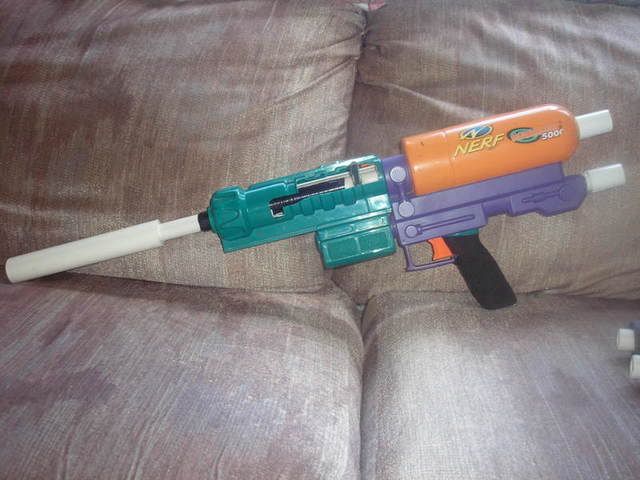
If you did everything right, it should all fit. Close up the gun, don't forget to plug the overpressure valve, lube the pump handle.
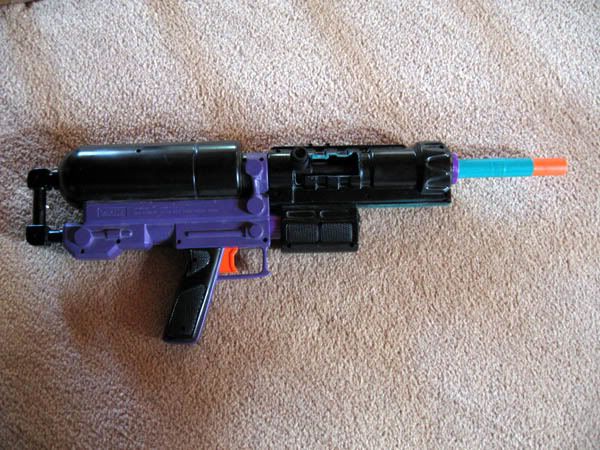
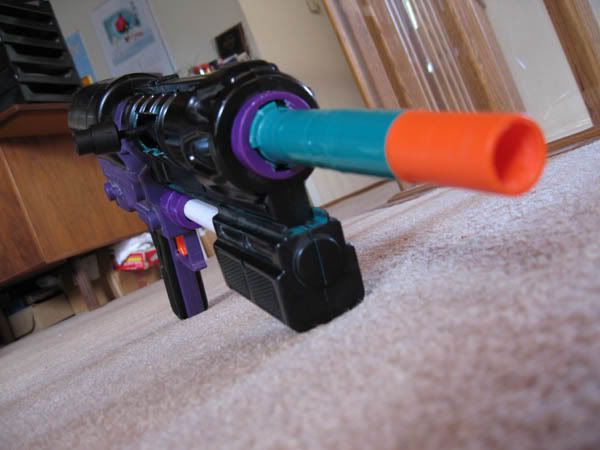
There she is. The brass barrel will stick out the end just a bit, so you should use the Arrow Launcher barrel to cover it up. Unfortunately, my arrow launcher barrel was cracked, so I had to take pains in hollowing out the Dart Launcher barrel.
Ranges are: Ridiculous, of course. I haven't measured, and probably never will. They are the same as other Sm5k's (over 100' easily).
Any questions or comments are welcome.
EDIT:
The video is finally here. Click link above.
Edited by frost vectron, 29 June 2007 - 05:45 AM.


