
Although this write-up will detail a plunger for 1" thinwall PVC, it could be modified for any pressure chamber diameter, as long as fittings and O-rings are available.
Materials:
-1" thinwall PVC
-3/4 PVC endcap
-3/4 PVC pipe
-O-ring w/ O.D. of pressure chamber I.D.
-Electrical Tape
-CA adhesive
Tools:
-Dremel Rotary Tool
-Cut-off Wheel
-Sanding Disc or Super-Duty Cut-off Wheel
-Drill
-3/32" Drill Bit
-Craft/Utility Knife
-Pencil
Method
1) Marking the Cut (skip this if you can make a 90 deg. cut w/out measuring)
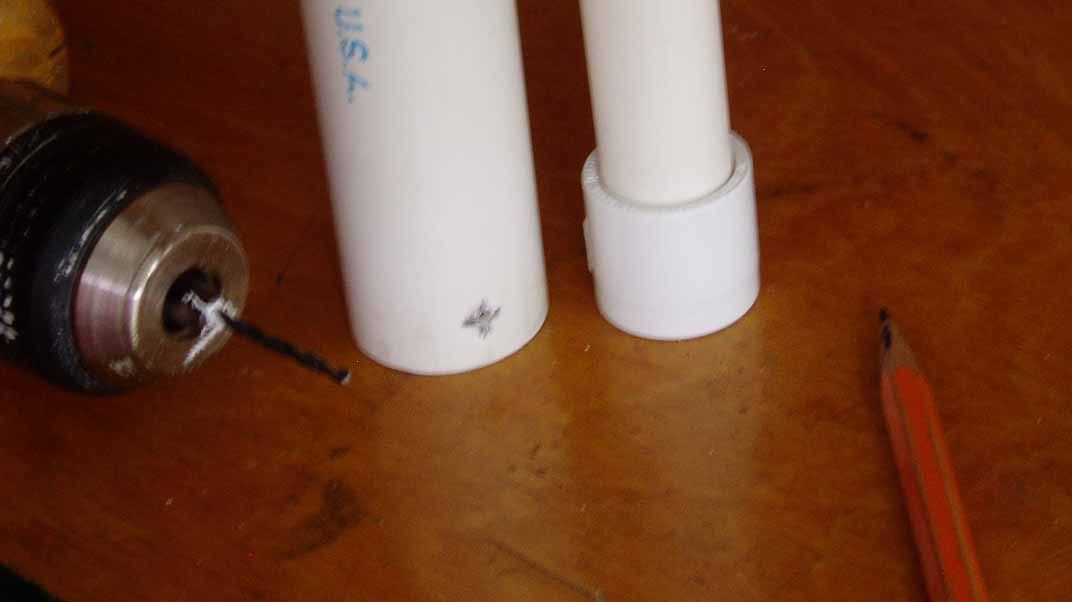
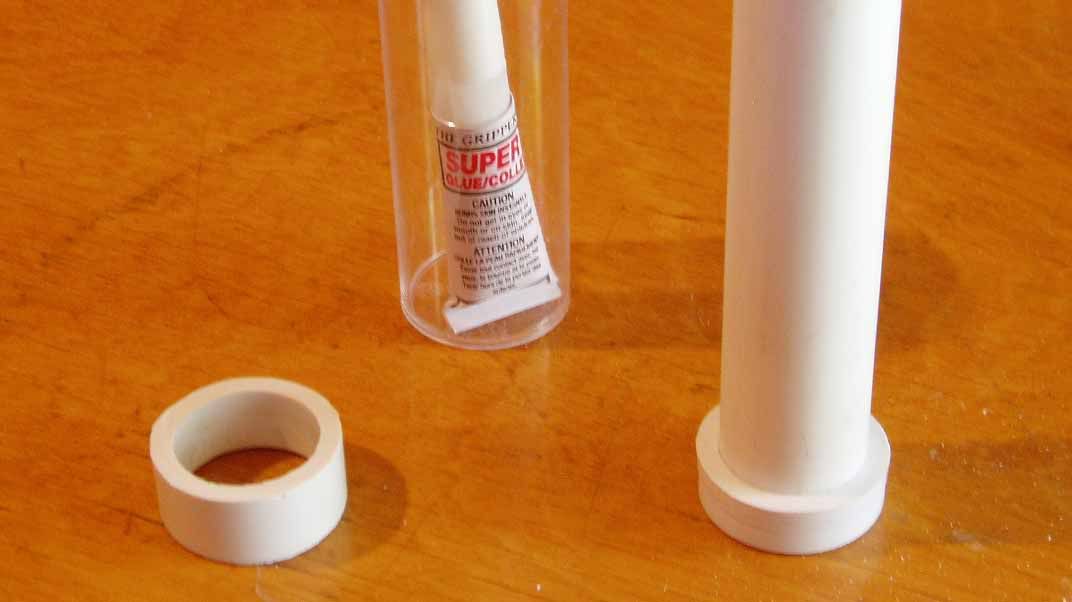
On a short piece of PVC (1"-4"), make a mark 1/2" from the bottom. Drill a hole at this mark, so that a pencil-tip can poke through. I used a 3/32" bit.
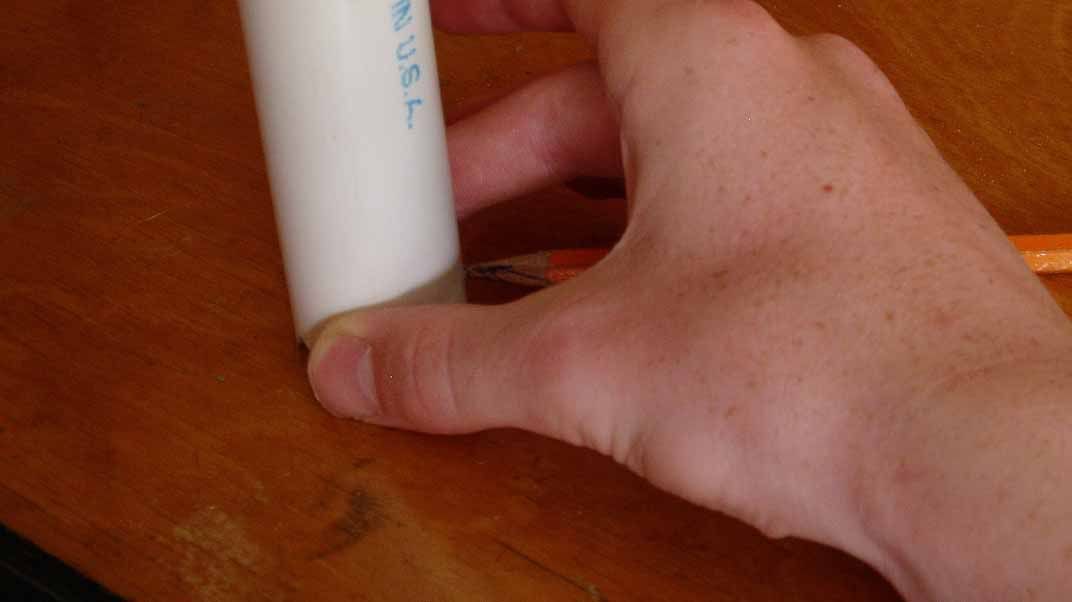
Insert an easy-to-handle (1' for me) peice of 3/4" PVC into the 3/4" endcap, then insert the capped 3/4" PVC into the prepared 1" thinwall PVC. Set the assembly on a solid surface, and holding the pencil in the hole as illustrated, carefully rotate the 3/4" pipe+endcap. After one full roation, pullout the PVC
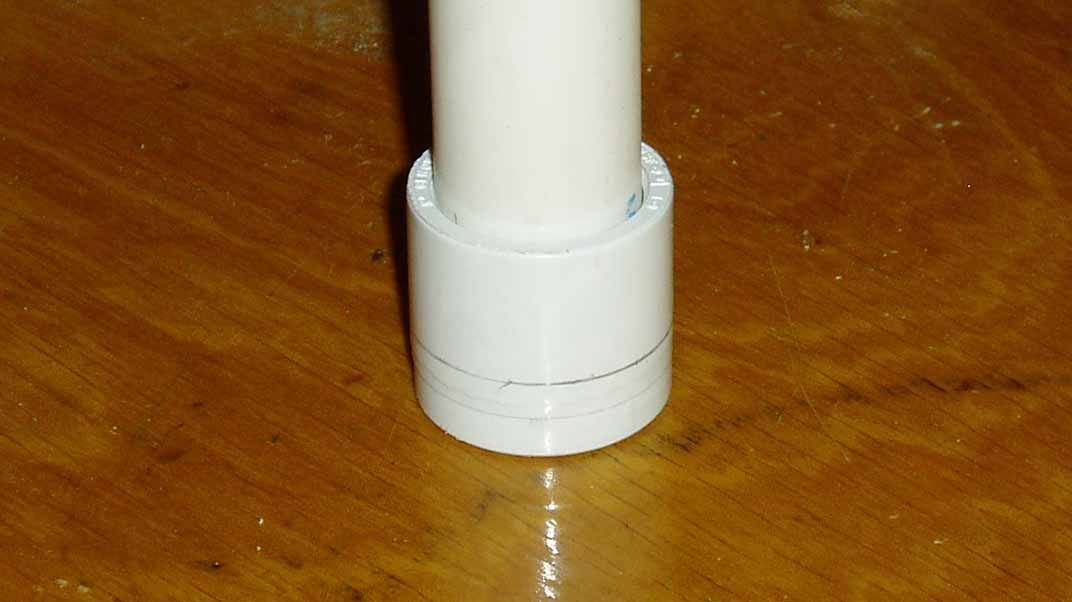
After one full rotation, pull out the 3/4" endcap and check if your line turned out. It should look somewhat like this.
If it is not satisfactory, erase it and try again.
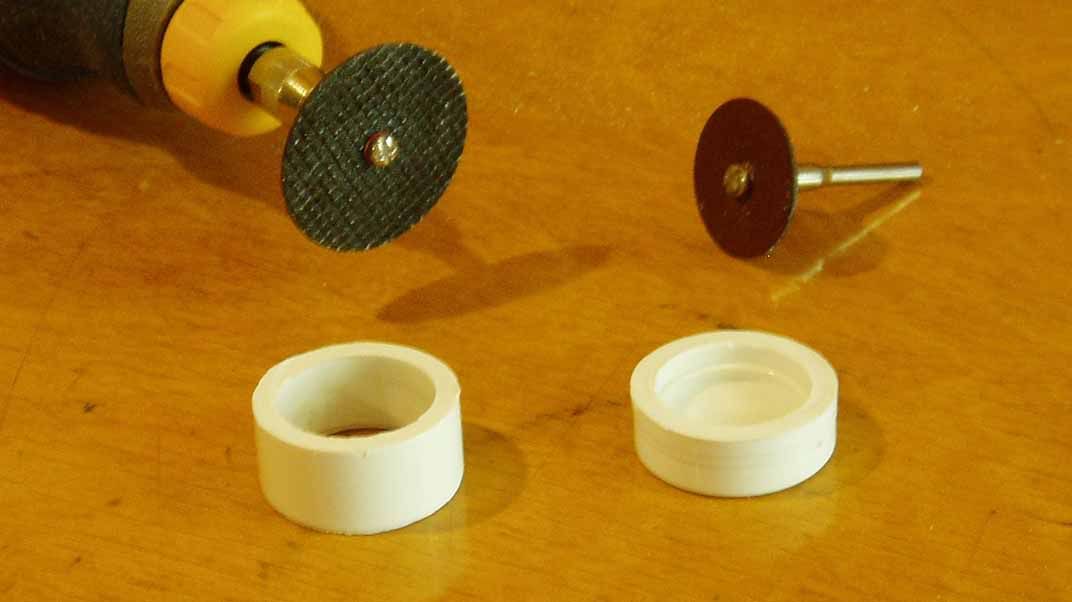
2) Cutting and Sanding
Using your Dremel and Cut-off Wheel, make the cut. Go slowly, and keep good control of the Dremel, it may jump. I keep the endcap on the piece of PVC for more control. When you have separated to two peices, trim off any burrs or excess and sand the two new faces smooth. I use the face of the Super-Duty Cut-off Wheel to do this, some people use the Sanding Disc. Be careful not to take too much off.
3) Securing the Plunger Face
Put the endcap onto the piece of 3/4" pipe you are using as your plunger shaft/spacer. This may take some force. A sharp whack on the workbench worked for me. Put a few drops of CA adhesive around where the fitting and pipe join. It should work itself into the joint and bond it within a minute.
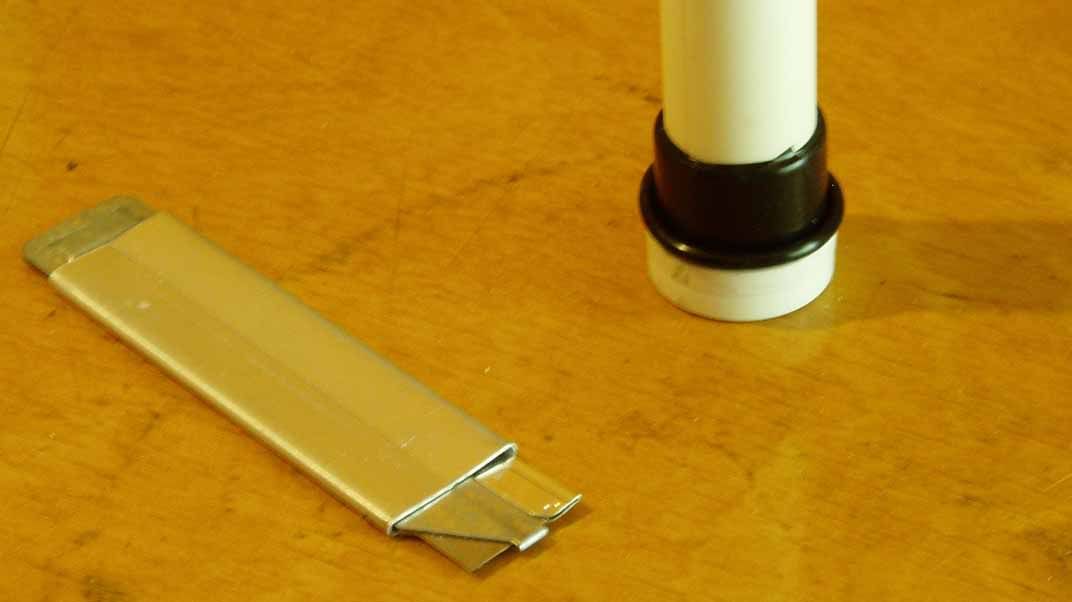
4) Spacing the O-ring
Wrap Electrical Tape tightly around the pipe where it meets the endcap until it fits the O-ring snugly. The Electrical Tape must be tight, or it may compress, and you will lose seal as it is used. Lube up a piece of 1" thinwall and pull the plunger through it a couple of times. Hold it up to the light, and see if any light is getting through, and try blowing through the 1" past the plunger to check the seal. Add or remove Electrical Tape until you get a good fit.
note: The O-rings I use are 1 1/8" O.D. , 3/32 width, part # 3233-860 at my local Home Hardware. The case labelled them as "Delta, Peerless, Waltec.
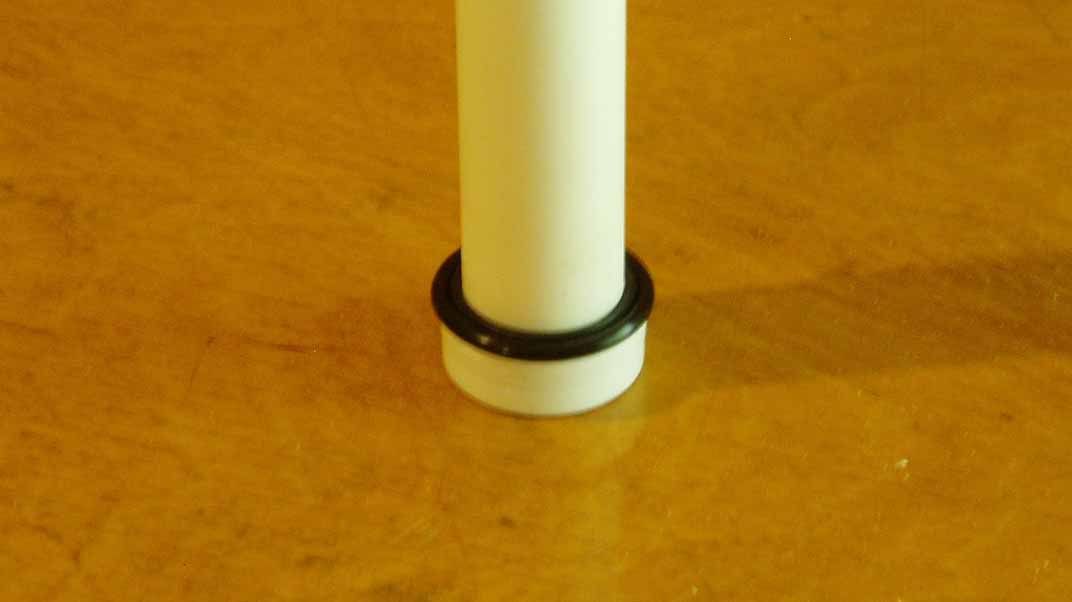
5) Trimming the Electrical Tape
Using a Craft/Utility Knife, cut all the way around the O-ring. Pull off the excess Electrical Tape. When finished, it should look somewhat like this.
6) Finishing the Plunger
Put the other half of the endcap on, and bond it, if needed, with CA adhesive. If you are not using 3/4" PVC as your plunger shaft, cut it off at the base of the plunger and insert the shaft of your preference.
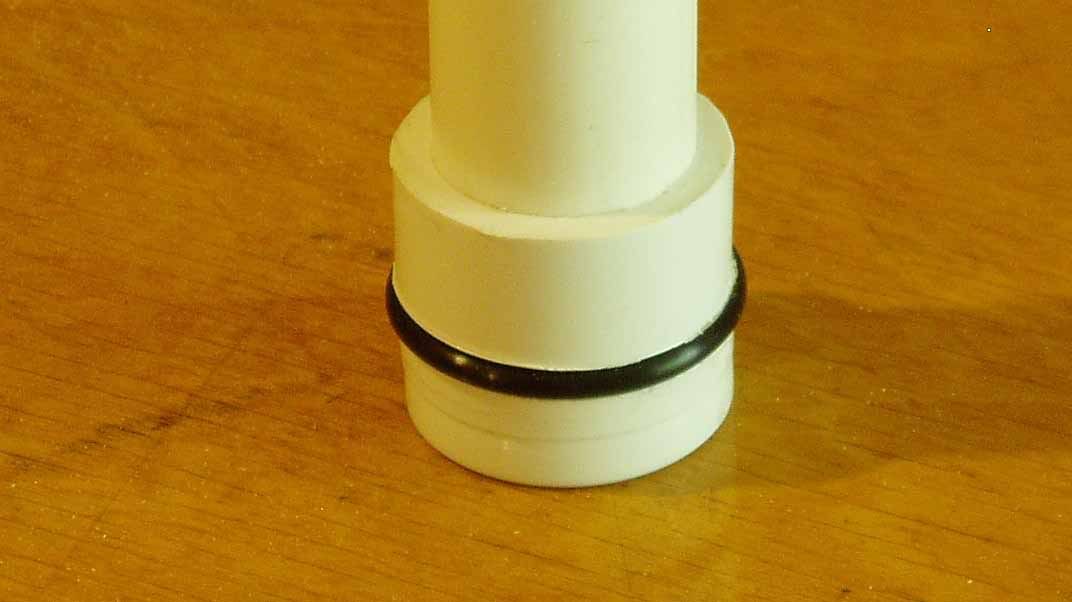
Congratulations, you now have a clean looking, clean sealing plunger, suitable for any spring-powered homemade.
-Gyrvalcon


