
Materials:
-Crossbow Tubing
-Electrical/Duct/Hockey tape
-1/2" PVC
-1" PVC
-Marker
Step one:
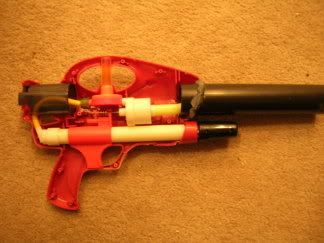
The first thing that I did was crack open my at2k. Then I took the yellow tube from an X-Bow with the spring inside and cut a 4 inch section out of the middle. I also trimmed a piece of 1” tubing that I found in my basement to a good size to be of the front of the gun.
Step two:
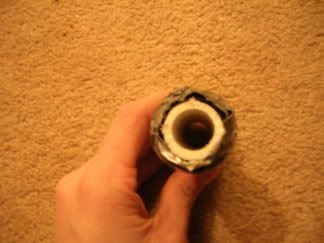
Next I attached the tubing to the air valve inside the gun it slid on real tight and there was no need for glue. I also attached the marker to the other end of the tubing.
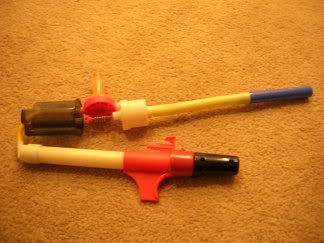
Then I cut a marker length piece of ½” pvc and wrapped it in two sections with hockey tape until I ran out and finished with duct tape wrapped it until it barley fit into the 1” tube.
Step three:
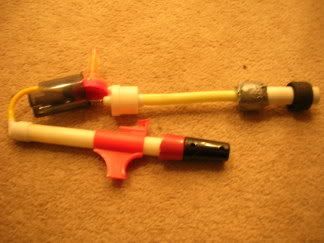
The final step is to just piece it all together. I chose to use hot glue to secure the final barrel setup in place on the end of the gun. It is a little wobbly but I can fix that later. I also plugged the air pressure release valve
the assembled pieces
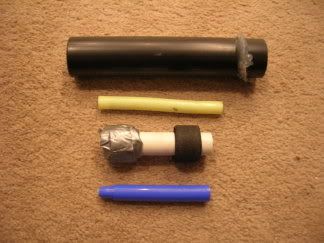
the 1/2" pvc with tape spacers
Edited by Petrie, 09 April 2006 - 10:16 PM.


