#401
Posted 02 May 2010 - 12:18 AM
#402
Posted 02 May 2010 - 07:53 PM
#404
Posted 05 May 2010 - 09:37 AM
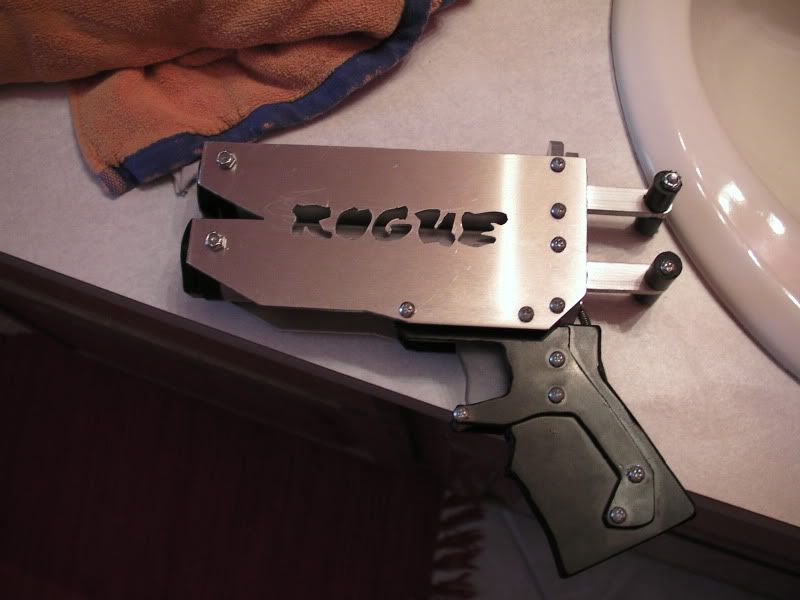
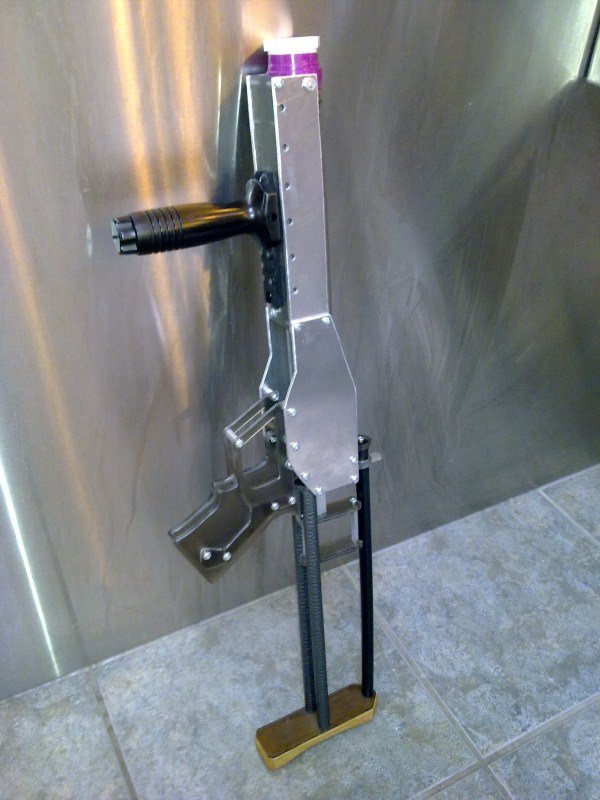
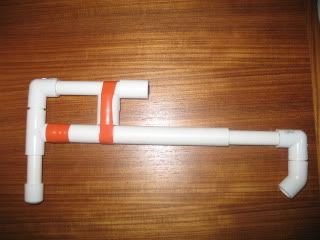
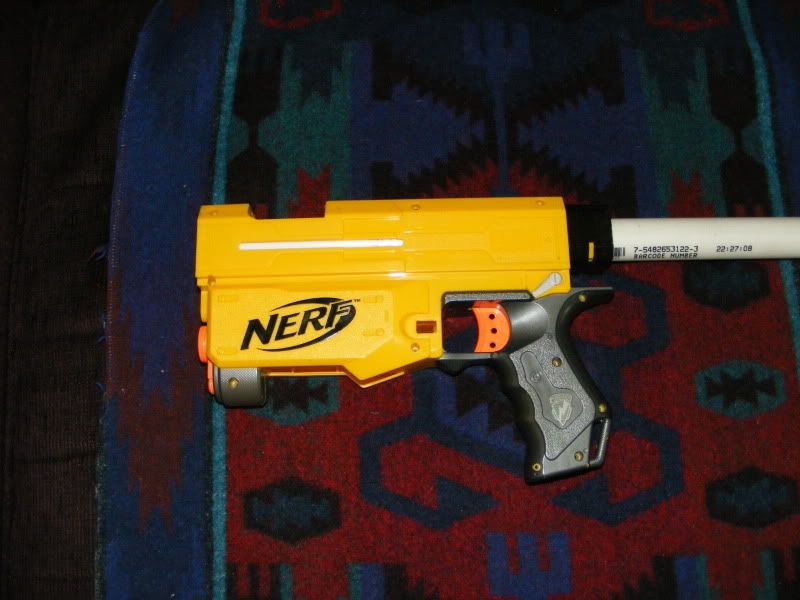
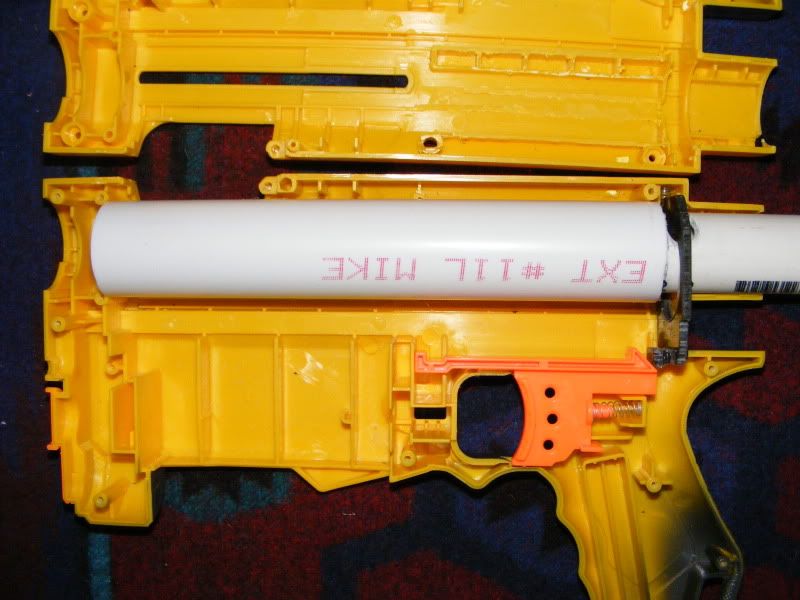
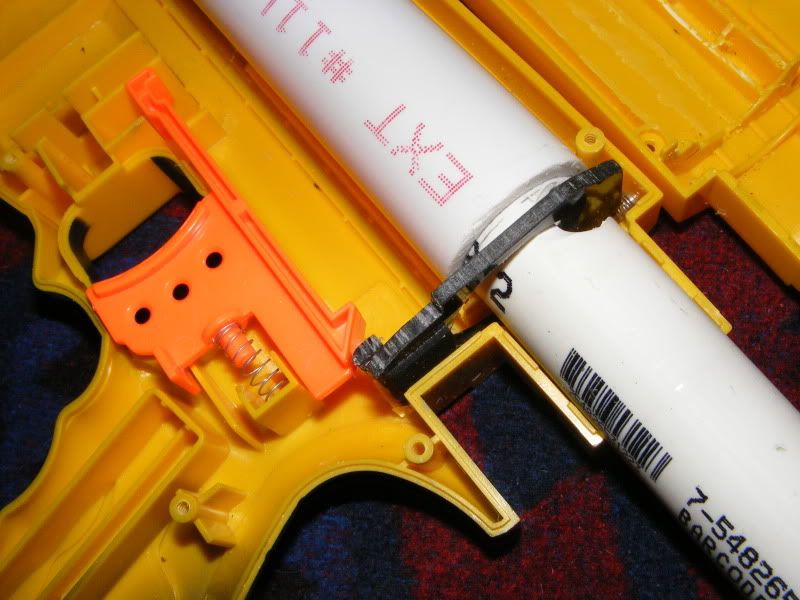
I removed anything it didn't need to function, put the handle on at 45 degrees instead of 90 and added a sling made out of a small binder clip. Without the sling I found that the bungee tried to pull itself over and past the ammo, jamming the gun.
Edited by Keska, 05 May 2010 - 09:39 AM.
#405
Posted 05 May 2010 - 07:23 PM
Sorry for the cell phone pictures.
Contact me for design consultation relating to 3D Printing, CNC Machining, and Laser Cutting. I am always happy to collaborate on viable Open Source projects and/or business ventures.
#406
Posted 05 May 2010 - 07:30 PM
#407
Posted 05 May 2010 - 07:30 PM
Edited by Lt. Stefan, 05 May 2010 - 07:30 PM.
#408
Posted 05 May 2010 - 09:52 PM
Edit: Oh yay, 200 posts
Edited by Lucian, 05 May 2010 - 09:53 PM.
Contact me for design consultation relating to 3D Printing, CNC Machining, and Laser Cutting. I am always happy to collaborate on viable Open Source projects and/or business ventures.
#409
Posted 07 May 2010 - 09:54 PM
#411
Posted 12 May 2010 - 05:11 PM
#412
Posted 12 May 2010 - 05:59 PM
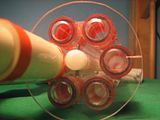
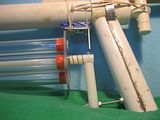
I used 5/8" by 3/4" polycarbonate for the RSCB tubes, with 3/4" by 7/8" polycarbonate on the ends. The tee is actually a 3/4" CPVC tee. It is connected to the blaster using 1/2" PVC, which has e-tape wrapped around it to fit in the tee. Darts can easily be loaded from the front of the RSCBs.
The darts stay in the tubes pretty well. The only issue is that if you are swinging it forcefully and are unlucky you may lose a dart out the front occasionally. The RSCB turret is attached using 1/2" rod and 6-32 threaded rod. The clothespin is also not glued down and slides as you pull the trigger
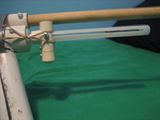
The priming handle slides in a slot in the plunger rod. The plunger rod is made from 9/16" by 5/8" nylon, which fits nicely into the CPVC fitting. The mass of the moving plunger is about 50 grams. If anyone knows the mass of a normal SNAPBow plunger, please tell me.
You can just pull the handle back and let it go. I don't have ranges, but it works well at wars. That's my SNAPBow, I hope someone gets some good ideas from it.
#413
Posted 13 May 2010 - 11:57 AM
The FireBow: (for sale soon)
I don't like the trend of putting (what are essentially) +bows into other shells and calling it a new homemade, but I have to admit that it's an easy and reliable method. In the spirit of those qualities, I tried it, with some new twists.
As you can see, it uses the molded comfort of the Firefly shell, with the power and durability of the +bow.
I streamlined the templates a good bit, so when you put your cheek over the stock (without cutting your face open!) you're aiming directly down the plunger tube and barrel. It's an accurate and fun gun.
Here you can see the big new feature - the quick release pins that attach the +bow to the shell. I mainly did this so that you could carry the gun around easier, since it breaks into two smaller sections, and reassembles by just pushing those pins in. They're 1/4" steel rods and they hold the body to the shell very securely.
The new priming handle is coated aluminum, and is very comfortable to prime with your left hand without changing your aim.
The streamlined side panels removed the traditional +bow spring rest, and because it's removable from the shell, the spring couldn't attach between the two. As such, I came up with this new type of spring rest. It's simply a set screw in the bottom of the back panel holding a spring onto the head of a screw in the side of the catch. The bottom of the spring is wrapped around the catch's screw, so it's on there sturdily. It works pretty well.
The +bow section itself is modified with the skirt seal head (which really ought to be standard by now), shorter plunger tube and front panels to make the spring compress more while maintaining draw length and panels with more area around the screw holes that normally crack. It's a potent, comfortable, reliable and collapsible blaster. I like it.
P.S. OMGMODULARSOKUHL
Edited by Split, 13 May 2010 - 12:10 PM.
#414
Posted 13 May 2010 - 11:52 PM
Edit: Stop PMing me about these. No you cannot buy them.
Edited by CaptainSlug, 15 May 2010 - 10:55 PM.
#415
Posted 15 May 2010 - 08:47 PM
RSP Skeleton:
Edited by PVC Arsenal 17, 15 May 2010 - 08:50 PM.
#416
Posted 16 May 2010 - 11:28 PM
"Naked"
Triple seal with wooden spacers on the plunger.
Homemade wye, as they are pretty much impossible to find in the great white north.
Notes:
Shit load of hot glue used (around 40 sticks), she's sturdy.
The seal is almost too good, you either need to be pretty strong, or fairly tall (leverage) to use this one.
Also, a tip for anybody thinking of making a MEGAHAMP, make sure it fits in your car before you finish it, this one was close.
Dollarama tape is better than Home Hardware's.
Beaver's post claiming Kane's post claiming Demon Lord's post is correct is correct is correct.
Canadian Nerfers-R.I.P.
#417
Posted 17 May 2010 - 12:35 PM
Brass barreled.
Edited by berserker, 17 May 2010 - 12:35 PM.
opponent and thereby succeed in winning, may be
called a heaven-born captain."
-Sun Tzu.
#419
Posted 25 May 2010 - 05:13 PM
(Looking down the front)
Trigger at rest: Trigger pulled:
If at first you don't succeed, add more epoxy.
#420
Posted 28 May 2010 - 01:36 PM
#421
Posted 28 May 2010 - 06:04 PM
It still has the o-ring, it is just in front of a piece of CPVC so it can't fall out.
I used a 9/16" spade bit to drill the holes at the end of the slot, then connected them with my band saw and dremel.
I also used a drill to open up the slot for the screw, which is flush with the inside of the barrel.
Works great, seals perfectly, won't break, etc.
This was made for a guy on HQ.
Gah what's this bizness?
#422
Posted 31 May 2010 - 09:24 PM
5 minute $2 HAMP
Found at a dollar store (Dollarama for you Canadians), it is basically a foam covered plunger that was originally intended for water.
Has a plate on the front that lets you select from 1 jet of water, or 4 streams.
All you have to do is glue a coupler on the front and plug the 4 small hole's in the process.
No need to open, just glue on a coupler and you are done.
Not really a homemade, but it has the spirit of one, that, and it is bright green.
Beaver's post claiming Kane's post claiming Demon Lord's post is correct is correct is correct.
Canadian Nerfers-R.I.P.
#423
Posted 01 June 2010 - 10:33 PM
Nerfhunter03:
Phillypretzel:
Uber-rounded grip. It's actually comfy now.
Shiny.
#424
Posted 04 June 2010 - 01:19 PM
Anyway, Longshot with homemade internals:
Priming/firing/special effects video:
I'm sure many of you have seen this, so I'm just going to post it here. I call it the RTP, it's a fast and powerful (150'+ easy, when singled) homemade. Simple, cheap to make, the main goal was to make a homemade where you don't have to move your hands to prime it, increasing rof, especially with a hopper.
An added bonus is that after it's primed, you can move the plunger tube forward and back for a HAMP effect as a mercy kill or whatever.
Edit: It is actually finished (since before Deal), I forgot that this is a progress picture. The writeup should be up this weekend.
Edited by Split, 04 June 2010 - 01:40 PM.
1 user(s) are reading this topic
0 members, 1 guests, 0 anonymous users