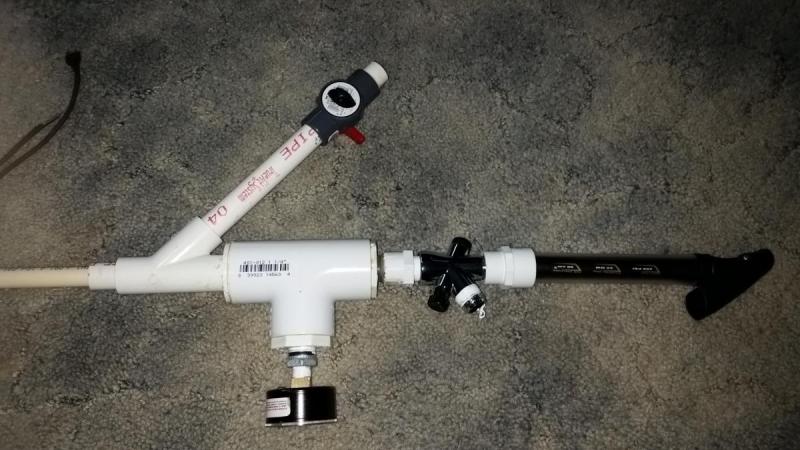
On my recent trip to go warring in Canada, I got an idea in my head, and discussed it briefly at dinner with a few of the other Nerfers. Piston valve (or "backpressure") tanks rely on a small piston or poppet moving back and forth to let air into the tank, and then to let it out. The piston has to be able to slide freely. Kinda like those darts we put down our barrels at every war...
Let's get started, then!
Parts List
(1) 1 1/4" PVC tee
(2) 1 1/4" x 1/2" PVC slip bushings
(1) 1 1/4" x 1/2" PVC bushing, slip to threaded(f)
(1) 1/2" x 1/4" metal NPT threaded bushing (plus OPRV or gauge) (optional)
(1) 1/2" OD x .385" ID x 1" nylon spacer
(1) BoomCo dart (preferably new)
(1) Sch.80 1/2" PVC (only a few inches)
(1) 1/2" PVC adapter, male threaded to female slip
(1) 3/4" slip x 1/2" threaded PVC bushing
(1) 3/4" PVC check valve
(1) Hand air pump
(1) Thread tape
(1) 1 1/4" x 1/4" rubber washer
Solvent Weld and Superglue
Estimated cost: $25 - $35, depending on store sources used and setup. The bottom leg of the tee can just be a 1 1/4" plug, if you don't want to worry about having a gauge and you're using a pump setup that renders having an OPRV unnecessary. The solvent weld and thread tape can be used for other projects, but they're included in the cost here.
Build Guide
The Piston
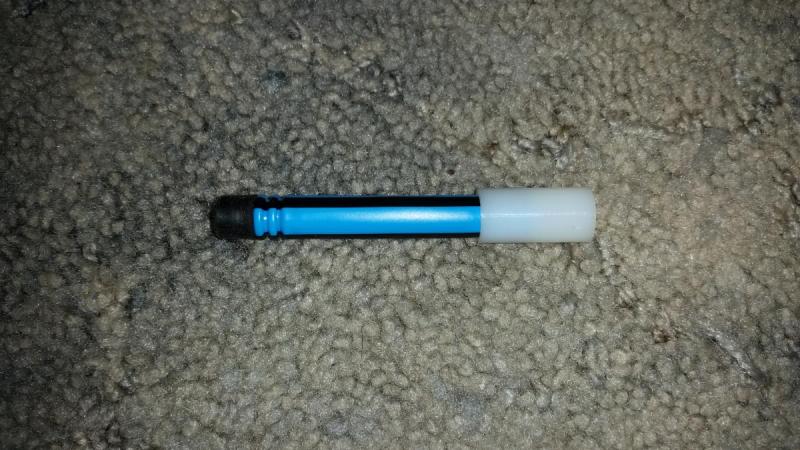
After debating what darts to use and how to properly mount a rubber seal on them, I decided to go a different route. I superglued a brand new Boomco dart inside a 1/2" x .385" x 1" nylon spacer. In terms of mass and dimensions, this is actually almost functionally identical to the piston within an XBZ. And with most of the weight (what little there is) in the back, this will always travel straight and seal against the outlet.
Pump Assembly
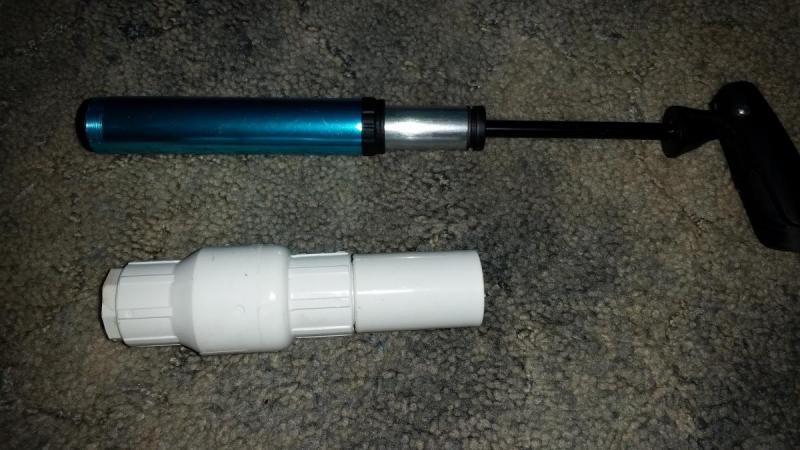
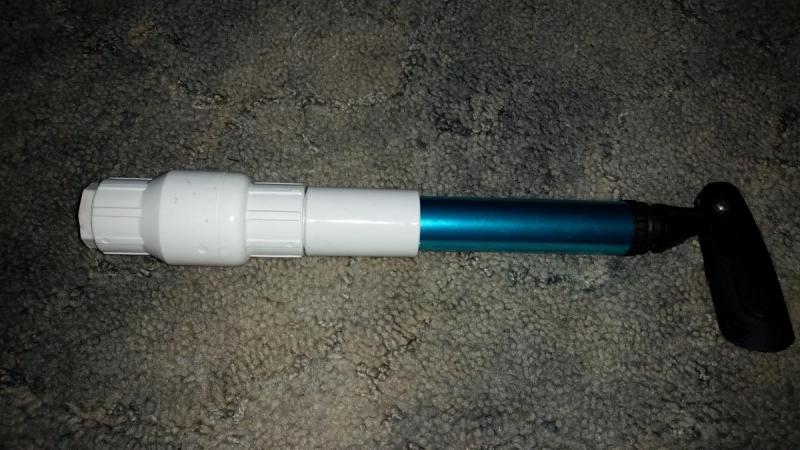
There are several options available. Five Below has hand pumps at $5, with telescoping handles and a 1.05" OD, the exact same as 3/4" PVC. That combined with a PVC check valve can eliminate the need for an OPRV, with dead space before the valve setting the maximum achievable pressure. Some Bell Airstream dual action pumps can also go into PVC fittings, but being dual action, you're forced to add on an OPRV for safety since every stroke adds more air.
Trigger Valve

This is a shower diverter valve, found in the plumbing section of the hardware store. It can handle typical home water line pressures, and in our case is being used to vent the pilot volume. It has 1/2" IPS threaded fittings. The female fitting (the common line) will lead to our tank, while the pump and check valve will go on one of the legs. Depends if you want your blaster set up like a pistol or an XBZ.
Tank Assembly
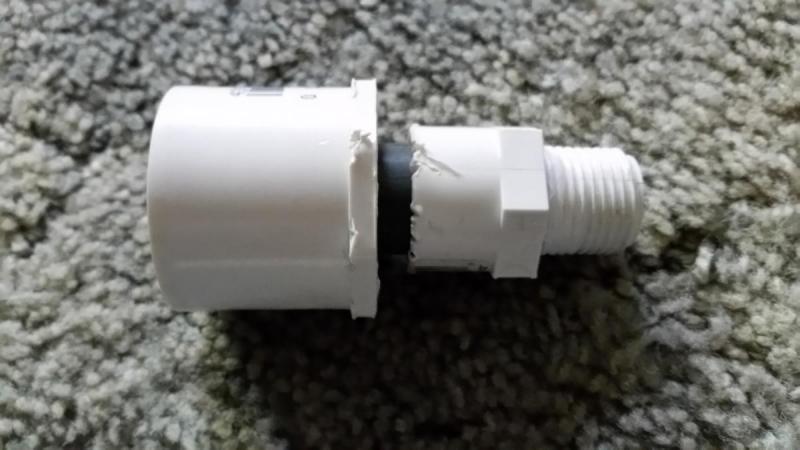
In front of the trigger valve, add your threaded fitting, then carefully push the 7/8" diameter rubber washer. This acts as the rear seat for the piston, just to keep it from going back too far. Next, insert a stub of Sch.80 1/2" PVC. Add your 1 1/4" x 1/2" PVC bushing to that.
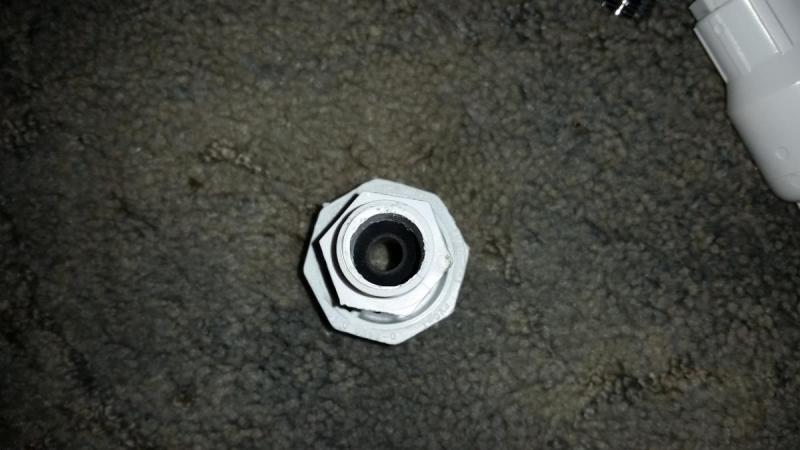
You can slide the piston into the Sch40 at this point. THE NYLON GOES FIRST.
For my firing tank, I used a 1 1/4" PVC tee, with a bushing assembly at the bottom to reduce the outlet to 1/4" threaded, so that a gauge or OPRV can be added.
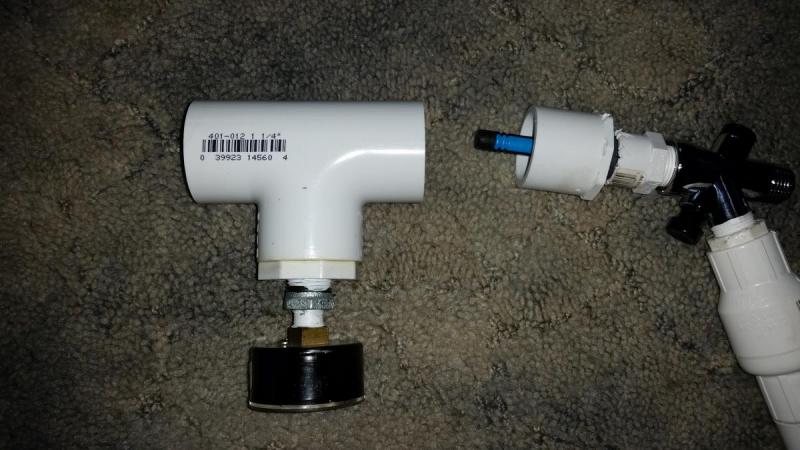
The front PVC bushing had a 1 1/4" OD, 1/4" ID rubber washer glued in place. This is the surface the rubber on the dart head seals against.
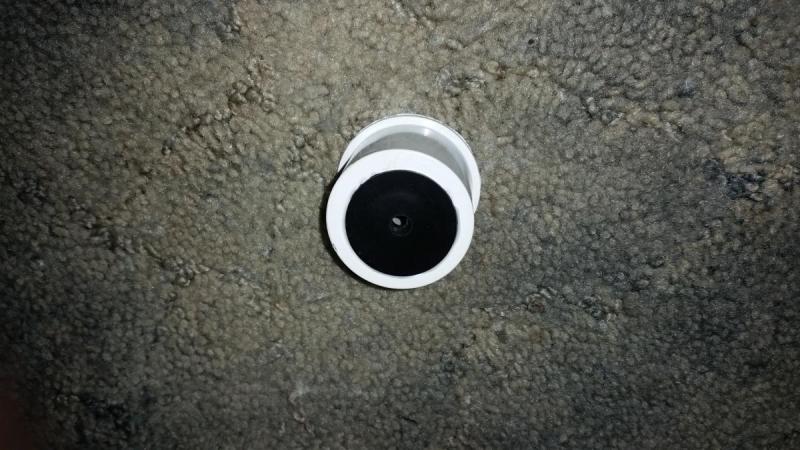
And after that, you're done! Be sure to use solvent weld on the PVC, and thread tape on the trigger valve and various threaded fittings.
So far, it's been very easy to hit 90' consistently with a 4 dart hopper, and an operating pressure of 30psi.
To operate, make sure the diverter valve is in the correct position (the end of the switch sticking out indicates which leg is connected to the common). Pump up the blaster, then depress the valve switch to fire.
Improvements: spring-loading the diverter valve, and adding a real trigger.
Edited by Buffdaddy, 01 July 2016 - 10:56 PM.


