Jump to content


Photo

Mod Guide - Strongarm REV-6

Mod Guide Contest Entry #01

6 replies to this topic

#1 Maniacal Coyote

Maniacal Coyote

    On Increasingly Thin Ice

  • Members
  • 358 posts

Posted 04 June 2015 - 03:28 PM

Mod Guide - Strongarm REV-6
NIX-122 recently asked me to modify his Strongarm, and I decided to use that for my first entry in the contest. Originally posted here.
Posted Image More after the big drop.


Tools: No. 1-size screwdriver <a href="http://3.bp.blogspot...0425151336.jpg" style="clear: left; float: left; margin-bottom: 1em; margin-right: 1em;">Posted Image


Also, something long, thin, and sturdy.
(I used an HFT screwdriver)
[No Picture]

Harbor Freight & Supply Rotary Tool Set Posted Image


Swiss Army Knife Posted Image


Magnet Posted Image


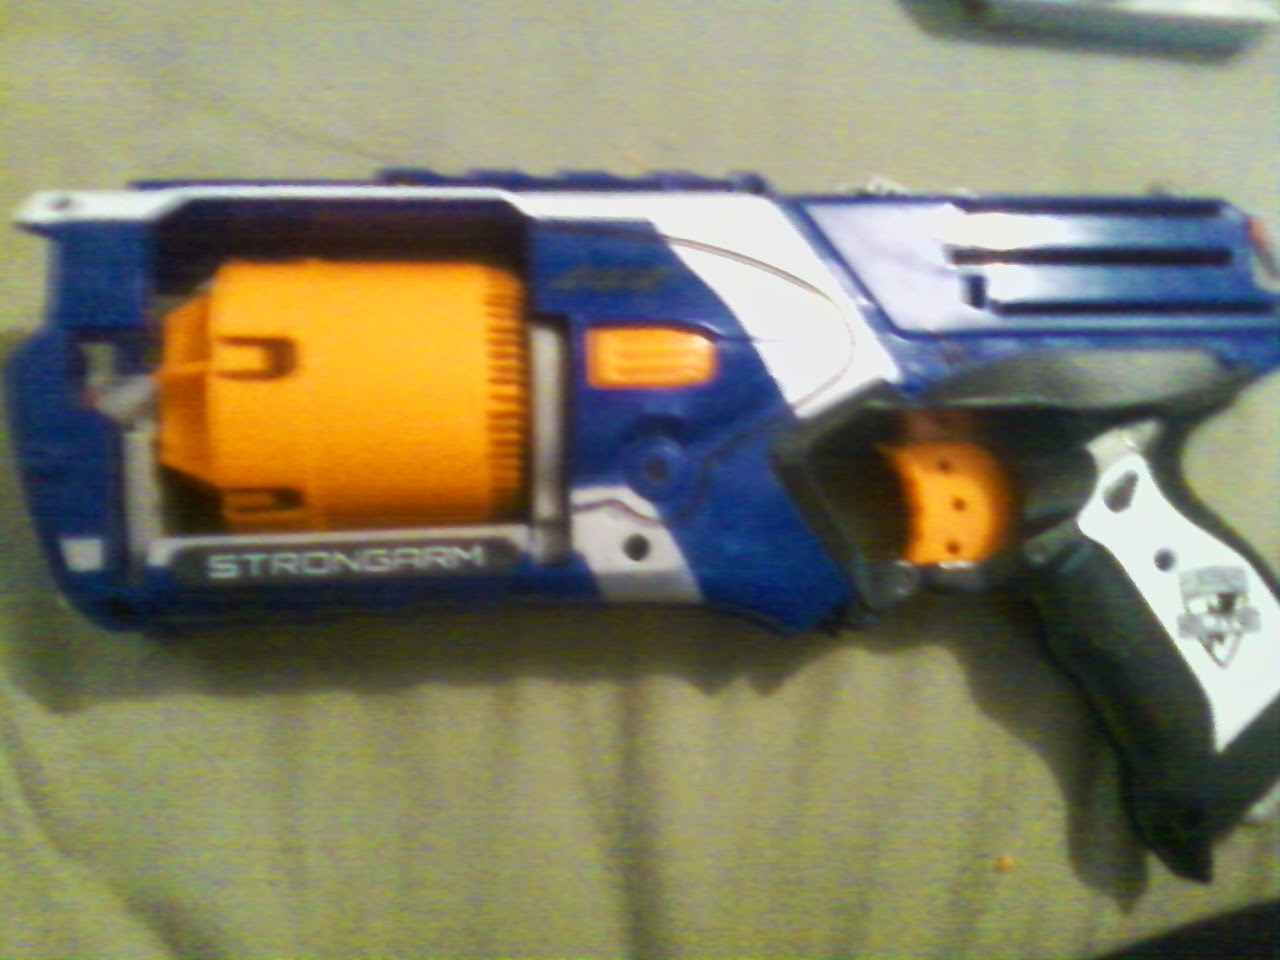
Materials Strongarm (N-Strike Elite)
Posted Image


Sandpaper Teflon tape (plumbing tape)
Random spring that'll nest around the plunger rod

Steps:
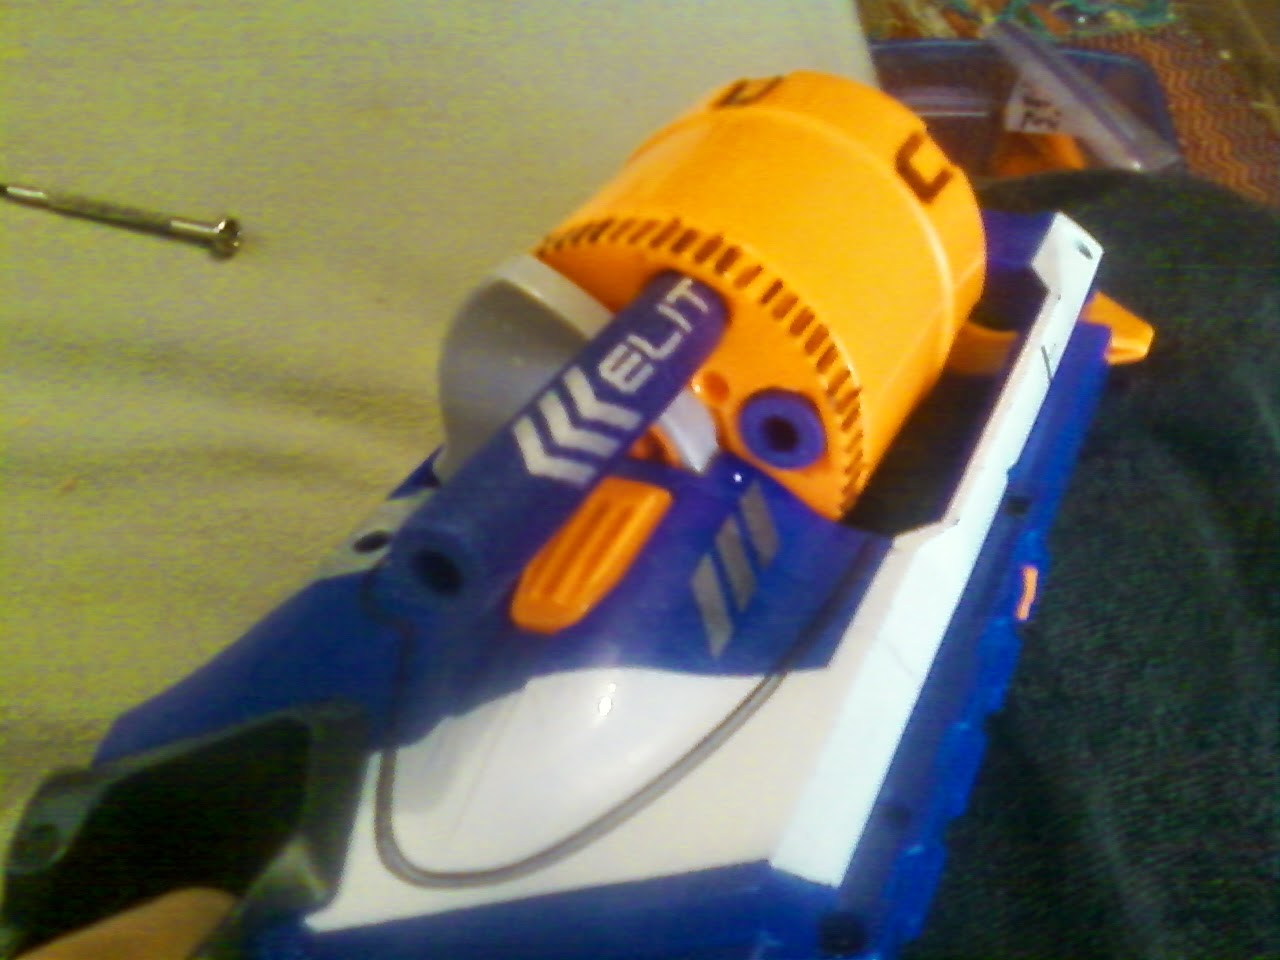
Get a Nerf N-Strike Elite Strongarm. (Pro tip: Use magnet for faster acquisition.) Posted Image
Unscrew the three screws in the priming slide and remove it. Unlike the Maverick, there is no tricky metal pin connecting the two halves of the slide. Instead, the bottom/right half is screwed onto the slide-return spring. Leave that be for now. Posted Image
Posted Image
Posted Image

Now, unscrew the rest of the springs, but leave them in the shell. Time to butterfly the blaster. Posted Image
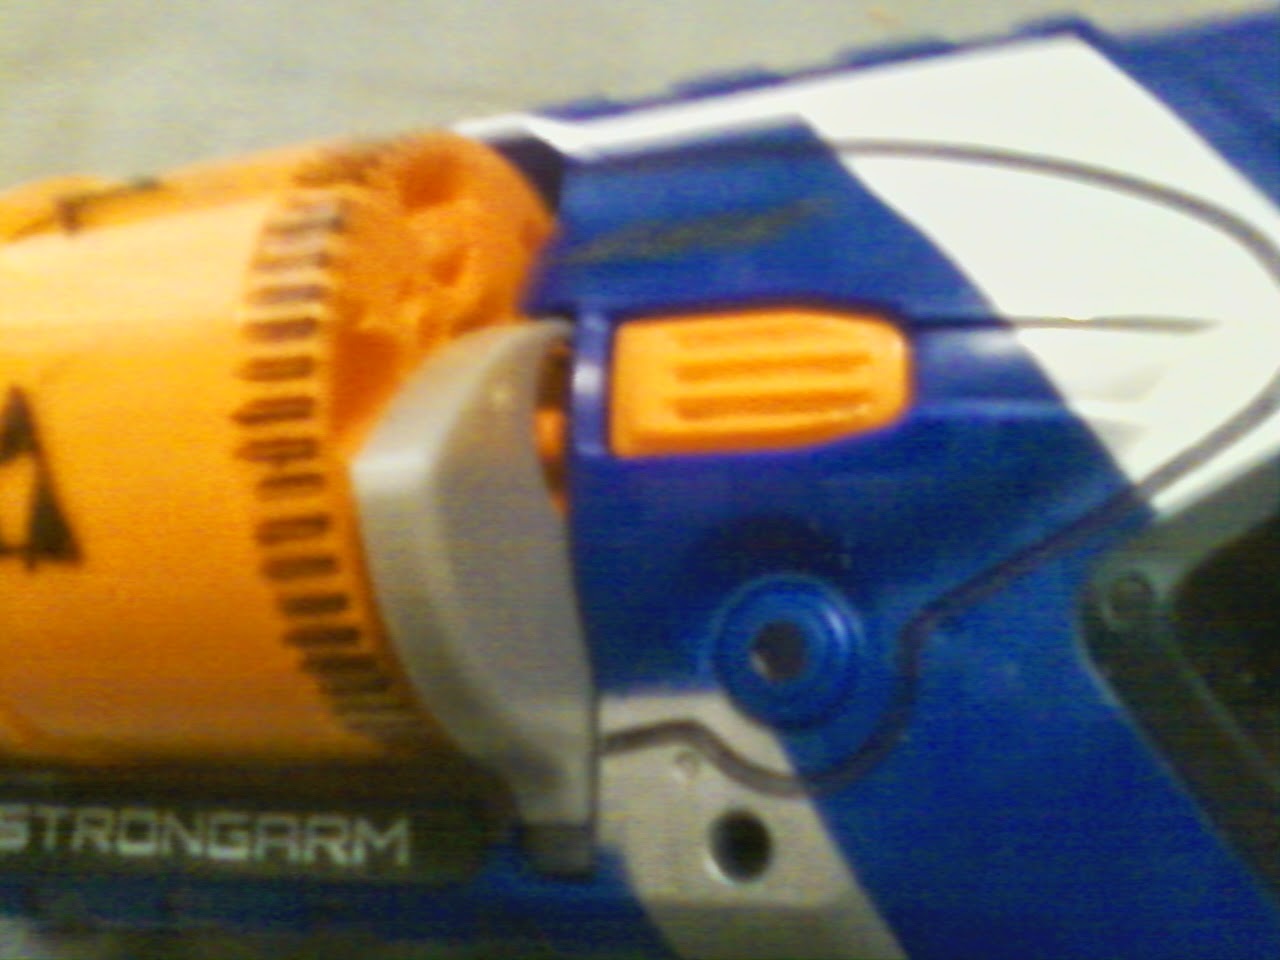
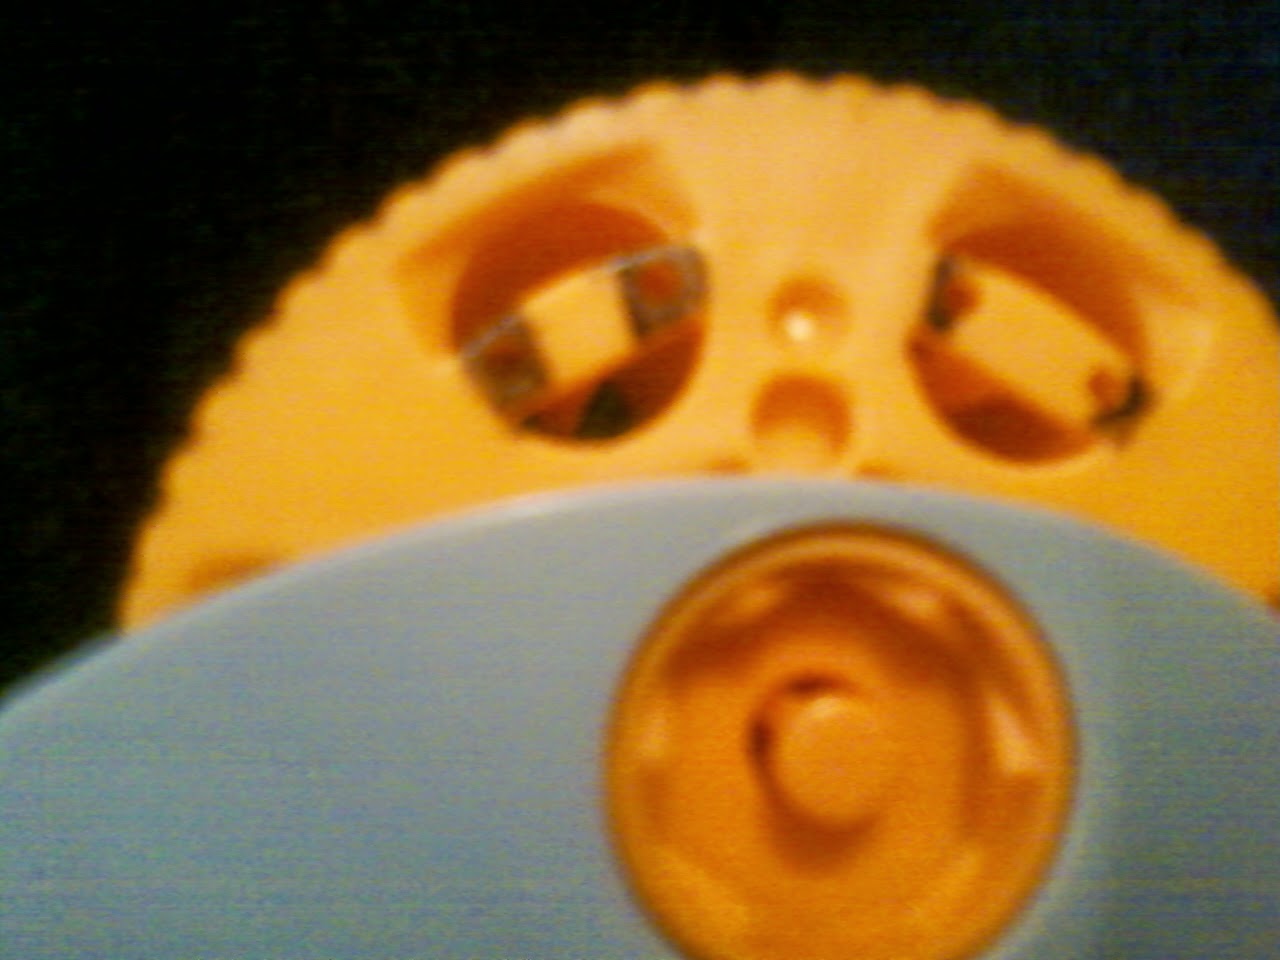
The cylinder is presenting a problem. Eject it and the problem will be resolved. Posted Image
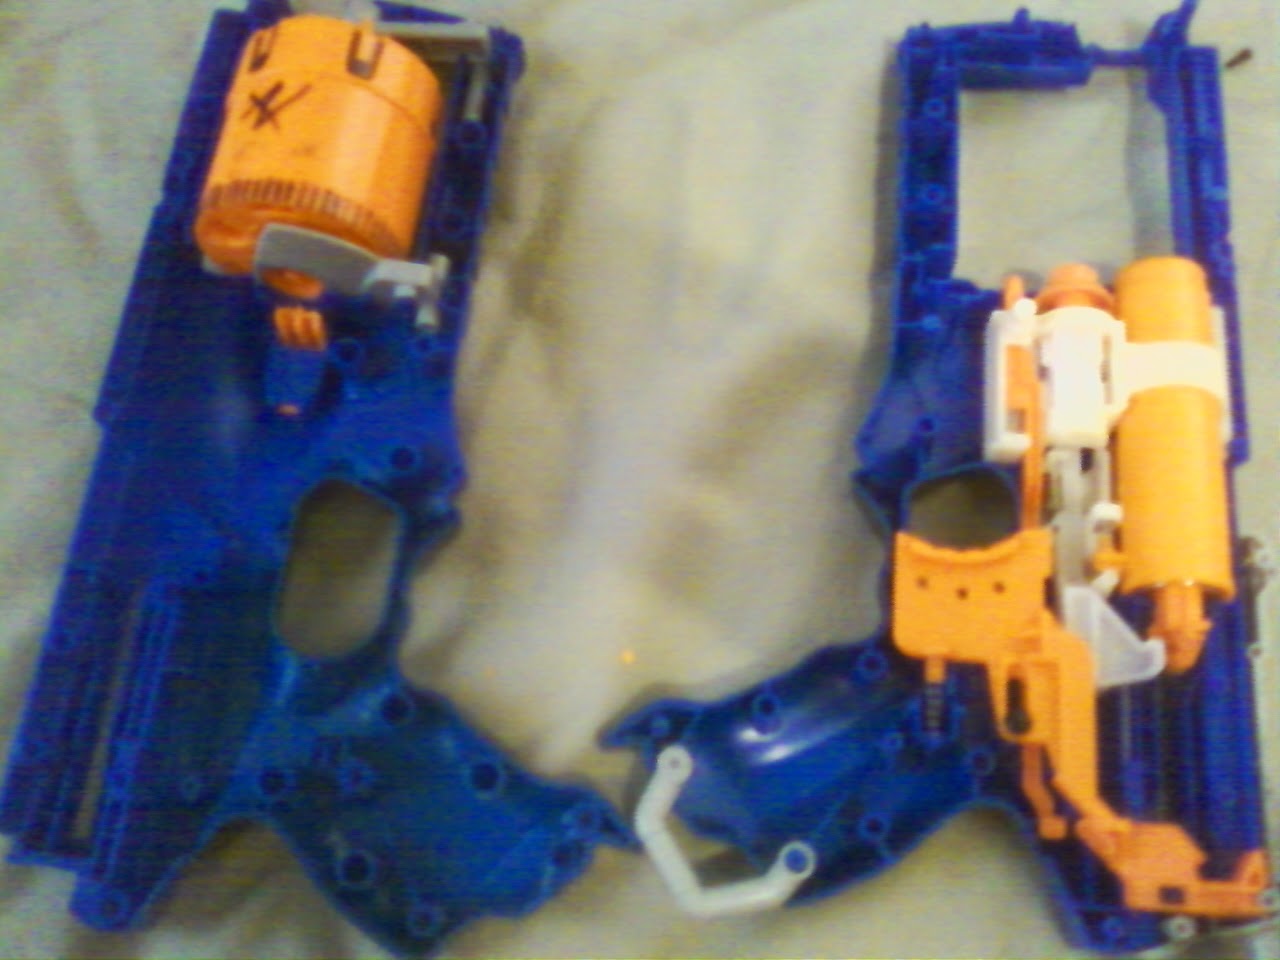
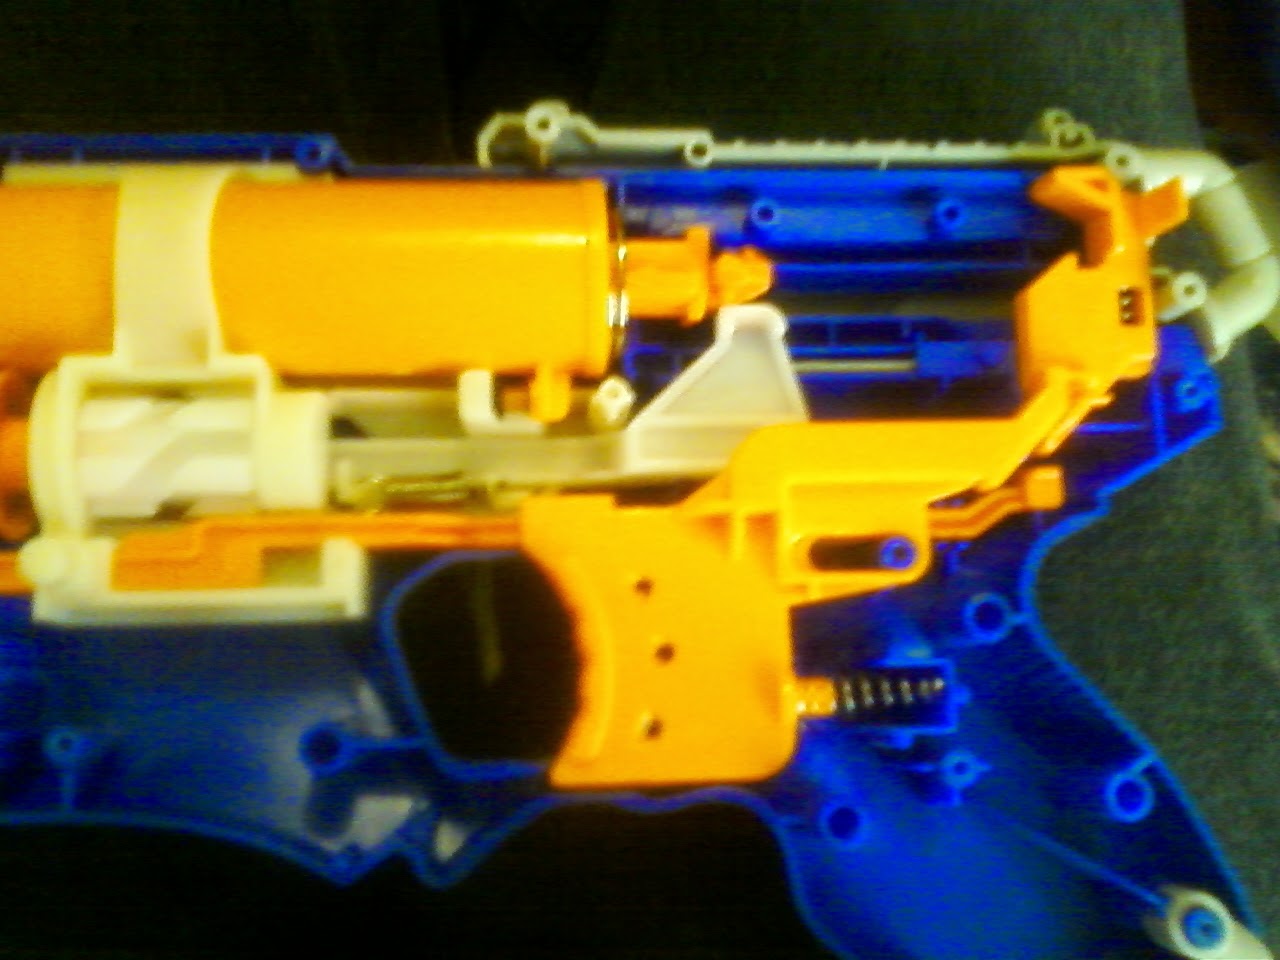
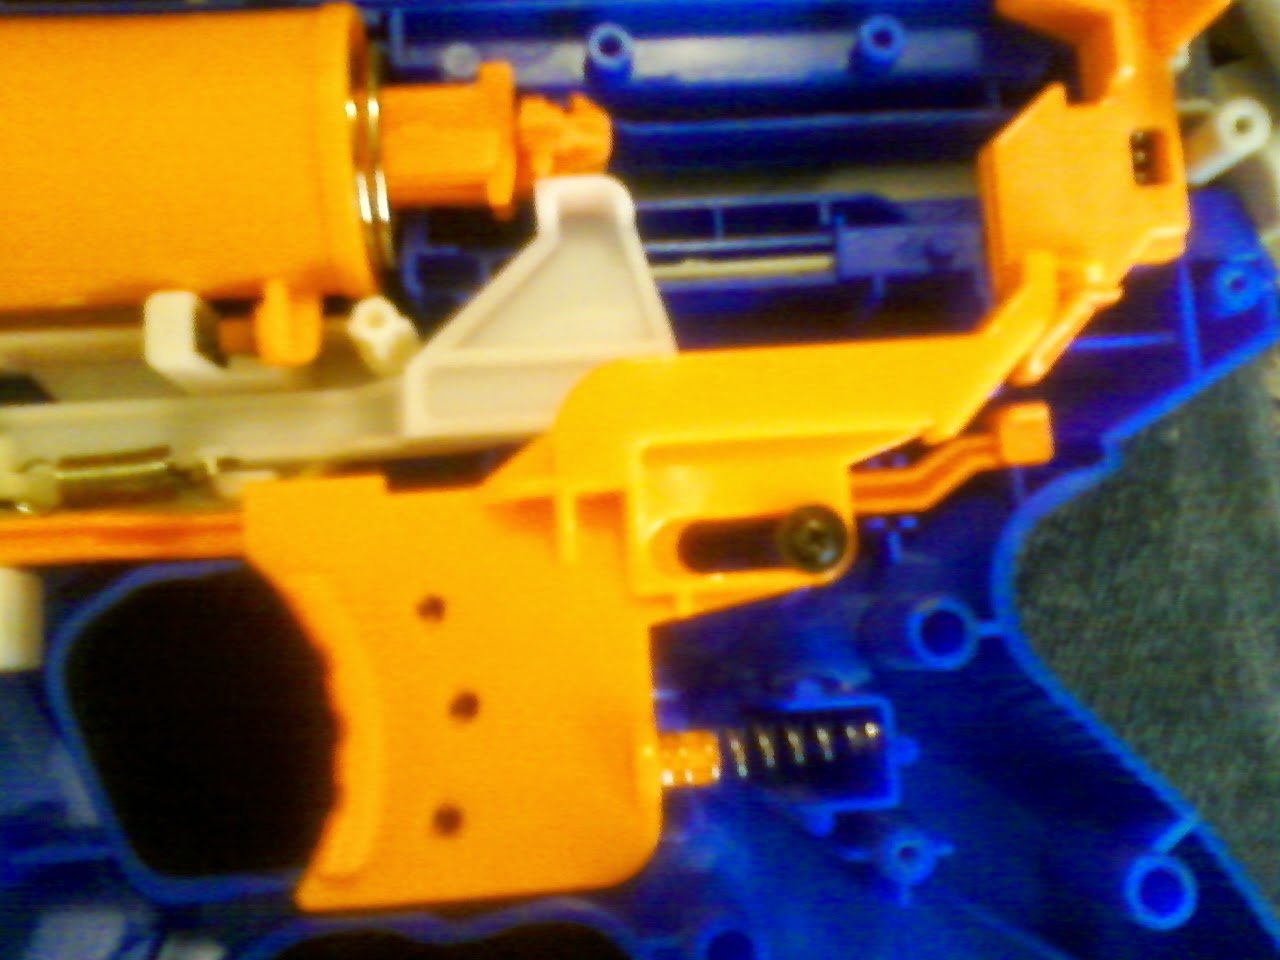
The blaster should separate nicely into two parts: one
with the guts, and one with the cylinder. Posted Image
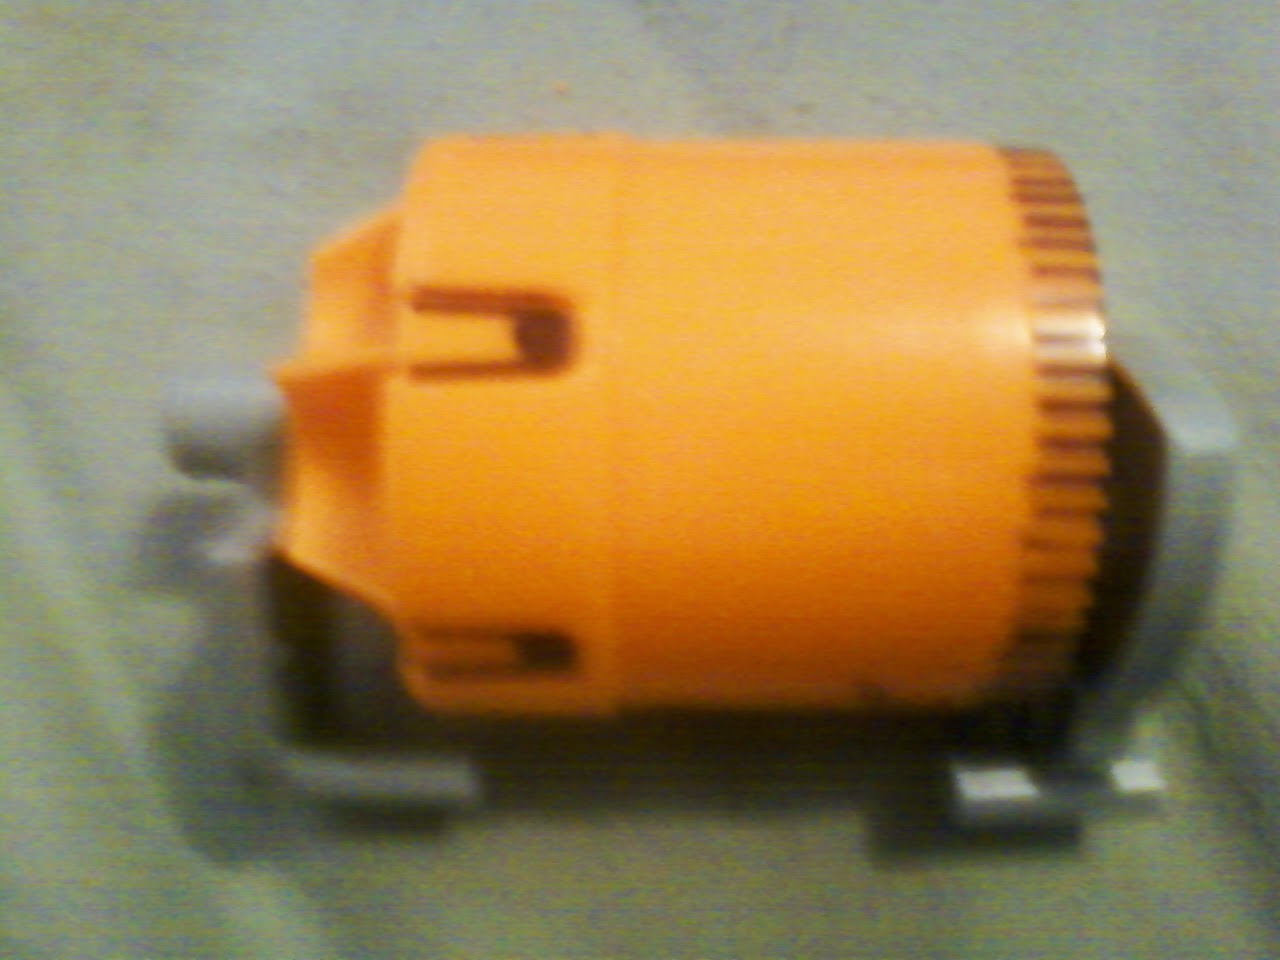
The cylinder should easily come out of the shell. Posted Image
The gray part at the front should easily slide off. Posted Image
Now, let's make this bad boy able to handle all micro-size darts and stefans. Posted Image
You will want to use this grinding head if you are using an HFT rotary tool set. (The one that's sticking out.) If you're rich and have an actual Dremel, you figure it out. Posted Image
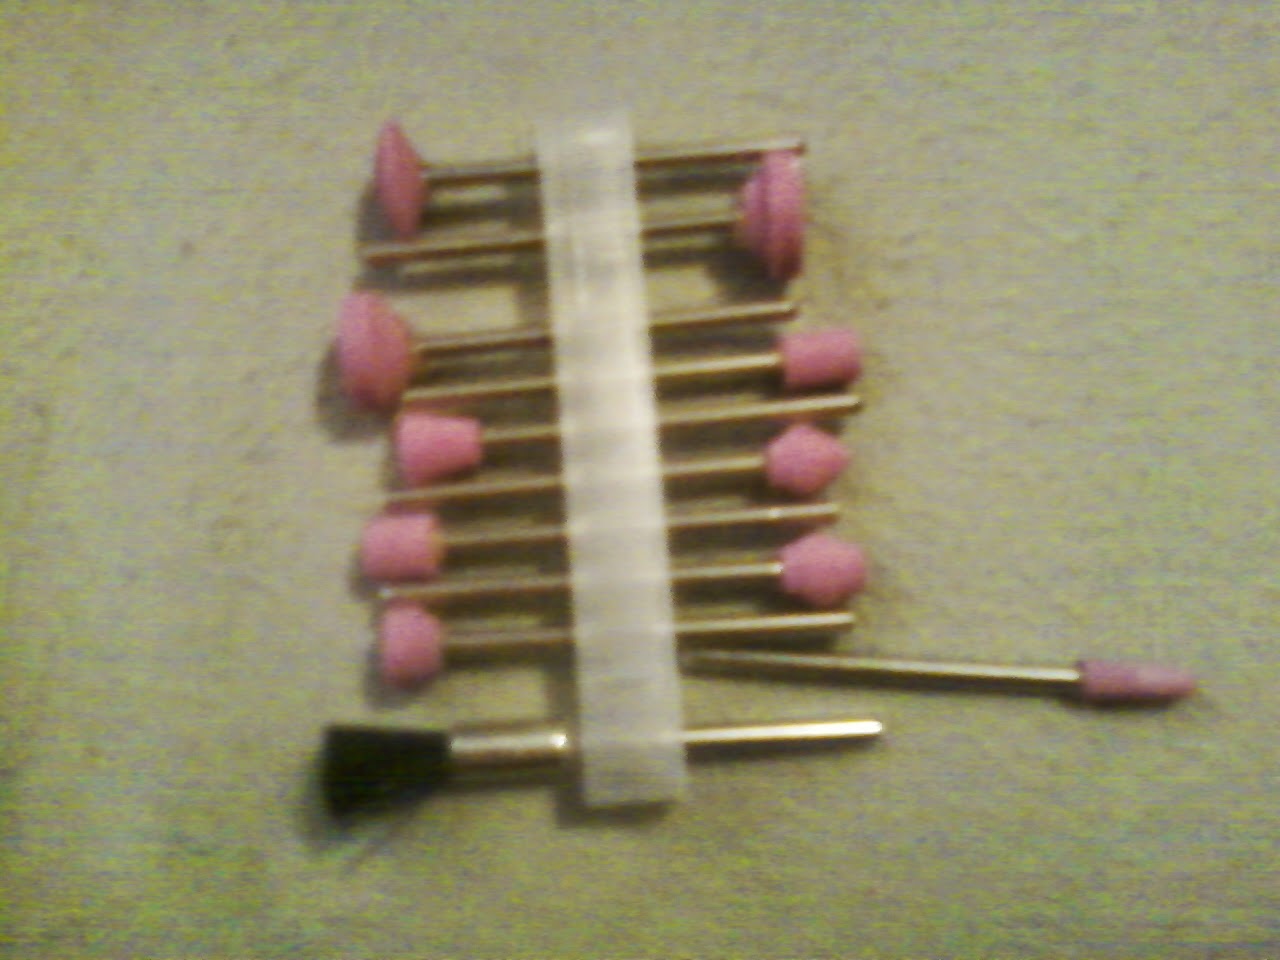
Load your rotary tool with the bit. Posted Image
Fire it up. Whoops!
Posted Image
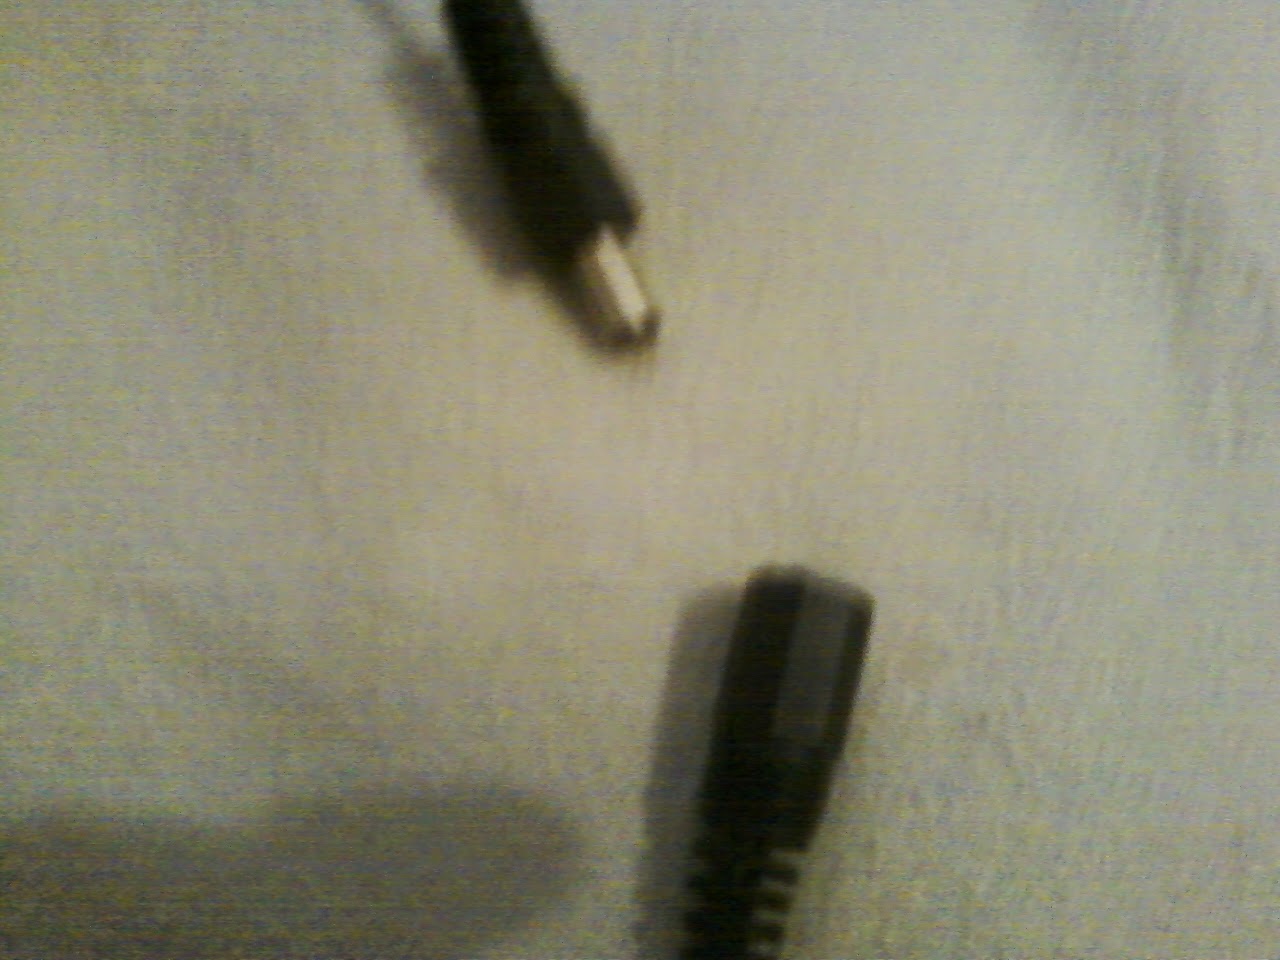
Make sure the cord is plugged in. Posted Image
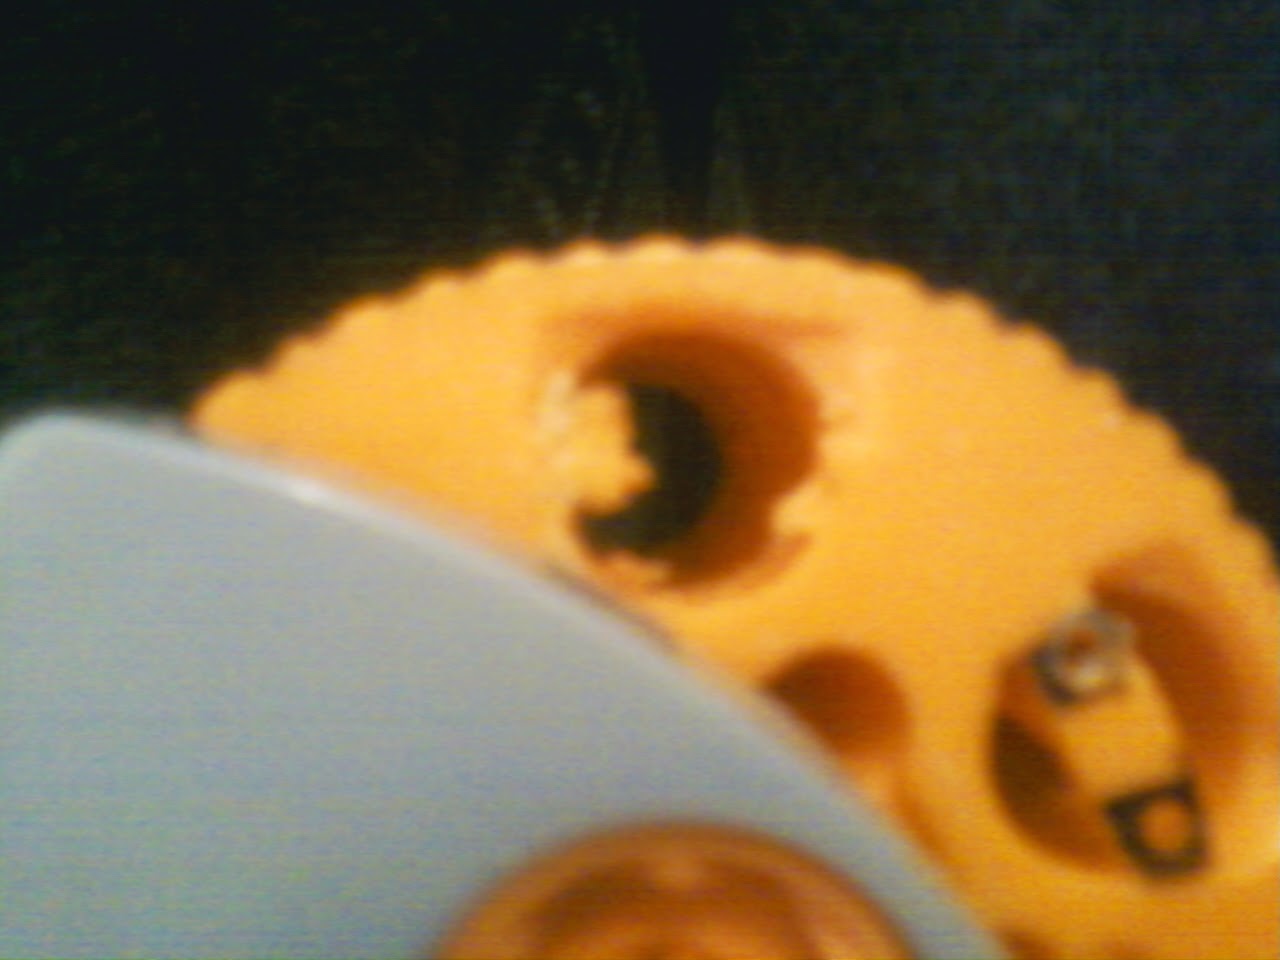
Grind away where I have marked. Posted Image
It should look something like this. Posted Image
Switch over to a sanding drum. Posted Image
Posted Image
Grind out at the inside of the chamber. Posted Image
Do this until an elite/streamline dart'll fit inside. Repeat for the other five chambers. Posted Image
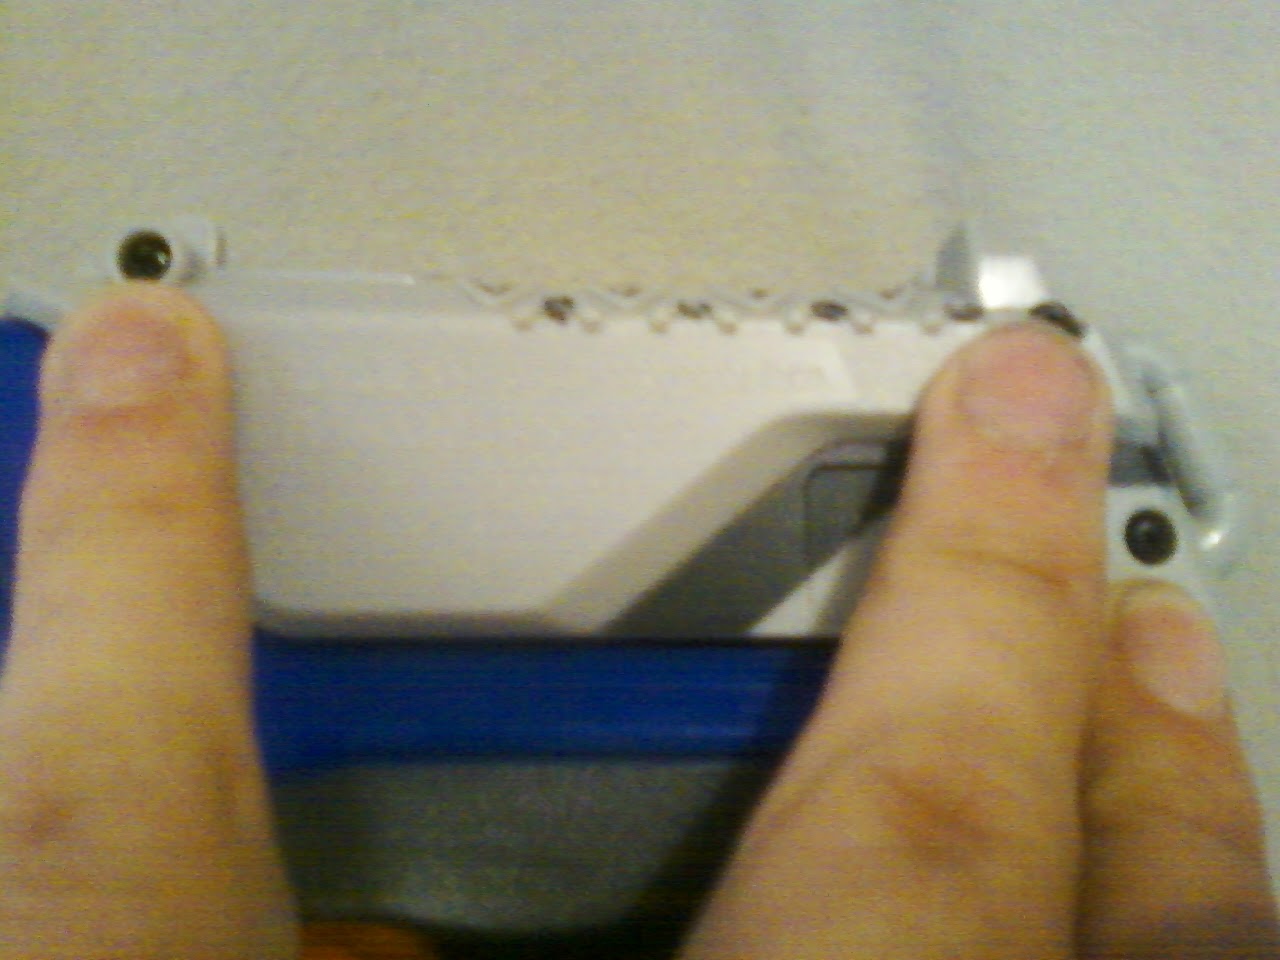
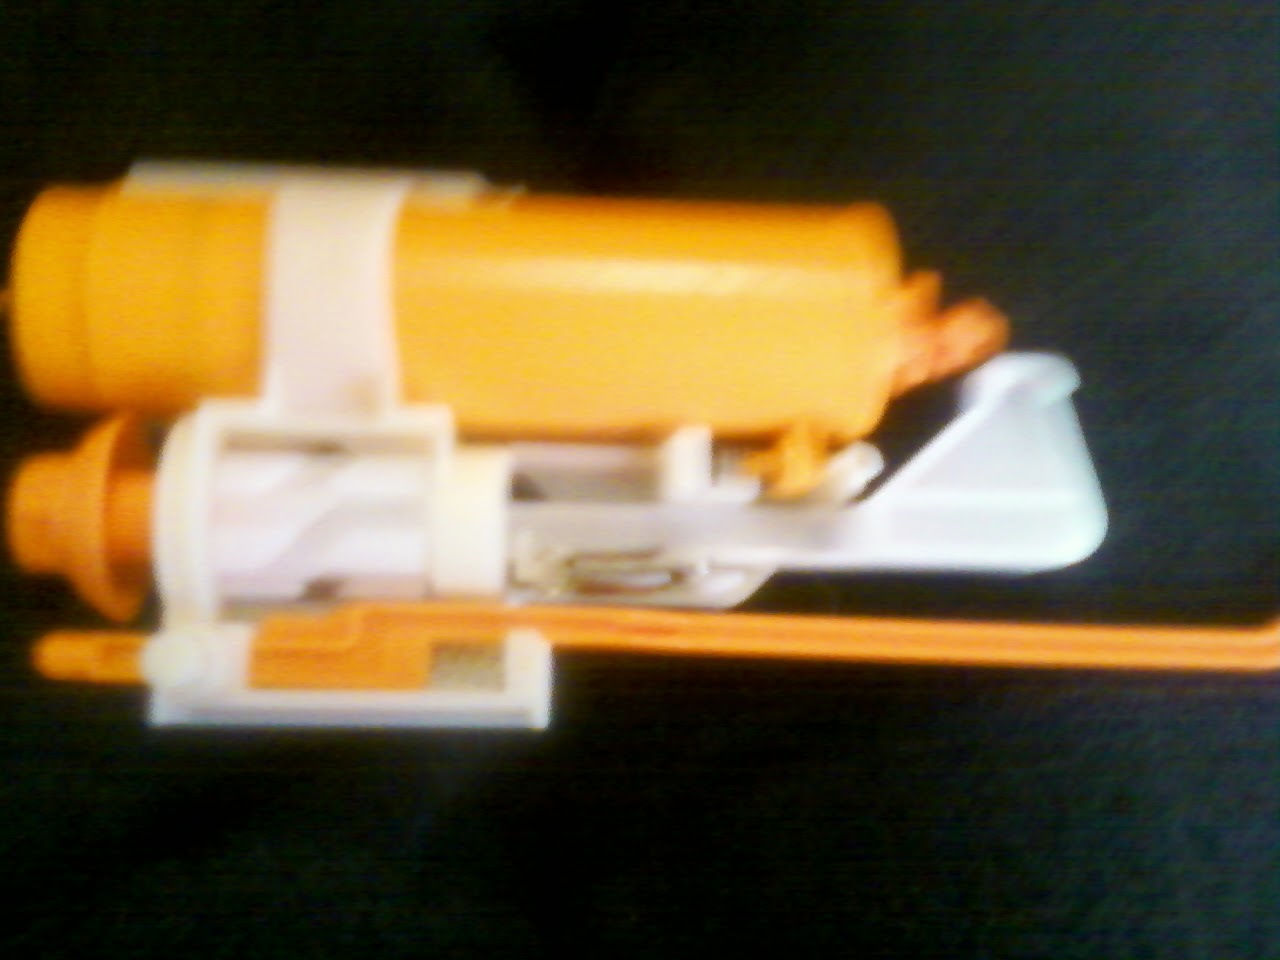
Now, on to the other part of the blaster. Unscrew this screw, the only screw holding the internals inside. Posted Image
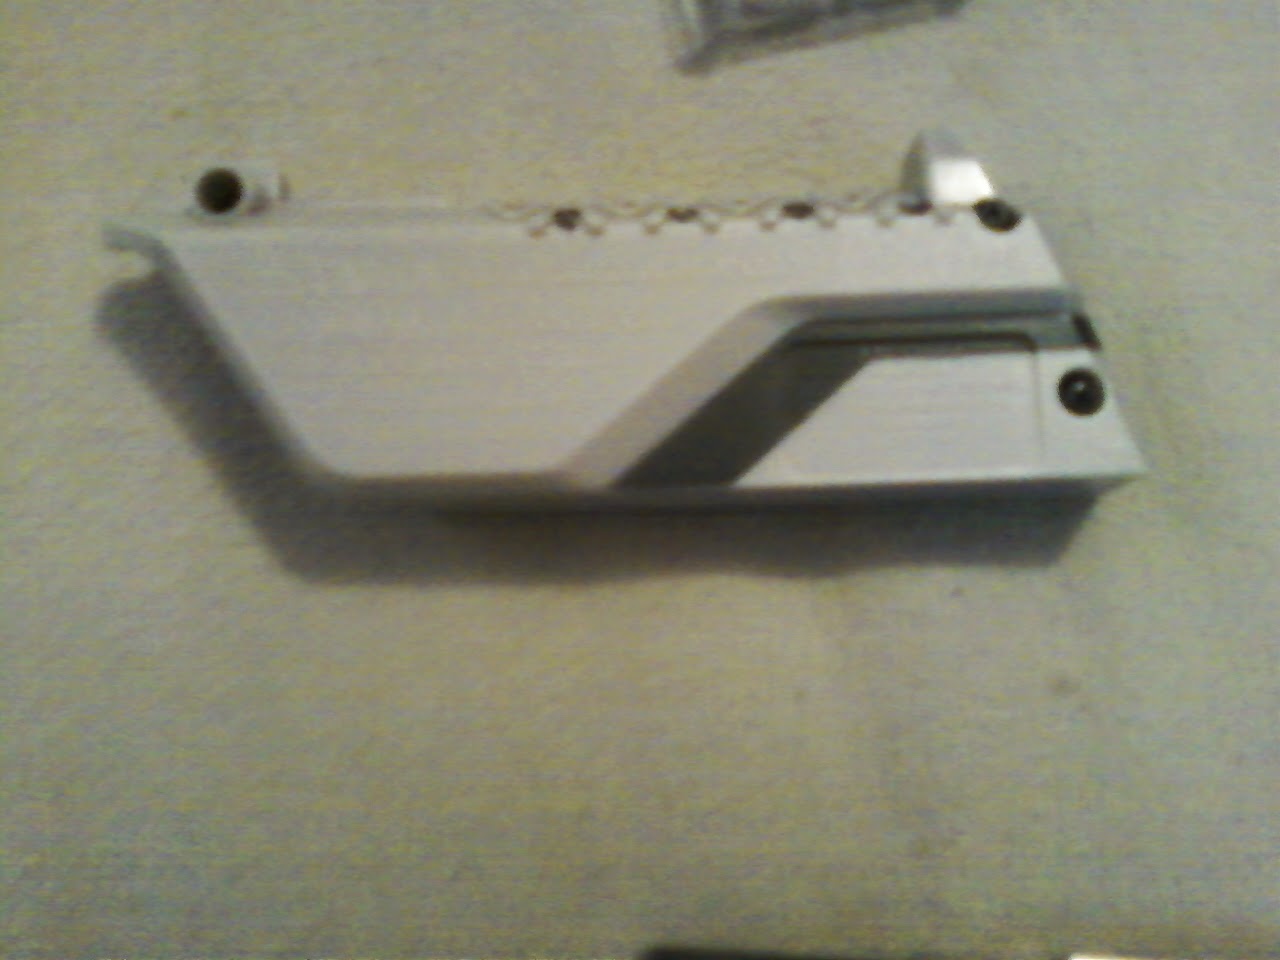
The internals pop out easy. Posted Image
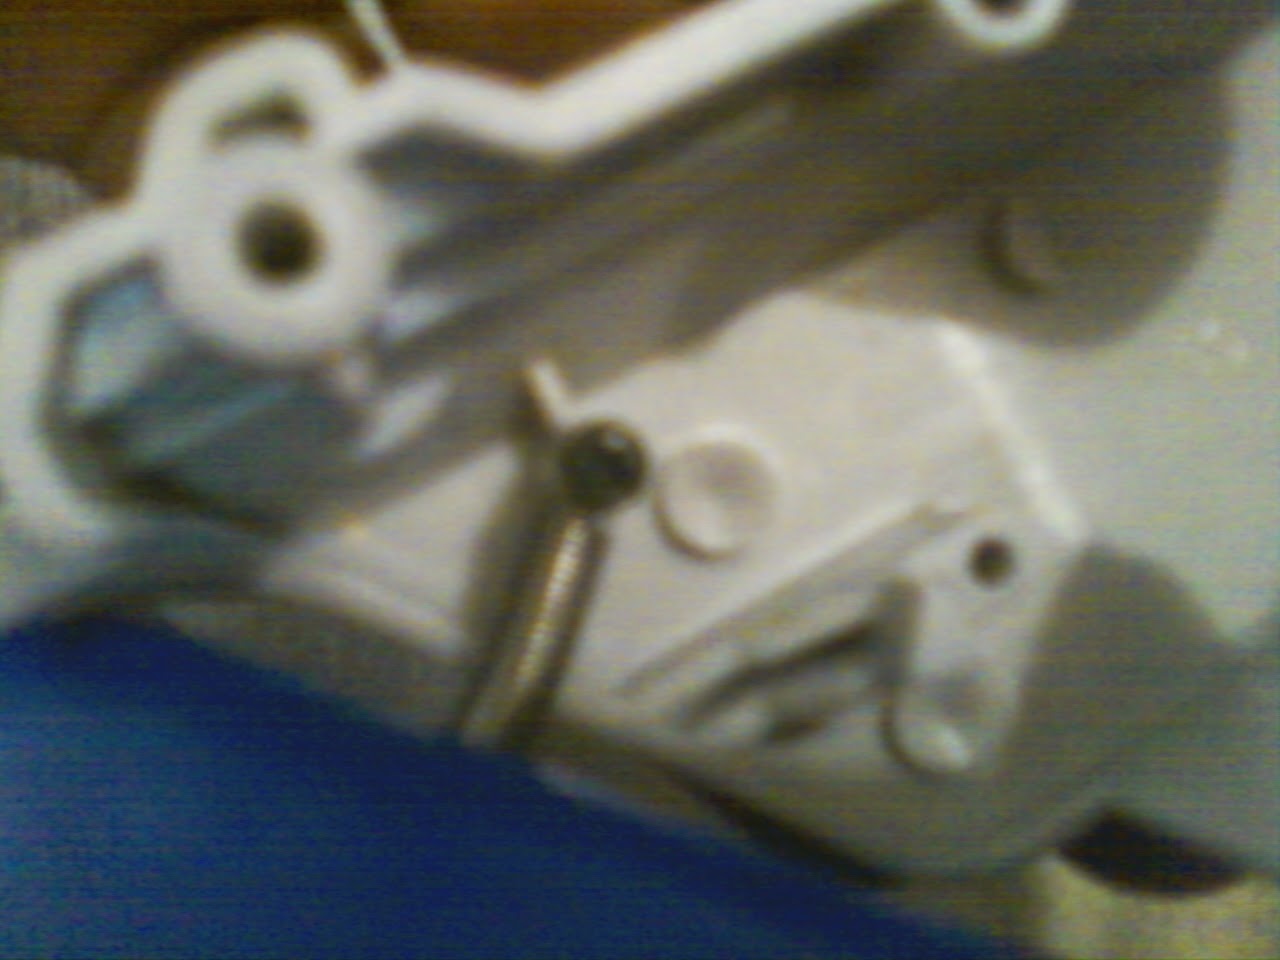
Pull the plunger out. Posted Image
Pull the O-ring off. Posted Image
Apply ~4 layers of Teflon (plumbing) tape. Posted Image
Put the O-ring back on.
(No picture, but do you really need one for this step?)

Next, wind your spare spring around the plunger.
Posted Image 
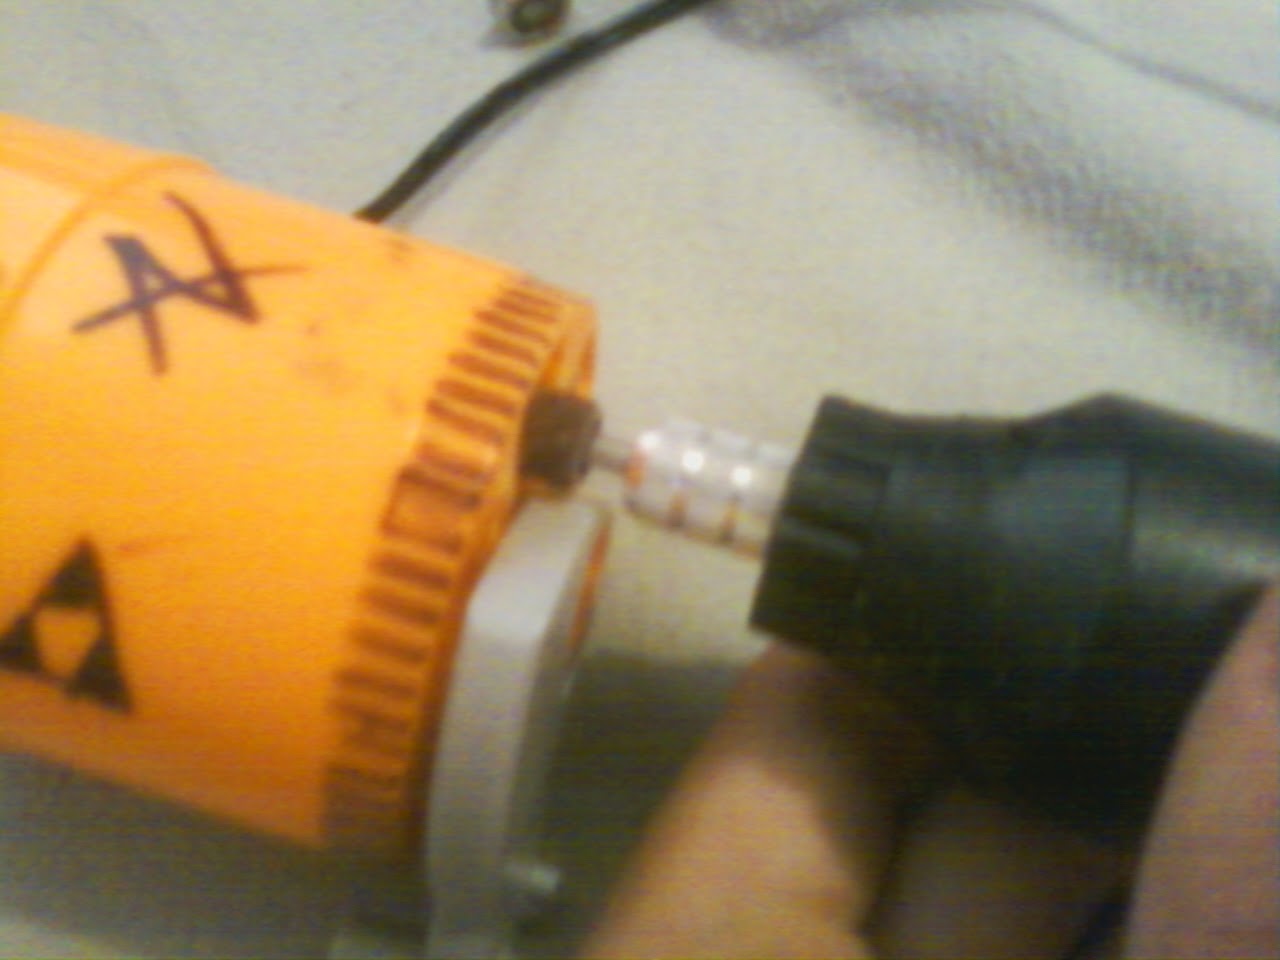
Time to mutilate the air restrictor!

Grab your long skinny tool and use it to ream the ar out.
Posted Image
Posted Image 
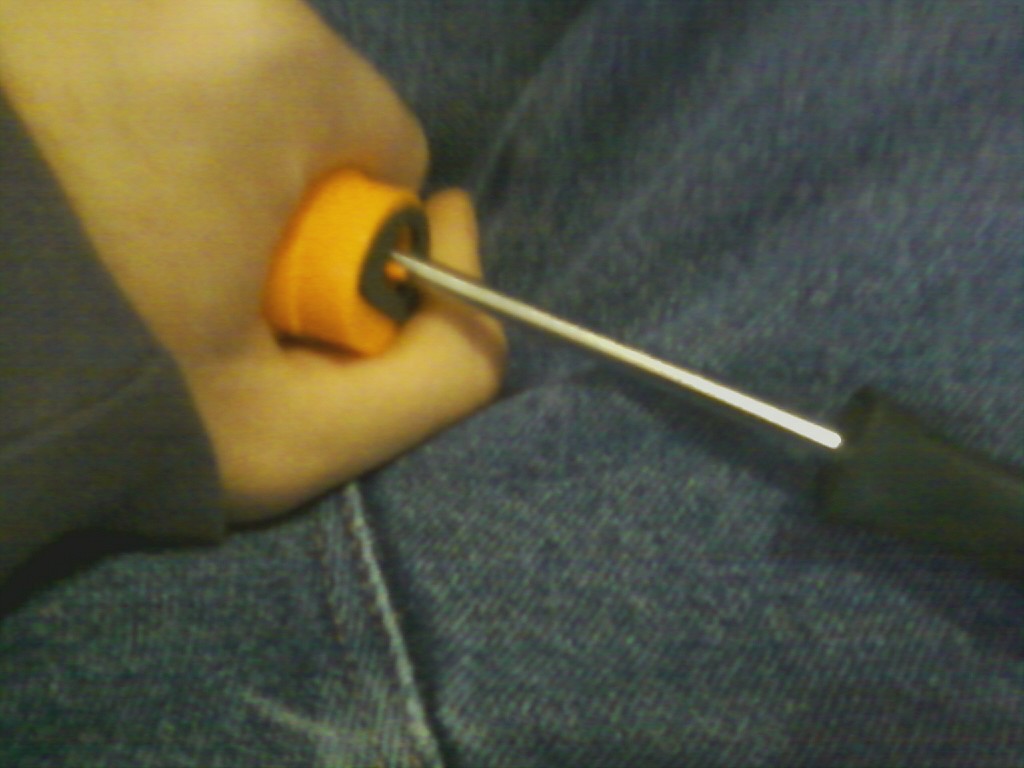
Oops! Need more leverage!
Posted Image
And, crunch! You may need to repeat if you have a stubborn air restrictor.
Posted Image
Put the plunger back in. Posted Image
Put the internals back into the shell. Posted Image
Put the screw back in. Posted Image
Put the gun back together. Posted Image
Viola! Rear loading Strongarm! Posted Image
Bonus: Can feed streamlines and stefans!

Warning: this mod makes it extra powerful, so exercise caution when using it.

I did not do any scientific measurements, but it does shoot much harder, and probably much further with good darts.
(The sharpieing was done by my friend.)

The only aesthetic change is the fact that it is rear-loading.
  • 0

I know how to help you because I have broken every rule in the book.


#2 ravetrooper

ravetrooper

    Member

  • Members
  • 216 posts

Posted 04 June 2015 - 03:46 PM

Wow, this has to be the most original entry so far! Great job!
  • 0

Gut the electronics, drill a hole in the shell, and attach a crank to the gear. Bam, crank-action stampede that doesn't require batteries, or even a trigger.

...(also judging by your past posts, I would consider you pretty dang wise elder like in the modding community :lol: )


#3 Thorn

Thorn

    Member

  • Members
  • 91 posts

Posted 04 June 2015 - 07:13 PM

Wow, this has to be the most original entry so far! Great job!

I can't tell if you are being sarcastic or not….
This was a pretty good writeup, but I would try to get better pictures if possible. Other than that, the instructions were relatively clear, so good job.

Edited by Thorn, 04 June 2015 - 11:00 PM.

  • 0

#4 LordGiratia

LordGiratia

    Member

  • Members
  • 59 posts

Posted 04 June 2015 - 08:09 PM

I would add that you can use needle nose pliers instead of a rotary tool to take out the barrel posts. Also you should always re grease the o-ring if you take it out.

Edited by LordGiratia, 04 June 2015 - 08:10 PM.

  • 0
Warning, my posts aren't finished when I post them, wait 15 minutes and the post will be perfect.

#5 Astech

Astech

    Member

  • Members
  • 58 posts

Posted 07 July 2015 - 06:05 AM

I can't tell if you are being sarcastic or not….


I think that the twisted URM wins the "most original" award ([edit] mainly because its the nerf equivalent of colouring outside the lines), but a rear loading Strongarm is certainly up there. I'm just wondering though; on a blaster with a pop out drum, designed for ease of loading, what circumstances prompted you to make an additional loading option? I know the mod doubles as a performance increase, but the inspiration for the rear loading eludes me for this blaster. As has been said before, the write up was very easy to understand.

As a side note I have found that pliers and ordinary sandpaper can do just as good a job, if not as fast.

Edited by Astech, 07 July 2015 - 06:07 AM.

  • 0
I've always wanted to be a pilot. Then I'll have an excuse to keep my head in the clouds.

#6 Maniacal Coyote

Maniacal Coyote

    On Increasingly Thin Ice

  • Members
  • 358 posts

Posted 09 July 2015 - 01:03 PM

[W]hat circumstances prompted you to make an additional loading option? I know the mod doubles as a performance increase, but the inspiration for the rear loading eludes me for this blaster. As has been said before, the write up was very easy to understand.


Revolvers cannot easily load Streamline darts, and I wanted to be able to use Streamlines in a Strongarm.

Then, after some thought, I realized that complete removal of the stem would allow for usage of solid darts (i.e. stefans).

At that point, I realized that the air restrictor would play hell with the blaster unless the darts were loaded in the rear. So, I had to remove the side thingies attached to the stalk and grind that area down.

After that, I just pounded the AR out of there to minimize resistance, sorta like with a Stryfe.

Also, I was kinda inspired by real-steel revolvers' loading from the rear of the cylinder.
  • 0

I know how to help you because I have broken every rule in the book.


#7 Cheefman45

Cheefman45

    Member

  • Members
  • 63 posts

Posted 13 June 2016 - 04:50 PM

I like it I have done the same to my strongarm exept I made it have a removeable drum.
  • 0

When the things in life that give pause mean nothing, time becomes your friend.


0 user(s) are reading this topic

0 members, 0 guests, 0 anonymous users