Since "Poor Man's Rainbow" was already taken, I had to go with something else, and get a funny name to boot.
Parts List
1 1/4" S40 PVC
1 1/4" S40 PVC Cap
1" x 1/2" S40 PVC Bushing
1/2" CTS CPVC
1/2" CTS CPVC Cap
1/2" CTS CPVC Tee
3/8" PEX Tubing (1/2" OD)
1/2" OD Aluminum Tubing
1" x 1/2" CTS CPVC Bushing
5/8" x 1/2" x 1/2" Nylon Spacer
3/8" x .171" x 1" Nylon Spacer
1" x 1/4" Nylon Washers
1 1/4" x 1/4" Nylon Washers
#10 Pan Head Screws
1 1/4" Rubber Slip Joint Washer
9 1/2" x 11/16" x 0.72" Compression Spring (Hillman #62)
1/2" Diameter, Short Spring
Estimated cost: $30 (When excess material is taken into account, you only need to spend $20 to build an additional two blasters)
Estimated assembly time: Under an hour
Part I: Plunger Construction
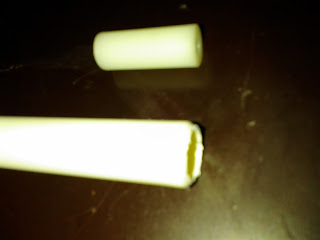
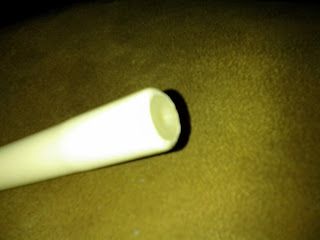
Cut 14" of PEX tubing, and use a deburring tool of some sort to clear the inside of any obstructing plastic pieces. Then grab your 3/8" OD nylon spacer, and hammer it inside the PEX.
If you can't get the spacer to go in, ream more plastic from the inside of your PEX. Once you get it started, hammer away until the spacer is flush with the end of the tubing.
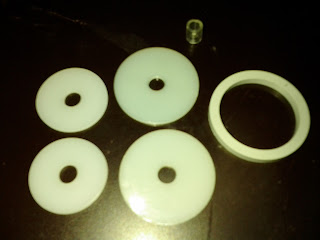
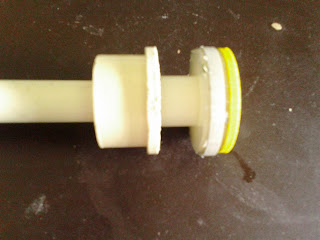
For the plunger head, take your nylon washers and glue them together. If you wish, you can take a short piece of 1/4" vinyl tubing and place it in the center to assist in lining up your washers and orienting them on the plunger rod, but it isn't necessary.
To be clear, the 1" washers go between the 1 1/4" washers. If for some reason nylon washers just aren't available in your area, you can use fender washers of the same size.
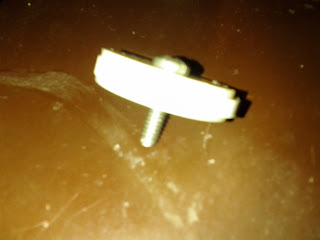
Take a #10 screw (3/4" to 1" long) and put it through the middle of your washer sandwich. If you used the tubing piece, you'll have to screw it in.
Screw the whole thing into the nylon spacer embedded in your PEX tubing. It will take some strength, as you're using a spacer that's one size too small - this is on purpose. We want the threads to dig into the nylon to keep it secure.
After all that has been done, slide on two 5/8" OD nylon washers from the back of the PEX. When they get to the end with the plunger head, they will be difficult to finish moving. You'll probably need to slide some 1/2" PVC (Sch80 is better) over the plunger rod and use that to hammer the spacers the rest of the way down. Once there, the spacer and tubing sandwich will be tight enough that no fastener or adhesive will be needed.
Slide on the CPVC bushing. If you like, you can remove the end of the fitting to shave some weight. You can leave it there if you like though, especially if you have a beefy spring that can fit inside and would benefit from having a place for the end to sit.
The ridge on the CPVC bushing is close to, but not quite the same as the plunger head diameter. This makes it ideal for use as a catch plate in a SNAP-style blaster.
At this point, you can add the spring. Hold off on adding any spacers behind your spring until the rest of the blaster is complete - it's easier to adapt the plunger to the tube than the other way around.
Part II: Plunger Tube Construction
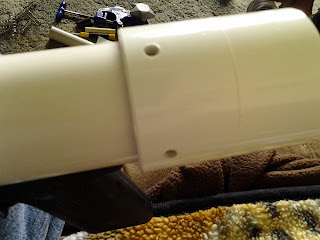
Cut a 13.5" length of 1 1/4" PVC for your plunger tube. Due to a shortage of parts at the time of prototype construction, I did a few things different than I'm now instructing you to do. Remember that as we look at these pictures. Measurements will be 1.5" or so off of what you will be doing.
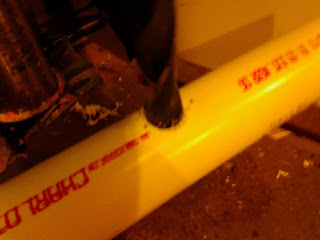
Drill a 5/8" diameter about 8.5" from the front of the pipe. Depending on tools available, you can use a drill press (a good investment, even if it's the cheapest model at Harbor Freight you can find) or a power drill. The first is far easier in terms of lining everything up, though. Make sure to take steps up to 5/8", and not try to drill it all at once!
You will need a roughly 2" spacer sitting behind your spring and ahead of your cap/spring rest. The placement is important, because it allows room for proper trigger placement later on.
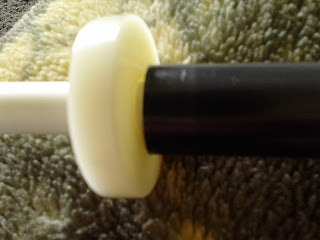
For the back of your blaster, use a 1 1/4" PVC cap, with a 17/32" hole drilled in the middle.
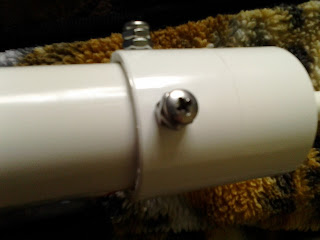
In my blaster, I ended up throwing a thick, 1 5/8" diameter nylon washer between the pipe and a coupler (didn't have any caps on me), and then drilling some 11/64" holes for the #10 screws.
Also, I didn't have any shorter screws available at the time. You should use 1/2" long screws
Finally, after putting your cap/end setup over the plunger rod, you should put a small stub of CPVC in the middle leg of your tee. Throw it onto the end of the rod and drill a hole for a screw.
Finally, there's another option that can be used in place of both the PVC cap and the plunger rod spacer: cut a 1" CPVC coupling to a length of 2", and put another 1" x 1/2" CPVC bushing on one side. Then hammer it into the back of the plunger tube, and secure with screws. I recommend this option for those interested in making this blaster pump action.
Don't forget to wrap the 1" PVC bushing in a little tape, throw it in the front of the plunger tube, and drill screw holes. Like you would any other homemade of this size plunger tube.
Part III: Handle and Trigger Attachment
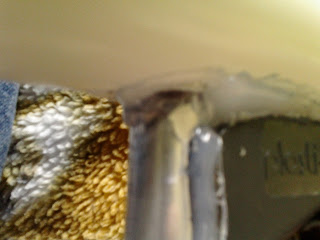
This part is lacking in pictures because there's already a writeup for this part. However, there is one change you will need to make: cut the top of the aluminum tubing at an angle. We're putting the ramp on the catch instead of the plunger rod, something that's not possible with more traditional SNAP setups like clothespin triggers. In the end this will save plunger weight.
Note that there's only a 1/2" gap between the face of the CPVC bushing and the plunger head. As such, you'll need to use a spacer to adjust plunger position until you reach full compression directly over the catch. No need to mess up the plunger seal by pulling it past sliced up aluminum tubing.
Finished Product
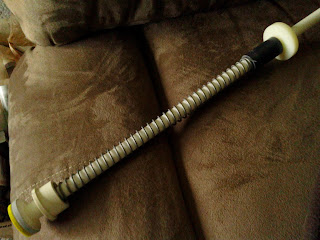
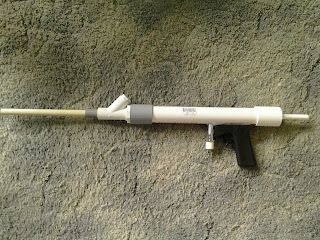
Here's the end result! As you can see, my prototype is simply a pullback model. Following the above instructions, you should have plenty of room to add pump action priming. You can also throw a few lengths of CPVC on the back to make a proper stock.
With a hopper and 1.5" glue dome stefans (from my Canada trip supplies), all of my shots are hitting 180 to 190 fps out of the barrel. I'll bring this to a war and see how it holds up under abuse! I'll also have to fiddle with barrel length and material to see how fast I can get darts to go using this spring.
Edited by Buffdaddy, 02 April 2016 - 08:13 PM.


