Hi as an intro I should say this is great for younger audiences it is super easy and fun to do.
Here is how to make a strayven or any integration the easy way. Note this is just the first part I am not done I will be showing how to do the bondo this Friday.
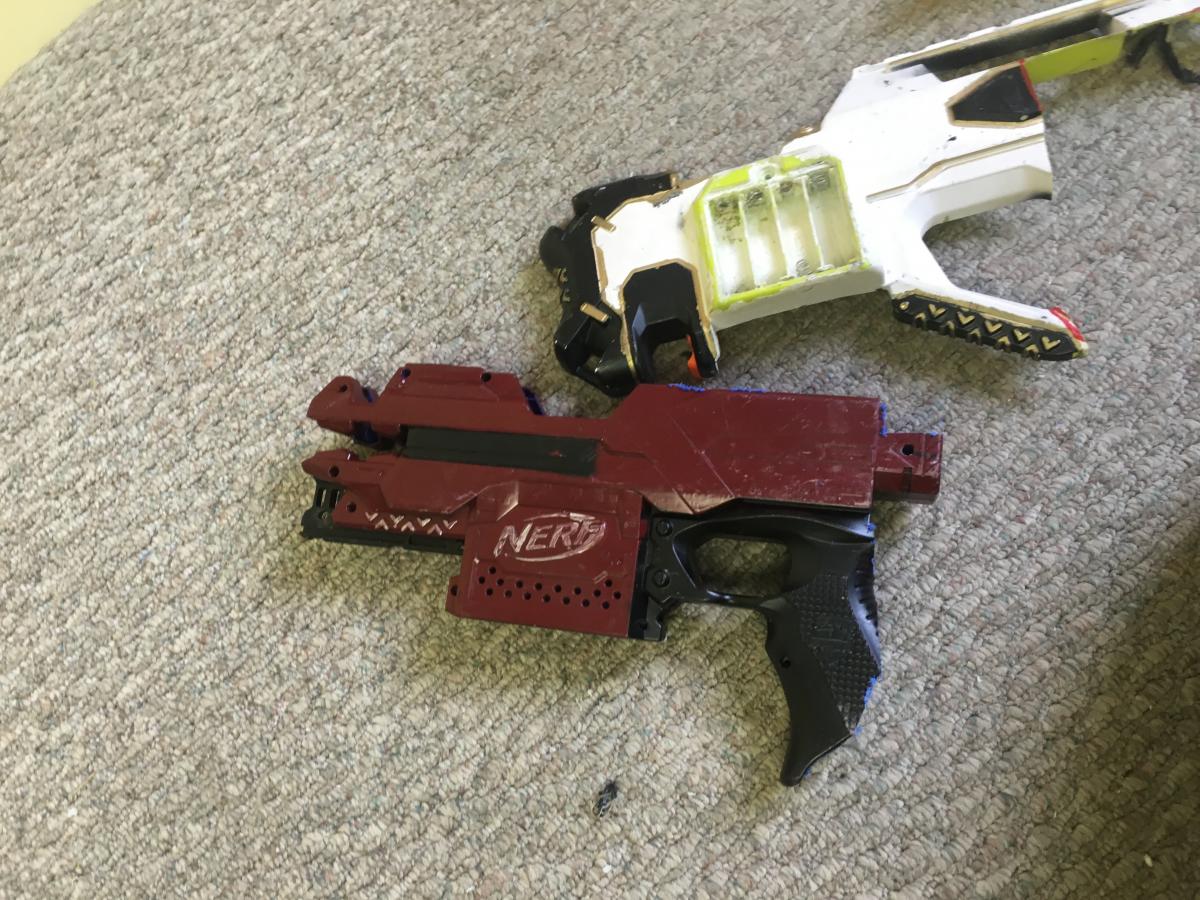
So I had a gutted ray even and a stryfe both not performing at peak so I decided to make a strayven. But this strayven doesn't take imrs it takes 7 aas and a wire soldered at each end to act as a dummy battery. So noobs can get an overhaul without having to invent money in expensive lipos and chargers.
So first Your going to gut your blasters.

Next line your blasters up. This is so you know where to cut.

Now draw lines that are visible for cutting

Now go ahead chop that baby up!

Now line up the shells and hot glue them together temporarily. BUT MAKE SURE TO DO EACH HALF SEPARATE OR CUT THE MIDDLE AFTERWARDS OTHERWISE IT WONT WORK!

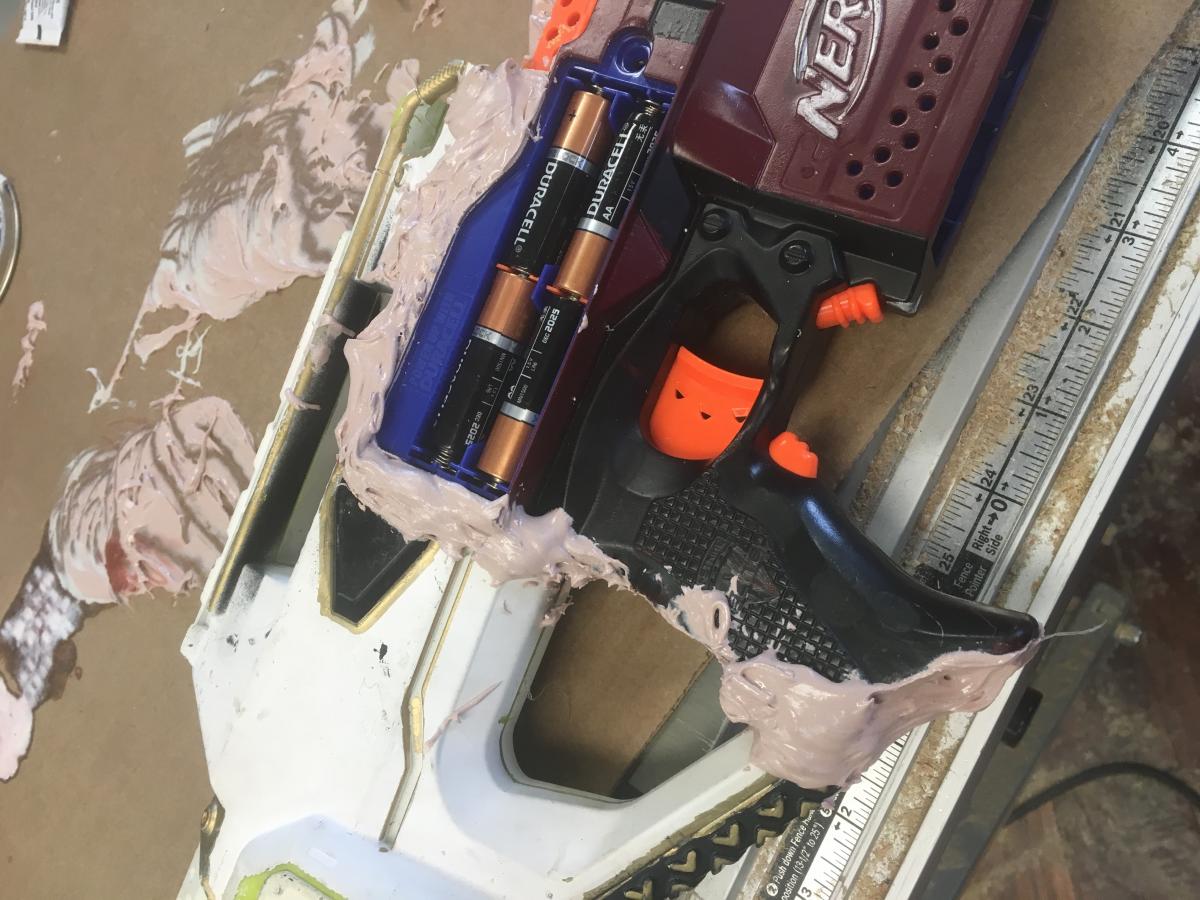
Now install internals but make sure to wire up the battery trays in series( bring negative wire from Raven shell and attach that to motor than attach the positive from the Raven to the negative on the stryfe, than from the positive on the stryf to the rev switch than to the motor housing.

Now put the two halves back together and you are done with part one.

Get that bondo out
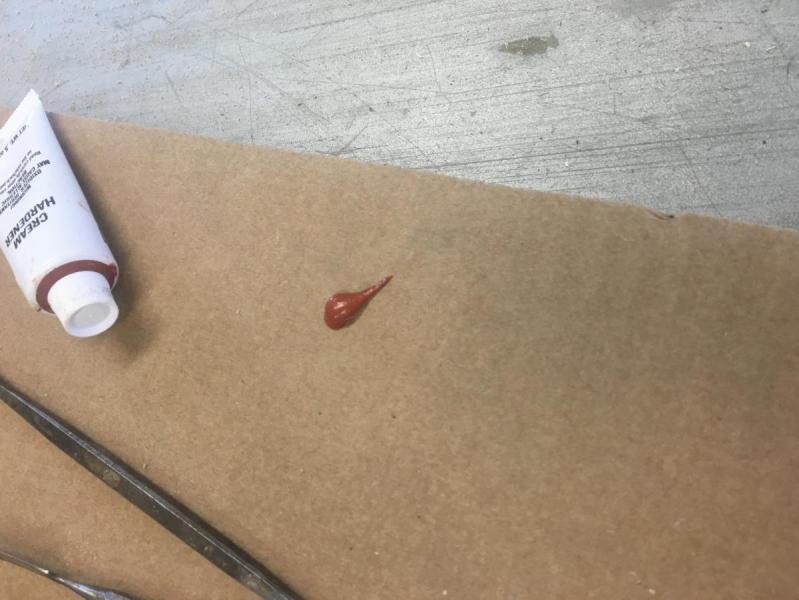
That little dot is all the hardener you need.

Now apply the bondo. Go as heavy as you please just know you have to sand it down afterwords.
Sand it down paint it and you are all ready to go. I'll post mine once I am done painting it.
Edited by Snoop Doggy doge, 01 April 2016 - 09:18 AM.
Please keep all of your writeup together,