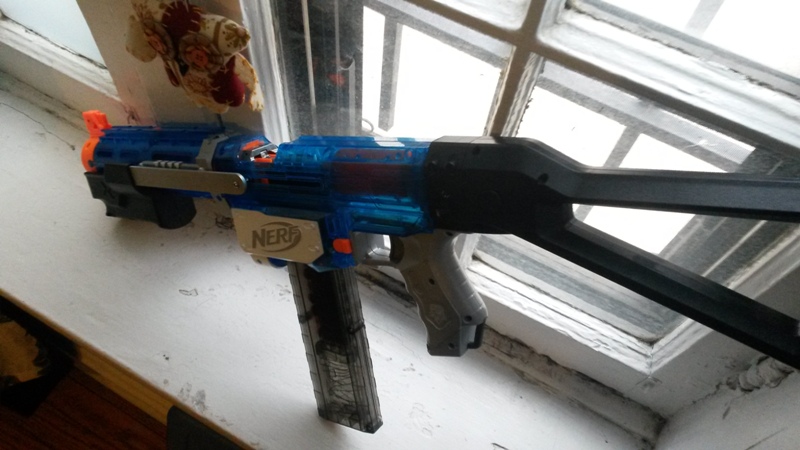
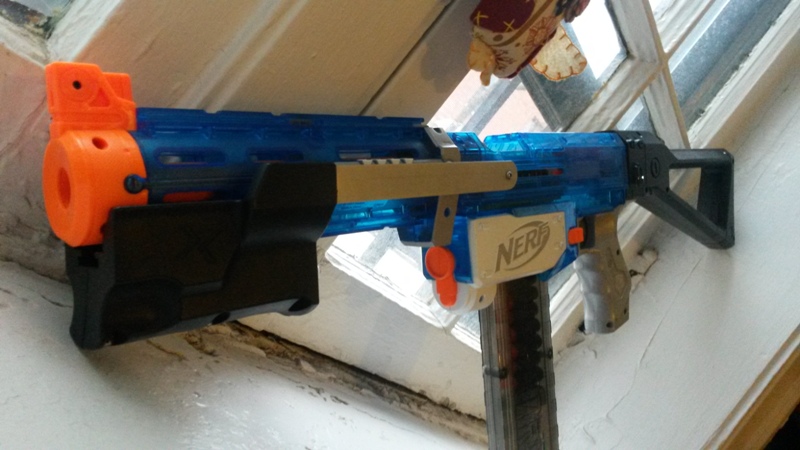
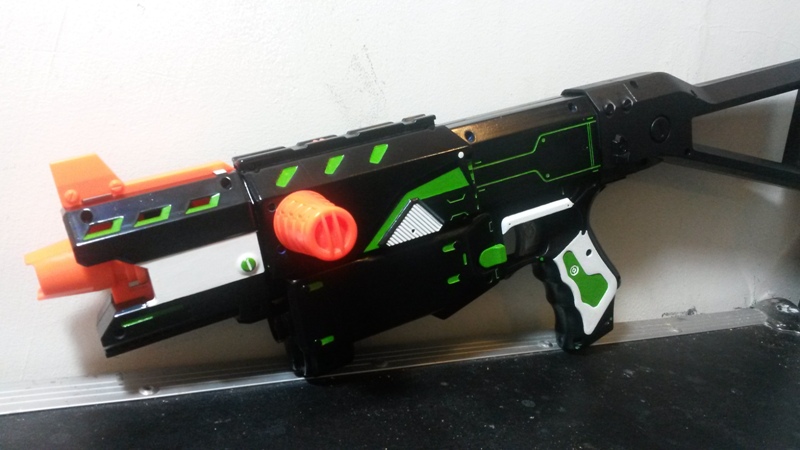
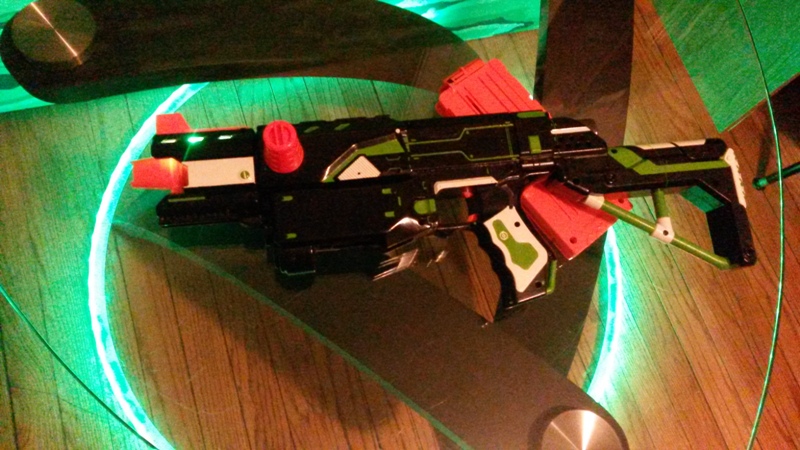
Good morning kids. Today I am going to show you how to take the venerable mainstay of the Nerf clip system series of blasters from a small gimmicky pistol to a fire breathing primary ready to hang with the big boys at your super stock or N.I.C. conflicts. In 2008 Nerf released the Recon and sadly its compact size was matched by its compact performance. Then in 2012 the Retaliator hit stores, and with the redesigned plunger system the blaster finally offered decent performance and the platform was worth modding. In the eight years since the original release there have been multiple kits, springs, and mod guides released for the platform, which makes the blaster much more effective in a war. Still, none of those kits offered the performance that I was happy with. I decided to piece together what I thought would be the ultimate in power and reliability, and truly maximize what this little blaster can do.
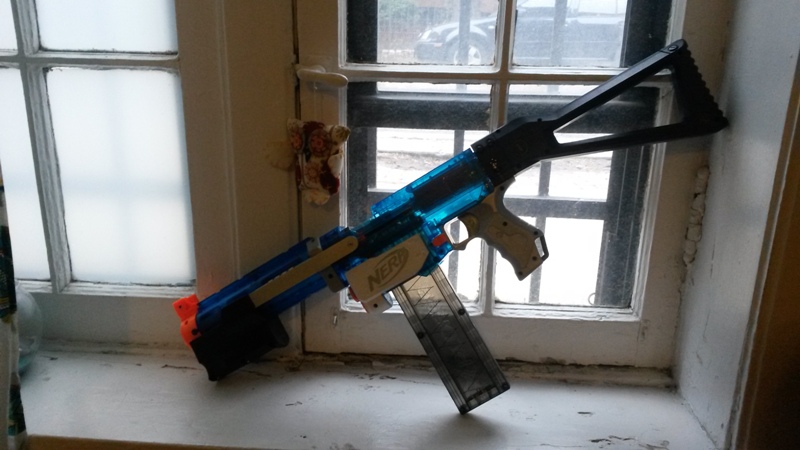
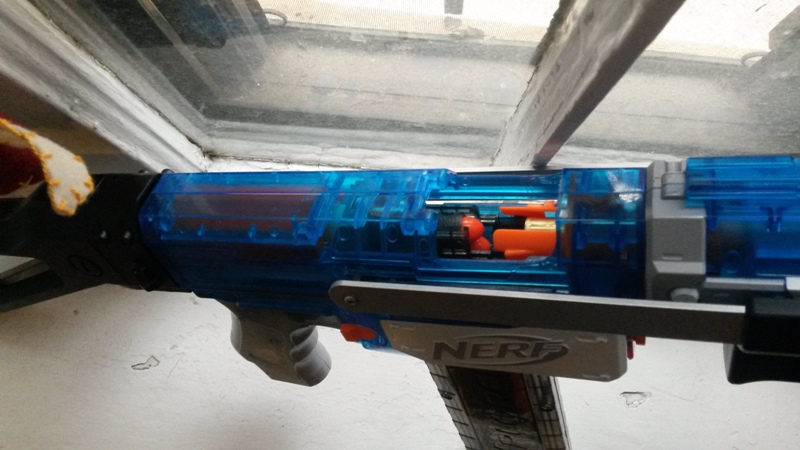
The result of my quest is this Frankenstein blaster powered by a cut down Longshot plunger tube, an aftermarket Magnus spring, metal bolt sled, metal breech, and sealed brass barrel. Below you will find the details on how to make your own LS Ret.
The shopping list:
Retaliator, Recon, or MK 2 Recon
Longshot plunger tube and plunger head
Brass tubing in ½”, 17/32nd , 9/16th, 19/32nd , and 5/8th
Orange Mod Works “Unleashed Stage 2 Kit for Nerf Recon”
1/8th” rubber “Make your own gasket” sheet
Optional:
Blasterparts Magnus upgrade spring
Orange Mod Works Retaliator Unleashed Solid Stages 1 & 2,
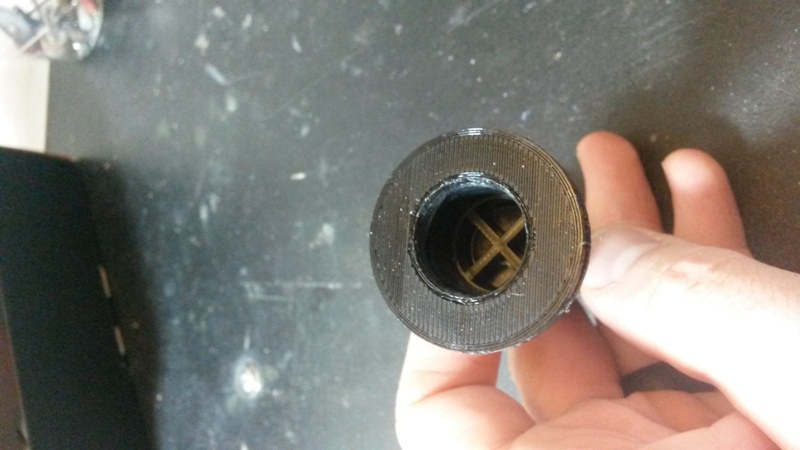
Gavinfuzzy customs 3d printed LS plunger head
The tools used are:
Rotary tool w/ sanding drum, cutting wheel and routing bit
Hack saw
Pipe cutter
Digital calipers
Hobby knife
Electrical tape
Pipe reamer
Sandpaper
Tooth picks
2 part epoxy
E600 adhesive
Sharpie
Paper towels
Blowtorch
Flat and Phillips head screw drivers
½” dowel rod
Large pliers
Teflon tape
Disembowel your Longshot
- Remove all of the screws from the Longshot and clamshell the blaster. Remove the screw that holds in the trigger. You can now remove the bolt sled/breech/plunger tube assembly.
Pic by Captian Slug
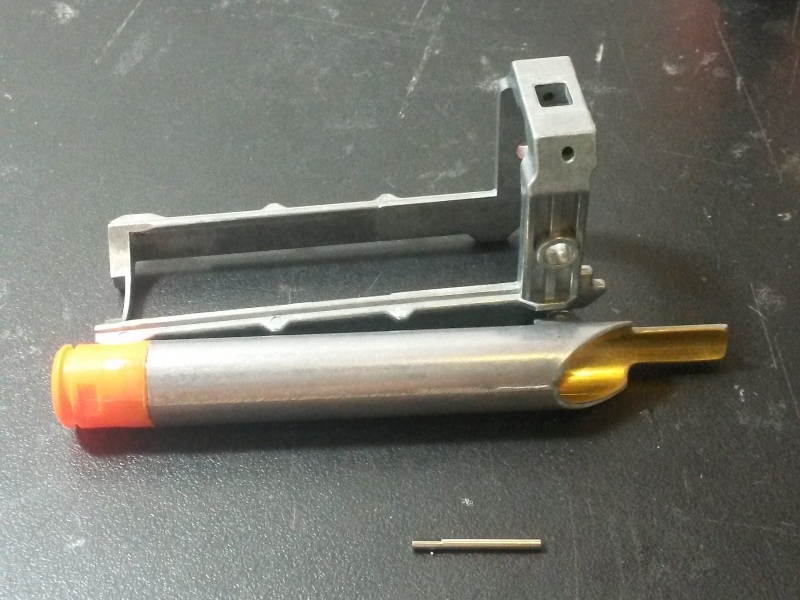
- Use a small screwdriver to push the pin through the bolt sled and separate it from the breech. Remove the two screws that hold the plunger in place and remove the plunger and spring from the tube. There is a single screw holding the plunger and spring together, remove it and separate the plunger head. If you are using one of Zaruko’s printed heads you can skip this step.
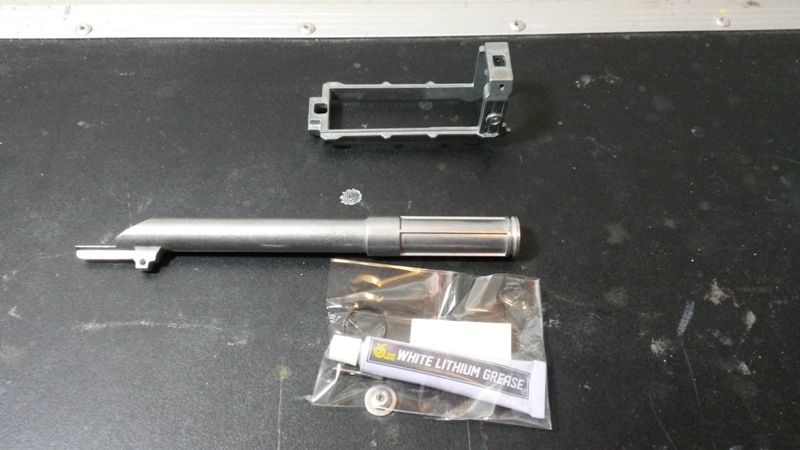
- There is a small air release hole on the breech, use this as your guide and cut the breech in half using pipe cutters. The breech can now be separated from the plunger tube.
- Congratulations, you have just trashed a perfectly good Longshot.
- Set the LS plunger head and plunger tube aside for now.
Disembowel your Retaliator
- Remove all of the screws from your Ret. and remove the cap from the stock mount point. This blaster contains screws of many different sizes. Mark them so that you don’t lose track of where they go.
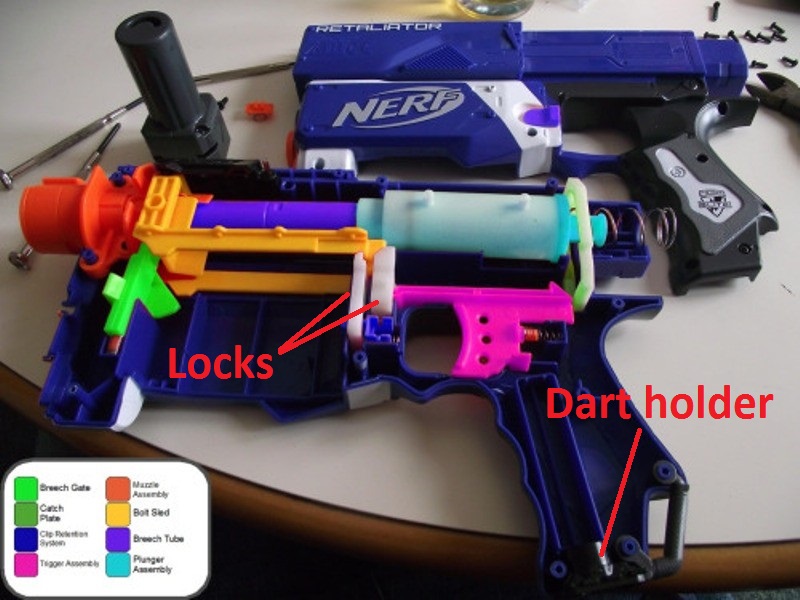
- Clamshell the blaster. Be sure not to lose the accessory mount or its’ spring, also set aside the dart holder set in the handle.
Photo from http://nerfarmourer.tumblr.com, edited by me
- Take out all of the locks and throw them away.
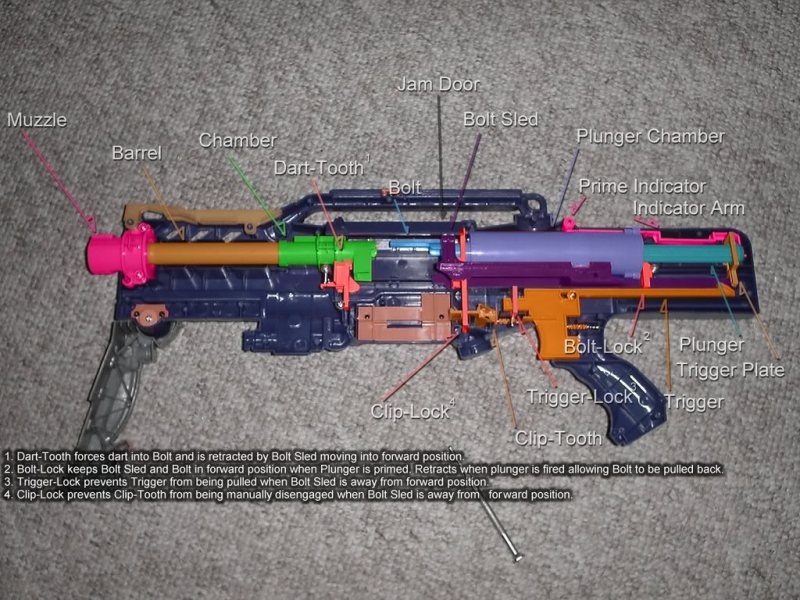
- Take out the bolt sled, plunger tube, plunger, catch, trigger, and muzzle and set them aside. The dart tooth can be removed and thrown away.
- Set the shell aside for now.
Mod the Bolt
- Open your OMW Recon kit, and take out the bolt, bolt sled and bolt pin. We don’t need any of the other bits. Be sure not to lose the pin, so keep it somewhere safe.
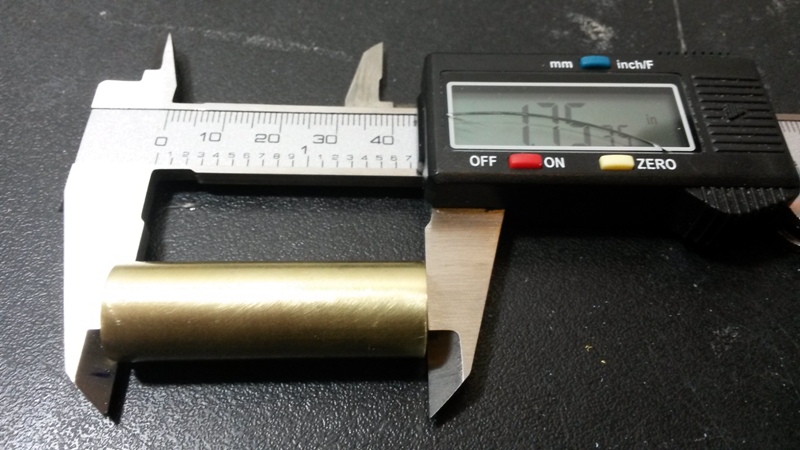
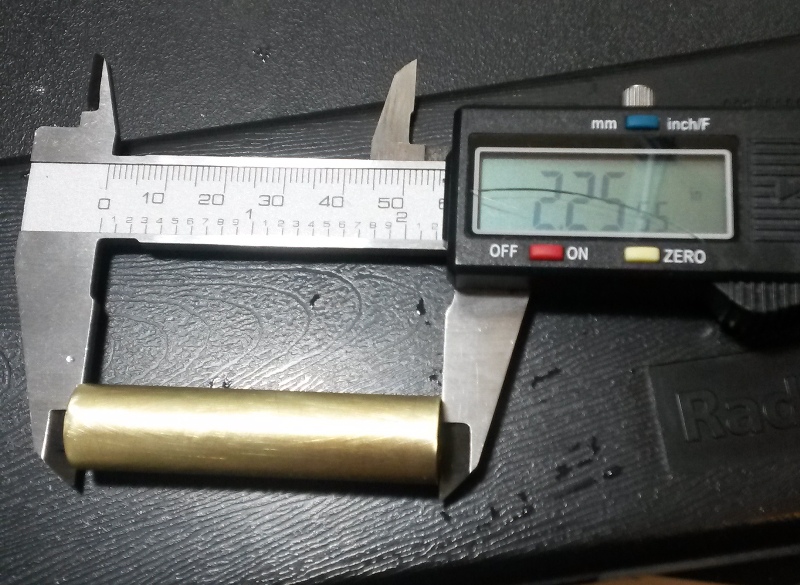
- The opening in the bolt is wider than the main section. It is wide enough to house a stub of brass without removing any material. Cut a piece of 9/16th brass that is 1 ¾”. Sand the outside of the brass and the inside of the bolt, then wash it with hot soapy water.
- When the parts are dry adhere them with 2-part epoxy.
- To make sure that the pieces line up properly I shove a dowel rod through the middle of it and tape it down firmly with electrical tape.
- When your bolt has cured unwrap it. Carefully remove all of the exposed brass using your rotary tool.
- Cut your OMW bolt down to 4.41” with a pipe cutter. Clean up the cut with sand paper and a pipe reamer.
- Remove the o-ring from the Nerf bolt and set it aside. Cut 0.69”(giggity) off of that bolt. Remove the AR and its spring and discard them.
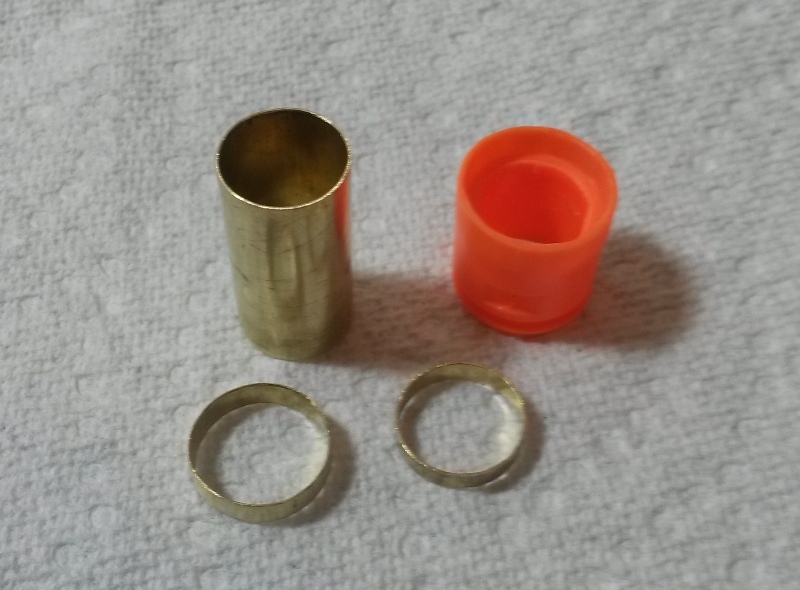
- Cut a piece of ½” brass that is 1” long. Cut 1/8th” rings from both 17/32nd and 9/16th brass. Sand and wash the brass and the bolt nub we cut off in the last step.
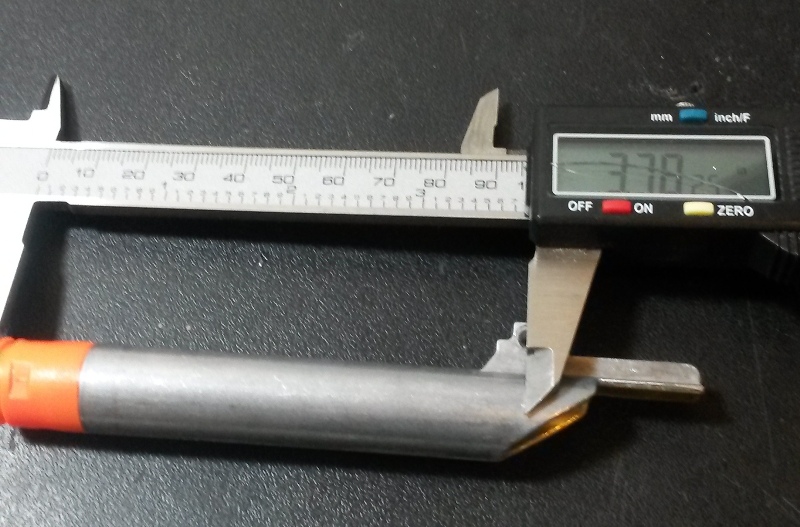
- Nest the rings on to the ½” brass then set them into the bolt nub applying 2-part epoxy to everything . Slip the OMW bolt onto the exposed piece of ½” brass. Measure your bolt from the end of the plastic nub to the hole where the bolt pin goes it should measure 3.78”. Epoxy everything together and wrap it up with electrical tape to keep it secure.
- Unwrap your bolt, slip the o-ring back on and lube it up, and set it aside.
Plunger Tube
- Dig out the Longshot plunger tube, and cut it to 3.12”.
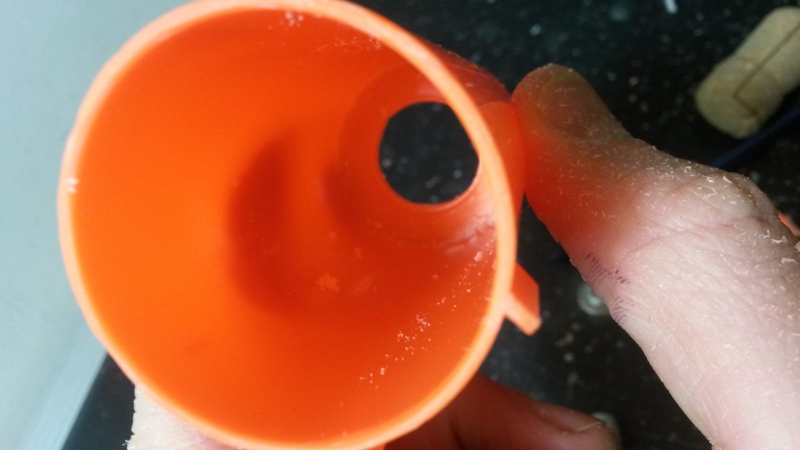
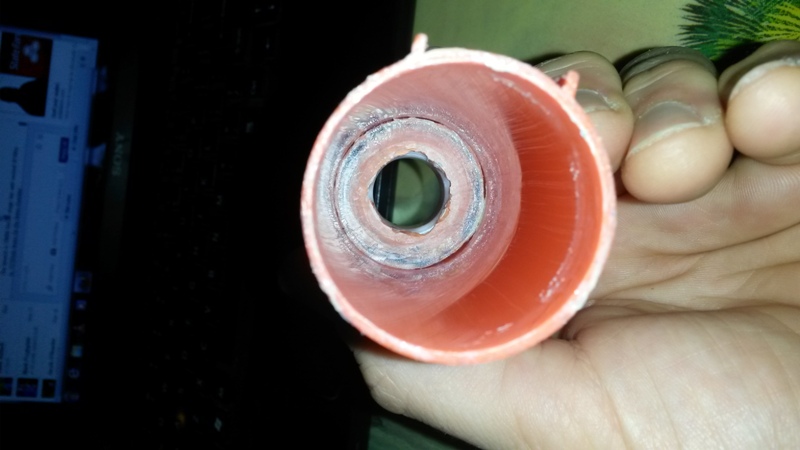
- Inside the Longshot plunger tube there is a ridge that needs to be ground down with a rotary tool.
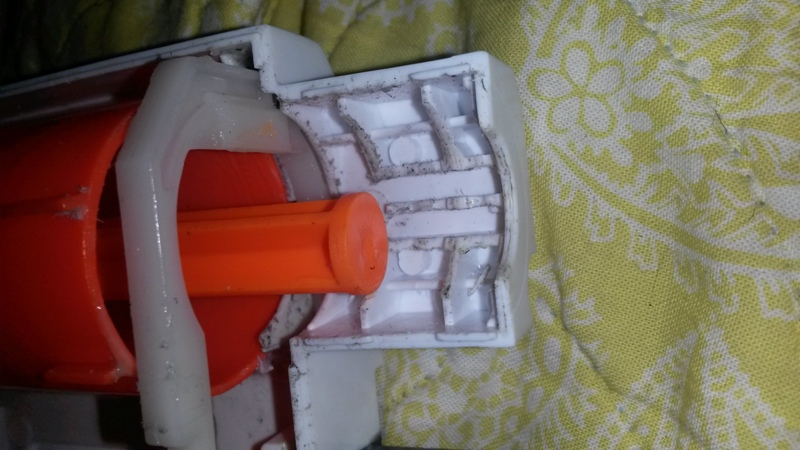
- Now on to the Ret.’s plunger tube. Remove the plunger. It is a very tight fit so be careful not to break the lip of the plunger, it is annoying to try to fix it later.
- Cut off the end of the tube and sand it flush. There is a ridge on the mouth of the tube that will need to be removed and sanded so that the lip is round.
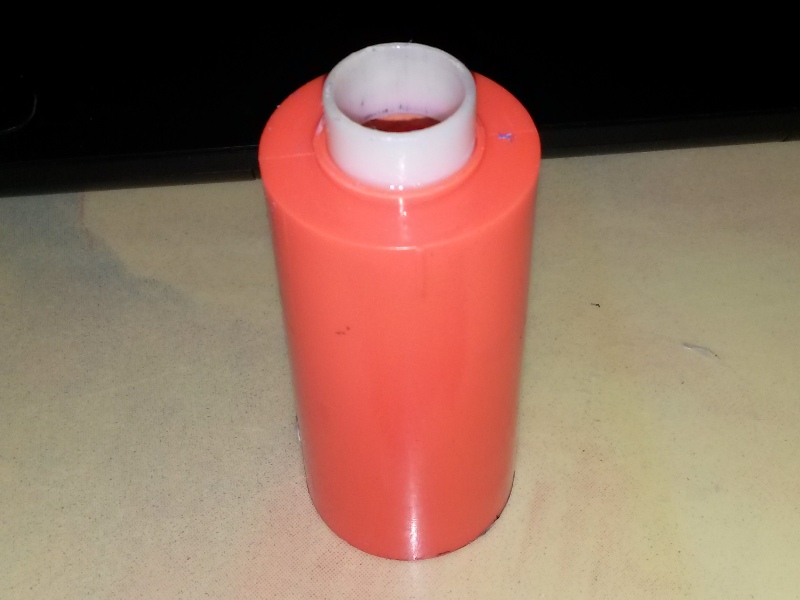
- Now the Ret.’s tube and the Longshot’s tube will fit together nicely, so sand and wash them and epoxy them together.
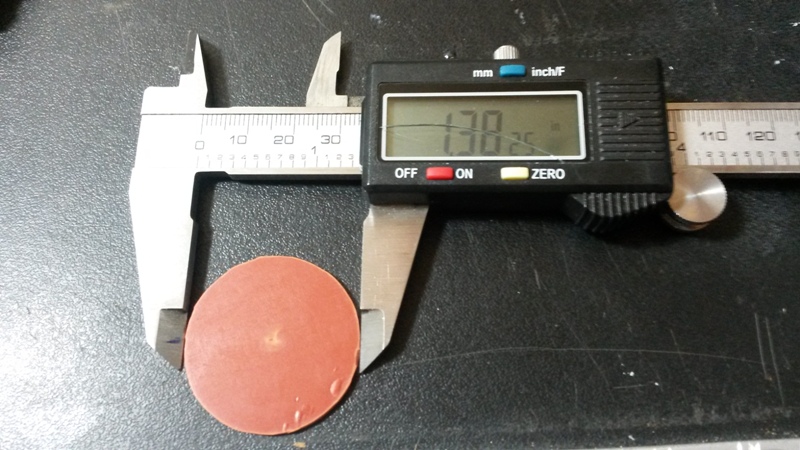
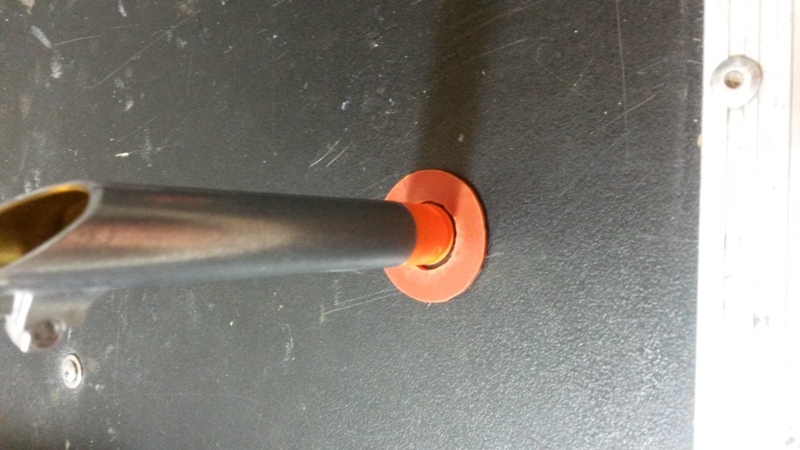
- Get out your gasket material and cut out a disk that is 1.38” in diameter. Cut a hole in the center of your disk large enough to allow the bolt to move freely through it.
- Use your E600 to glue your gasket to the face of the plunger tube to form a pad for the plunger. Be sure not to get any glue on the walls of the tube or on the white part where the o-ring on the bolt meets it.
- The plunger tube it now finished and you can put some lube in it. Yay!
Bolt Sled
- Take the OMW sled out and rest the plunger tube inside of it. Mark the place where the tube meets the rear of the sled.
- Remove all of the material from the rear of the sled so that the plunger tube can slide across it freely. Use your rotary tool with a coarse sanding drum. There is a lot of material here so this will take some time, be careful not to remove more than is necessary as this will weaken the sled.
- Slip the bolt into the slot in the sled and put the pin in place. Use your large pliers to push the pin all the way to the middle of its hole.
Plunger
- If you are using the Zaruko part you can skip steps 1 &2. Separate the Longshot plunger head from its rod by removing the screw that holds it in place. Remove the o-ring and set it aside.
- Remove enough material from the center of the plunger head so that the bolt can pass through it freely.
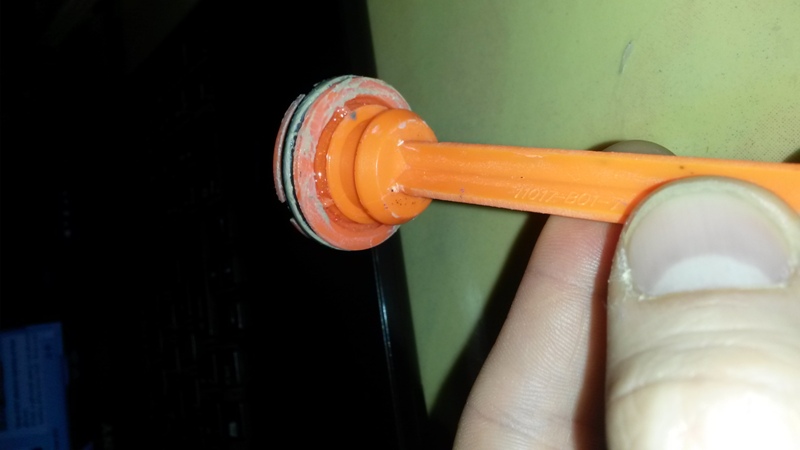
- Sand and wash the rear of the plunger head and the front lip of the Ret. plunger, then epoxy them together.
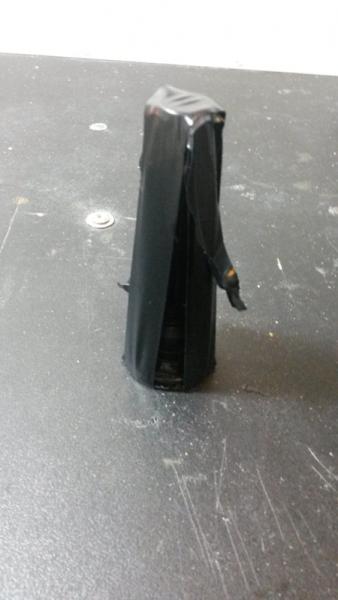
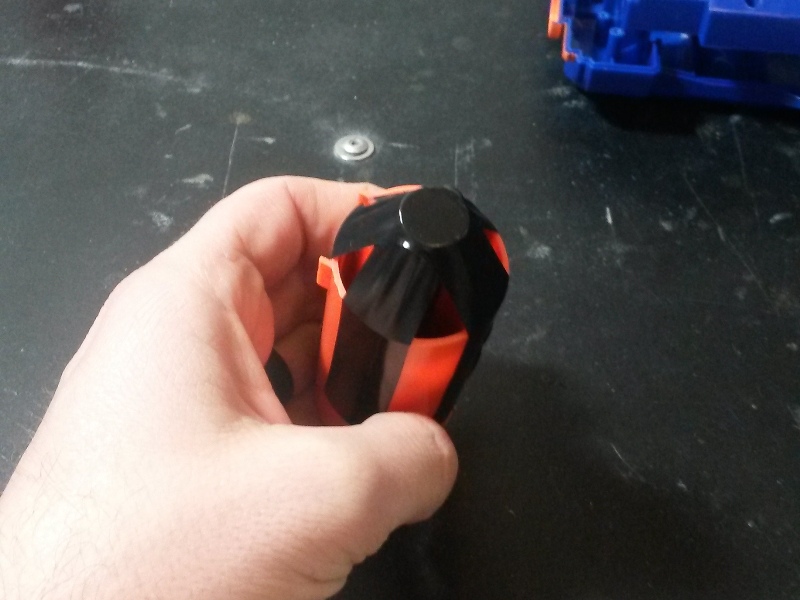
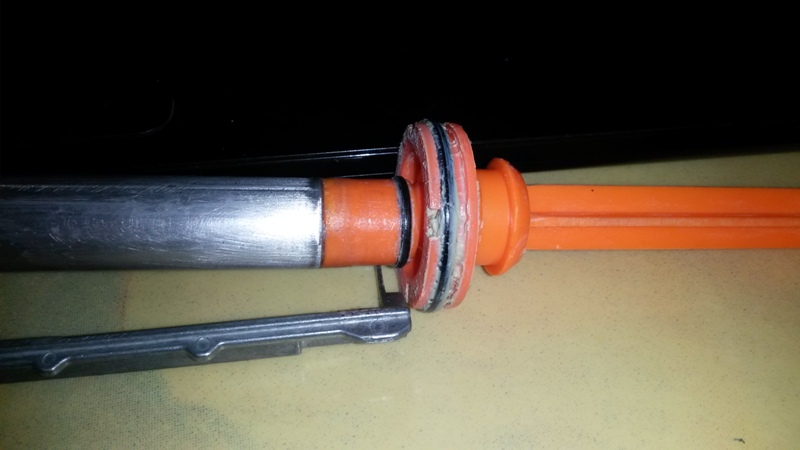
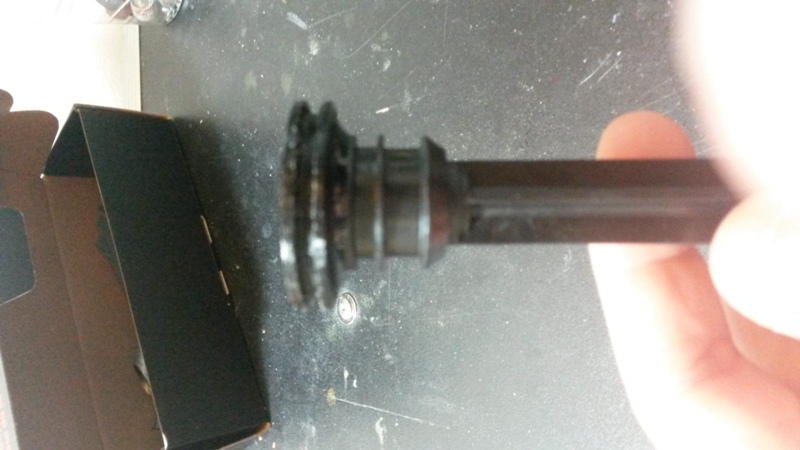
- It is important that the pieces be straight and line up flush with the plunger tube so, once the epoxy is on wrap the plunger in electrical tape the way that it is pictured and slide it into the plunger tube then tape it to the tube like in the second picture.
- When the epoxy has cured remove the e-tape and make sure that the bolt can slide in to the hole in the head freely. If there is any stray epoxy in the way clear it off with your rotary tool.
Stock head and shaft
Zaruko head and OMW shaft
- Add one wrap of Teflon tape to the groove where the o-ring sits, replace the o-ring and lube it up.
Plunger Guide
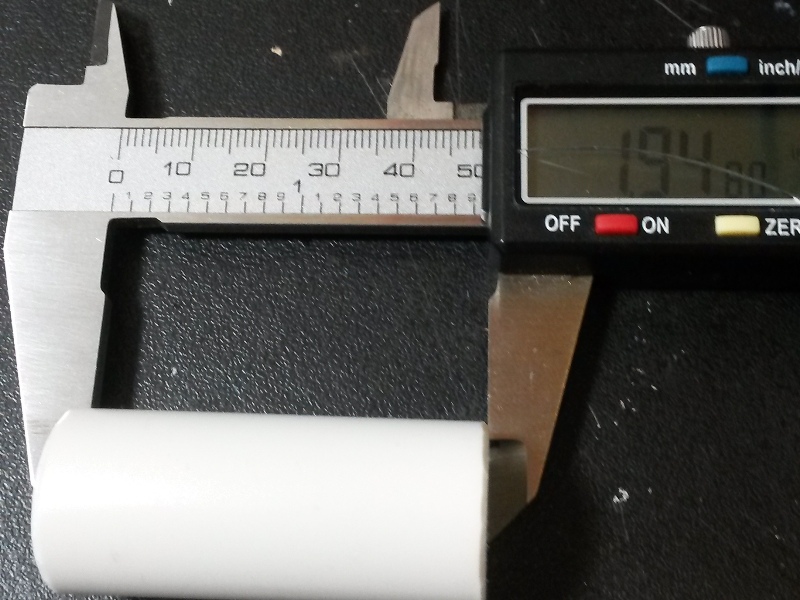
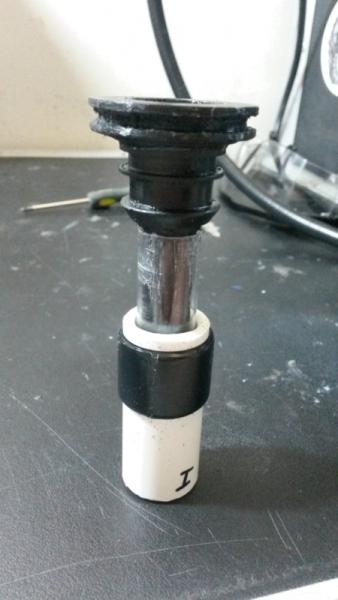
- Cut a piece of ½” PVC to 1.94”.
- Cut a piece of ½” PETG to 2.85”.
- Put a few wraps of e-tape around the PETG so that it rests smoothly in the PVC.
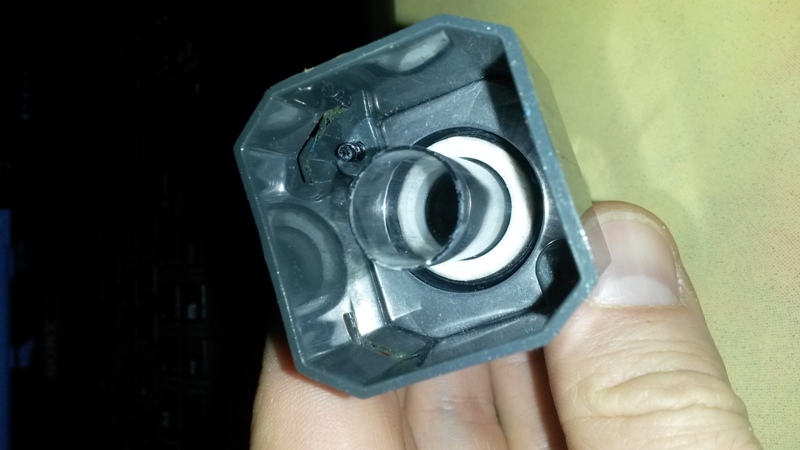
- Put a few wraps of e-tape around the PVC so that it fits tightly inside the cap that goes over the stock mounting point.
- The diameter of the plunger rod is larger than the inner diameter of the PETG so you will have to trim it a bit, I use the rotary tool and sand paper. When everything slides in and out smoothly you are finished.
Breech & Barrel
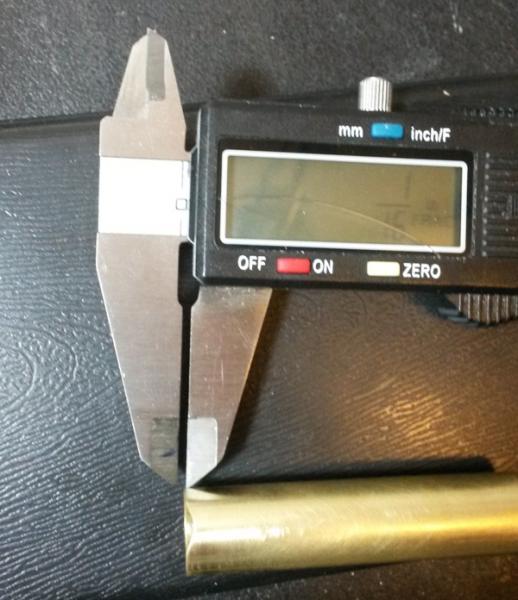
- Cut a piece of 17/32nd brass that is 2 ¼” long.
- Carve a groove that is 1/16th” deep in on one side. This will help feed darts that are inconsistent in length. The group I play with uses FVJ’s from China and I have found that the lengths can vary as much as a few 8ths of an inch. It doesn’t seem like much but the tolerances on a breech system that can fire full length darts are pretty tight.
- 9/16th brass will form your barrel. Cut the brass to whatever length fits your application. In back to back fps tests I have found no real difference in performance of barrels from 1 foot to 4 inches. The only thing that did make a difference was the amount of 17/32 brass, the more of it the less velocity the darts had when they exited the barrel.
- Sand and wash the inside of the 9/16th brass ½” deep on the inside, do the same for the outside of the 17/32nd brass as well. When the pieces are dry run a bead of epoxy around the tip of the 17/32nd chunk and slide it into the 9/16th piece ½” deep. Wrap the joint tightly in e-tape.
- Cut two rings of 19/32nd brass and two rings of 5/8th brass all ½” long. Sand and wash both sides of all of the pieces.
- Slide the 19/32nd ring onto the barrel 2 ¾” so that the edge is away from the tip of the 17/32nd piece. Put epoxy on all of the surfaces to be joined then slip the 5/8th ring onto the 19/32nd ring and wrap the whole thing in e-tape to hold it together until the epoxy cures. Do the same thing with the rings on the other end of the barrel the distance from the end does not really matter but the closer to the end of the Nerf barrel attachment the more stable your barrel will be.
- Now that your barrel has a pair of stable mounting points, only a few wraps of e-tape will be needed to achieve a tight pressure fit in the faux barrel of the Nerf attachment. So wrap them up and shove them in until the end of the faux barrel is flush with where the 17/32nd brass(breech) meets the 9/16th brass(barrel). Make sure that the groove in the breech piece is pointing down.
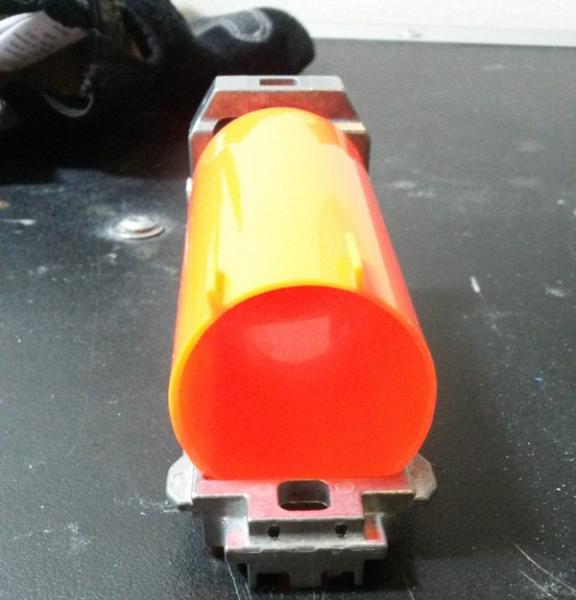
- Dig out the muzzle piece and cut off the dart gate. Screw it back into the shell.
- Connect the barrel attachment. The tip of the breech should not stick out past the end of the muzzle more than ¼”.
- Put the bolt sled into its grooves in the shell. Move the bolt back and forth to check that everything mates nicely.
Shell Work
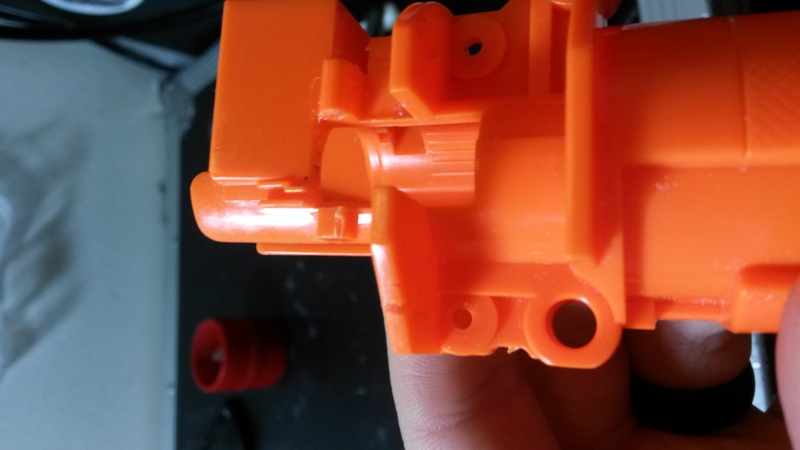
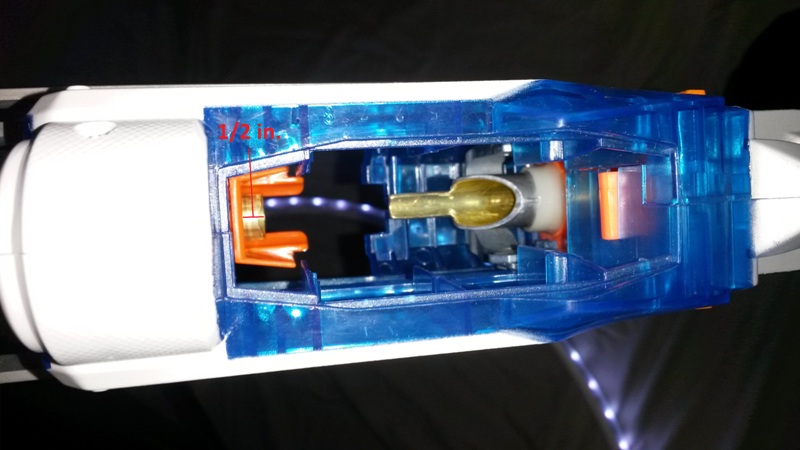
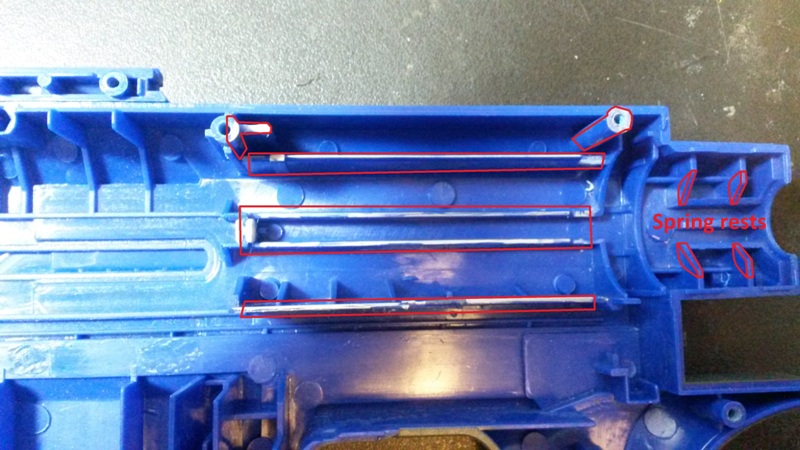
- Break out your rotary tool and carve out the areas of the shell marked in red. If you do not want to use the larger spring then don’t cut the spring rests out, and ignore the next two steps and use the upgrade spring of your choice.
- Cut down your Blasterparts Magnus so that it is less that 1 inch when compressed(about 12 coils).
- Use your blow torch to heat an area near the end of the coil that you cut and flatten it. Grind it flush with your rotary tool.
- Clear out the debris and put all of the internals back in to see if everything fits together nicely.
- Lubricate all of the moving parts, replace the bolt sled, plunger tube, plunger, catch, main spring, and trigger. Screw the whole thing back together.
- Go to a war!!!
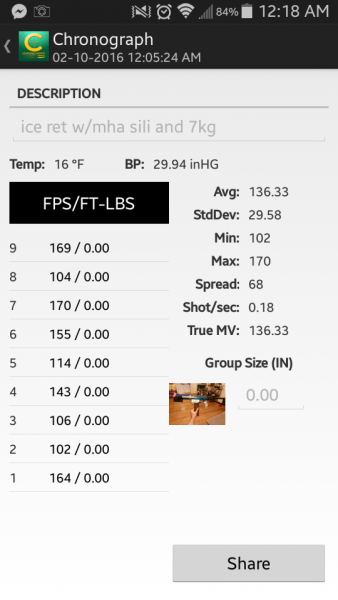
The blaster will fire elites, FVJs(full and short length), #6 slugs, and MHA sili domes. The test below was done with MHA foam, and as you can see the results vary wildly. The pink foam is pretty inconsistent but when they work they really move.
Edited by Majistic, 05 March 2016 - 10:10 PM.


