Jump to content


Photo

P.M.R. - Poor Man's Rainbow


8 replies to this topic

#1 Holter

Holter

    Member

  • Members
  • 20 posts

Posted 02 March 2016 - 11:15 PM

*
POPULAR

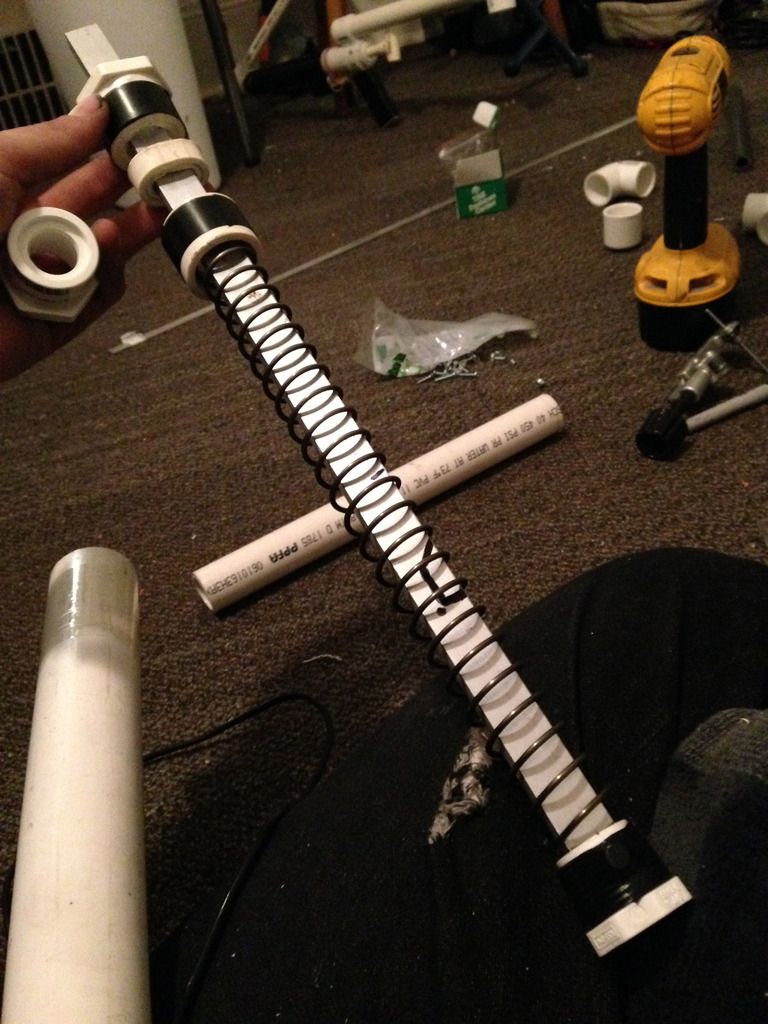
Alrighty, so here goes. 

I'm almost certain there have been many similar renditions to this, but im not sure if I've found anything exactly the same, please correct me if i'm wrong, and if so I apologize. 


This write up is also going to be less-than great, because this entire blaster was made with eyeball lengths and such, and there was alot of trial and error, so again i apologize. 


The catch works basically like a rainbow or R3L style catch, with some different stuff i made up, and the whole blaster is made from stuff i found at my local ace for around 30 dollars or less, aside from the [k25] spring but this design can be applied to pretty much any spring length/power within reason. 


I used pretty much basic hand tools aside from a power drill and a heat gun.


You will need:

2 - 1" to 1/2" reducers

1 1/4" PVC

1" PVC

3/4" PVC

1/2" PVC

3/4" threaded pvc plug

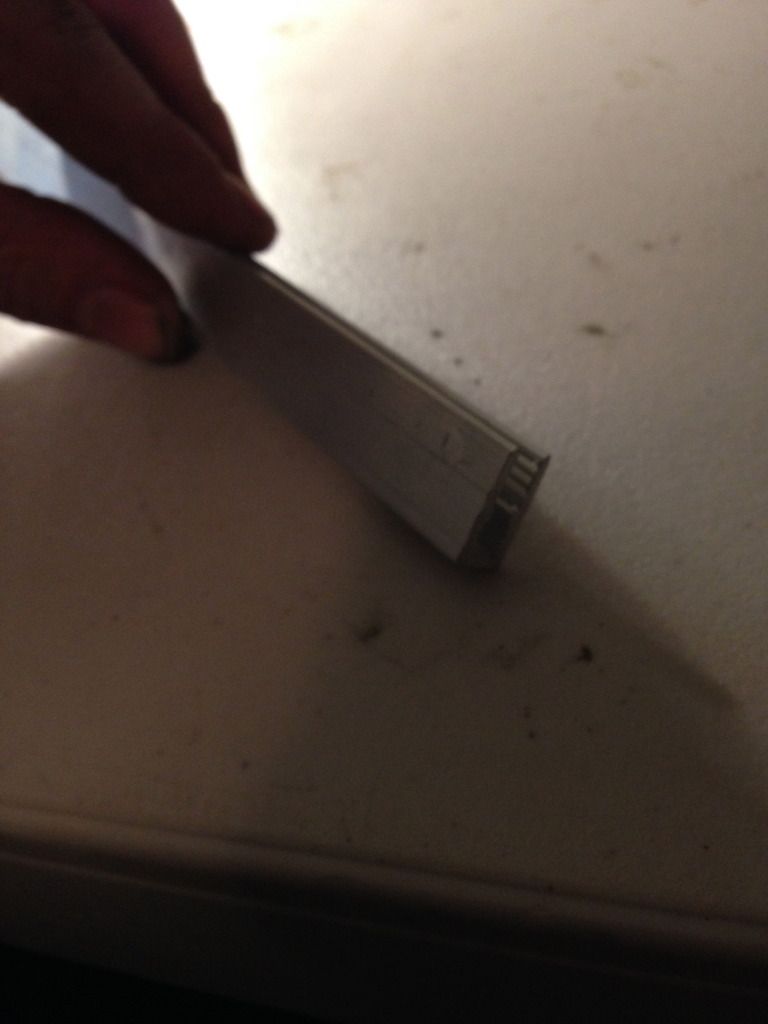
1/4" by 1/2" U channel

bunch of different 6-32 screws

E tape

Main spring

strong-ish catch spring sized spring that fits around a 6-32 screw. 

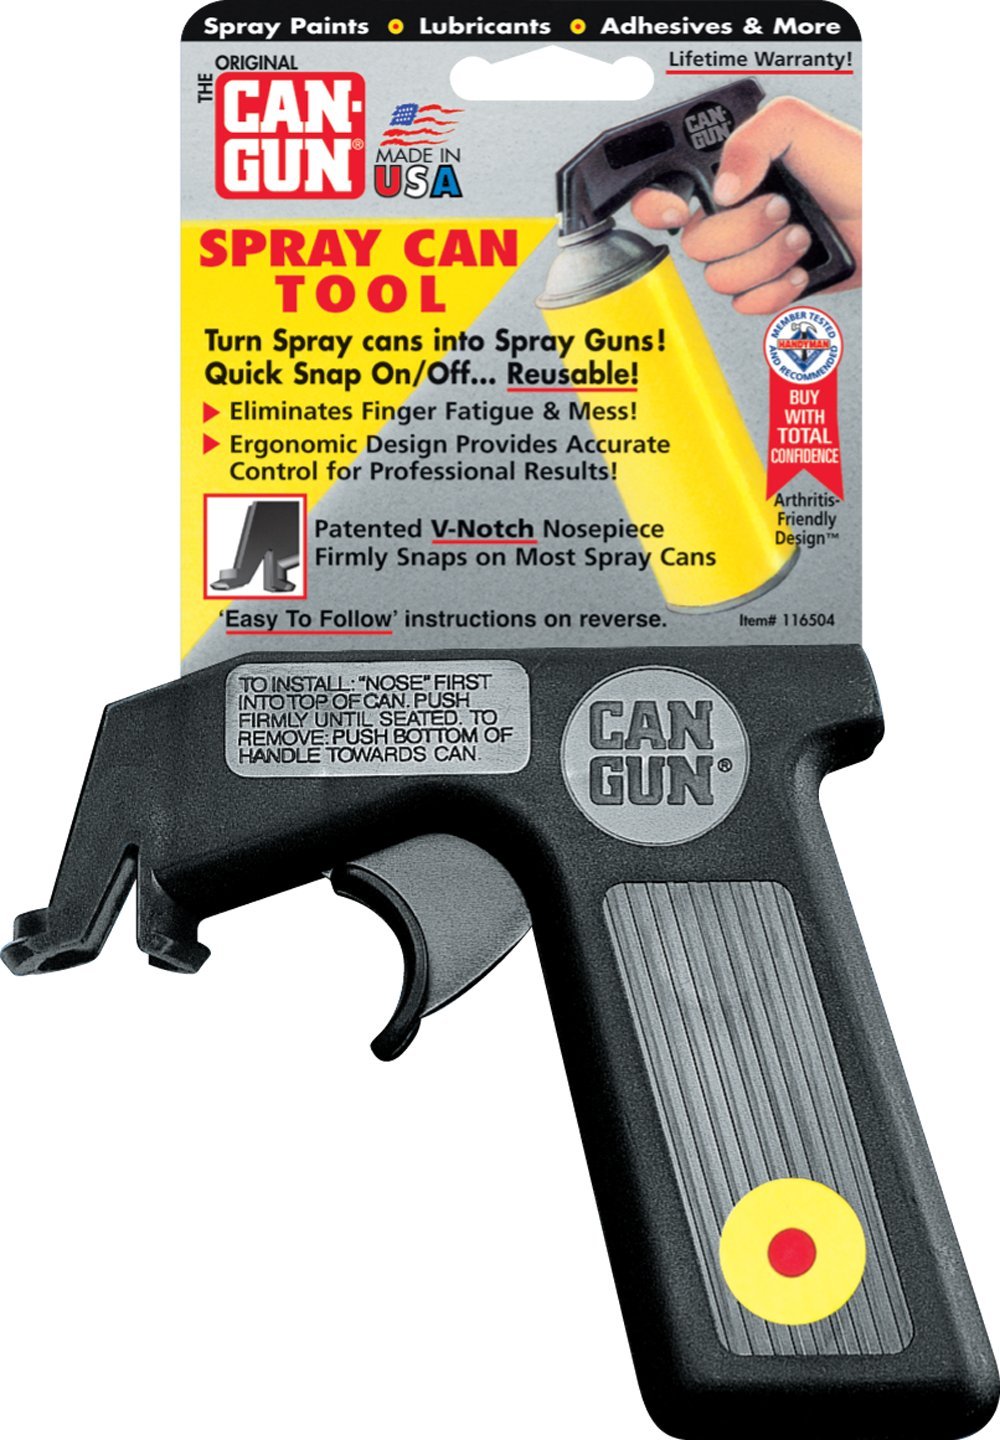
a "CAN-GUN" spray paint sprayer (http://ecx.images-am...nL._SL1440_.jpg)


Plunger:


Take your U channel and cut it to the length you want your plunger rod to be. a bit longer is probably better because it can always be cut down later. I used somewhere around a foot. 


IMG_3179_zpsovl969fq.jpg


Wrap the end in E tape til the edges fit snug inside the 3/4" threaded cap. I used a threaded cap bc the inner diameter was a bit snugger to the u channel than anything else.


IMG_3181_zpsx7s3tcav.jpg


Screw it on


IMG_3182_zpsxmhs9jwc.jpg


Make a snap style head and screw it on and slide your spring on for now. 
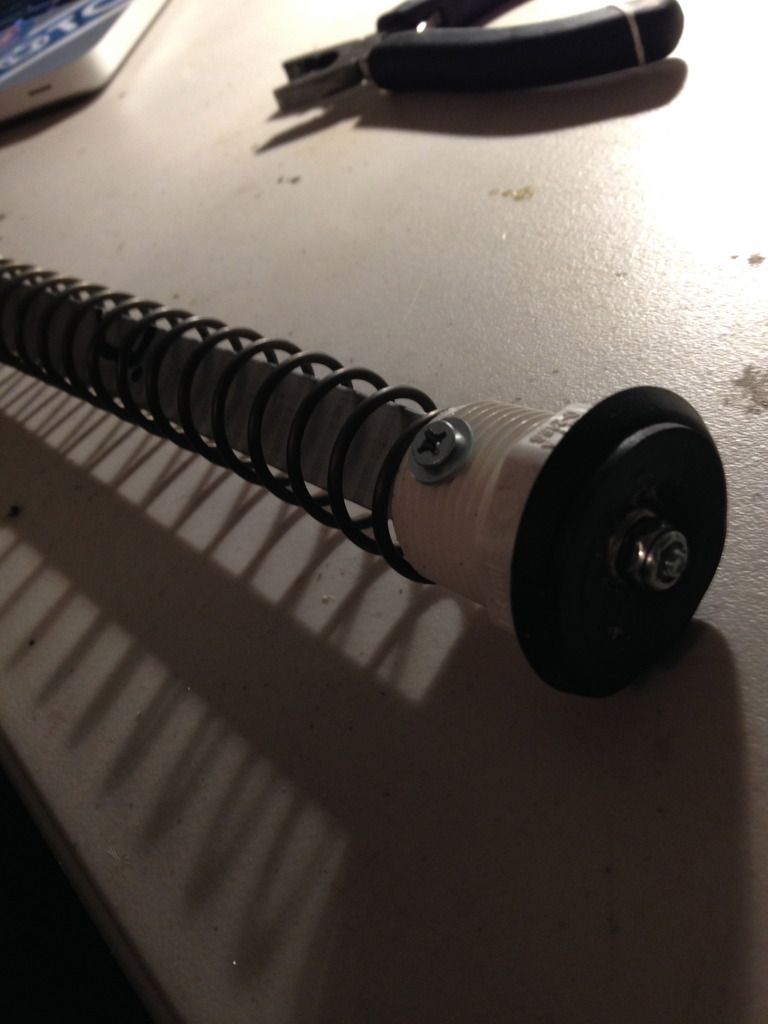
 

IMG_3195_zpst5hlyps6.jpg


Spring Rest:


I used about a 1/2" length of 3/4" pvc forced inside about an inch of 1" pvc wrapped in a bit of etape so it's centered in the plunger tube. This allowed my [k25] to rest on the 3/4"  pvc and the 1" keeps it centered while still have enough room for my u channel plunger rod to freely slide through. 
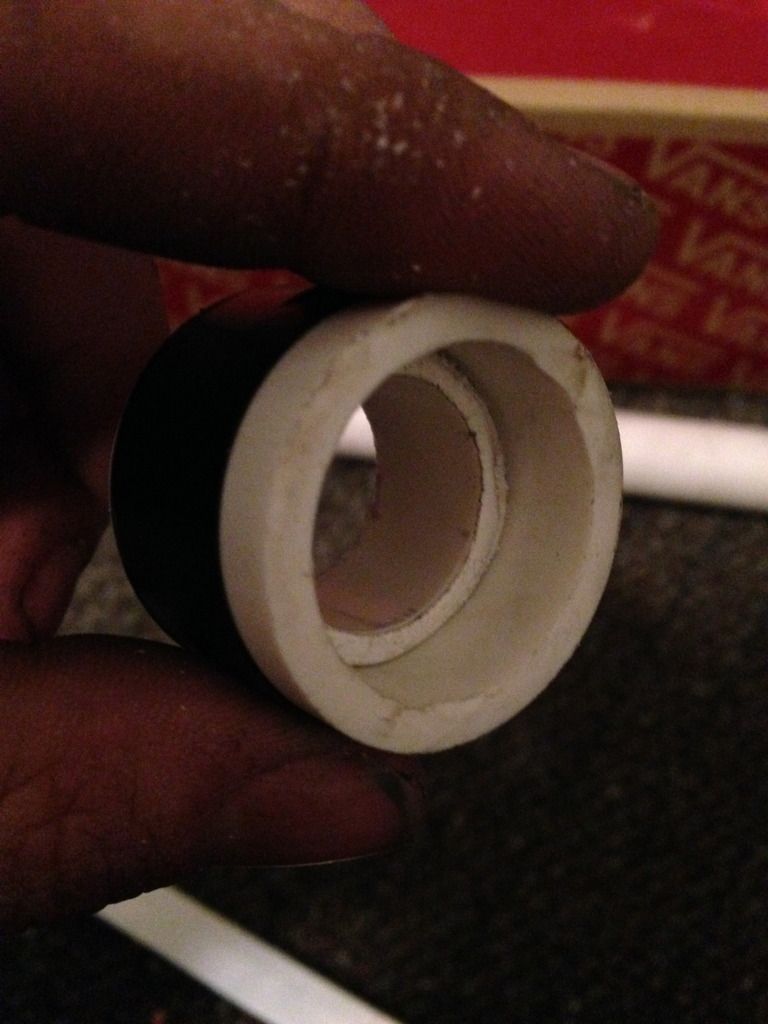
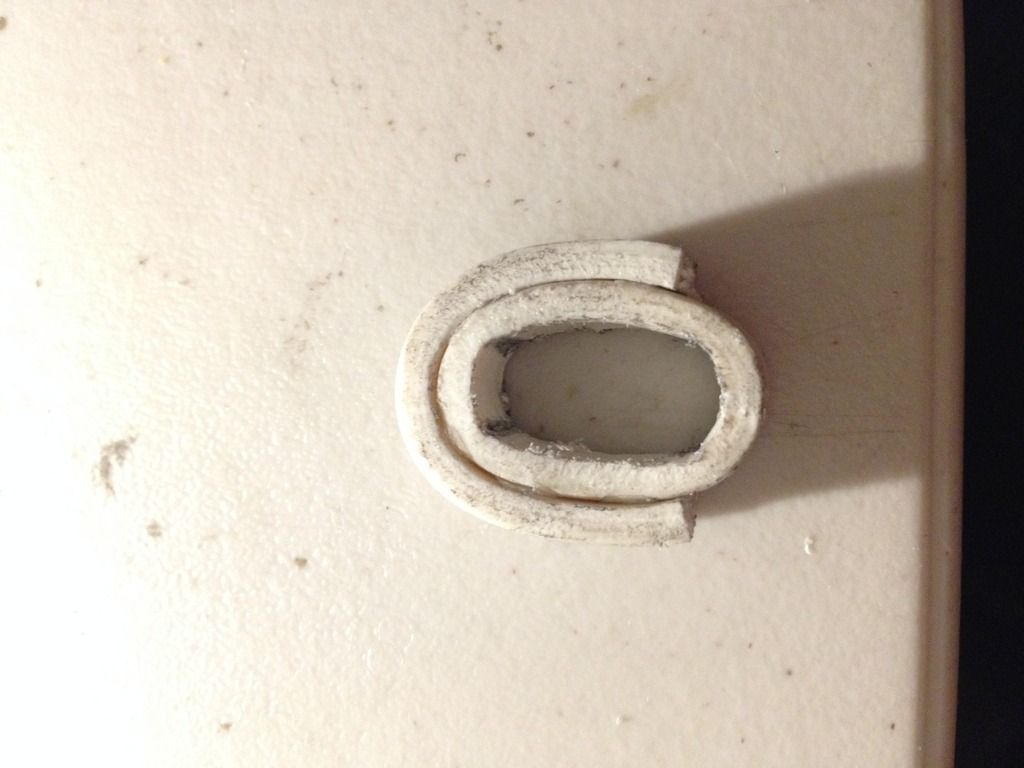
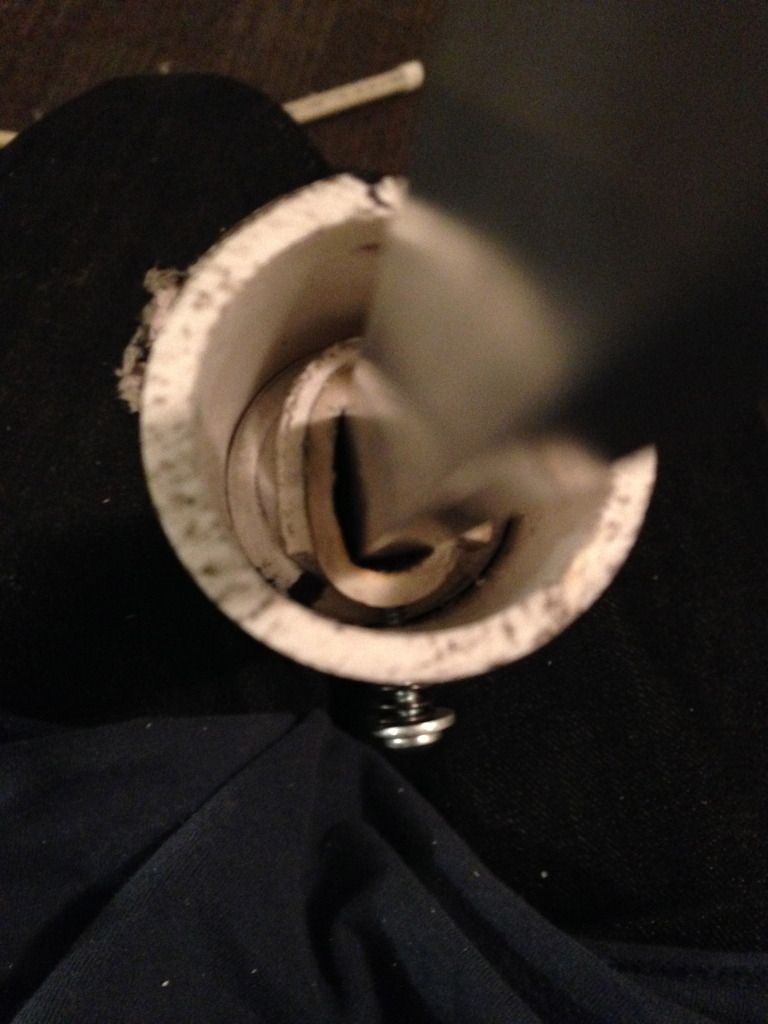
 

IMG_3184_zps6i6sm5xa.jpg


Catch ring: 


Take about a 3/8"-1/2" length of 1/2" and 3/4" pvc and make them fit inside of each other. 


IMG_3177_zps5m3cimss.jpg


Heat up this ring, i used a heat gun. stretch it around your u channel so it has as squarish of a shape as possible and slides freely around your u channel. You may have to file the inside a bit once it cools down. 


IMG_3180_zpsdxpphmtp.jpg


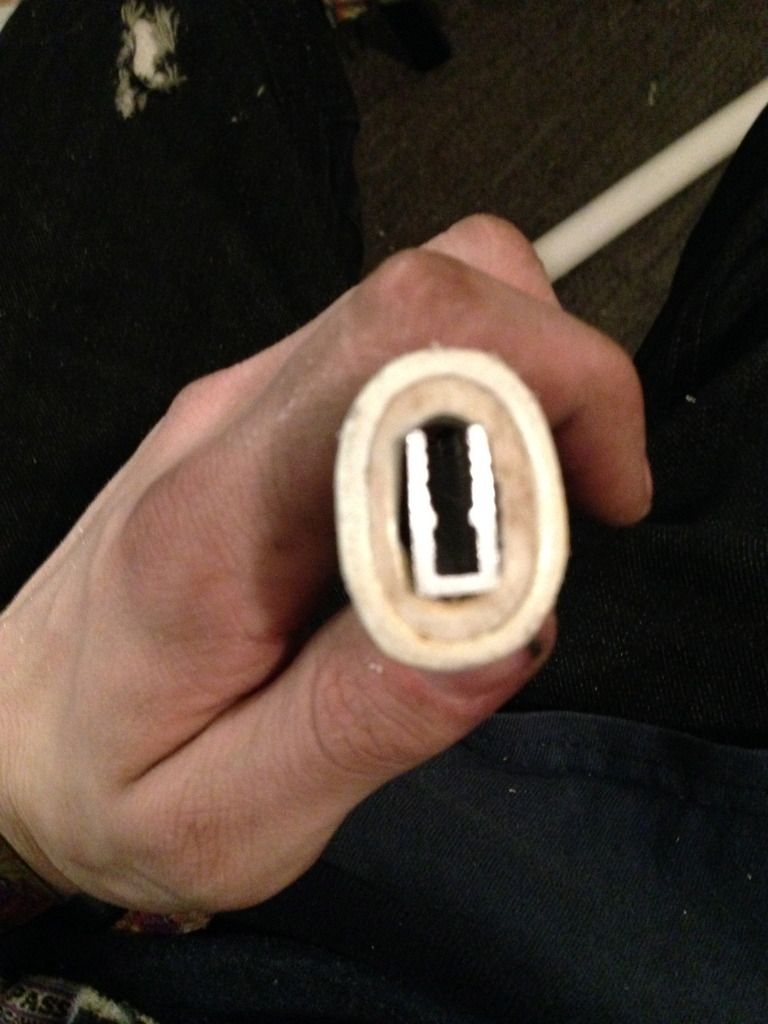
I ended up having to cut off the bottom so the catch had more space to fell into the catch notch on the rod. Because the 3/4" ring wasn't as tight without being full i super glued it to the inner ring. I also ended drilling a small hole in the top of the catch and putting a set screw thru both layers of the catch, which i unfortunately don't have a  pic of. 


IMG_3202_zpsgbyxlmlq.jpg


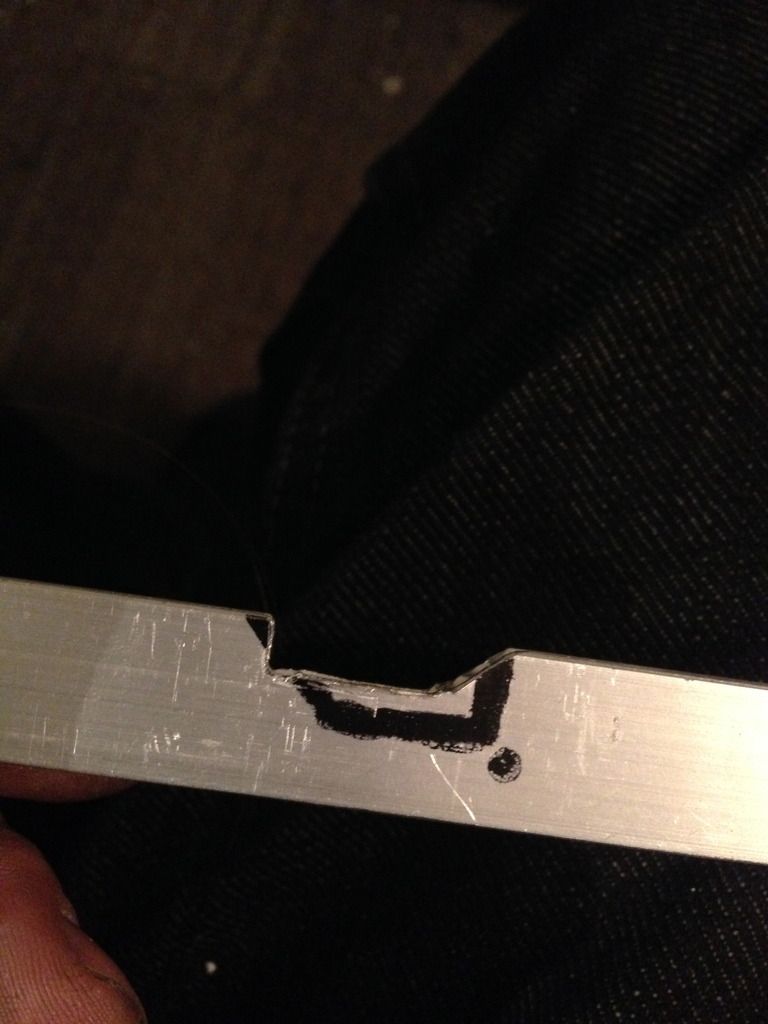
Compress your spring as much as you can with the spring rest over top an mark where your notch for your catch should be and cut. 
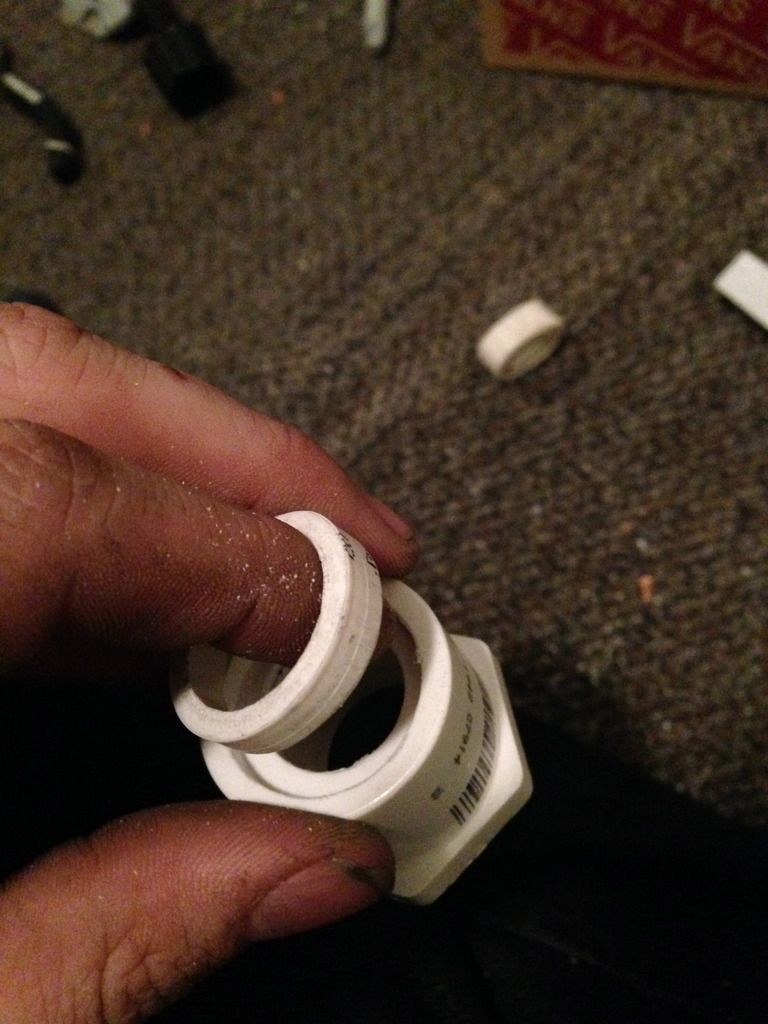
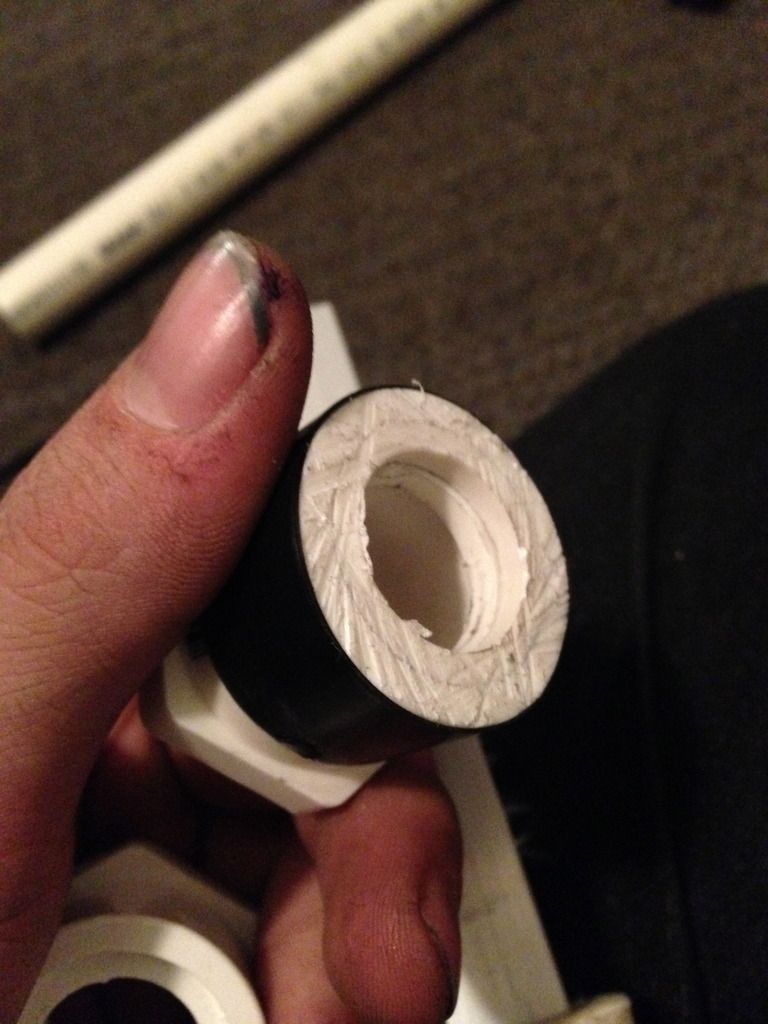
IMG_3200_zpsrwqrkzuo.jpg


End cap:


take your 1" - 1/2" reducer. There's a lip on the back side, a tiny sliver of 3/4" pvc and make that lip flat so your catch has a back plate. 


IMG_3186_zpsal5n4a95.jpg


IMG_3187_zps4swi8ts5.jpg


Body:


Take your other reducer and wrap er in tape and super glue/goop/etc to seal it up in you're 1 1/4" plunger tube. put a screw thru for support same as a snap and every other homemade pvc spring. 


IMG_3190_zpssd1lc5sy.jpg


Take your plunger/spring/spring rest/cap and measure out how long your plunger should be.


IMG_3189_zpsljwojz33.jpg


Leave less than a millimeter of space between catch/rest/end cap so the catch can move up and down but not forward/backward. Cut your plunger tube to length, line everything up again, and drill holes for the end cap and spring rest. 


IMG_3201_zpsezhf4enb.jpg


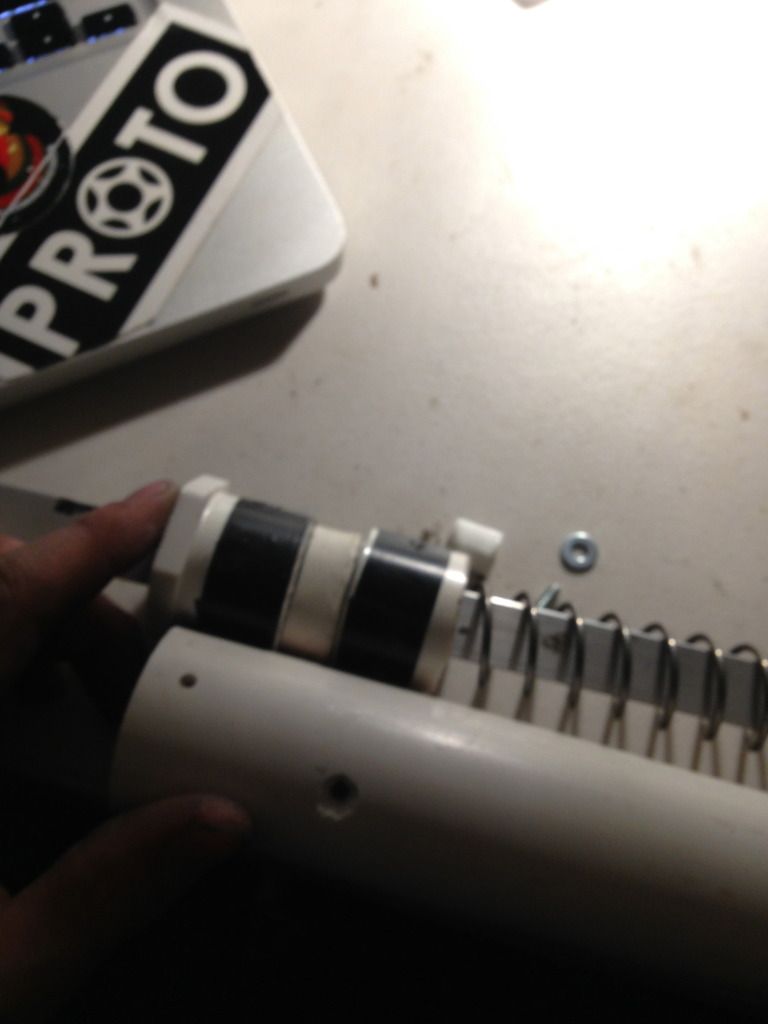
Put your plunger/spring/spring rest in and screw the rest in. slide your catch around the rod and make sure it's flush against the spring rest. Drill an 1/8" hole thru the bottom of the plunger tube and reem it out so your screw can slide freely, and drill an 1/8" hole in the bottom of your catch but do not reem it. take a 6-32" screw, a few washers, and your catch spring and screw into the bottom of your catch like so:
(Note: I ended up using a longer screw and 4 or 5 washers instead of the short screw and 1 washer pictured)


IMG_3203_zpsy0vxq2tj.jpg


Drop your end cap in and screw it on. I found 1 screw is more than enough cause there's not any real pressure on it. 


Handle: 


take your "can-gun" spray paint handle:


IMG_3214_zpslbtyijw0.jpg


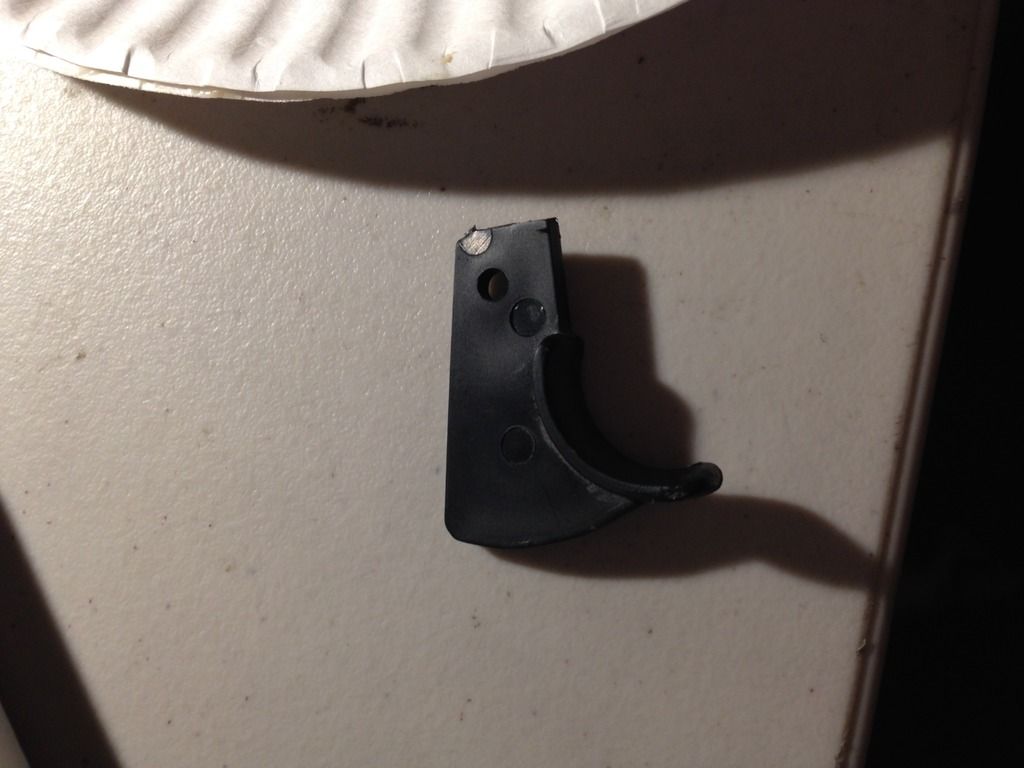
Split it apart, pull out the trigger:


IMG_3215_zpsbhuiwkww.jpg


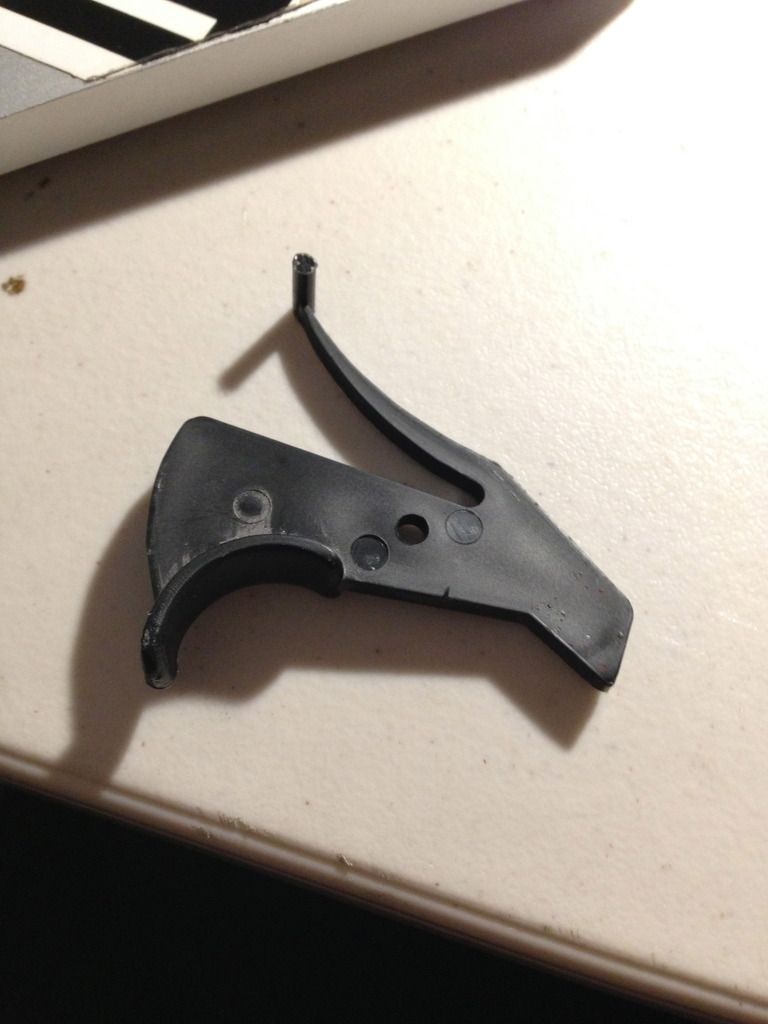
Make it look like this:


IMG_3216_zpsxzacflll.jpg


Take the handle and make it look like this. Don't mind that extra cut in the middle i screwed up and ended up having to glue it back together, no fun. 
IMG_3217_zpsmmhv9iqg.jpg


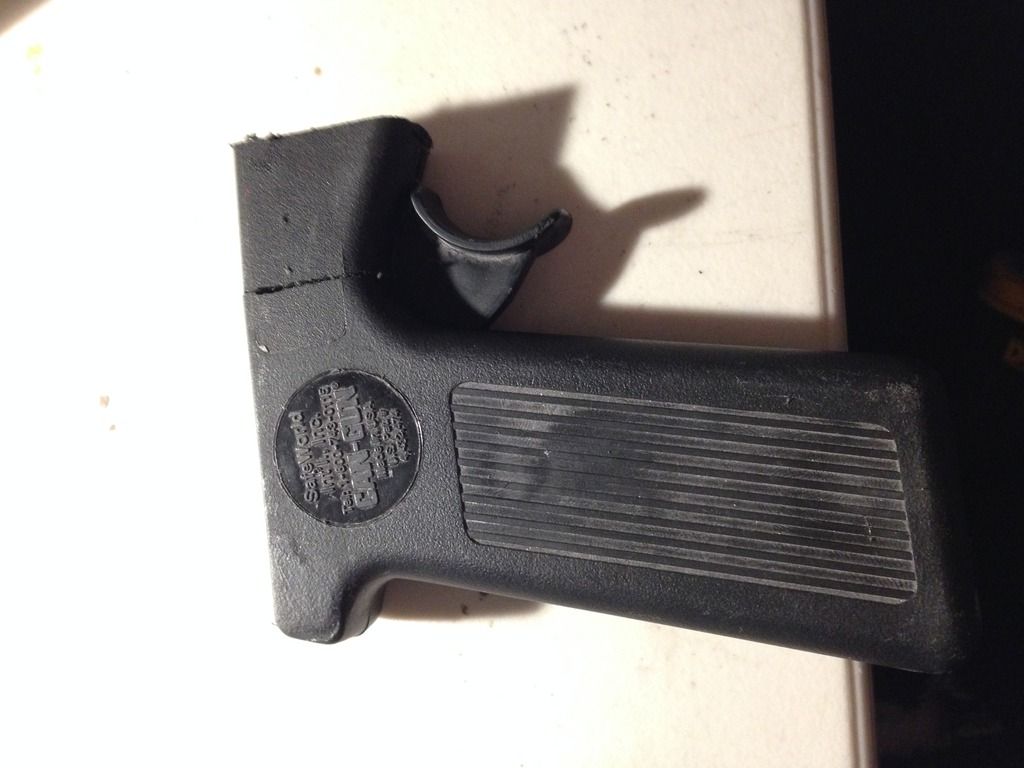
Cut a square in the top:


IMG_3218_zpspki6nwpp.jpg


Screw head/washers/spring should move freely through the hole:


IMG_3219_zpss5pa9zer.jpg


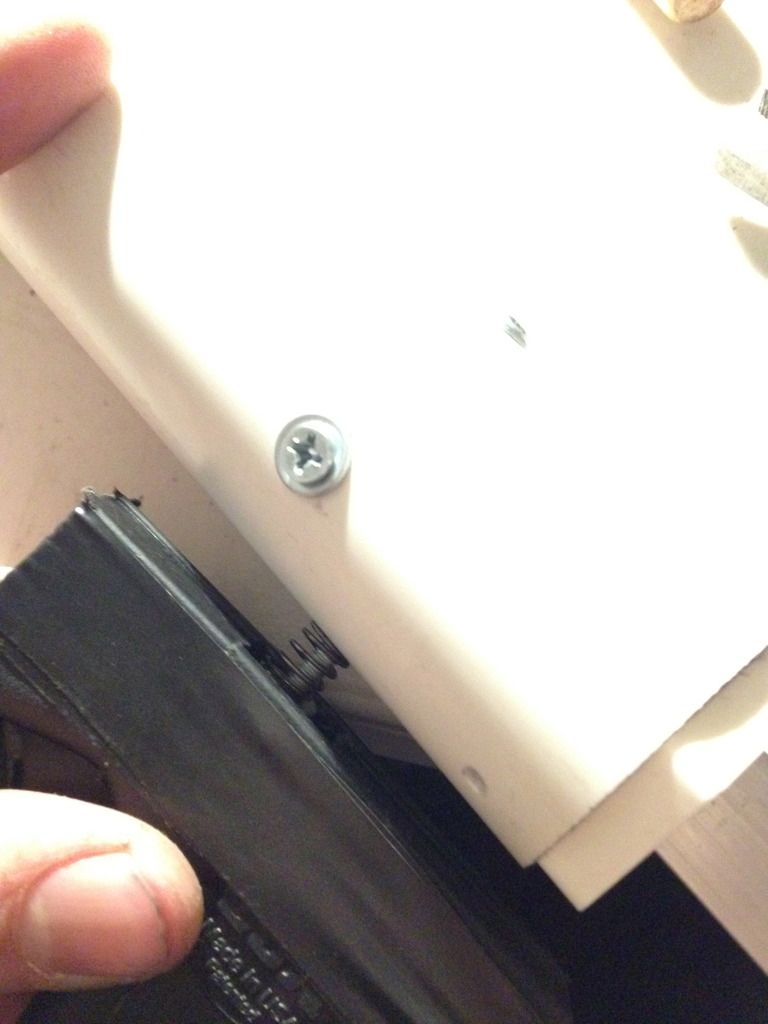
Drill some holes for zipties:


IMG_3221_zpsmjhlvpo2.jpg


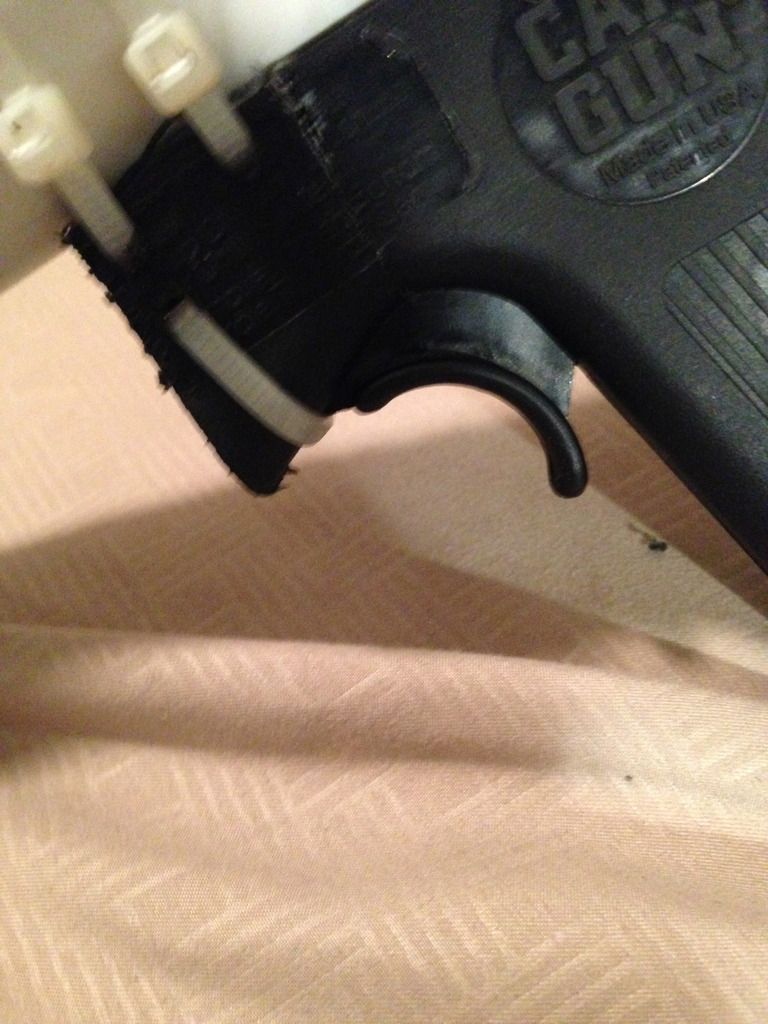
Throw some hot glue on top and slap her on and line it up, then tighten zipties,+more hot glue on edges for good measure. 


IMG_3222_zpsmpqmhclp.jpg


This ziptie keep the bottom of that part from splitting under pressure and keeps the trigger from swinging to far forward. 


IMG_3223_zpsq3bl0cea.jpg


Wrapped the handle in E tape to stiffen it up a bit. would probably benefit from being filled with hot glue, resin, epoxy putty, etc, but I didn't do any of that and its still plenty sturdy, I just think it would feel a little nicer filled. Drill an 1/8" hole through the end of the plunger rod, reem it a wee bit, and put a 6-32 screw with some washers on it and a nut on the end for a handle to pull back. 


IMG_3224_zpsnmd7bkgu.jpg


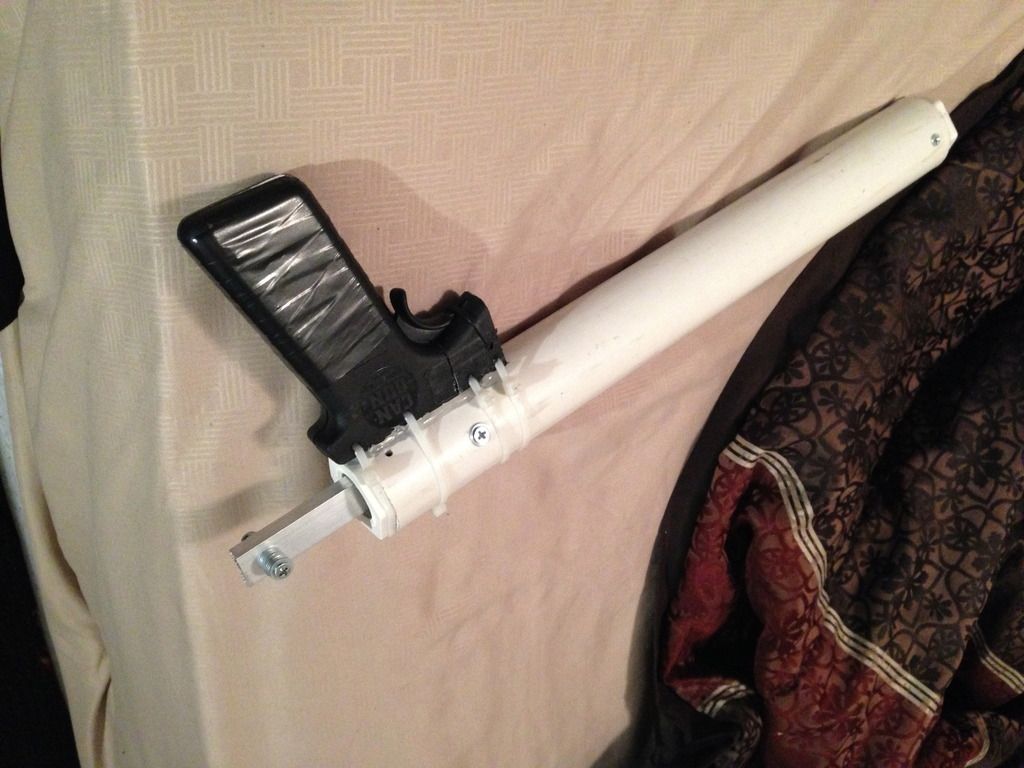
In conclusion im pretty satisfied. It works flawlessly so far and was cheap and relatively easy to make in a few hours. 


I will likely be posting revisions/additions as i make them/fool around a bit more, as i just came up with this like 2 days ago and made it today. 


Let me know what u guys think, good or bad, or if this has been done, etc. 


Thanks

~Holter


Edited by Holter, 03 March 2016 - 12:26 AM.

  • 1

#2 nerfsamurai

nerfsamurai

    Member

  • Members
  • 22 posts

Posted 03 March 2016 - 12:14 AM

This is impressive well done. Could it handle a [k26]? Pictures were informative not sure about the Snap style head I found the description lacking in detail if possible more detail is better. Will it hopper? Looks lovely. 


  • 0

#3 Holter

Holter

    Member

  • Members
  • 20 posts

Posted 03 March 2016 - 12:23 AM

This is impressive well done. Could it handle a [k26]? Pictures were informative not sure about the Snap style head I found the description lacking in detail if possible more detail is better. Will it hopper? Looks lovely. 


Uses a hopper just fine. 


Can be Transferred to pretty much any spring, although im not sure if a [k26] will fit around this specific dimension of u channel as I only usually deal with [k25]'s because i find the prime smoother. 


There are many write ups that describe in detail how to make a snap style plunger head so I'm not going to elaborate on that much as i feel it is easily available information with a simple search. 


  • 0

#4 Maniacal Coyote

Maniacal Coyote

    On Increasingly Thin Ice

  • Members
  • 358 posts

Posted 03 March 2016 - 12:58 AM

Newbies don't need high-precision, and sometimes engineers don't give a damn. My measurements are usually ± 1.5 rats' asses.


Edited by Maniacal Coyote, 03 March 2016 - 12:59 AM.

  • 0

I know how to help you because I have broken every rule in the book.


#5 Spud Spudoni

Spud Spudoni

    Member

  • Members
  • 321 posts

Posted 03 March 2016 - 05:42 PM

I love the amount of ingenuity you used to create this. If other nerfers knew about/knew how easy it was to use a steel bar instead of CPVC as their plunger rod, you can bet they'd be doing that. Great innovation. As far as the PVC catch piece, how easily is that falling into place? Also, how many shots have you put this through and how well is it holding up? I created a sort-of PVC rainbow catch system here and although it worked initially, I just think the malleable nature of this type of plastic just gave out. Hopefully with a metal priming bar, you'll have different results.


  • 0

industrial designer


#6 Holter

Holter

    Member

  • Members
  • 20 posts

Posted 03 March 2016 - 05:53 PM

I love the amount of ingenuity you used to create this. If other nerfers knew about/knew how easy it was to use a steel bar instead of CPVC as their plunger rod, you can bet they'd be doing that. Great innovation. As far as the PVC catch piece, how easily is that falling into place? Also, how many shots have you put this through and how well is it holding up? I created a sort-of PVC rainbow catch system here and although it worked initially, I just think the malleable nature of this type of plastic just gave out. Hopefully with a metal priming bar, you'll have different results.

The catch drops into place and released very smoothly. The trigger pull is a wee bit stiff, but i myself prefer that because it prevents accidental fires and feels nice on the finger. 


I have probably only put MAYBE 100 shots through at most and it seems to be good so far, I'll update this if that changes. 

If i end up having to design a better catch plate some how I will. 


Also, thank you! 


Edit: also, realistically pretty much any square/rectangular tubing should work so long as it slides through the spring rest and end cap, and you can heat up a piece of pvc to fit around it. 


Edited by Holter, 03 March 2016 - 05:55 PM.

  • 0

#7 CaliforniaPants

CaliforniaPants

    Futtbrustrated

  • Moderators
  • 459 posts

Posted 04 March 2016 - 12:34 AM

oh hell yes, someone used a spray can handle as a blaster handle, Ive always wanted to. good stuff right here. 


also a tip for that catch notch on the metal plunger rod for you or for anyone replicating it: grab a cheap file if you dont want to get sketchy with a hacksaw to cut the notch, and then use that file and some sandpaper to smooth out the catch face so it has a smoother action and doesnt grab against the catch as much. you probably already did this but hey, whatever.


  • 0

trans as shit because fuck you


#8 Aeromech

Aeromech

    Member

  • Moderators
  • 434 posts

Posted 06 March 2016 - 02:35 PM

This is really impressive, and exactly the kind of thing I want to see.


Feedback: Shoot like 100 shots through this thing, I want to see how well the aluminum to PVC interface holds up, i.e. will the harder aluminum scrape away at the softer PVC catch mechanism? This has been a problem with the Mk 8 SNAPoid blaster in my experience. If it hold up well, then great. Otherwise maybe some sheet aluminum bent into the same shape would yield better results. CaliforniaPants' advice of sanding/smoothing out the aluminum plunger rod would also help to minimize this problem.


Edited by Aeromech, 06 March 2016 - 02:36 PM.

  • 0
Watch my shitty videos

This is so ghetto but so awesome.


#9 Holter

Holter

    Member

  • Members
  • 20 posts

Posted 07 March 2016 - 11:35 PM

This is really impressive, and exactly the kind of thing I want to see.


Feedback: Shoot like 100 shots through this thing, I want to see how well the aluminum to PVC interface holds up, i.e. will the harder aluminum scrape away at the softer PVC catch mechanism? This has been a problem with the Mk 8 SNAPoid blaster in my experience. If it hold up well, then great. Otherwise maybe some sheet aluminum bent into the same shape would yield better results. CaliforniaPants' advice of sanding/smoothing out the aluminum plunger rod would also help to minimize this problem.


I've probably put nearly 200 shots through it now messing around shooting it outside and stuff and she seems to catch fine still. I will be bringing it to the war im going to the 20th to test war-longevity of it, will get results back to you!


oh hell yes, someone used a spray can handle as a blaster handle, Ive always wanted to. good stuff right here. 


also a tip for that catch notch on the metal plunger rod for you or for anyone replicating it: grab a cheap file if you dont want to get sketchy with a hacksaw to cut the notch, and then use that file and some sandpaper to smooth out the catch face so it has a smoother action and doesnt grab against the catch as much. you probably already did this but hey, whatever.


I actually sanded it pretty smooth! I didn't get pics of it totally sanded but I think it will be alright! 


  • 0


0 user(s) are reading this topic

0 members, 0 guests, 0 anonymous users