#1
Posted 09 May 2009 - 07:36 PM
1 6" to 8" piece of 1/2" pvc
1 1/2" pvc
1 strong spring 4" to 5" long that fits in the 1/2" pvc
1 washer that is not smaller than the spring and not bigger than the id of the pvc(for me it was a #8 washer)
1 3" to 4" of coat hanger
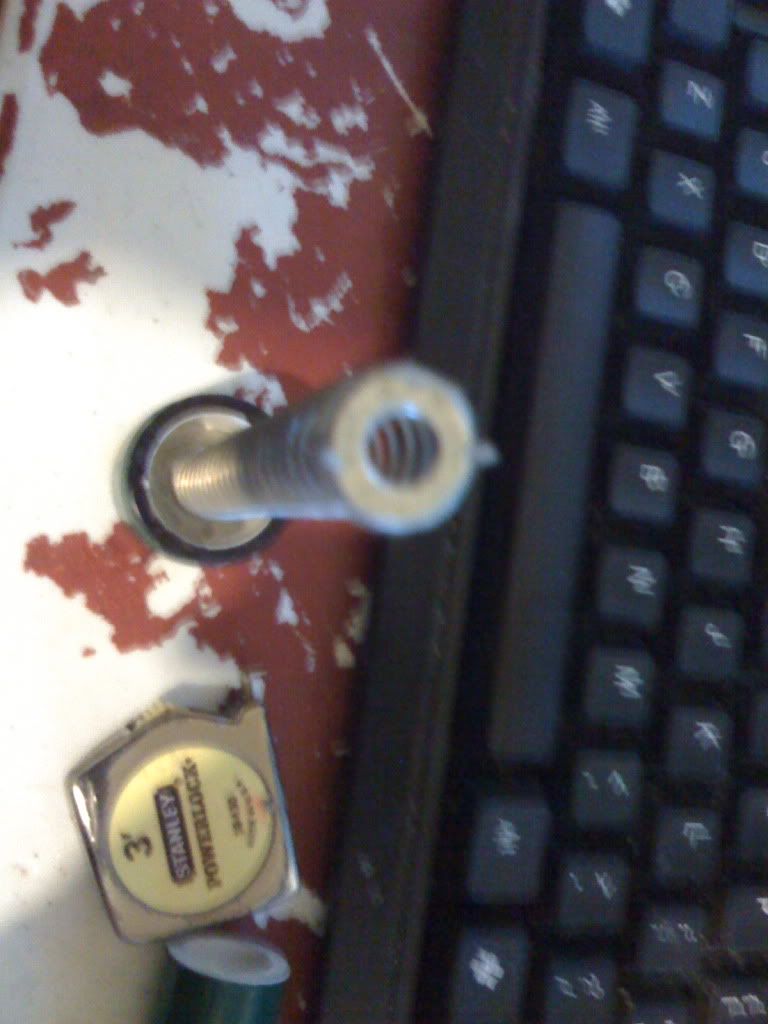
Step 1
Drill a hole about 1/4" higher than the length of your spring completely compressed up the tube.
Step 2
Hot glue the washer onto one end of the spring.
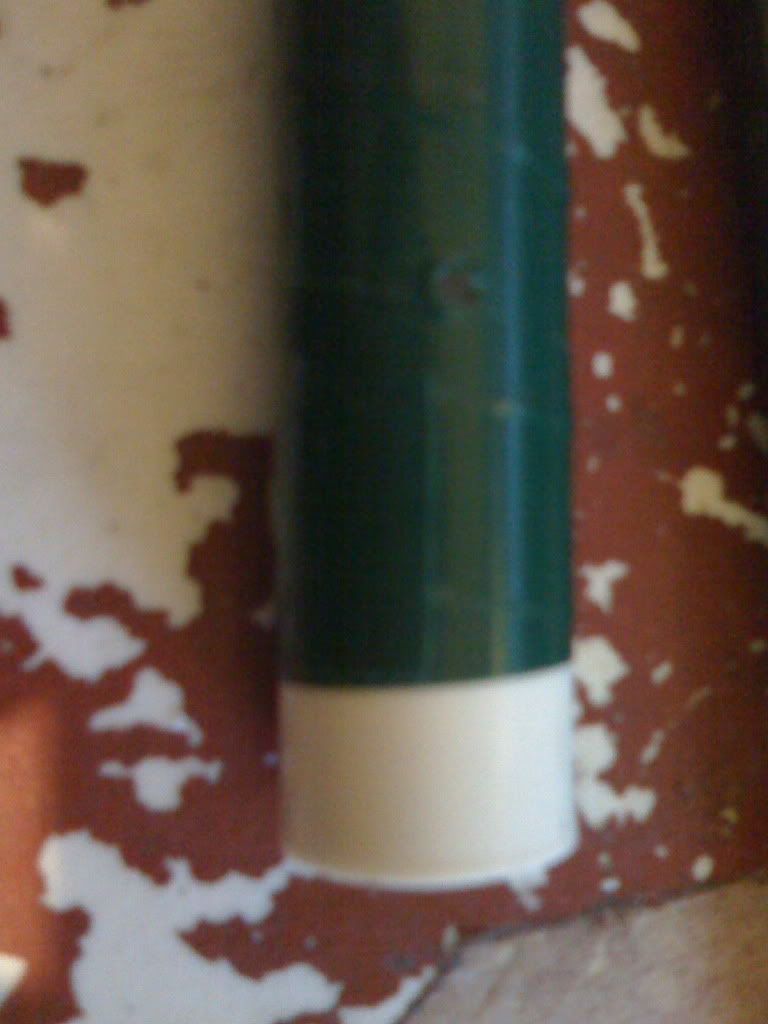
Step 3
Hot glue the end of the spring that DOES NOT have the washer hot glued on it to the 1/2" pvc end cap.
See Picture from Step 2
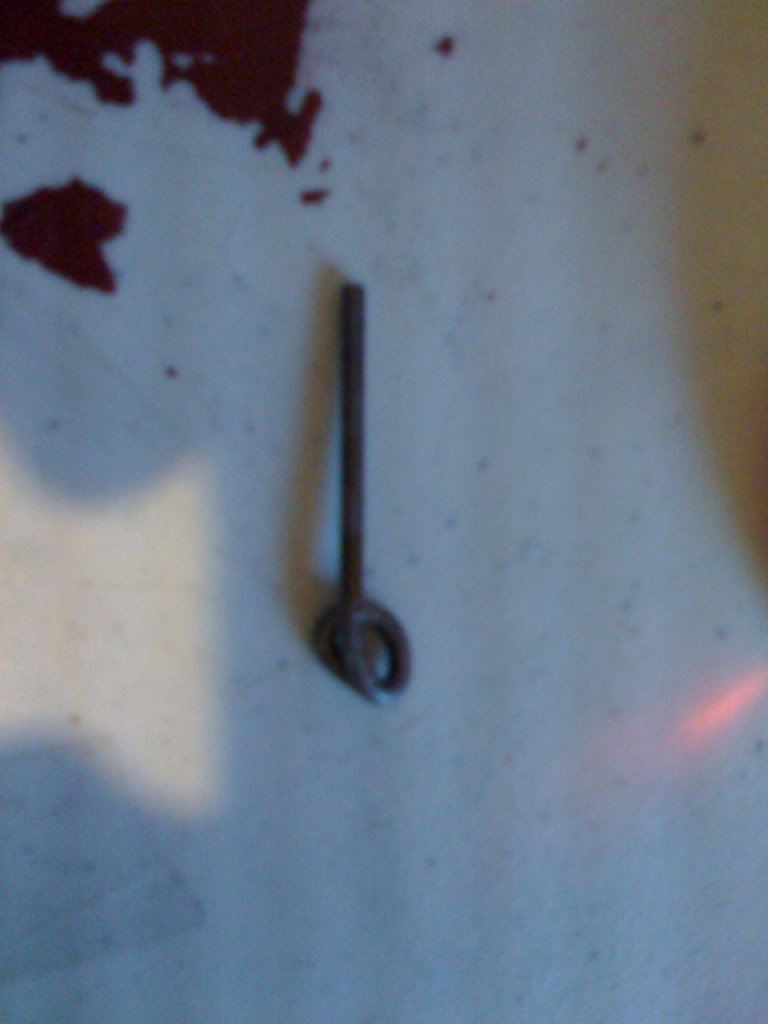
Step 4
Bend one end of the coat hanger into a loop for the string/fishing line to attach to.
Step 5
Assemble.
When I assemble it I put the bent coat hanger through the pvc and push the end cap with the spring attached onto the pvc. Then I load the darts.
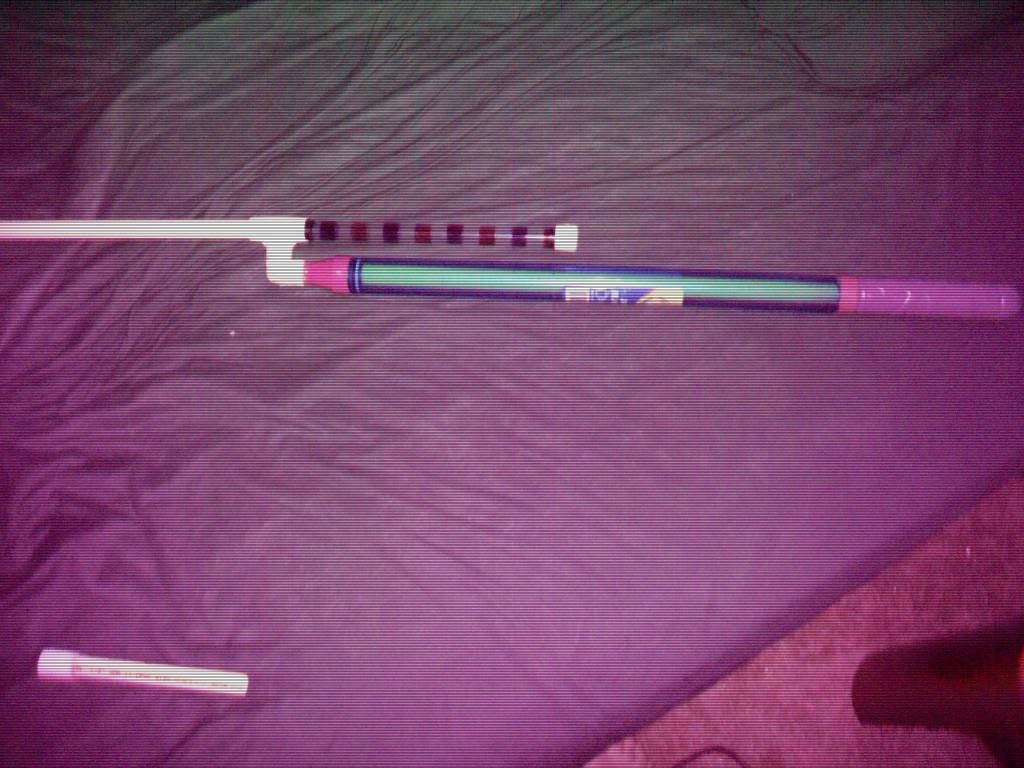
Finished Product
The darts are six 3/4" stefans.
Loaded
Here is a video of it
I made this guide because the one posted previously was not very clear and I thought everyone should make some of these. These can be made bigger to make more room for darts as long as you can find a spring proportional to the length/diameter of the tube.
Sorry about the quality of the pics/video the vid was made my messed up digital camera and i had to use my phone to take the still pics because my camera could not take a clean picture.
ps if you want to make them able to stick in the ground, before you glue the spring in the end cap drill 1 to 2 holes to stick nails through the cap and then glue the spring in. also if you have trouble pulling the pin with a tug, before you set the line pull the pin about half way out.
Have FUN!
#2
Posted 09 May 2009 - 07:47 PM
Sorry to hear that man, it's like that one famous bumper sticker, "Shit Happens"
#3
Posted 09 May 2009 - 07:51 PM
the scatter is about 6-8 feet and it prob shoots them 20-30 feet.
Edited by ggk, 09 May 2009 - 07:52 PM.
#4
Posted 09 May 2009 - 10:47 PM
I plan on building one using about 1" PVC, just so I can fit more darts.
#5
Posted 10 May 2009 - 02:15 AM
I have seen this been done to shoot airsoft pellets.
My Webpage MY Youtube
#6
Posted 10 May 2009 - 03:43 AM
I am thinking about trying to make one more like a snap bow trigger sorta design, but i need some supplies.(Dang hardware store not open at 4:30 in the morning)
#7
Posted 10 May 2009 - 12:10 PM
Hey...I got a crazy idea: how about you stop all that sigging stuff? It's not even my thread and it annoys me.
#8
Posted 11 May 2009 - 04:00 PM
Just a couple things to remember when your building:
1. Make sure to securely Connect the spring to the cap & spring to the washer. I was using a recon spring and a LS plunger head (I had an extra lying around and it fit perfectly) and the spring disconnected from the cap, and when I was repairing it the plunger head popped off. This puts a lot of stress on those connnections.
2. Don't drill your hole to close to the bottom or else your cap won't fit on and the PVC will fly off.
3. Make sure the "pin" is COMPLETELY straight! It will not pull out properly & will mess up the plunger head and can trip the person setting it off.
Just some things to keep in mind when making this.
#9
Posted 11 May 2009 - 06:06 PM
for your situation Capten I would suggest that you cut a piece of metal about 1/4" wide and a little longer than the width of your spring and put a bolt and nut through it placed in the spring right under the closed end of the spring and the plunger head.
Also i have been wanting to make a larger scale version and see how it works. So my question to you is how does it?
Edited by ggk, 11 May 2009 - 06:07 PM.
#10
Posted 12 May 2009 - 05:29 PM
Capten Karat I agree with you whole heartedly. Especially with #1 and 2. That is why I told them to drill the hole 1/4" higher up the tube than the spring completely compressed.
for your situation Capten I would suggest that you cut a piece of metal about 1/4" wide and a little longer than the width of your spring and put a bolt and nut through it placed in the spring right under the closed end of the spring and the plunger head.
Also i have been wanting to make a larger scale version and see how it works. So my question to you is how does it?
I'm a bit confused about your suggestion.
In response on how it works, I think the bigger you get the higher the chance of a misfire is, for 2 reasons.
1. The pin has a longer distance to travel, Making the pull longer, this causes the person have to either completely step on it, or bring their foot under and pull it out. I think anything larger thann 1 1/4" wouldn't be good for a mine, unless you found a way to make the pull shorter. Which is unfortunate, because the bigger they get the shorter you can make them, less visible for a mine.
2. It takes longer for the pin to come out, you need a fast pull or else the pin gets pushed up when in between the first and second hole.
Basically the only big problem is the pull distance.
As far as pros:
• It can fit up to twelve 2" stefans. (works best with 5)
• Barely visible
• Quick to construct. (took me about 5 min.)
• Easy to set up. (about 30 - 60 seconds right after a shot)
• Easy to find materials.
Probably more I just can't think of now.
Cons:
• Like said before, pull distance.
• Needs at least 4 or else won't fire will.
• Can only be used on dirt. (I use stakes to hold it in place)
• Easy to deactivate. (a simple pull of a stake, or cut with a knife)
• Hard to aim unless you know where the enemy is coming from.
It works very well overall, a must as it's so easy to make and so useful.
P.S. I may edit this after my next war which is in a couple weeks.
#11
Posted 17 May 2009 - 08:15 AM
Edited by mr grunty, 17 May 2009 - 08:17 AM.
#12
Posted 17 May 2009 - 02:07 PM
#13
Posted 17 May 2009 - 02:18 PM
A claymore CAN be a tripwire mine.It's more of a tripwire mine.
I have seen this been done to shoot airsoft pellets.
Look
Look about quarter from the top.
By the way, grunty, the grenade that you are thinking of is the "Model 24 Stielhandgranate." At least, that is the official name.
Edited by spartan.062, 17 May 2009 - 02:20 PM.
#14
Posted 17 May 2009 - 08:42 PM
#15
Posted 31 May 2009 - 07:56 PM
That is of course, you run the wire correctly through the pully.
0 user(s) are reading this topic
0 members, 0 guests, 0 anonymous users