What I needed:
1 Flashlight about 2.5 inches long
1 Modified nerf rayven so the wiring does not go through the bottom of the handle
1 Barrel extension
Epoxy
1 Nerf Vortex Nitron Scope
Batteries
Tools:
Soldering Gun
Screw Driver
Some buckets to mix epoxy
Epoxy brushes and scalpels
Band Saw
Step 1
Unscrew the barrel extension and take out inside barrel.
Unscrew Rayven.
Step 2
Remove locks and move wiring to upper part of the handle.
Step 3
NOT REQUIRED
Modify battery pack to use 9 volts

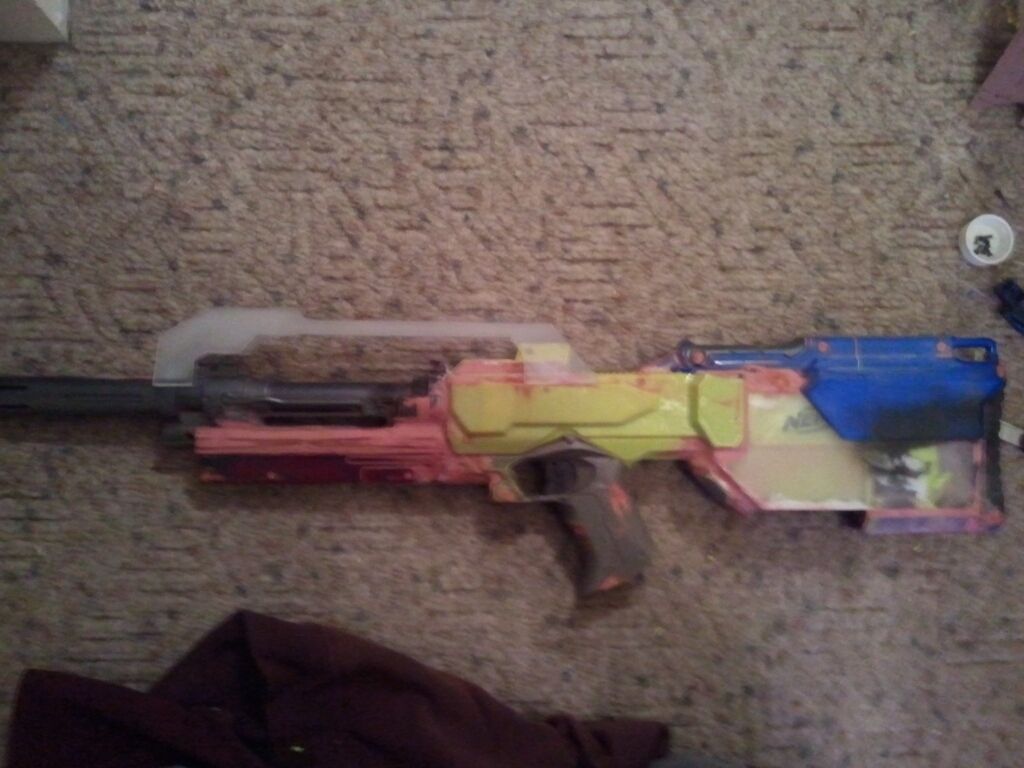
Step 4(BAND SAW TIME!!!)
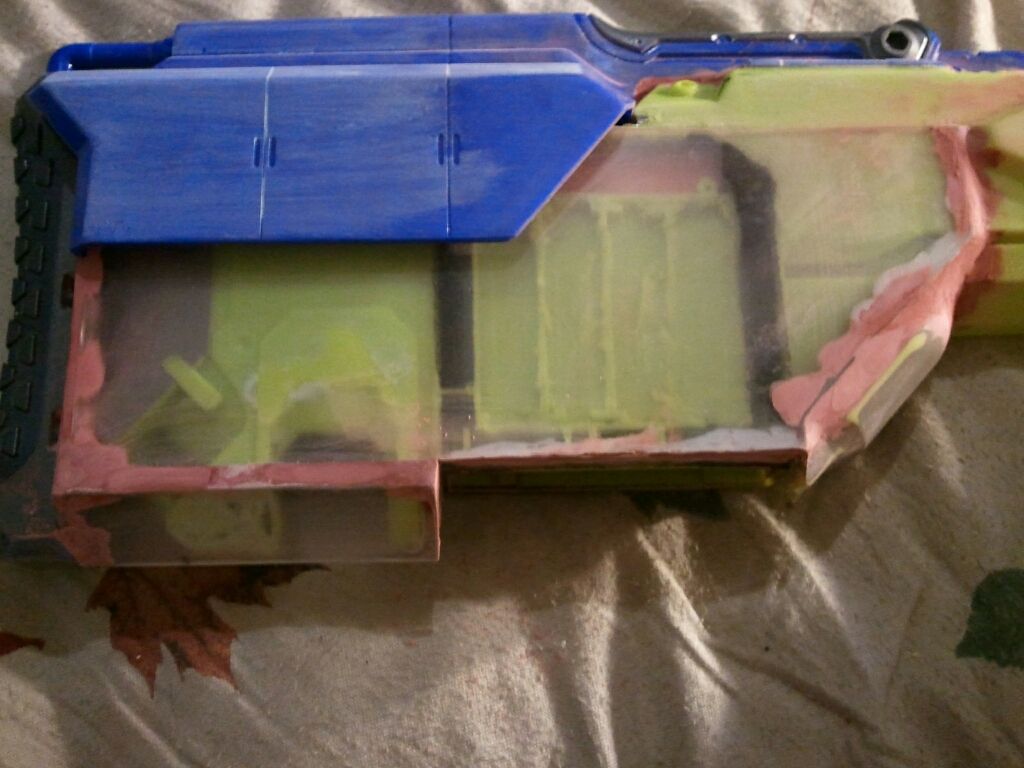
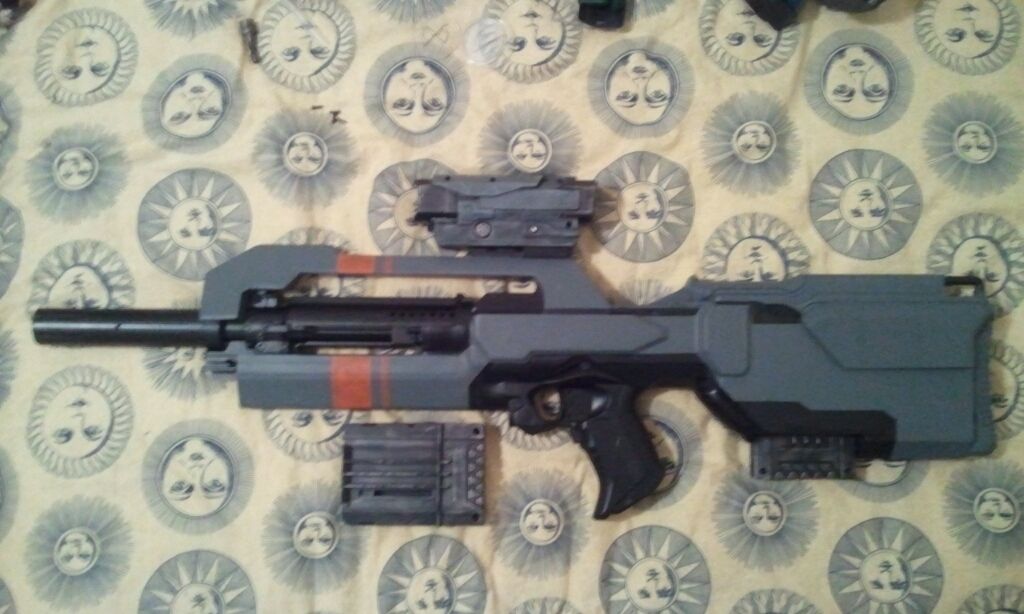
Cut out lower portion of blaster handle.

Step 5
Fill in holes!!!!! Using epoxy.
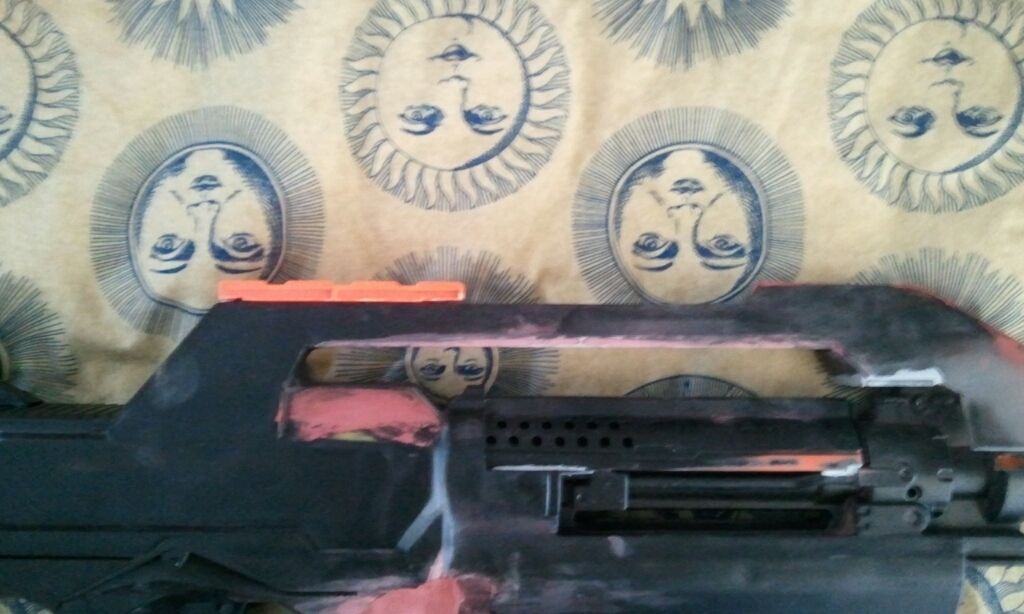
Step 6
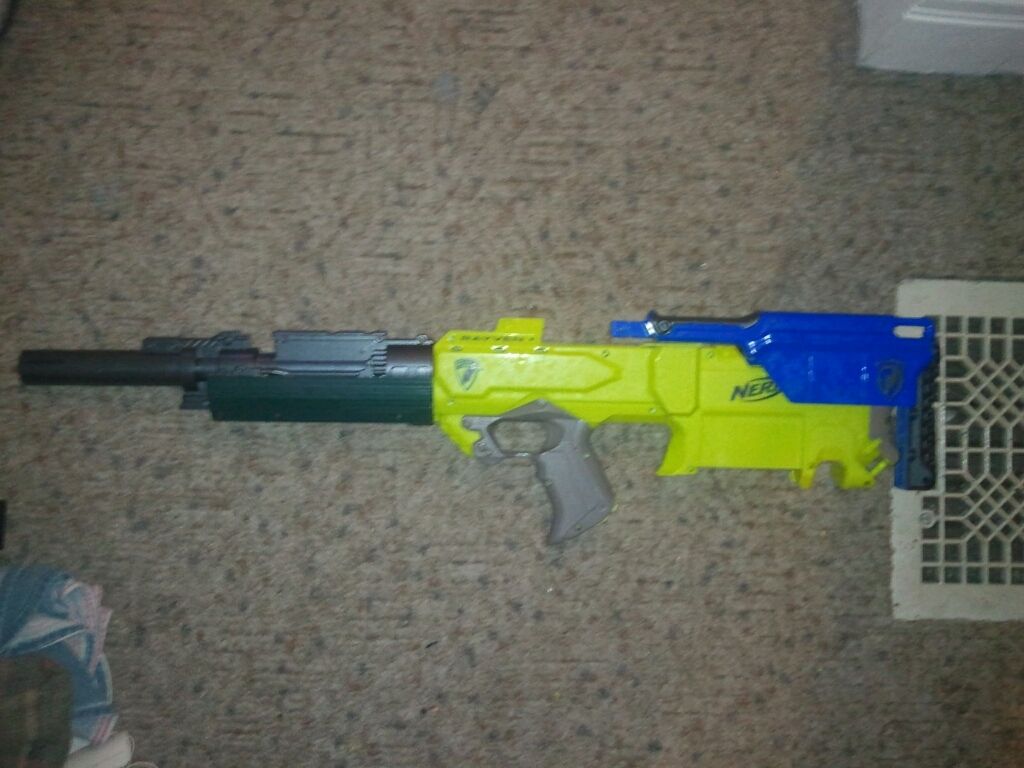
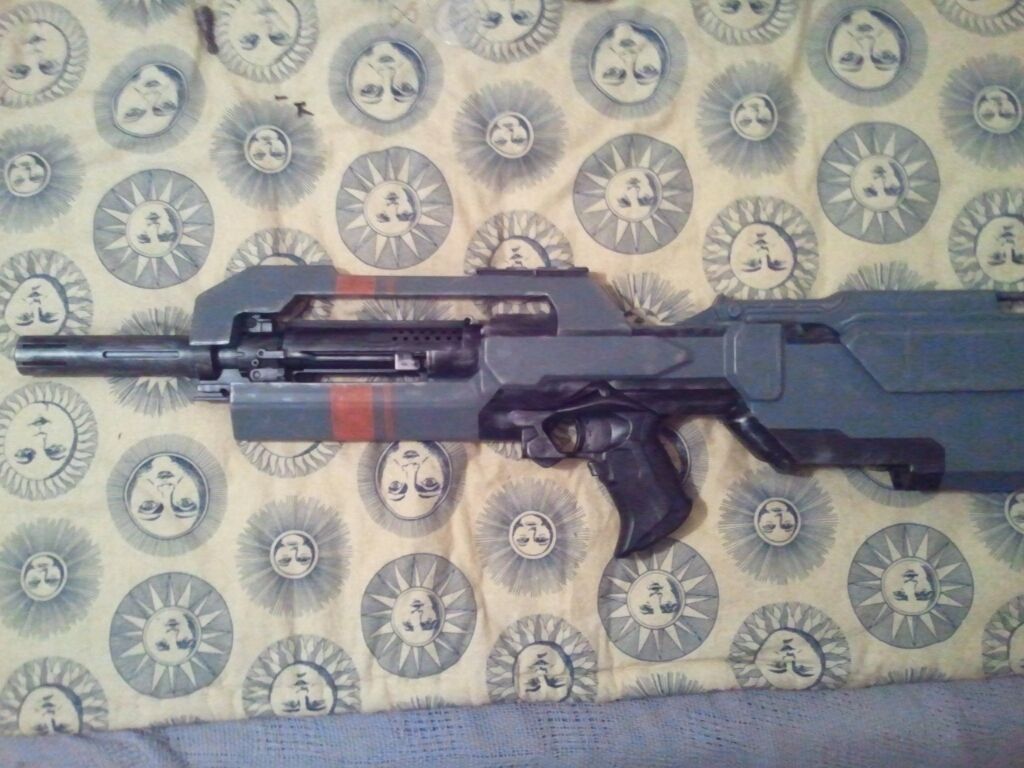
Take the barrel that you took out of the barrel extension
Hotglue it in the blaster's front. Make sure not to use a lot of glue because it does melt the plastic in high quantities (I learned this the hard way). Do one pull of the hot glue gun trigger at a time and wait for it to dry in between.
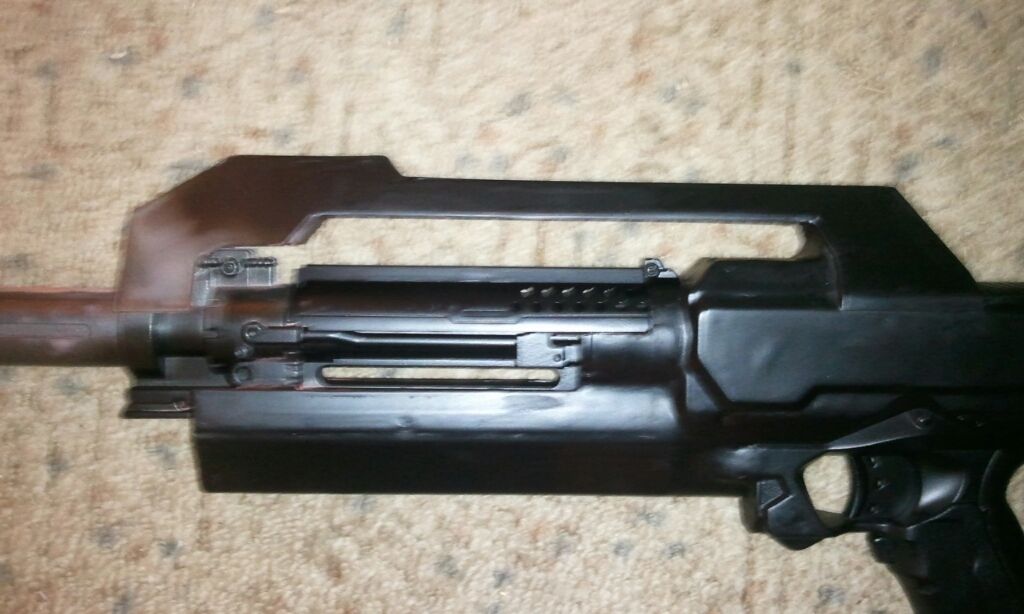
Step 7
Put some epoxy onto the barrel in a cone shape where it connects to the gun. This will act as a barrel re-enforcement so it does not break or come off as easy. It still does break easy so if you are a serious nerfer you may not want to bring it to a war otherwise it will get destroyed!

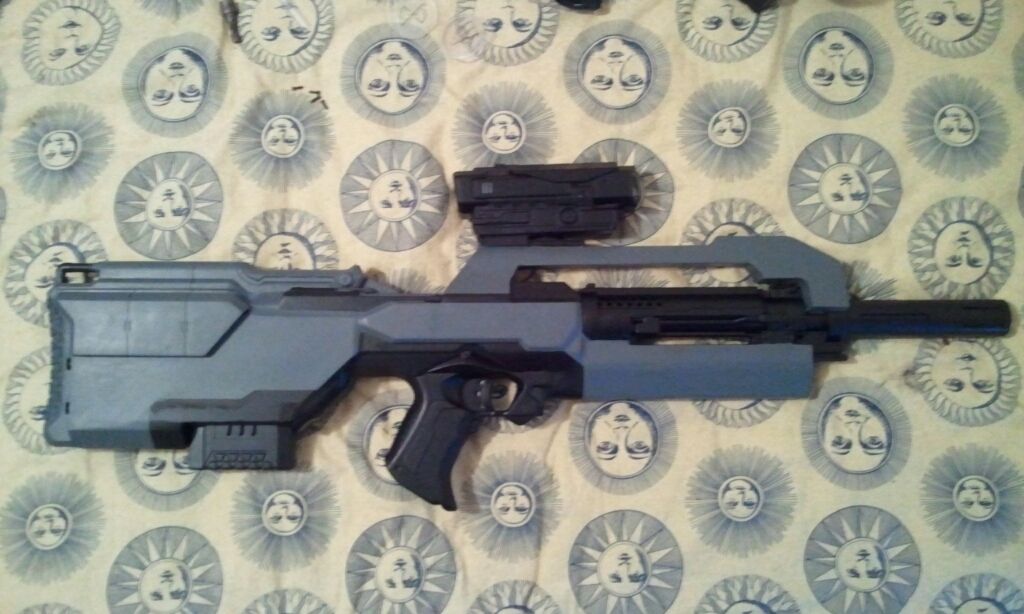
Step 8
Attaching the Light is easy all you do is prop it up with clay so it is at the height of the barrel
Put epoxy on the barrel and attach it to the light.

Stay tuned for more steps as I have not made it farther than this.
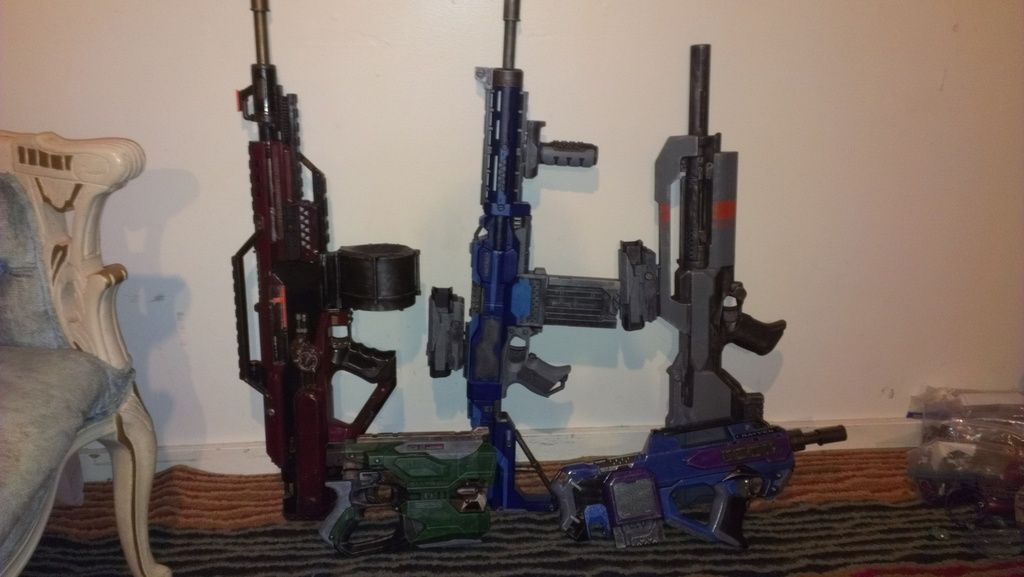
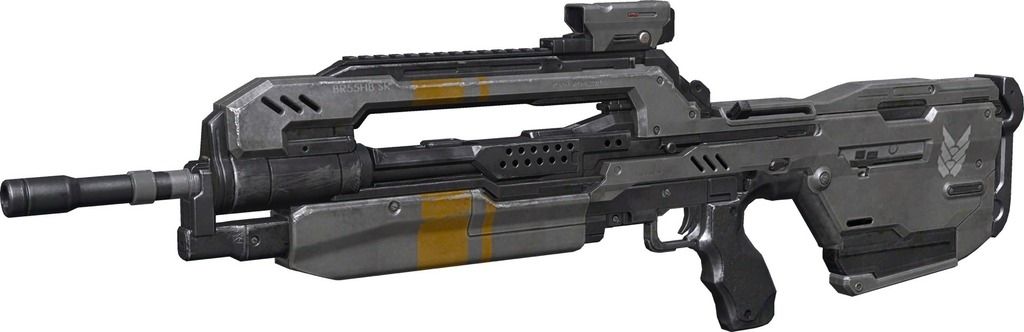
Here is a Halo 4 DMR for reference.