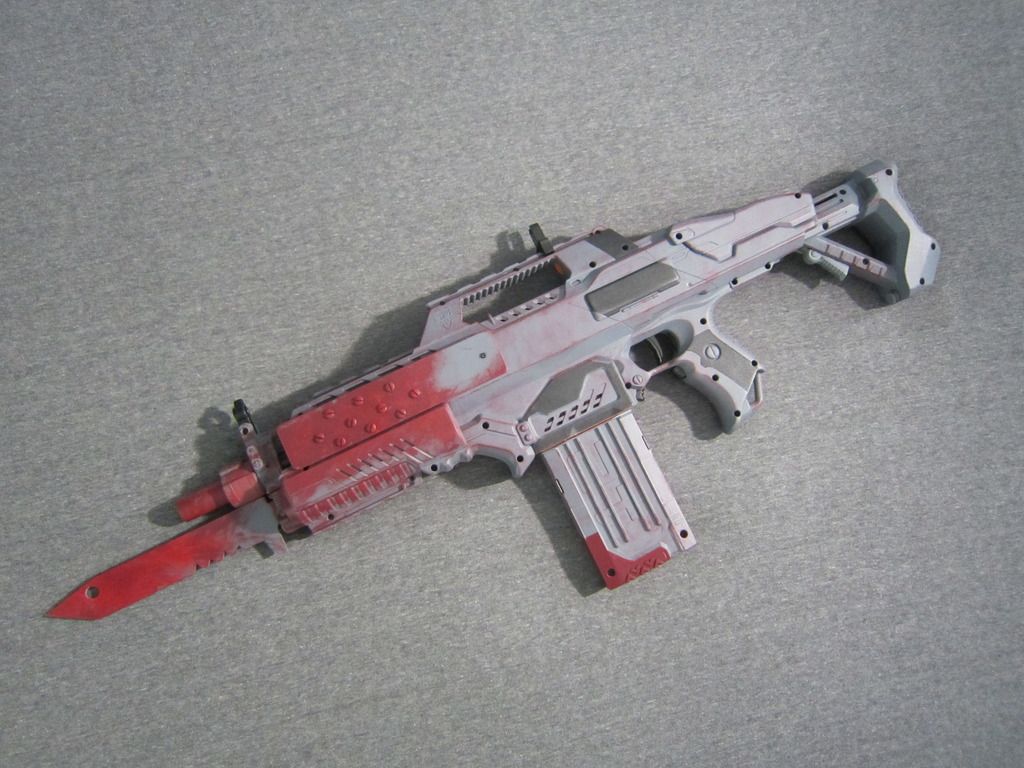
This is my write-up showing you how to make a Nerf Rapidstrike that looks like Red Death from the video game, Destiny.
If you somewhat follow this write-up you should end up with something pretty sweet looking. This is mine.
These are some of the things that you will frequently need throughout the course of this modification. Some things are optional based on what you want to do with your gun, but these are the materials/ tools that I used for mine.
Tools and Supplies you’ll need
- Rapidstrike cs-18
- Hack saw (or band saw)
- Belt Sander (optional)
- Dremel/ Rotary tool
- Epoxy Putty
- 1/8 inch Polycarbonate Sheet
- Hot Glue Gun
- Super Glue/Liquid epoxy
- Soldering Iron (and solder)
- Copper wires
- Electric drill
- 3 AA Battery holder
- 6/32 machine screws (quantity: 20)
- Rustoleum Grey Primer
- Dark Red Brush Paint
- Black Brush Paint
Take your rapidstrike, open it up, and remove all of the internal components. Make sure you keep track of where everything goes for when you reassemble it. I find taking a picture is helpful (but I’ve done it so many times now I don’t need to).
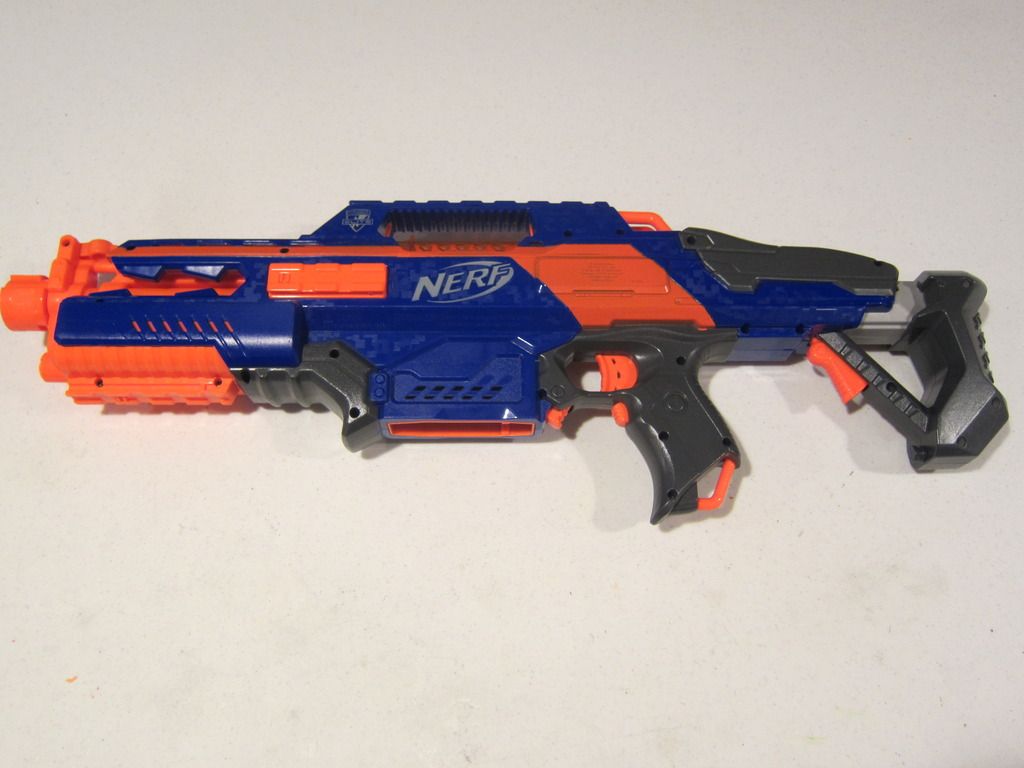
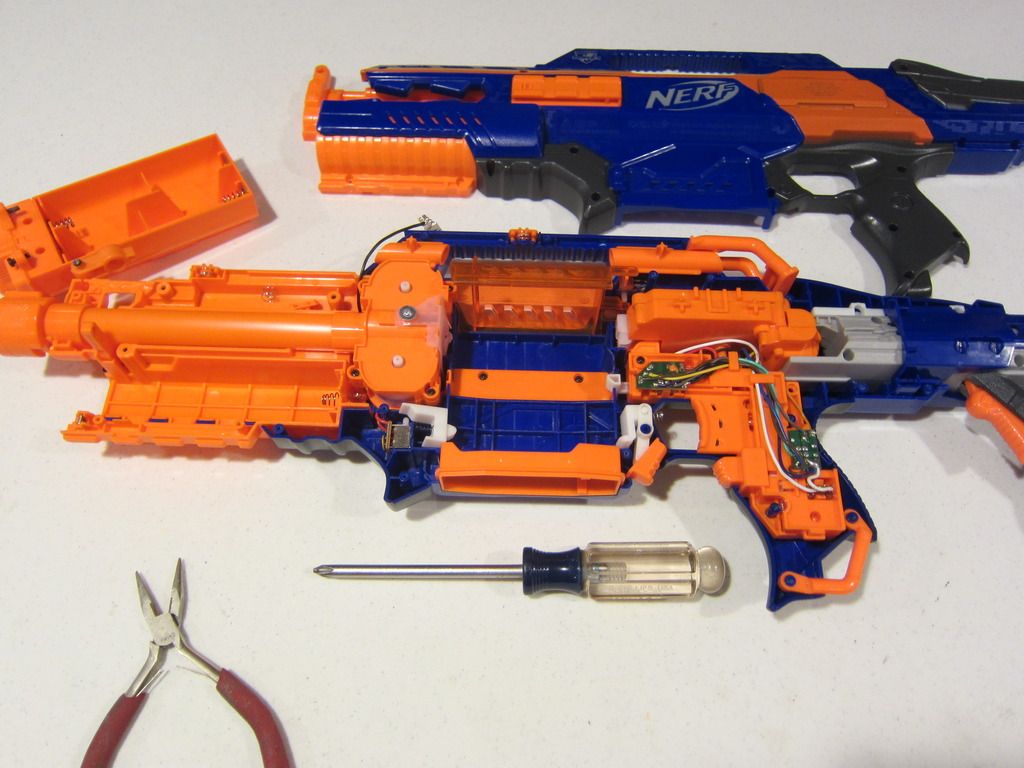
We are going to start by taking out the Rapidstrike’s internal components and focus on the battery tray.
Now, use a marker to draw an outline on your polycarbonate sheet for your bayonet/ melee attachment. Yours should look somewhat like this:
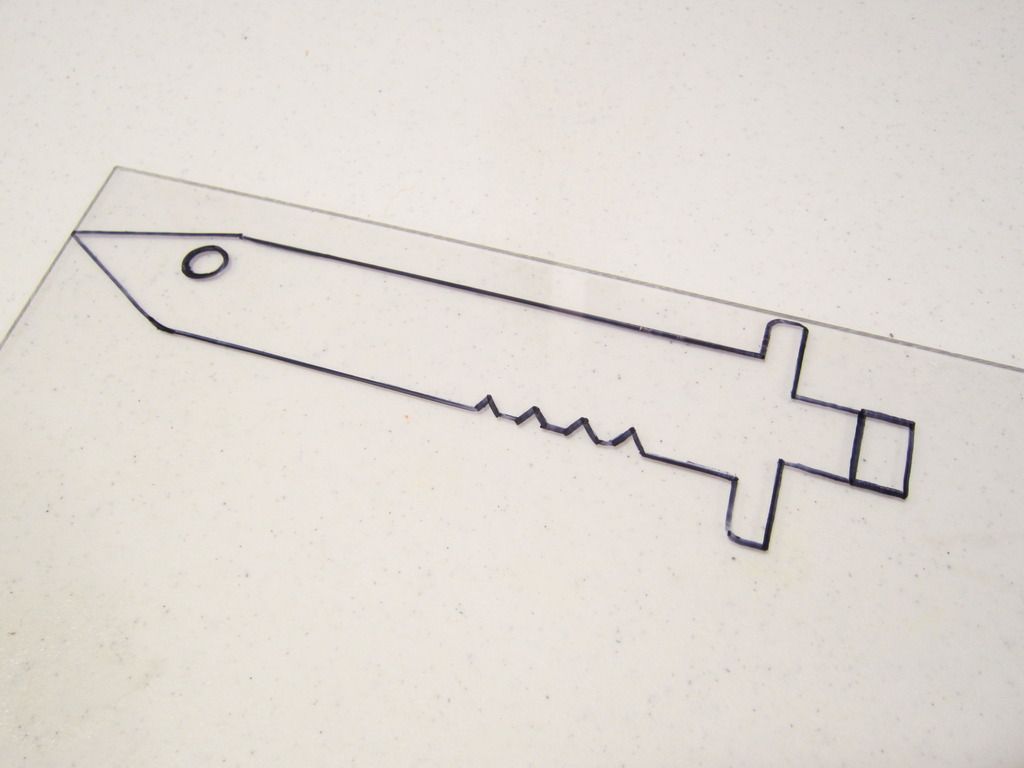
Now cut your attachment out of its lexan prison and touch it up using sand paper and or a rotary tool. Be careful when using tools. I used a hack saw but a band saw or scroll saw would make things a lot easier.
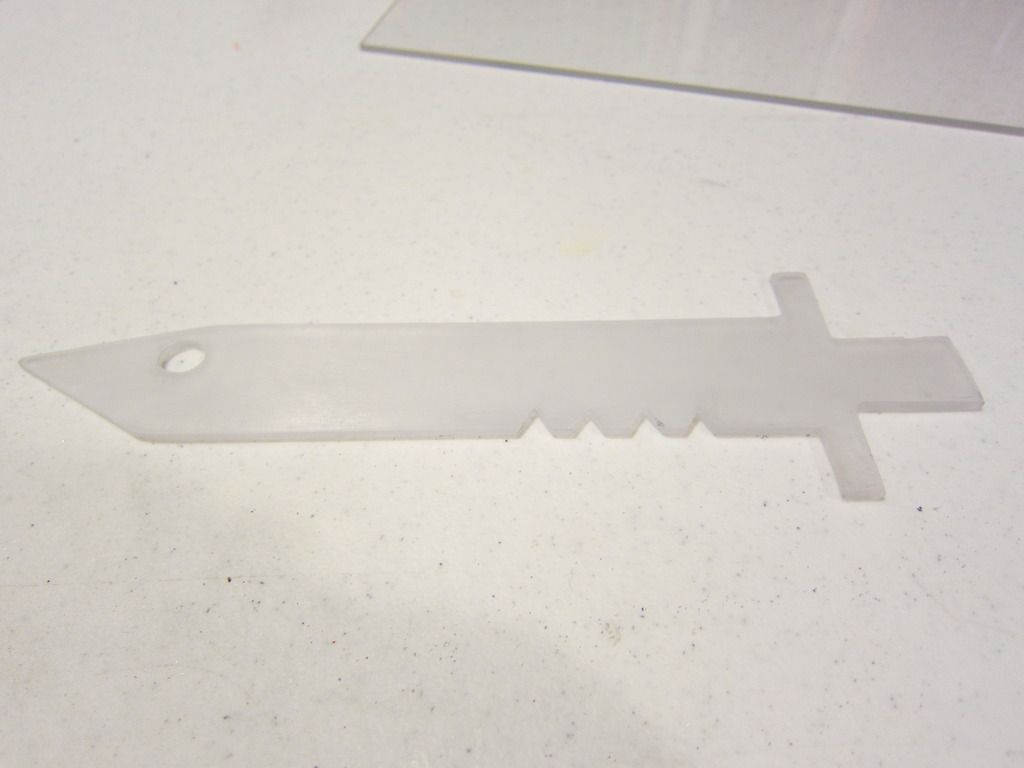
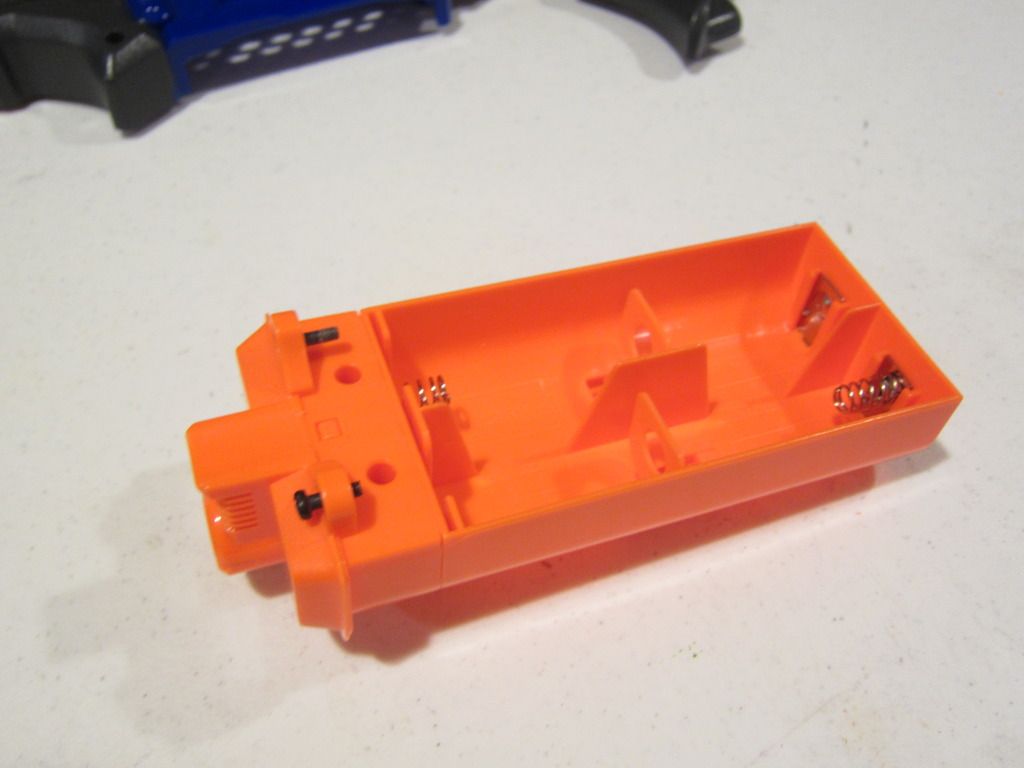
Below is the battery tray again. You can see two holes on the top front of the tray. Unscrew the screws inside and you should be able to separate the tray into two parts.

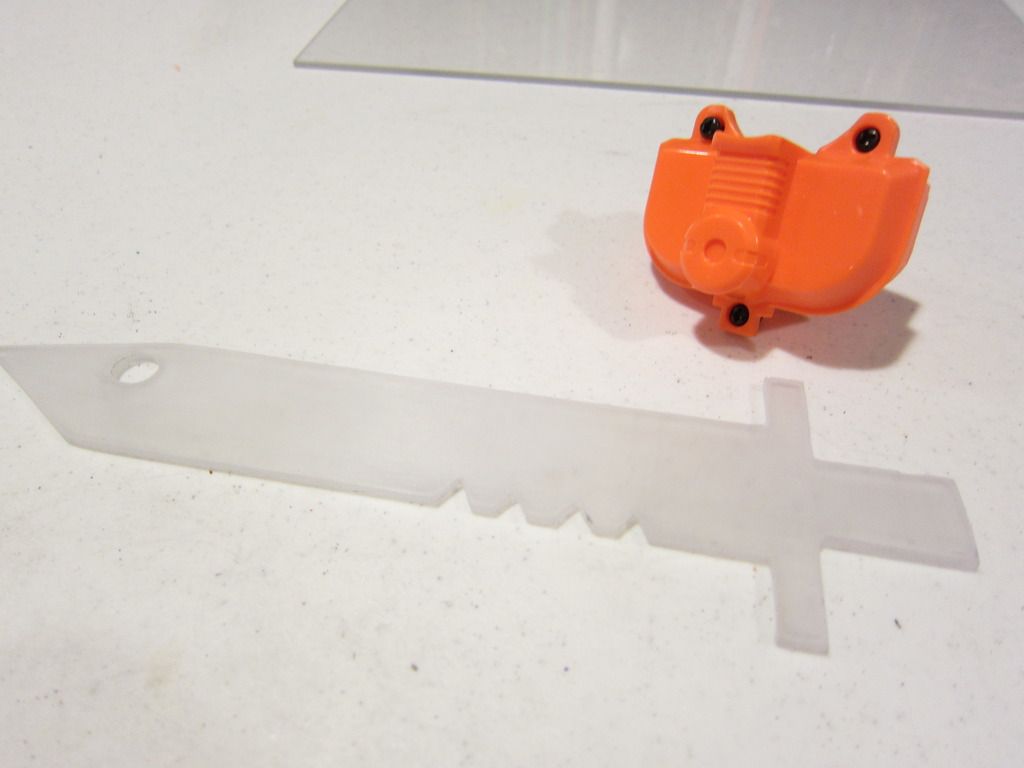
Now use a Dremel/ rotary tool with its cutting wheel and cut a slot for your attachment to slip through. It is best if the slot has a tight fit on the knife attachment.
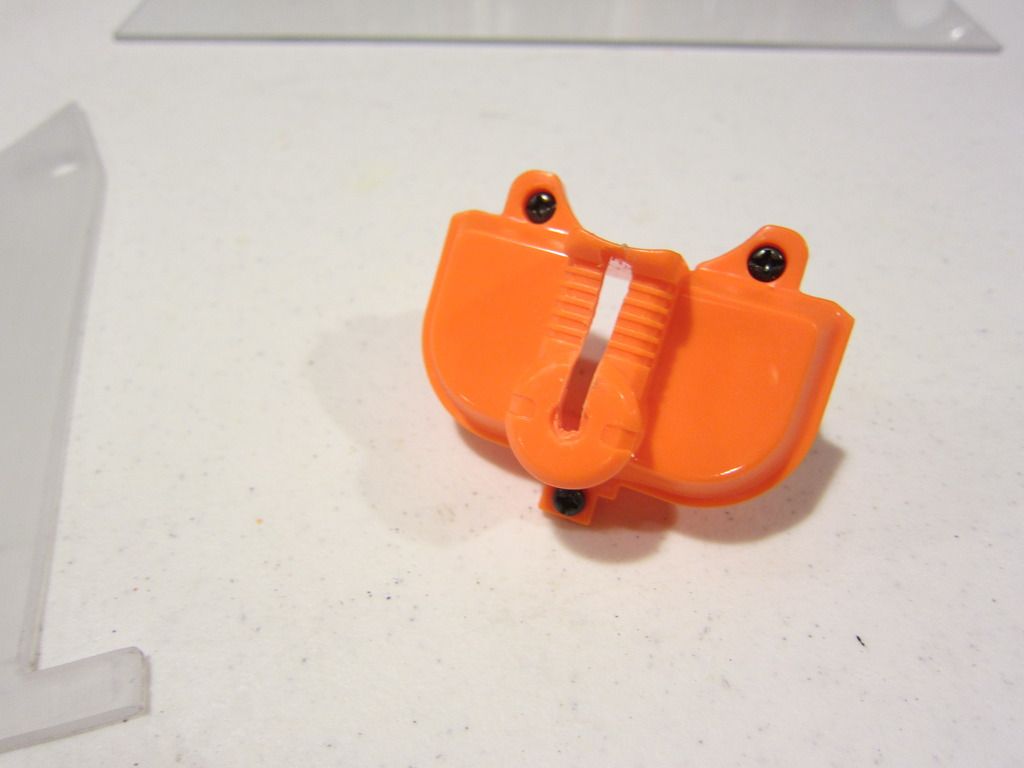
Now slip your attachment into the battery tray.
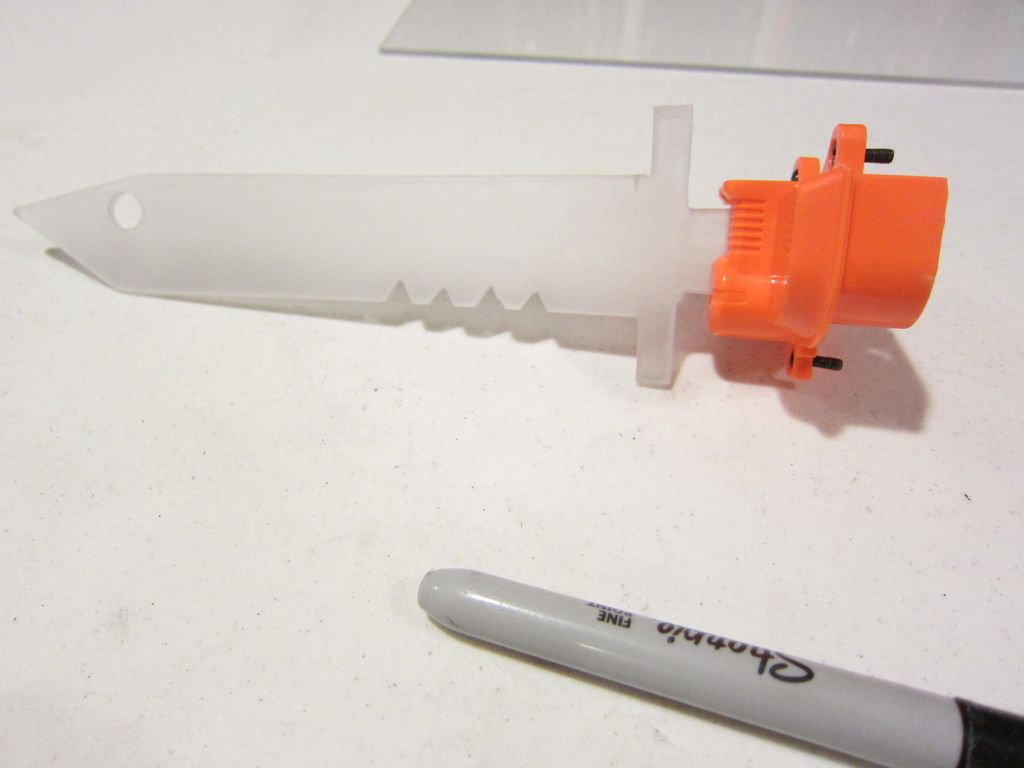
Take a portion of your epoxy putty and knead it until it is a uniform color. Press it into the inside of the battery tray to secure the bayonet like this.
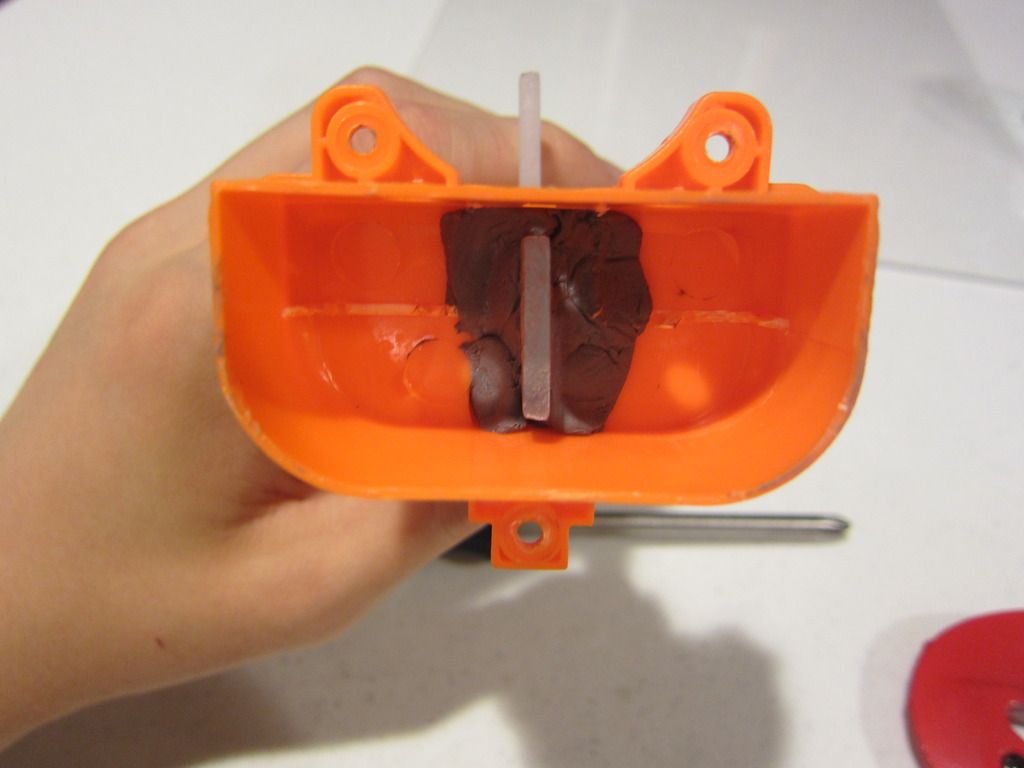
Let epoxy putty cure for a half hour at least.
Now fill the inside with a lot of liquid epoxy to make sure your attachment is stable. Not stable enough to stab foes with, but stable enough that it won’t break if you accidentally bang or drop your gun.
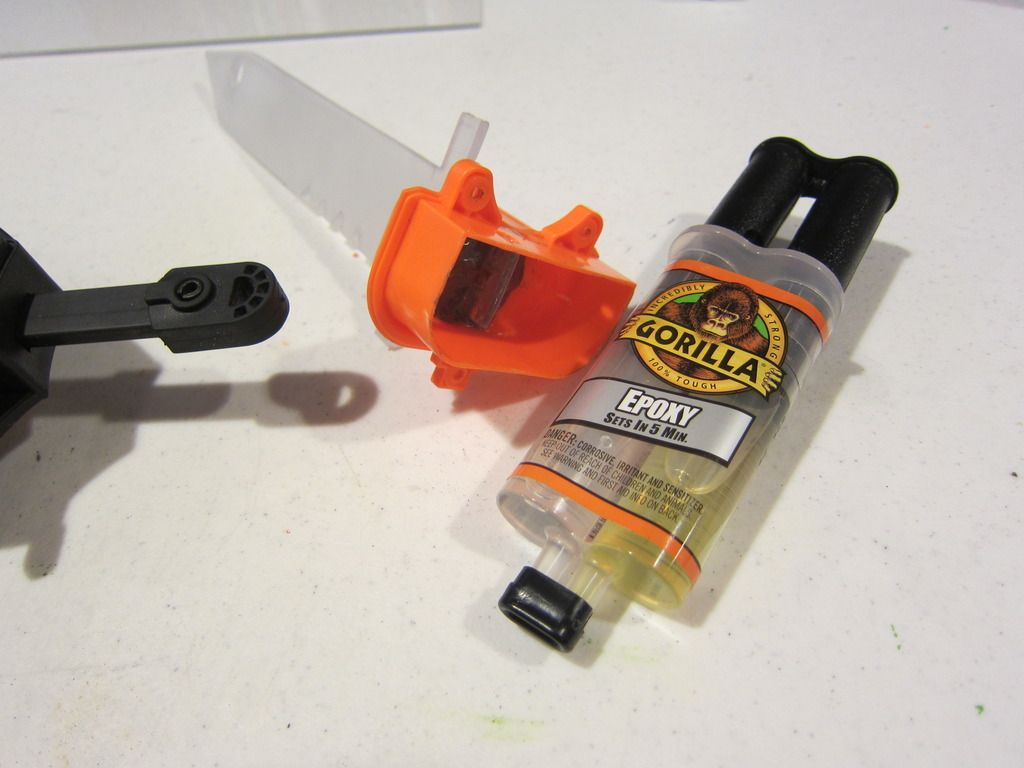
Reattach the two part of your battery tray and reinsert the screws. Glue them together if you need to.
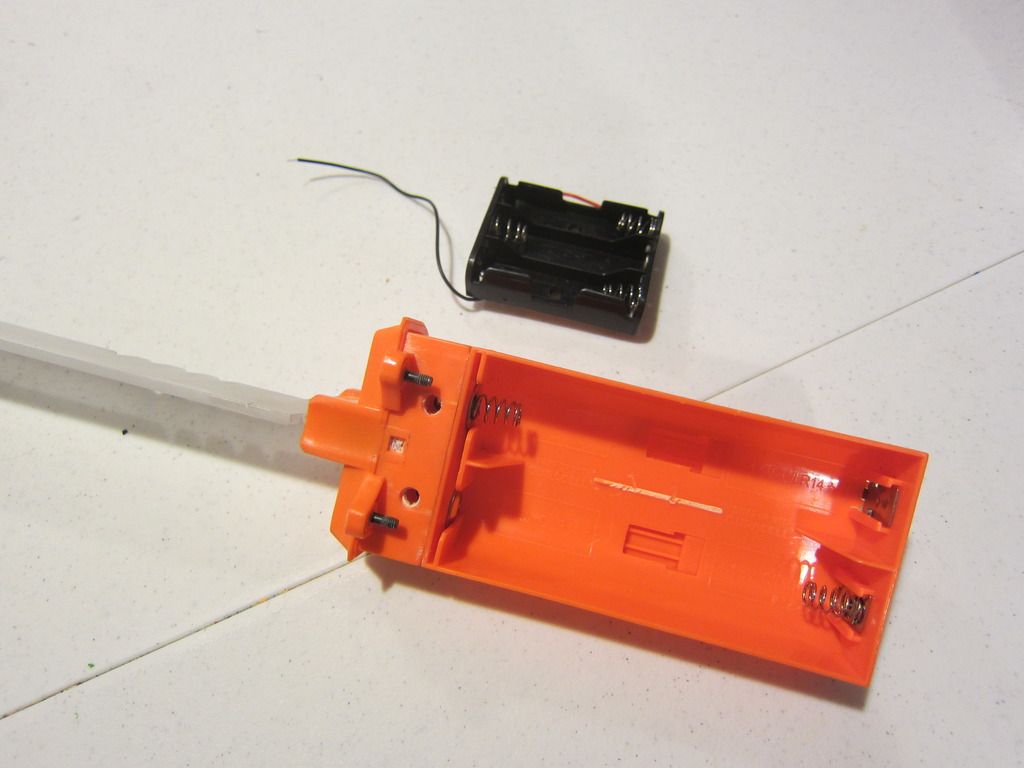
If you want to continue to use stock batteries, you can leave your tray as it is. However, if you want to run high-performance lithium ion batteries you will need to rewire your gun to a new battery pack.
Drill two holes, each in the middle of each battery so the batteries can still fit in after inserting your screws. Screw your battery pack into the battery tray as shown below.
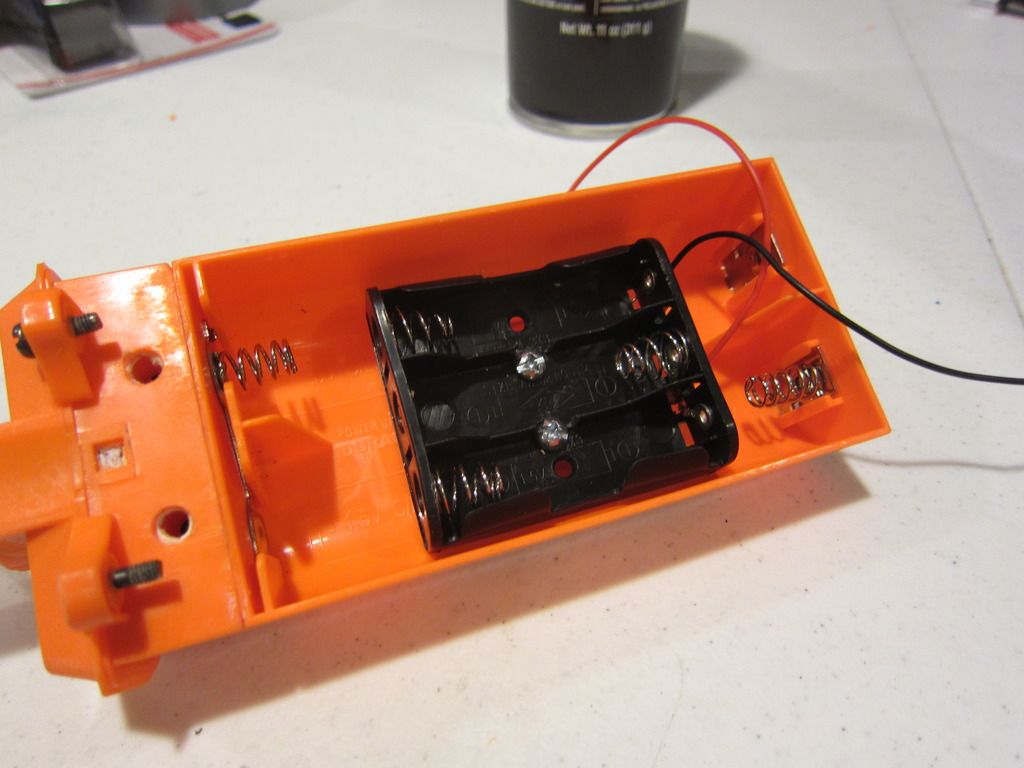
Solder the red wire to the positive terminal on the rapidstrike tray (the plate) and the black wire to the negative terminal (the spring) and you are done.
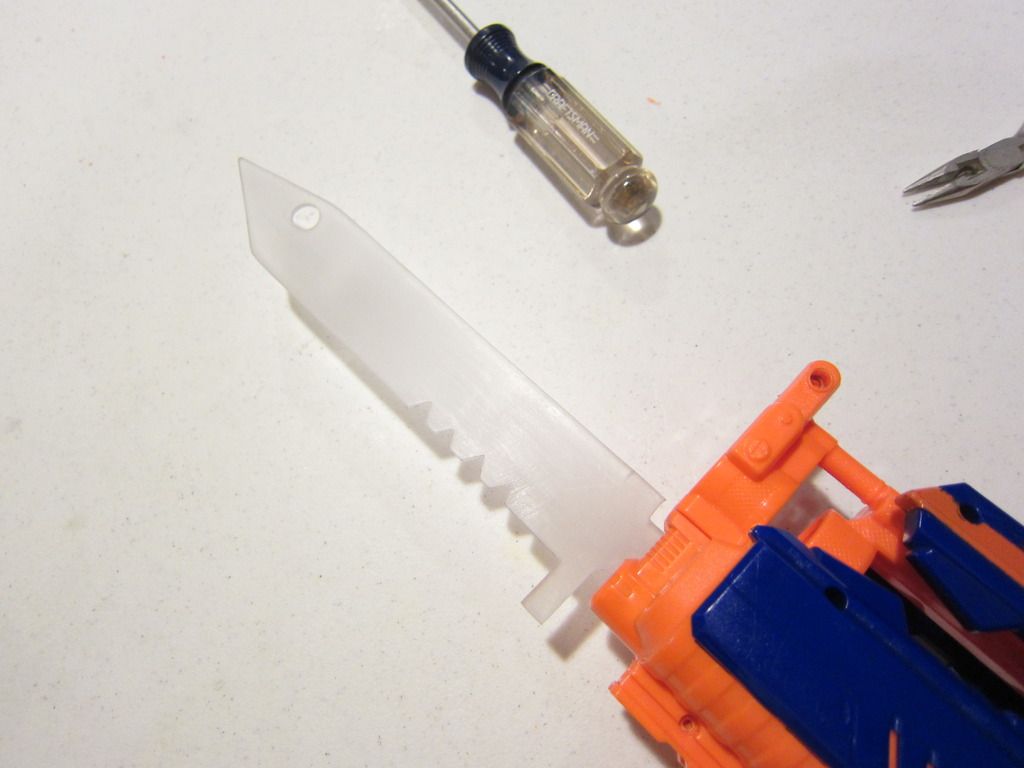
This is what my finished bayonet attachment looks like.
Proceeding to the aesthetic plates on the sides of the Rapidstrike. Unscrew this silver screw on the inside of both halves of the rapidstrike.
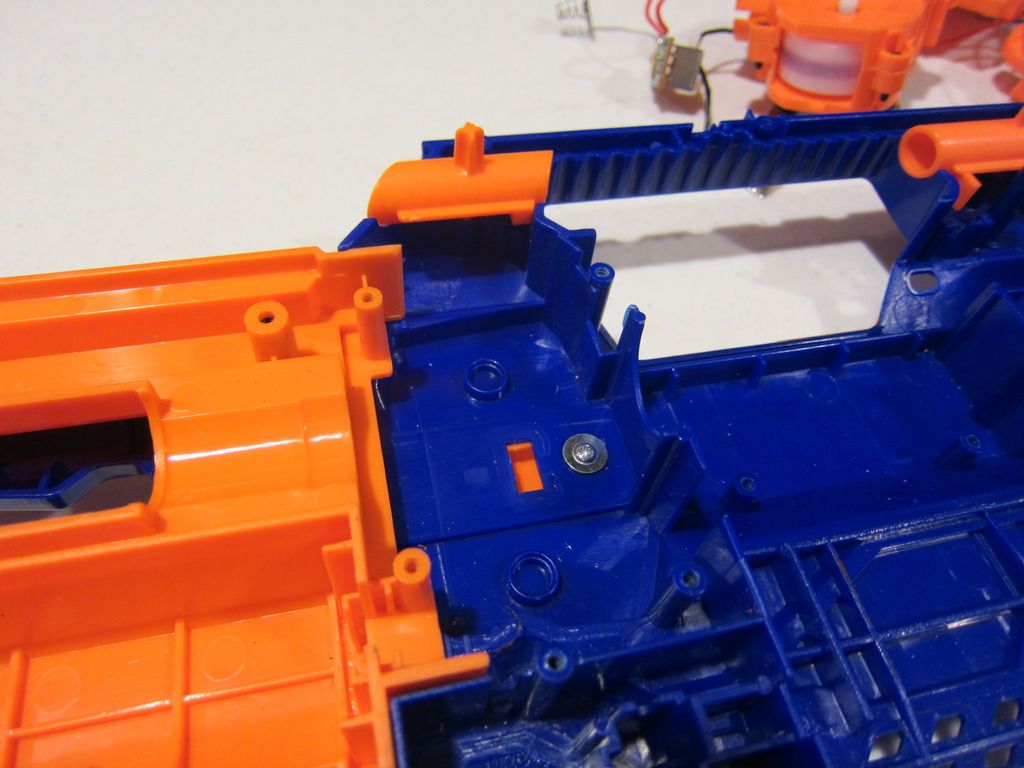
And remove your tactical rails.
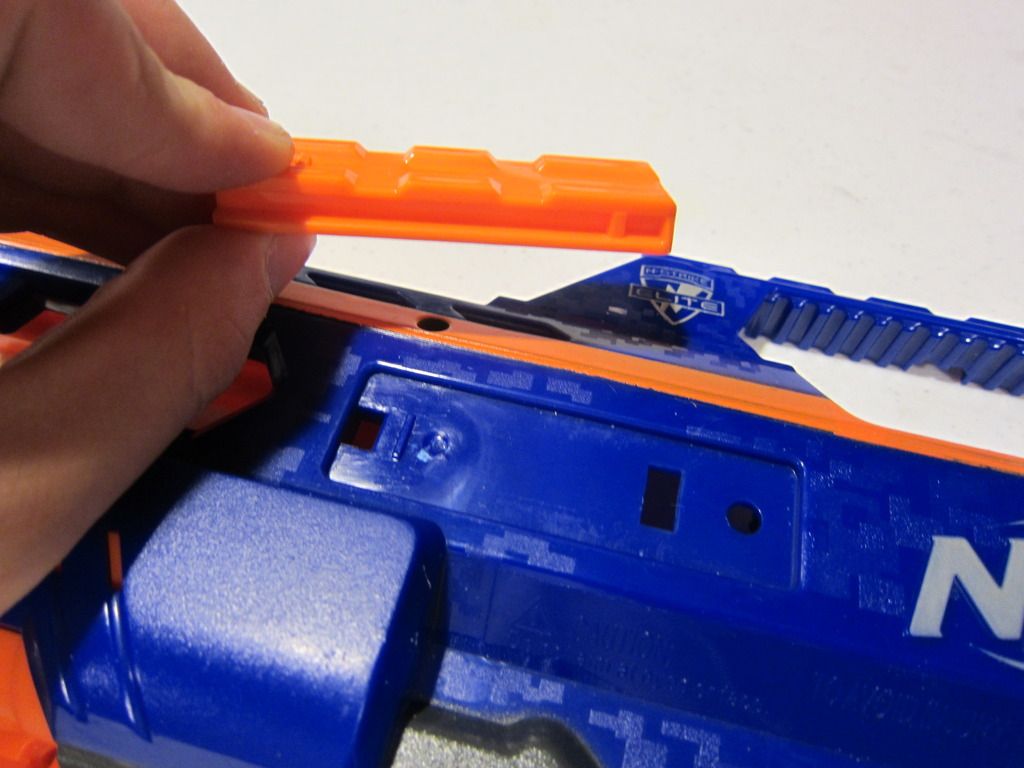
Cut a long rectangular piece out of your polycarbonate.
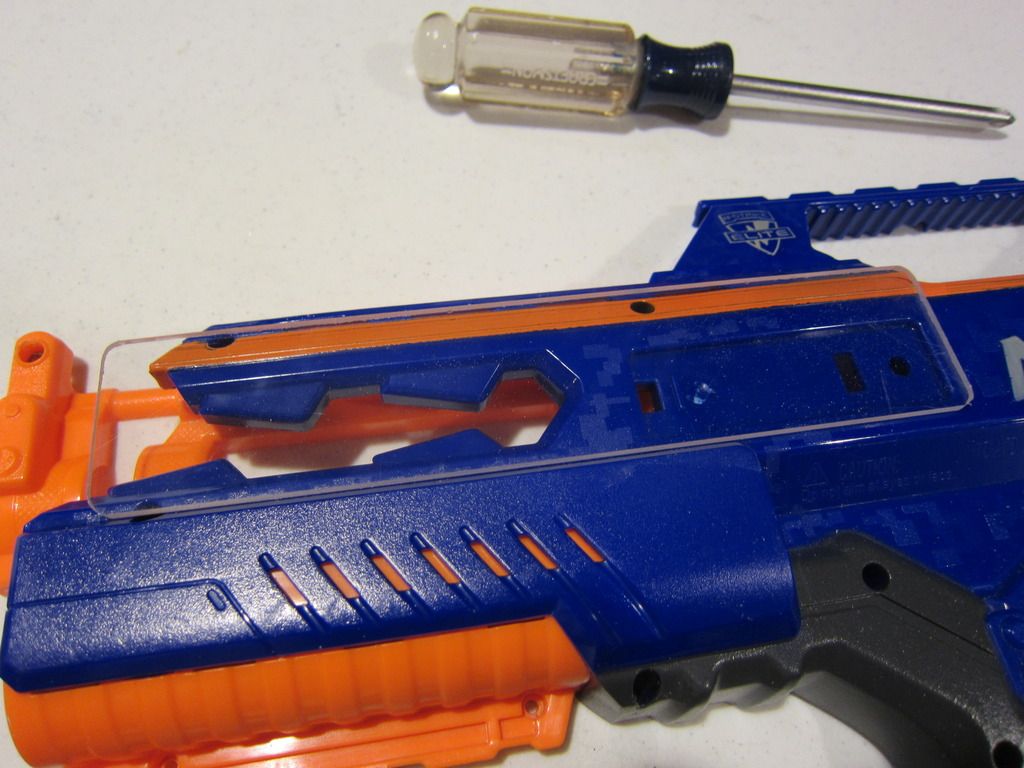
Drill 10 holes like so into your plate like so. Make sure to drill some of them through the rapidstrike shell because we will need those holes to screw the plate onto the Rapidstrike.
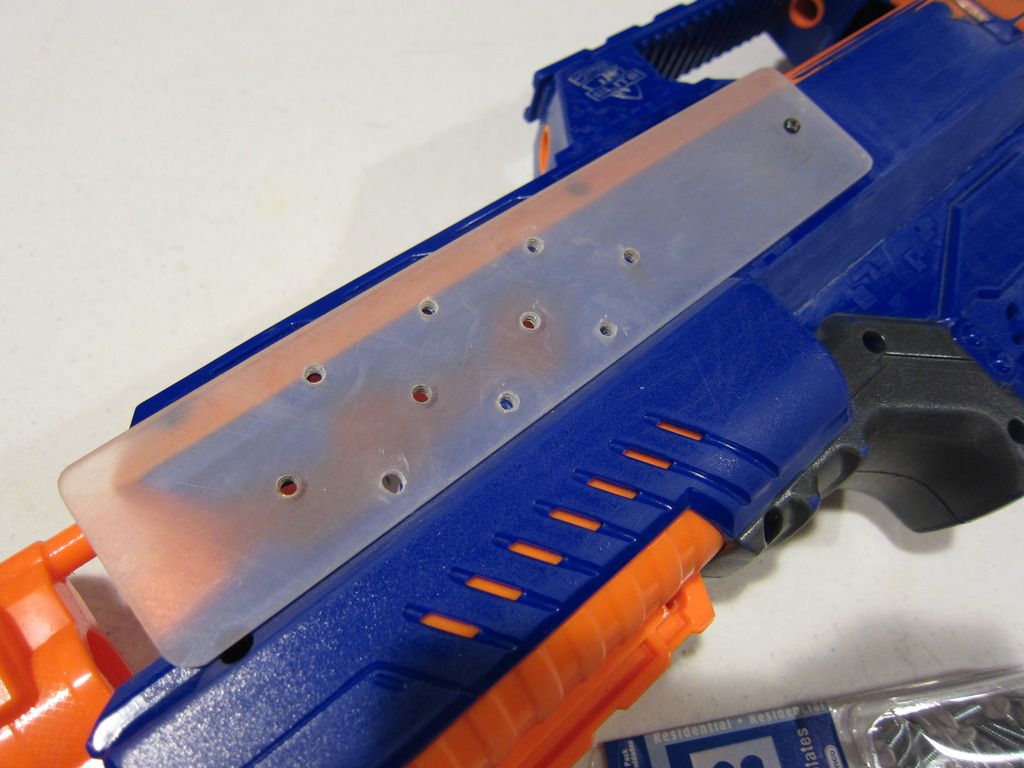
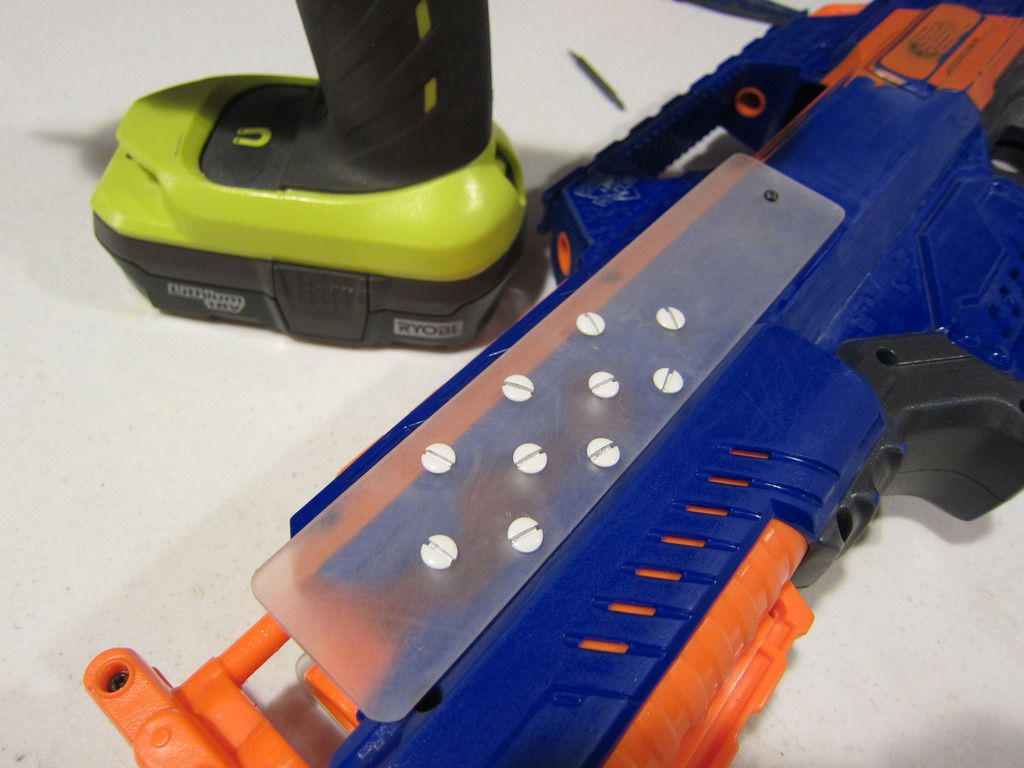
And use an electric drill with a screwdriver tip, or a manual screwdriver, and screw your screws into the plate. The screws are mostly aesthetic. They simulate the spikes from Red Death.
*******INTERNAL PERFORMANCE MODIFICATIONS*******
These mods are not necessary if you are doing this mod for the looks. They are only to increase power and rate of fire of your rapidstrike.
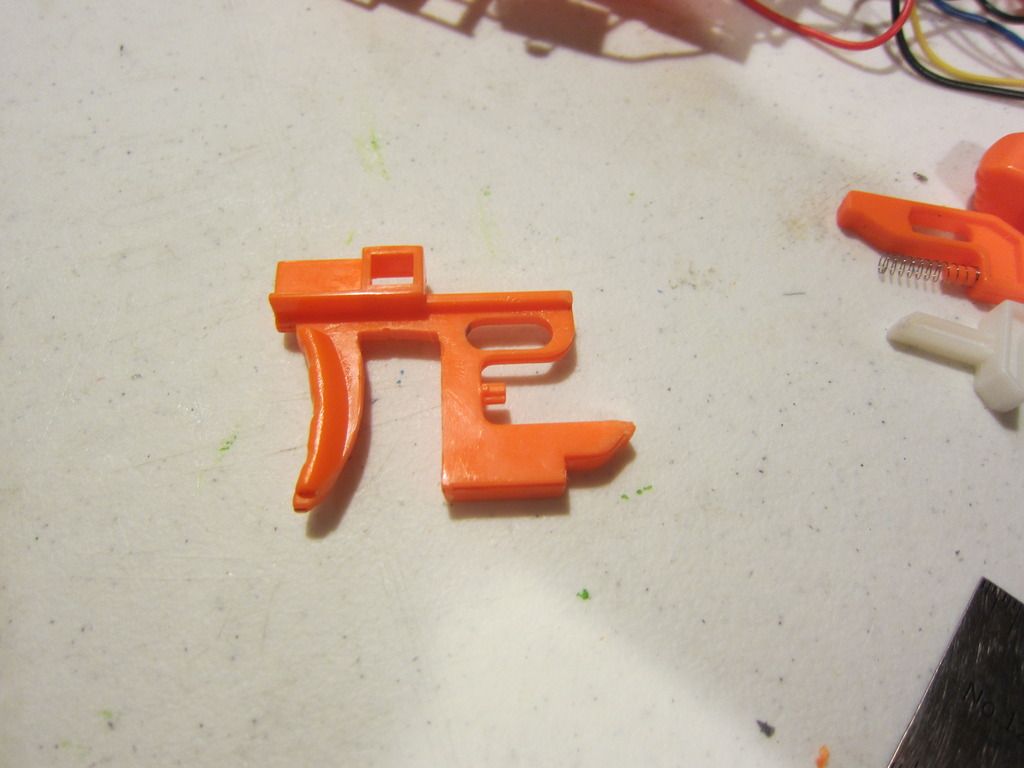
Unscrew the two screws on you trigger unit and carefully open your trigger box. First, delicately pry the switches out of their sockets before opening. Remove the white pieces and the spring shown in the top of the picture. YOU DO NOT NEED TO OPEN IT ALL THE WAY IF YOU DON’T WANT TO.
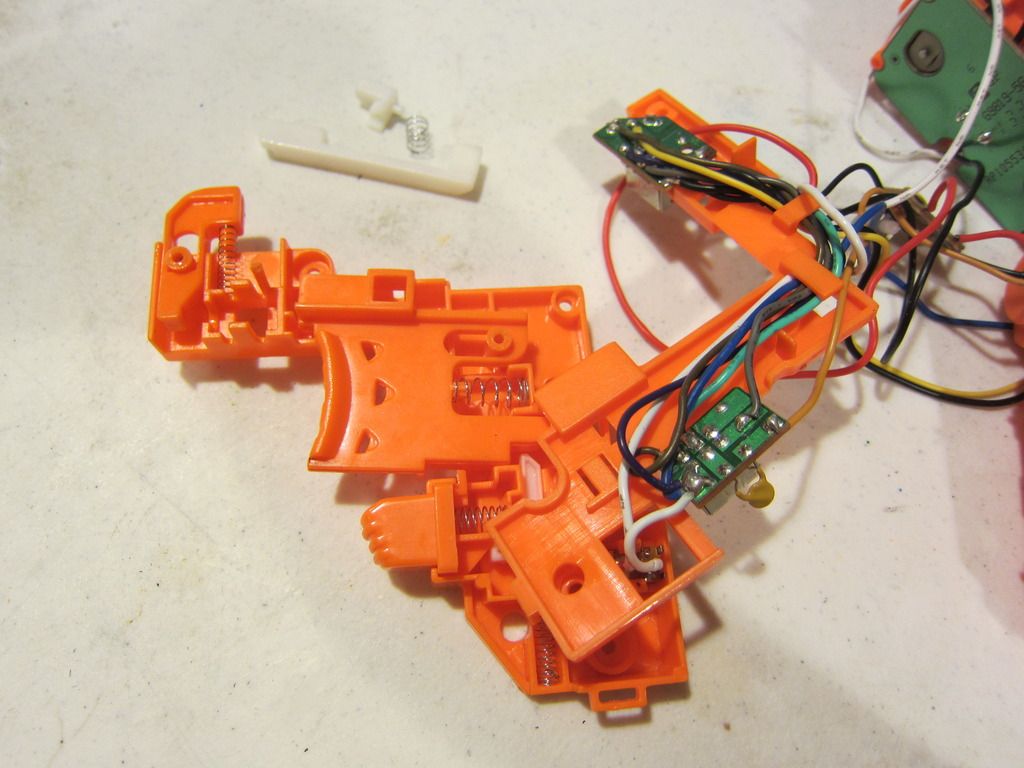
I chose to dremel my trigger into the shape of a real firearm trigger. It looks really cool so why not?
Taking a look at the flywheel cage now. Cut the wires off and use any kind of pliers to break the green panel off. There is another circuit board underneath which you must also rip off. Be careful not to rip of the motor prongs. Cut them from the board to ensure they are preserved.
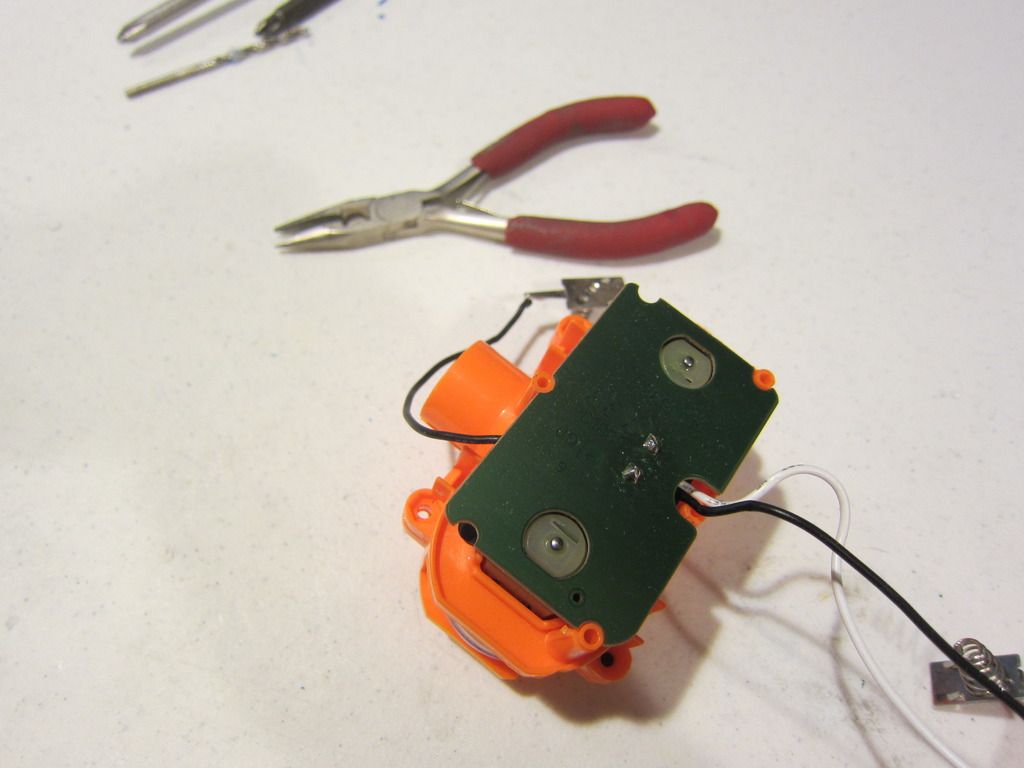
Solder two short wires going parallel from motor to motor and solder the white wire you previously cut to the front-most wire and the black wire to the other. If this is hard for you to understand, take a look at Coop772’s rapidstrike mod guide.
*********PAINT JOB WALKTHROUGH**********
To nail a replica gun, you need to get the paints right. Take your gun and its components outside and apply a base coat of Rustoleum Grey Primer. Inside as well so you don’t see blue on the inside.
I have a painting tutorial on youtube if you need help.
https://www.youtube.com/watch?v=U_jgwrWdNvg
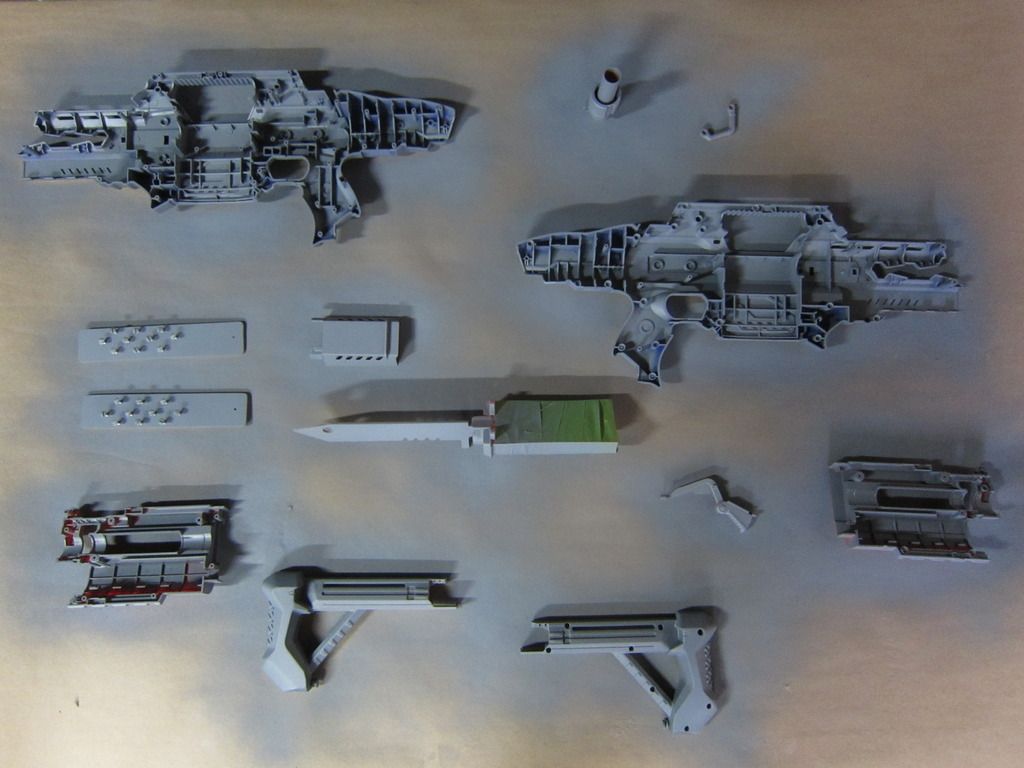
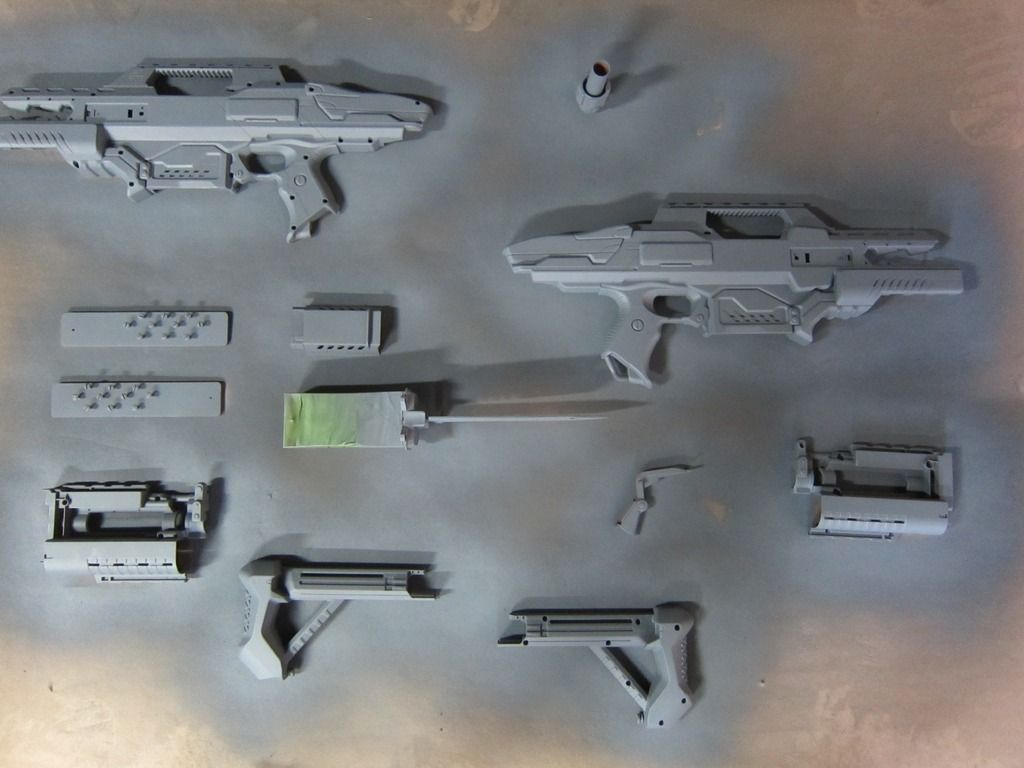
After your base coat dries, bring it inside for detailing. The most important part is lots and lots of blood. Its okay if it is messy because the guardian who wielded this obviously didn’t care about where he got blood on his gun. I used a red acrylic paint and a black for some details.
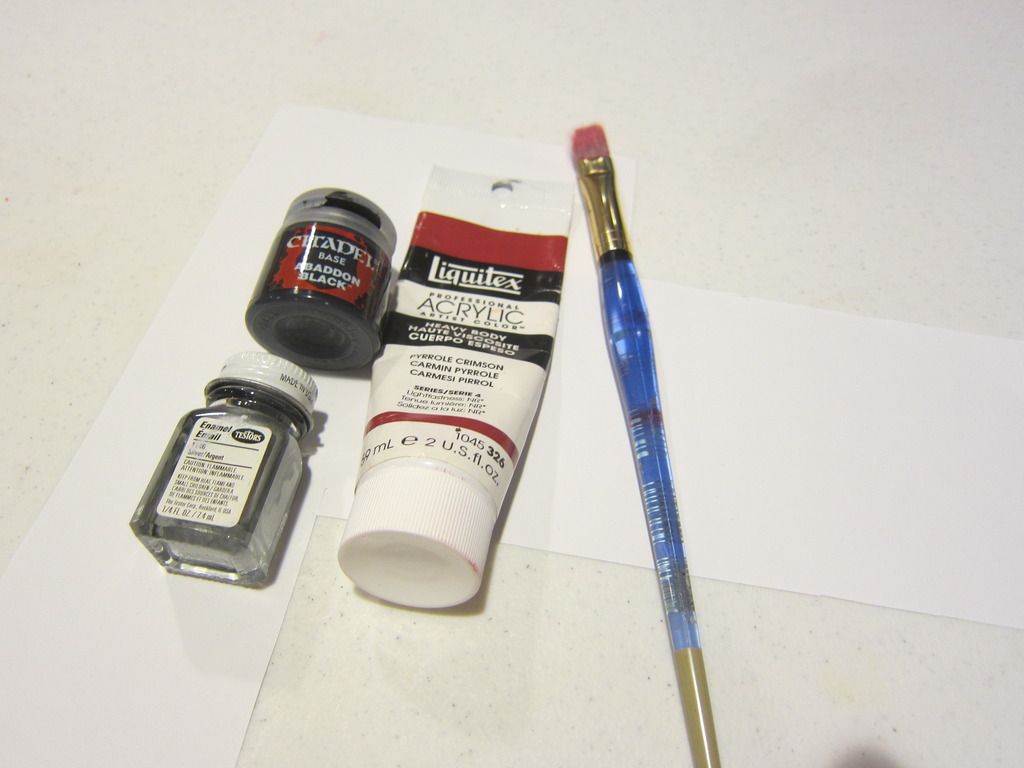
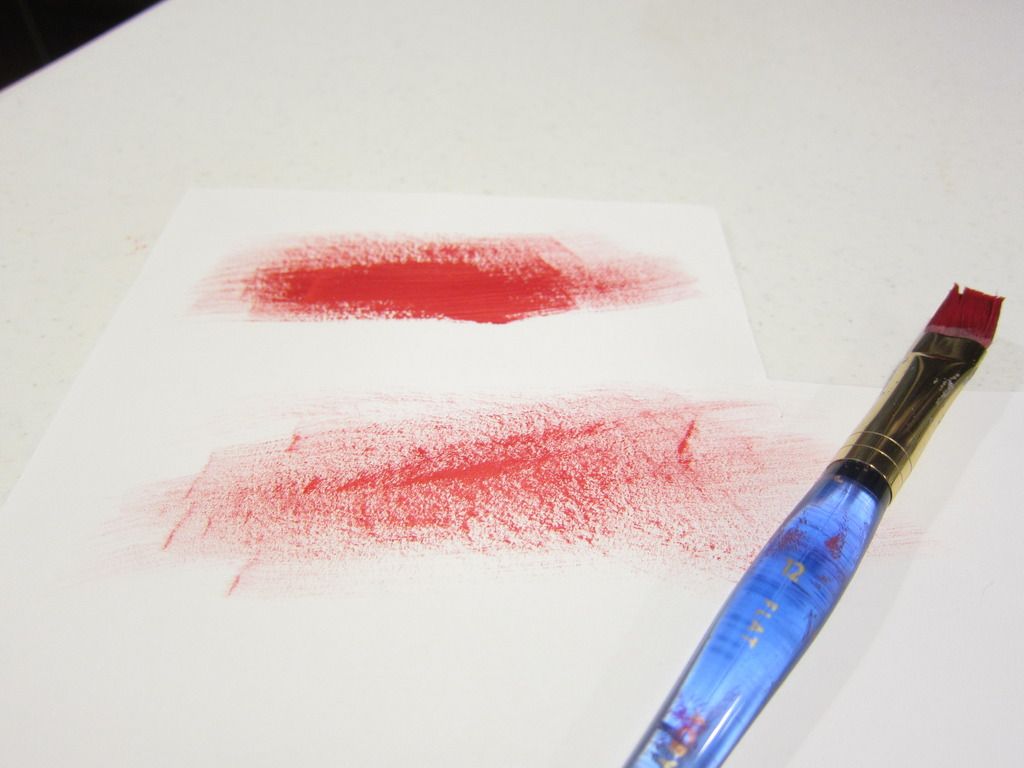
Apply some red to your paintbrush and test it out on paper. If you want less paint, rub some off onto your paper.
Reference an image and try to replicate the image as best as you can. This is how mine turned out.

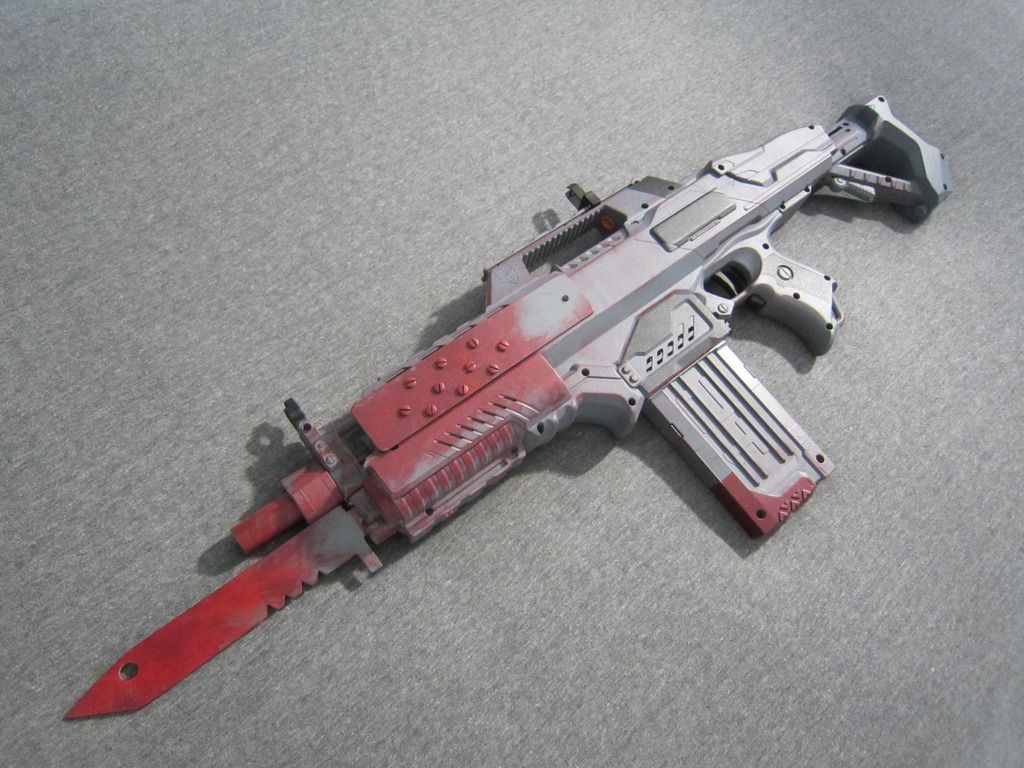
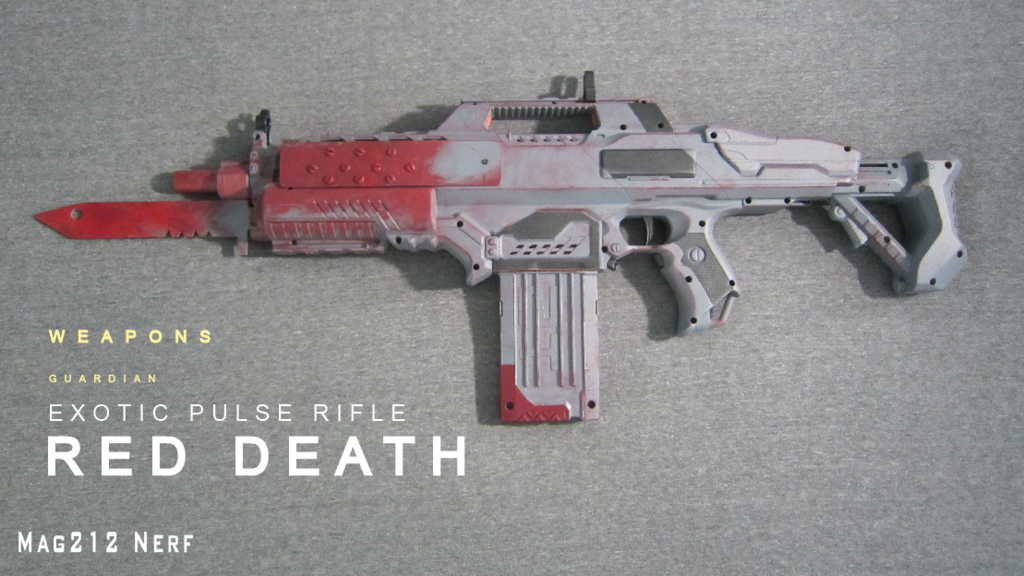
If you are interested, I have a youtube video documenting the whole process.
https://www.youtube.com/watch?v=qibf-8jPgLc
This is the end of my write-up. I hope you liked it. If you have any questions or need help, feel free to post a comment below.


