This is my write-up showing you how to make a minimized Nerf Rapidstrike that can accept barrel and stock attachments.
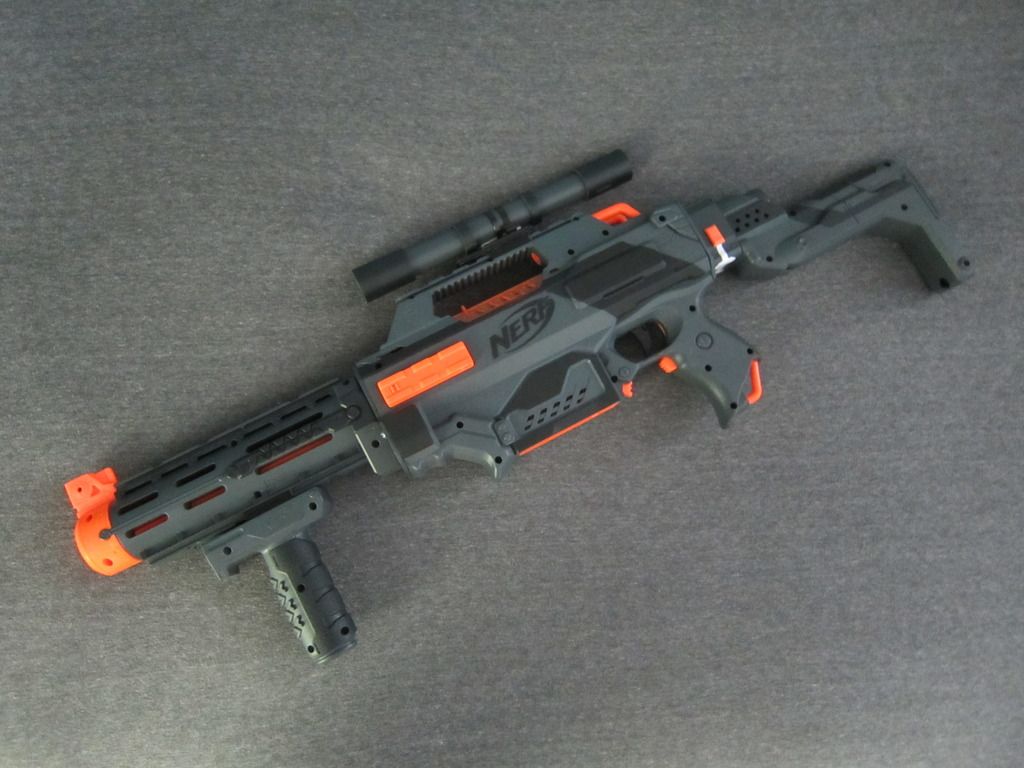
If you somewhat follow this write-up you should end up with something pretty sweet looking. This is mine.

These are some of the things that you will frequently need throughout the course of this modification. Some things are optional based on what you want to do with your gun, but these are the materials/ tools that I used for mine.
Tools and Supplies you’ll need
- Rapidstrike cs-18
- Retaliator (or gun with stock attachment point)
- Hack saw (or band saw)
- Belt Sander (optional)
- Dremel/ Rotary tool
- Epoxy Putty
- 1/8 (preferably ¼) inch Polycarbonate Sheet
- Hot Glue Gun
- Super Glue/Liquid epoxy
- Soldering Iron (and solder)
- 18-guage wires
- Electric drill
- AA Battery holder
- 6/32 machine screws
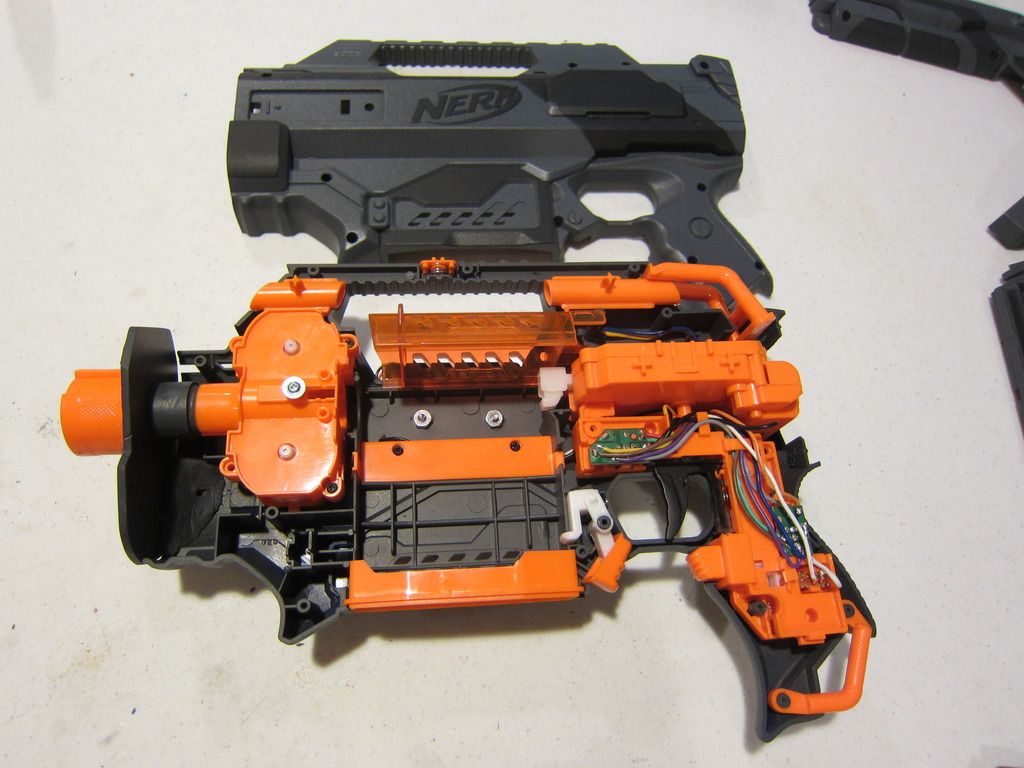
Take your rapidstrike, open it up, and remove all of the internal components. Make sure you keep track of where everything goes for when you reassemble it. I find taking a picture is helpful (but I’ve done it so many times now I don’t need to).
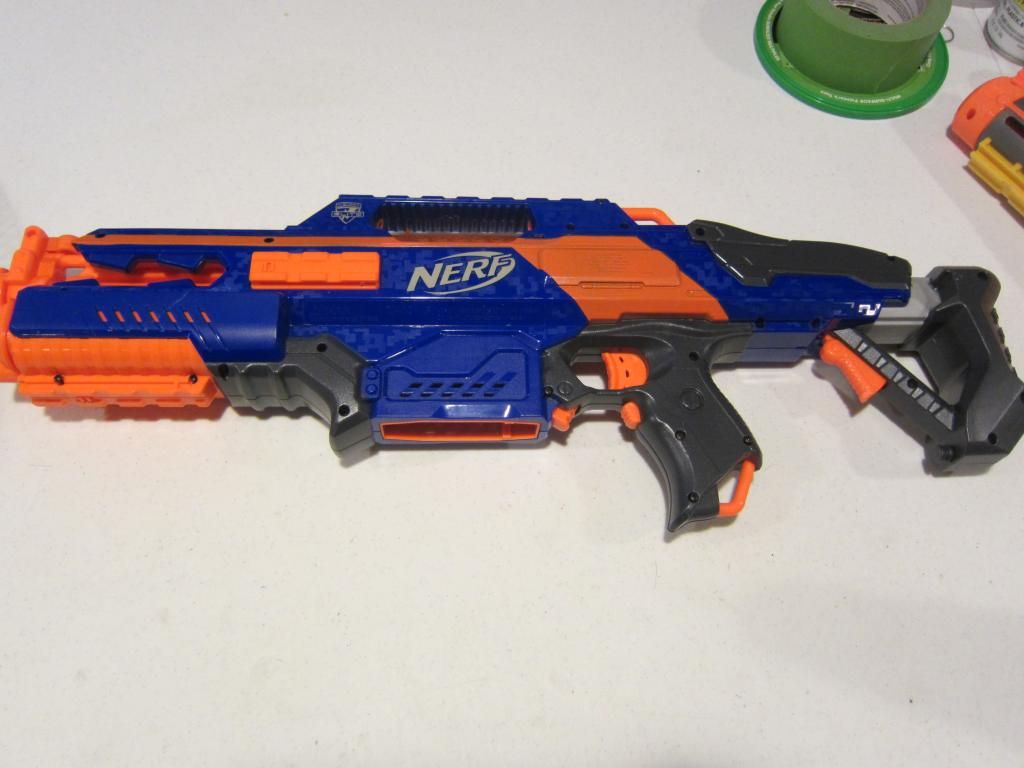
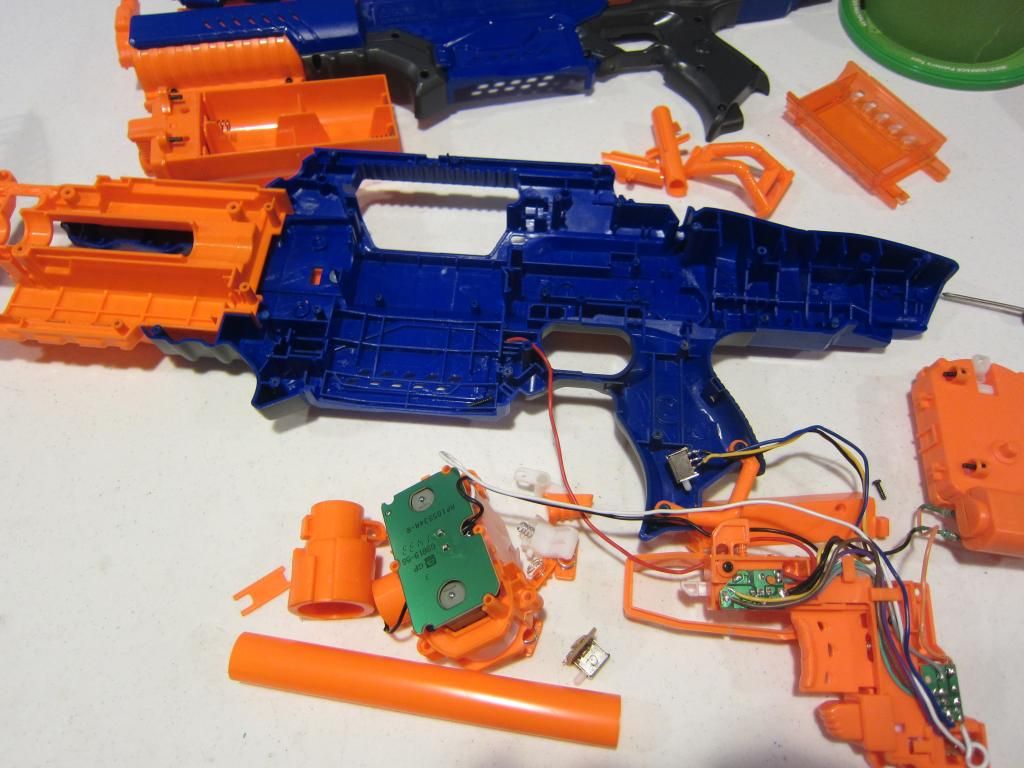
Now we are going to minimize the front. Make a cut wherever you want as long as to don’t cut off anything you need. I usually like to keep the tactical rails.
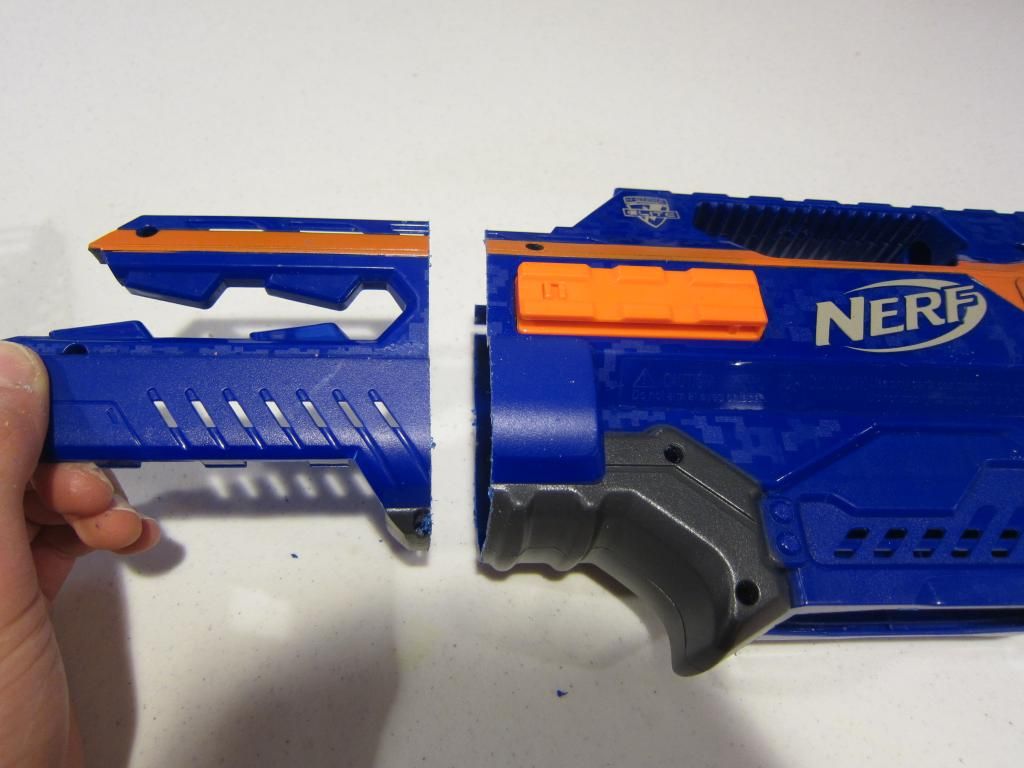
If you don’t have a belt sander, pay attention to your cut and try to make it as clean as possible. You can clean it up with a Dremel or sandpaper if you don’t have a belt sander.
To minimize the back, cut right about here.
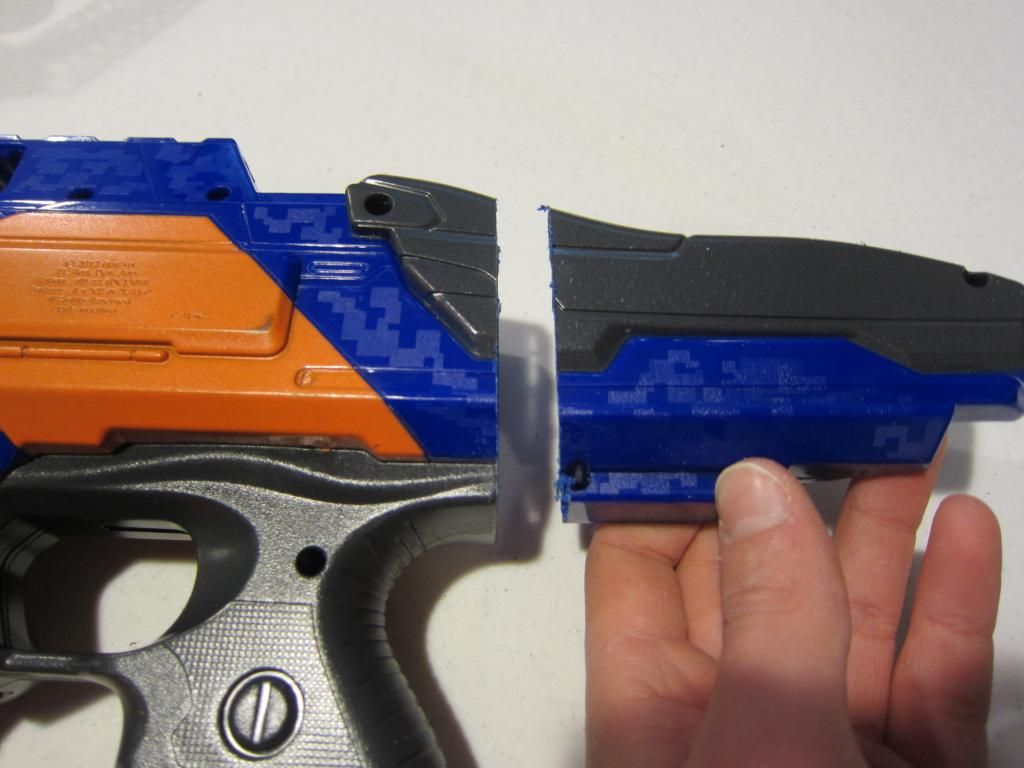
After you clean it up, you will be left with a nice minimized rapidstrike. And if you like, you can go ahead and reassemble.
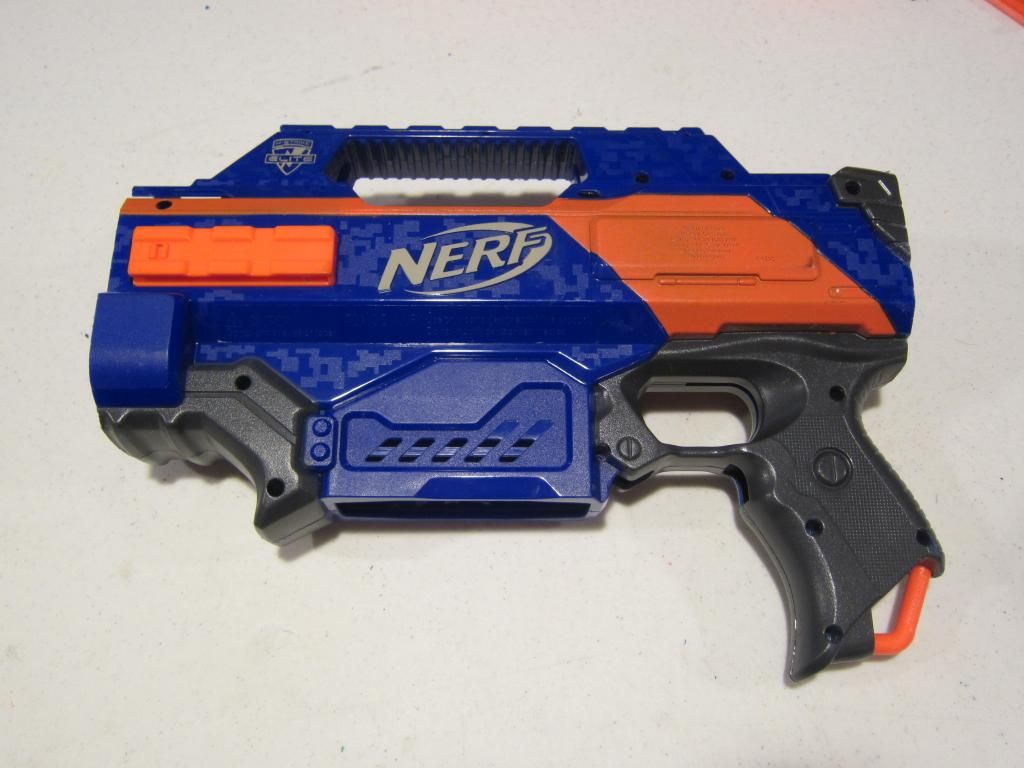
However, if you like things to be more interesting and more customizable, stay tuned.
Cut out two pieces of polycarbonate (or similar material) in the shape of the exposed back of the rapidstrike. This is where the scroll saw or band saw is helpful.
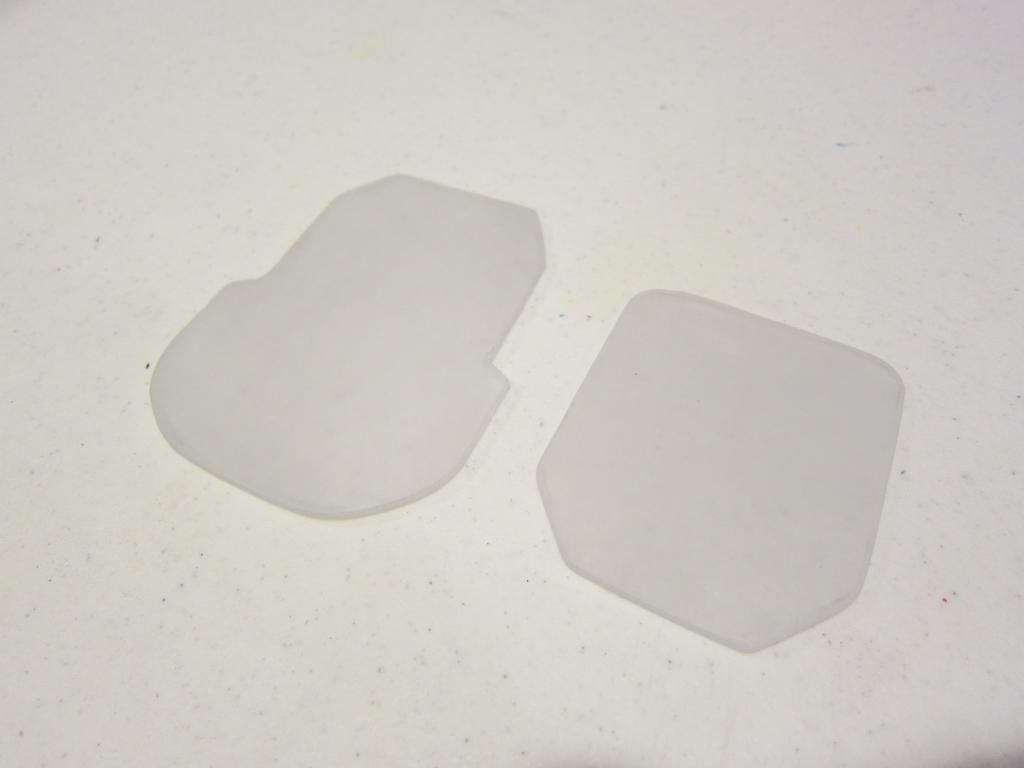
Now we are going to work on the stock attachment point. Take a retaliator or another gun that has a stock attachment point that you are willing to destroy.
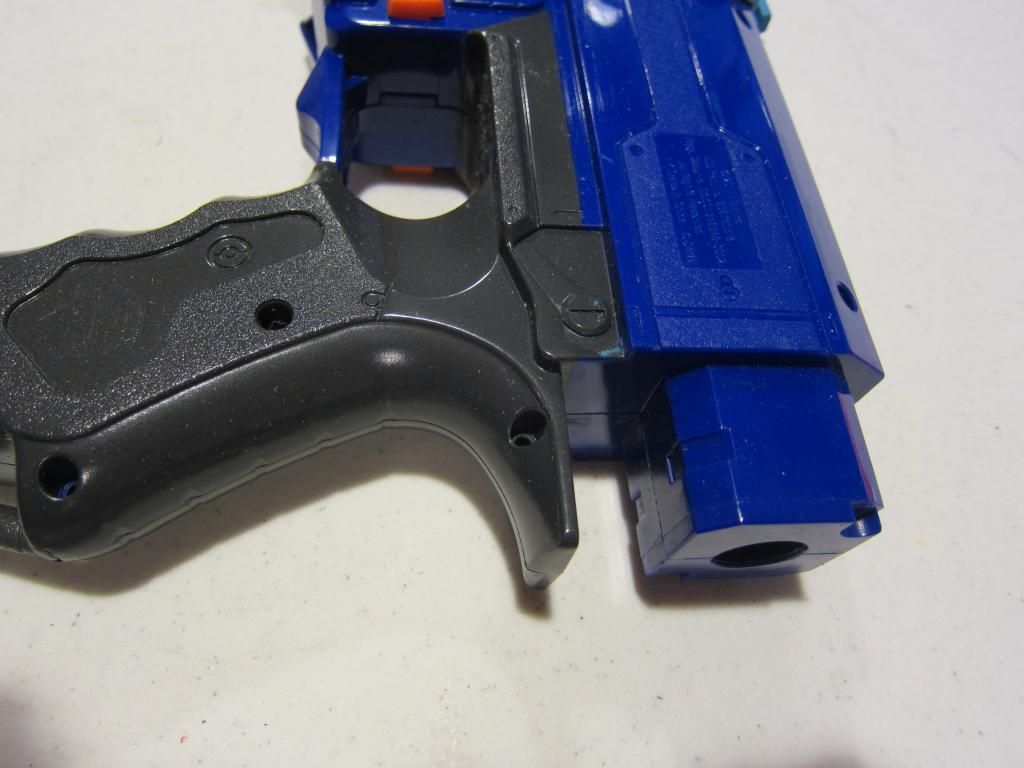
Cut off the little nub on the back. This is what we are going to use for the stock attachment.
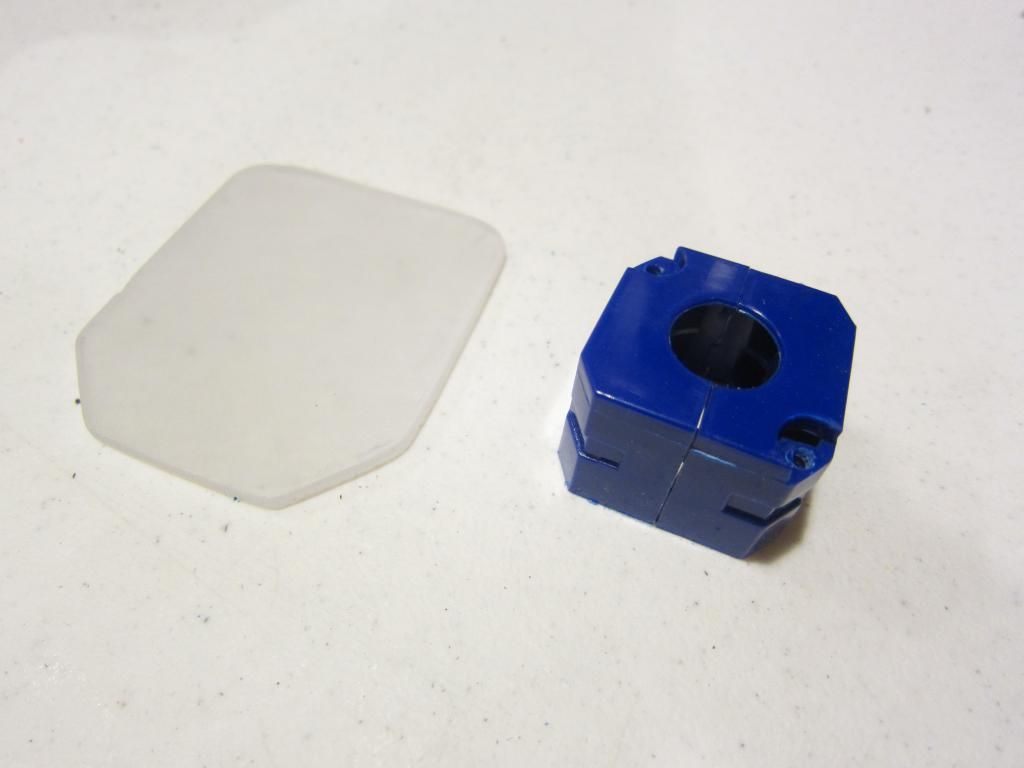
Apply a little super glue and then press onto the polycarbonate back plate.
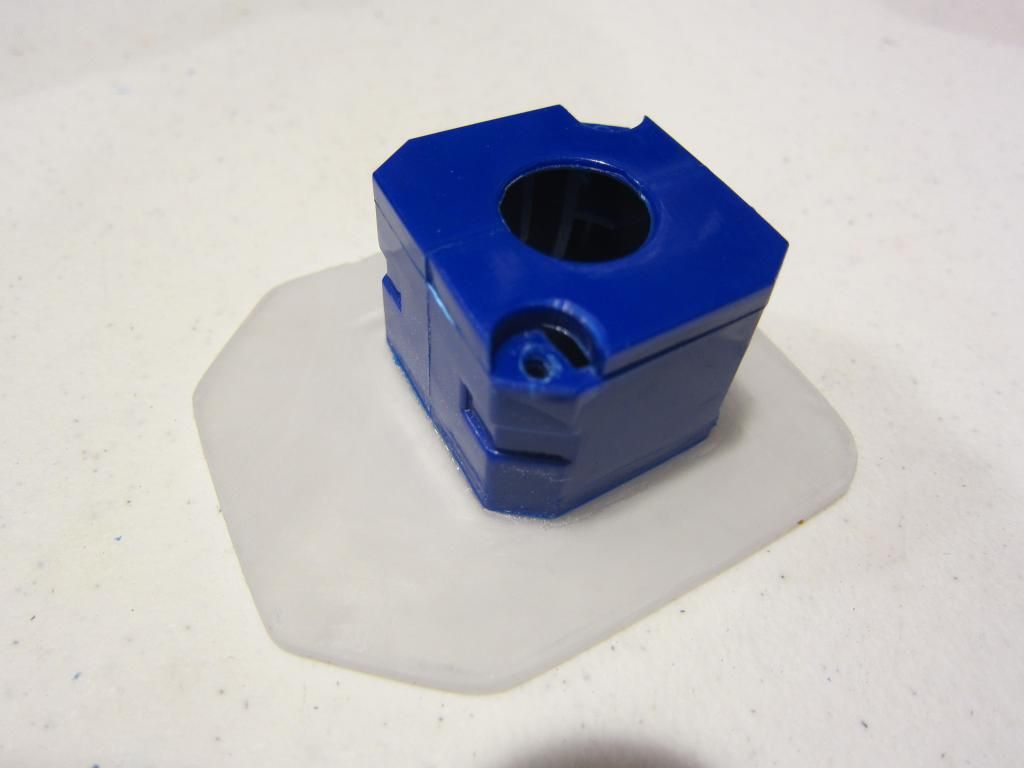
Now fill the entire inside with some kind of adhesive like liquid epoxy or high temp hot glue. If you do use hot glue, remember the hotter the glue, the better the bond. This is also why I like using the retaliator. You can easily insert adhesives through the hole for the plunger rod.
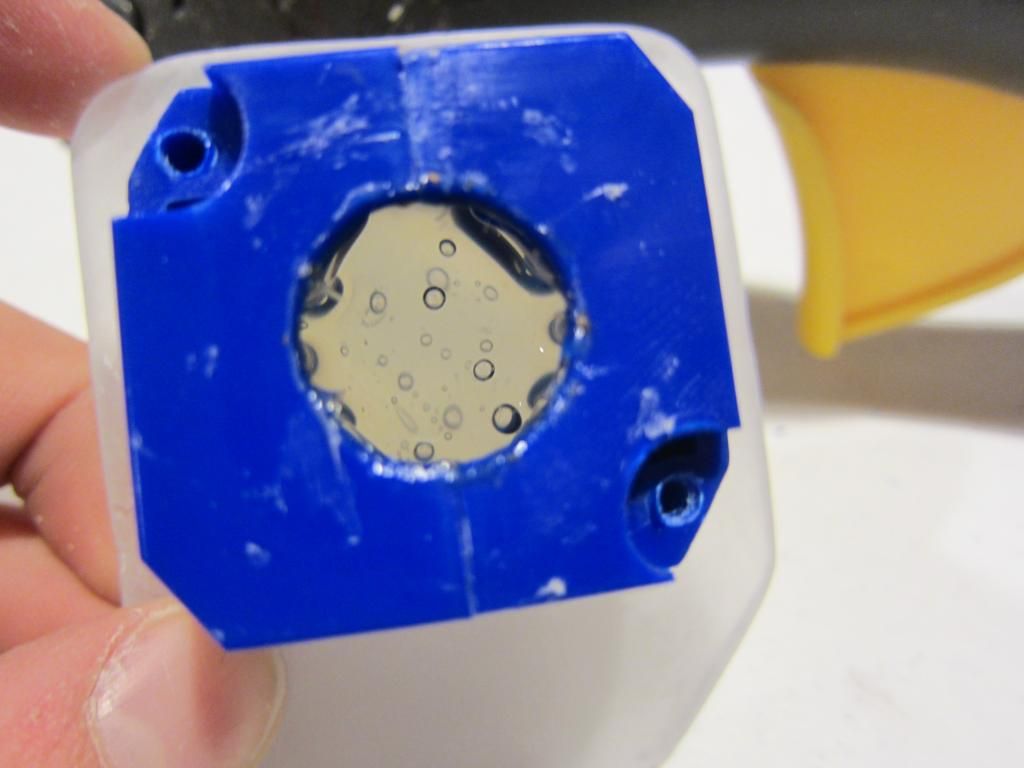
This is what my stock attachment point looks like.
Now drill and tap four holes for your screws. This is how we are attaching the plate to the rapidstrike.
Now your stock should attach and be very sturdy.
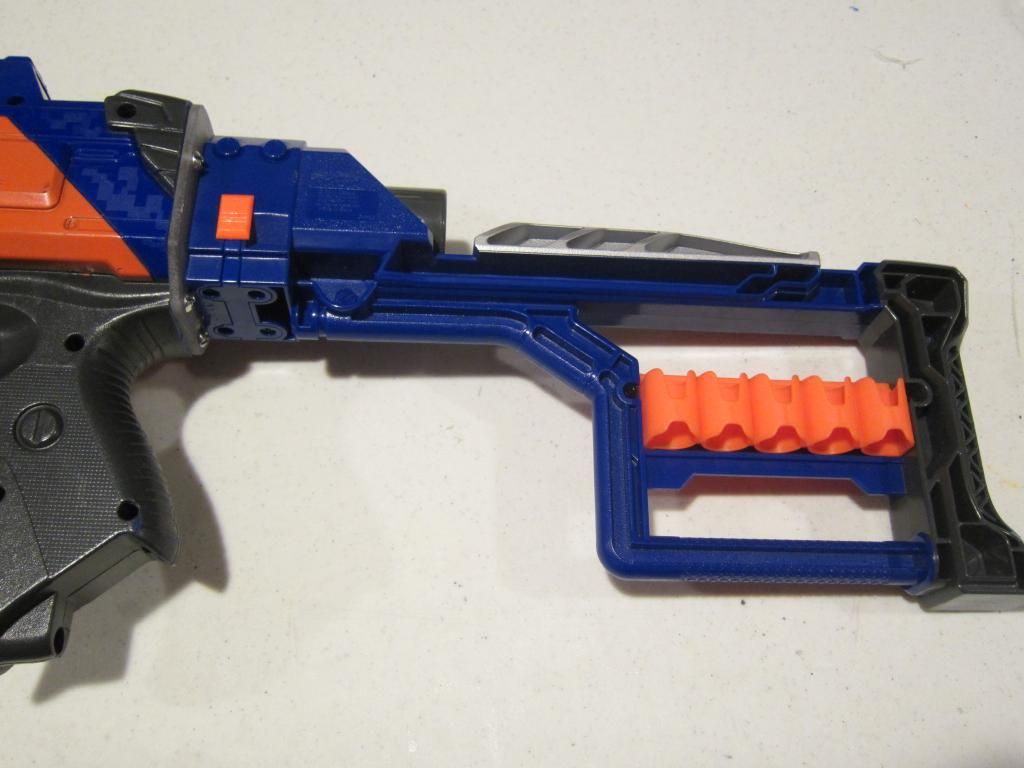
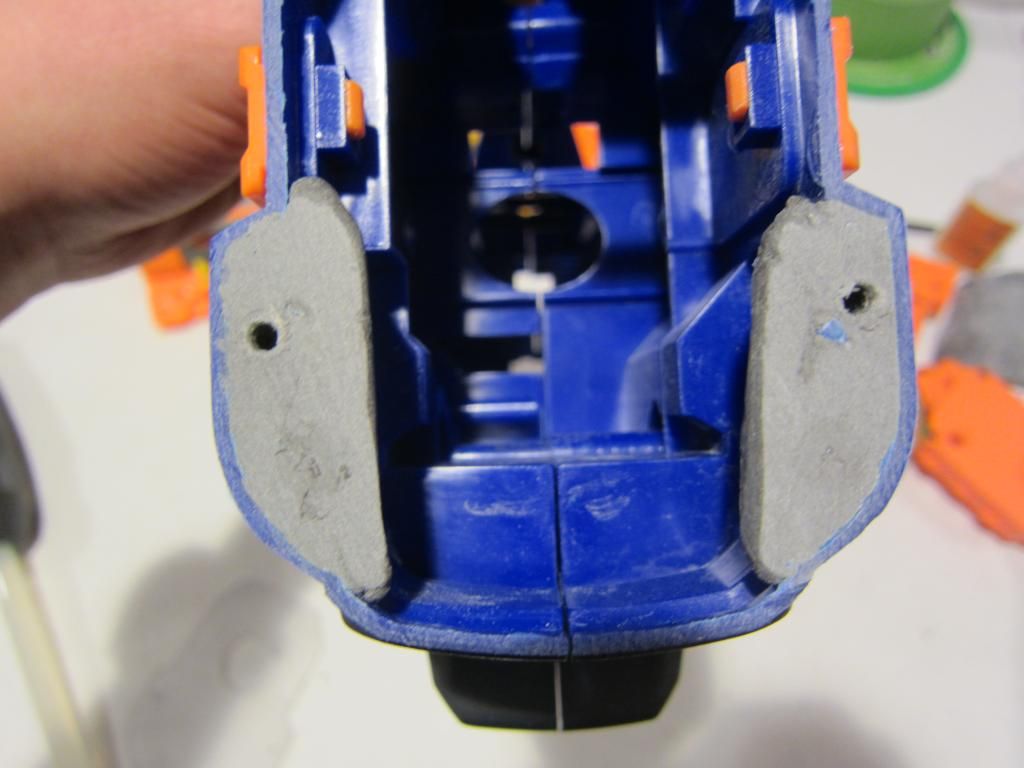
Now lets proceed to the mod that allows you to attach barrels. Using your epoxy putty, knead until it is a uniform grey color. Then, make epoxy studs like shown below. Let your epoxy putty cure for at least an hour.
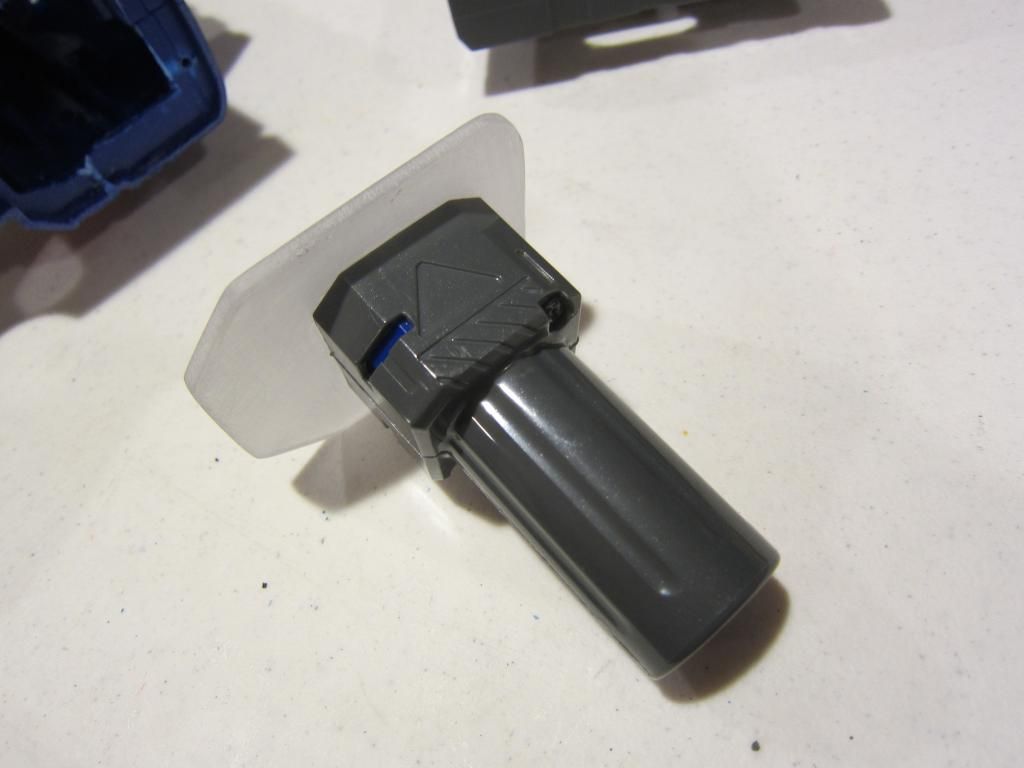
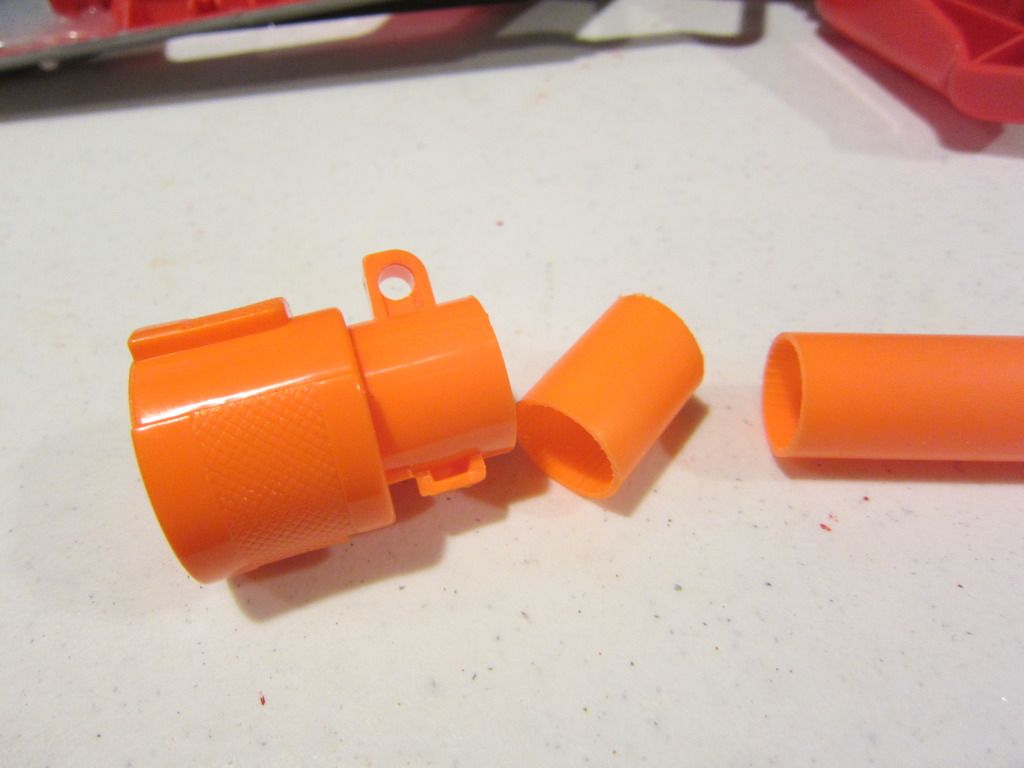
Take your barrel piece (shown below) and cut a short segment of you stock barrel. We will use this barrel segment to attach the barrel connection point to the rapidstrike. Sand off the nubs on the rear of the barrel attachment point.
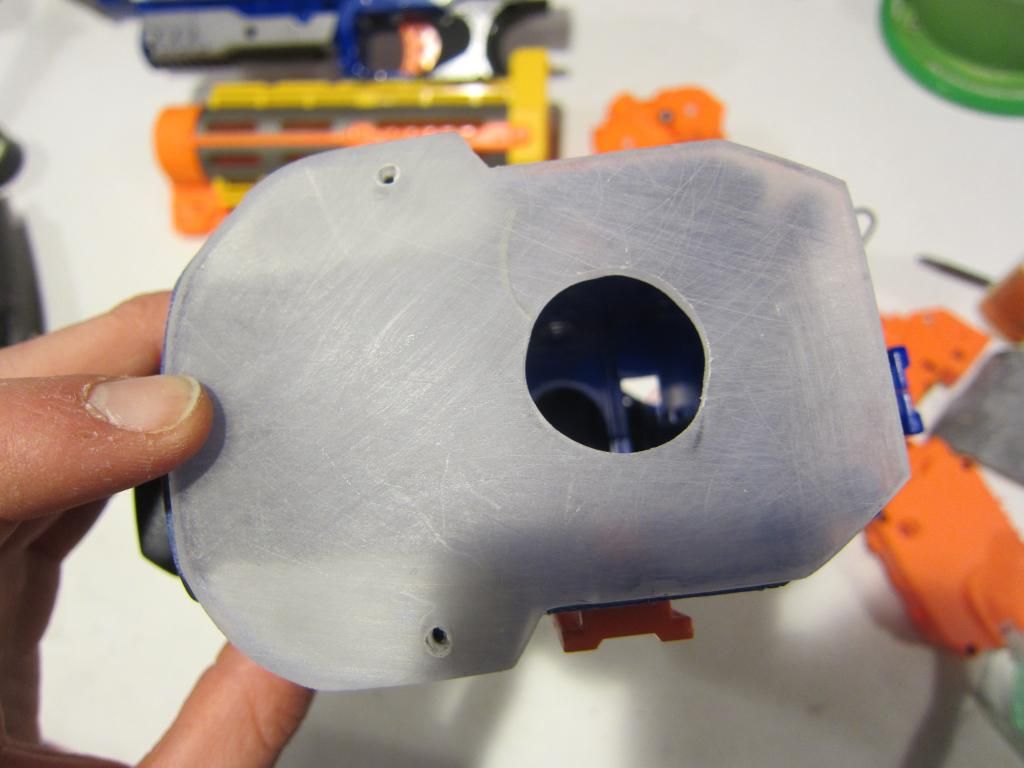
Now you will have to machine a front plate out of your polycarbonate or a similar material. Remember: Be careful if you are working with tools! Cut, sand, and whittle until you are satisfied with the outline. Hold your plate down and drill a hole on each side making sure that you drill through the epoxy studs. You will need to screw into them in order to secure the plate.
Also drill a large hole where your barrel attachment point will come out. Measure carefully!
Get your Gorilla super glue, JB Weld, liquid epoxy, or the strongest adhesive agent you know of. Apply some to both ends of your freshly cut barrel segment. Stick one end into the flywheel cage and the other into the barrel attachment point, putting it through the big hole you drilled.
PLEASE PLZ PLZ MEASURE/PROTOTYPE THE FIT BEFORE MAKING ANY PERMANENT BONDS. IF YOUR BARREL ATTACHMENT POINT IS TOO LOOSE YOUR BARREL WILL WIGGLE AND MAYBE BREAK OFF.
This is what it should look like except you should have it going through your front plate.
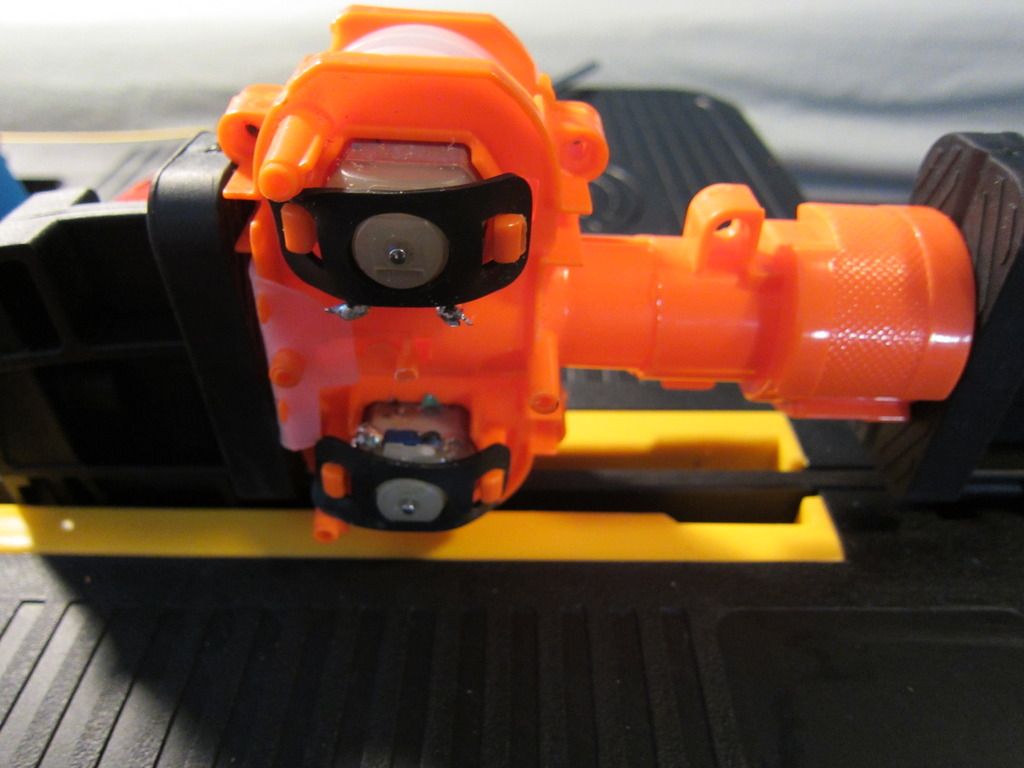
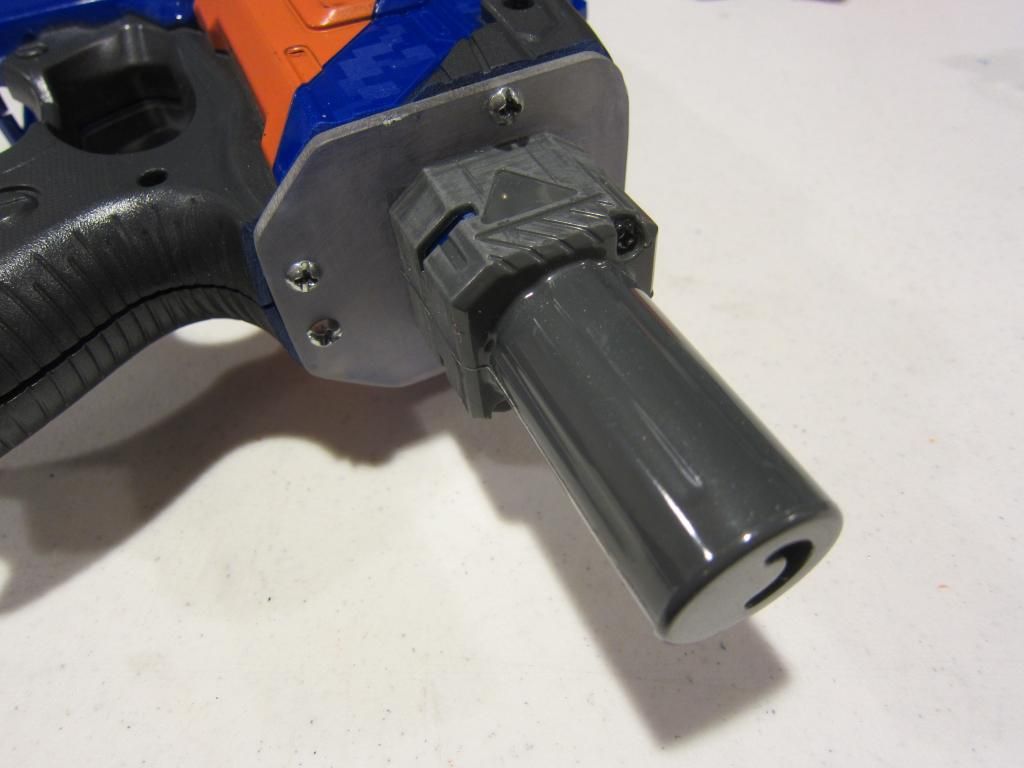
Your rapidstrike should look something like mine does (shown below). This process requires a lot about patience and accuracy. This write-up is just set you on the right track/ serve as a reference. You need to constantly test and adjust.
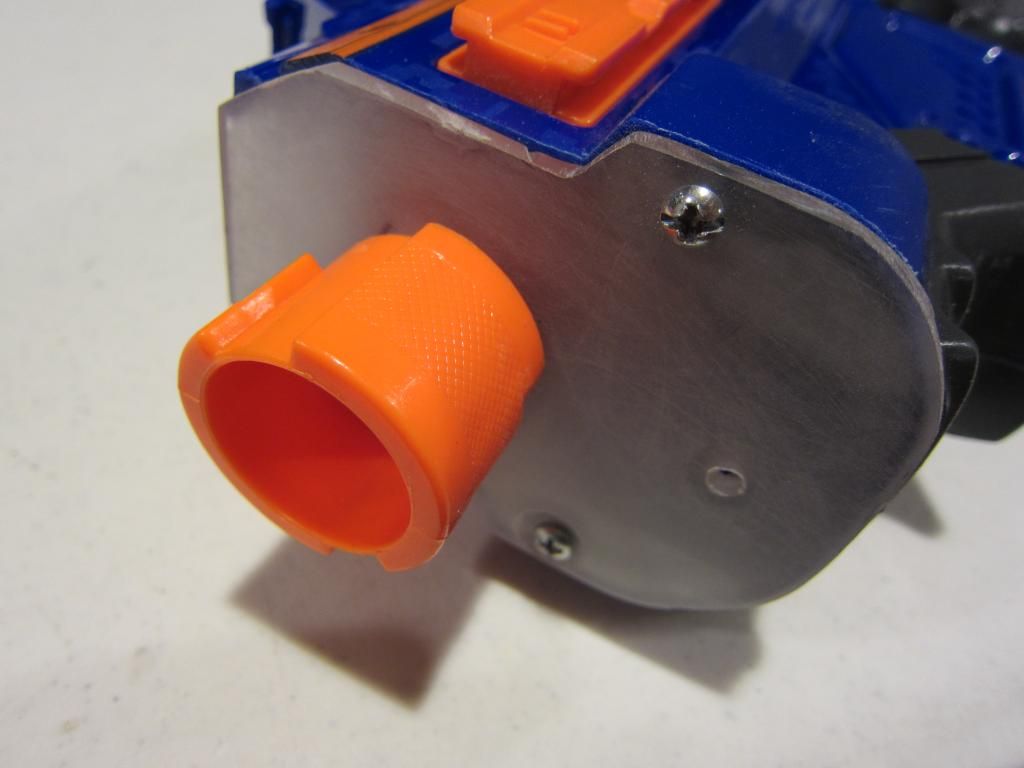
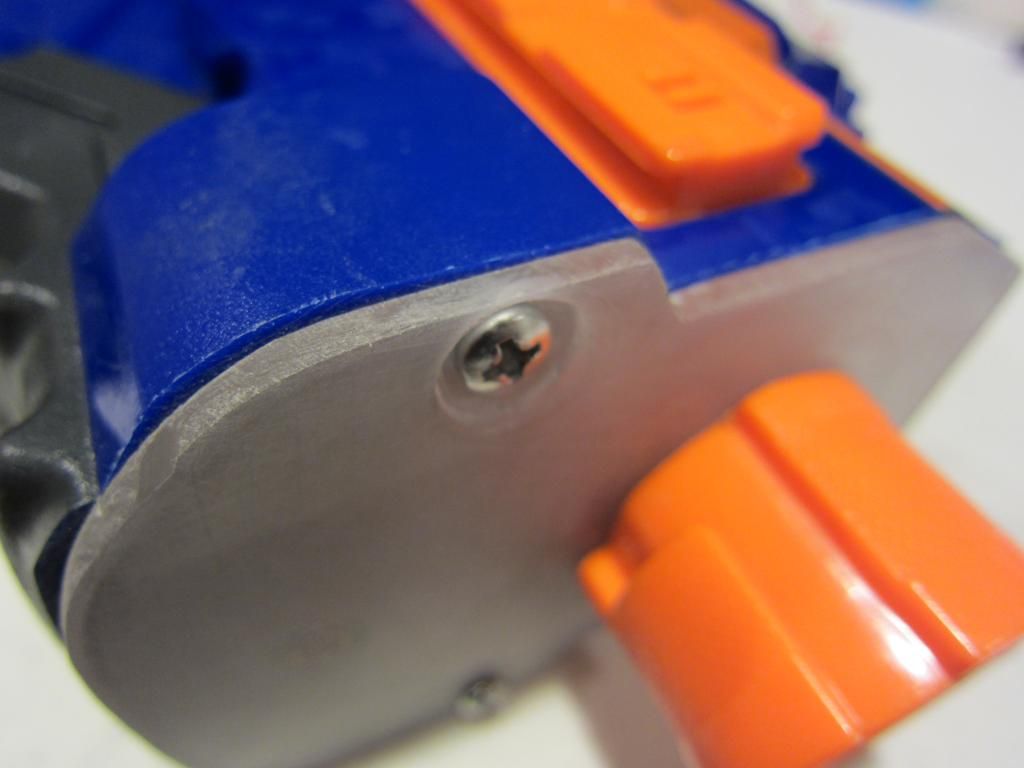
To secure your polycarbonate plate, thread your screws in. The screw shown below is countersunk so the barrel attachment process is not impeded. To countersink, just take a drill bit larger that the head of your screw, and drill without drilling completely through. This should allow your screw to go beneath the surface of the plate.
*********INTERNAL (PERFORMANCE) MODIFICATIONS**********
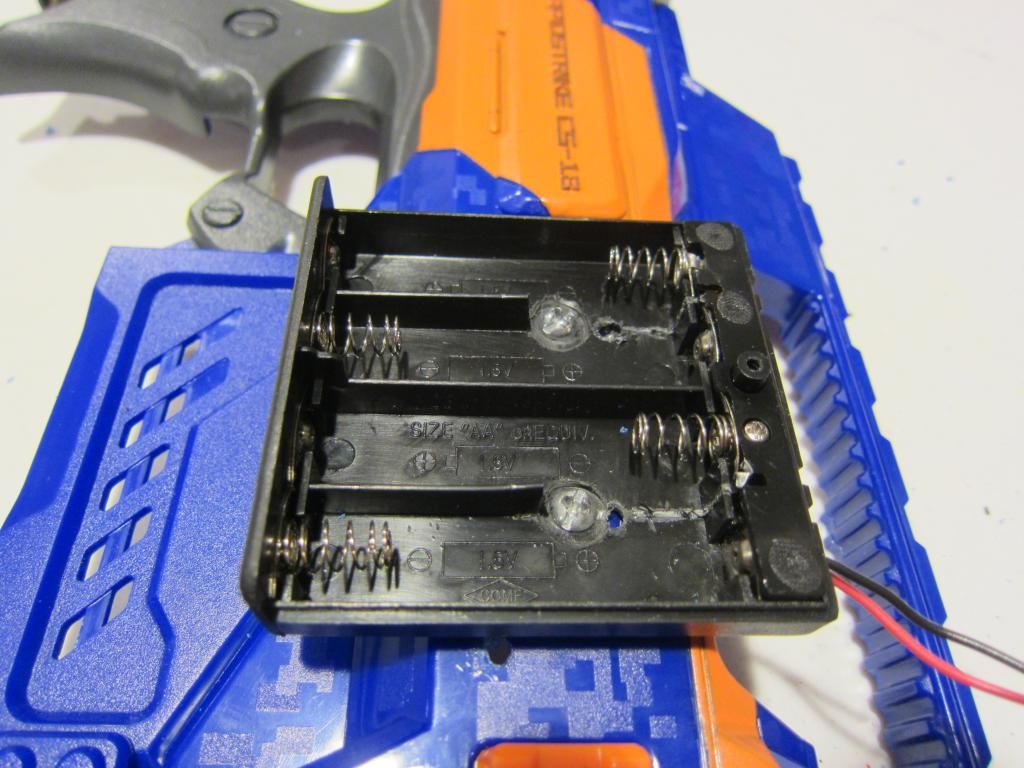
Since you have removed the battery tray from the rapidstrike, you will need to rewire your blaster to an external battery pack like this.
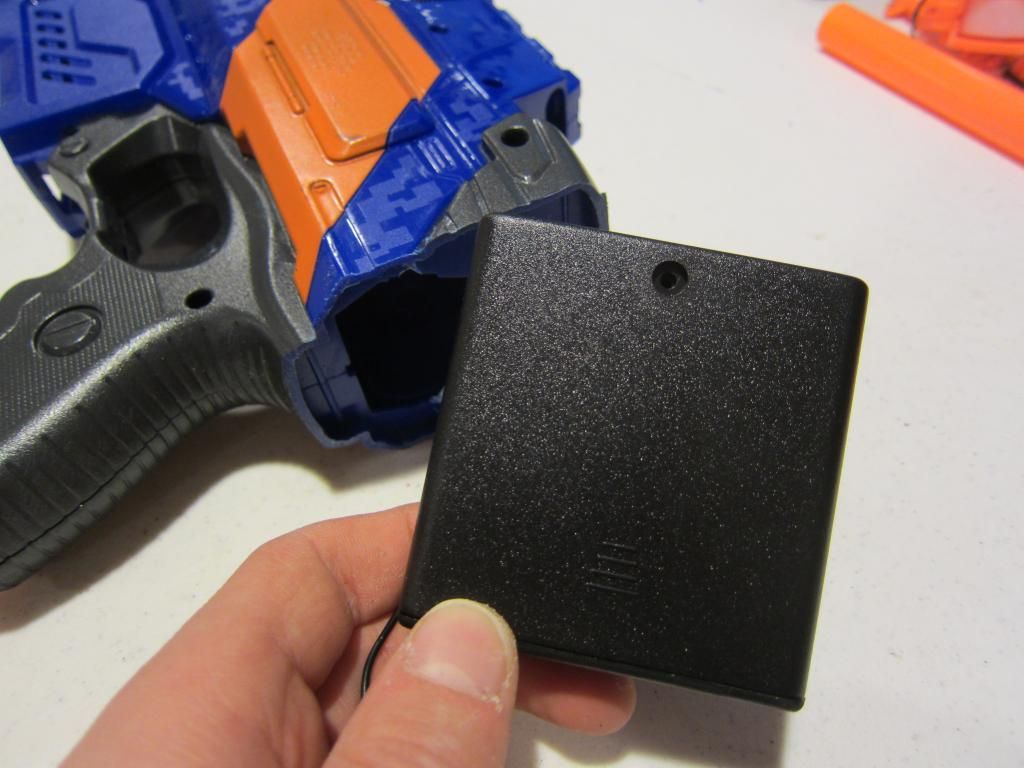
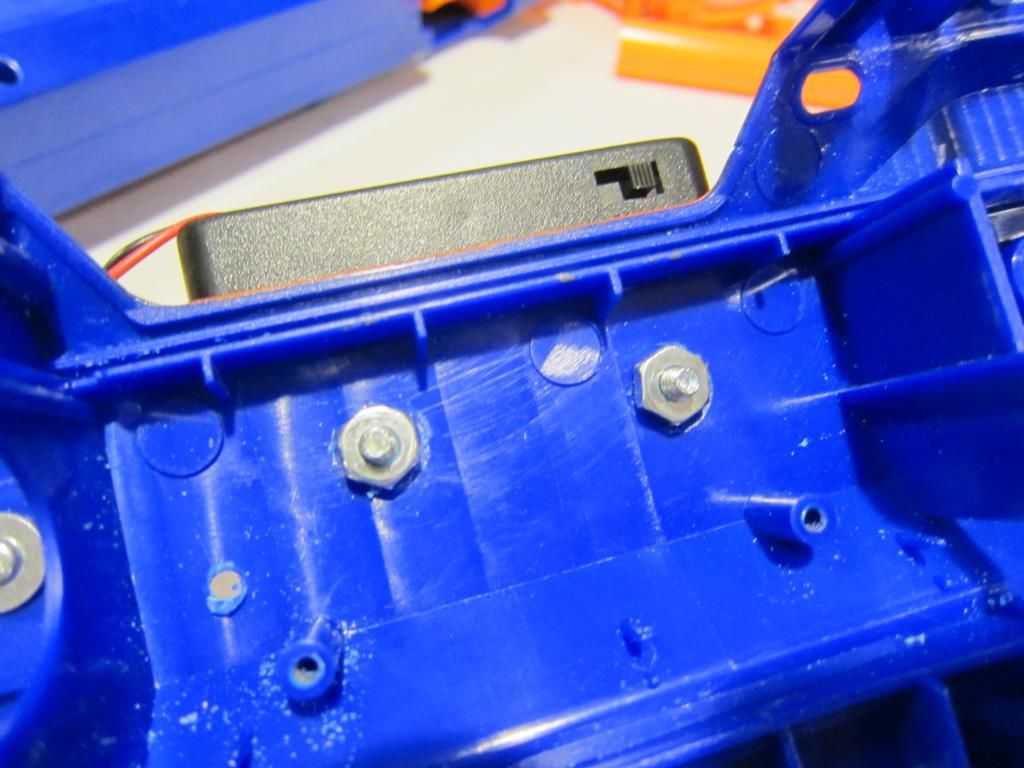
Now drill two holes through the battery pack into the side of the rapidstrike. They must be in between two battery slots to ensure your batteries still fit in after inserting your screws. Insert two machine screws and bolt it on the inside.
Here is a great modification guide for the Nerf Rapidstrike by Coop772
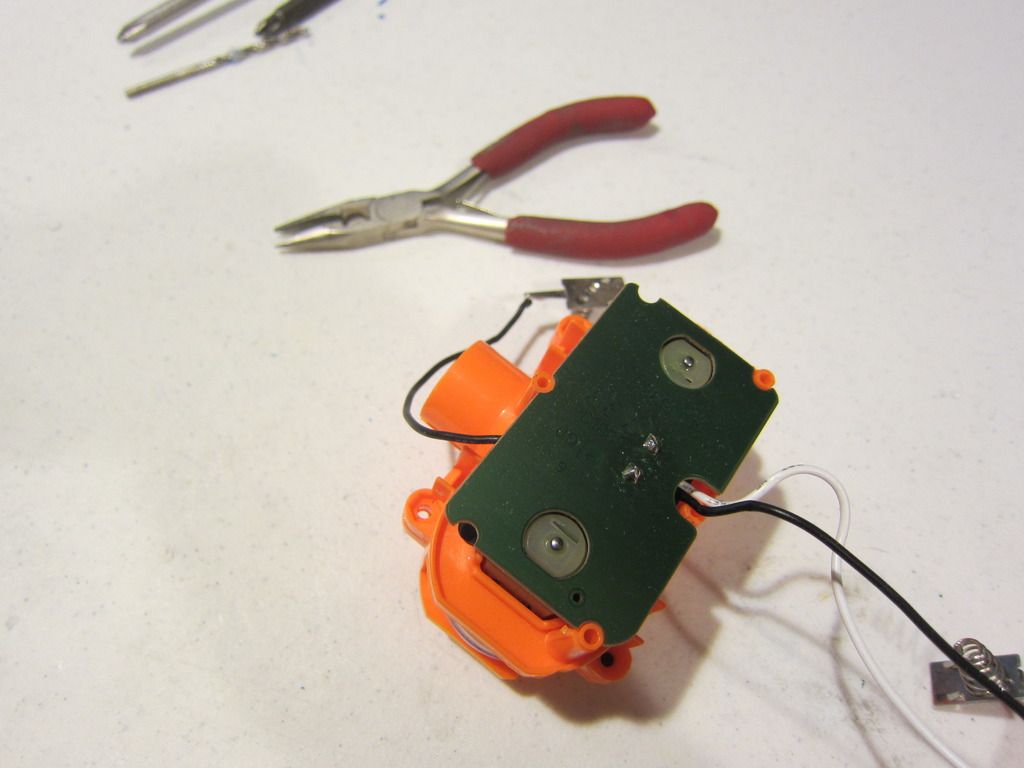
I hope it doesn’t seem like I am copping out. I just believe that I can’t do as good of a job explaining in writing as Coop does in his video. I have some pictures to help you, though.
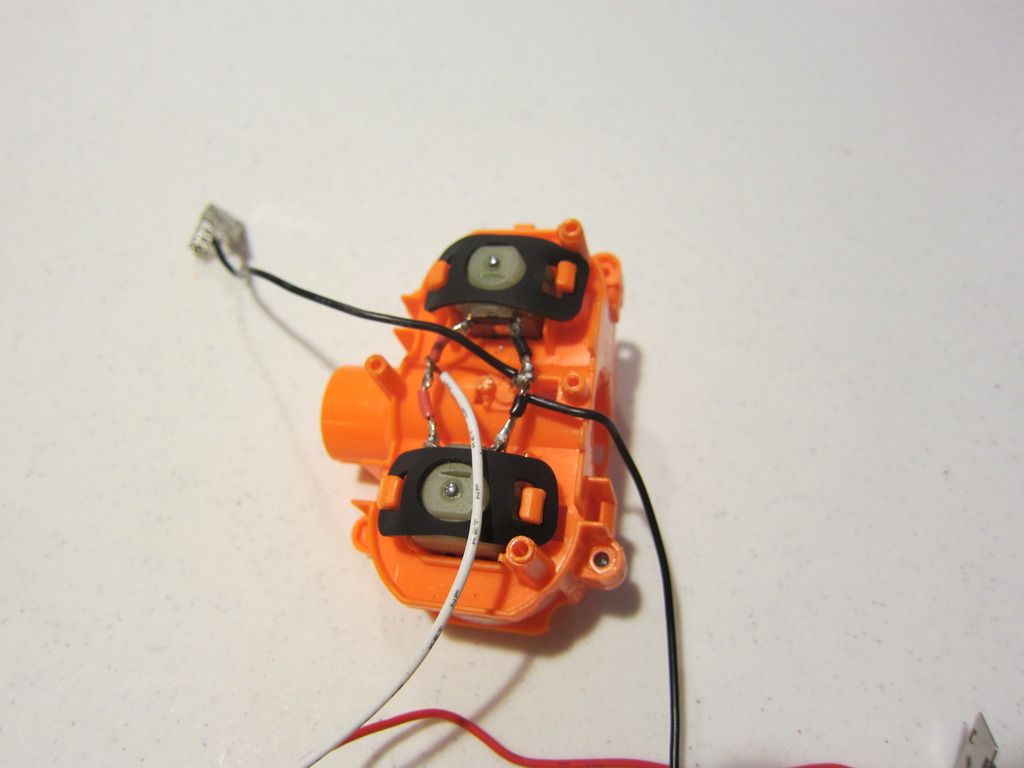
NOTE: Solder your black wire from the flywheels to the black wire of the battery pack and the red wire to the red wire on the battery pack INSTEAD of what Coop does since you a rewiring your gun to another battery pack.
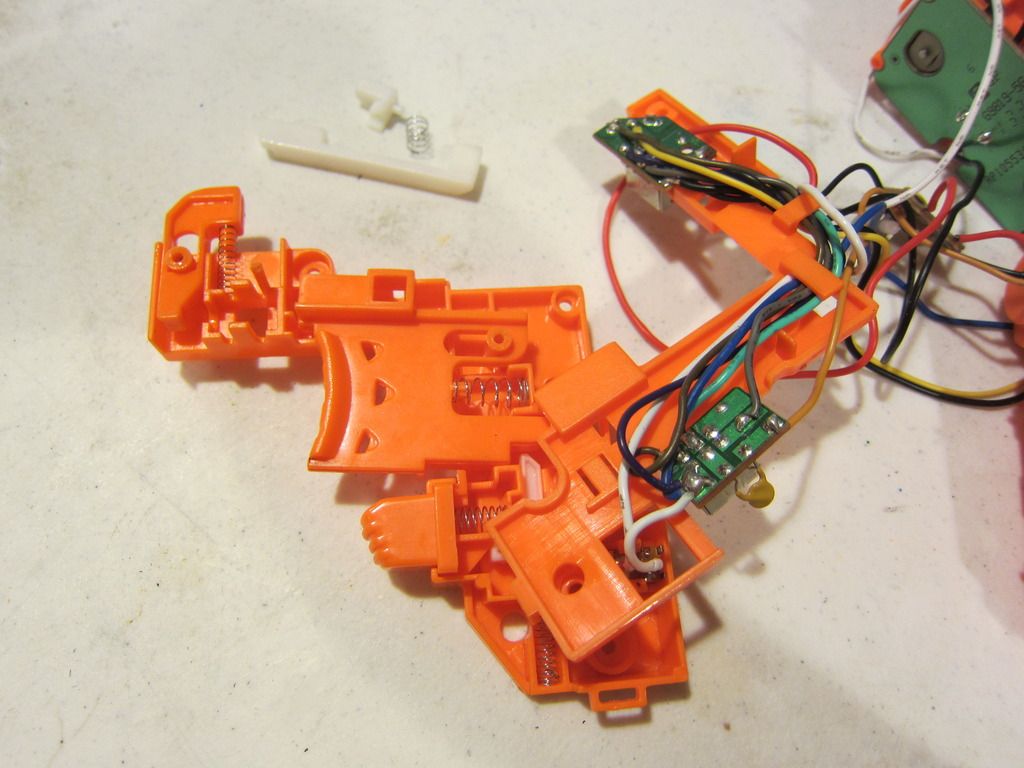
Here is everything reassembled just for reference.
And now that all the modding is out of the way, you can slap on a sweet paint job.
Performance Increase:
Average Modified Velocity: 101.00 Feet per Second (FPS)
Stock Velocity: Approx 70 FPS
Improvement: Approx. 31 FPS
Rate of Fire: 540 Rounds per Minute
Here is a full video on this mod if you are interested.
In this video there is:
-a barrel and stock stress test
-a firing demo
-a chronograph velocity readings segment
Rapidstrike YouTube video
https://www.youtube.com/watch?v=Spsb19hbcWc
This is the end of my write-up. I hope you liked it. If you have any questions or need help, feel free to post a comment below.
Edited by Mag212, 19 July 2015 - 09:28 AM.


