Tools:
-Dremel (assorted attachments, but you will at least need a 1/8 drill and a conical tip, or preferably a multitude of drill bit sizes)
-Brass pipe cutters
-Hacksaw
Materials:
-~36" of 17/32 brass (or choice of barrel material)
-JB weld or epoxy of choice
-13/32" brass (or 3/8 Delrin round rod, 3/8 polycarb round rod, or whatever you can find)
-Choice of material for plunger crossbar (I used brass, but to be honest I don't remember the actual dimensions).
-3/8" square rod (I used poplar, but really you can use any material from aluminum to polycarb)
-Screws, at least 1/2" long
-1/2" PVC and coupler
First off, the Cycloneshock is large blaster to begin with. It's already skirting the upper limits of a pistol, and this mod will make it far larger than any reasonable, non-cartoon-based pistol and put it into the realm of a primary weapon. If you're looking for a pistol mod... this probably isn't going to be it. First step is to take the cycloneshock apart and remove the cylinder. You're going to want to cut out the center portion of the cylinder. To ensure straight cuts you can use a miter box, but I just eyeballed it. EDIT: Also, I do have to thank Gin for reminding me to chop up the cylinder, I constantly forget how much weight you can shave off.

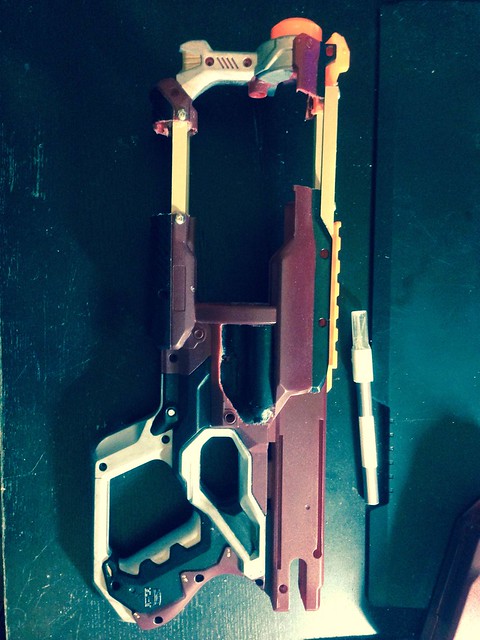
Next, you're going to want to work on the extension aspect of the blaster. The key is to have 2 flat points on each side of the cuts on the top and bottom of the attachment so you can screw your square rods through the blaster shell. The following picture indicates where I cut the blaster, as well as where I used the square rods, but any flat point on the blaster can be used, as long as it runs along where the cylinder is, obviously.
Next you're going to want to put your screws in. I just drilled a hole through the square rod and the shell where I wanted the screws to go through, then just put them in. The ideal situation is obviously to put the holes in, tap the holes, and then put a nut and bolt through there, but I'm a smidge short on materials/tools, and putting the screws in and JB-welding the other side also seems to work well.

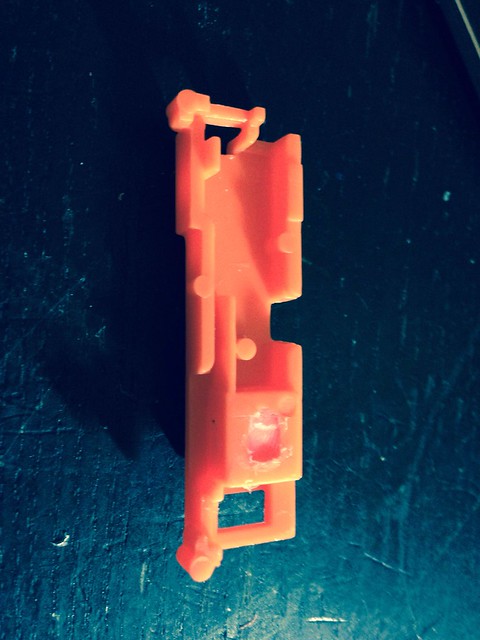
Anyways, while you're in there I removed the lock (small white piece right in front of the trigger assembly with the little round nub on it), and took apart the trigger assembly and hot glued the ramp that interacts with the lock that normally prevents the trigger from firing unless that lock is free by having the slide forward. You can also just pop off the cover on the opposite side of this (I used a hobby knife to do it on my other Cycloneshock) and the ramp/spring just pops right out.
Also, the catch itself has a hole in it. I have 0 idea why it is there, but it seems to me that it would only prove to be a weak point in the catch. I just filled it with JB weld. Make sure it is flush with the rest of the catch after it dries though or you might have issues.

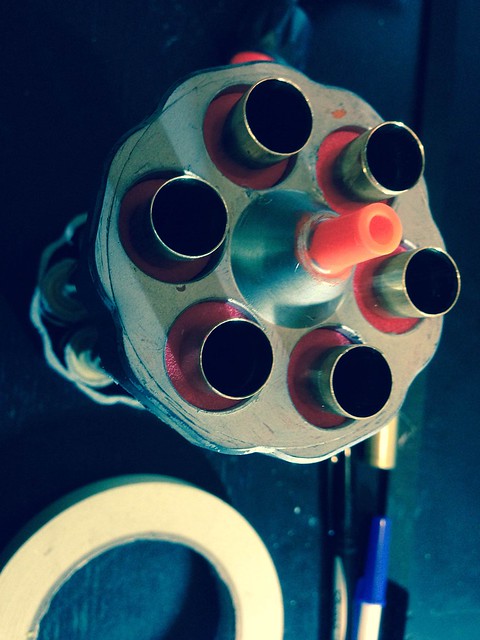
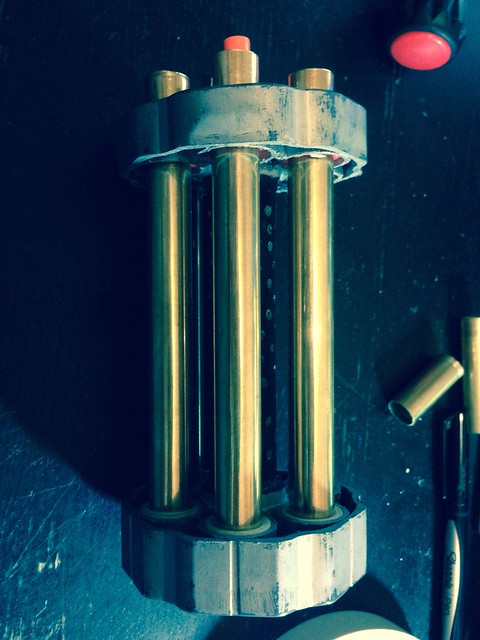
Next, onwards to the cylinder. I have 5.75" barrels on mine at the moment, and this is the center post I used. It's a length of 1/2" pvc, and a coupler cut in half on either side. Oddly enough the coupler allows you to press-fit and glue the center post in place quite nicely. Make sure your top and bottom parts of the turret are lined up properly, and MAKE SURE that the turret FITS properly into your now-expanded blaster shell. It's easier to adjust the turret length at this particular stage than it is to keep drilling holes in your blaster if you don't measure it exactly. In the following pictures you'll also see that I put a bunch of holes in the center post, and this is simply to lower the weight. Install your barrels too. I used a bit of foam from mega darts to center the front portion, and tape/hot glue to center the back portion.
Next comes the plunger rod. This one is kind of a pain in the rear. As those of you who have actually broken the plunger rod know, it still doesn't come out after snapping the rear (smaller) plunger rod. I actually just took a small hacksaw, put it into the slot where the inner plunger rod slides, and cut directly parallel to the steel rod already in there. You can see (sort of) what I did in the picture. After the cut, you can slide/smack the steel rod out and remove the rear plunger.

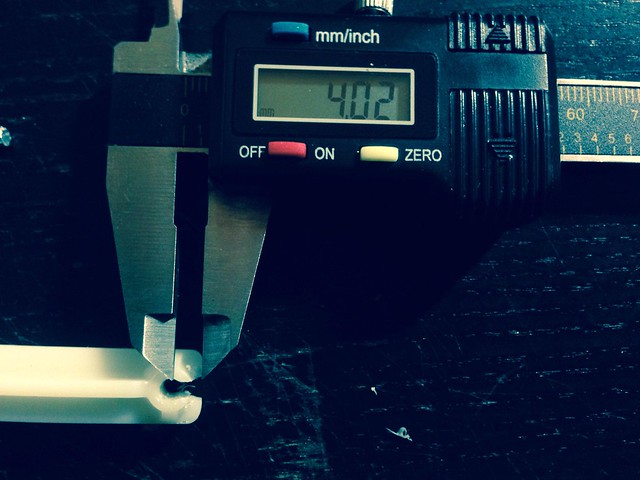
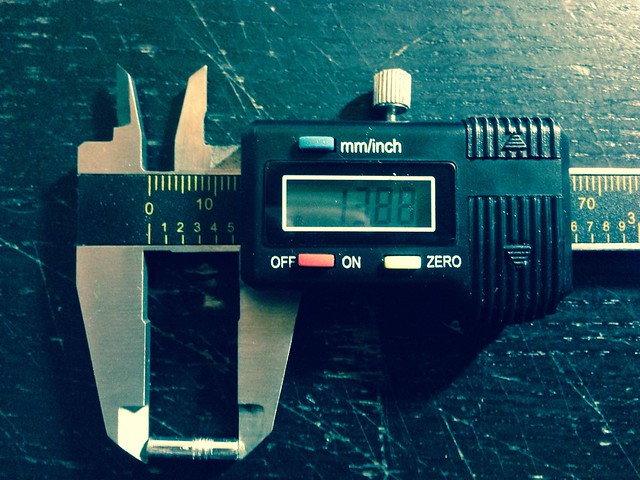
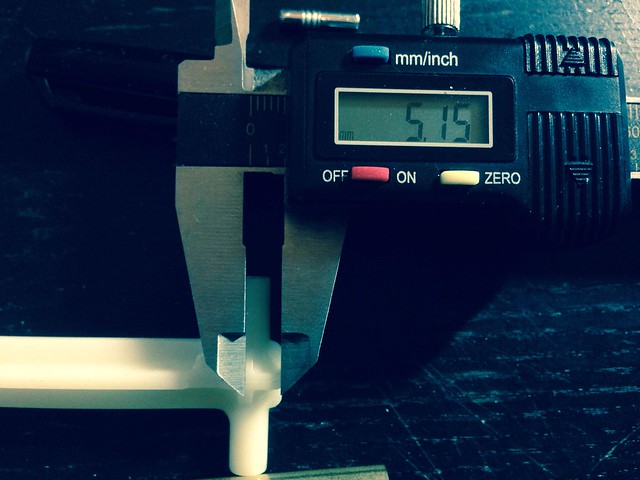
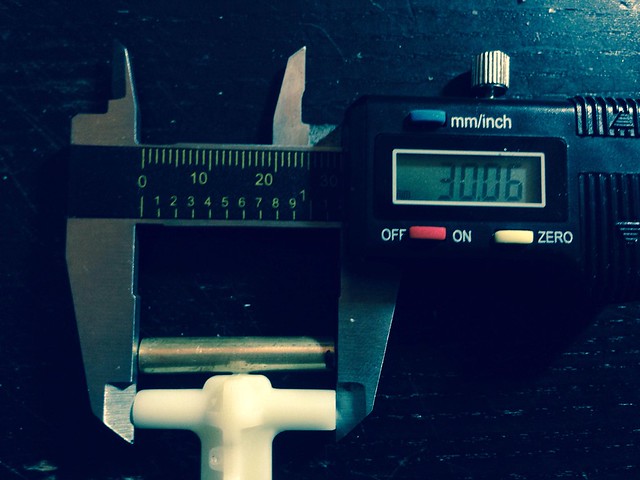
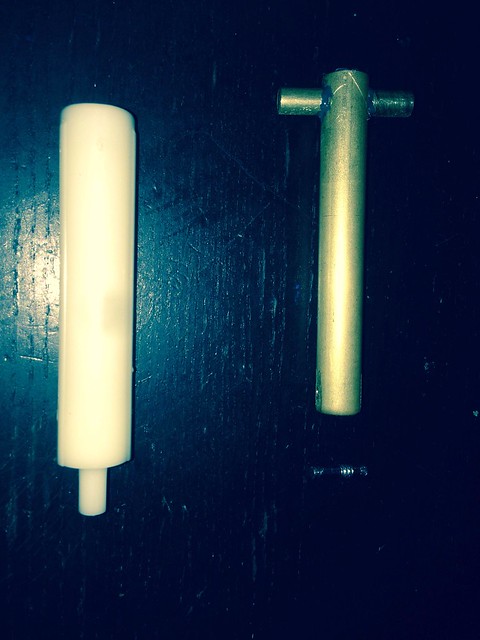
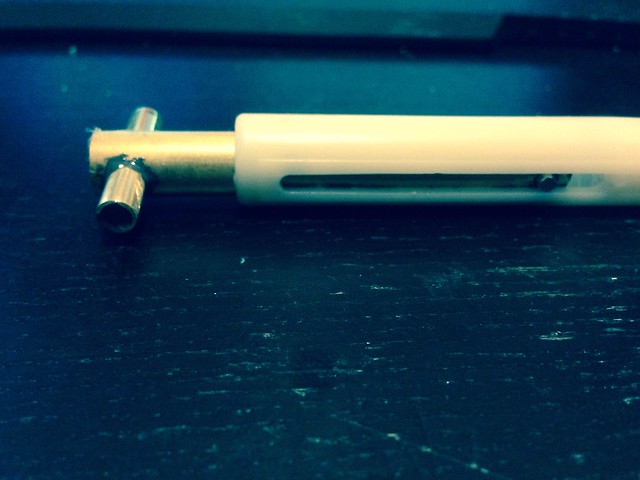
Now comes a giant spam of pictures. You're basically re-creating the plunger rod out of brass/metal/whatever you choose to use, and below are pictures of measurements and how I created the plunger rod. MAKE ABSOLUTELY SURE that you DO NOT put in the smaller front pin UNTIL it is already nested in the larger plunger rod or you're kind of boned. I used JB weld to put everything together, and hot glue to fill some gaps. I'm pretty sure epoxy putty would do better here, but I don't have any.

I just stuck a single OMW 5kg spring in mine. I can't seem to get the OMW spring and the stock spring to nest properly, so I just ditched the stock one. I expect that when I get my chrono parts the numbers will reflect that. For now though, it definitely shoots harder than stock, and I'll update this
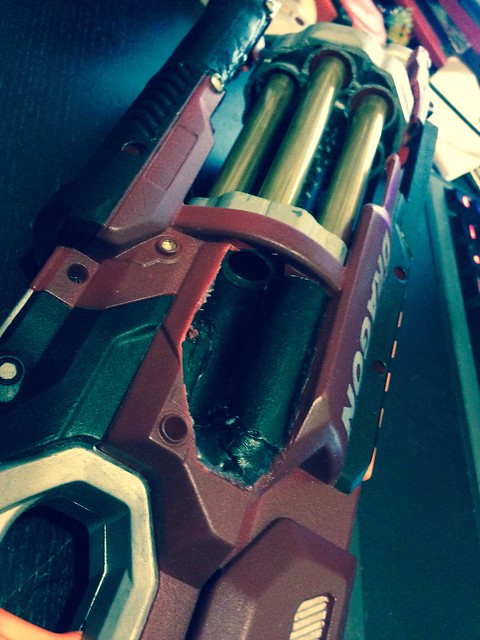
If you're curious, the black portion on the side of the shell is a rear-loading slot. I actually just took a small piece of 1/2" pvc, cut it in half length-wise, and glued them in sort of an S-shape to expose the rear of one barrel per turn. This way there isn't a gaping hole in the side of the blaster showing all the internals. I can take closer pictures if needed.

Edited by ompa, 24 June 2015 - 10:11 PM.