Preface
Wanted to try my hand at making a venerable snap style blaster that was just different than everything I've seen before. This design uses elements from my experiences with rainbows, as well as some other inspiration form real life blasters. After experimenting with some snap building techniques in past blasters, I decided on my design goals and set out.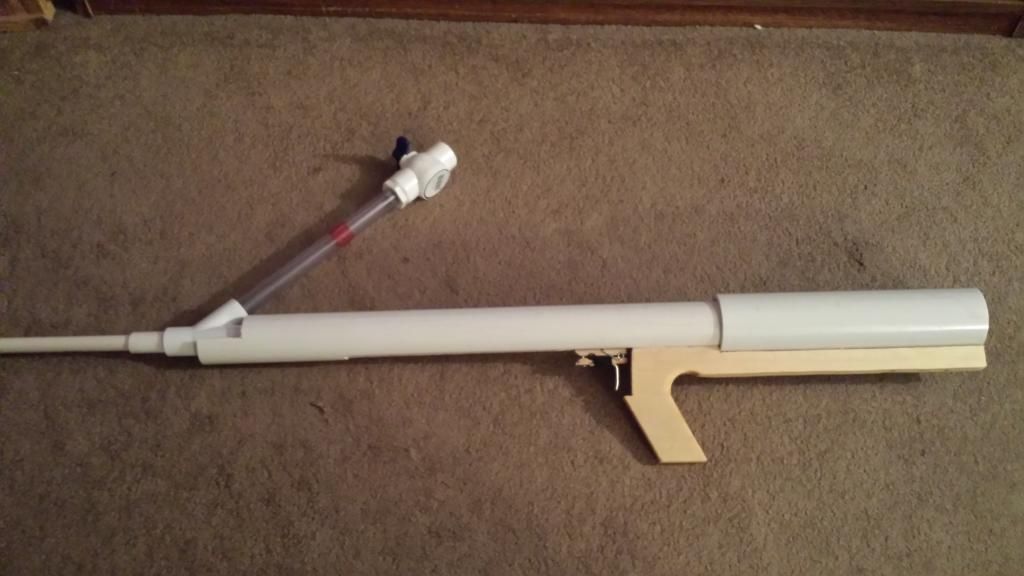
Last time on New Girl
Carbon creates the SNAP blaster and dozens of variants and interpretations follow
Meaker creates the SNAP 8 in an incredibly detailed writeup. Read it if you want to build a SNAP, a good chunk of this is based on his writeup.
I create a Rainbow with Snap elements.
Goals
Create an enclosed design, whereas the plunger rod is never exposed to the user's face or fingers.
Use only hardware store parts, (save the [k26] spring.)
Minimize the use of special tools.
Weight must be equal to or less than one of my rainbow pumps.
Handle must be comfortable in the hand.
Length of pull must be equal to or less than that on one of my rainbow pumps.
In this writeup, descriptions are underneath the referenced image.
After things settle down I'll put up a complete parts list.
Plunger Assy.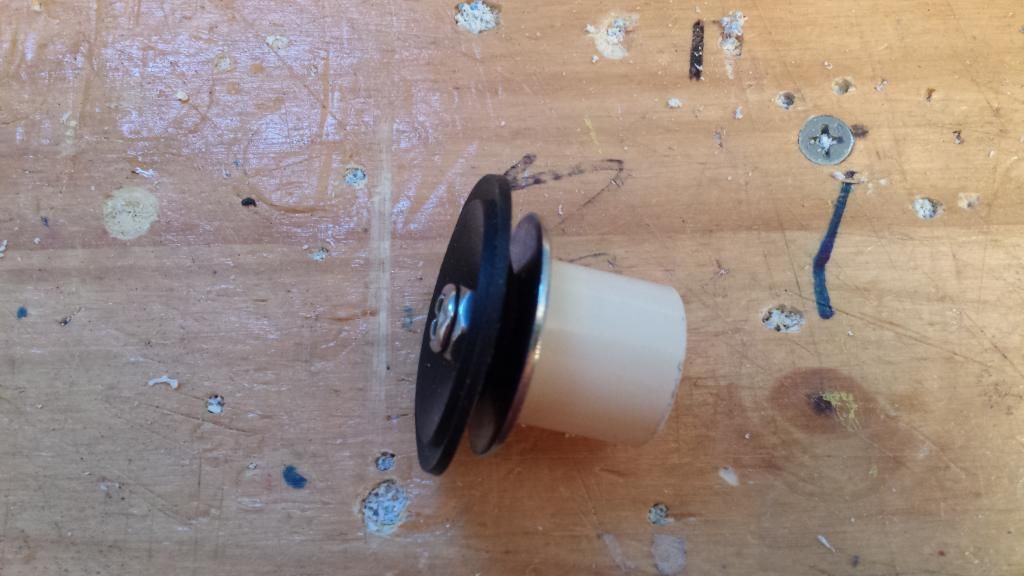
Simple superlative plunger head. I changed it up a little using a 10-32 x 1/2" screw with a stop nut, or nylon nut, to prevent the nut from shaking loose, and a #10 flat washer. Seems to work OK. Just Don't overtighten it. Otherwise it might fall apart on you.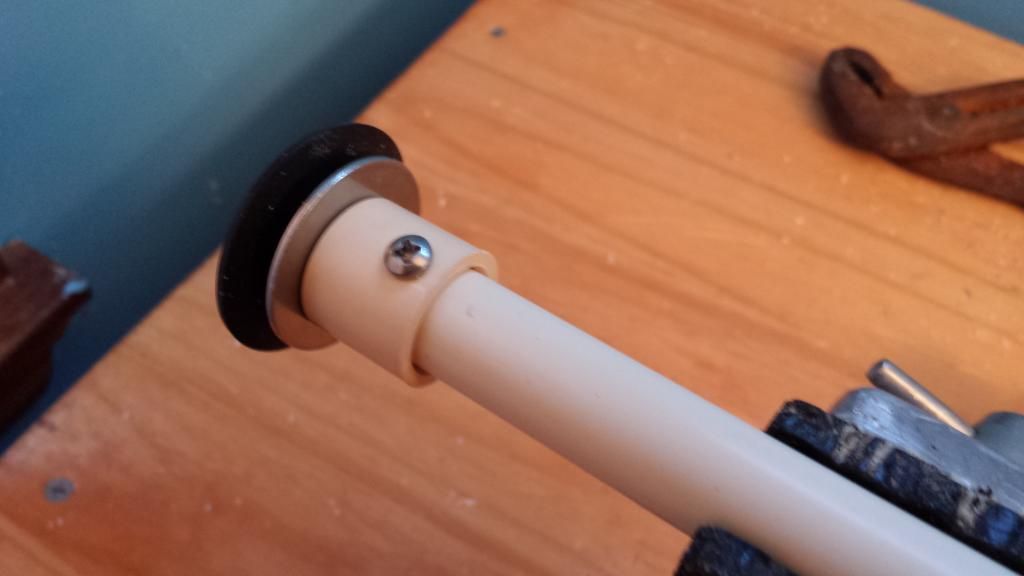
Screw that onto some CPVC with a x6 metal screw.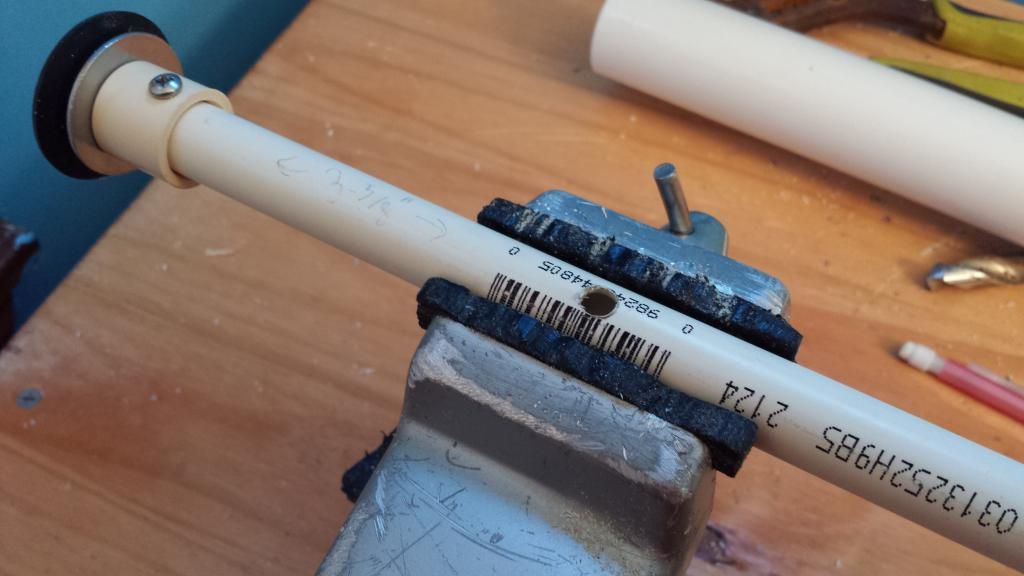
Measure 3-5/8" from the end of the CPVC endcap and mark it on the CPVC pipe. Drill a 1/4" hole into one wall of the pipe.
Internal Bushing
A note on bushings: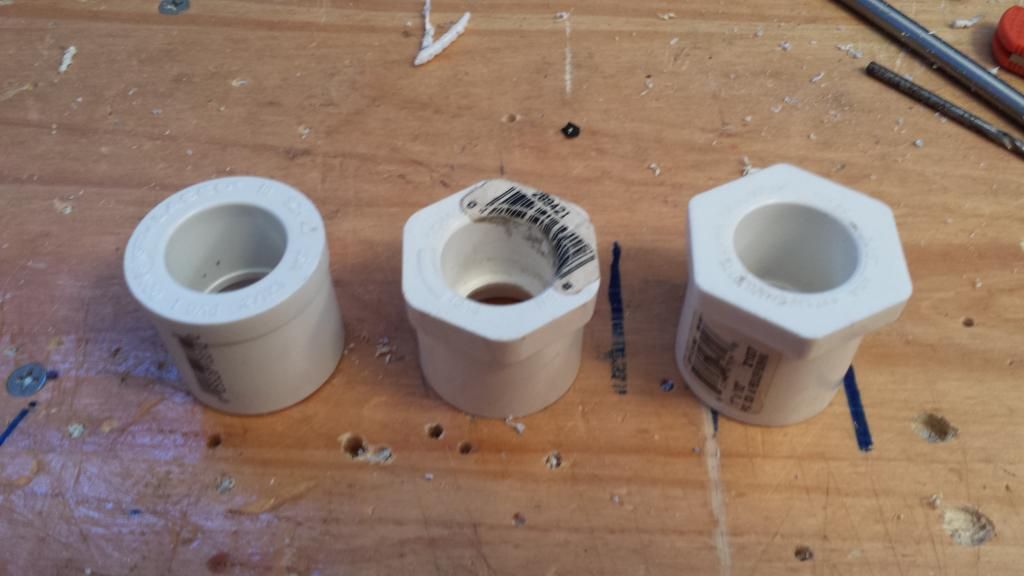
There are several types of bushings out there, The two on the right are found at Ace Hardware, and the one on the left is found at Lowes. The important thing here is to have a tight fit with 1/2" PVC pipe.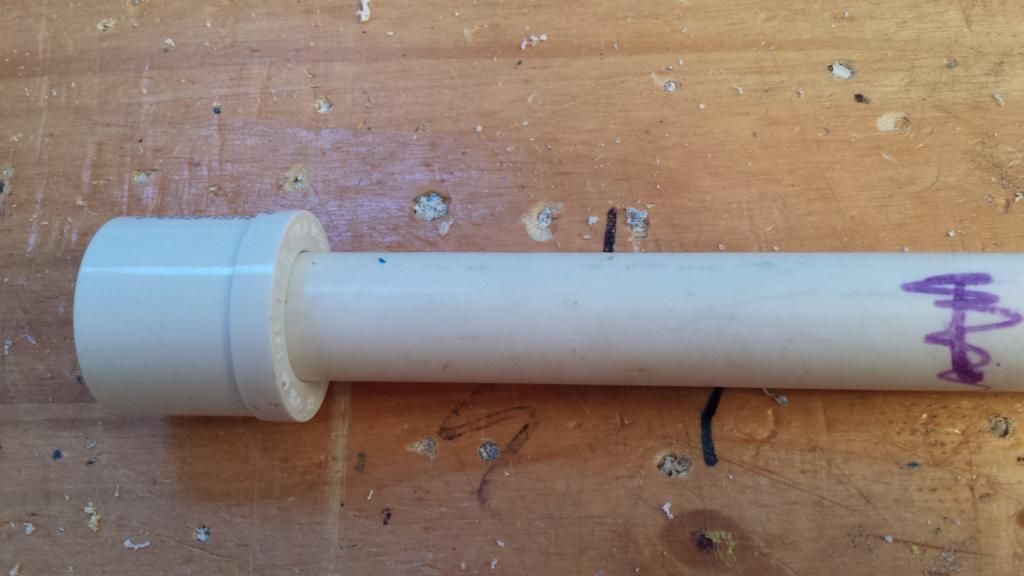
Jam some 1/2" PVC into the bushing. Make sure it's in there solid. You can use superglue if you want, but you really don't need to.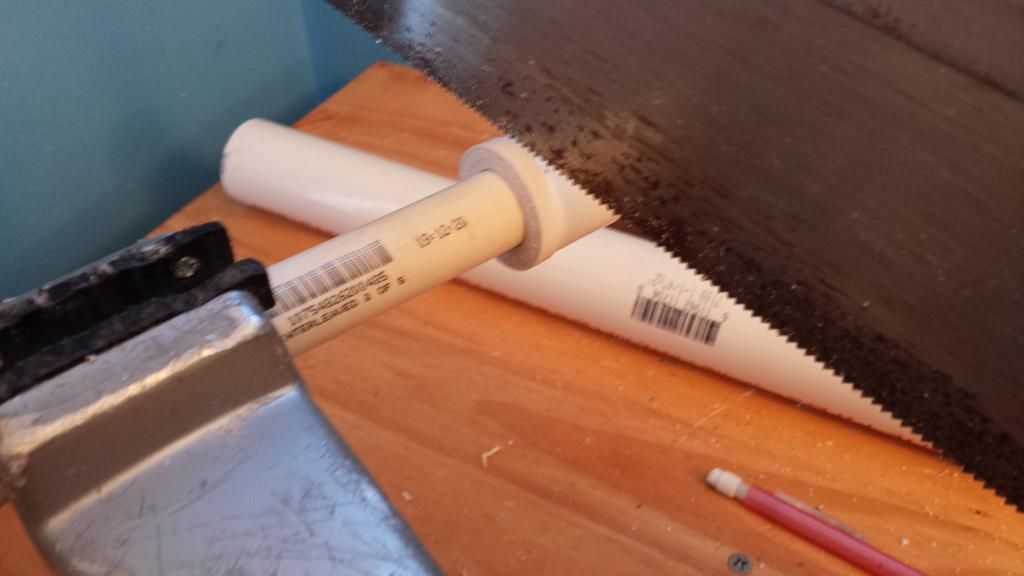
Cut off the head of the bushing with the 1/2" PVC still attached.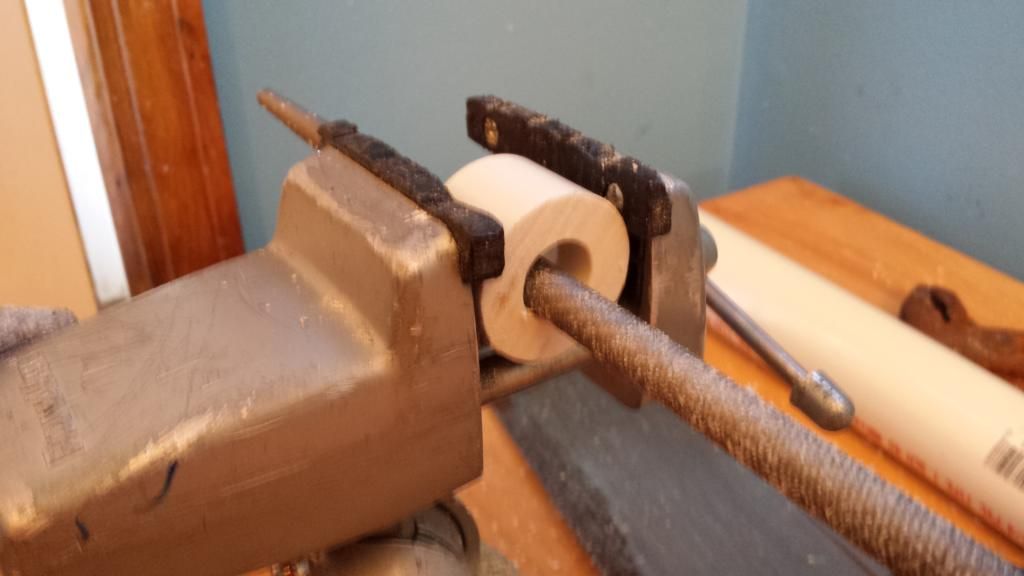
Next, use the rat tail file to ream out the hole in the PVC pipe...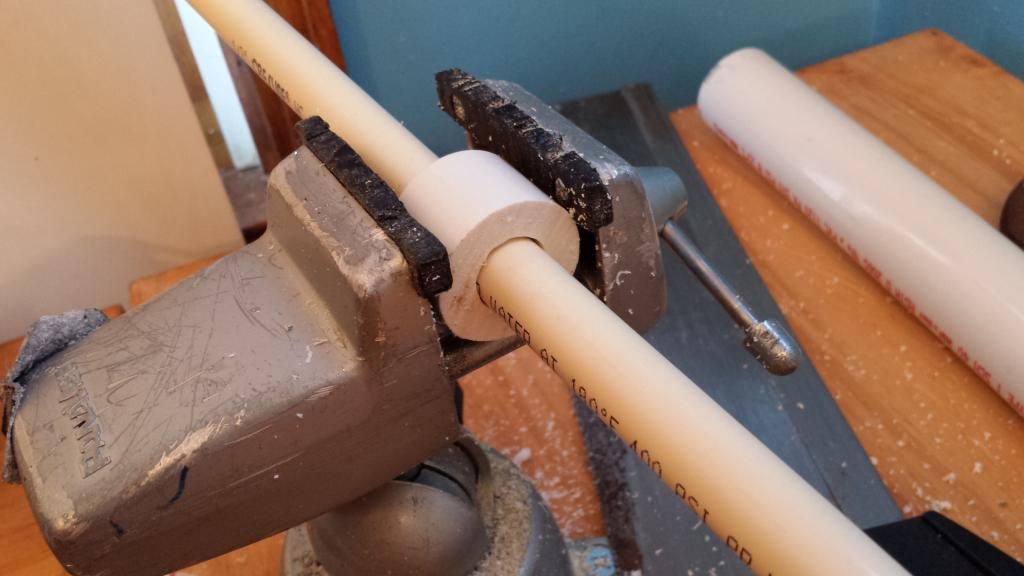
...so that 1/2" CPVC will fit through without any resistance.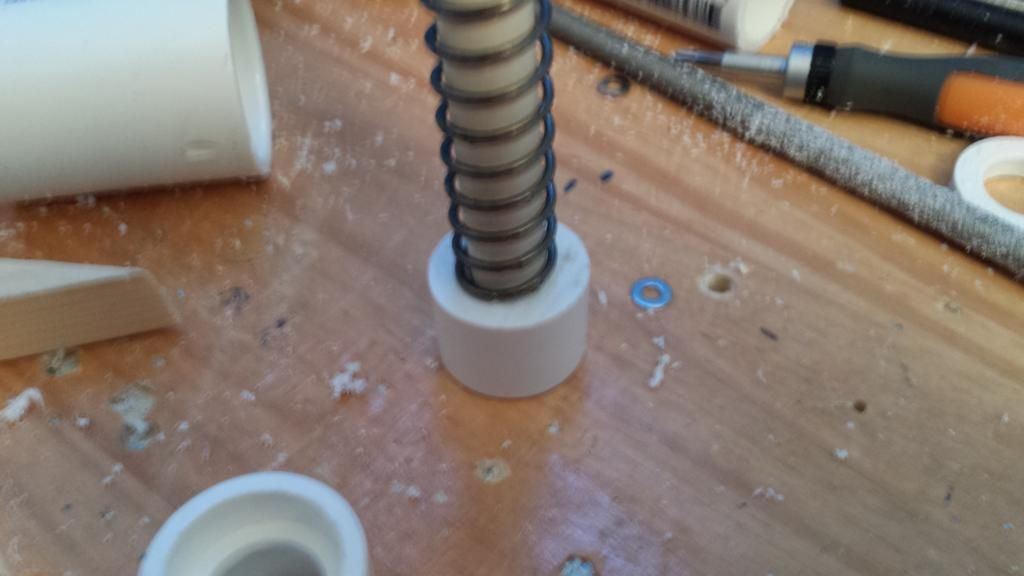
The spring will eventually rest against this part, which is why superglue is not necessary; there will always be a force on the PVC pipe to keep it in place.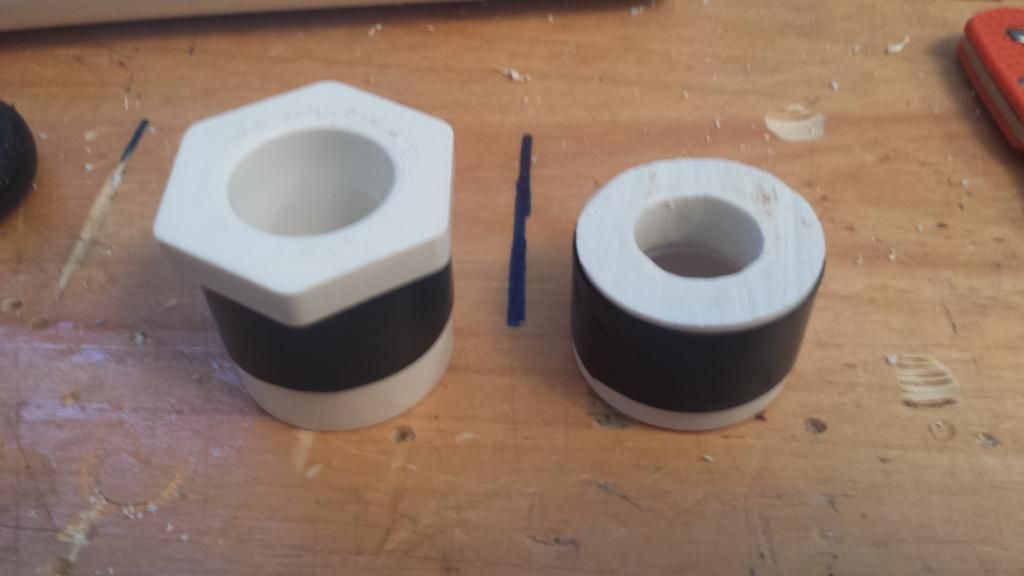
Wrap some E-tape around the internal bushing we just created, as well as around another, stock bushing, to act as the front bushing. For the internal bushing, the tape should allow for a snug fit of the part inside 1-1/4" PVC, but not so tight that it cannot be moved around inside this 1-1/4" PVC (body tube).
Body Tube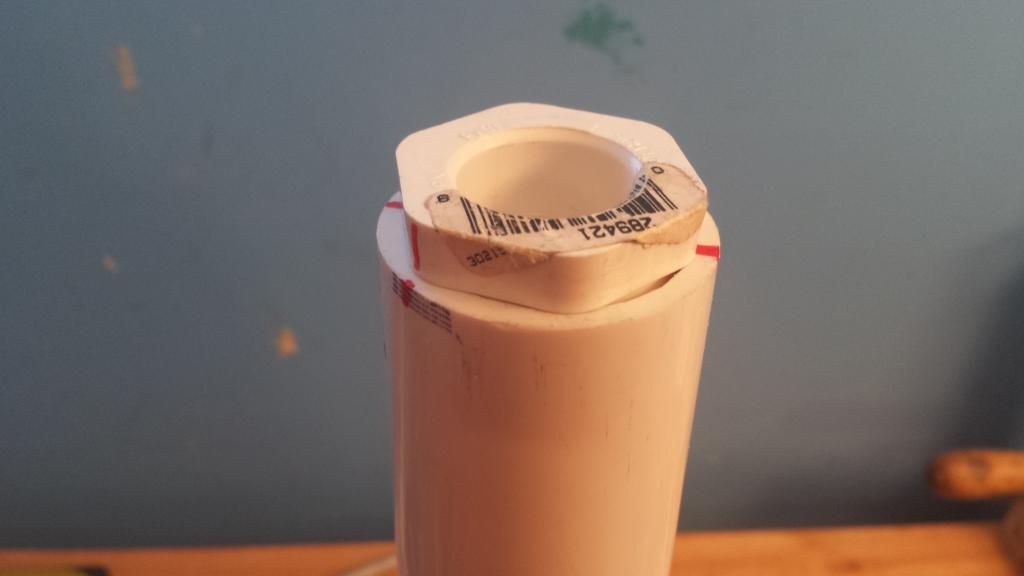
The Body tube is a length of 1-1/4" PVC x 18.5" long. The above photo shows a simple method to arrive at near perfect 120 degree angles around the tube. Use the already perfect hexagon on the bushing to mark out 1/3 of the circle of the body tube. This template will allow the builder to approximate where to sink screws, when three are required to affix a part.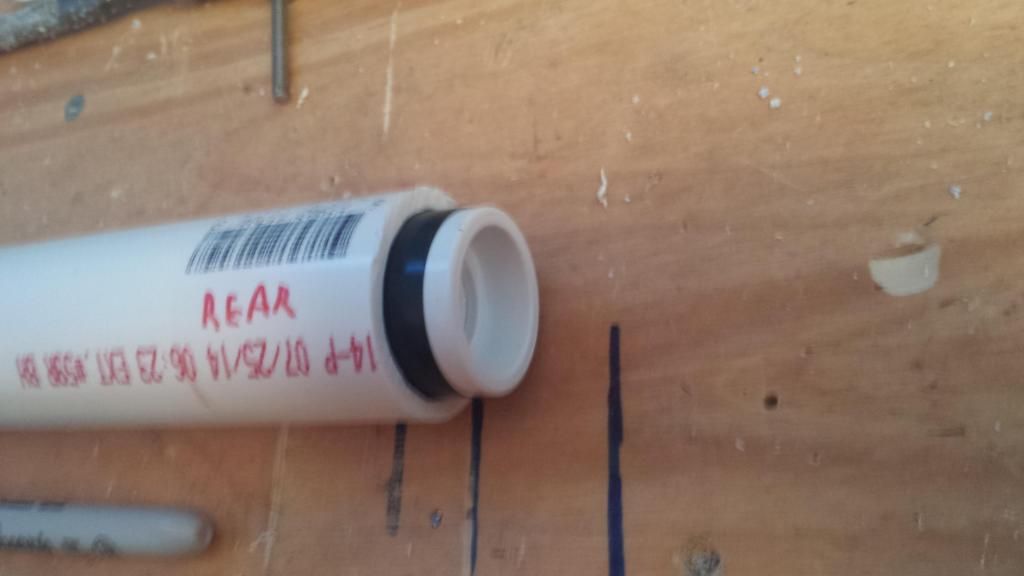
Insert the bushing into the back of the 1-1/4" PVC pipe with the flat part of the bushing (the face we just cut) facing forward.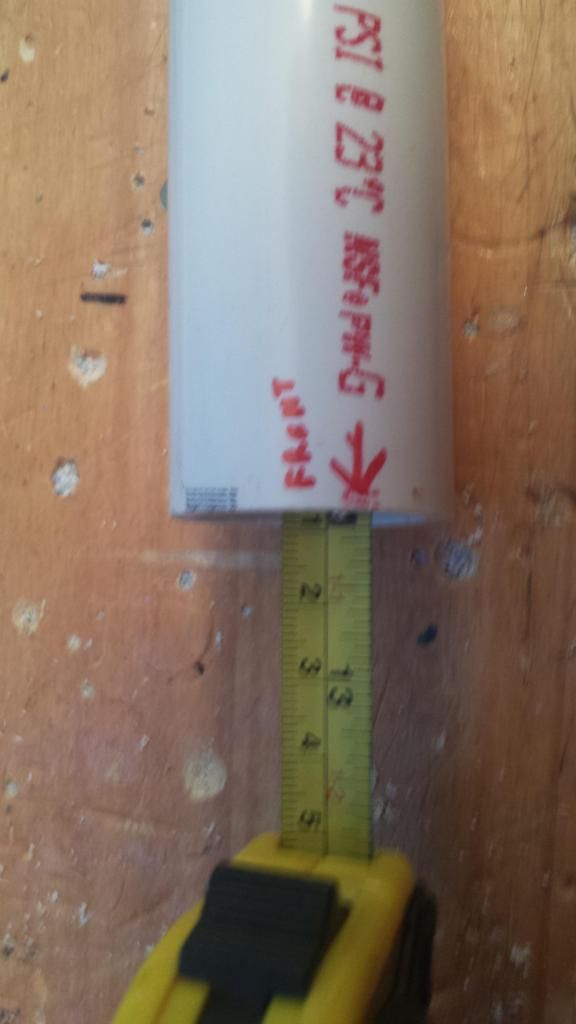
Position the bushing so the front face is 12-1/8" from the front of the 1-1/4" PVC Pipe, the body tube.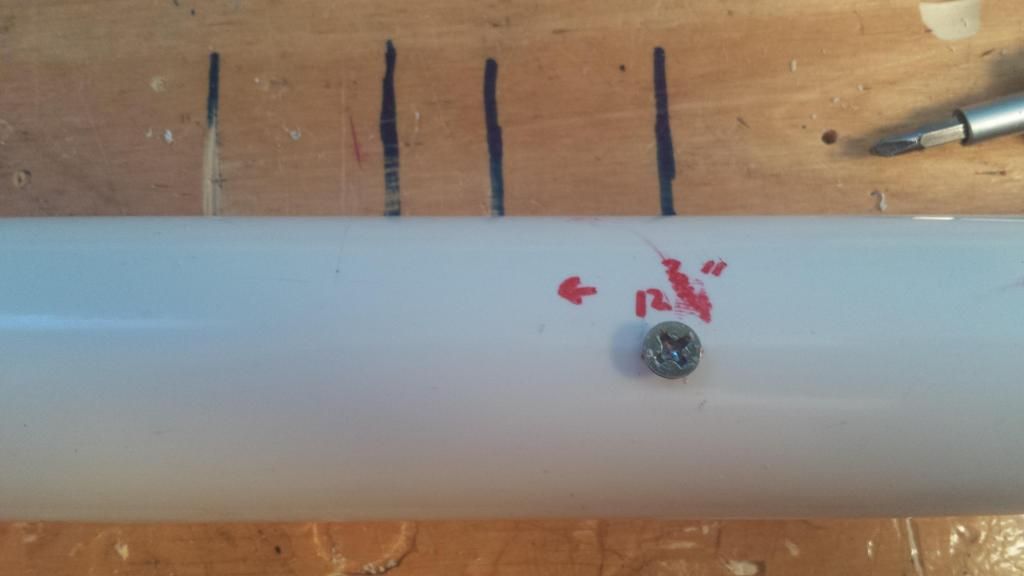
With the bushing positioned as described above, measure 12-3/4" from the front of the body tube, and make a mark, Use a 1/8" drill bit to drill through this point, and sink in a 6-32 x 1/2" flat head machine screw. Don't countersink it yet, this is just to pin the bushing in place.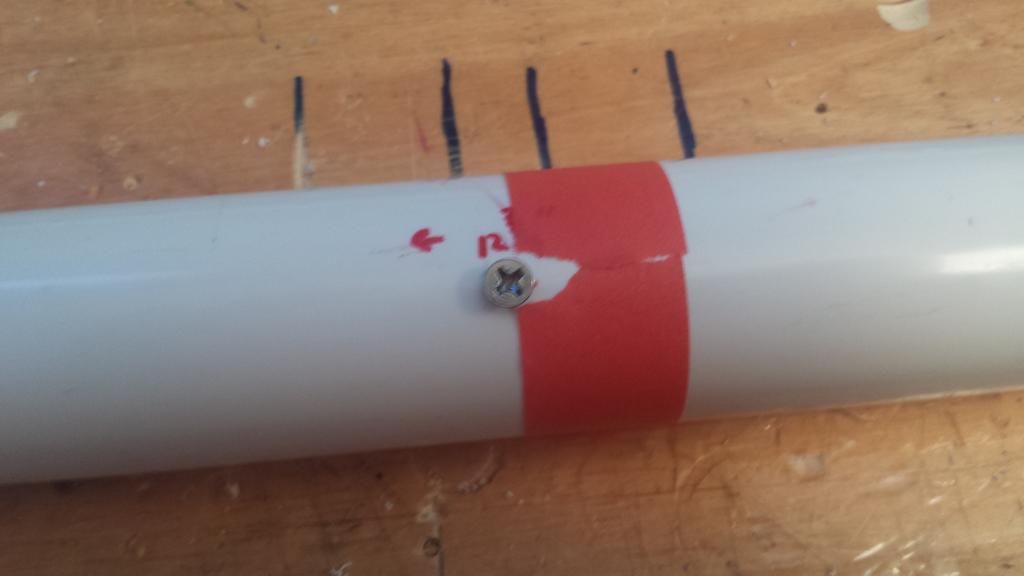
Wrap a piece of masking tape around the body tube with one side of the tape aligned with the screw. This allows the "longitude" of the next two hole to be determined. Use the markings on the front of the body tube created with the reference hexagon bushing to approximate the "latitude" of the holes. In short, three evenly spaced hole should exist at an equal distance from the front face of the body tube.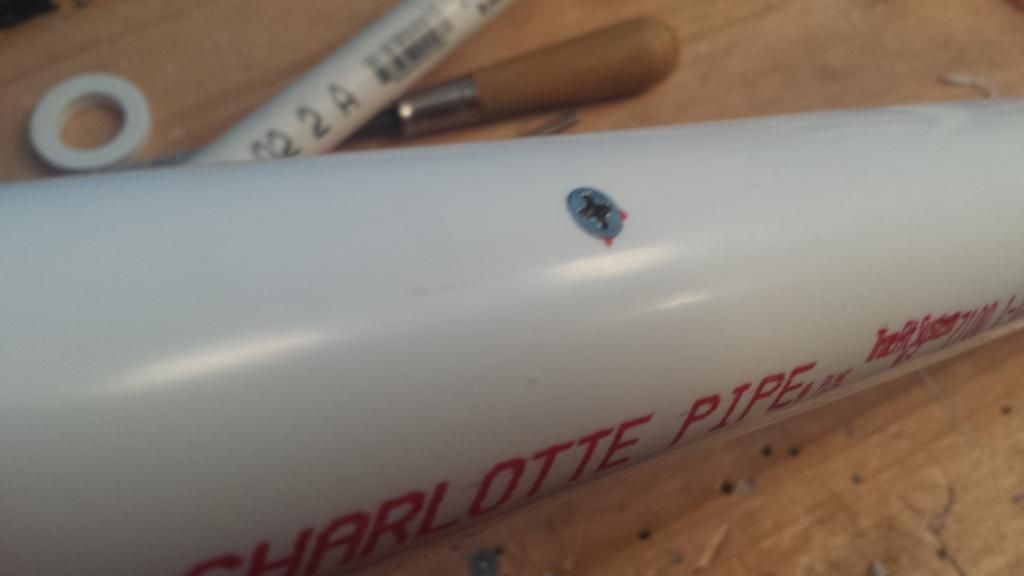
Drill and countersink the remaining two screws. Then remove and countersink the first hole, and replace the screw. The heads of the screws should be flush with the body tube outer surface.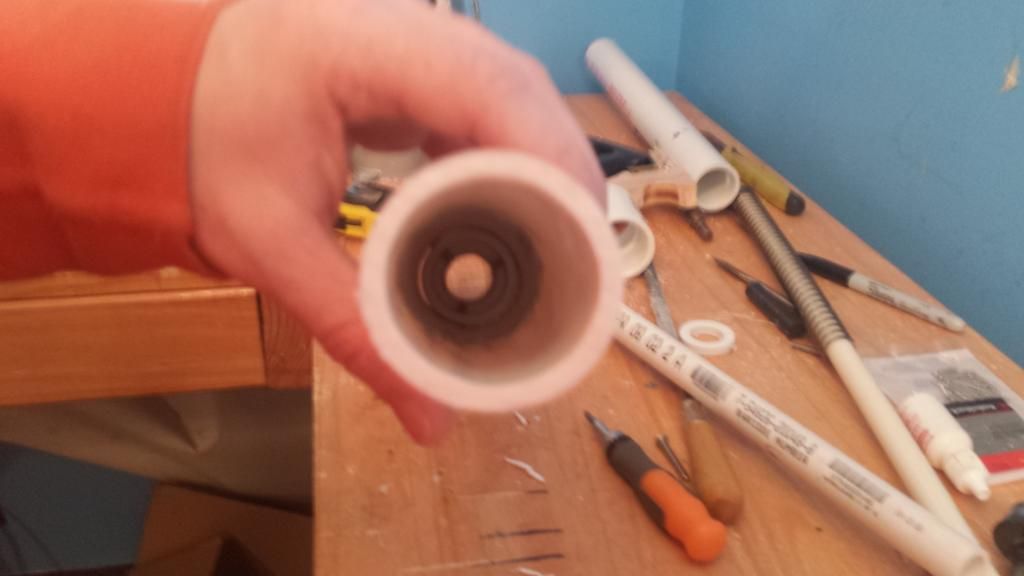
Internal shot from the rear.
The Trigger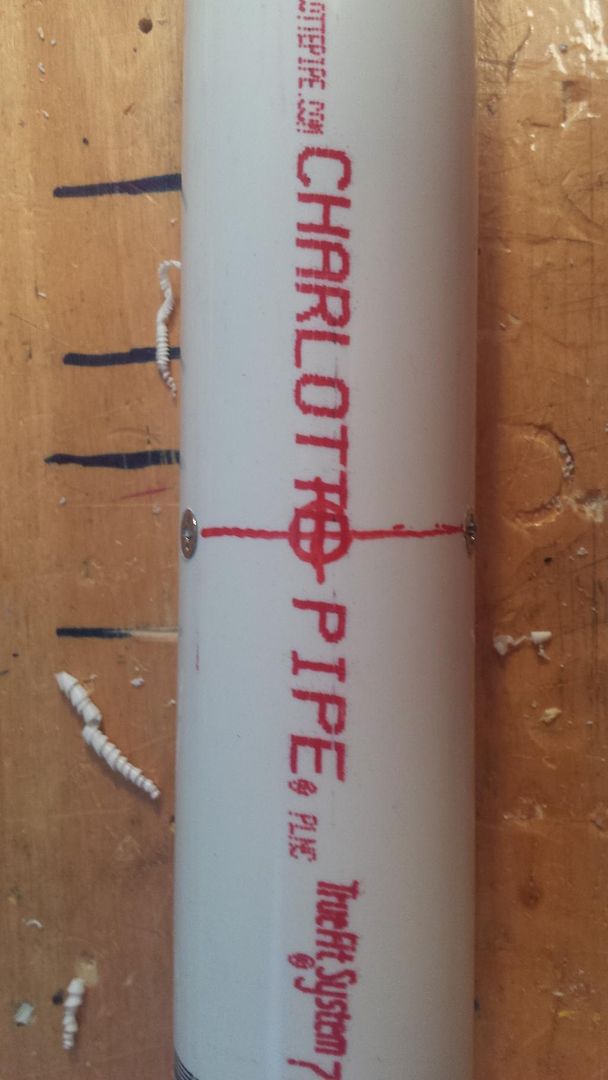
On the bottom of the body tube, (the convention being the writing-side,) mark a spot evenly between the ring of screws made in the previous step.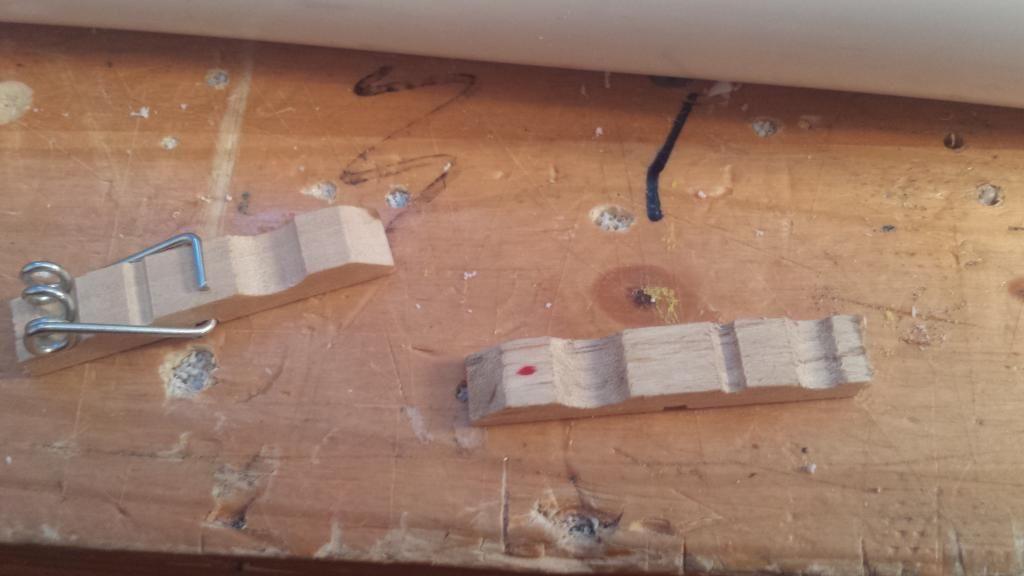
Nothing new here for snap builders. Saw off the legs of the clothespin, leaving the fingers intact. Mark a spot on the center of one of these fingers.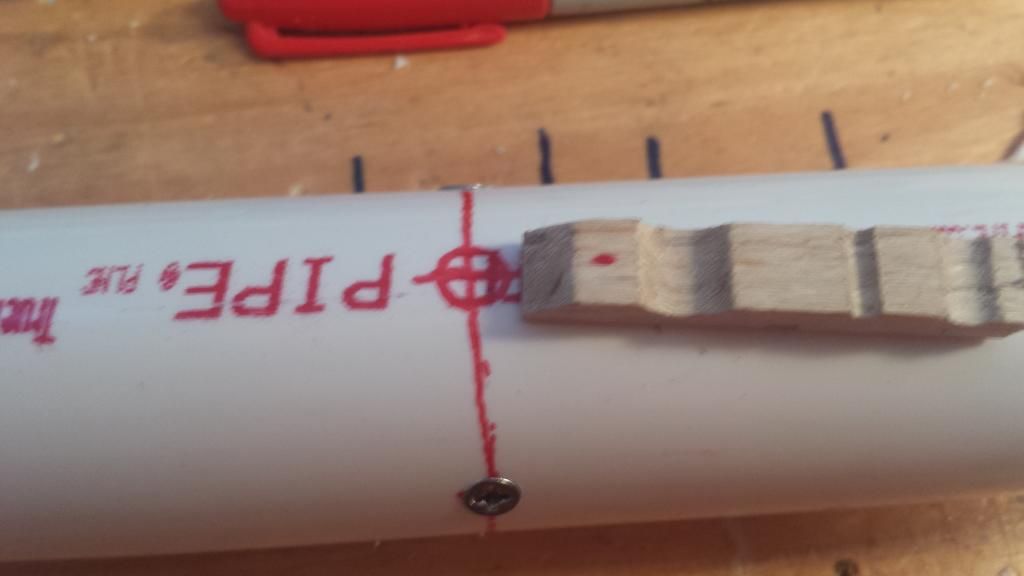
Line up the two points marked...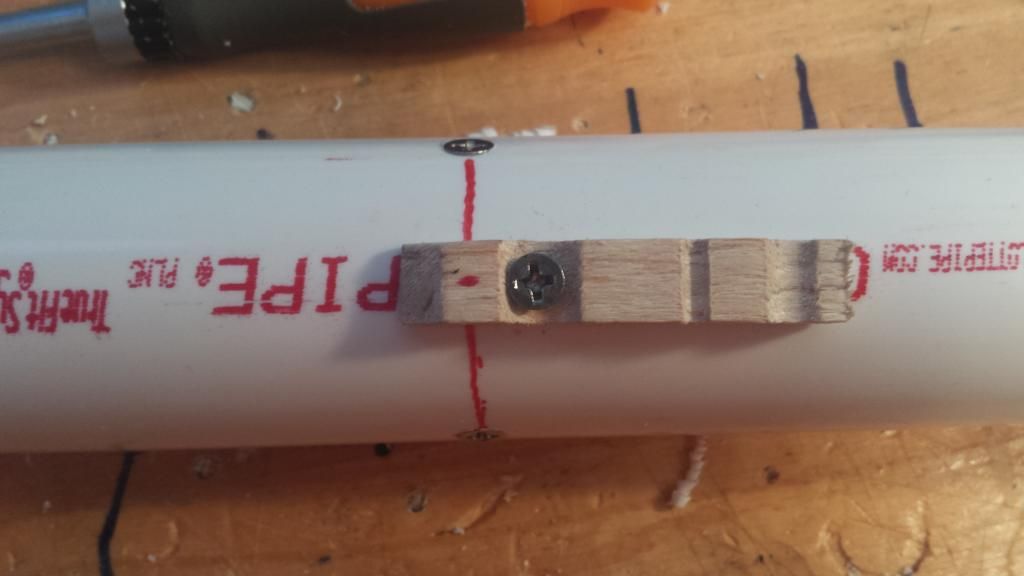
And secure the clothespin half so these points line up, using one 6-32 machine screw.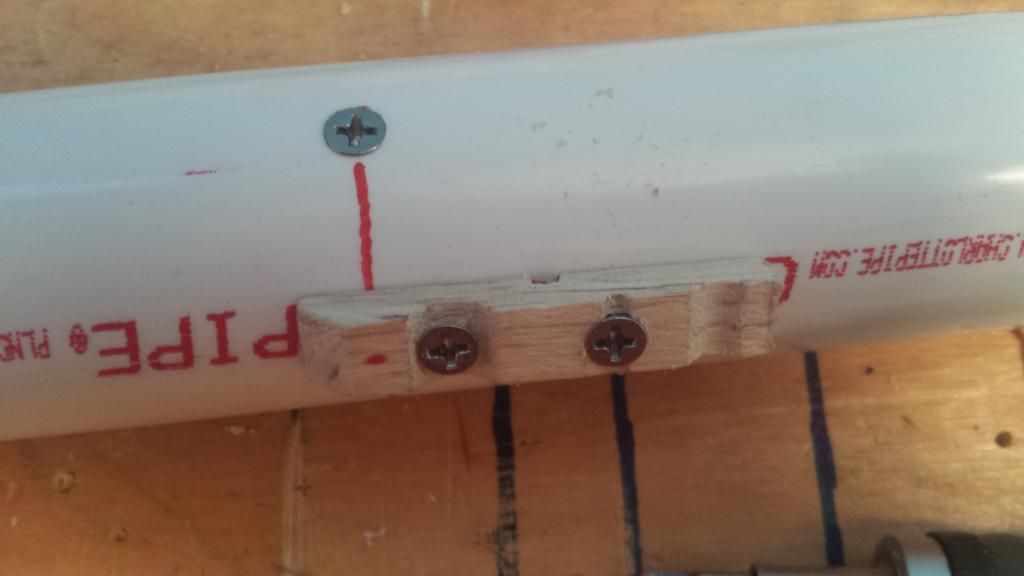
Add another one just for good measure. As you can see I'm following the cut out portions of the clothespin. This one I did need to countersink.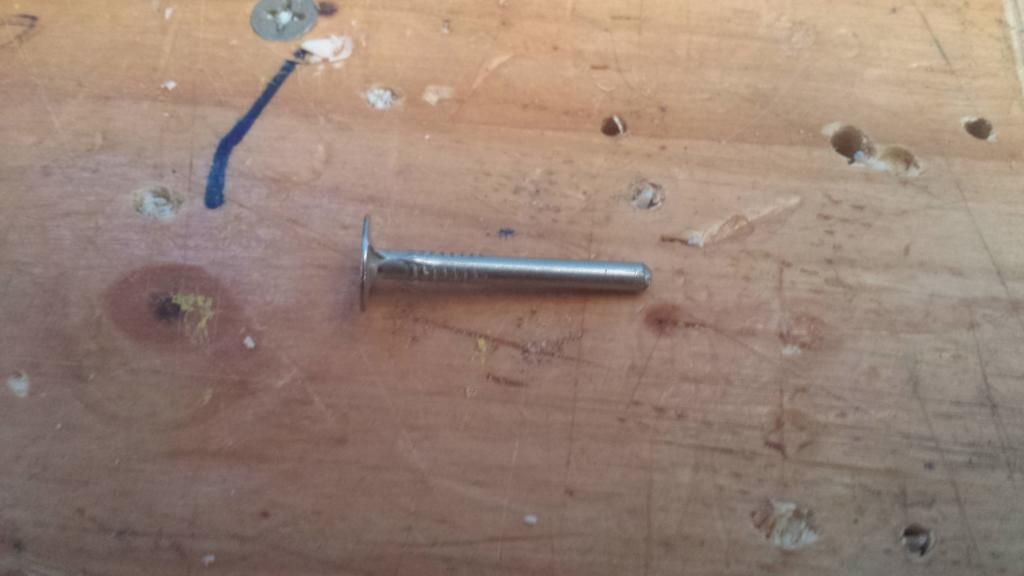
Here we are. Cut down your nail so it's about 1-1/8" long from the bottom surface of the head to the tip. Round it off with sandpaper. Be sure not to create too much heat if you use a rotary too or belt sander, the heat will increase the hardness of the steel if it gets too hot, which is not desired. The CPVC is already soft, so making the steel nail harder will only increase the rate of wear. Take your time on the nail.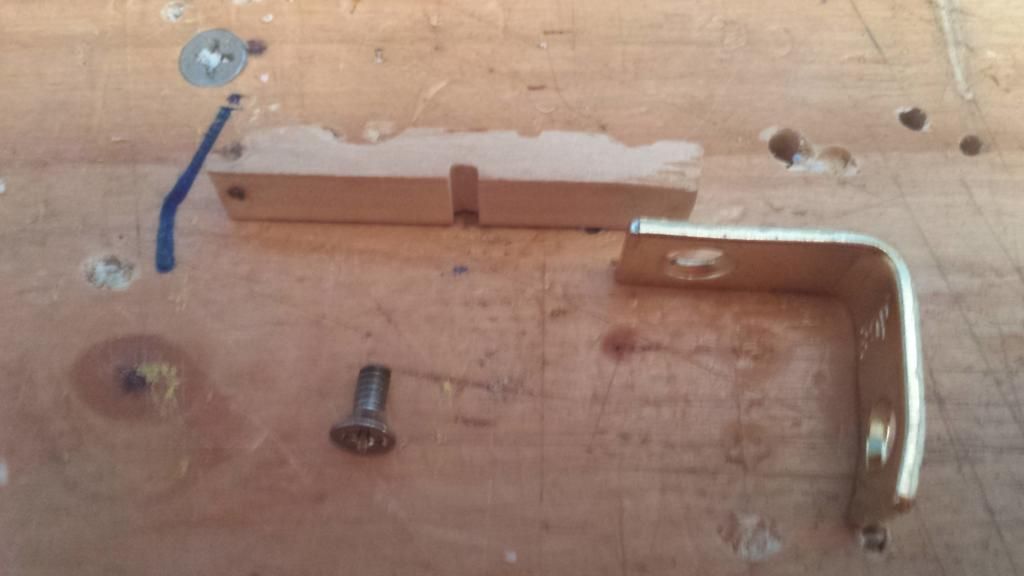
Here is a cut down 6-32 machine screw. It is now only 3/8" or so long. I used a dremel and pliers. A hacksaw and vice would work just as well.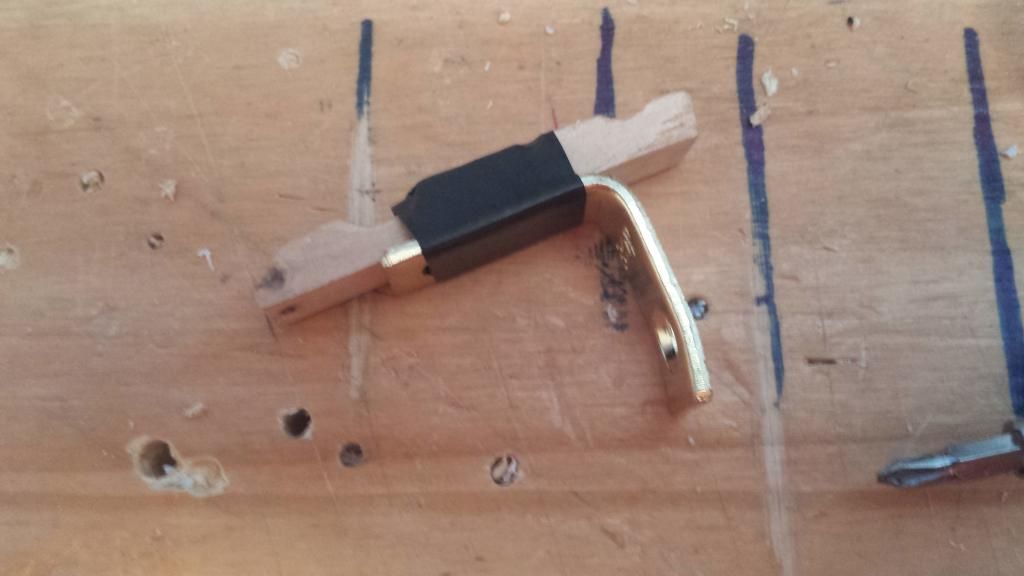
My Lower trigger unit. Used some E-tape to prevent rotation about the single screw holding the L-bracket in place.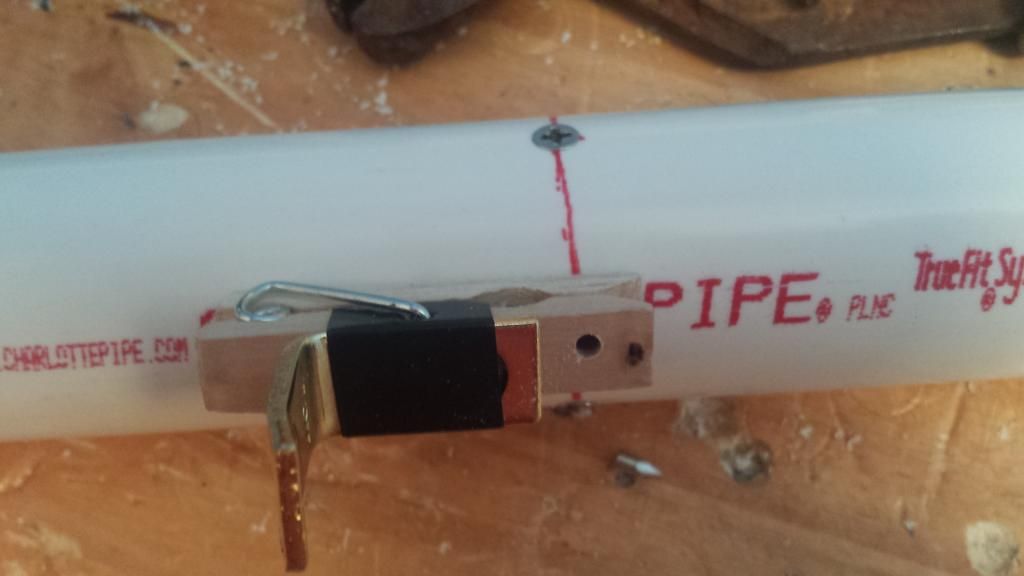
Assemble the two trigger halves. Drill a 1/8" hole through the two fingers of the trigger assy, as well as the body tube.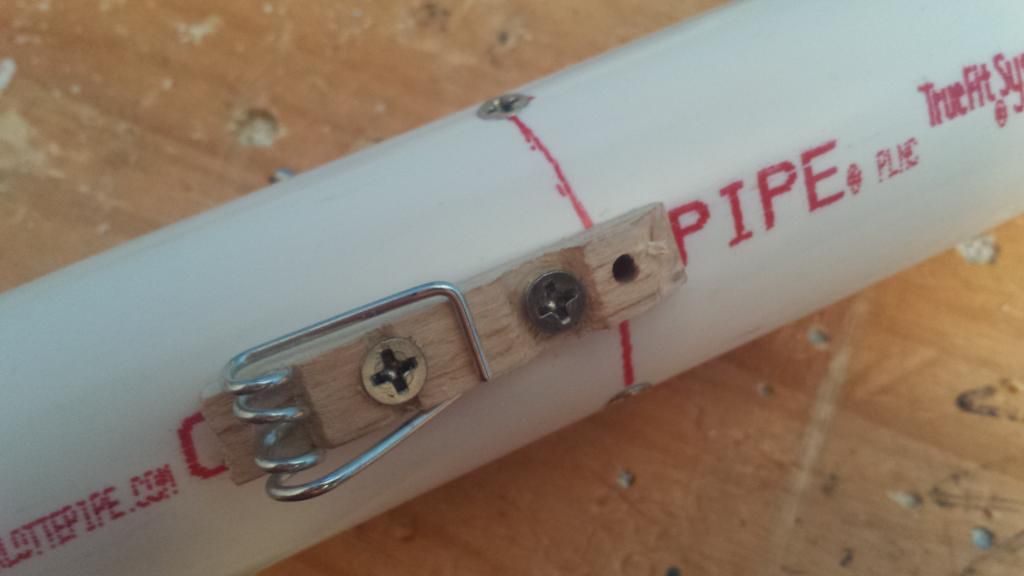
Remove the lower trigger unit and ream out the hole shown in the above diagram just a bit, the objective is to have the nail move freely in and out of this hole.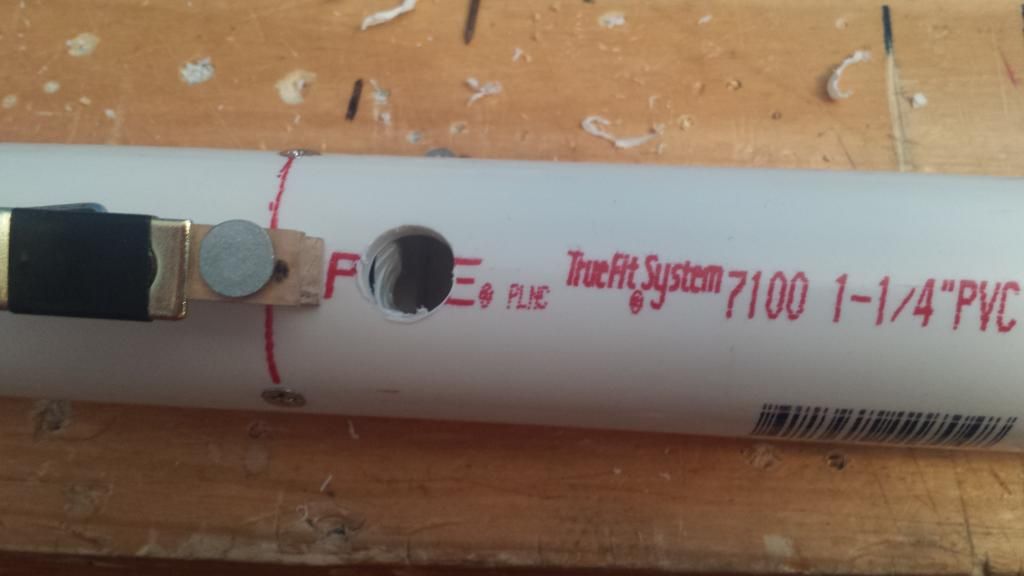
Next re-assemble the trigger and give it a few squeezes. Drill a speed hole 1-1/2 to 2 inches ahead of the trigger. I chewed into my bushing in this photo. but it really doesn't matter.
The Pump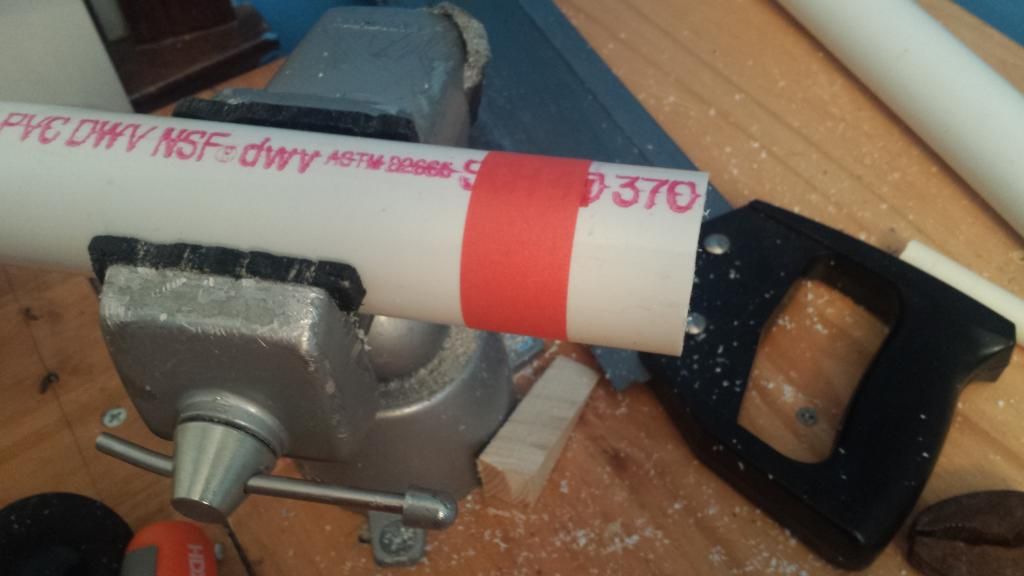
Cut out a 1" length of 1-1/4" PVC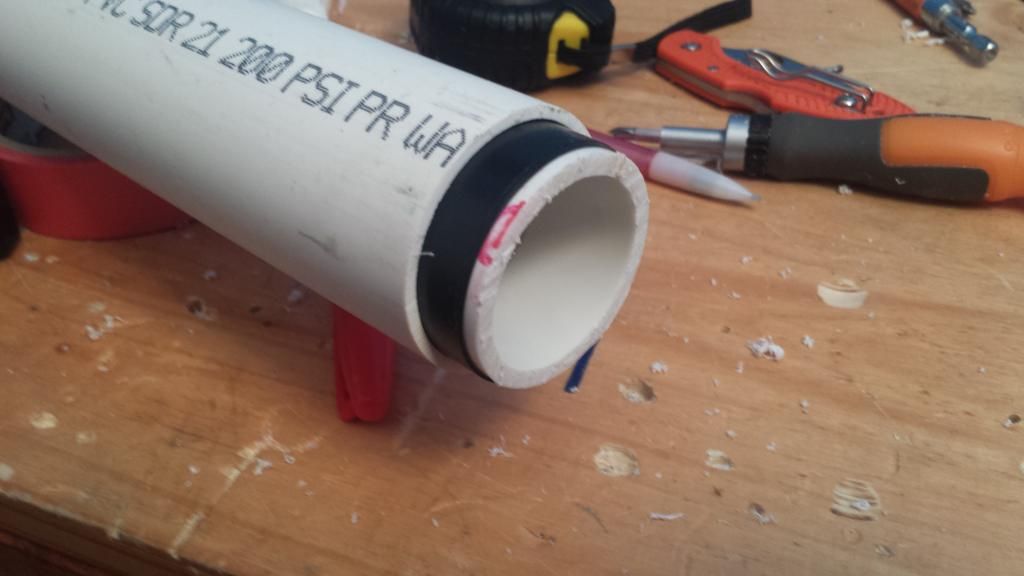
Wrap the segment in E-tape and throw it into the end of your 1-1/2" thinwall PVC. Make the faces flush.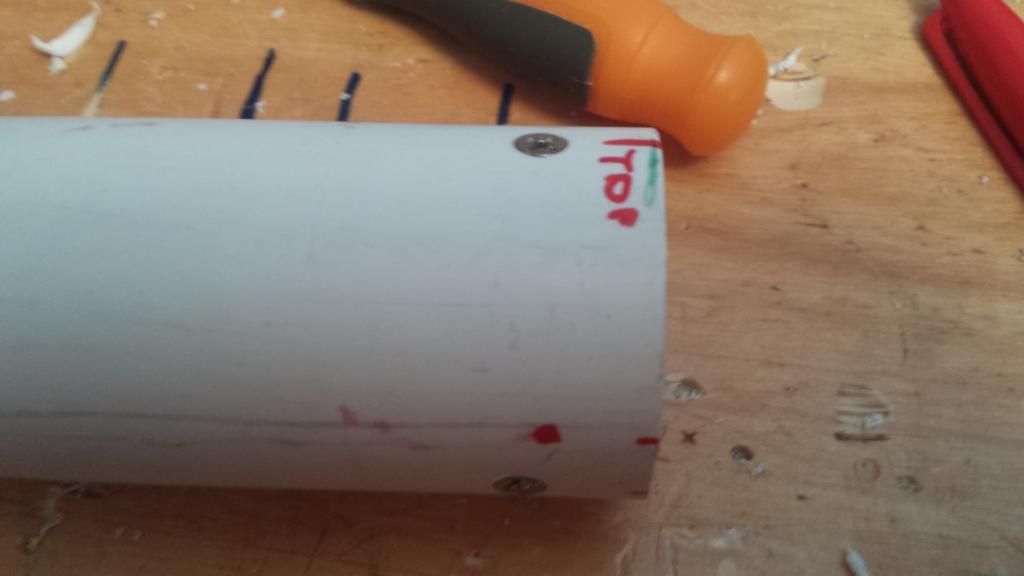
Secure it in place with three screws. I ended up using three 6-32 machine screws cut down to 3/8"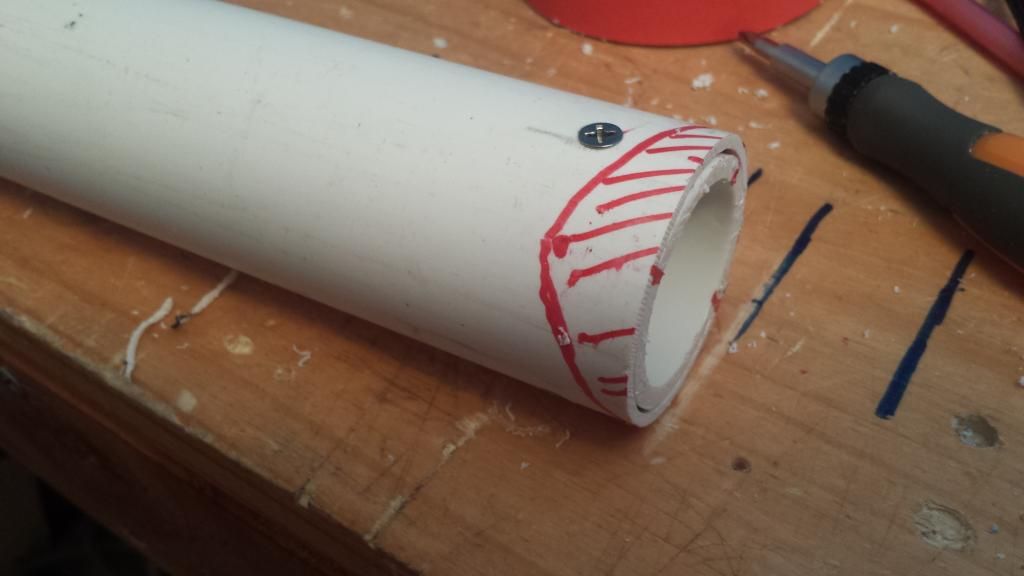
Next mark out a shallow "V" shape extending from the top to one side to the bottom. The valley of the "V" should extend about 1/2 - 5/8" deep. Repeat on the other side.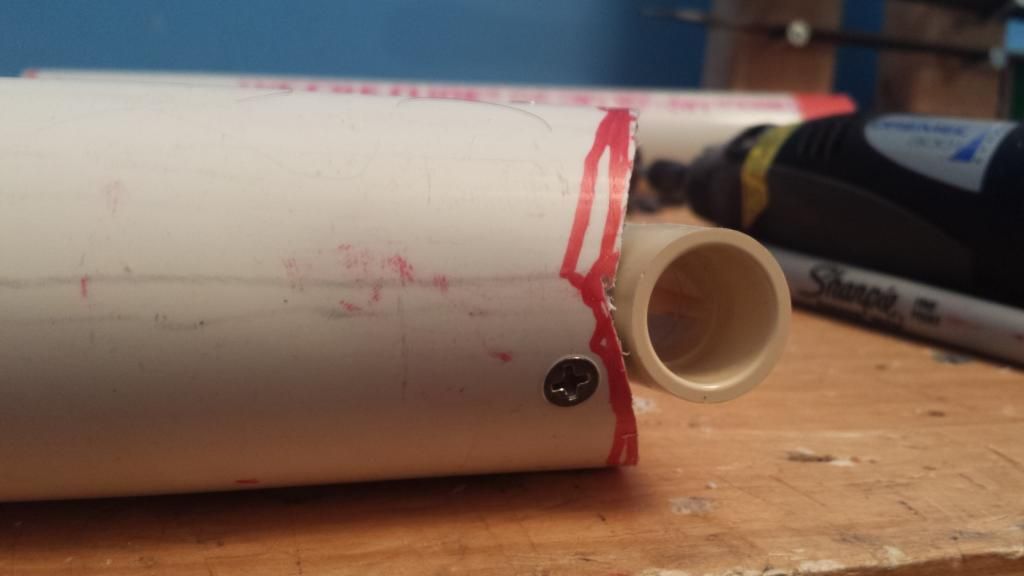
Use a hacksaw to cut away the V shapes that were previously formed. This is what makes the design "slotless." When the plunger rod is pushed back by the pump, the CPVC Tee rests in the crotches of the V channel at the end of the pump, orienting it exactly as desired.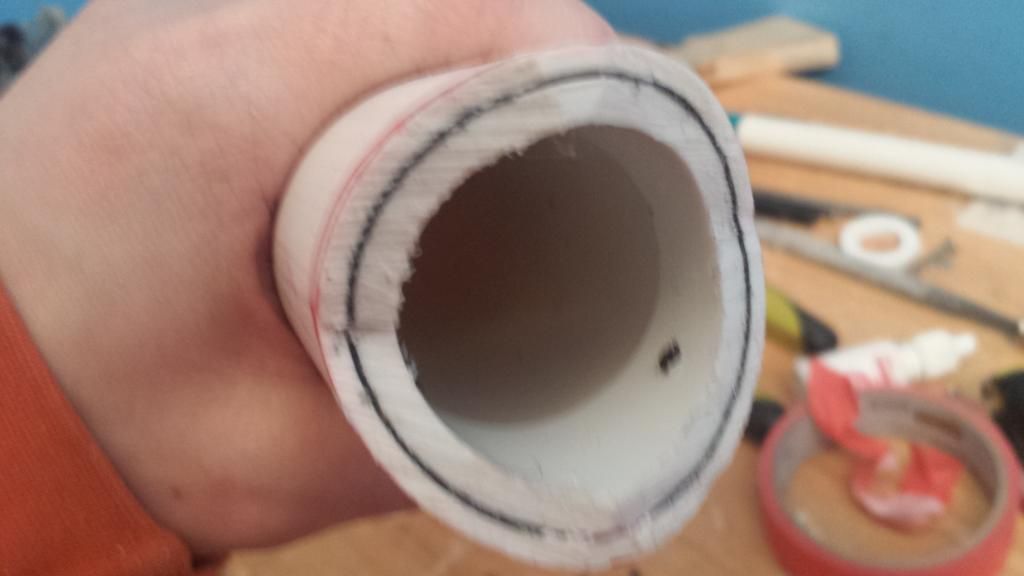
Another view.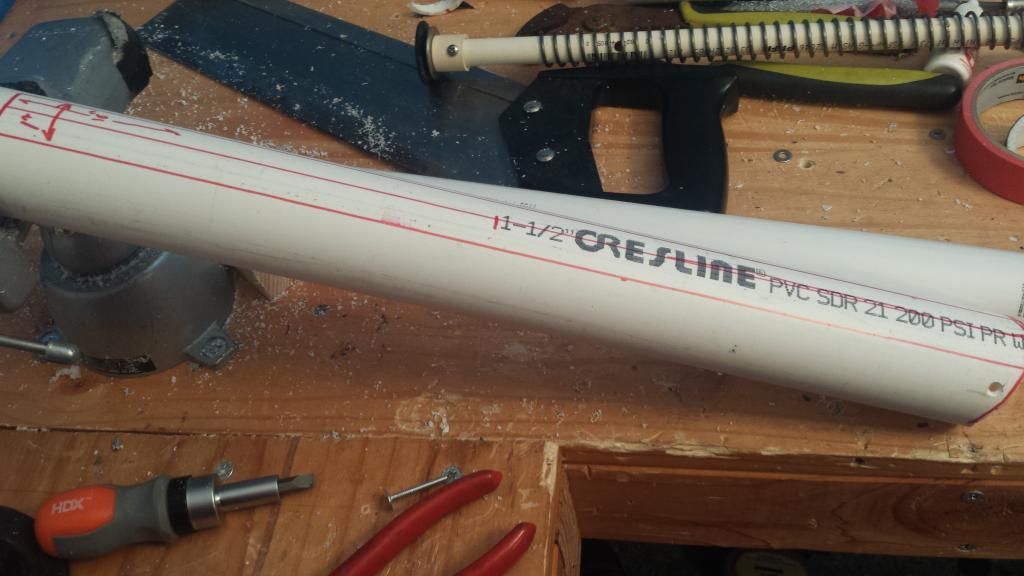
Draw a 16" Long x 7/8" wide rectangle on the bottom of the pump from the rear.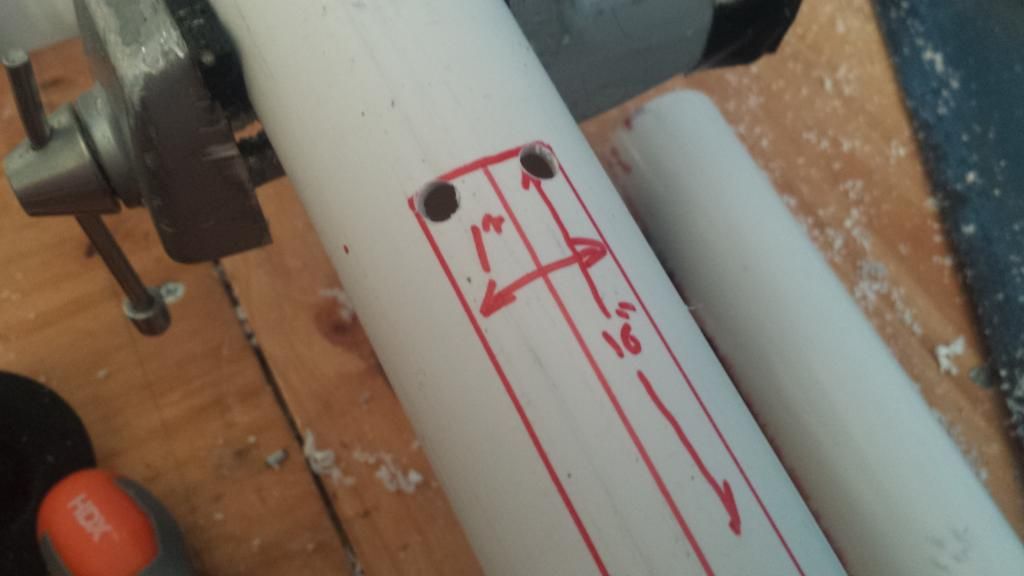
Drill 1/4" holes so that the formed holes are tangent to the sides of the rectangle...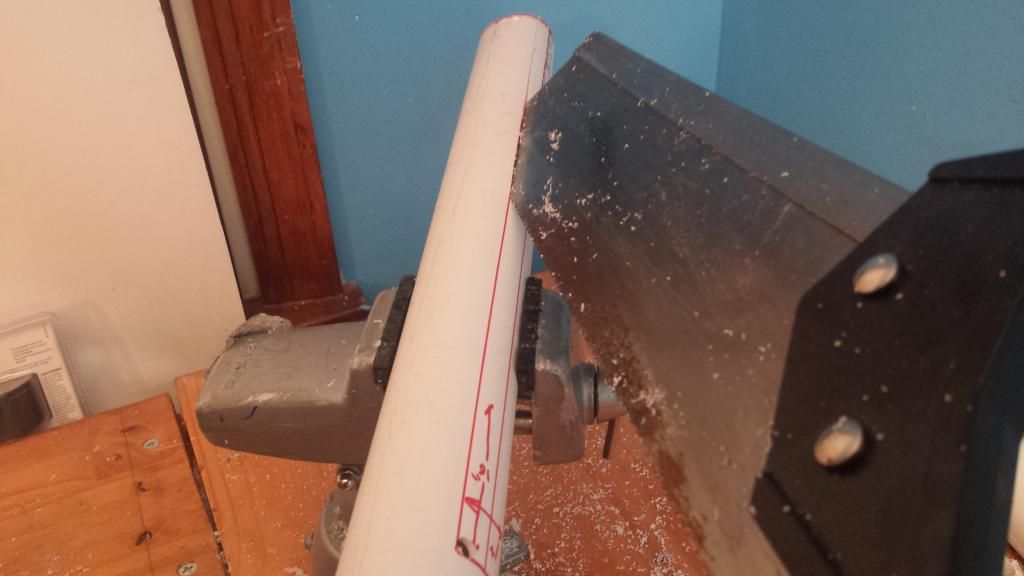
And saw all the way down each length of the rectangle. Remove the rectangle from the pump. Then remove the inner section of 1" PVC that was cut through. It will be replaced later.
OK technically this is a slot. But no dremel is needed. And a long, straight saw means long, straight cuts. I avoid using rotary tools whenever possible.
Handle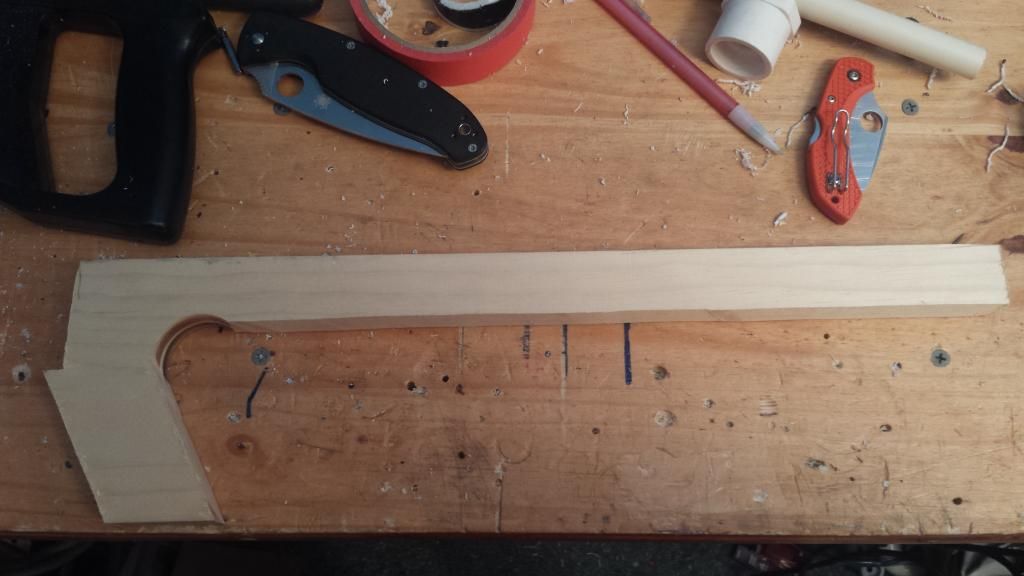
I used a Hole saw and a Wood saw to create this part from a 3/4" x 5" wooden plank. It's about 2 feet in length. The width from top face of the rear "panhandle" to the bottom face is one inch.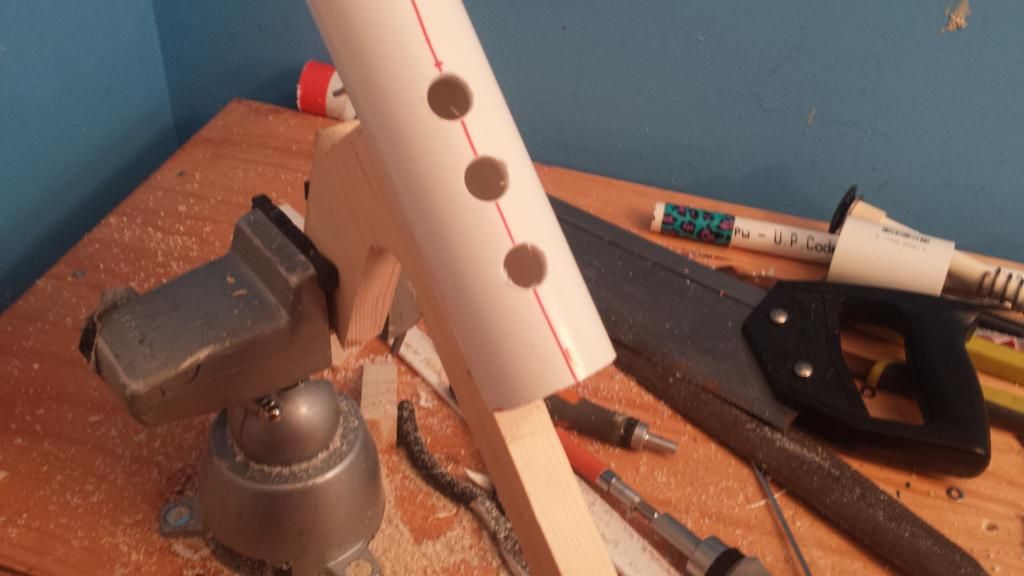
Drill three holes 1 inch apart on the top of the Body tube, and position these holes so the trigger is the desired distance from the front of the handle. Drill a 1/8" hole into the handle from the top, and sink in a wood screw, 1" long, into the front hole.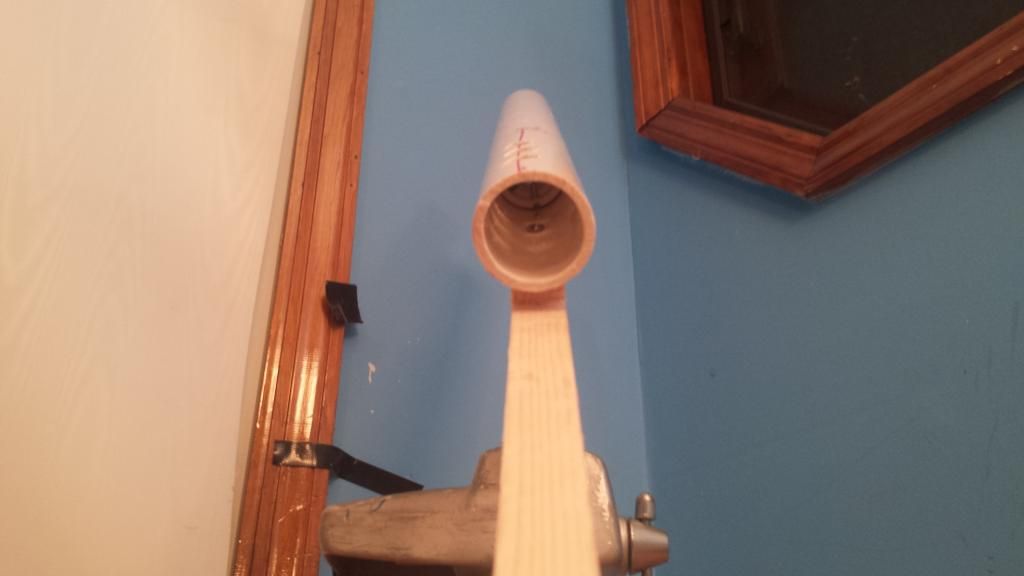
Make sure it's straight. This is important. The two parts are only held together by one screw, so rotation is possible. Pre-drill and sink in the remaining two screws when it's aligned.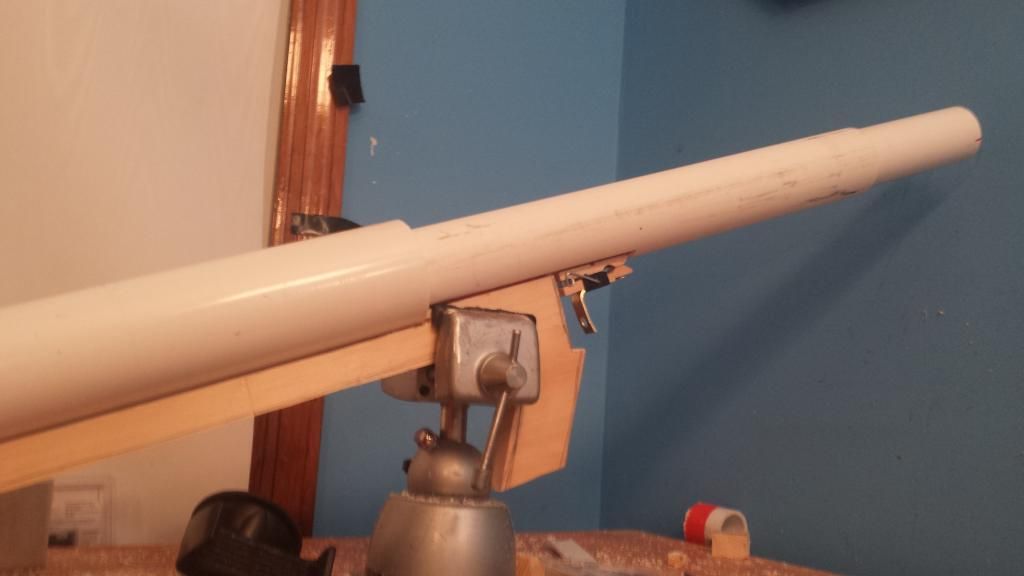
Cut out 1/8" from the top face of the panhandle and continue this cut all the way to the end. This allows a piece of 2 inch PVC to align cocentric with the body tube. Don't have a better photo of this, sorry.
Putting it Together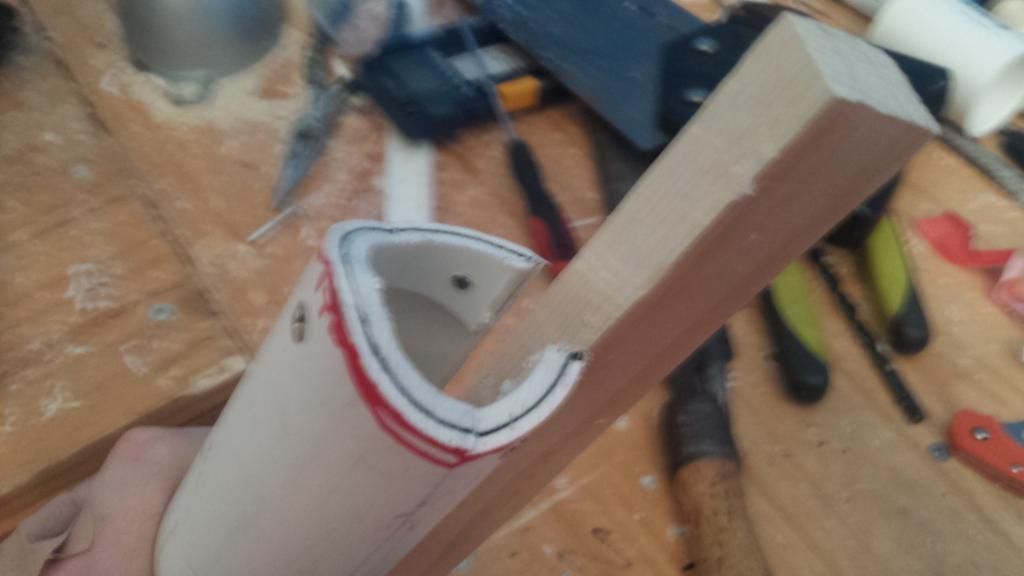
Slide on the Pump from the front. Re-attach the piece of 1-1/4" PVC to lock the pump onto the blaster.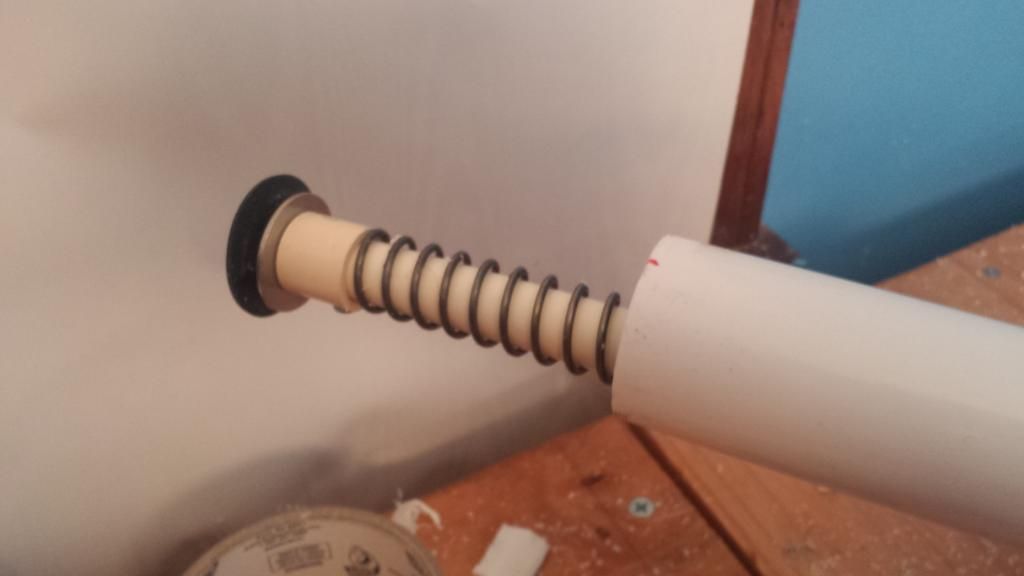
Throw the plunger assembly into the blaster through the front.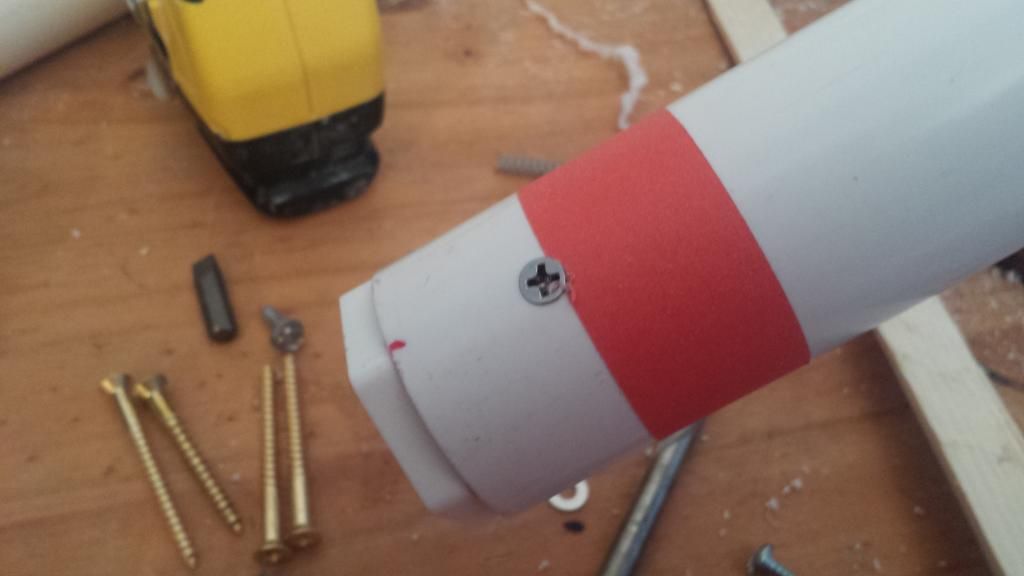
Throw in the forward bushing. It should rest in very snugly. Remove a layer of tape if it is too tight to fit. Drill and countersink three holes and sink three screws. Use a 7/64" drill bit and 6-32 x1/2" machine screws. Ensure they are flush.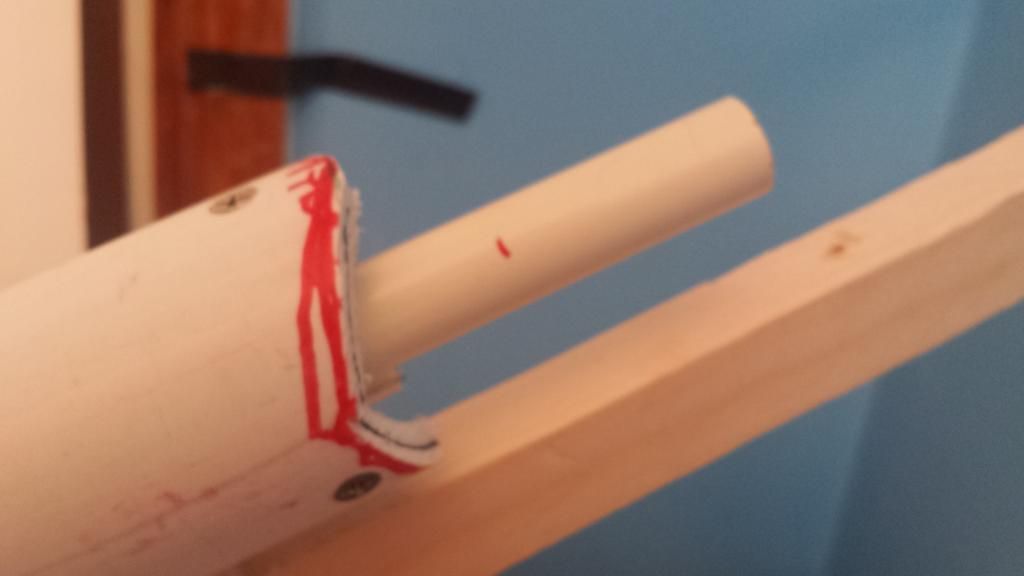
Cut off the excess CPVC plunger rod. Leave about an inch sticking out from the pump.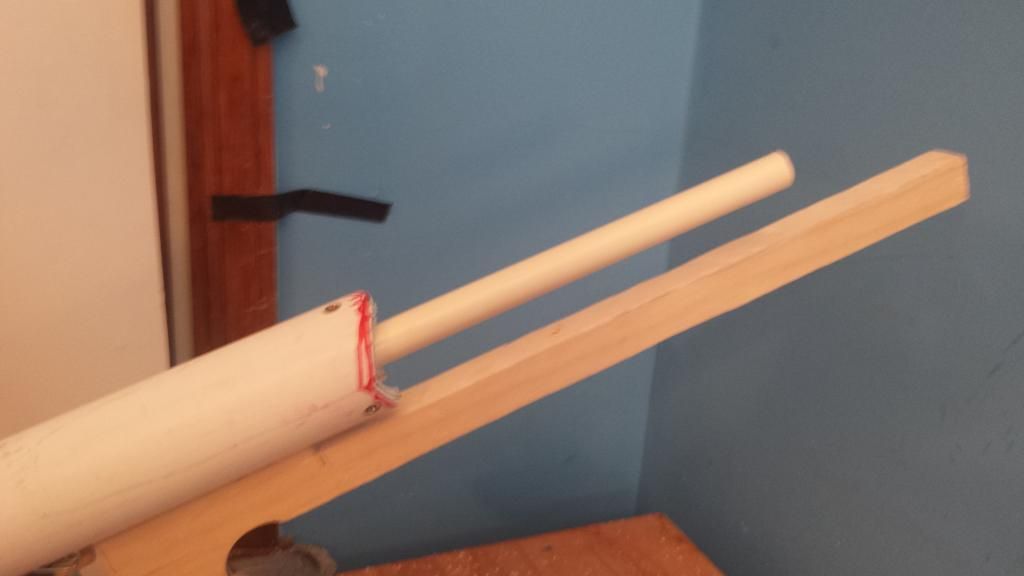
Prime the blaster by sticking a length of 1/2" CPVC through the front of the blaster and pushing it back all the way. Rotate the rod in this position until it the catch locks. Take note of the orientation of the rod and the pump crotch.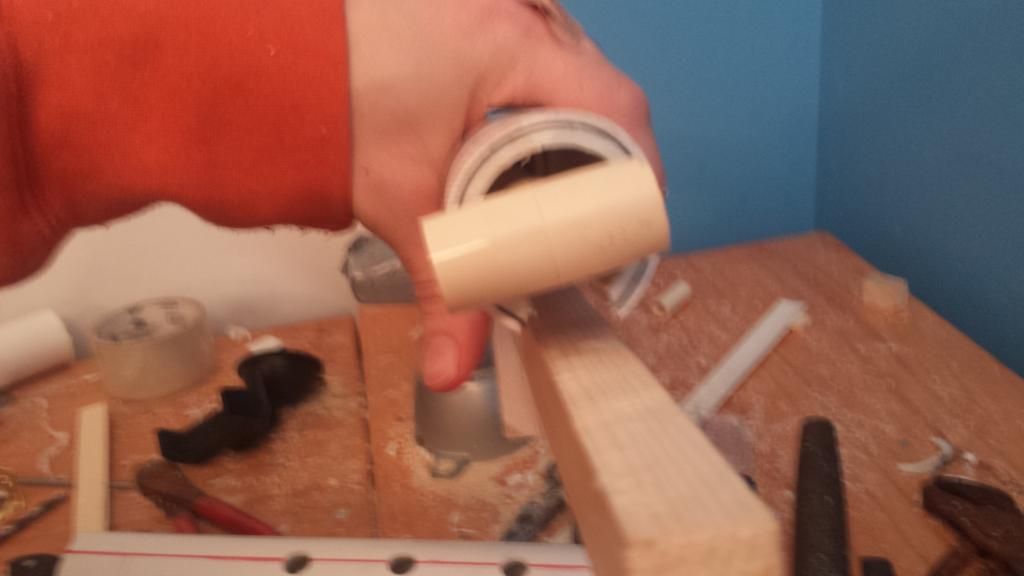
Affix the CPVC Tee onto the end of the plunger rod to using a x6 x 1/2" machine screw once it is positioned.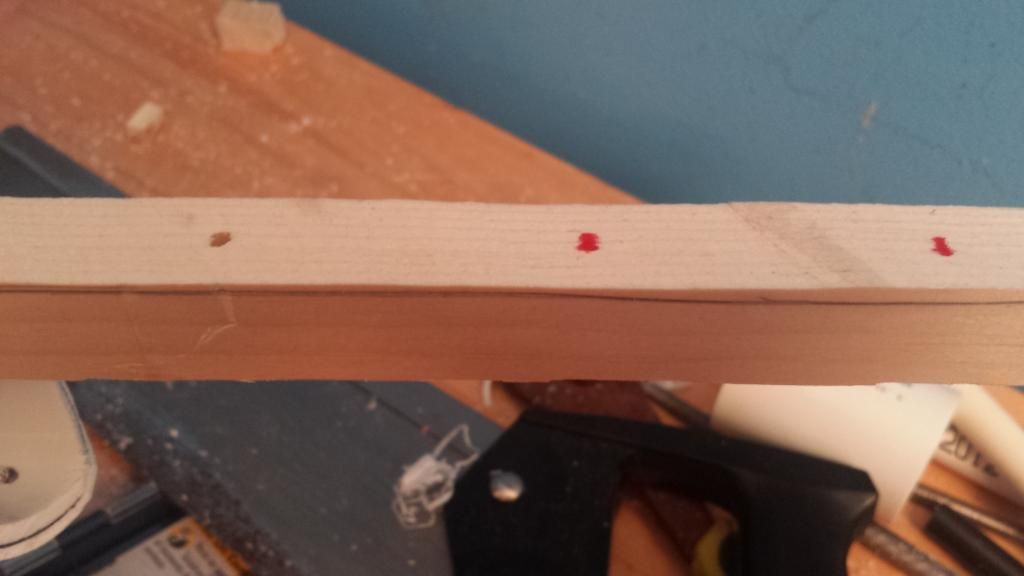
Mark some points on the rear of the stock, about 2 inches apart. I made three points. Drill through these points with a 1/8" drill bit.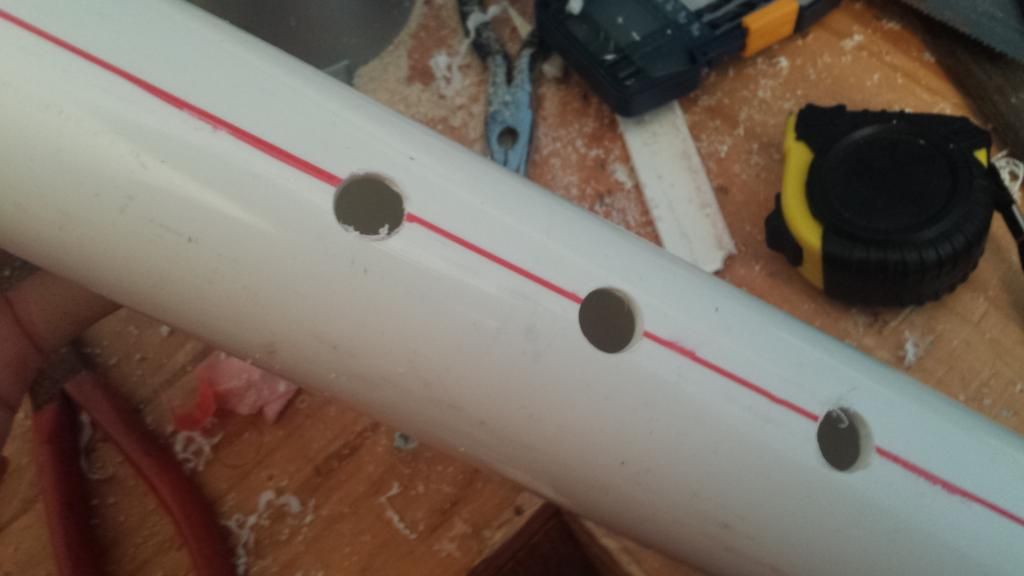
Position the 2" PVC pump sheath over on the rear of the stock. Drill x3 1/2" holes on the top that align with the three holes in the stock.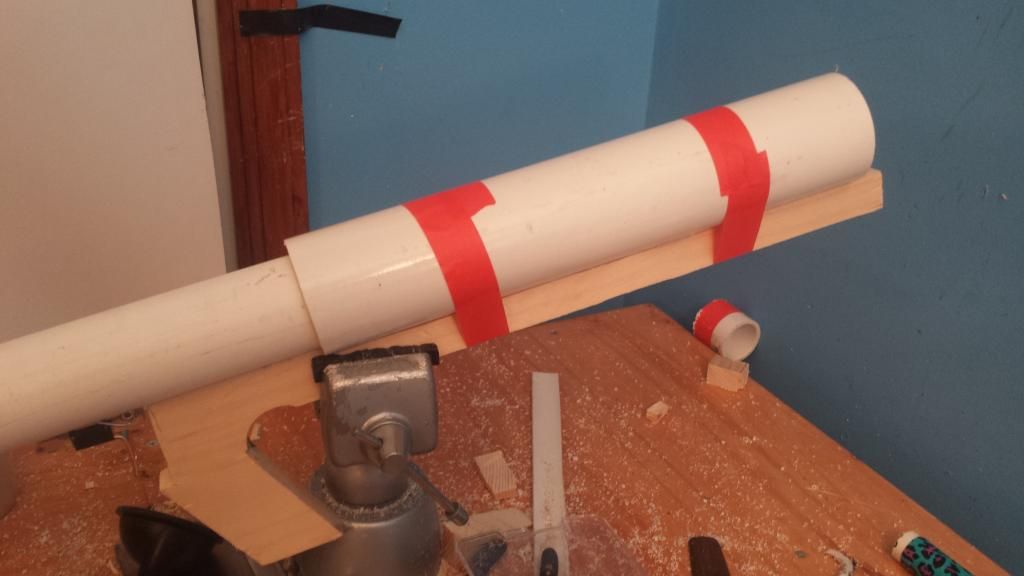
Affix the Pump sheath to the blaster, and secure with wood screws. Make sure the 2" PVC pump sheath is positioned so the pump may be pumped back fully. Drill through the holes in the stock, through the PVC, from the bottom. Drill the front most hole first, and sink this screw from the top. This allows the sheath to be rotated if need be. Then sink the remaining two screws when satisfied with the positioning.
Finishing Touches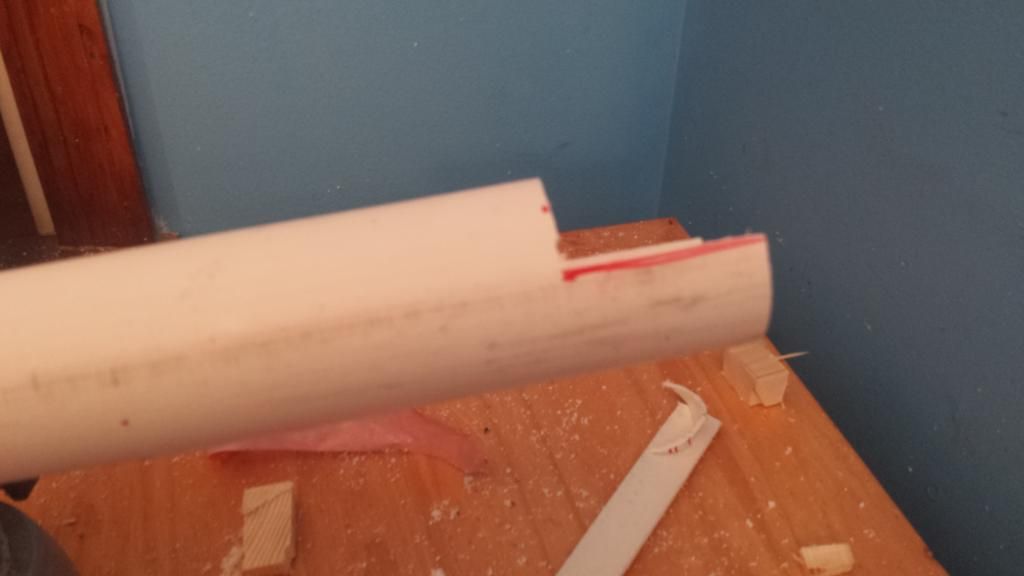
Cut down the front of the pump.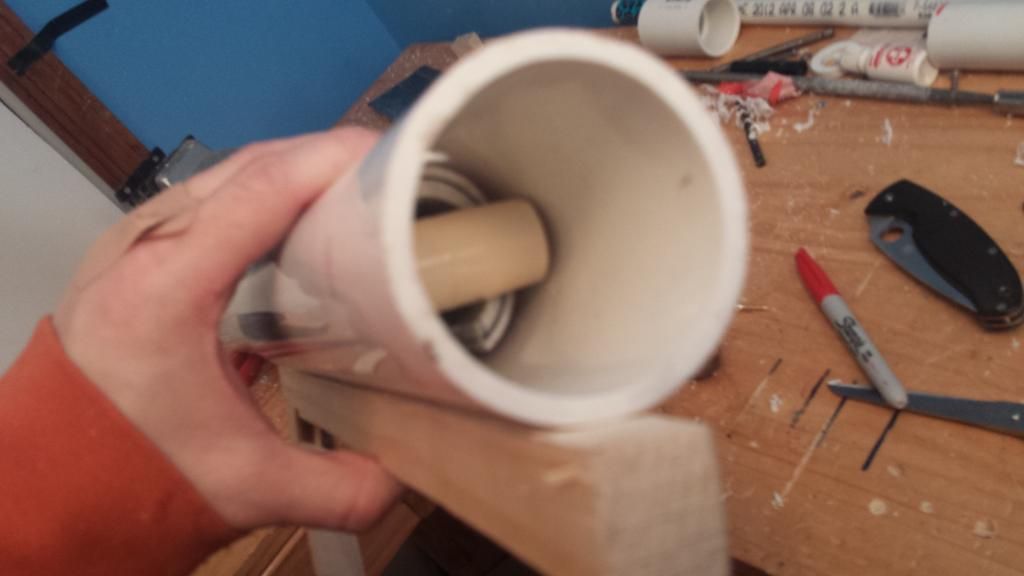
Saw off the excess material from the rear. Like take a hacksaw and just cut through the entire end of the blaster, so only about an inch remains between the CPVC Tee and the rear face of the pump sheath.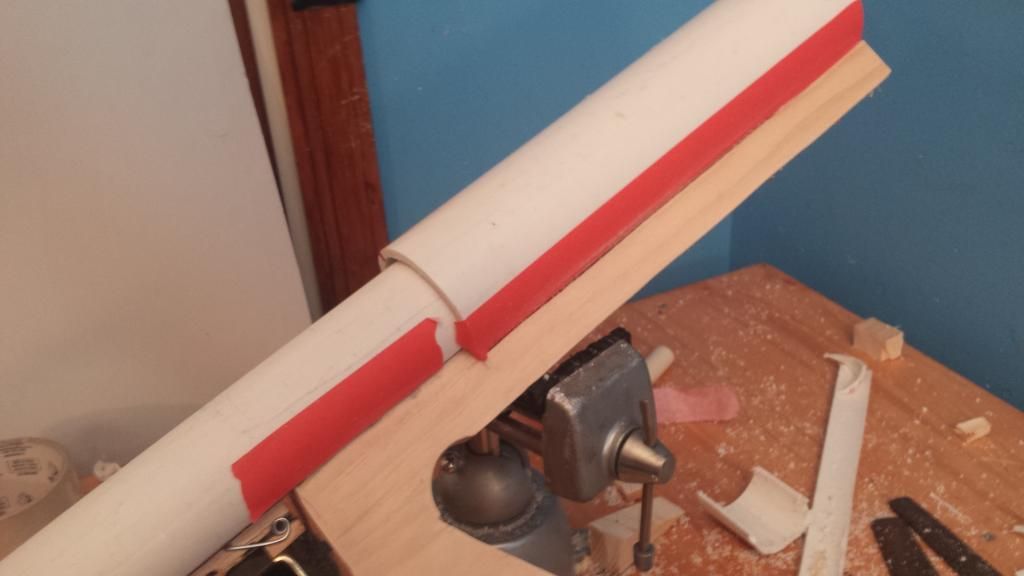
File down the handle and then finish with fine grit sandpaper.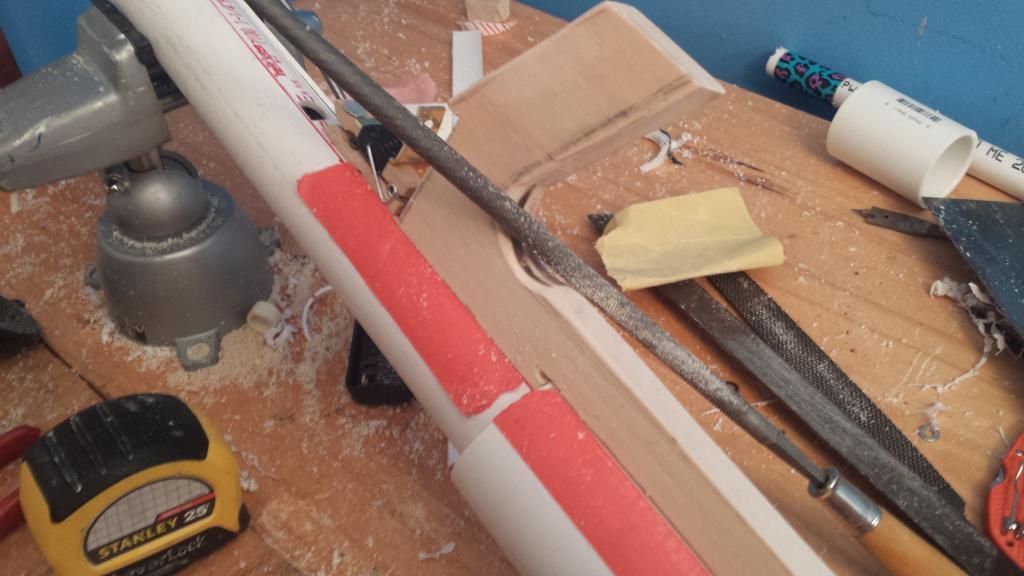
Use the rat tail file for the internal angles.
I finished the stock with Boiled Linseed Oil for a more natural fee, and to seal the wood of course.
Install some side plates to make your handle suck less. Mine are too wide, but I can easily trim them down. It's just cutting board after all.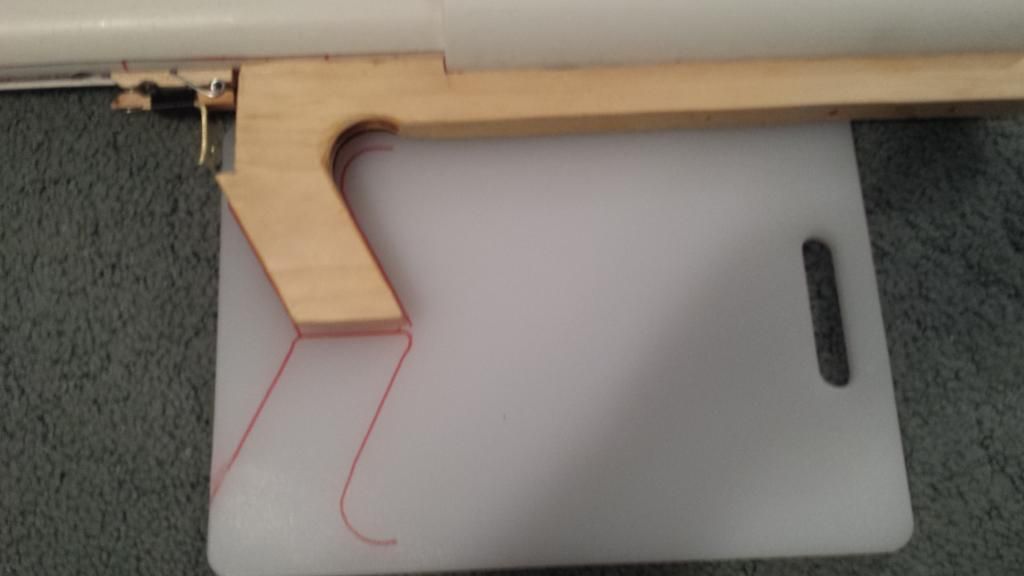
Trace around your handle.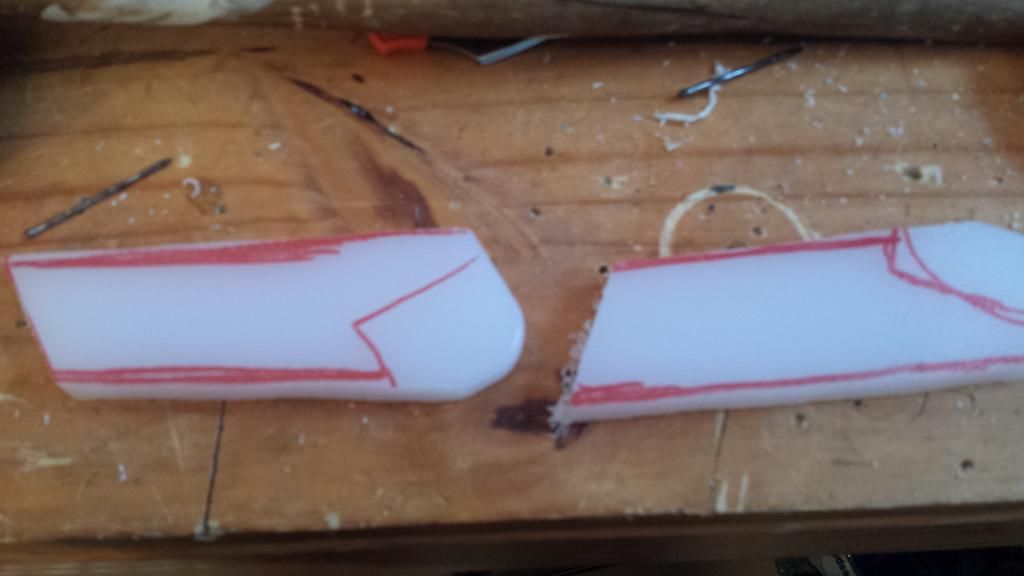
Cut out the basic shape.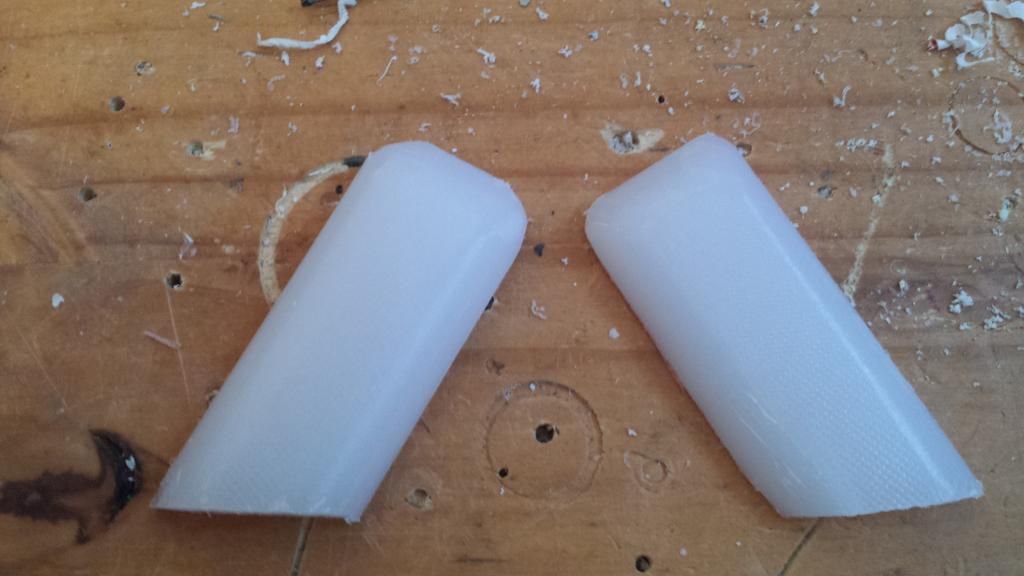
Use a file, knife, and snadpaper to round out the edges. I went for simple 1911 style grips. I do need to file them thinner in the future, but I'm too lazy to do so right now.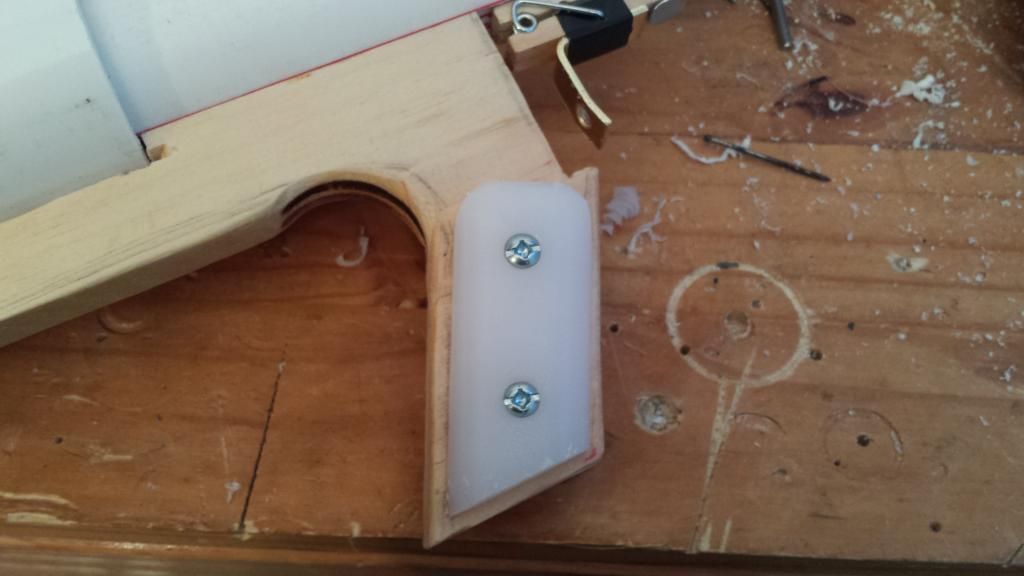
Screw 'em on.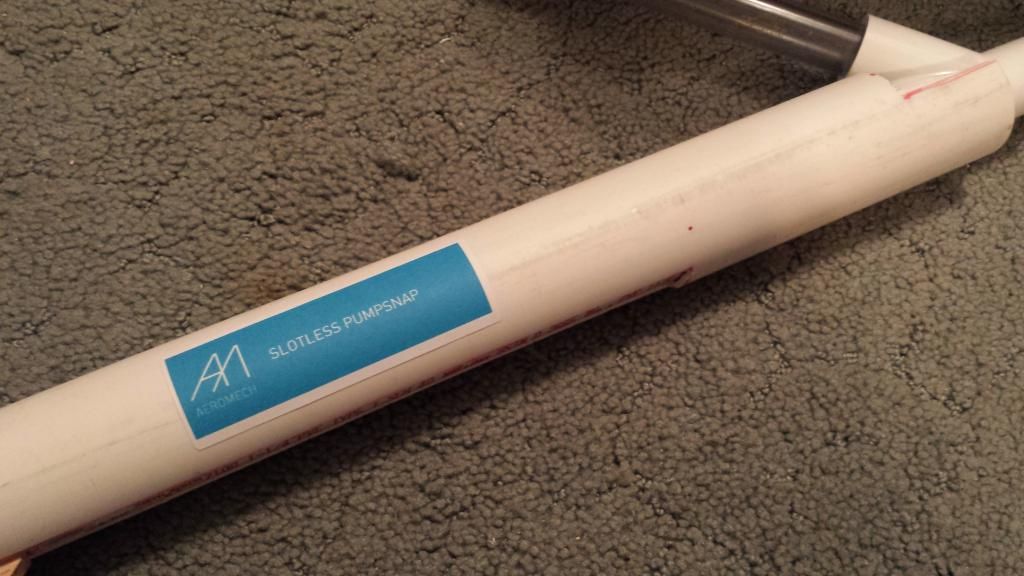
You knew that was coming.
Results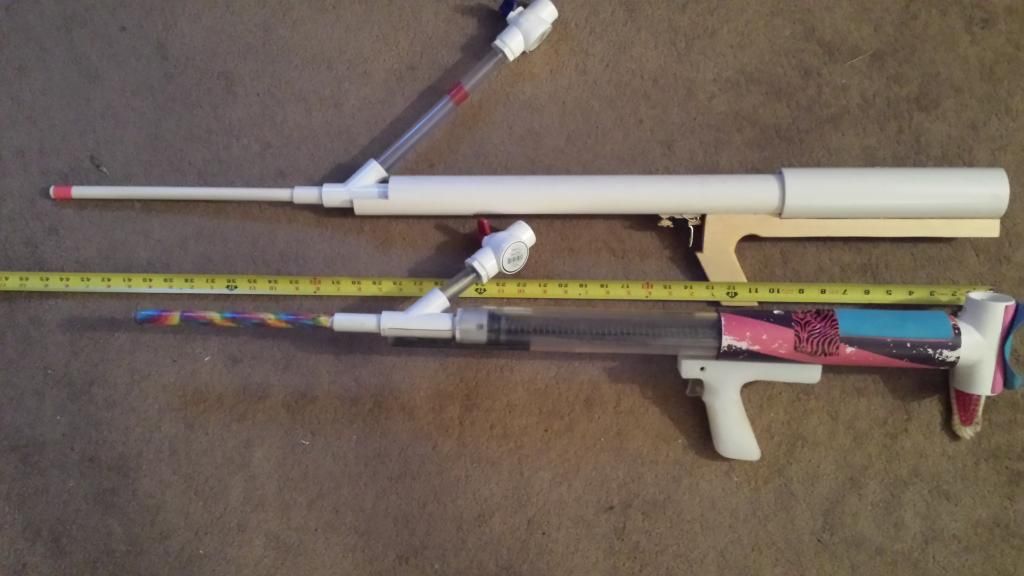
With a 14" barrel and hopper, the blaster is 45" long, about 3" longer than one of my rainbow pumps. The RBP in the photo is sporting a 12" barrel, so it would be a little longer if the barrels were equal length.
Range is untested, but it hits with just slightly less force than a rainbow pump. It is totally war capable in terms of ranges alone. I have yet to field it but I look forward to the challenge. The length of pull is identical to my rainbow pump, which is already pretty long. I wouldn't want it any longer to be honest, and prefer a shorter stock. The blaster this is loosely inspired by is Langly's Pump-Snap. However, I am not nearly as tall as he is, so the sheath was necessary to make that length of pull manageable, otherwise more stock would be needed to allow my face to rest behind the plunger rod. Weight is about the same as a rainbow pump, perhaps a little lighter.
This was kind of cool. I don't typically work with Snaps so this was a nice change of pace. That being said, the project was completed in a day once I had the materials available, all from my local Ace hardware with the exception of the [k26] spring, which is easily available these days, and the thinwall PVC, which I found online and is apparently everywhere except long island. I hope this helps with anyone that wants to build a pump snap. As always, look around and see which blaster design is the best for you. This is the second actual Snap I've built, and the first one wasn't too hot. I set out with a list of goals and accomplished them. I will be using this at the next Northeast war. And if it breaks, you'll know.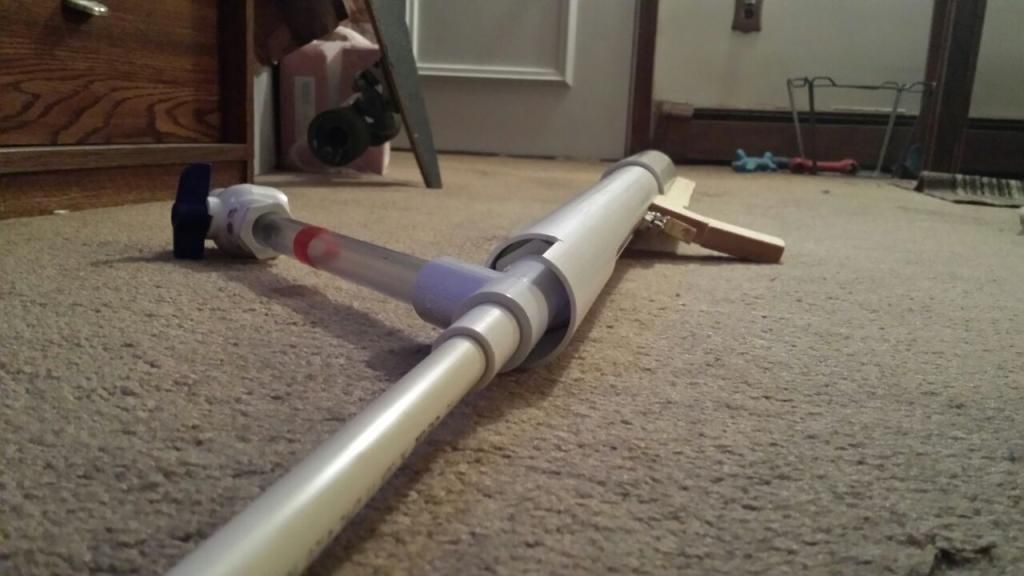
Just don't go calling me a Snap guy
-Aeromech
Edited by Aeromech, 23 November 2015 - 01:35 AM.


