Preface
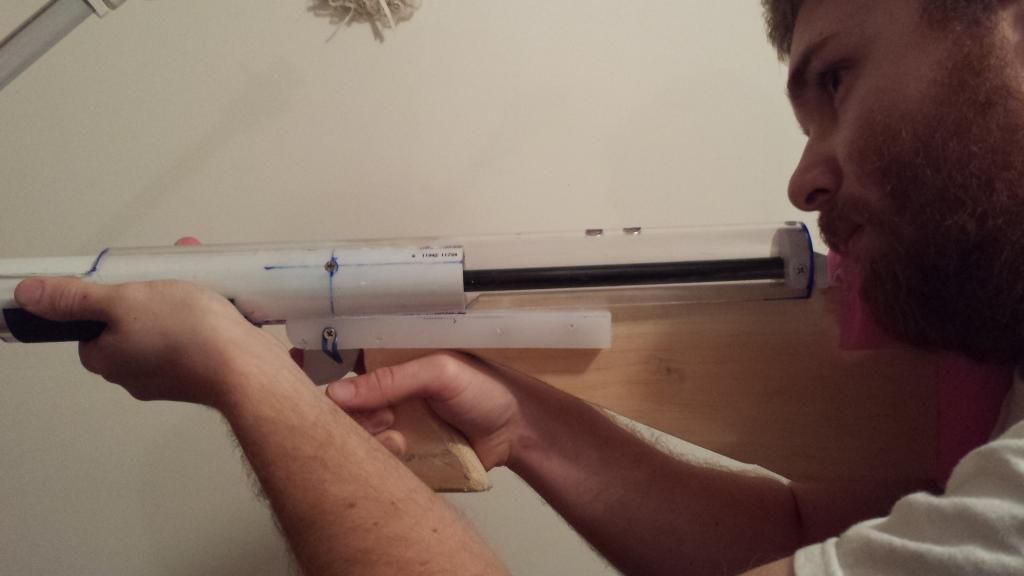
SNAP and Rainbow style blasters are two of the most common blasters in the homemade realm. SNAPs can be built in the course of a few hours, but have been known to be tricky for beginners to get working reliably. Rainbows are reliable and streamlined, but require some parts to be purchased from outside retailers like McMaster-Carr. This writeup attempts to address some of the limitations of each blaster
Additionally, while maintaining this as an entry in the Noob's First Homemade Contest, I would like to open up the Rainbow style of blaster to those users that make SNAPs by reducing the amount of materials needed from supply companies.
Previously on 24
CaptainSlug creates an adhesive free blaster with the Plus-bow
Carbon's SNAP Blaster gains popularity for it's ease of assembly and readily available parts
Rork creates the Superlative Plunger Head
The Rainbow clan creates the Rainbow Catch, my personal favorite blaster style.
Langley builds a super sexy SNAP Rev 5 that makes me feel all giggly inside. Still, I want something with a little more ass than a SNAP...
Spiderbite makes raw materials accesible to the masses.
Build Goals
Decrease the amount of material needed to be purchased from McMaster-Carr, or comparable vendors
Decrease build time compared to a traditional Rainbow-pump
Allow for either traditional pull-back or Pump action operation
Eliminate the use of slots entirely
Eliminate the use of adhesives in the body
Reduce cost compared to a traditional Rainbow pump, and use materials familiar to SNAP builders
Tools
Saw
Screwdriver
Drill with bits
Course file
Rat Tail File
1-1/2" Hole Saw
Rubber Mallet
6-32 Tap
8-32 Tap
Tap Wrench
Masking Tape
Sharpie
Knife
Countersink
Pliers
Hot Glue Gun
Table Vice
Consumables
Plunger Head
1-1/4" steel fender washer
1-1/4" rubber/neoprene fender washer
1-1/2" rubber/neoprene fender washer
#8 finishing washer
8-32 x 1-1/2" pan head machine screw
Electrical Tape
Lithium grease or silicone grease
Plunger Rod
1/2" Nylon Rod from McMaster
8-32 x 2-1/2" machine screw
8-32 x 1-1/4" machine screw
1/4" nylon tubing
3/4" x 2-3/4" x 1/4" polycarbonate from McMaster
#8 washer
Body and Catch
1-1/4" PVC
1/2" to 1" PVC bushing
1/4" Polycarbonate from McMaster
1/4" OD compression spring
#6 x 3/4" machine screws
#6 x 1/2" pan head machine screws
[k26] Compression Spring from McMaster
Stock and Trigger
1" x 5" Pine Board
Cutting Board
8-32 x 1-1/2" machine screws
6-32 x 1-1/2" machine screw
#10 x 1" Wood Screws
#10 x 1/2" Wood Screws
3/4" PVC
Pool Noodle
Rubber Band
Elmer's Glue
Hot Glue
Forward Pump
2" Polyester Tube from McMaster
Cutting Board
6-32 x 1/2" machine screws
Skateboard Tape
Let's Begin. Descriptions will be underneath their respective photos. Put on your safety goggles now.
Plunger rod assembly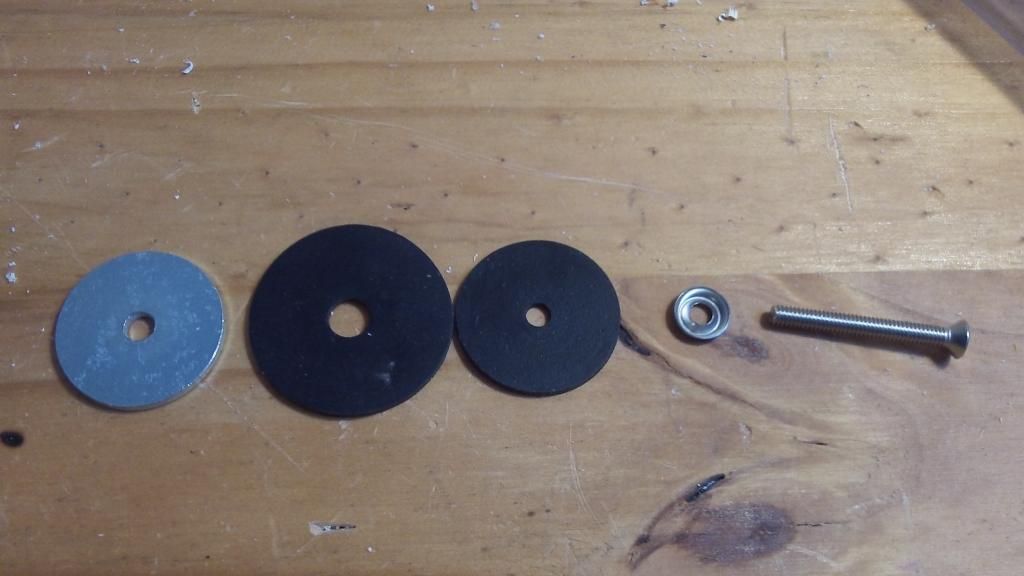
We'll start with making the superlative plunger head. Align the materials as shown, with the rounded side of the finishing washer pushing against the rubber washers.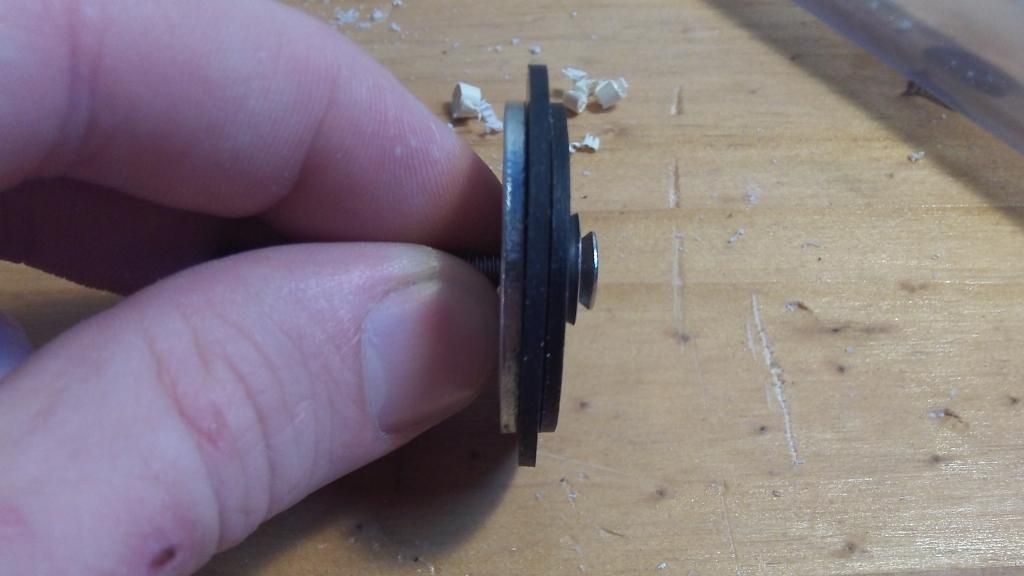
Should look like this when it's all assembled on the screw.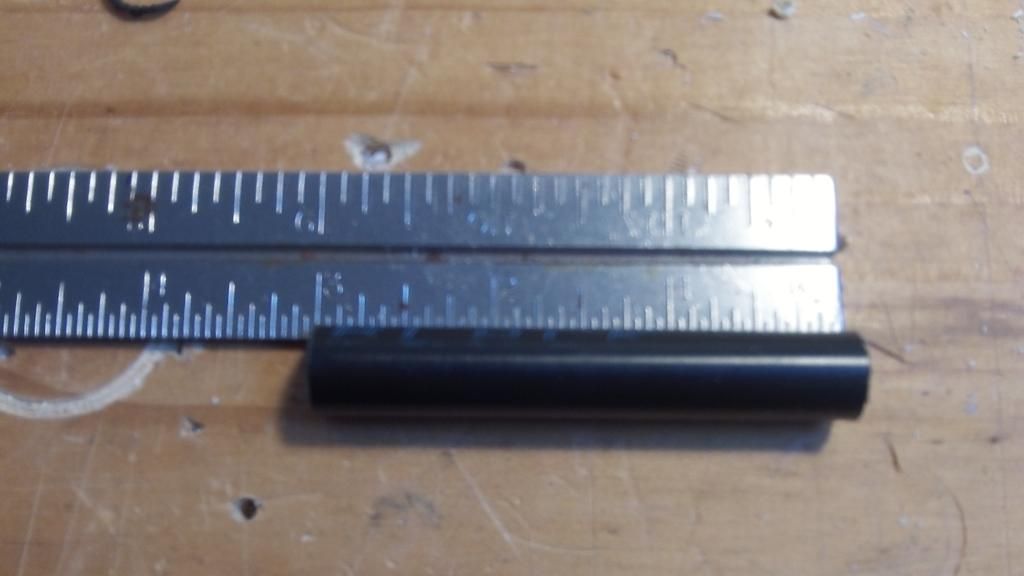
Cut a 3" length of the nylon rod.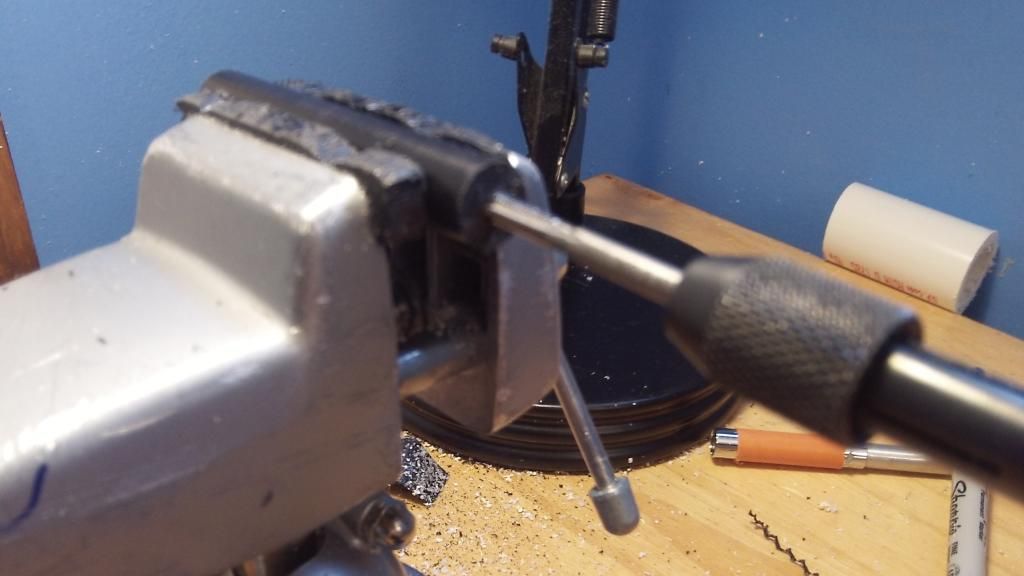
Drill and tap the center of the nylon rod, about 1-1/4" deep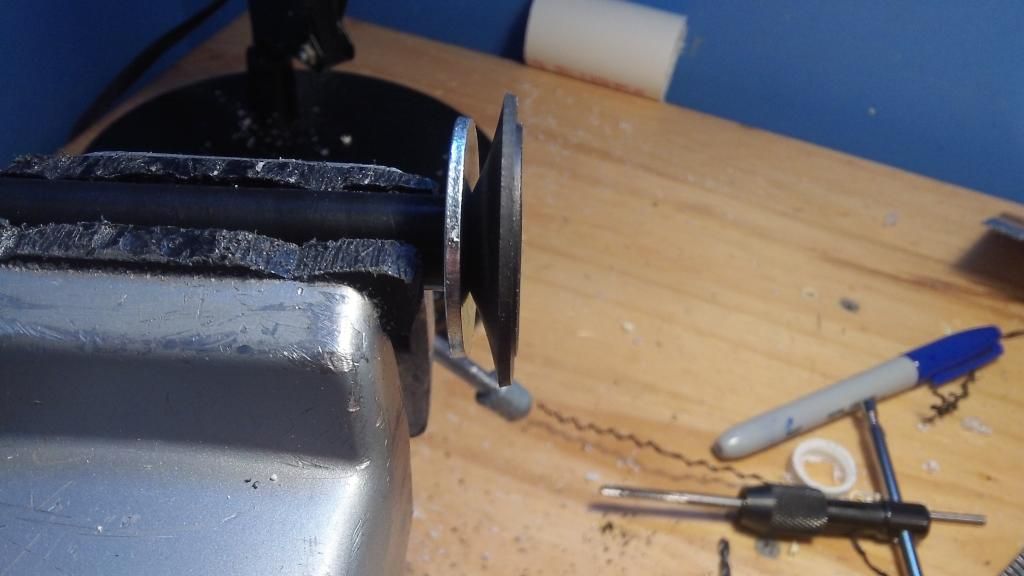
Screw the plunger head assembly onto the nylon rod. Tighten it down so the finishing washer squishes against the rubber washer, as shown. It will freak you out the first time but this is supposed to happen.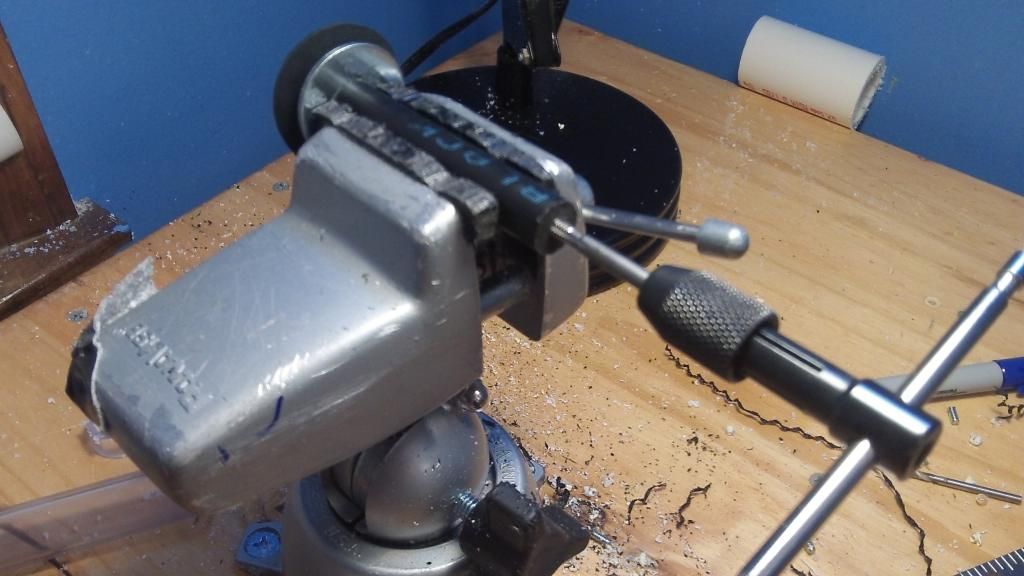
Drill and tap the other end of the nylon rod for 8-32 screws, about 1" deep. Make sure the hole is centered.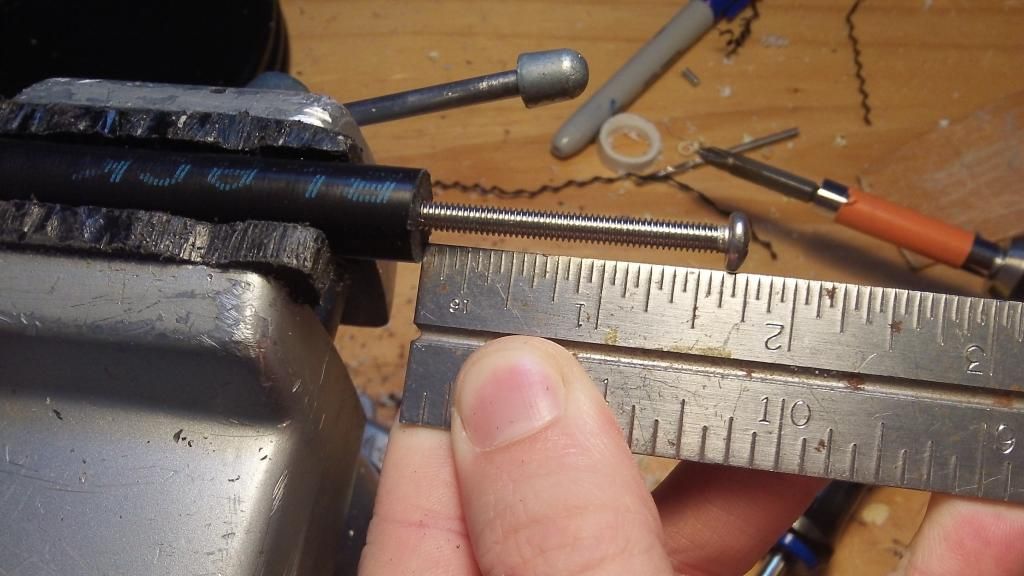
Screw in the 8-32 x 2-1/2" screw until this amount is peeking out.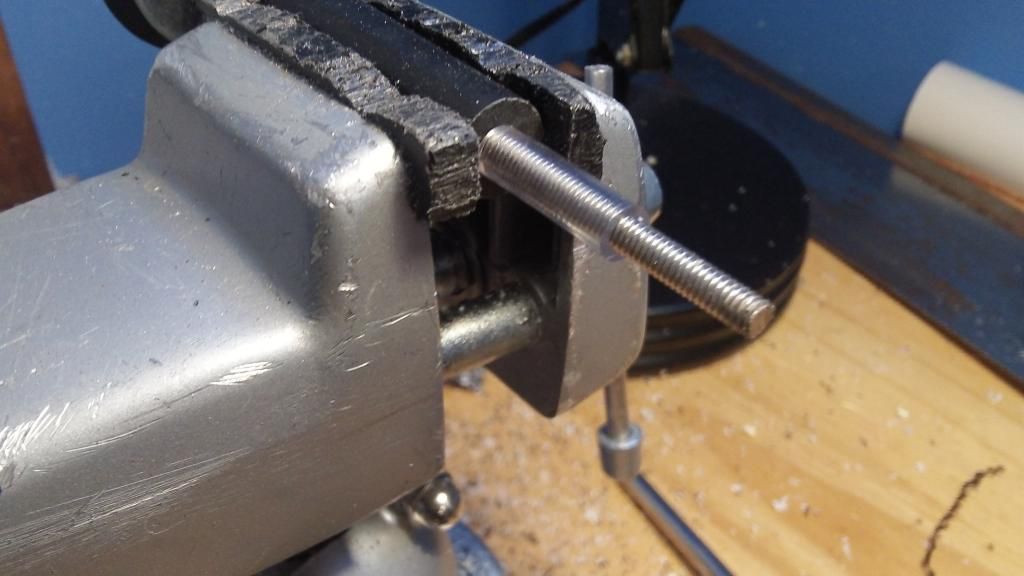
Cut off the head of the screw with your hacksaw. Slide a 3/4" length of the 1/4" nylon tubing over the screw.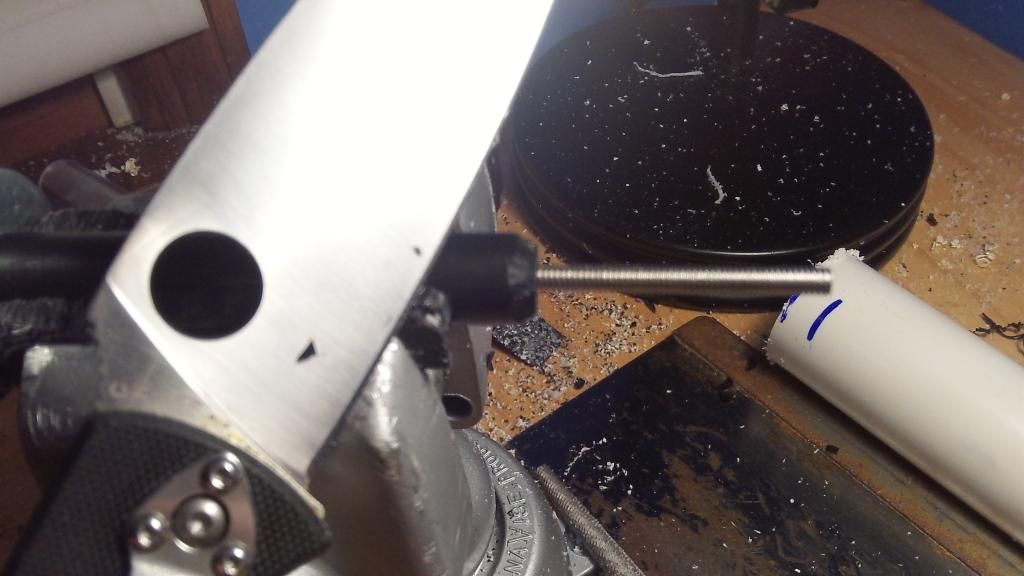
Use the knife to cut a bevel on the end of the nylon rod. Be patient, nylon is a pain to work with, but a sharp knife and caution will get it done.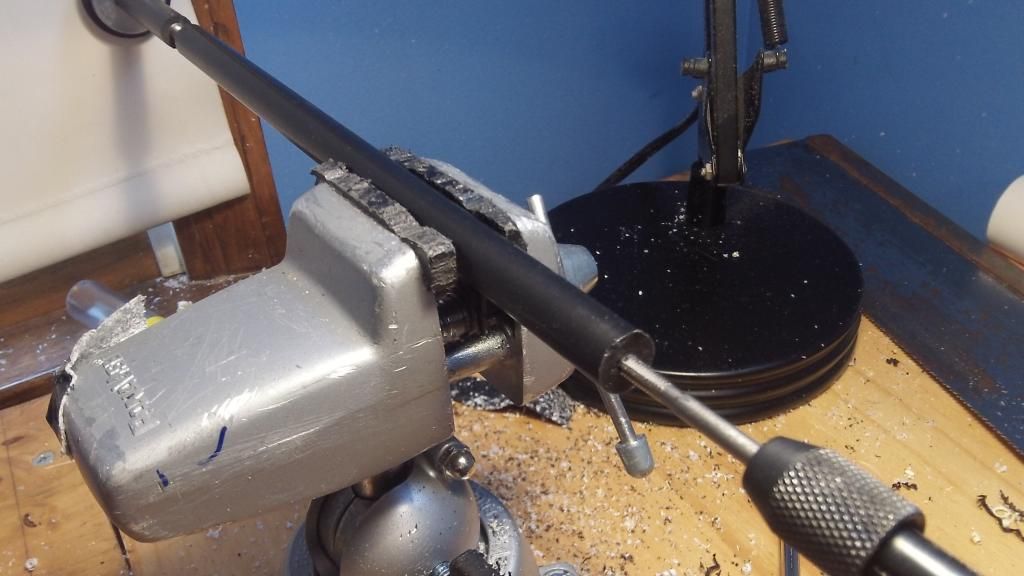
Cut another 10 inches of nylon rod and drill and tap BOTH ends for 8-32 screws, about 1-1/4" deep.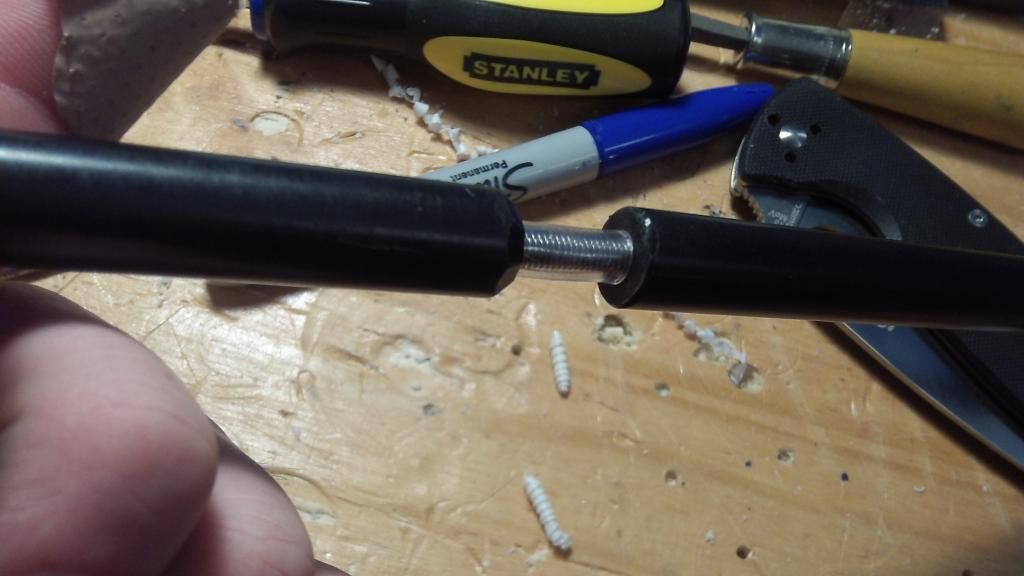
Put a VERY GENTLE bevel on the rear part of the nylon rod, and screw the two parts together as shown.
This type of plunger rod is known as an omnidirectional plunger rod.
Rainbow Catch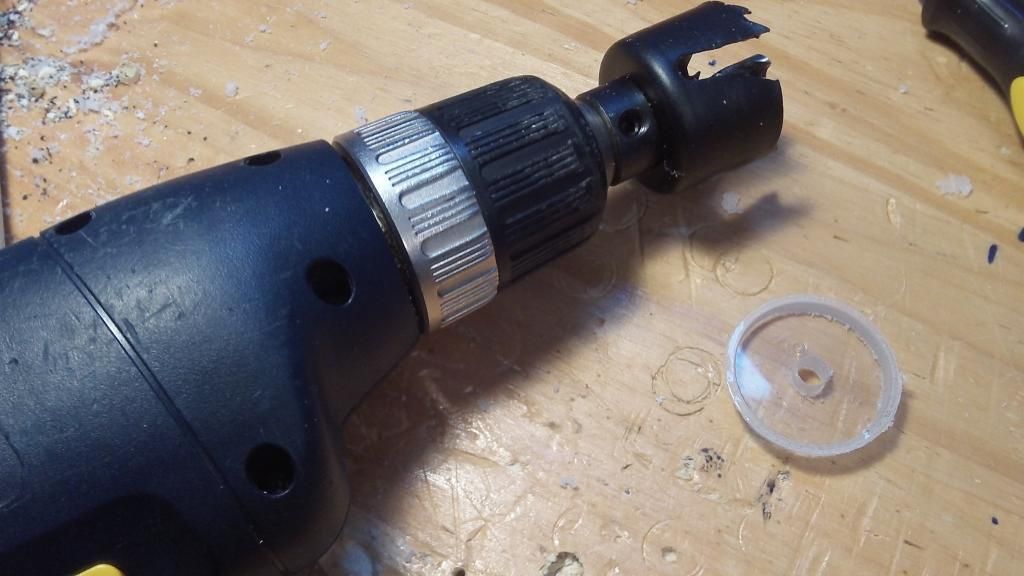
Using the Hole saw, cut out 3 of these holes from the polycarbonate plate.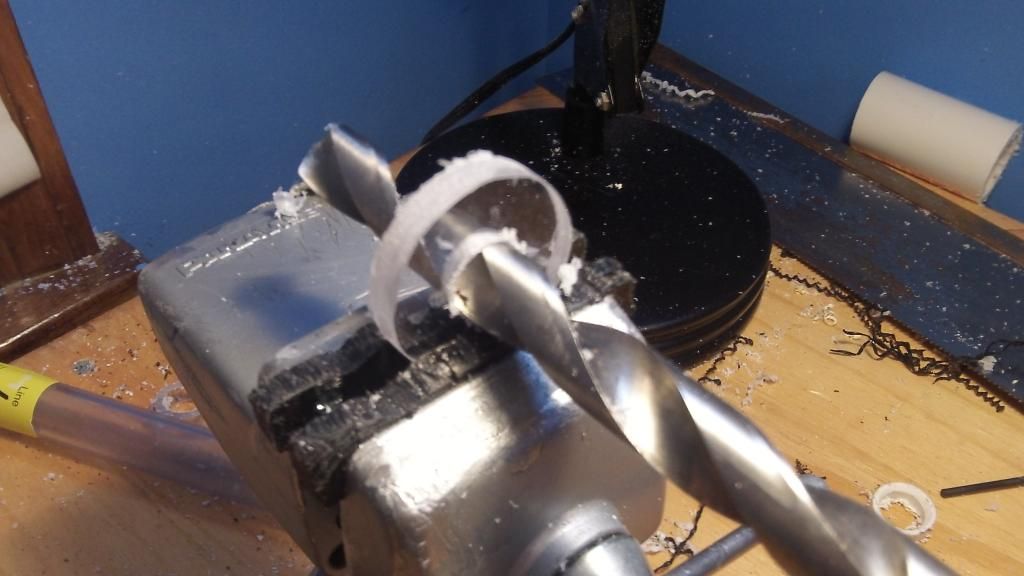
On all three disks, drill out the hole with a 1/2" drill bit.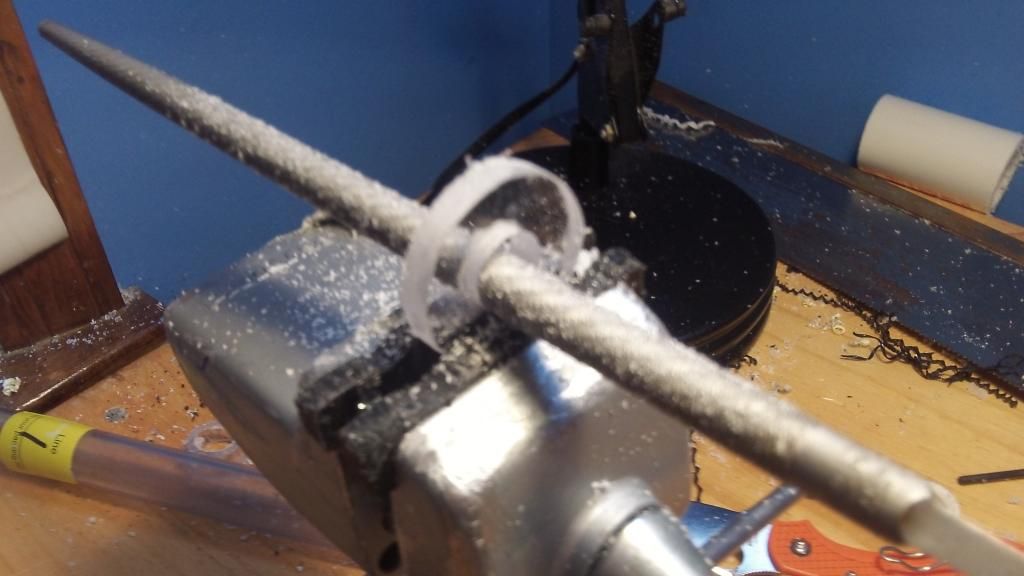
File out the inside of each disk slightly with the rat tail file.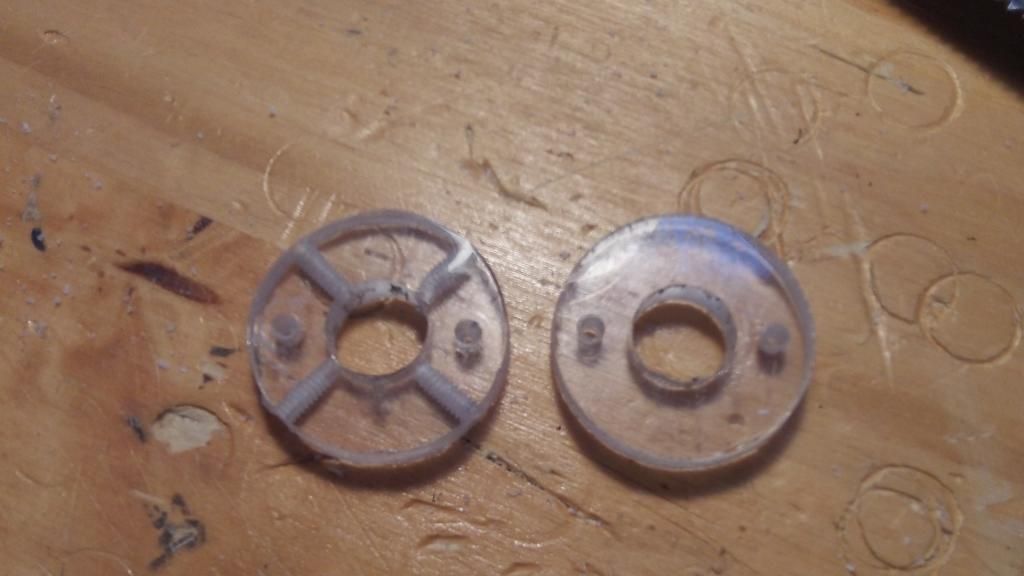
On two of the disks, drill out two holes with a 7/64" drill bit, as shown. The left disk has a cross of holes drilled into the disk itself. Drill these out with a 7/64" drill bit. On all of these holes, tap with a 6-32 tap. Here are the templates hosted by Daniel Beaver if you need them. I don't use 'em anymore.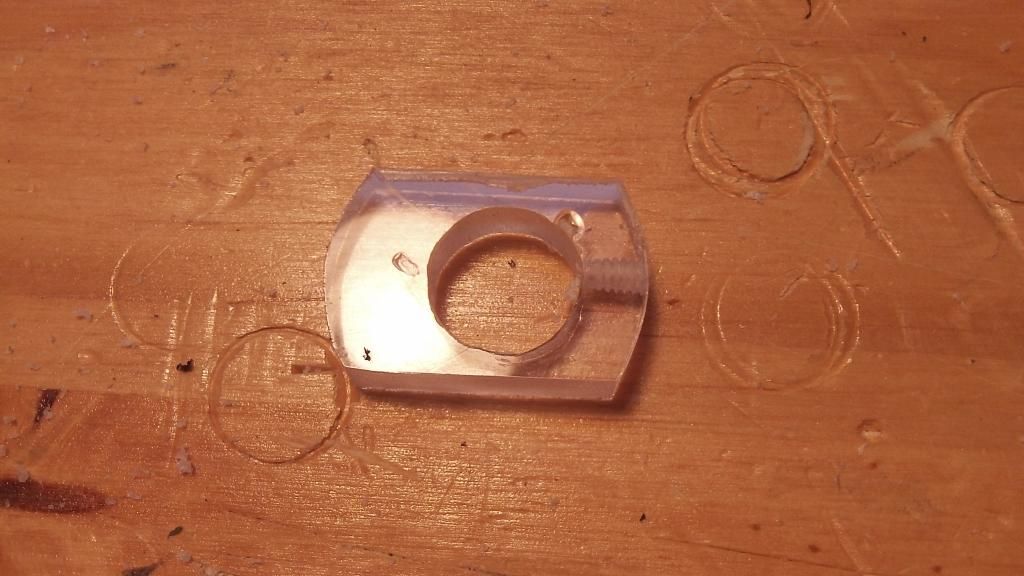
Here is the middle part of the catch mechanism. To make this piece, saw off the two sides, and then file down one of the round edges. Then, tap and drill the thinner round side for a 6-32 screw.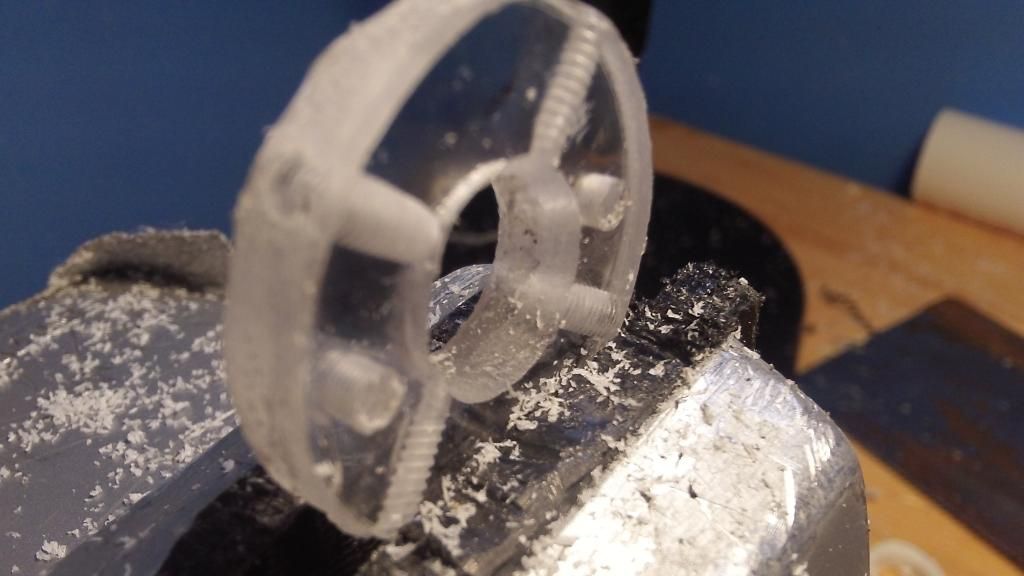
Using a rat tail file, put a gentle bevel on the hole in the front outer catch plate, as shown. This is to allow the back part of the plunger rod to clear the catch easily.
NEED ONE MORE PHOTO OF THE COMPLETED CATCH
Preparing the Body Tube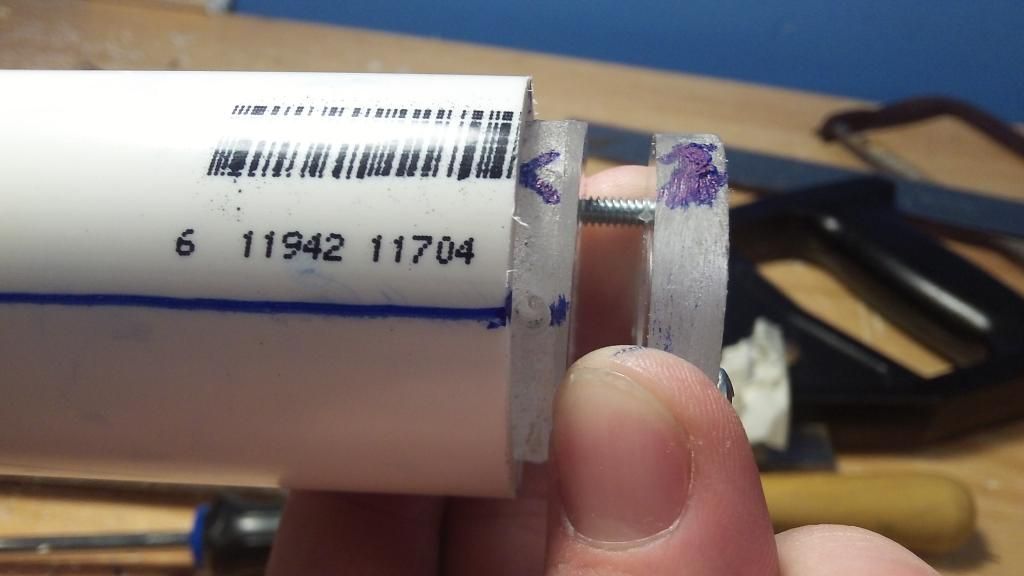
Take the catch assembly with the drilled plate in the front, and mark off points on the PVC that meet up with the four drilled holes. Extend these lines straight a few inches.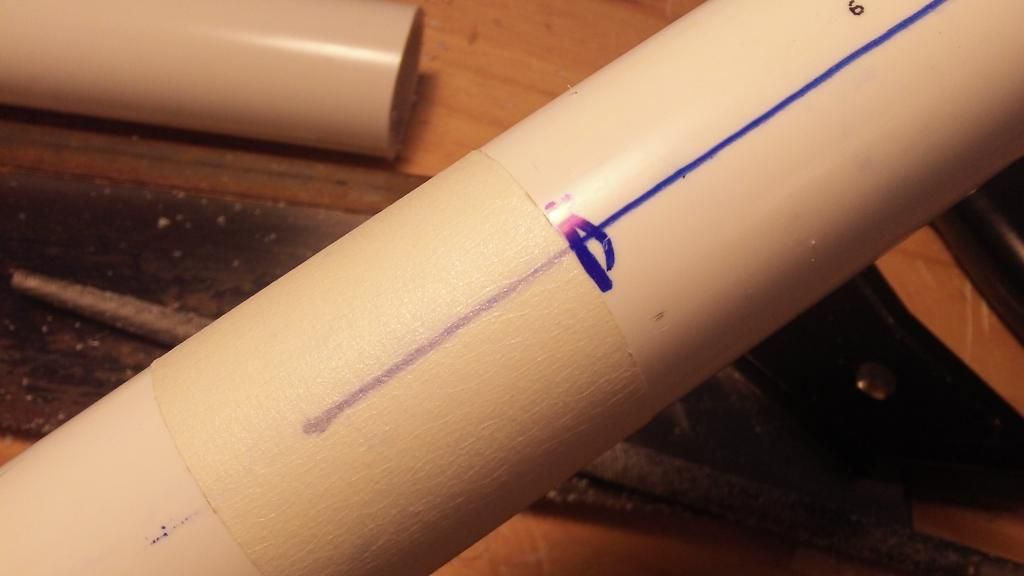
Make a mark 2-3/4" from the rear of the tube, and wrap tape around the tube, with the ends of the tape aligning to create a straight line around the tube. Trace around the tape with a sharpie.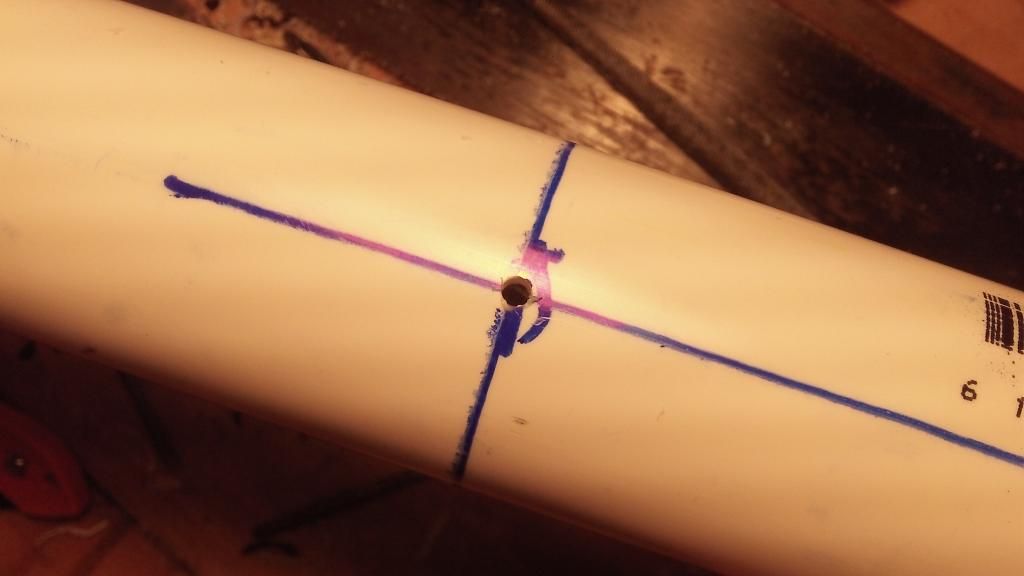
At the points of intersection, drill with a 7/64" drill bit, then countersink to allow the 6-32" x 1/2" pan headed screws to be inserted later.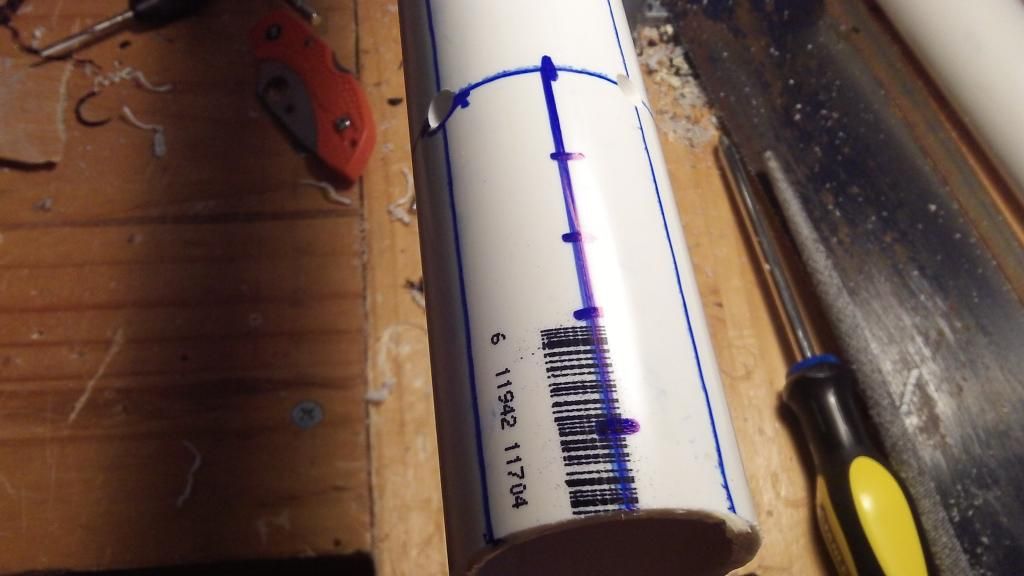
Draw a line in between two of the lines previously drawn, and mark off points 1/2" apart. Drill out these points with a 1/8" drill bit. This is the bottom of the cylinder.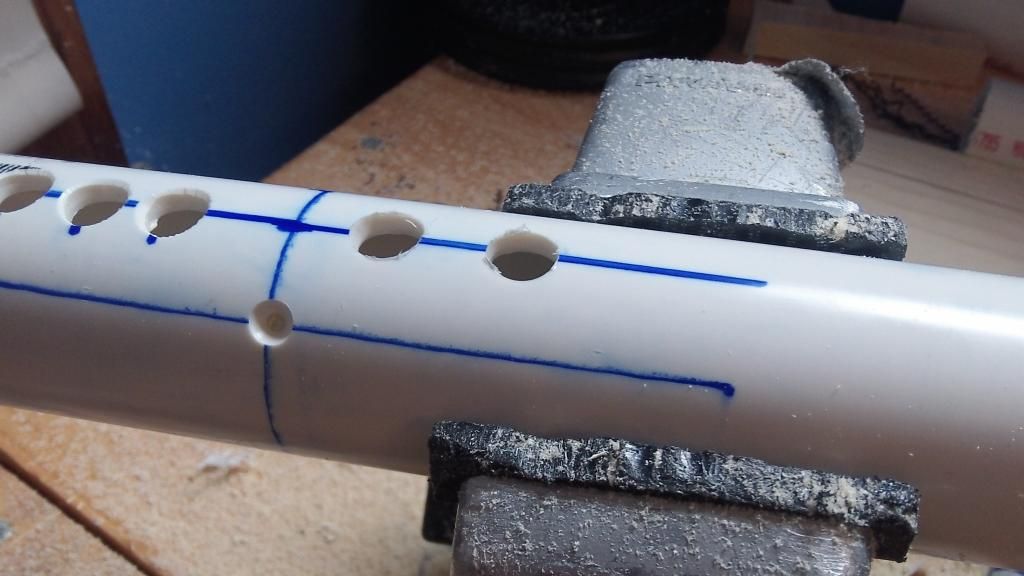
On the side opposite the holes that were just drilled, drill 1/2" holes to allow the wood screws to be inserted into the 1/8" holes from the top.
In front of the assembly holes and the catch, drill two 1/2" holes into the body tube. These are called speed holes, and allow air to enter the tube behind the plunger. This is so a vacuum does not form behind the plunger head.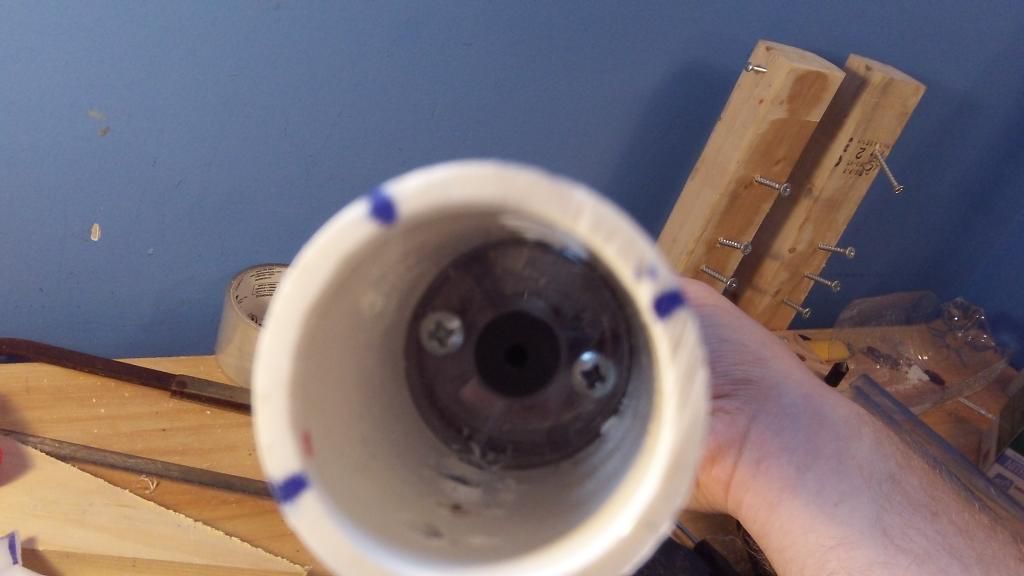
Insert the entire rainbow catch into the tube, with the heads of the screws facing the back, and the tapped side of the small plate facing the bottom of the body tube.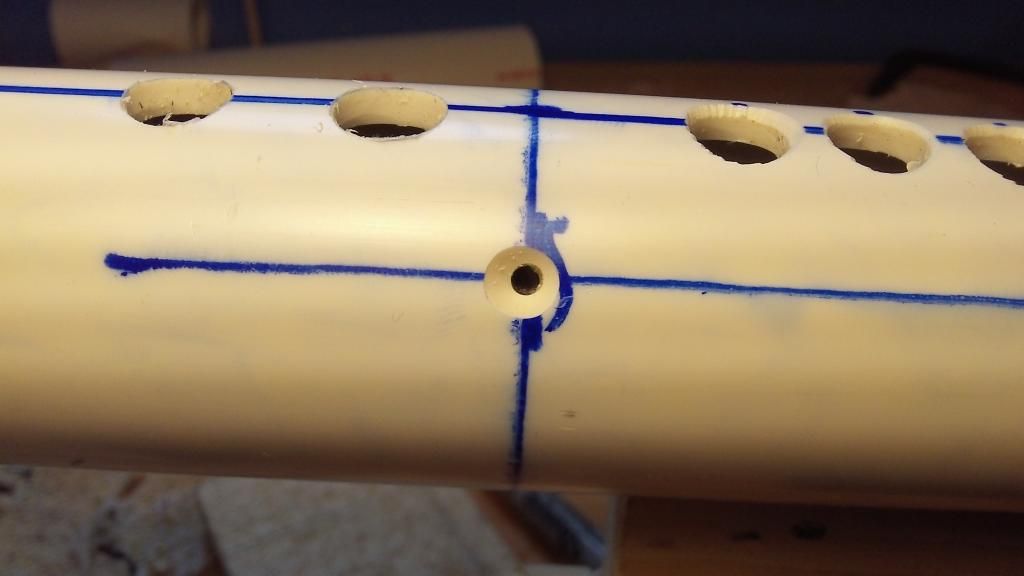
Line up the tapped holes in the polycarbonate plate with the holes drilled into the PVC tube. Insert the 6-32 x 1/2" pan headed screws into these holes to secure the catch.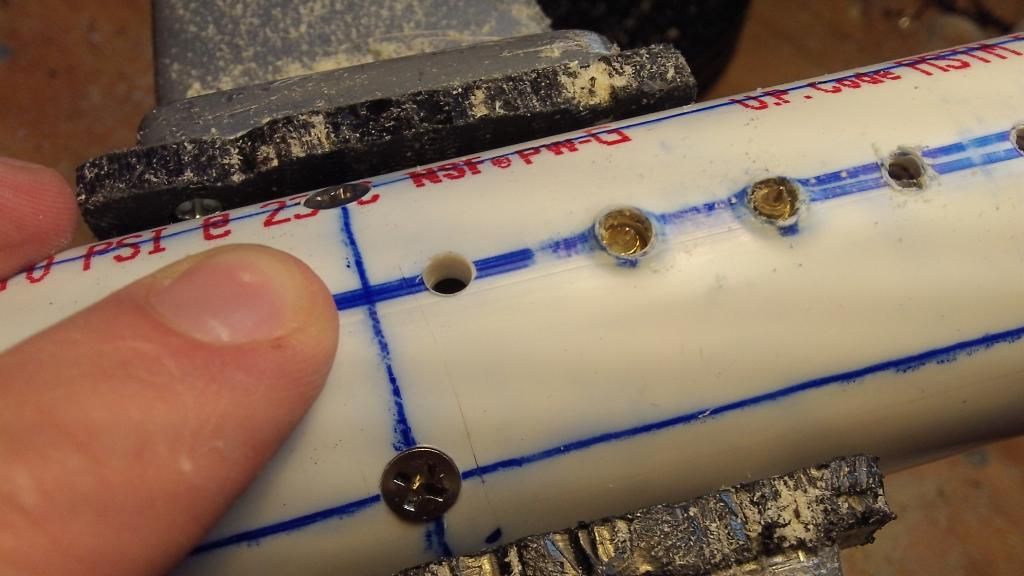
Drill a 9/64" hole 1/4" behind the screws that were just inserted, as shown. This hole is where the 6-32 x 3/4" screw will be inserted.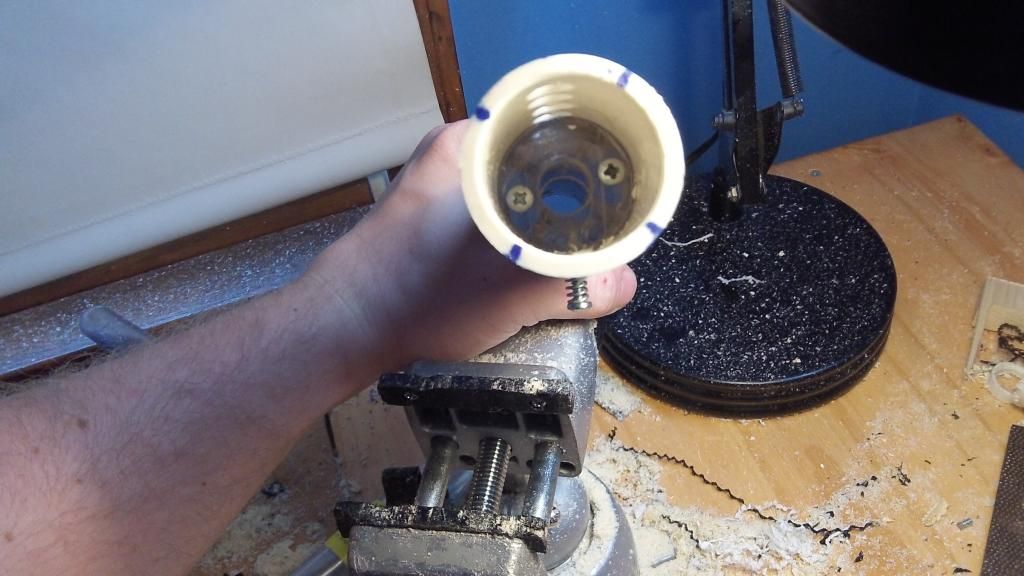
Sheath a small piece of the compression spring over the 6-32 x 3/4" screw, and screw this screw into the previously drilled hole until the screw catches the tapped out part of the center piece of the rainbow catch.
The Stock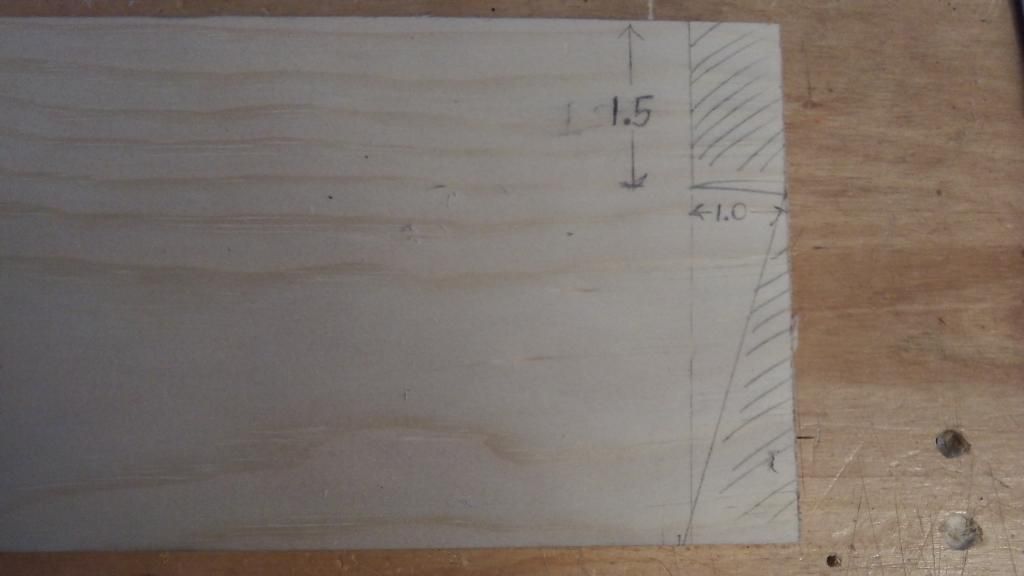
Cut a 15" section of the 1" x 5" pine board. These dimensions are accurate except for the 1.5" dimension, that should be more like 2".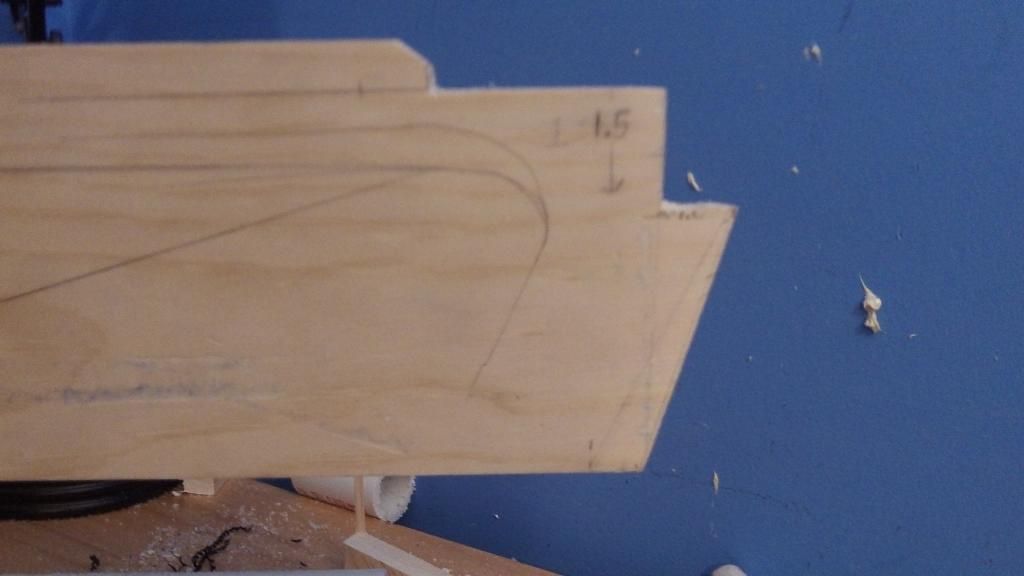
Cut out a 1/2" deep section about 2-1/2" long. This is where the body tube will meet the stock.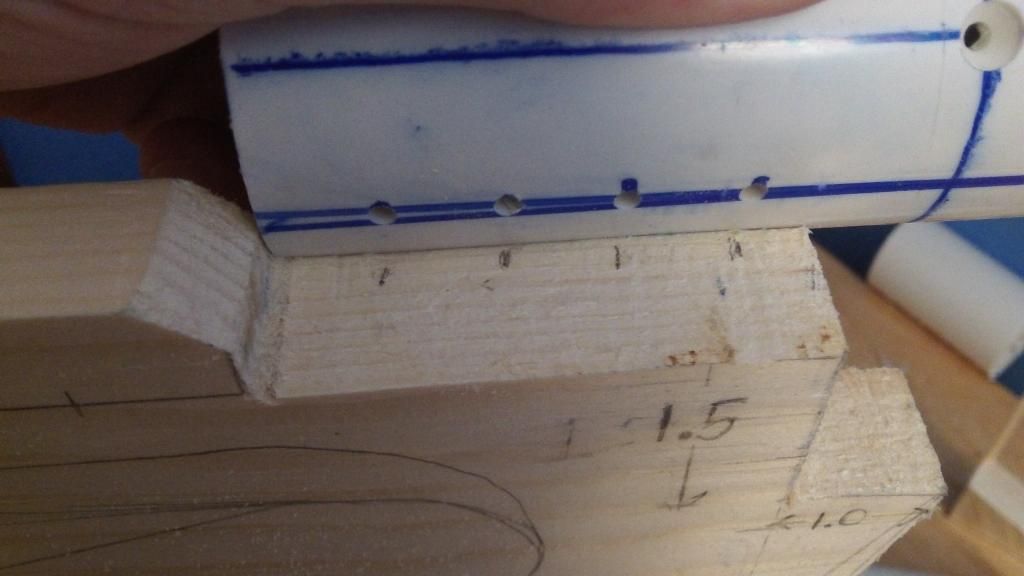
Align the body tube with the back of the depression at the top of the stock. Mark the points where the holes on the bottom would meet the stock.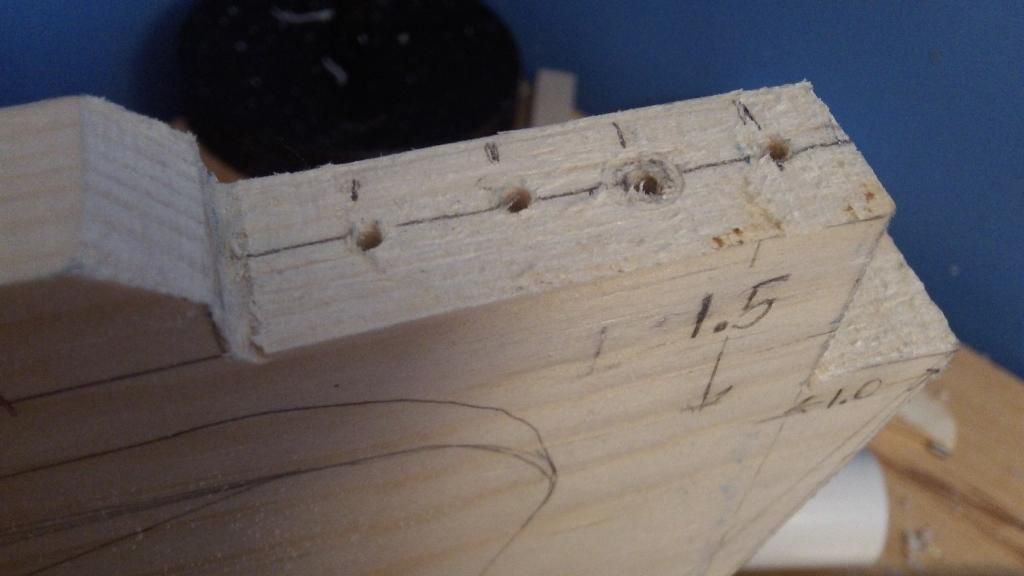
Mark a line down the center of the depression of the stock. Where the marked points meet this line, drill out these points with a 1/8" drill bit about 1" deep.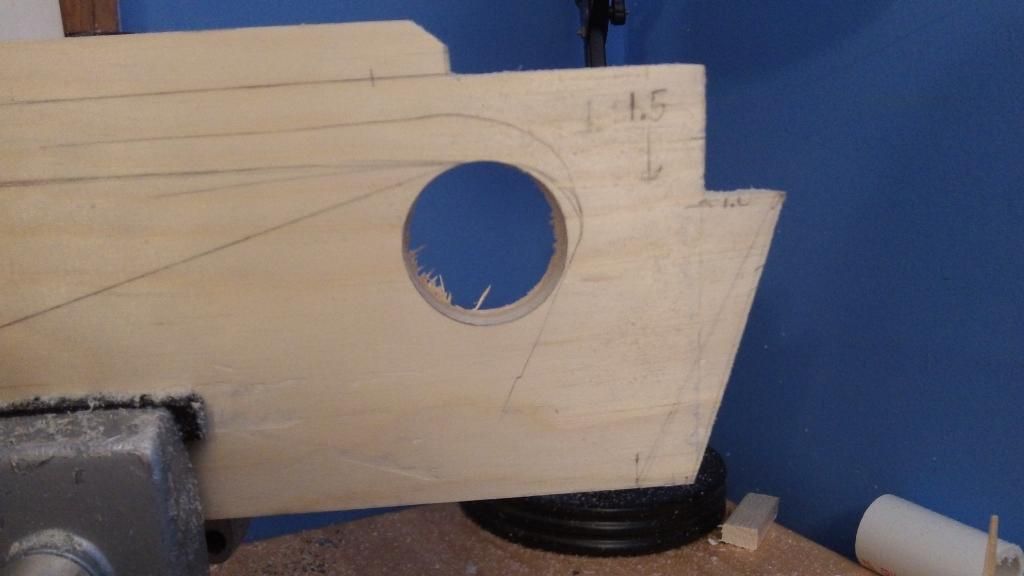
Here's the easy way to make the stock shape. Cut out a hole in the stock with your hole saw where the web of your hand will rest. In the photo, pencil lines are visible. Now instead of making complex cuts using a scroll saw, just cut two straight lines with your regular old hacksaw and save yourself 200 bucks. Then clean up around the handle with a file.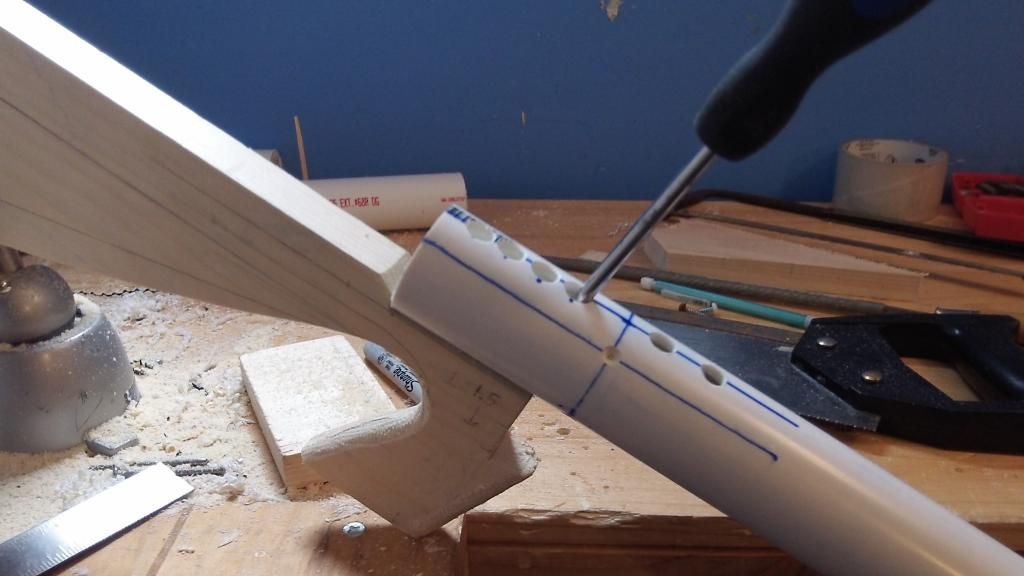
Screw the stock onto the body tube with the wood screws. Those holes on the top made in the previous step allow this to happen, as shown in the photo. Put the 1" long screws in the front 2 holes, and the 1/2" long screws in the rear hole.
Inserting the Bushing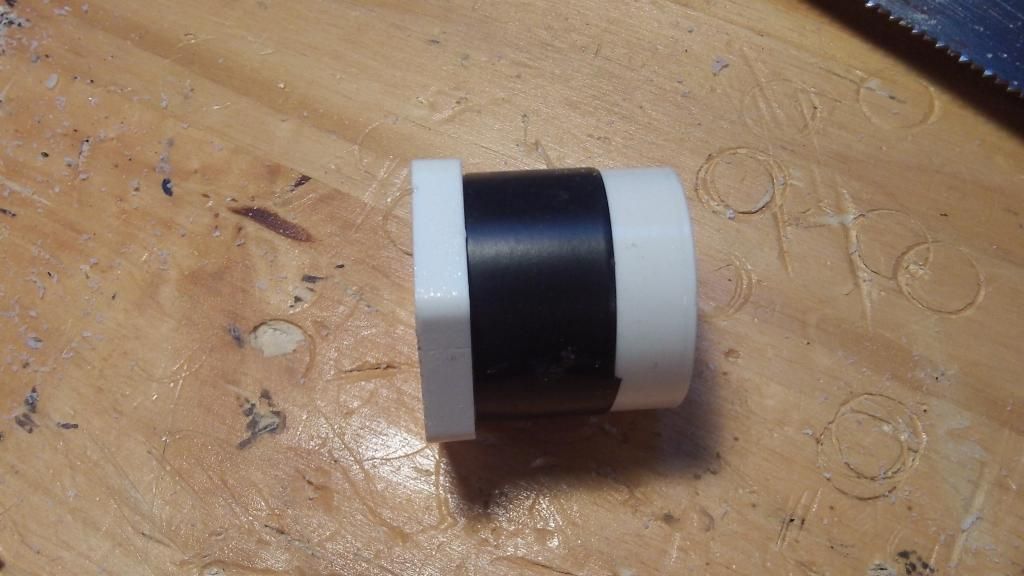
Wrap the PVC bushing in 3 or 4 wraps of electrical tape. Make sure it is wrapped tightly.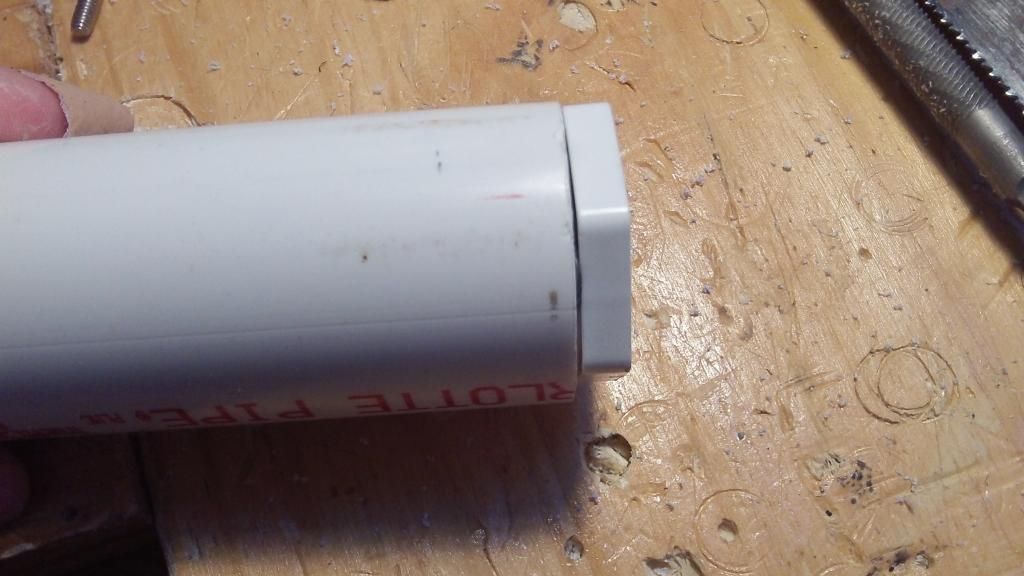
Use a rubber mallet to smash that shit into a 14-1/4" section of 1-1/4" PVC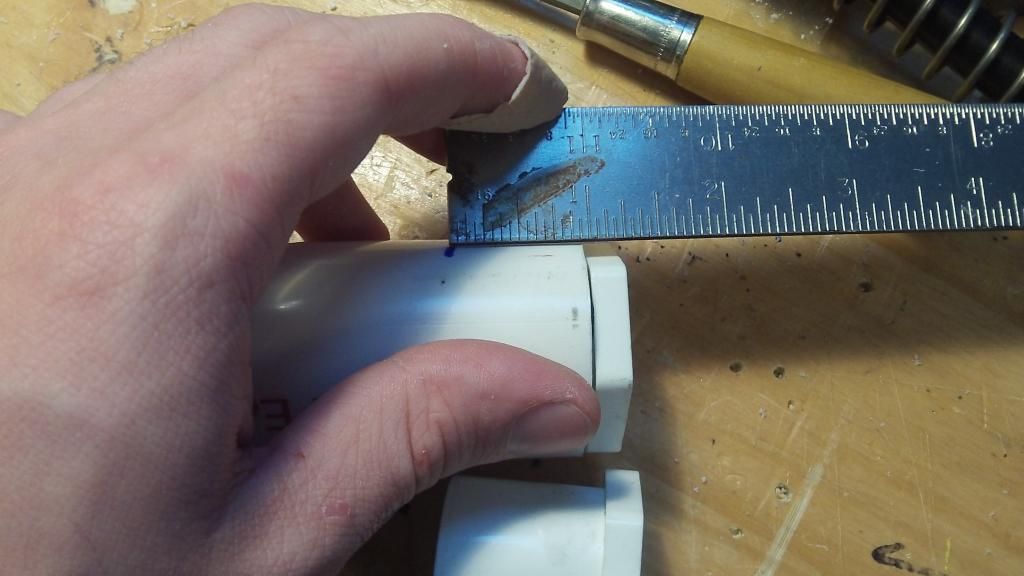
Measure 15/16" from the edge of the 1-1/4" PVC and mark this point.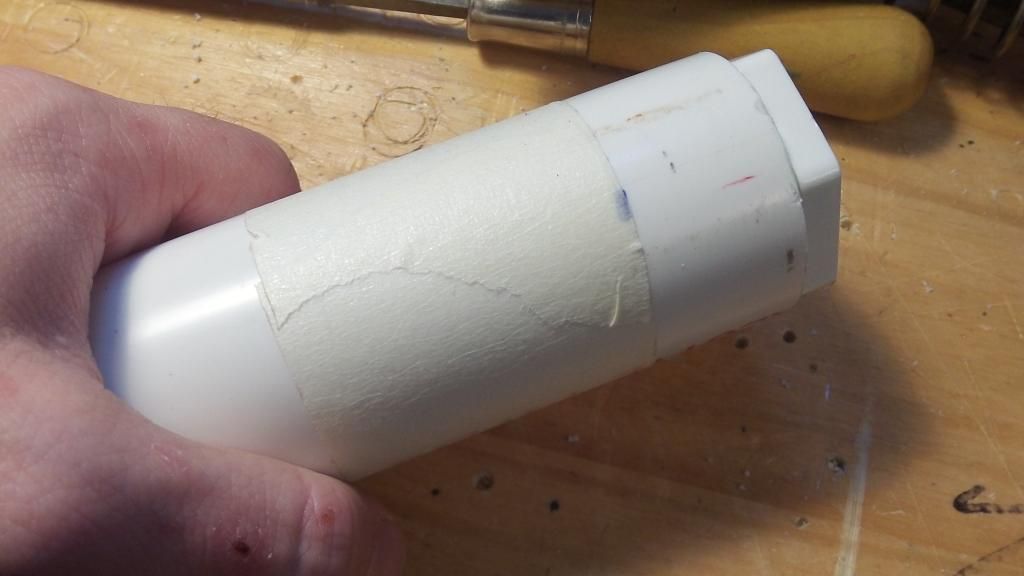
Wrap the masking tape around the PVC tube, ensuring the ends of the tape align. This means that a straight line is created around the PVC tube. Draw a line around the tube at the edge of the tape with the sharpie.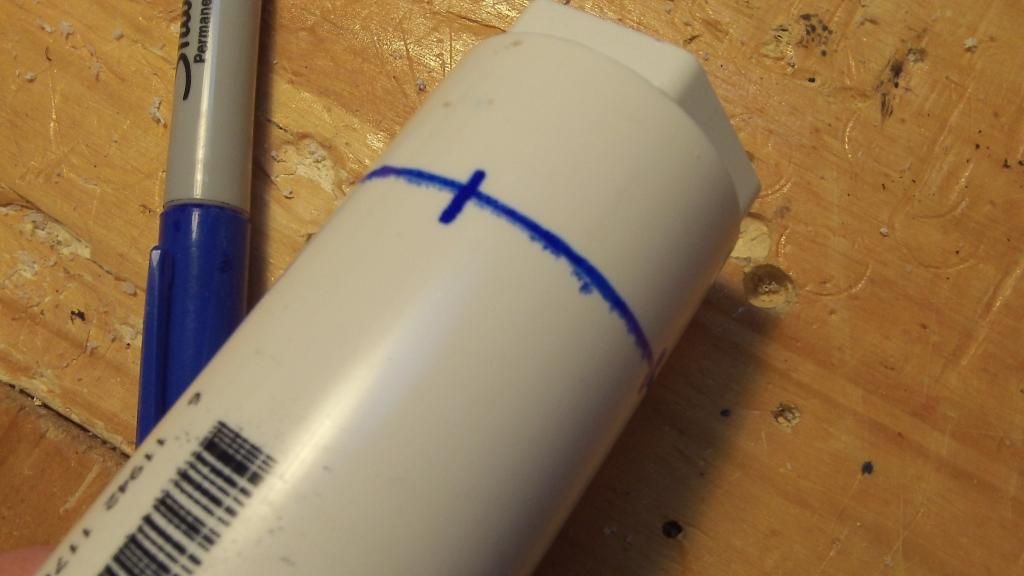
When the tape is removed, a straight line is revealed. Next, we will mark where the screws will be inserted into points on this line. Mark a notch on this line where two opposite corners of the bushing exist, as shown. Then, mark a point at the center of the side of the bushing 90 degrees offset from the original mark, on each side. This will result in four marks each 90 degrees apart on the cylinder.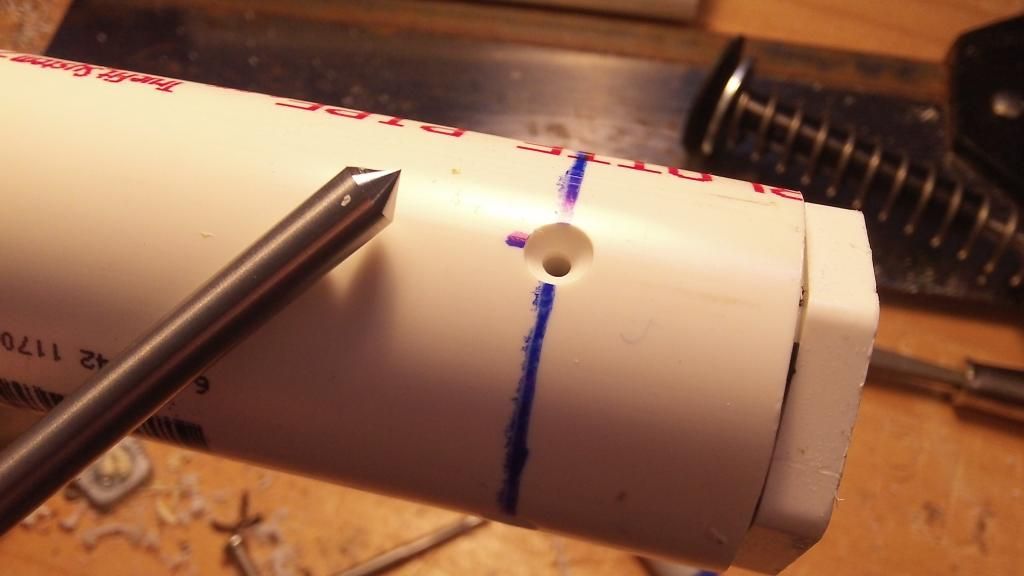
Drill and countersink the hole with a 7/64" drill bit and a countersink.
Remove the bushing. We will be putting it right back in, but now everything is prepared.
Assembly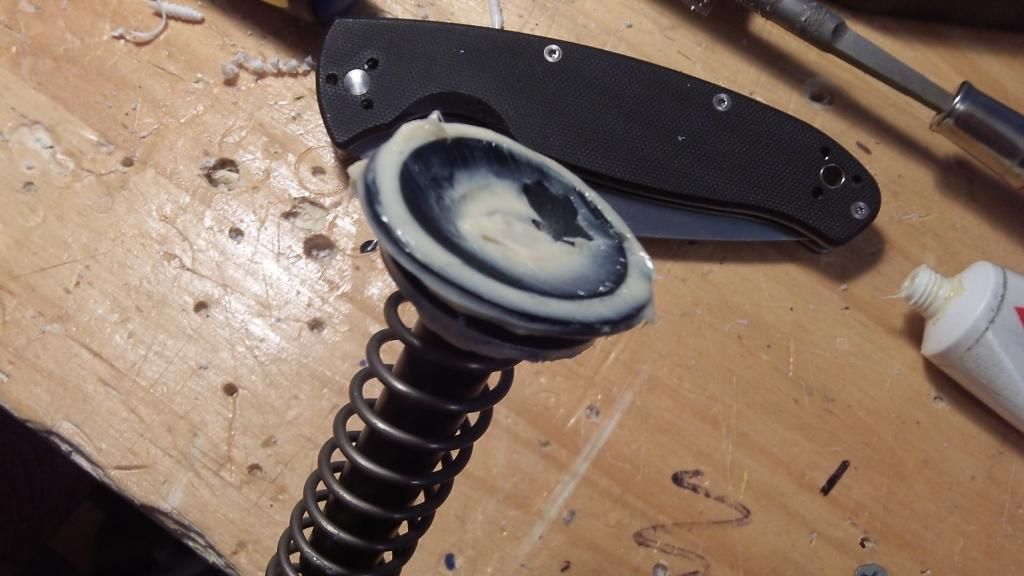
Put all kinds of grease on that plunger head. I just used lithium grease because it's what I had available, but I usually use silicone grease. Also slip your [k26] spring over the plunger rod assembly. Insert the assembly from the front.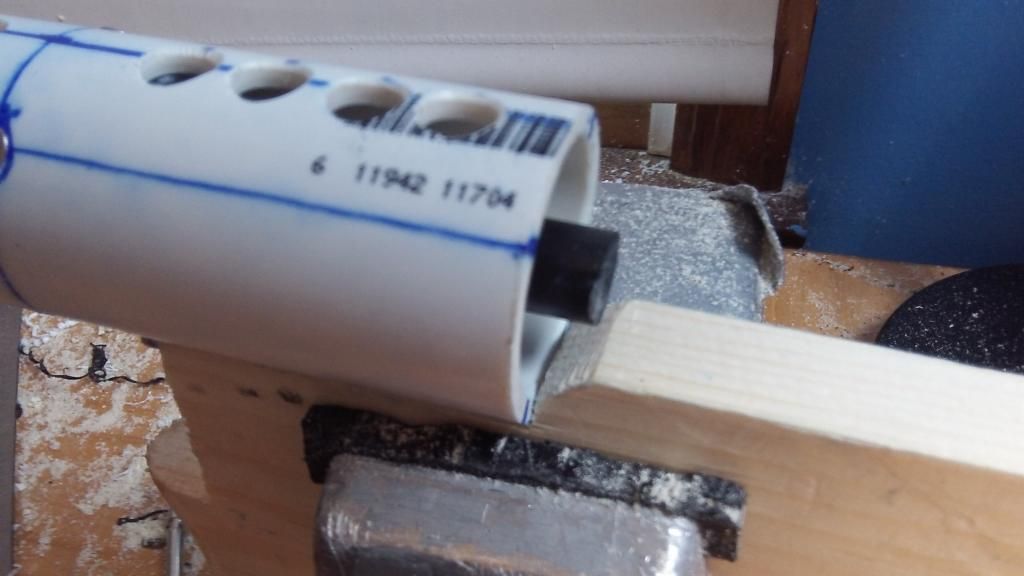
Push the rod all the way down the tube. You will have to depress the catch to allow the plunger to go all the way back.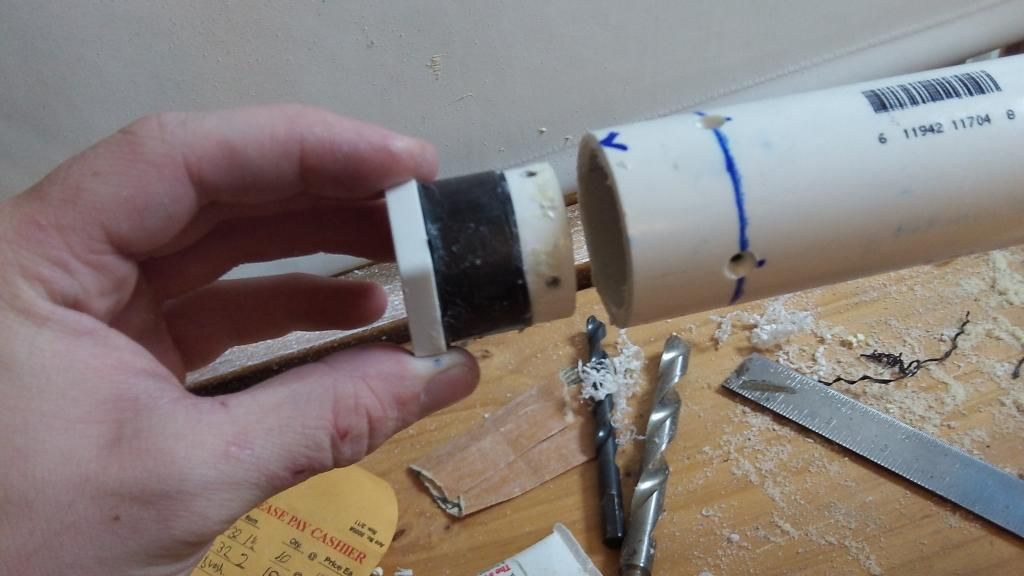
Re-insert the bushing, and screw it in place with four 6-32 x 1/2" pan head machine screws.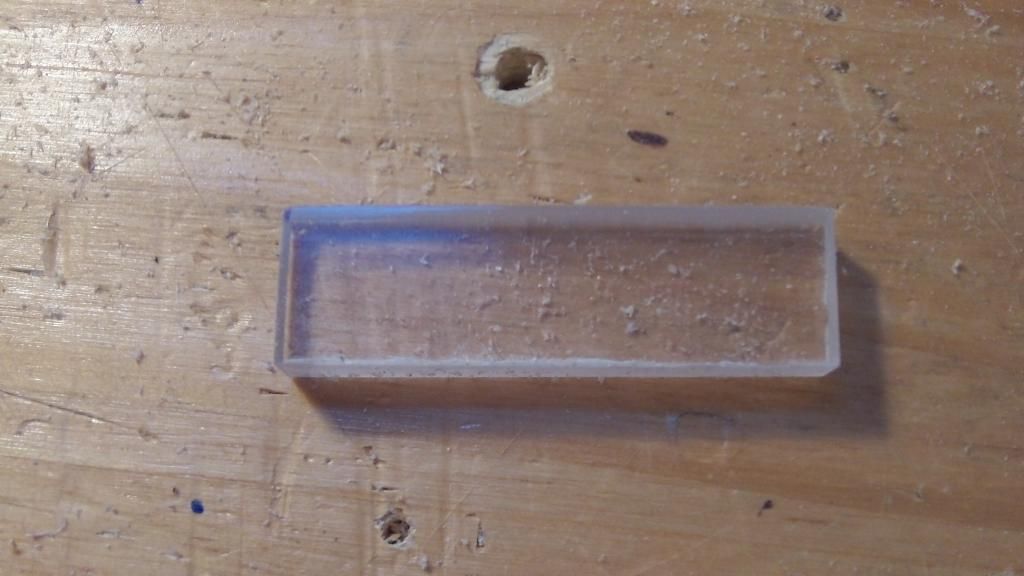
cut out a piece of polycarbonate about 5/8" x 2-1/8" This is the only other point where polycarbonate is needed. Sand down the edges of the polycarbonate.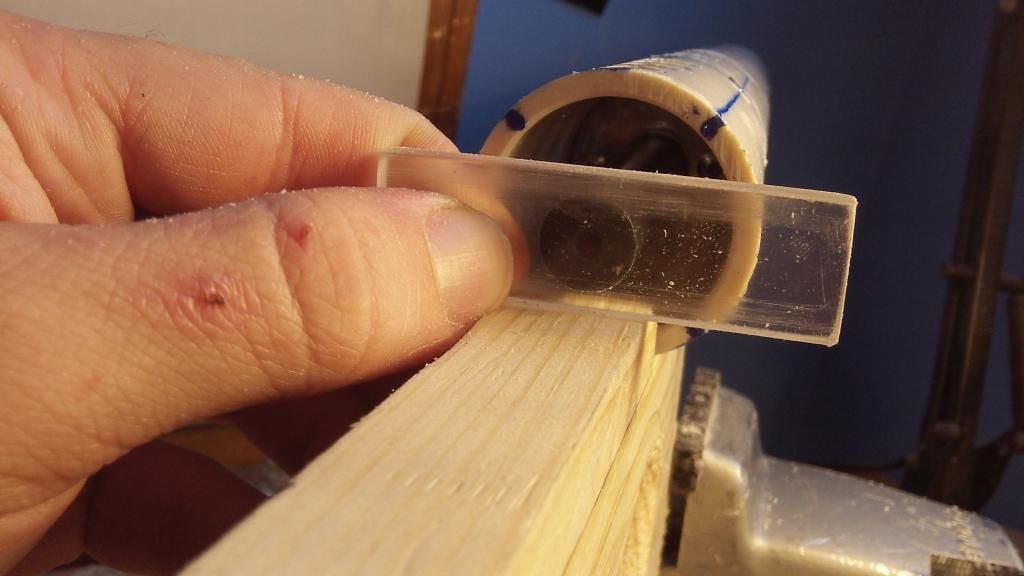
Place the polycarbonate plate against the end of the plunger rod. Mark a dot on the polycarbonate where the drilled hole in the plunger rod lines up with the center of the plate.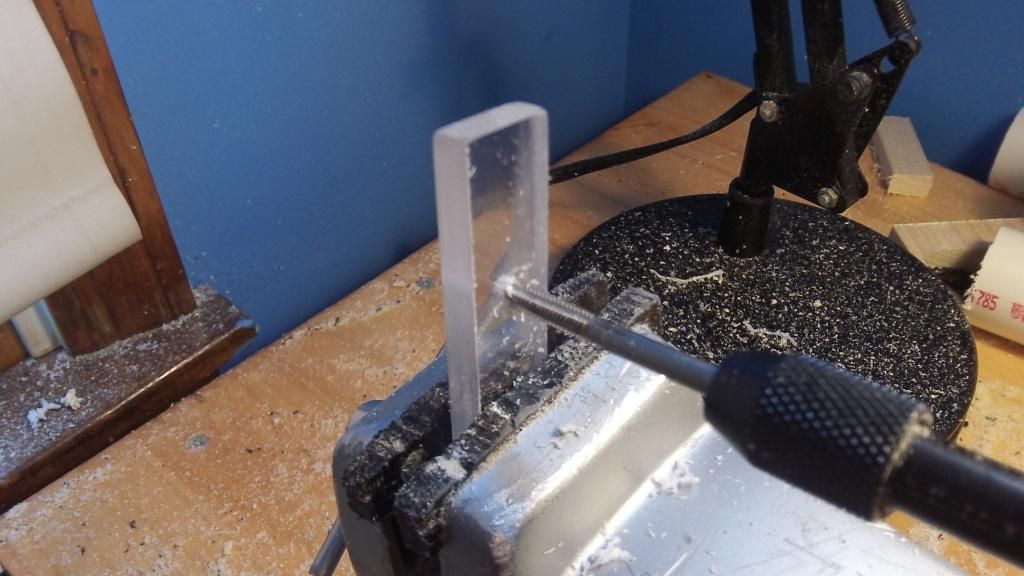
Drill and tap this marked point with a 1/8" drill bit and 8-32 tap.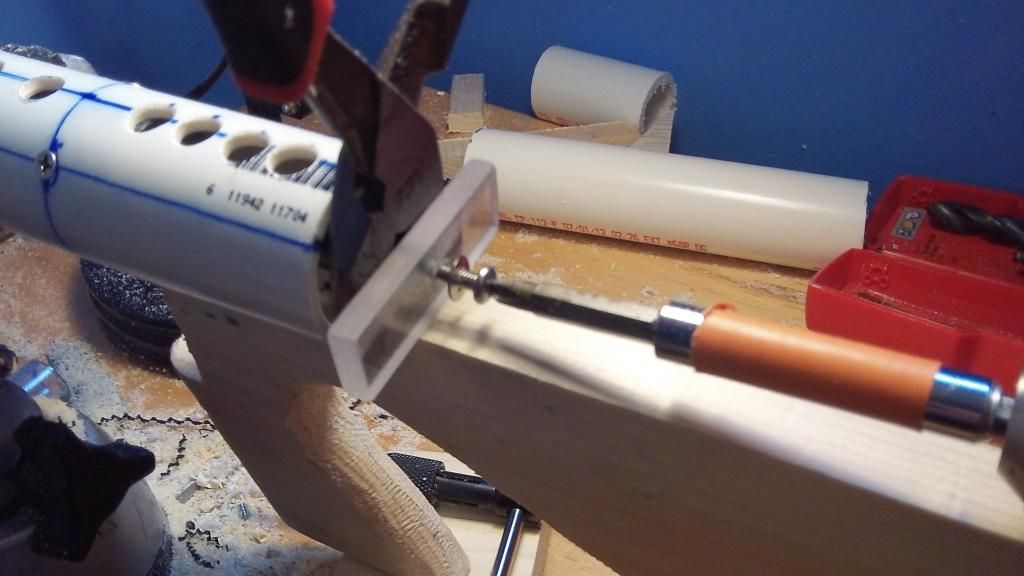
Screw the polycarbonate into the plunger rod with an 8-32 x 1-1/2" screw and a #8 washer. Prevent the rod by rotating by clamping the plunger rod with a set of pliers.
The Trigger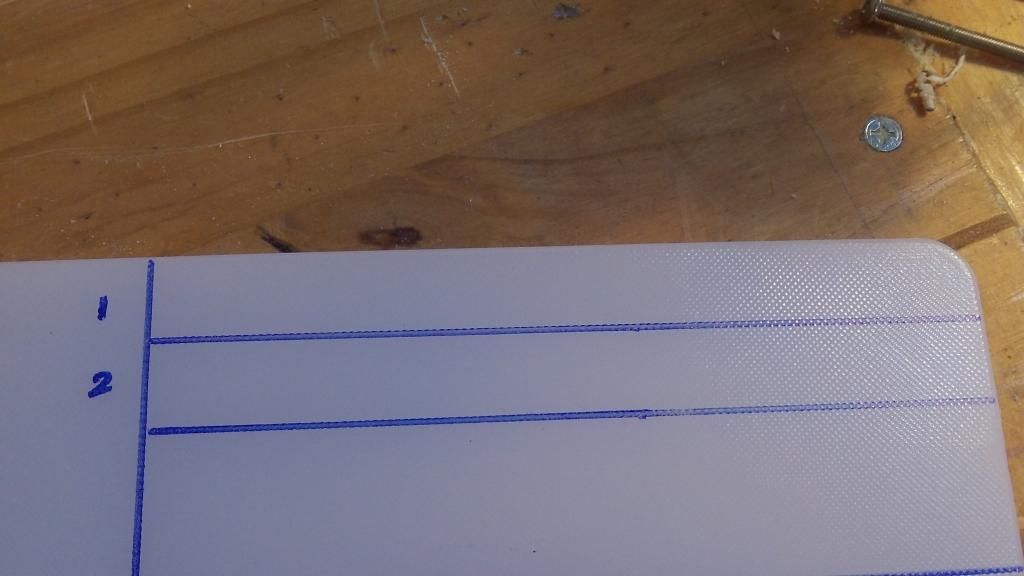
Take your cutting board and cut out two segments, 3/4" x 7".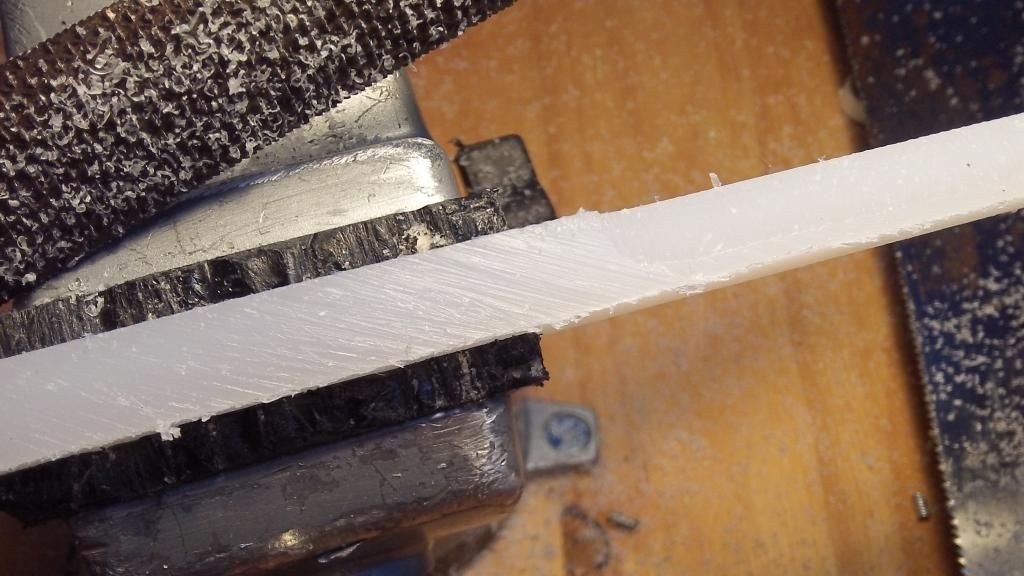
Bevel out one edge about 4" down.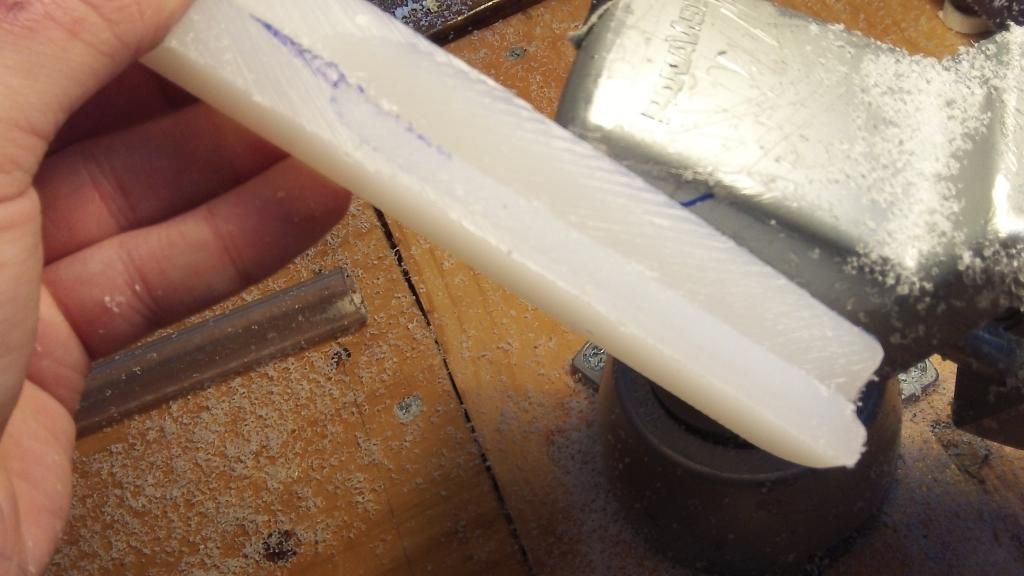
Repeat on the other side so the 2 bevels are "facing" each other.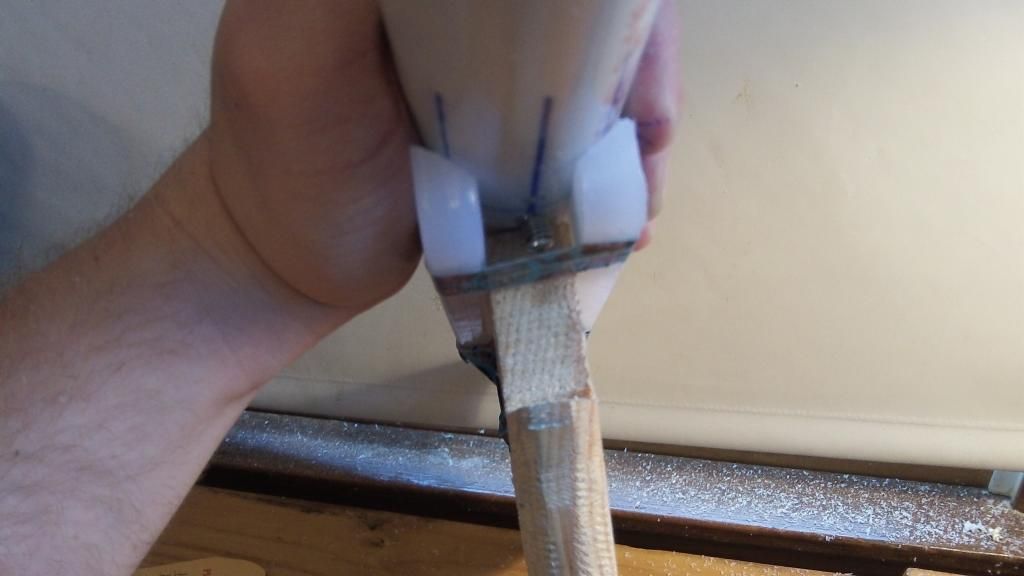
This is to allow the cutting board to hug the rounded edge of the body tube.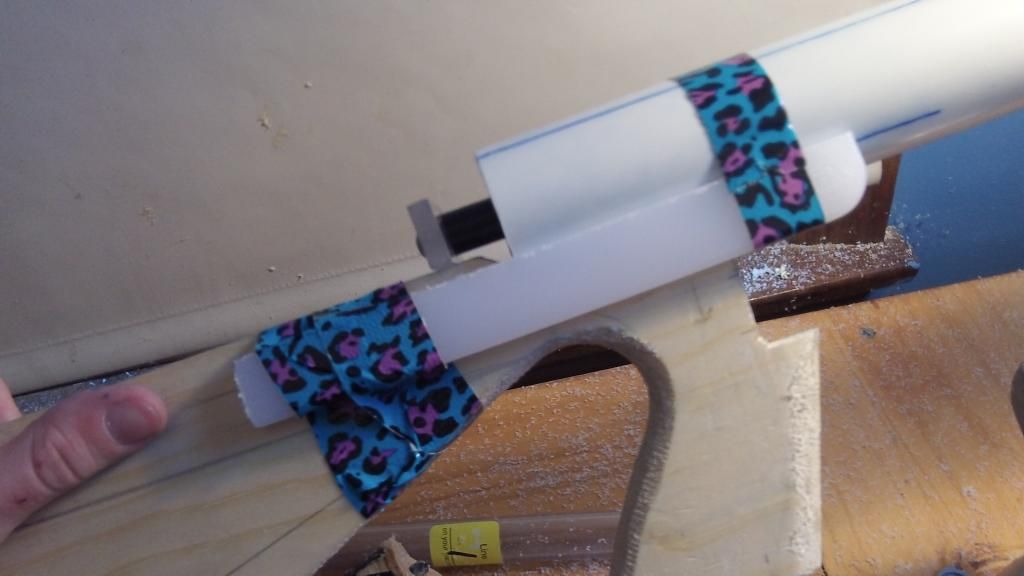
Secure the two cutting board plates against the body with some extremely erotic duct tape.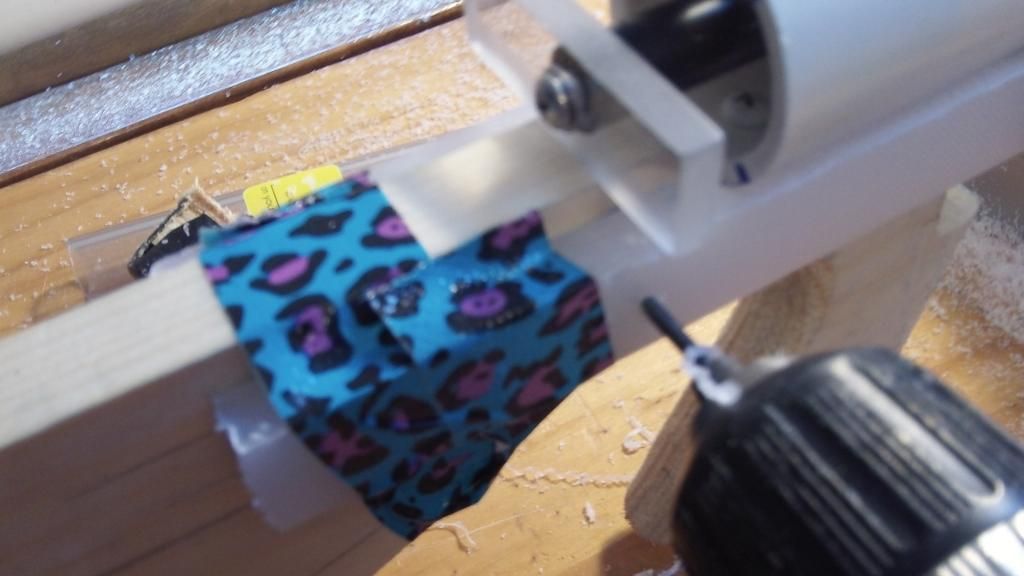
Drill and countersink two holes through the two plates and the wood with a 1/8" drill bit.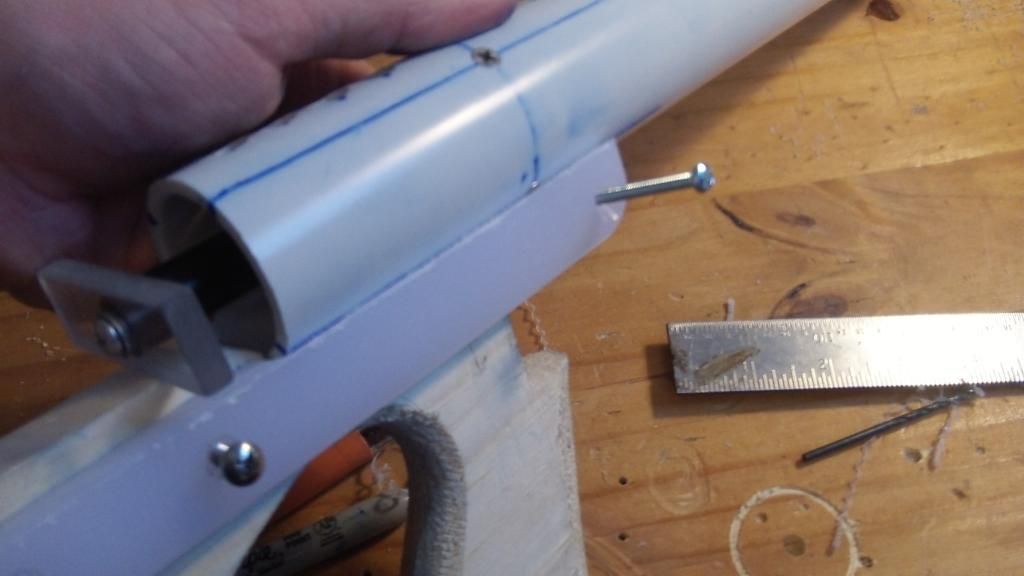
Drill through the front of the two plates. This will serve as the rotation point of the trigger. Countersink this hole too if you feel so inclined.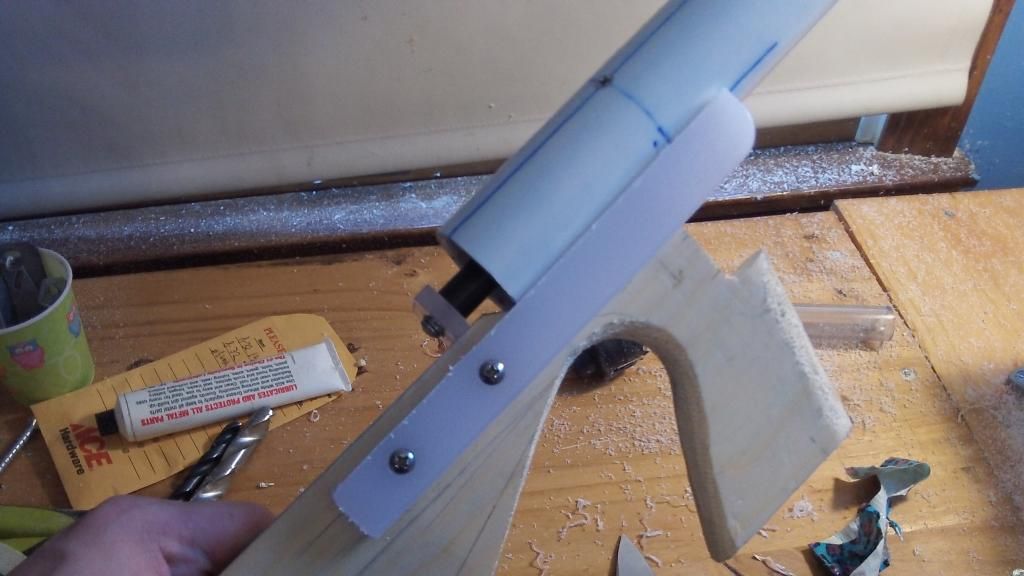
The two plates secured. Now back out the screws a bit to free the plate on the opposite side. It will make installing the trigger easier.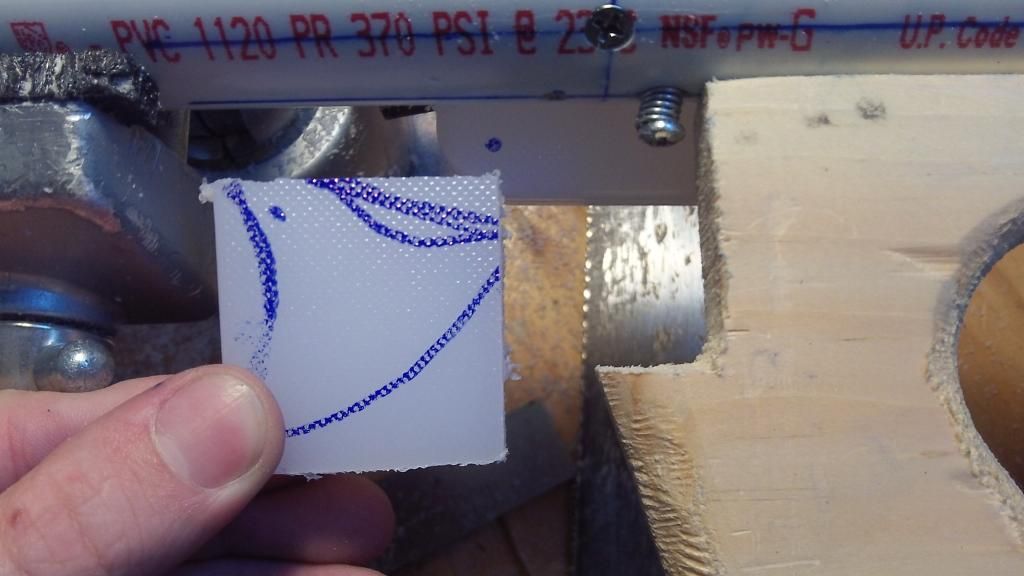
Cut out a square of cutting board about 2". Mark out approximately where the cuts will be made. We want a depression behind the point of rotation to allow the rainbow catch screw to protrude a bit, and a rounded back so nothing gets caught against the handle.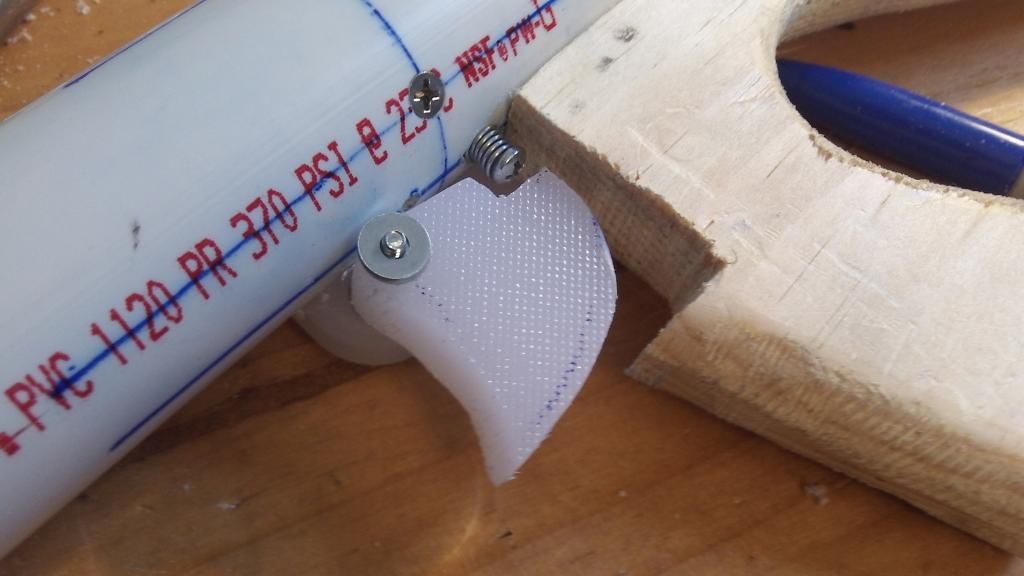
This is my final shape. I used a total of four #6 washers to center the trigger.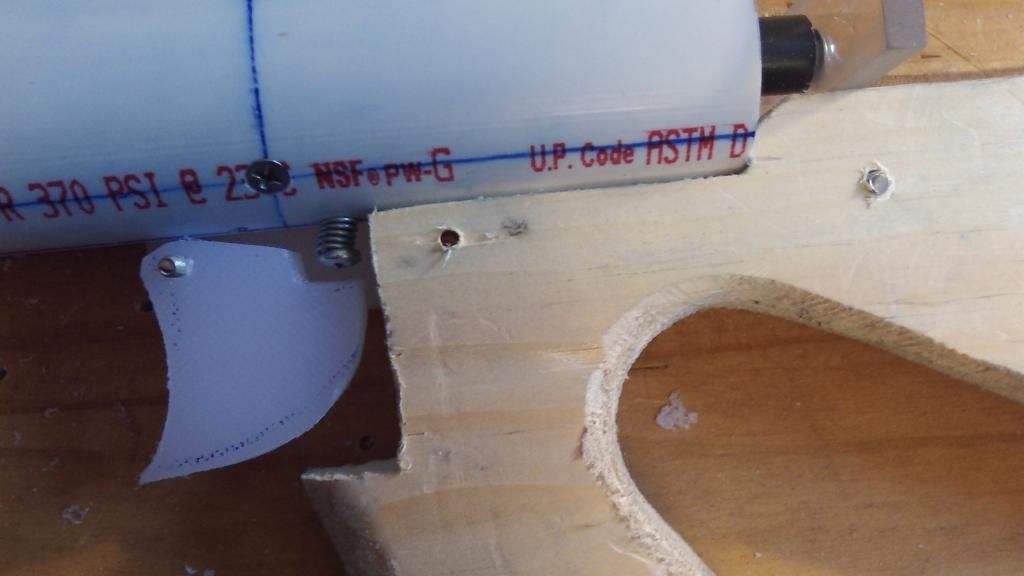
Drill another 1/8" hole through the two plates and the wood. The cutting board is not very sturdy, so this extra screw prevents deflection of the cutting board. Just drill all the way through. Then screw everything together including the opposite side plate.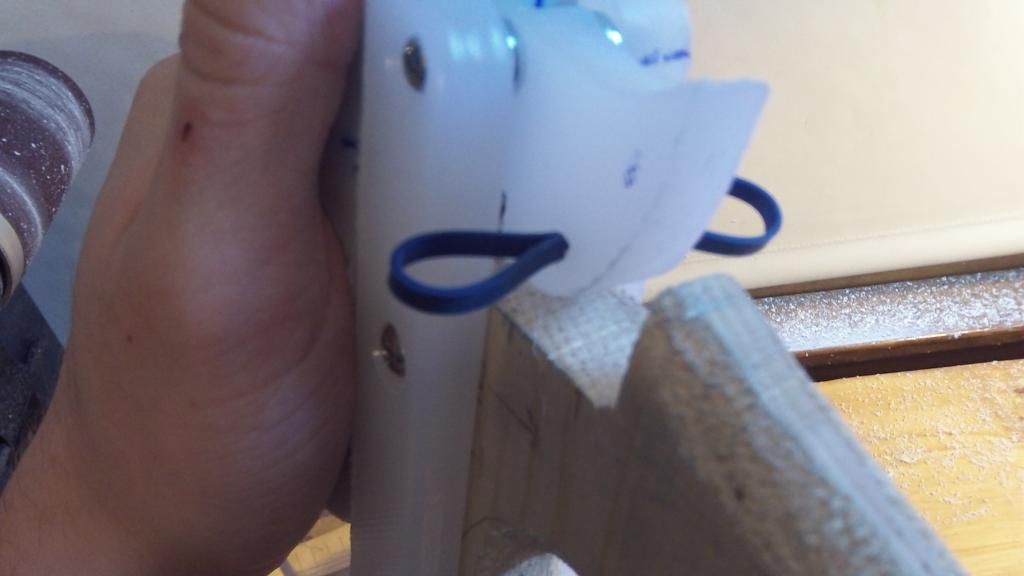
Drill a 9/64" hole in the middle-rear of the trigger. Insert a rubber band through the hole.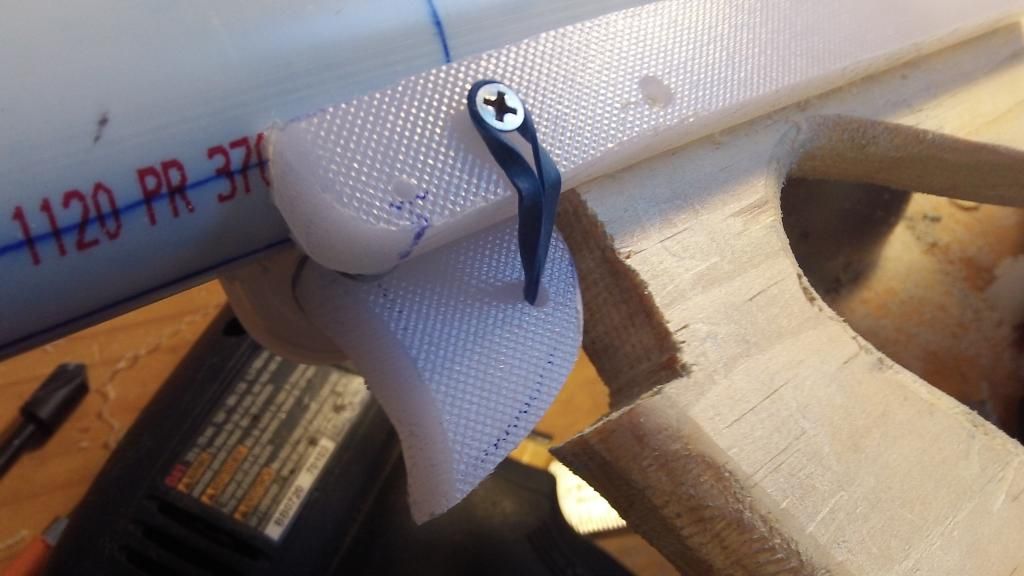
Insert a 6-32 x 1/2" pan head screw on both sides of the plates right above the rubber band. and loop the rubber band around both of the screws. This will yield a semi-retained trigger.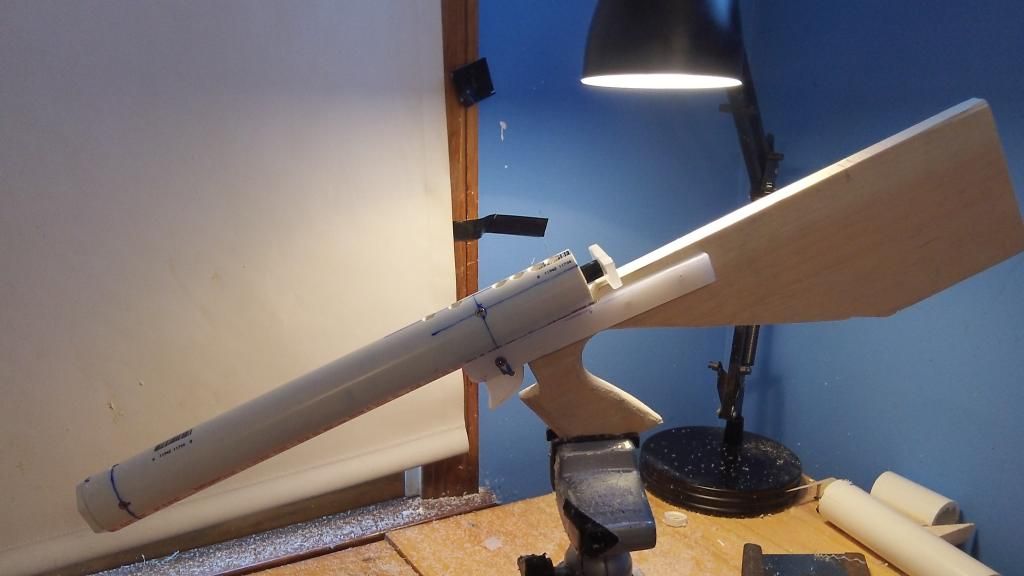
Shit's starting to look like an actual blaster.
Finishing Touches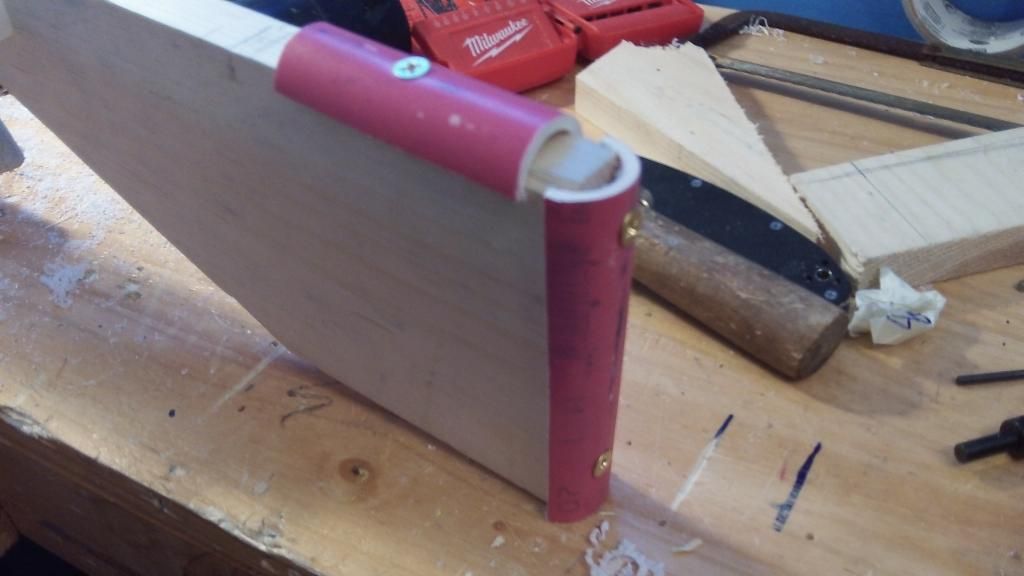
Take 2 pieces of 3/4" PVC one 4-1/2" and one 3". Pre-drill the wood and countersink the PVC. Then screw in the 1" wood screws to secure the PVC into the wood.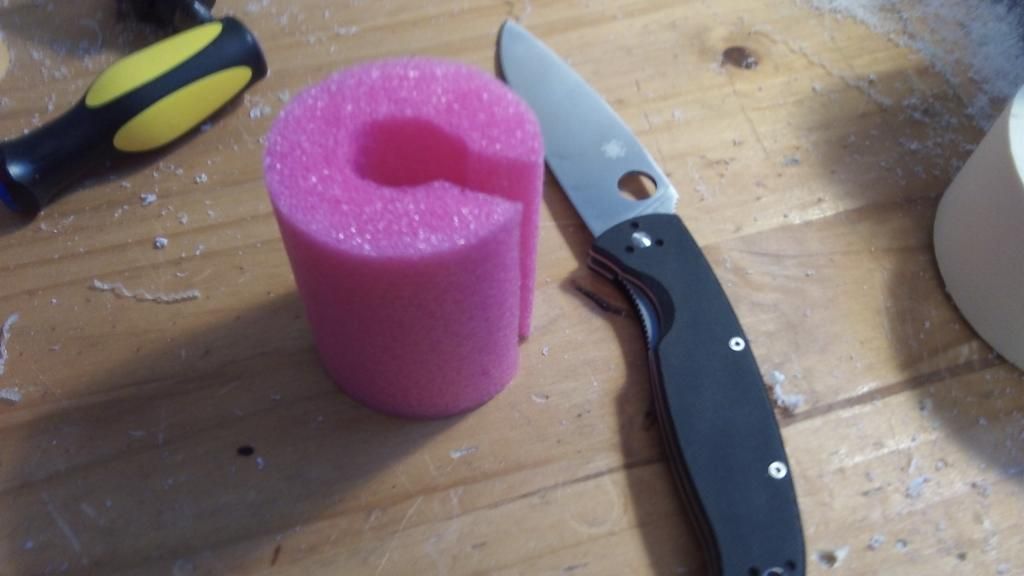
This is where that pool noodle comes in. Cut out two 3" sections of pool noodle and cut out a small notch in each, as shown.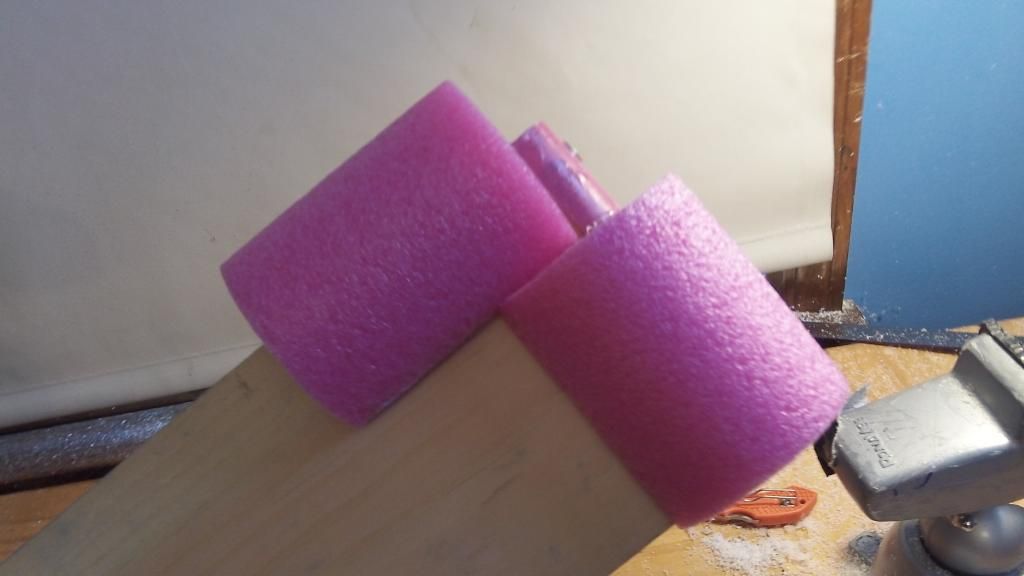
Use hot glue to secure the pool noodle onto the PVC. It's supa comfy.
OK, so if you stop right here the blaster is fully functional as a traditional pull-back. The next section will turn this into a super effeminate pump action blaster.
Pump Action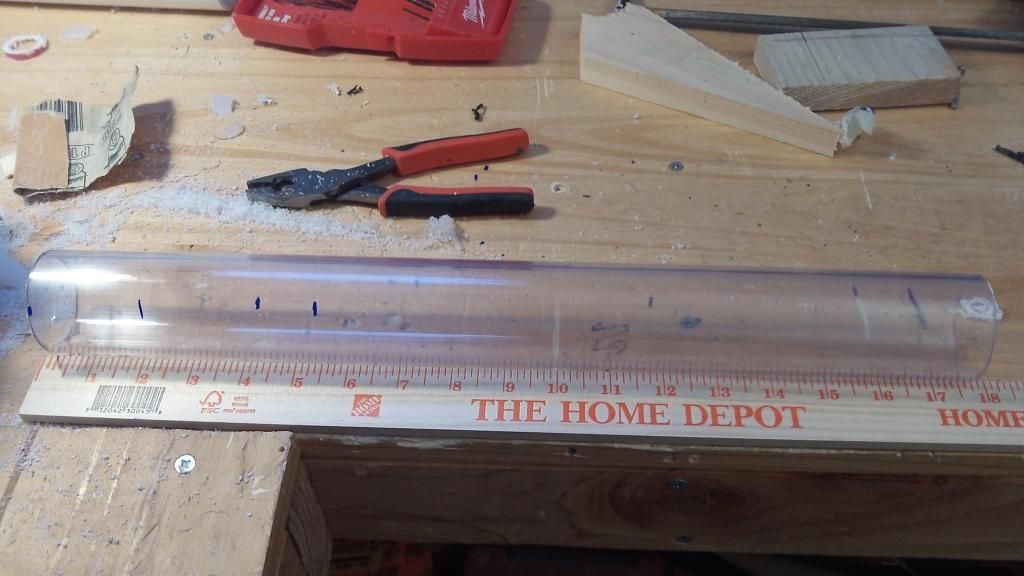
Cut out a 17-1/2" piece of 2" Polyester tube.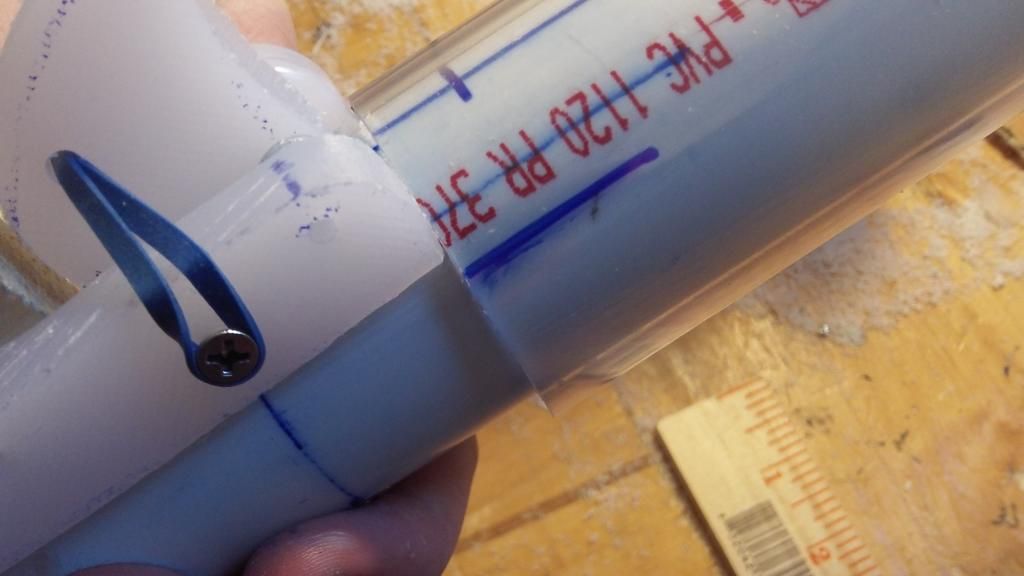
Slide the tube onto the blaster, and mark where the tube meets the cutting board plates on each side. This will reveal how wide the pump channel needs to be.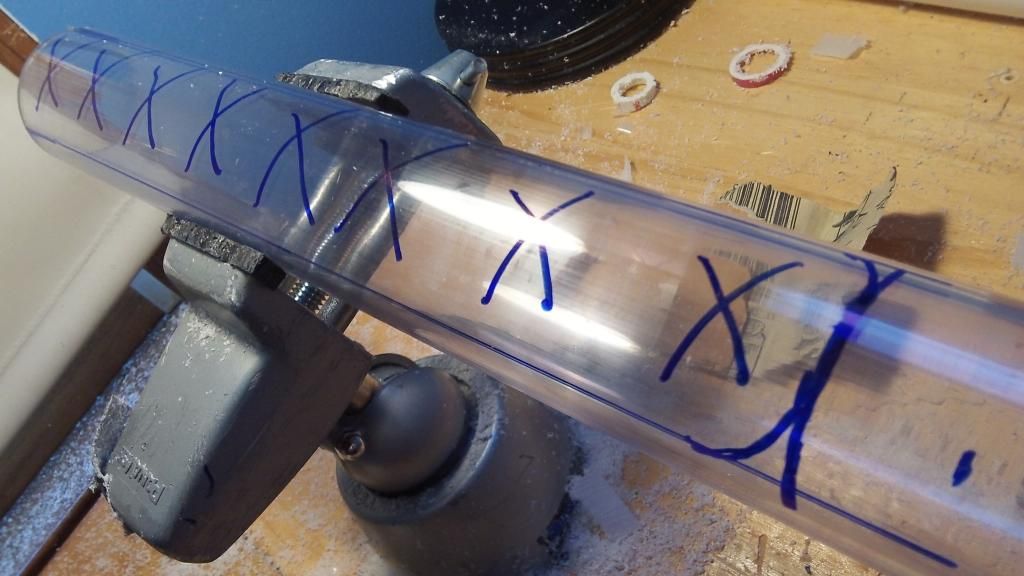
Extend these marks down the length of the tube, about 11-1/2" deep. Mark these measurements off as shown The piece with the X's is the part to be removed.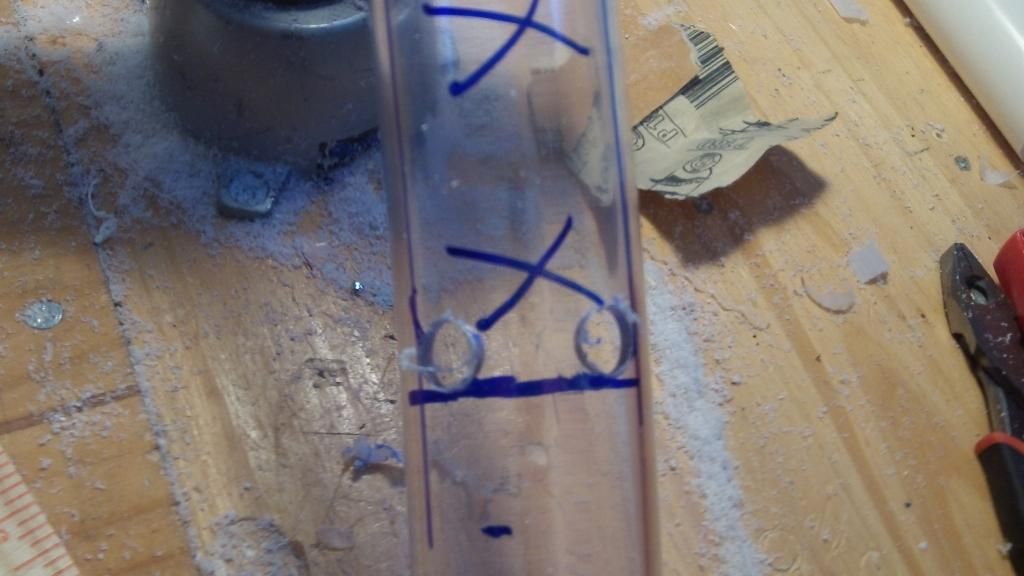
Drill 1/2" holes at the corners of the box created in the previous step. This is because a round edge has a far lower stress concentration than a sharp 90 degree corner, and will decrease the likelihood of failure in the event of an unexpected impact.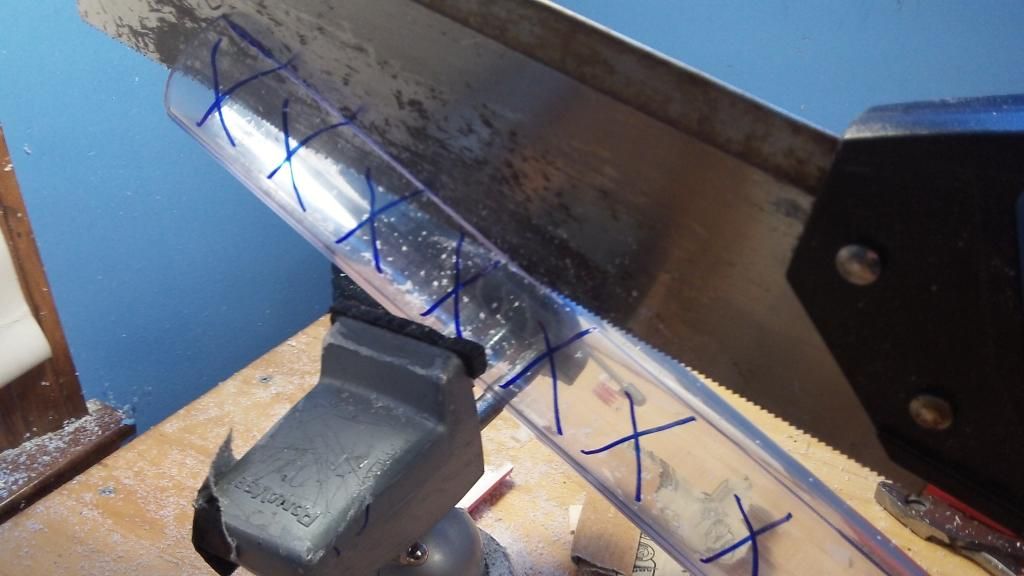
Cut down the channel with your hacksaw. Then cut across the top of the cut. Pry this strip of material out to make your pump channel.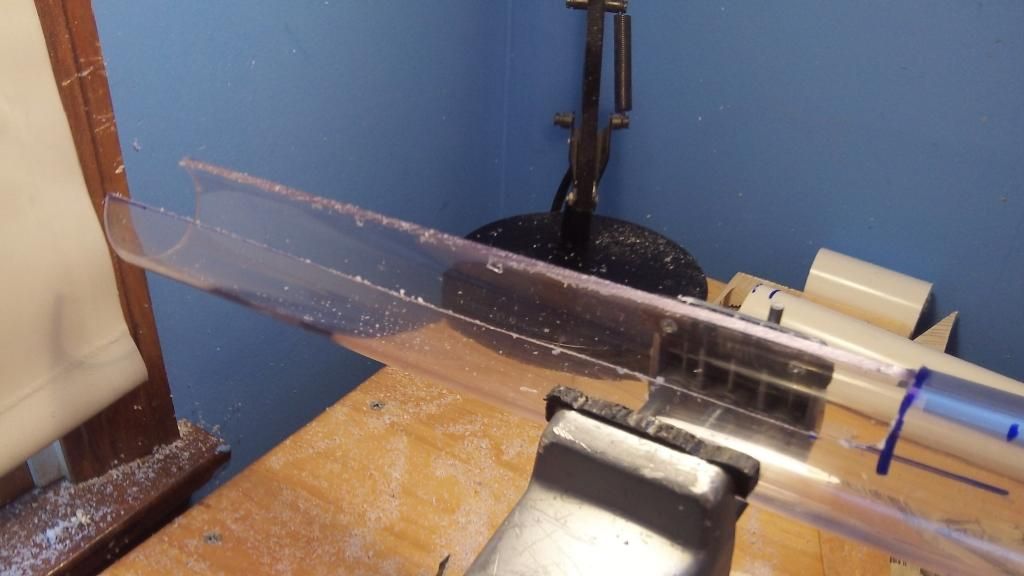
Bam.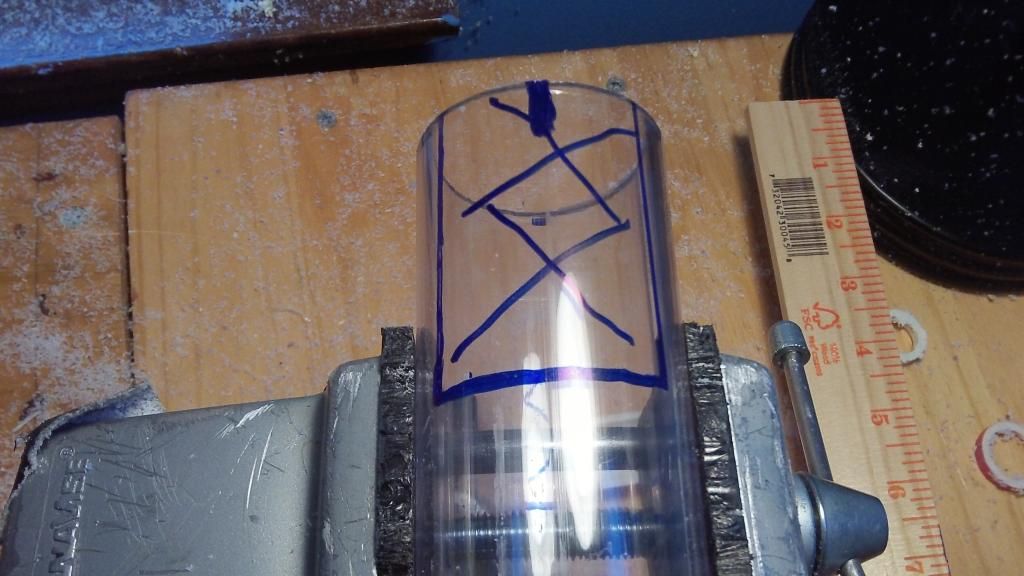
Now repeat this procedure on the top side of the tube to allow for clearance for your hopper or barrel attachments later on. Only needs to be about three inches deep.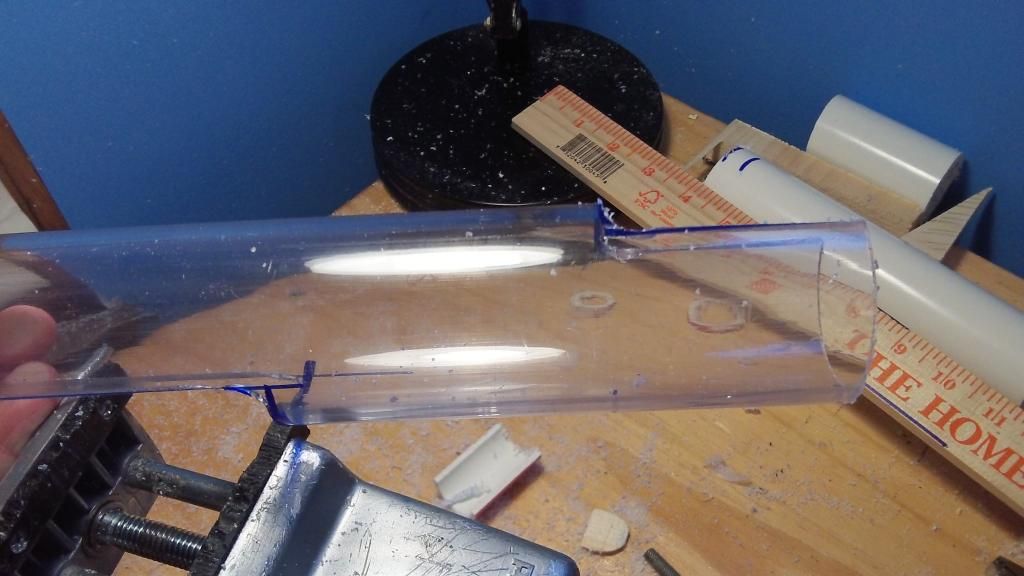
To recap, the really long cut is made on the bottom rear, and this short cut is made on the top front of the tube.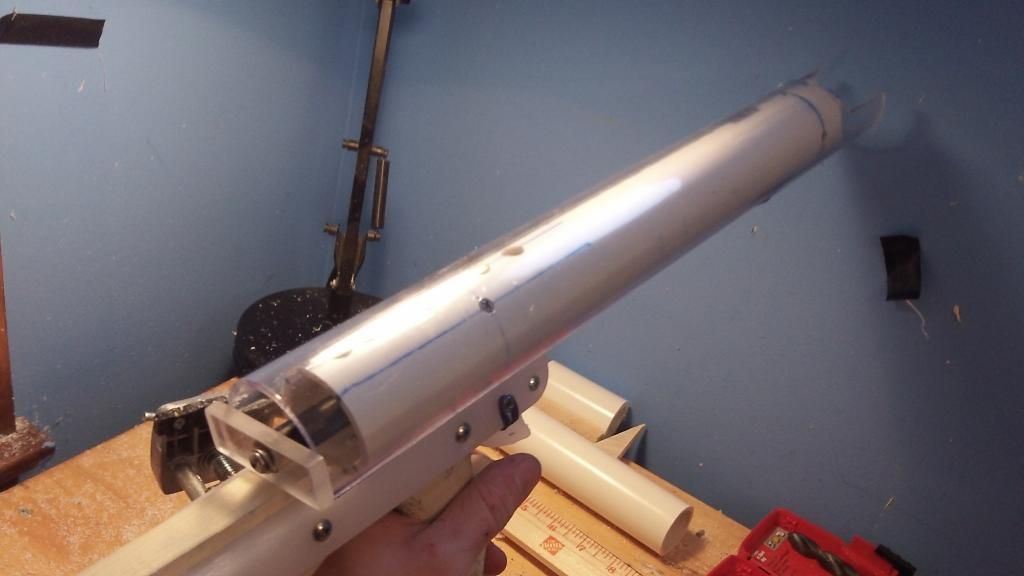
Give it a test fit. Now we just need to make a retention piece.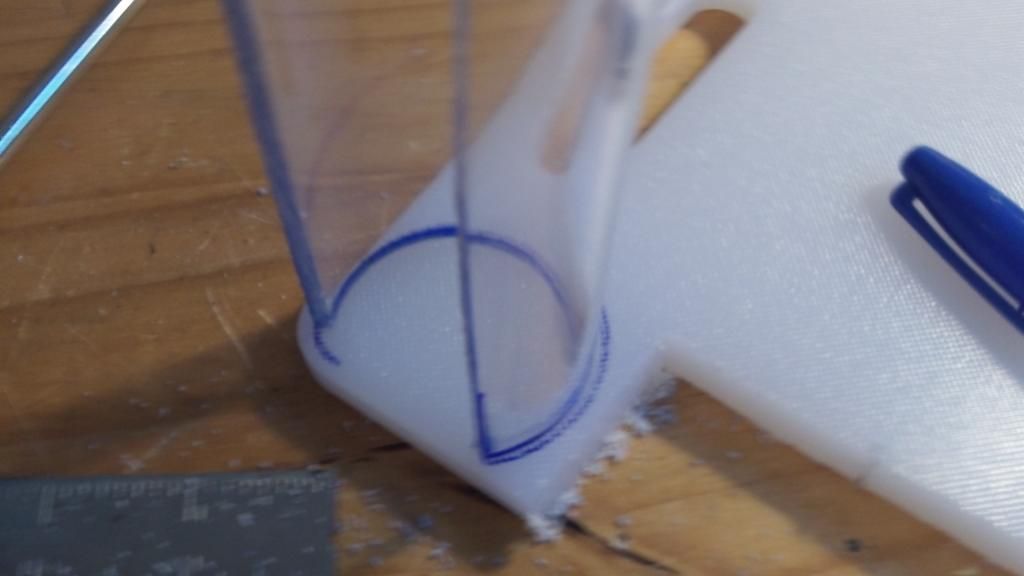
Trace out the inside of the rear of the Polyester tube onto a piece of cutting board.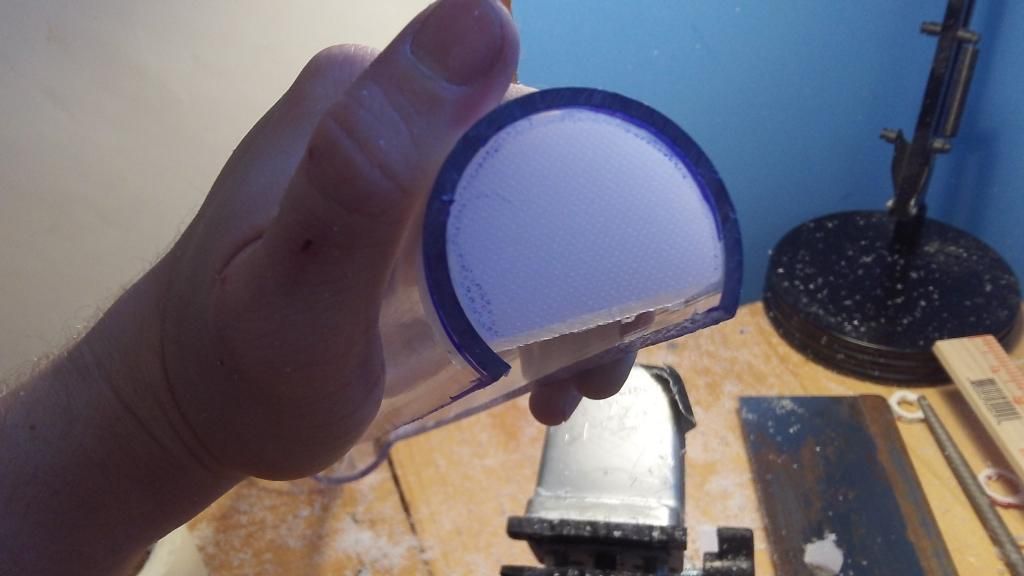
Cut and file out the cutting board piece until it fits snuggly in the Polyester tube.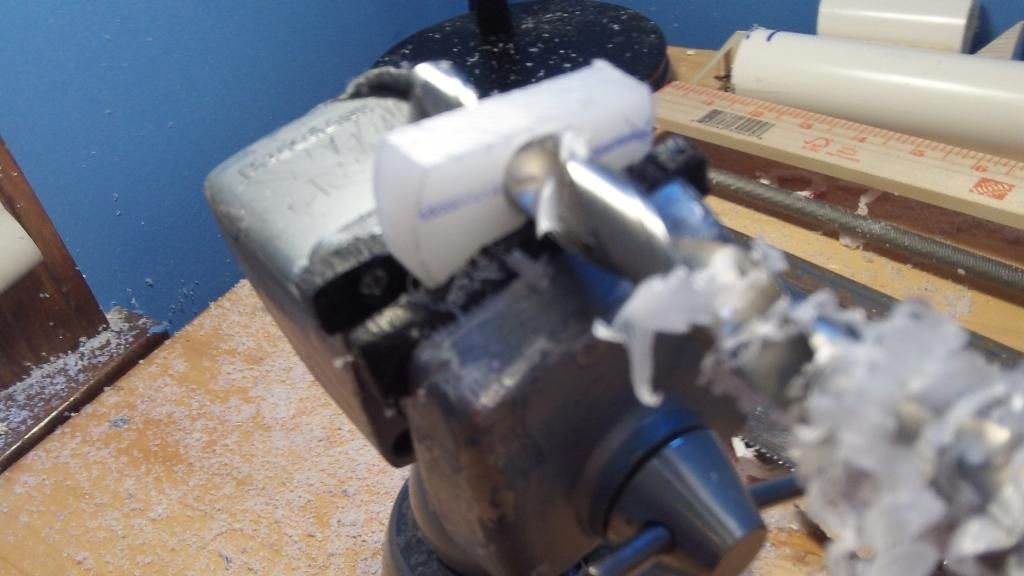
Mark out the approximate center of the "circle" and drill this point out with the 1/2" drill bit.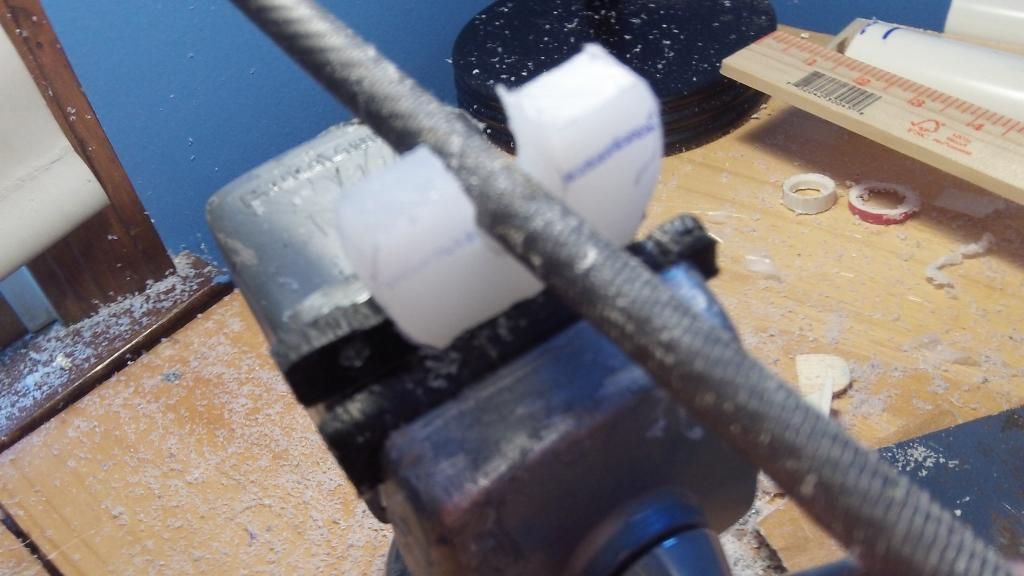
Cut the hole with a saw. Widen everything out with the rat tail file. This part will ride over the plunger rod, so it should be pretty loose.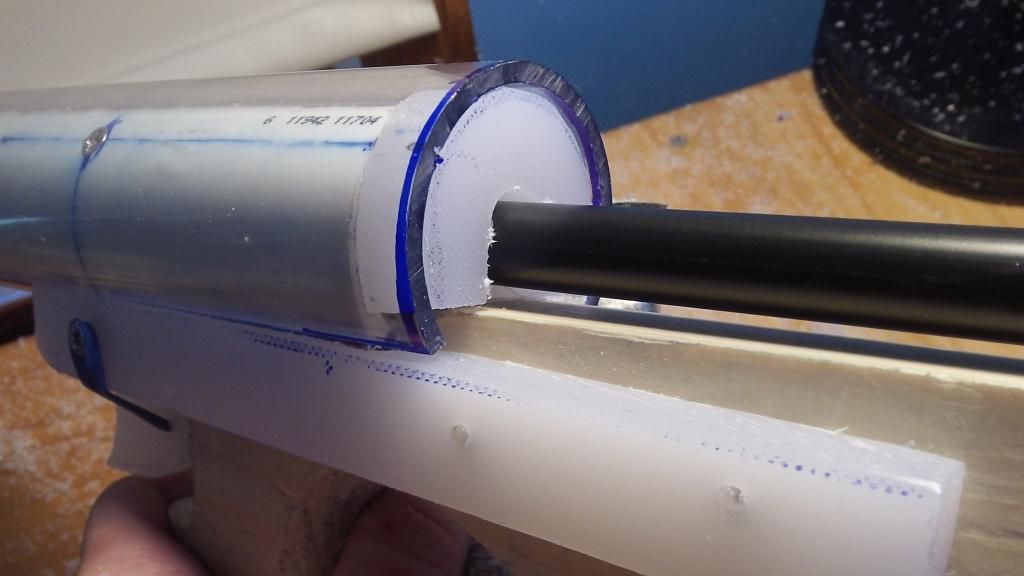
Slide the pump onto the blaster, and insert the retention piece over the plunger rod, flush with the end of the Polyester tube.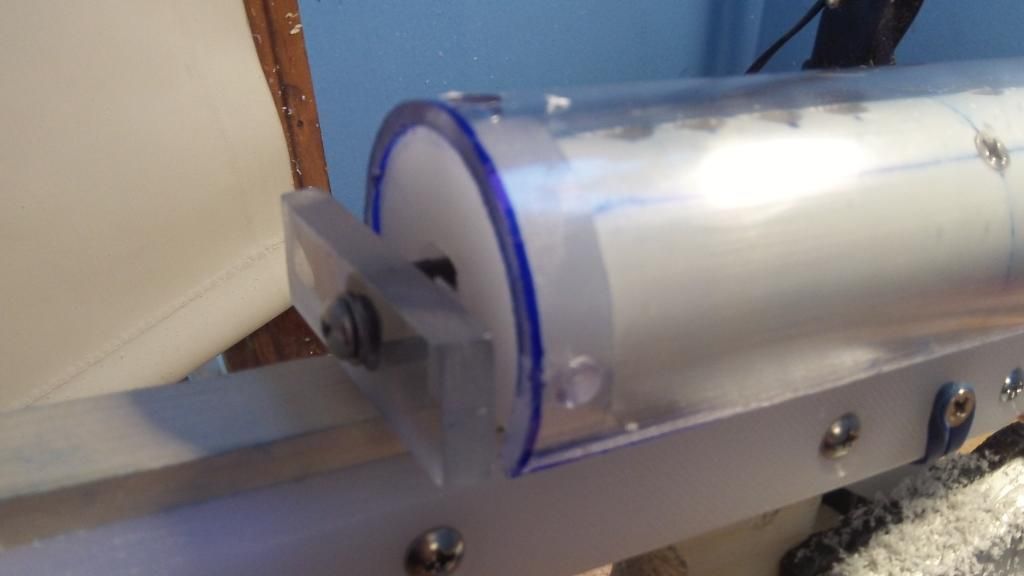
Drill through the polyester tube into the cutting board retention piece. Be careful not to drill into the plunger rod. Drill on both of the sides, and the top. Then countersink these holes. Screw in three 6-32 x 1/2" pan head screws to assemble the pump.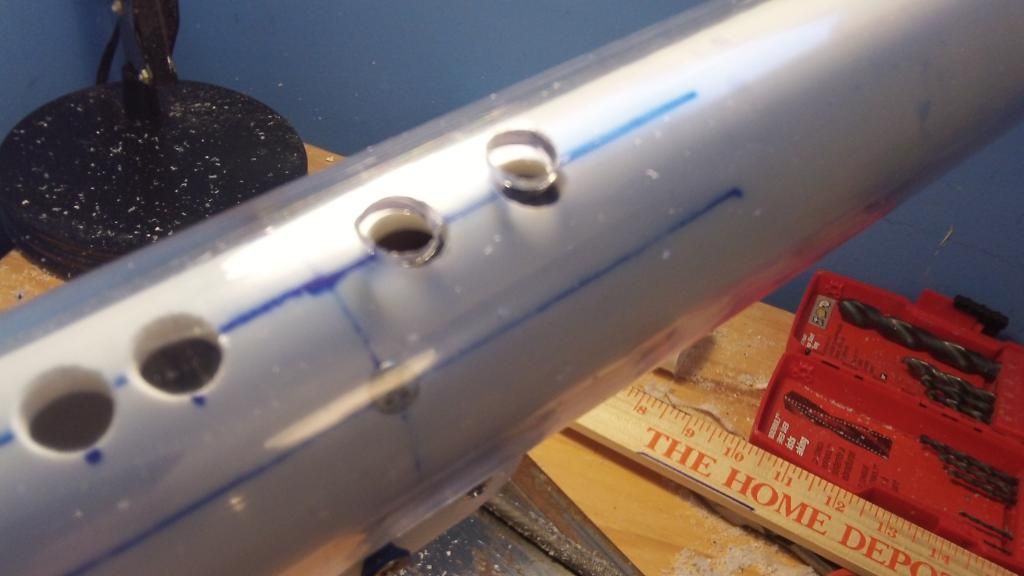
Push the pump all the way forward. Note where the pump covers the speed holes in the body. Drill a hole in the pump over each of the speed holes to allow air to flow freely into the speed holes.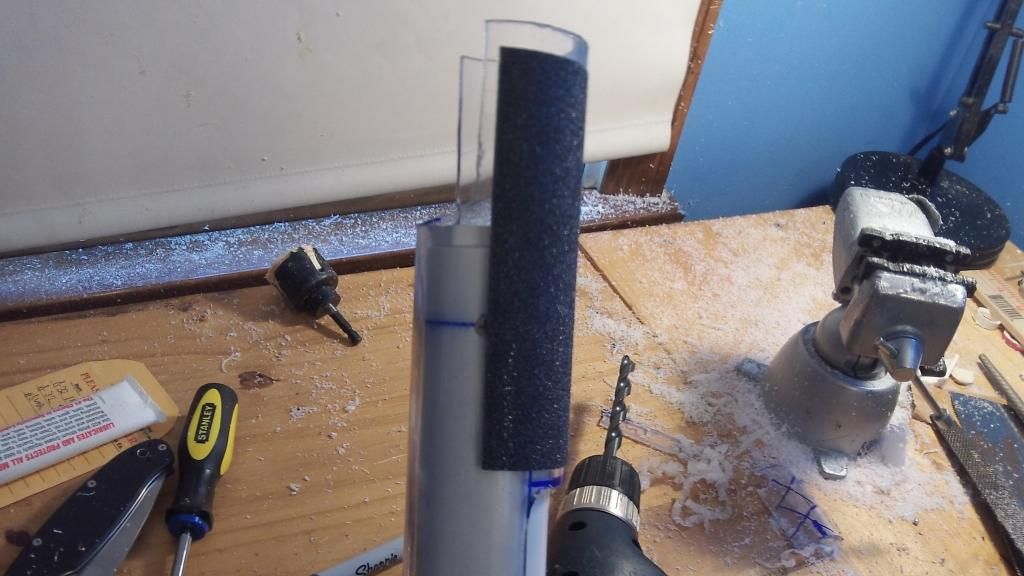
Wouldn't be an Aeromech build without skateboard tape.
Finished Blaster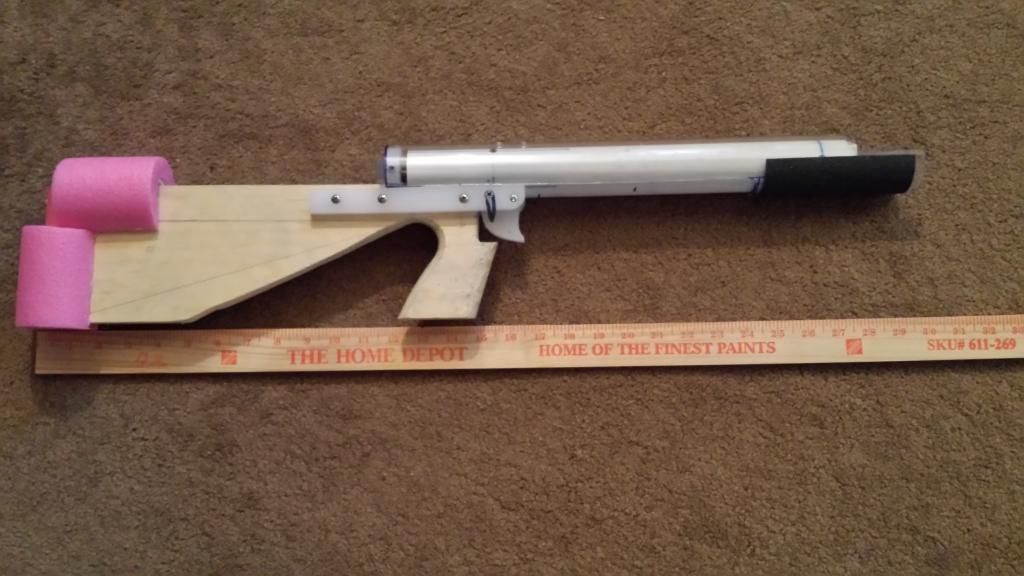
Final assembly is 31" without barrel assembly.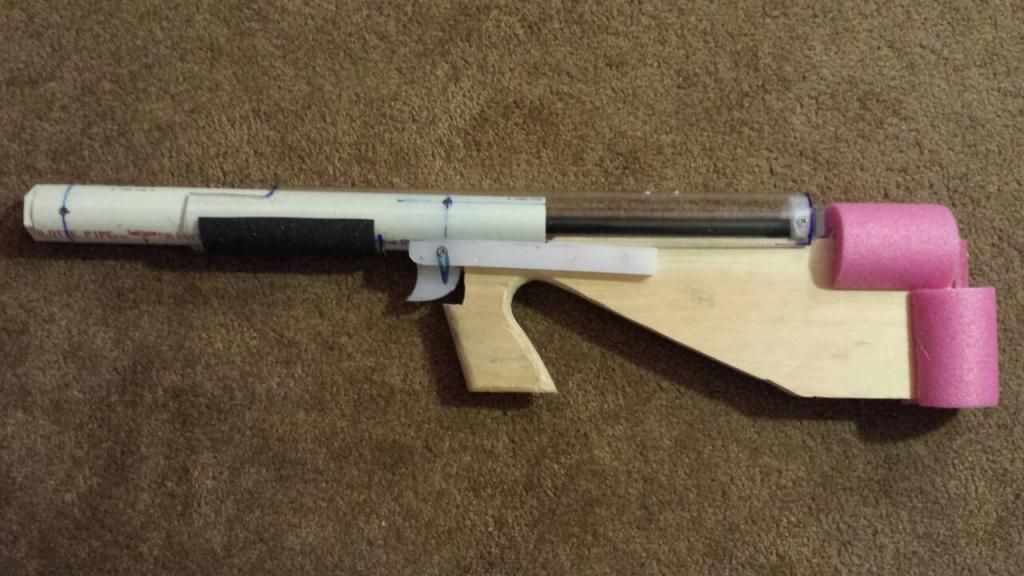
Pump dat action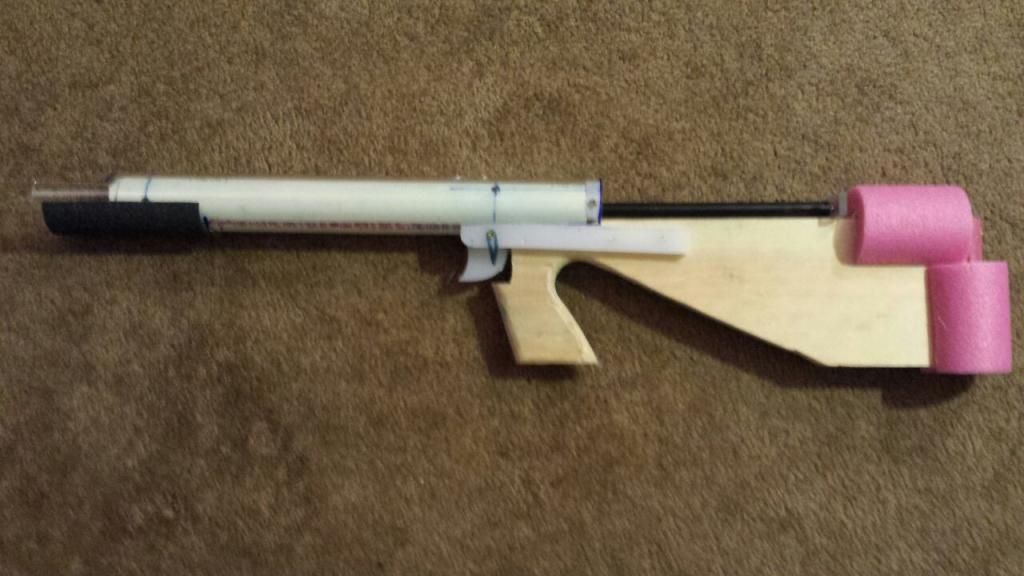
Ready to launch
Results
-Blaster shoots about as hard as anything else I've made. Has yet to be war tested, though Apoc will change that.
-The only things needed from McMaster are the nylon rod, polycarbonate, [k26], and Polyester. SNAP builders may even have replacements for these that I am unaware of.
-Can be fired as a pull back or pump action.
-No slots were used.
-No adhesives used in the main blaster.
-Most parts come from Ace Hardware locally.
Discussion
This writeup uses an omnidirectional catch and plunger rod, though a unidirectional rod would actually work, as the top face of the stock acts as a stabilizing face against the pull back mar of the plunger rod.
This build is meant for two audiences. Primarily, for those new to building homemades that want something more than a SNAP. I consider myself pretty new to this area of the hobby, as six months ago I would have no idea how to build a homemade. The SNAP is riddled with durability problems, and the rainbow solves them, it's as simple as that.
The second audience would be current SNAP builders. Somehow, SNAP builders have gotten access to [k26] springs or equivalent, and the only thing holding them back following this build guide is a few square inches of polycarbonate and maybe the nylon rod, but I feel like SNAP builders have already found something equivalent. I would love to have SNAP builders chime in and tell me what they've been using for supplies and what they think about this design, as I am not a SNAP builder. Following this writeup, a SNAP builder could go to a war and arrange to buy a Rainbow catch and some nylon from a Rainbow builder. Or hell, Spiderbite has sweet deals on this stuff now, so there's really no reason not to Rainbow.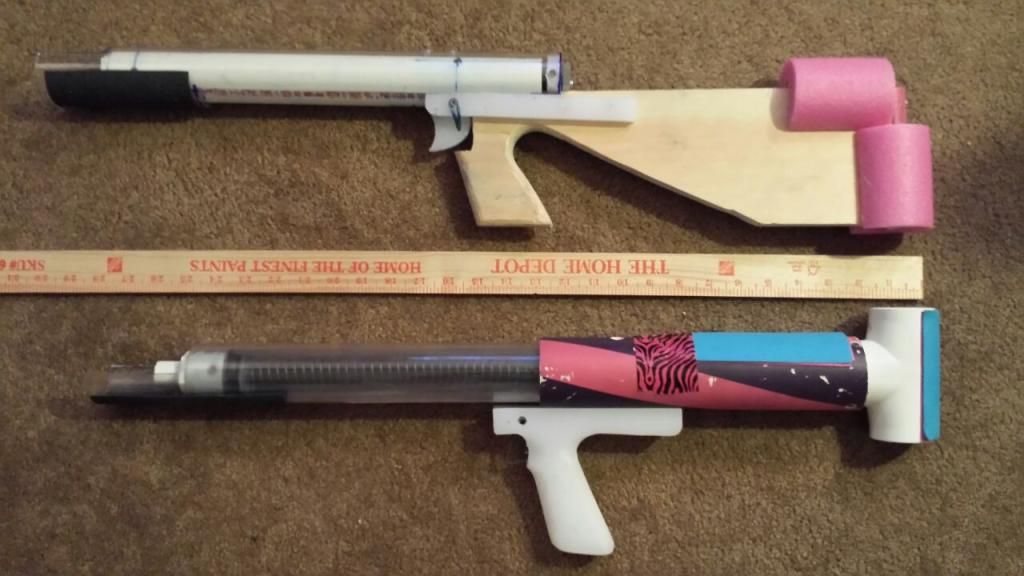
Size comparison with my Rainbow pump
Philosophy aside, this is a pretty cool blaster and I achieved all of my design goals with it. Shoots well, and feels pretty good too. And it's lighter than my Rainbow Pump. Also this could easily be built in the course of a day, maybe eight hours.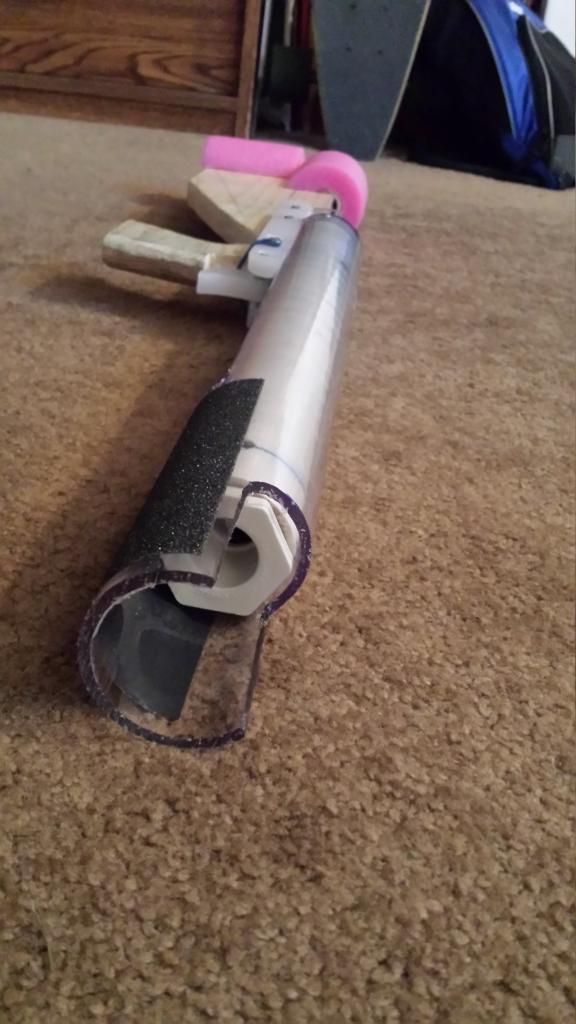
Here's your porn.
Fire away.
Edited by Aeromech, 23 November 2015 - 01:30 AM.


