Jump to content


Photo

Plugging the at2k's pump from the inside


7 replies to this topic

#1 F1Nerf

F1Nerf

    Member

  • Members
  • 17 posts

Posted 02 June 2014 - 07:37 PM

A while back, I purchased an Air Tech 2000, intending to mod it. It may be my first air blaster, but I know enough about air blasters through other posts on NerfHaven to know that plugging the pump is essential to maximizing the performance of the blaster. What most people do to plug the 2k's pump is use hot glue to fill the holes on the top & side of the pump head. However, I stumbled upon a post (that I can't seem to find anymore) where several members mentioned a problem with this method, specifically filling the top hole (shown below).
Posted Image
Apparently, filling that hole can damage the check valve. Popatachi goes into more detail on how this happens in his 3k check valve repair guide. Basically, the check valve uses a rubber sealer, part of which extends into the hole when the pump is at rest. Fill the hole, & you risk dislocating the rubber sealer, rendering the check valve, & the rest of the blaster, useless. (unless you know how to repair the valve, like Popatatchi) Obviously, I didn't want to break my blaster, so I made this guide.

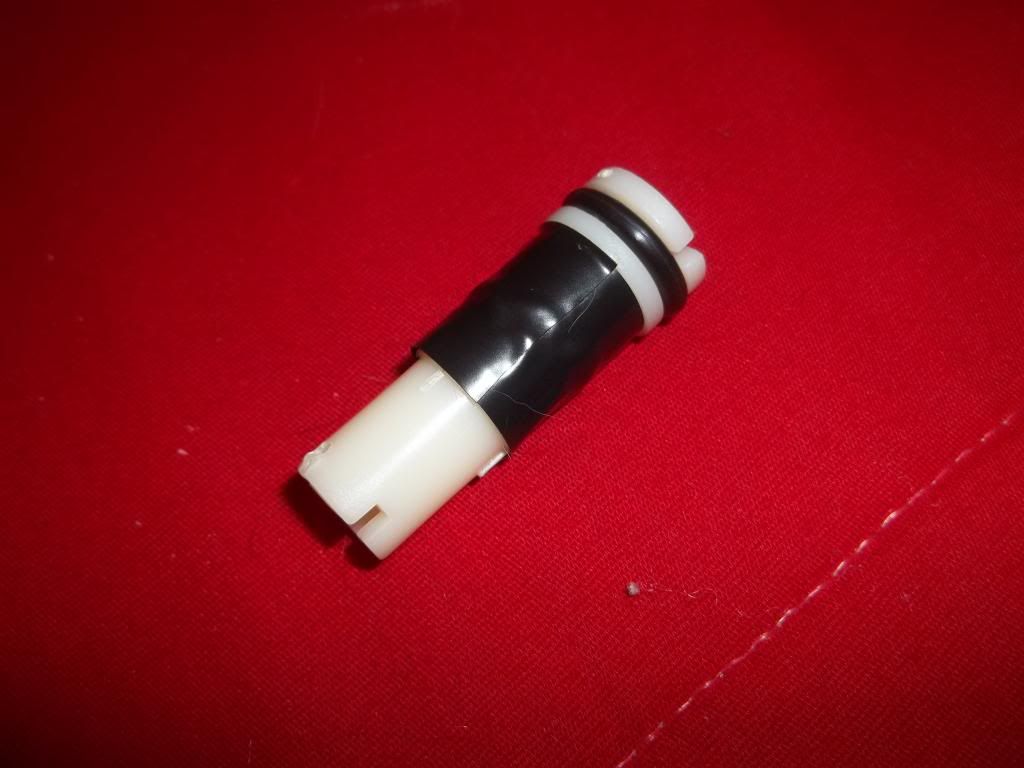
So the first order of business is to open the blaster. Once this is done, take a look at your pump shaft.
Posted Image
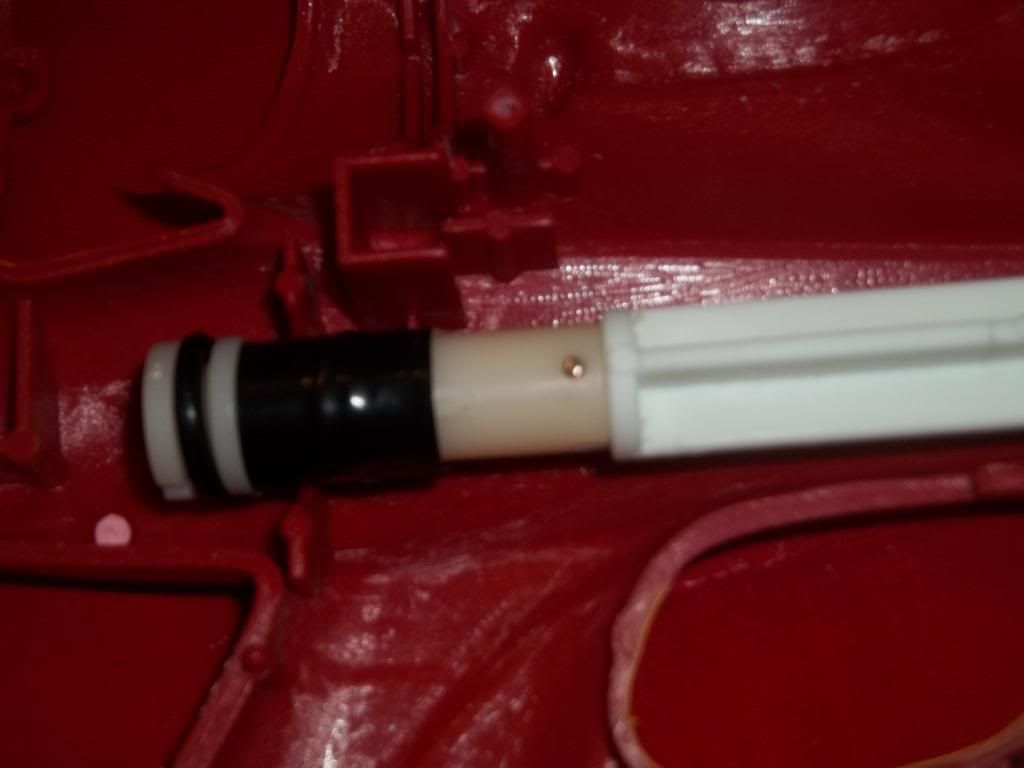
See that pin near the base of the pump head? Remove it, as this lets you remove the pump head, which is what you'll be working with. (I am aware that that photo is on the blurry side, but I couldn't help it; my camera is cheap.)
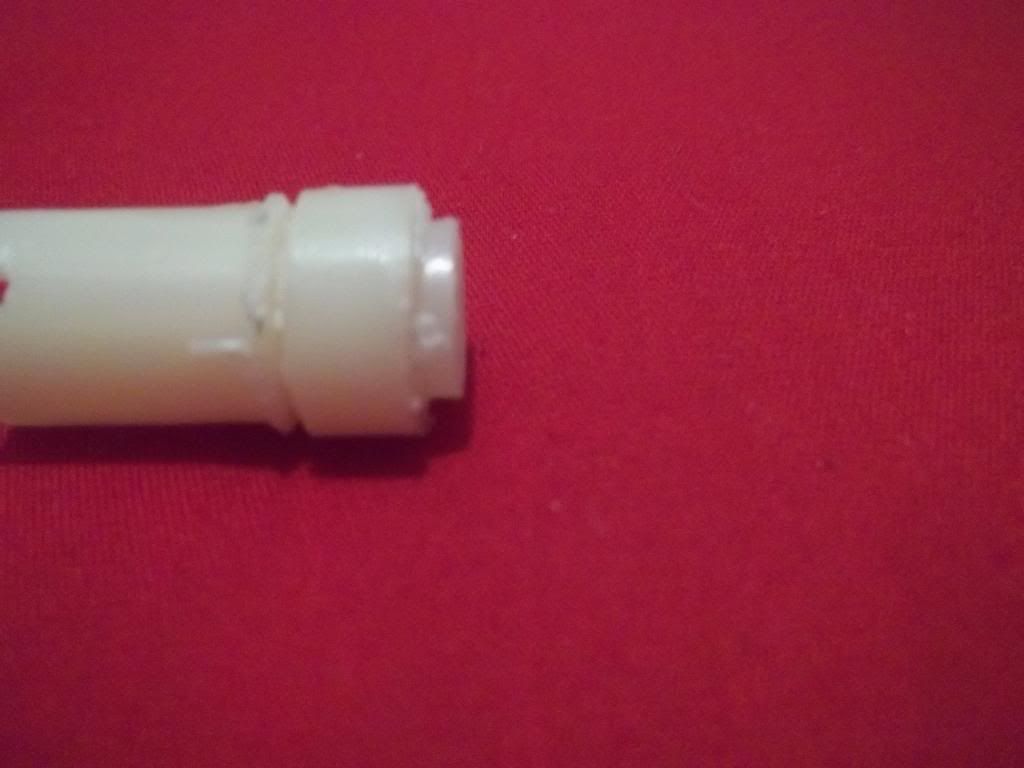
Now cut the top off, just past the side hole.
Posted Image
Watch out for the second layer of plastic; the two halves of the pump head are glued together, which is why you have to cut the top off in the first place.
Posted Image
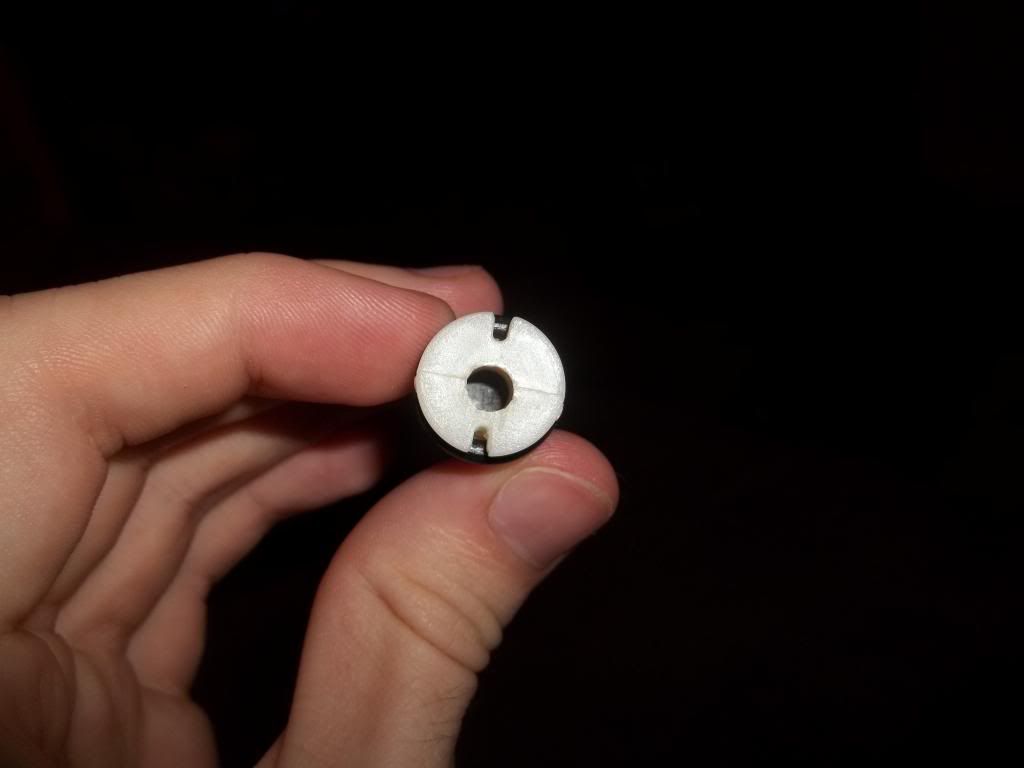
A spring & a black rubbery thing (I don't know what it's called) will come out. You won't need the spring, just the black rubbery thing.
Posted Image
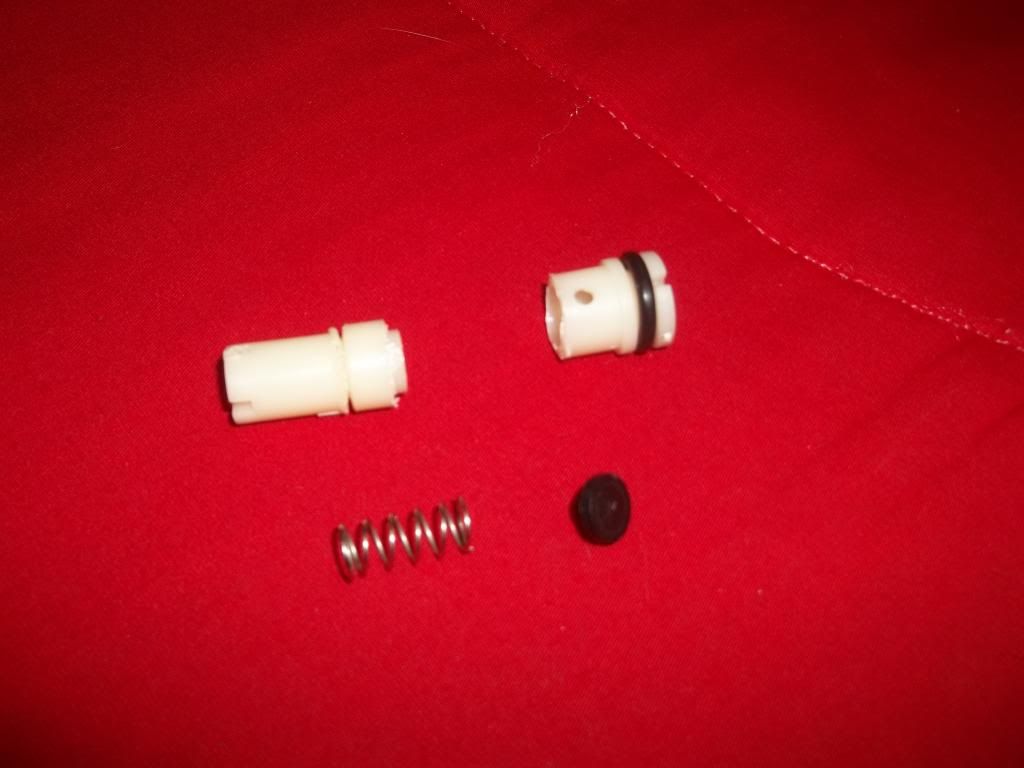
Put the black rubbery thing back in...
Posted Image
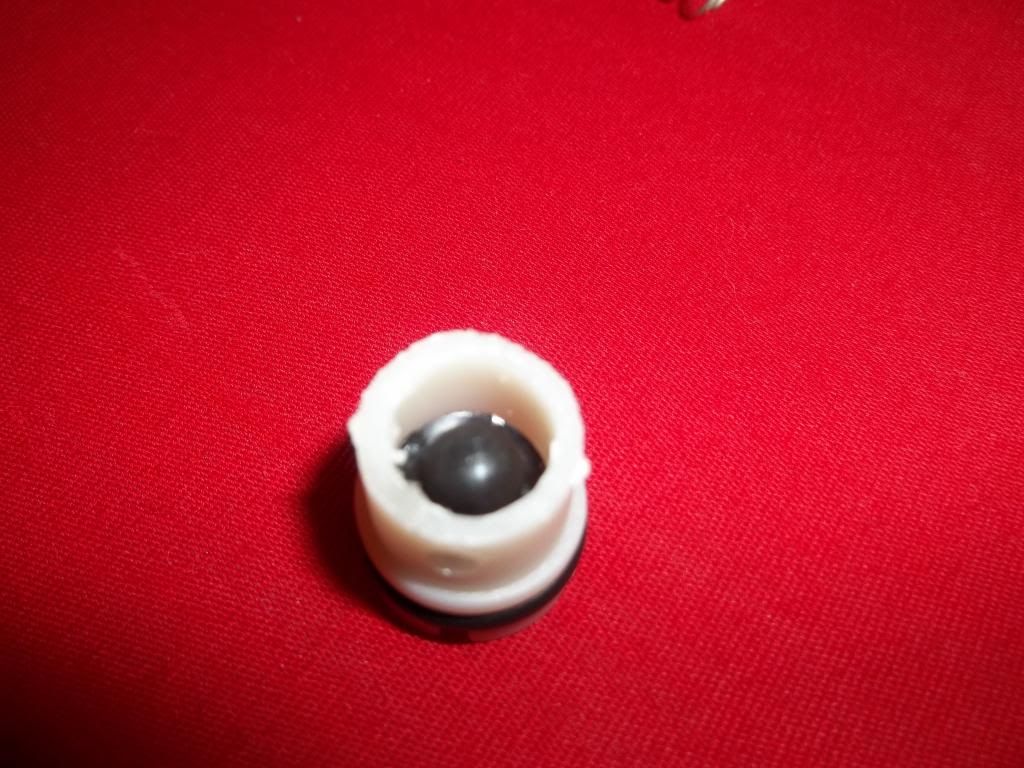
... and fill the cavity with hot glue.
Posted Image
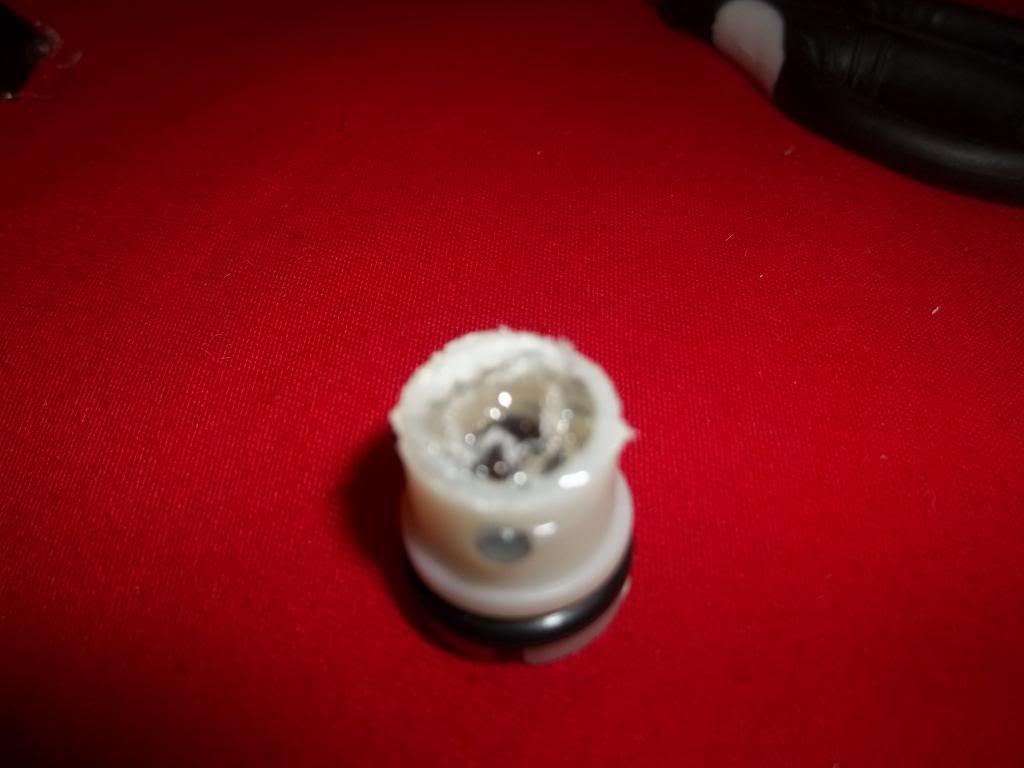
Before the glue dries, carefully put the two halves of the pump head back together. Run a ring of hot glue around the cut to ensure a more solid connection.
Posted Image
Wrap some e-tape around the cut area to further solidify the connection; there's probably better stuff to do this with, but e-tape's all I had.
Posted Image
Now reattach your pump head to your pump shaft, put the pin back in, & there you have it, a plugged pump that won't damage your check valve. The hot glue should hold up reasonably well; I've pumped the blaster up five times & still haven't had any problems with the oprv. I'll pump it up more times when the rest of my 2k is modded the way I want it, & see how the glue holds up to that. Until then, I'm open to any comments or suggestions that you might have.

Edited by F1Nerf, 03 June 2014 - 10:55 PM.

  • 0
F1Nerf

#2 Nerf Gra

Nerf Gra

    Member

  • Members
  • 145 posts

Posted 03 June 2014 - 09:49 AM

Not sure how well hot glue is gonna hold up over the life of the blaster. It would suck to have that head come apart while pumping.
  • 0
QUOTE(VelveetaAvenger @ Dec 6 2010, 12:14 AM) View Post

Maybe there's no Mcmaster, but you could make the first coconut airtank.


#3 Jacob Melanson

Jacob Melanson

    Member

  • Members
  • 4 posts

Posted 03 June 2014 - 01:57 PM

I have never worked on any AT blasters, but I'm a bit confused as to what you meant by the oprv not kicking in. If you hotglued the area behind the oprv, then it wouldn't be able to move and release the air right? Unless there's another oprv on the blaster, the oprv wouldn't kick in after ANY pumps.
  • 0

#4 Exo

Exo

    Member

  • Members
  • 391 posts

Posted 03 June 2014 - 02:16 PM

Not sure how well hot glue is gonna hold up over the life of the blaster. It would suck to have that head come apart while pumping.

Yeah, seriously. Hot "Glue" isn't actually glue, it's more of a 3d-printed plastic with slight adhesion qualities. Or so I'm told. Get some epoxy on there, it'll last a whole lot longer.
  • 0

#5 Nerf Gra

Nerf Gra

    Member

  • Members
  • 145 posts

Posted 03 June 2014 - 02:21 PM

I have never worked on any AT blasters, but I'm a bit confused as to what you meant by the oprv not kicking in. If you hotglued the area behind the oprv, then it wouldn't be able to move and release the air right? Unless there's another oprv on the blaster, the oprv wouldn't kick in after ANY pumps.


The entire purpose of this mod was to keep it closed. He was saying that it was successful. Albeit it was phrased weird.

Edited by Nerf Gra, 03 June 2014 - 02:47 PM.

  • 0
QUOTE(VelveetaAvenger @ Dec 6 2010, 12:14 AM) View Post

Maybe there's no Mcmaster, but you could make the first coconut airtank.


#6 F1Nerf

F1Nerf

    Member

  • Members
  • 17 posts

Posted 03 June 2014 - 10:03 PM

Exo: I'll definitely look into epoxy; I'll need it for various other mods anyway.
Jacob: There isn't another oprv. You're right in that it shouldn't kick in at any pumps, but that's what the testing was supposed to confirm, & it did. That was what I was trying to get at.
Nerf Gra: This guide was somewhat rushed; I'm sorry if anything is phrased weird. I'll fix that now.
  • 0
F1Nerf

#7 Nerf Gra

Nerf Gra

    Member

  • Members
  • 145 posts

Posted 03 June 2014 - 10:27 PM

You don't have to apologize. The write up is good for it being your first post.
  • 0
QUOTE(VelveetaAvenger @ Dec 6 2010, 12:14 AM) View Post

Maybe there's no Mcmaster, but you could make the first coconut airtank.


#8 Jacob Melanson

Jacob Melanson

    Member

  • Members
  • 4 posts

Posted 04 June 2014 - 05:37 AM

Yeah, there's no need to apologize. Like i said, i have never owned a AT blaster before, so i was curious.
Something i would have done differently though, would be to replace the oprv spring with a stronger one. So that you can get a lot more pumps before the oprv kicks in, and you won't have to worry about the tank exploding! I saw this in a post i read a long time ago, so i don't have a link, but you should look it up!
  • 0


0 user(s) are reading this topic

0 members, 0 guests, 0 anonymous users