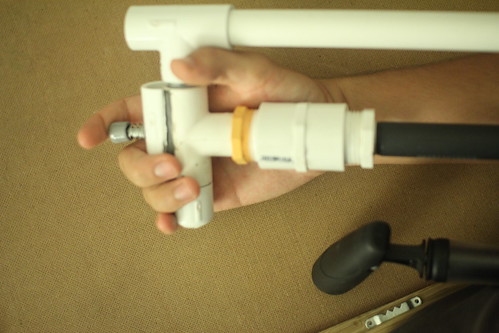
This is an easy, low-overhead, and safe airgun build. It uses entirely parts from Lowes and Walmart, and requires only a saw, drill, hammer, pliers, scissors and a screwdriver to assemble(no dremel!). Tony Stark couldn’t just build this in a cave, he could build it in a cave with his eyes closed.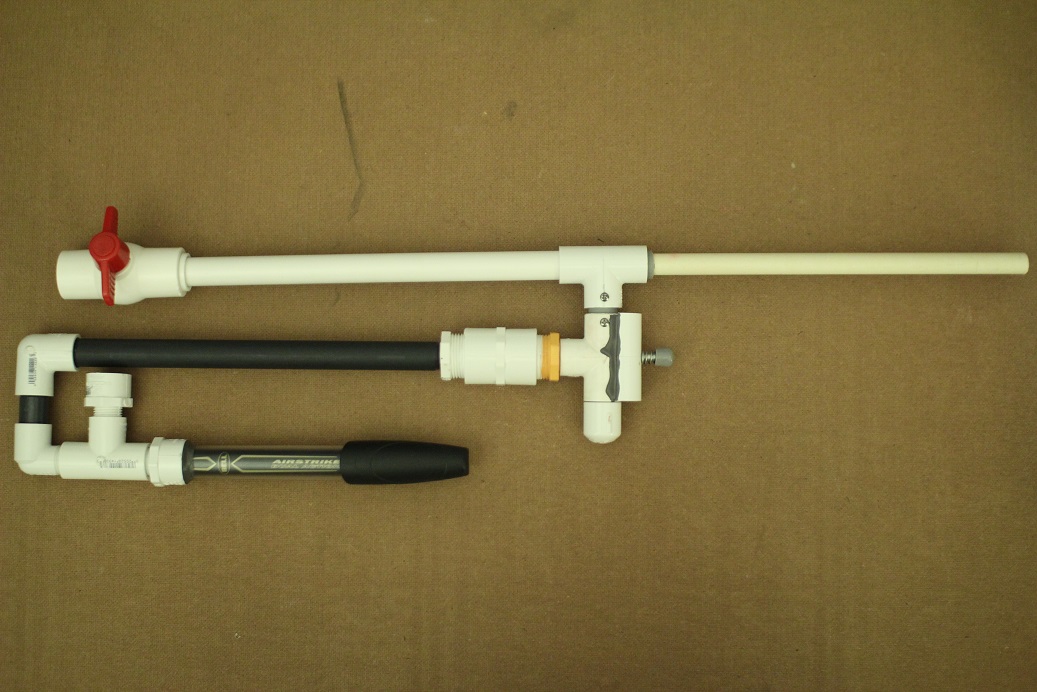
Noob suitability
The ease of build comes from twist fittings and the complete lack of precise cuts. This gun uses twist fittings (technically known as national pipe taper fittings, or NPT) unlike most NIC air guns which use slip fittings and PVC cement. PVC cement is a powerful solvent weld(similar to glue), which has toxic fumes, is totally permanent, takes practice to use correctly, and requires and extra $10 in chemicals most of which a noob won’t even use in this build. Twist fittings are easy, cheaper, and (crucially) you can disconnect them if you mess up.
This gun has an IKEA philosophy, meaning you simply buy the pieces and connect them together. This doesn’t apply to every single step, there are a few times you have to cut pipe and one fitting which needs to be cut in half. But compared to the myriad of cut slots, half pipes, catches et cetera which are common in other builds, this is particularly suited for the noob who doesn’t have a lot of tools or experience slicing up plastic.
Safety
Fear, uncertainty and doubt often surround airguns with regard to safety. This gun uses an over pressure release valve(OPRV) taken from the air max one(aka panther) to ensure that it can never be over pumped to a pressure dangerous to the user or their target. It is true that pvc pipe is not approved for use with pressurized gas in building codes, because if a plastic pipe holding pressurized gas bursts, it can shatter and send pieces flying. However, this gun operates at only 35psi, less than 15% of its weakest fitting’s maximum operating pressure, and less than 3% of its burst pressure[1]. This makes the probability of bursting so remote, that for me it is an acceptable risk.
So enough talk, let’s build.
You will need:
Parts by where to find them:
Walmart
Bell airstrike dual action pump
Buzz bee air max one (formerly known as the panther)
Soft Soap(yup)
Lowes
Plumbing section:
5’ long ½” cpvc pipe
2’ long ½” pvc pipe
1/2” nipple 12” long
2x ½” nipple 3” long
2x ½” female to 1” male bushing
½” npt male x ½” npt female “street” elbow
½” npt x npt elbow
1” npt coupler
3x ½” tee
½” npt tee (all three sockets npt)
½” cap
½” x 3/4” bushing
¾” ball valve
Teflon tape aka PTFE thread seal tape
Hardware aisle:
¼”-5” hex bolt
#6 x ½” sheet metal screws, smallest pack
Specialty hardware drawers:
¼-20 well nut
Bolt cap
Elsewhere in Lowes(it varies, ask an attendant):
JB epoxy weld
Parts by subsystem
Pump:
Bell airstrike dual action pump
JB weld
¾” female to ½” npt male adapter
OPRV:
Another ¾” female to ½” npt male adapter
Buzz bee air max one (formerly known as the panther)
JB weld(the same as before)
Tank/body:
½” npt tee
½” male npt to ½” female npt elbow(aka street elbow)
½” female npt to ½” female npt elbow
½” 12” long nipple
½” 3” long nipple
Trigger:
2x ½” female npt to 1” male npt bushing
1” npt coupler
2x ½” tee
JB weld
½” dia 12” long nipple (a second one)
¼-20 well nut
¼”-5” hex bolt
Soft soap(for the miniature spring in the pump)
½” cap
Barrel/clip:
5’ cpvc pipe
2’ ½” pvc pipe
½” coupler
½” to ¾” bushing
¾” ball valve
Overview
It’s a basic air gun based on 3DBBQ’s madghost[2], with modifications. The main ones are an oprv, a well nut trigger[3] and noob friendly construction. If you’re ever unclear on how everything fits together you can look at this diagram.
The build relies heavily on twist joints, so here’s a guide: You will need a male fitting, a female fitting, and teflon tape. Teflon tape is variously known as teflon tape, thread tape, thread seal tape, or PTFE tape. Wrap your tape around the male fitting 3-5 times. It’s important you wrap it in the right direction, so make sure the end of the tape points in the same direction as the end of the thread on the male fitting.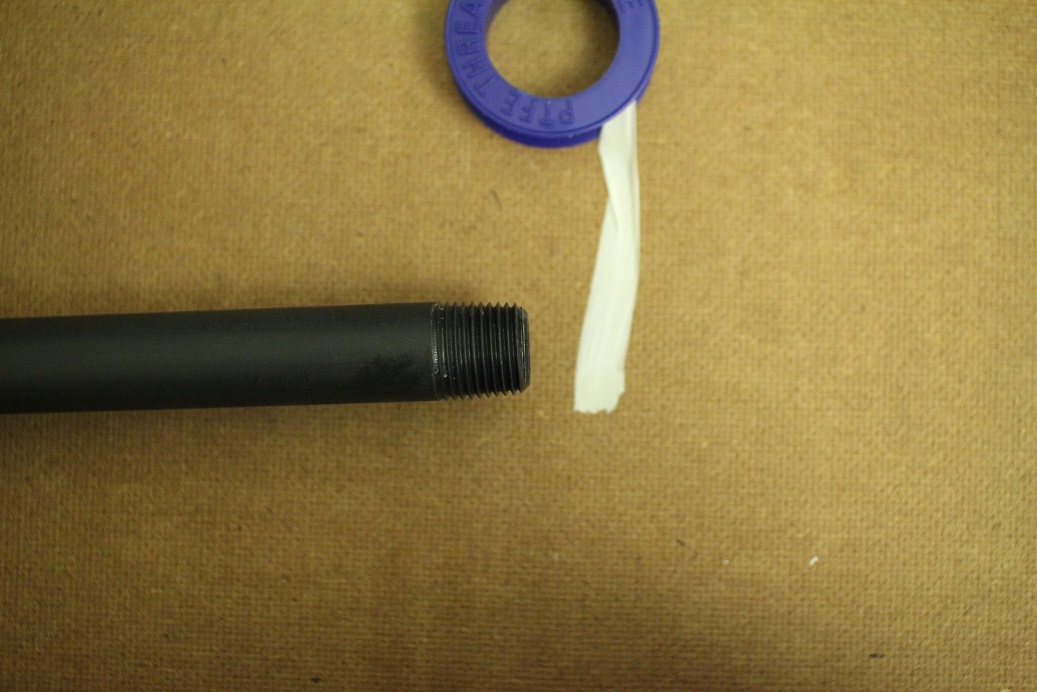
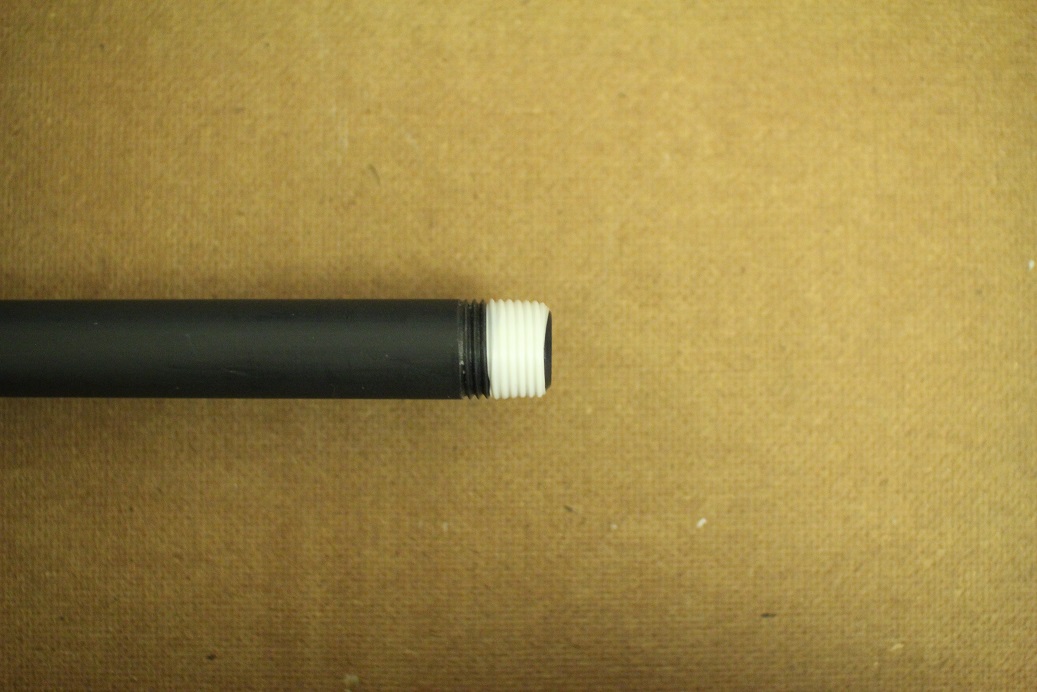
Then put your female fitting on and turn it as much as you can with your hands. Only turn it by the fitting though, because if you turn for example by the end of the pump, it will act as a lever and give you enough force to crack the fitting.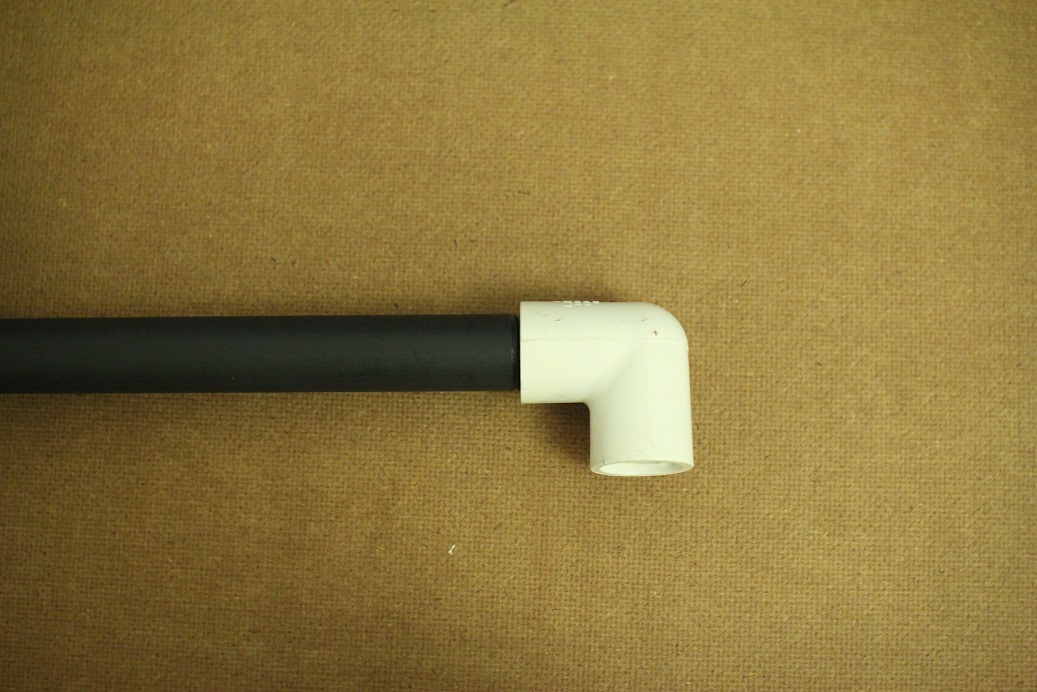
Teflon tape doesn’t actually form a seal between the fittings, rather it reduces the friction between the fittings which lets you turn them more times and make a seal that way.
Also, some plumbing vocab. Nipple: A length of pipe with male threads at both ends
Bushing: a fitting that wraps around one pipe while being wrapped around by another fitting. They’re usually circle shaped, and can be either slip or threaded.
Adapter: a fitting that connects two pieces whose sizes don’t allow for a bushing
NPT: National pipe taper, aka “twist” or “threaded”. Pipes and fittings which are connected by threads instead glue or friction.
Trigger System
This gun’s trigger is based on thedom21’s WNTS(well nut trigger system), but the well nut is inverted to increase air flow and the bolt is stabilized by a second tee.
First, remove the spring from your soft soap pump with scissors. You can get little springs like that in packs at Home Depot, but this build is limited strictly to Lowes and Walmart, so a creative solution is necessary.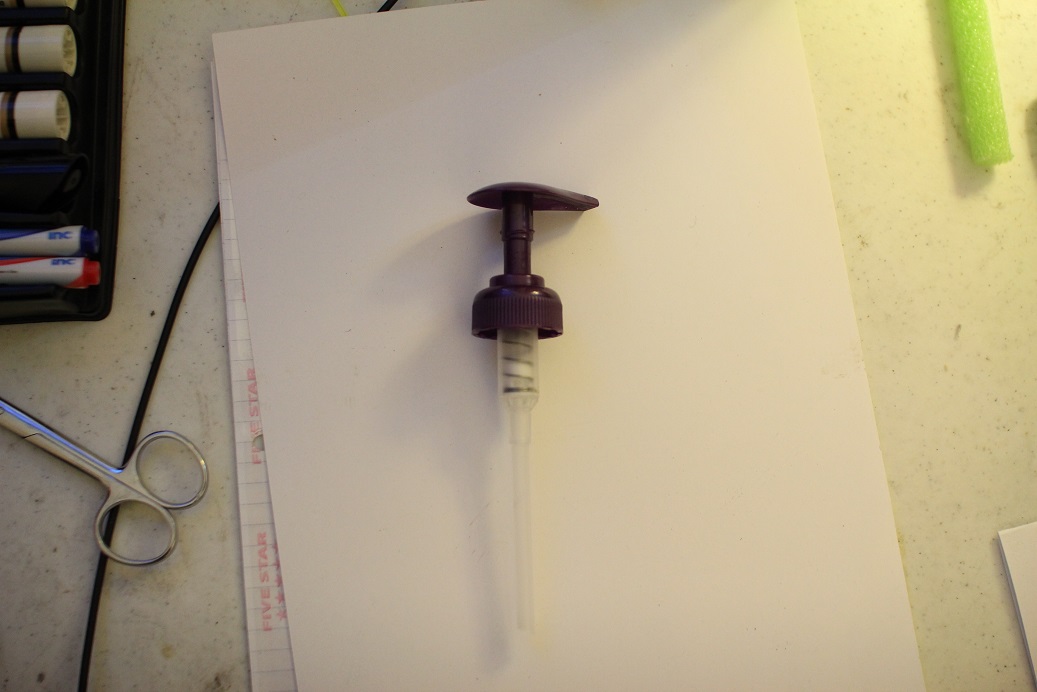
Drill ¼” holes in the center of two of your tees. Always use eye protection with power tools!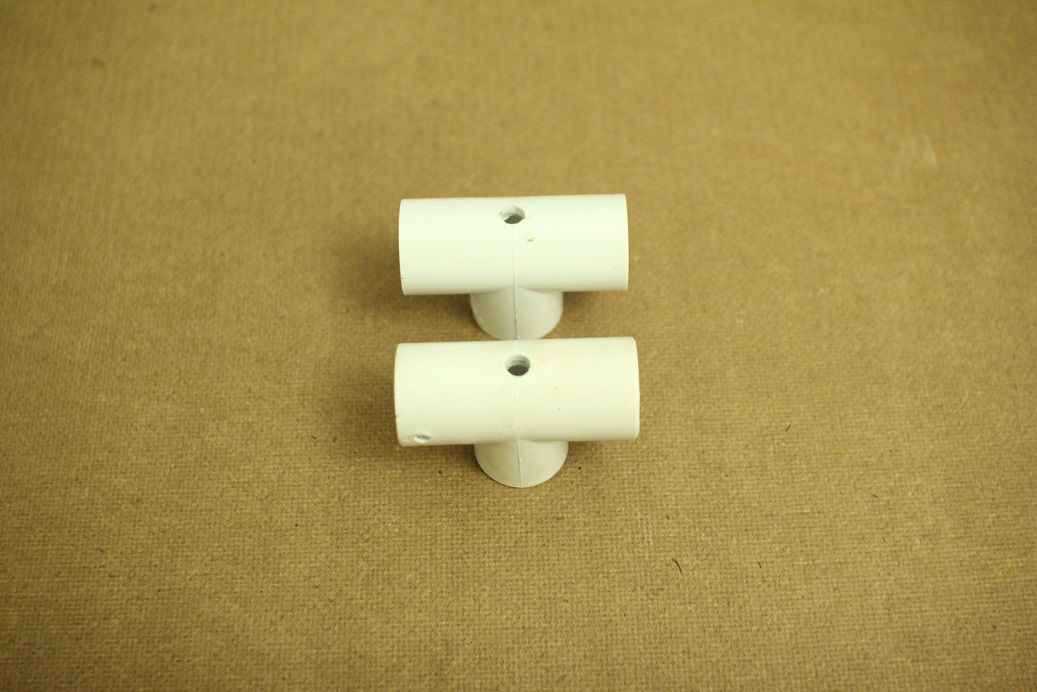
Then cut both sides of a tee along the red line. If you’re using a hand saw, hold the fitting with pliers, because a saw can easily slip on a round fitting like this one.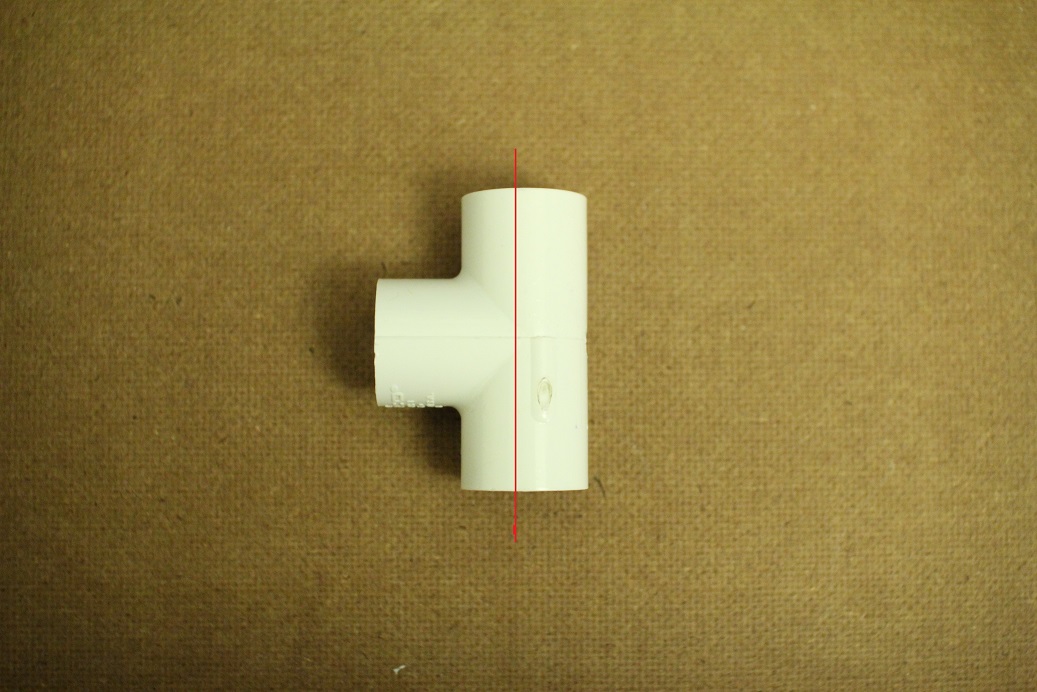
Cut a roughly 1-1/8” stub off a 3” nipple, then assemble the hex bolt, the soap spring, the sawed tee, the whole tee, the nipple stub, a ½”-1” npt bushing(mine is orange, yours will be white), and the well nut as shown. You can also add a screw cap to make the hex bolt more comfortable on your trigger finger.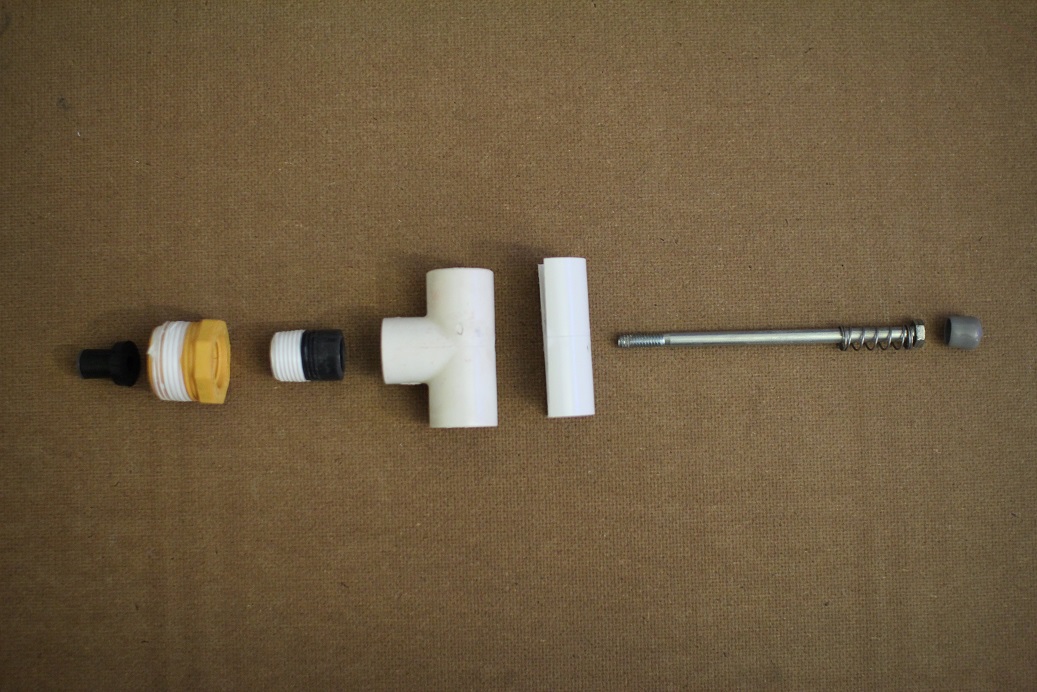
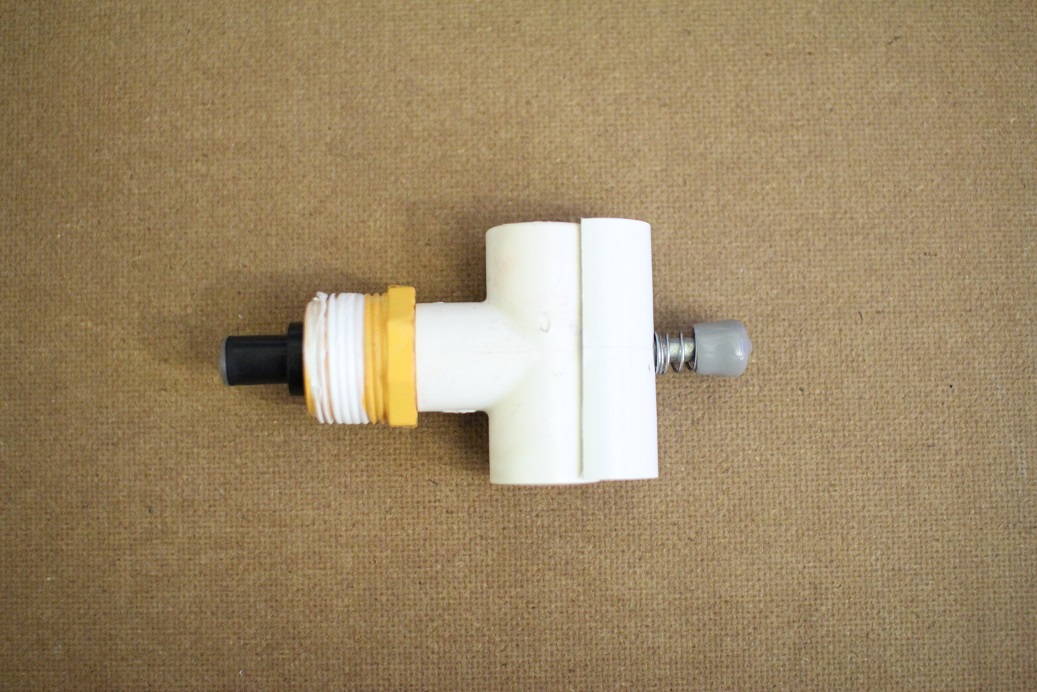
Mix equal parts of JB epoxy weld goo with a paper clip for at least a minute. Center the well nut with the hole in the bushing. Apply JB weld between the tees, you can wipe off any excess with your finger(jb weld is non-toxic).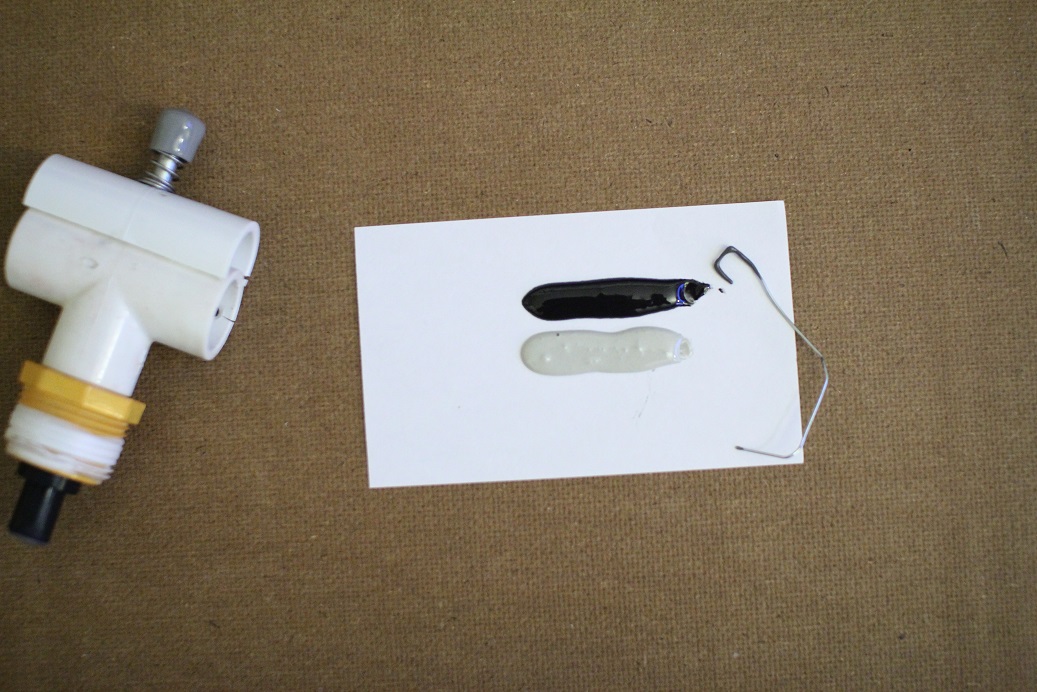
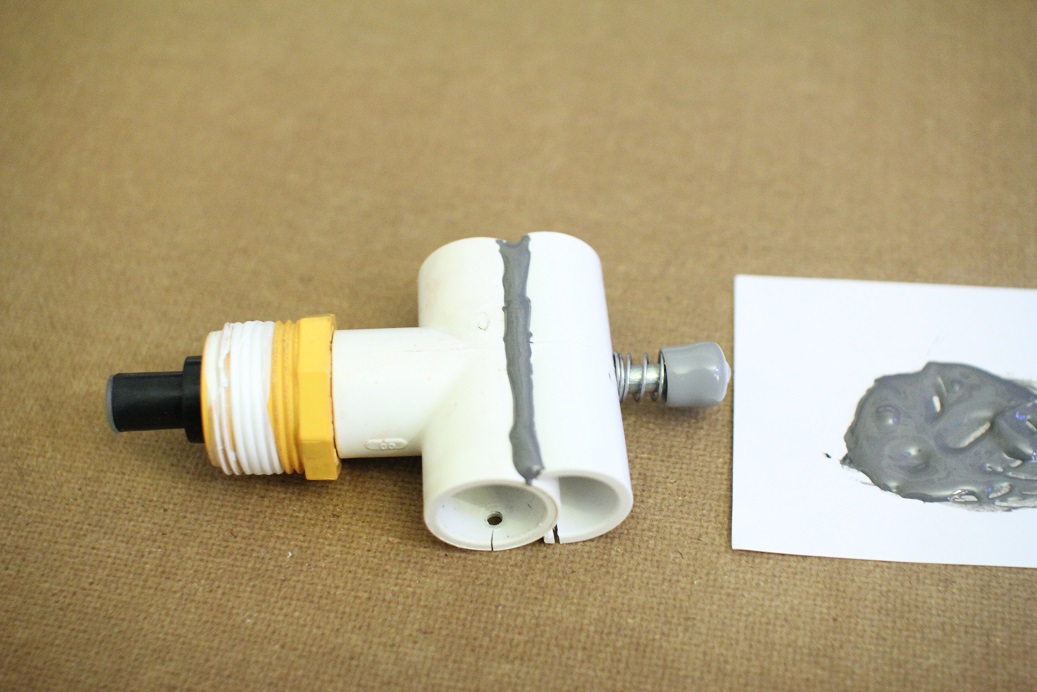
Double check that the well nut is centered on the bushing. Once the epoxy cures(12 hours), the well nut will be held centered and keep a good seal. I left mine in a piece of pvc pipe, but you can use a cup or anything that will hold it upright.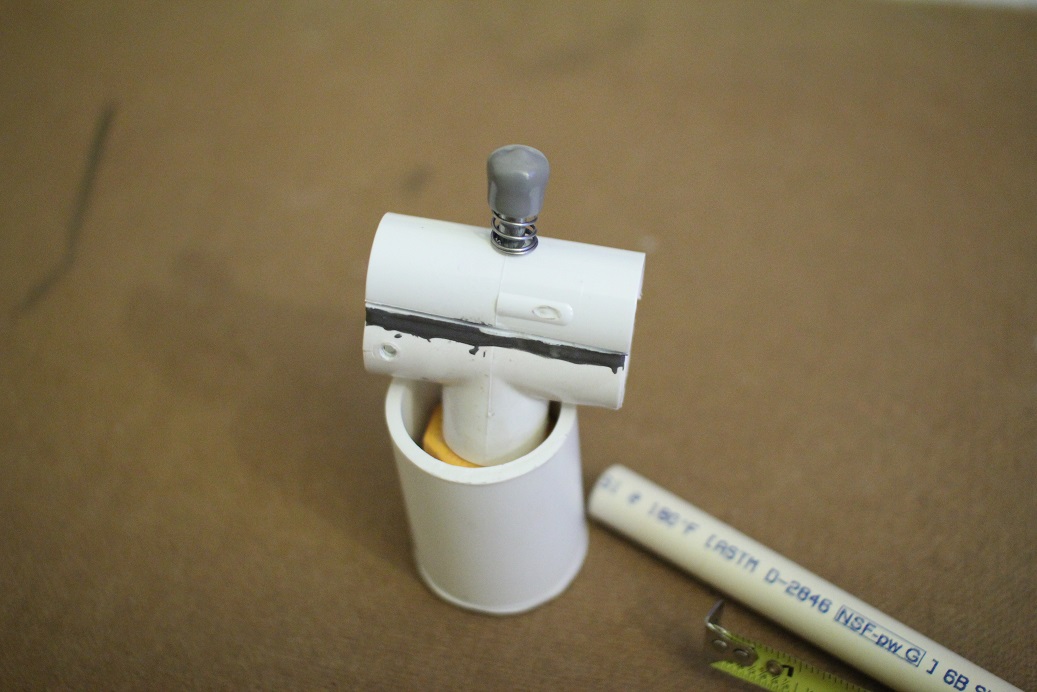
Add a dab of epoxy on the end of the well nut to seal the threads.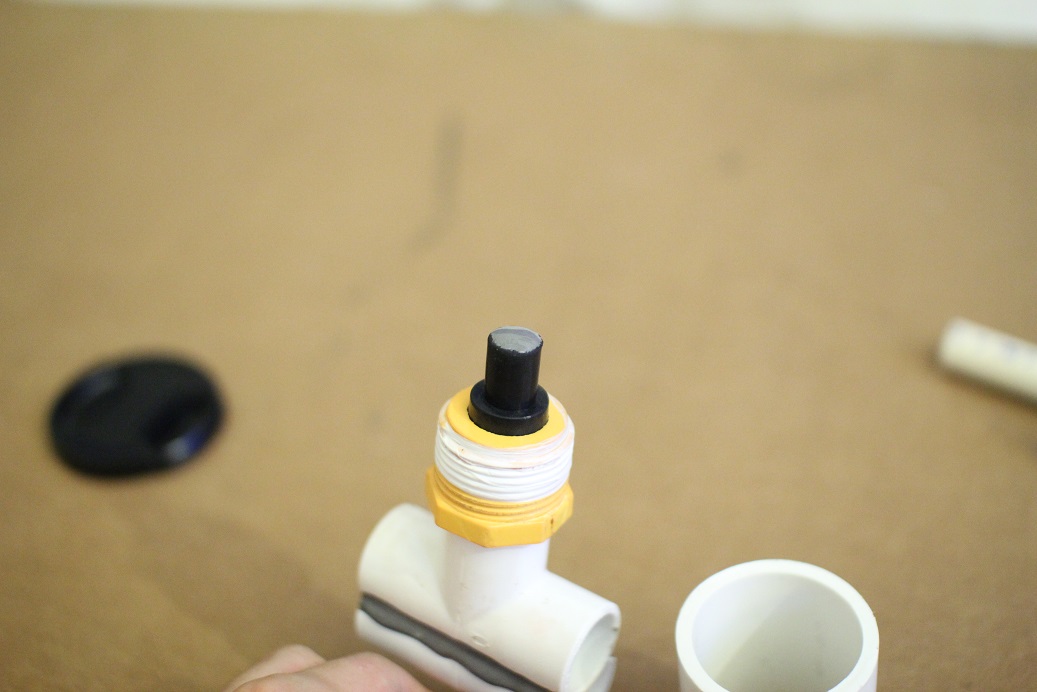
Over pressure release valve
The OPRV is a device that vents air from the tank to prevent it from going above a given pressure. It prevents your gun from being a shit cannon or a pipe bomb. For noobs unfamiliar with the concept, a shit cannon is an exercise in dick-waving where a gun shoots as far as possible, which is usually dangerous, encourages boring play, and isn’t even useful. Ariguns are famous for being used as shit cannons, but this gun is an exception. I chose a common and cheap gun to salvage an oprv from, and adjusted the tank size so that this gun shoots on the same level as a standard spring powered homemade.(210fps, as measured by 60 frame per second camera)
Unscrew and open up your air max one/ panther. Yours probably won’t have a mediocre paintjob.
Cut along the red lines to remove the oprv. Be careful not to cut into the cylinder itself!
Place the oprv in the socket of a ½”npt x ¾” adapter like shown and slather the edges in JB weld. Be careful not to put it in backwards or cover up the hole.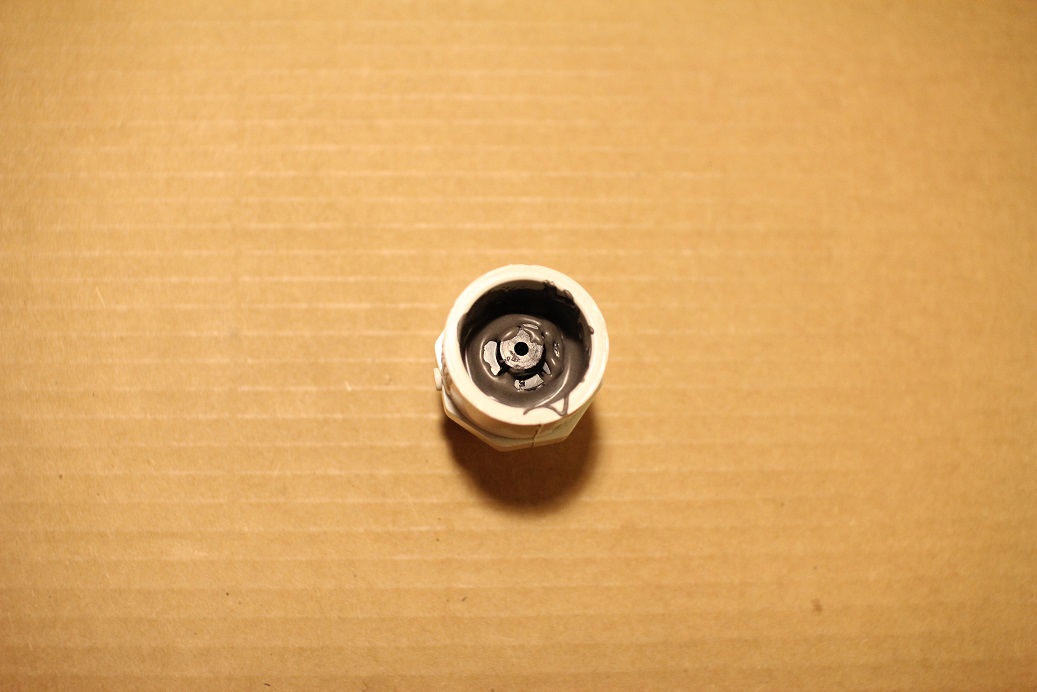
Pump
Unscrew the nozzle bit from your pump. Sometimes the threads are glued, so you may need to saw at the black part it a bit to get it off.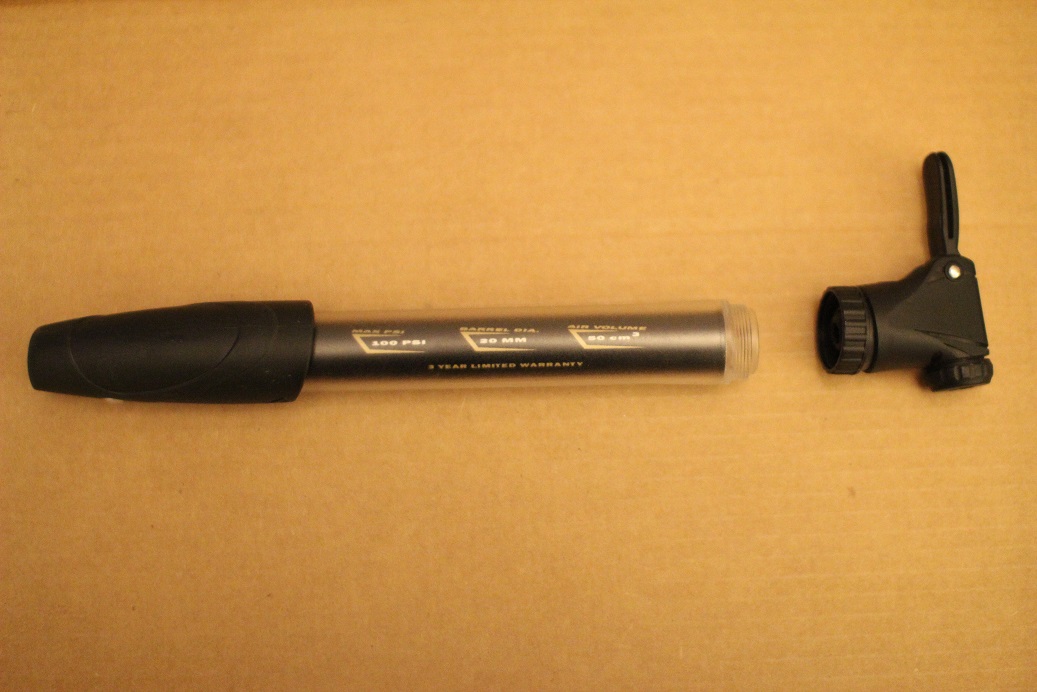
Apply JB weld around the edges of the socket of your other ½”-3/4” adapter, and around the edges of your pump base.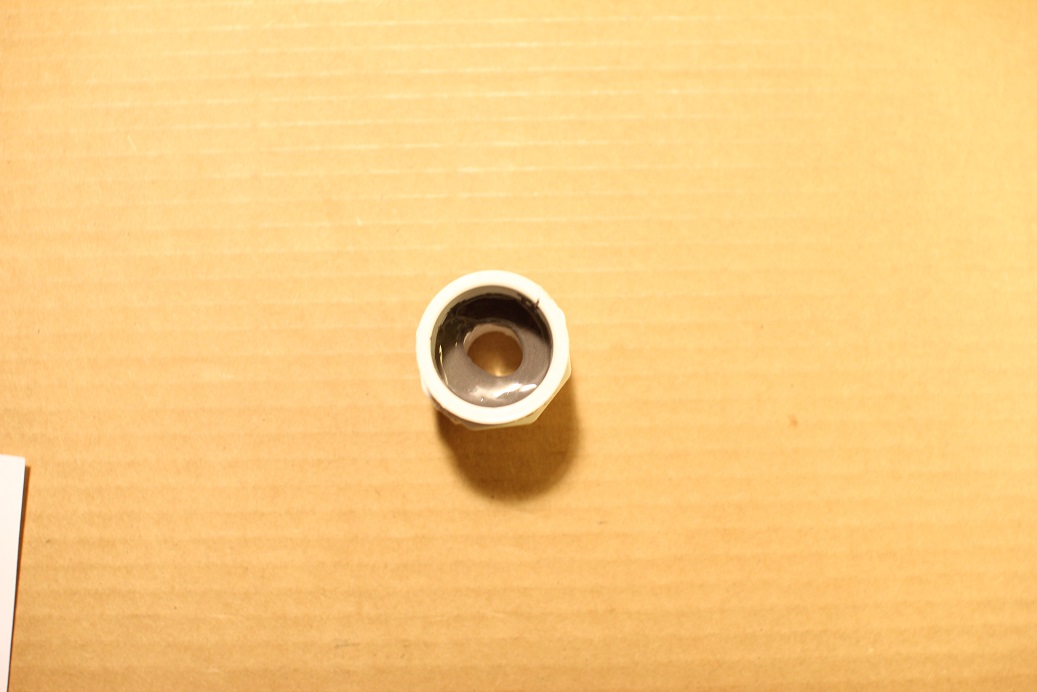
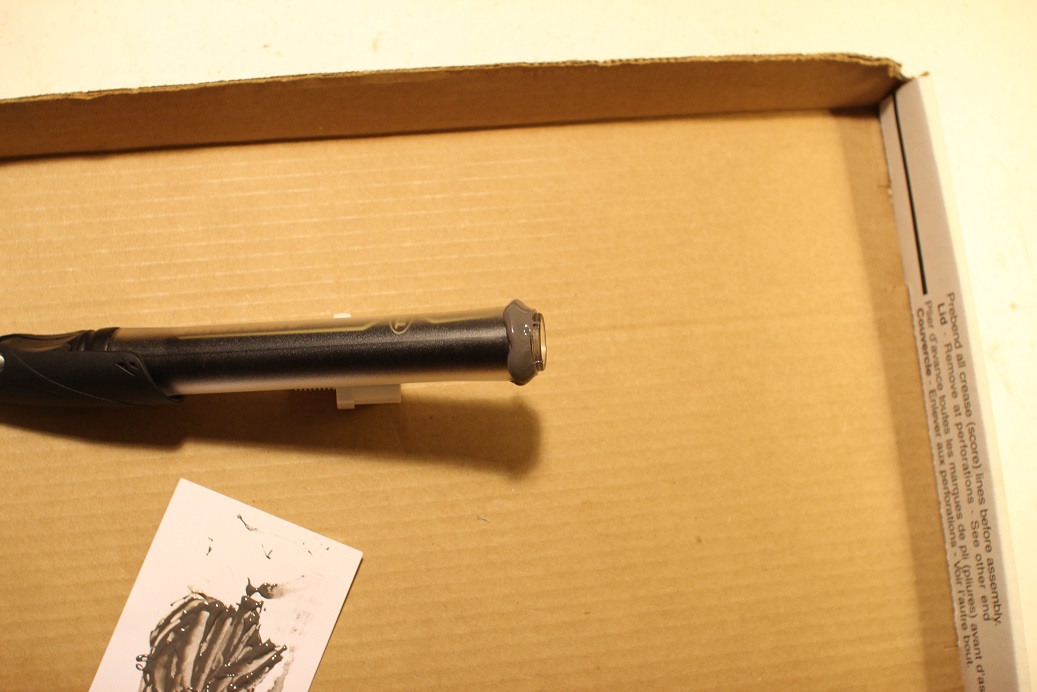
Insert the pump into the adapter with a twist motion, wipe off excess epoxy, and leave it upright to cure.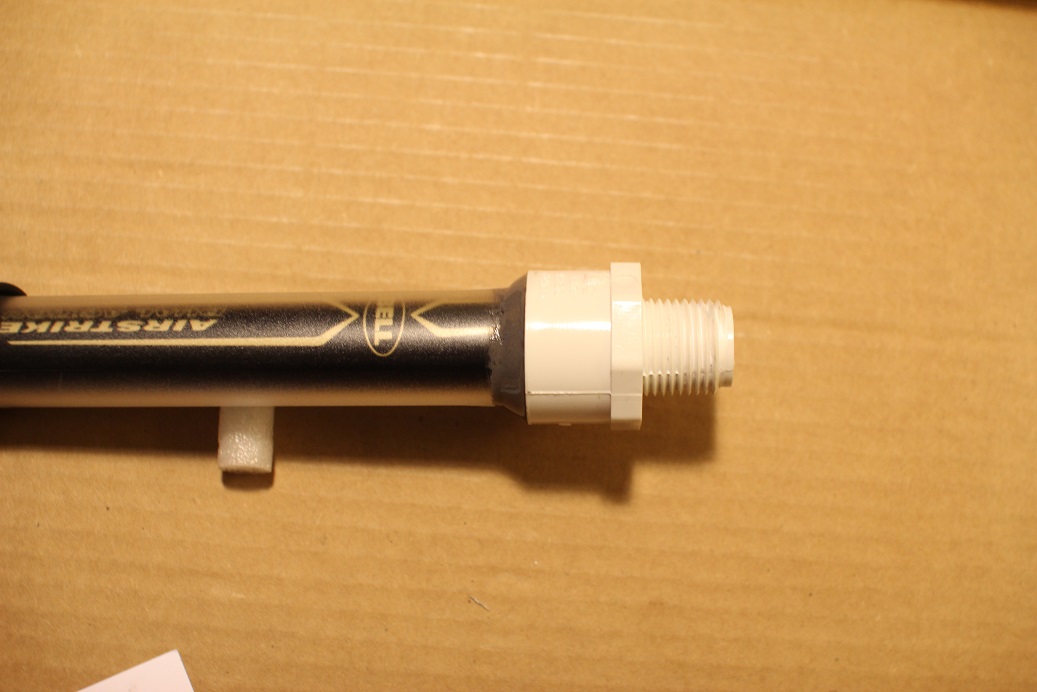
Barrel and clip
This is a basic RSCB clip and cpvc barrel, that you'll find on most guns without internet parts these days.
Cut a 1” stub of pvc pipe and a 12” length of cpvc pipe.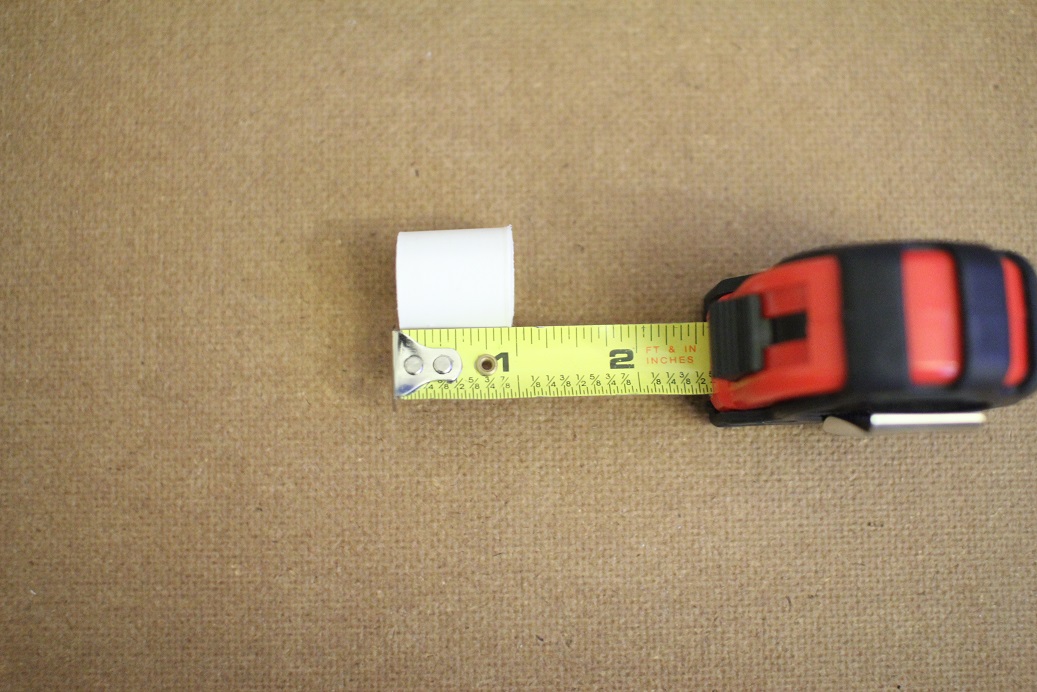
Ream(increase the inner diameter of) the pvc stub with scissors until the edge of the cpvc fits into the edge of the pvc.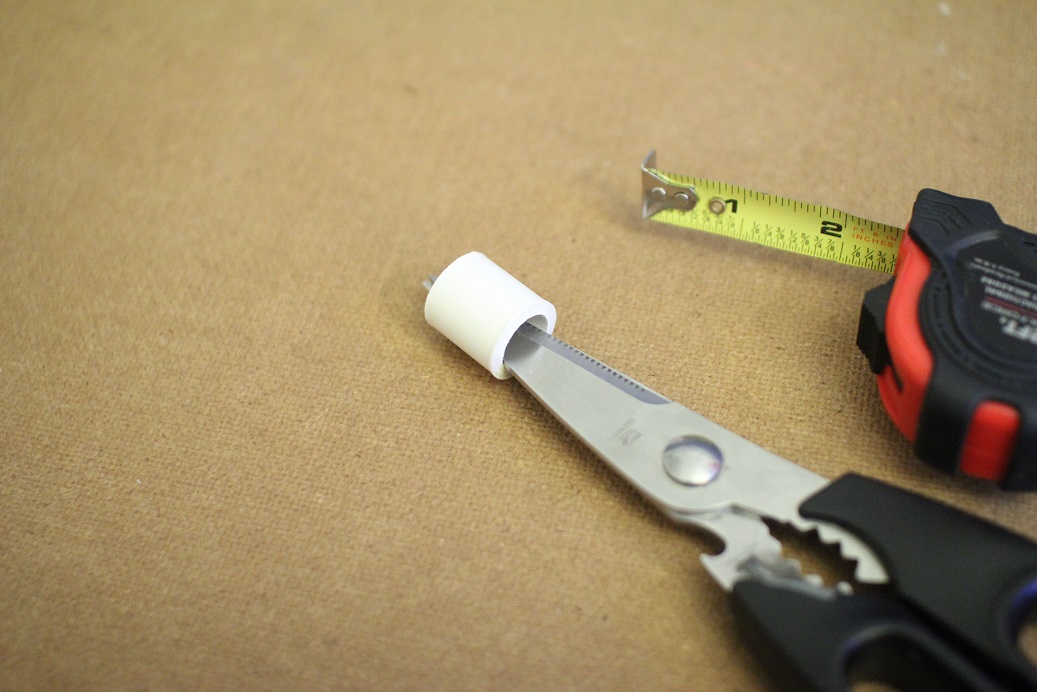
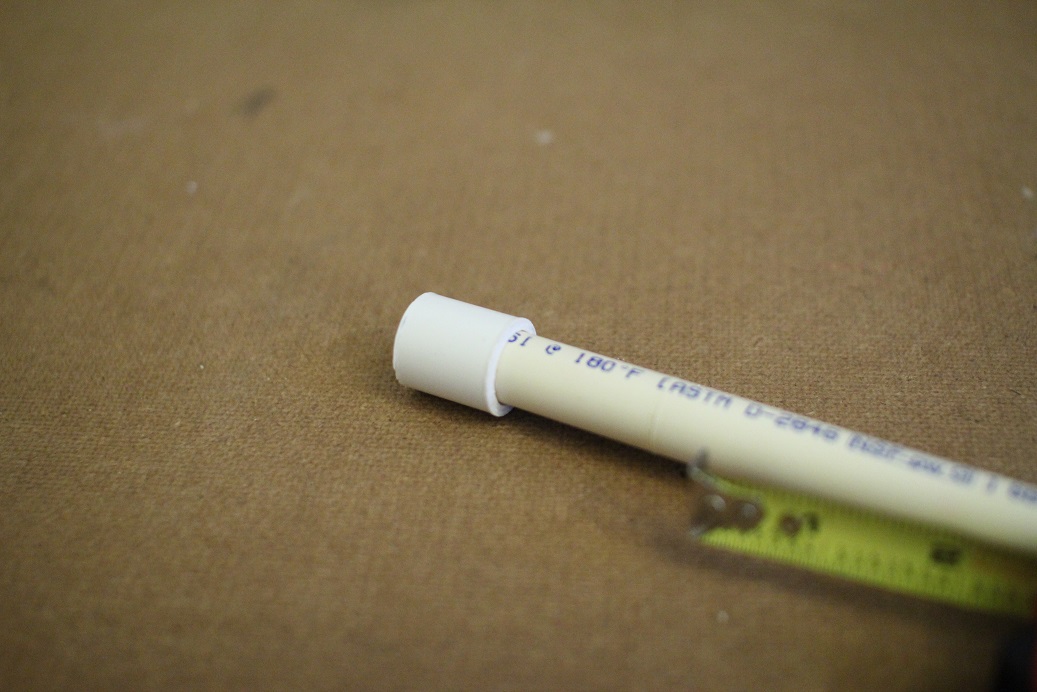
Use a hammer to force the cpvc the rest of the way down the pvc stub. Once you do this, ream the open end of the pvc so darts can slide into the barrel. Whoops, my pvc stub changed color. Ignore that please.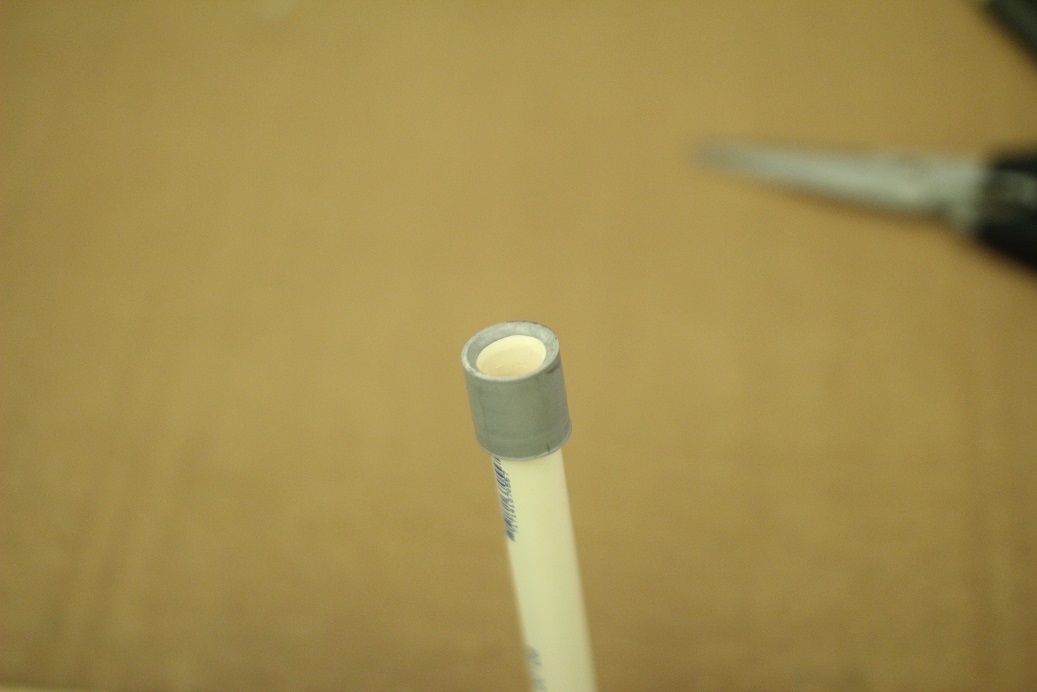
Connect your newly made barrel, a tee, a 12” length of pvc pipe, the ½”-3/4” bushing and ball valve together like this.
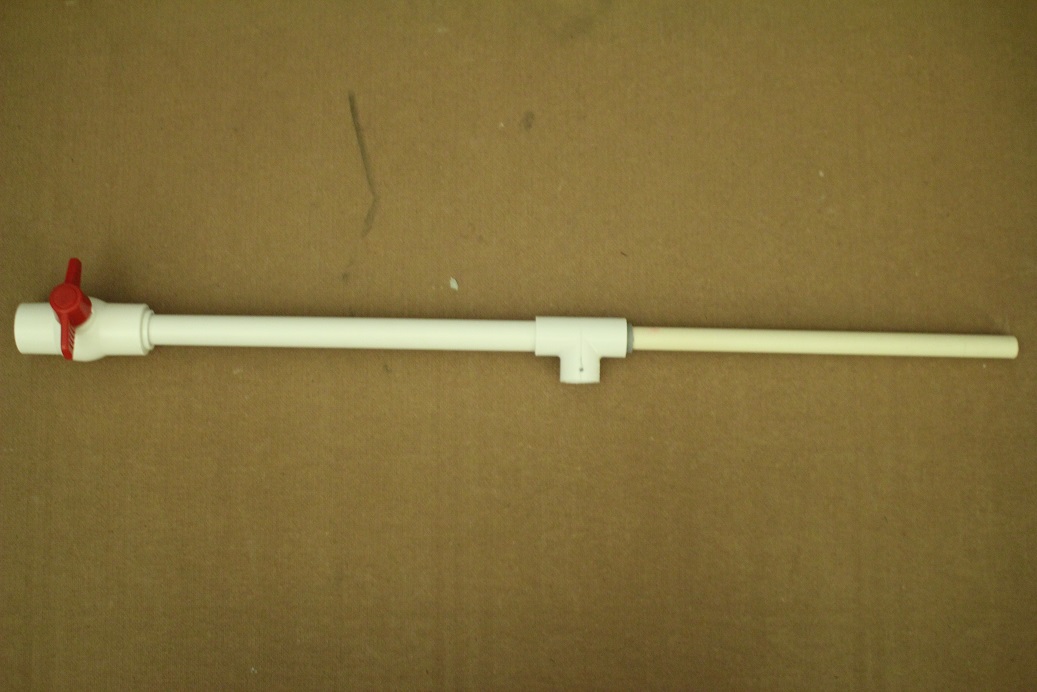
Cut two 1.5” stubs of pvc pipe and use one of them to connect the barrel assembly to the trigger assembly. While you’re at it, use the other stub to connect a cap to the other side of the trigger. Drill 1/8” holes in these two places and screw your sheet metal screws into them. This will keep your barrel from swinging around while running.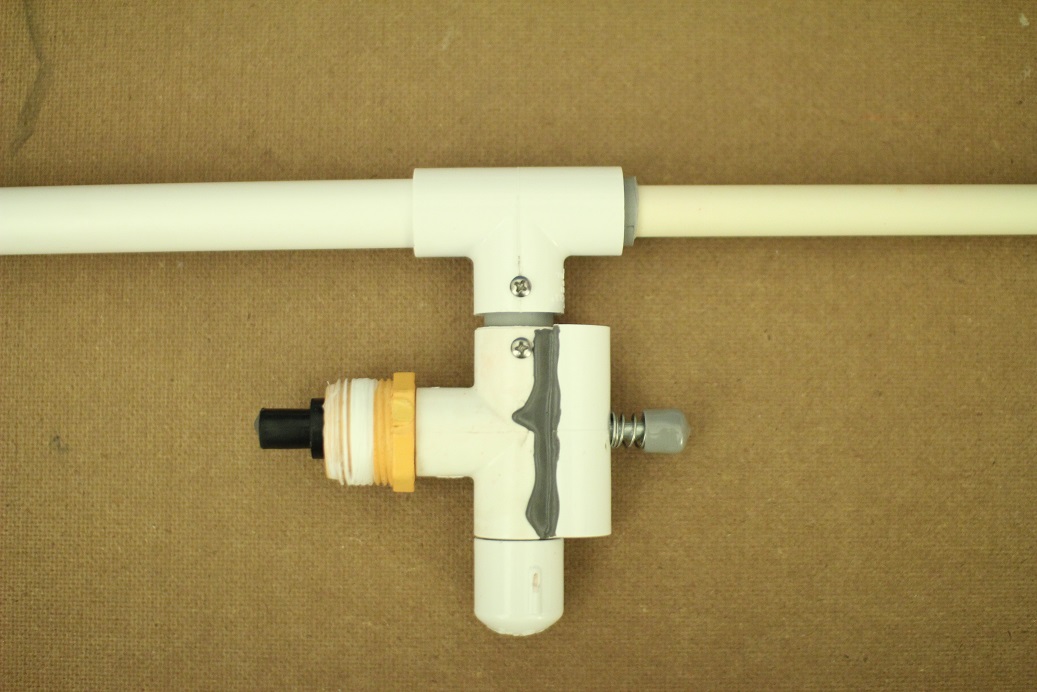
Final assembly
Now that you’ve got all your subsystems together, all that’s left is to use the remaining fittings to connect your subsystems. In case the diagram isn’t clear, from the trigger it goes: 1” coupler, 1/2”-1” bushing, 12” nipple, twist elbow, 3” nipple, street elbow, twist tee, pump and oprv.
Use
Use is pretty straightforward. Open the ball valve and drop in darts until the pvc pipe is full then close it, that’s your clip. Put the butt against your dominant shoulder with your non-dominant hand on the pump and your dominant on the trigger. Tilt the gun down slightly and pump six times. At the end of the sixth pump you’ll hear a slight hiss, that’s the oprv signaling the tank is at max capacity. Then just aim down the barrel and press the hex bolt to fire.
Any questions, please ask. If its past the statute of necro limitations shoot me a pm.
Sources:
1.http://www.engineeri...ures-d_796.html
2.http://nerfhaven.com...showtopic=21427
3.http://nerfhaven.com...showtopic=21530
Edited by Aeromech, 23 November 2015 - 02:59 AM.


