This is an overview explaining how to build a Snap Carbine MK3. I would like to give credit to ACE (KNDoperative) for inventing the original snap carbine. I would also like to give credit to andtheherois for making the MK2 version. This is more of an overview then a write up because I only have pictures of the important steps for building the project. I apologize for some blurry pictures or bad lighting conditions. This is my first write up. Hope you enjoy.
Here is a link to the original video of the blaster by ACE. Here is a link to the MK2 write up.
Differences from the MK 2.
New front design
new piston seal design
full use of 18
trigger slip prohibitor (credit to FeedMonkeyking)
other various dimension changes
Materials for Body and Stock
1 1/4" PVC 15"
1" PVC tee
1" to 1/2" size reduction bushing
handle (what ever materials you want to use.)
3/8" 6-32 machine screws 16x + screws for attaching handle
K18 spring
1 1/4" metal washers 3x
packing tape
Material for piston
1" PVC 6" for piston + stock length
3/4" PVC 1/8"
5/8" Dowel rod 3 1/2" to 4"
1 1/2" neoprene washer
1 1/4" neoprene washer
1/2" 6/32 bolt
Materials for trigger
Clothespin
nail
L Bracket
Materials for foregrip (Optional)
1/2" pvc
1/2" endcap
1/2" tee
superglue
liquid epoxy
hot glue
sealant of some kind (I recommend goop.) You can get it here:
silicon grease (I recommend OMW silicon grease or grease from Ace Hardware.)
Optional Materials:
tape or paint
felt pads
Tools:
dremel
drill
Three-sided drafter's ruler
5/8" spade bit (or you could dremel the hole.)
coping saw -optional
PVC cutters - optional
The body.
Cut 15" of 1 1/4 " PVC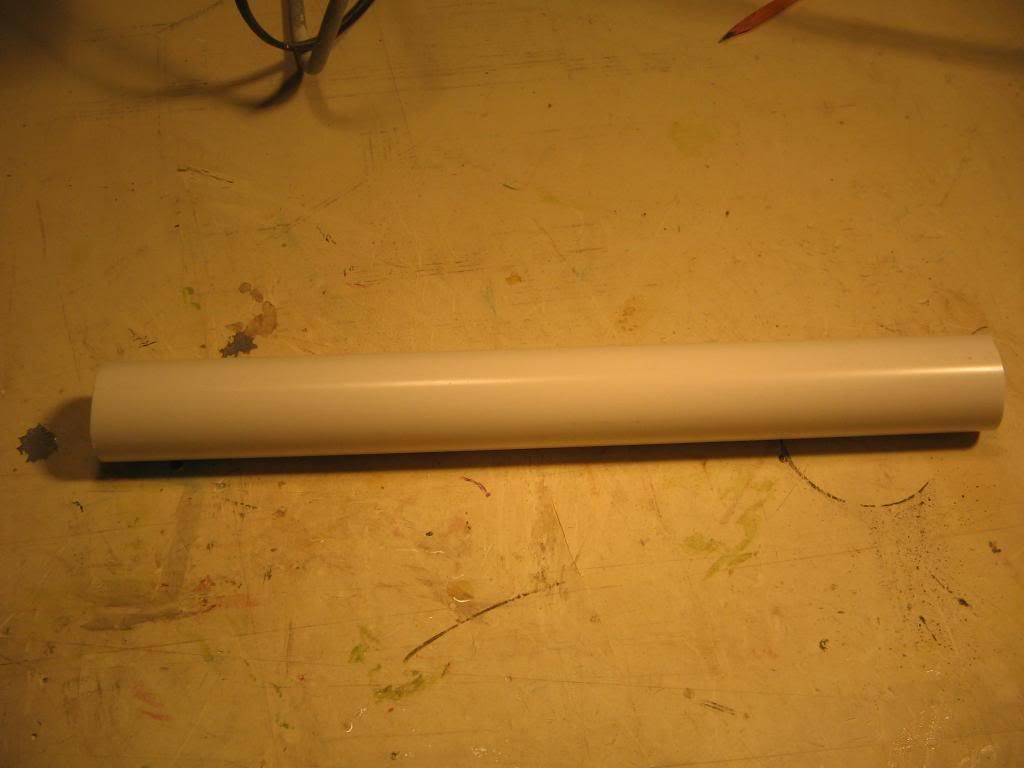
Next take your 1" to 1/2" side reduction bushing and wrap it in packing tape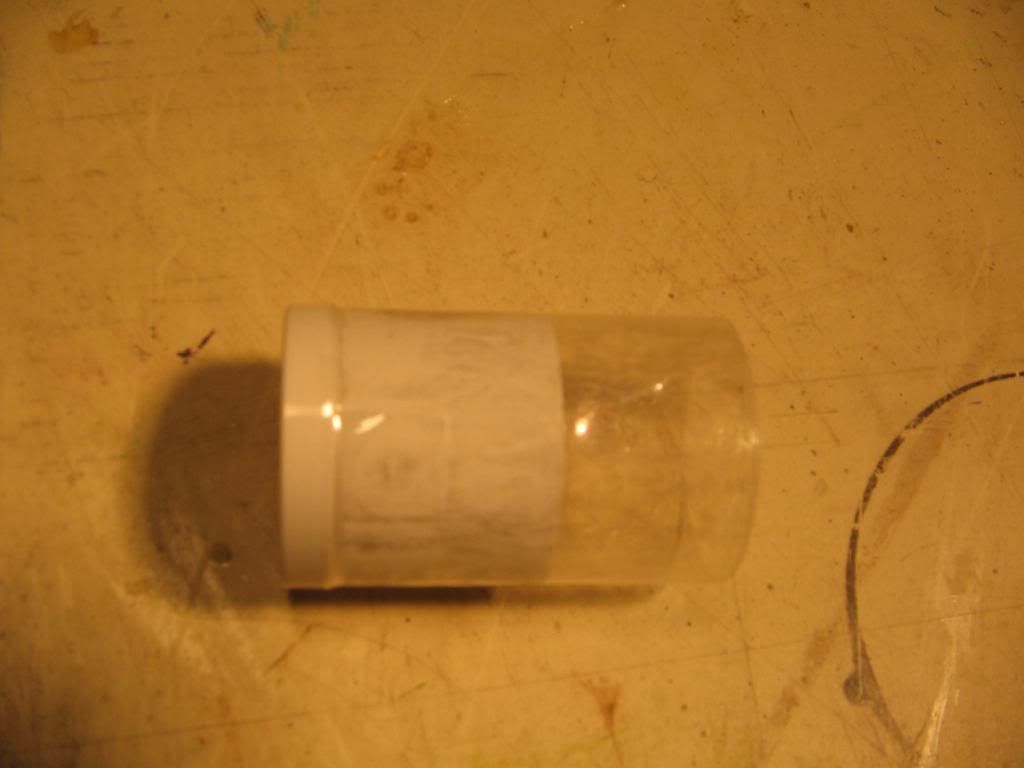
Cut off the extra tape.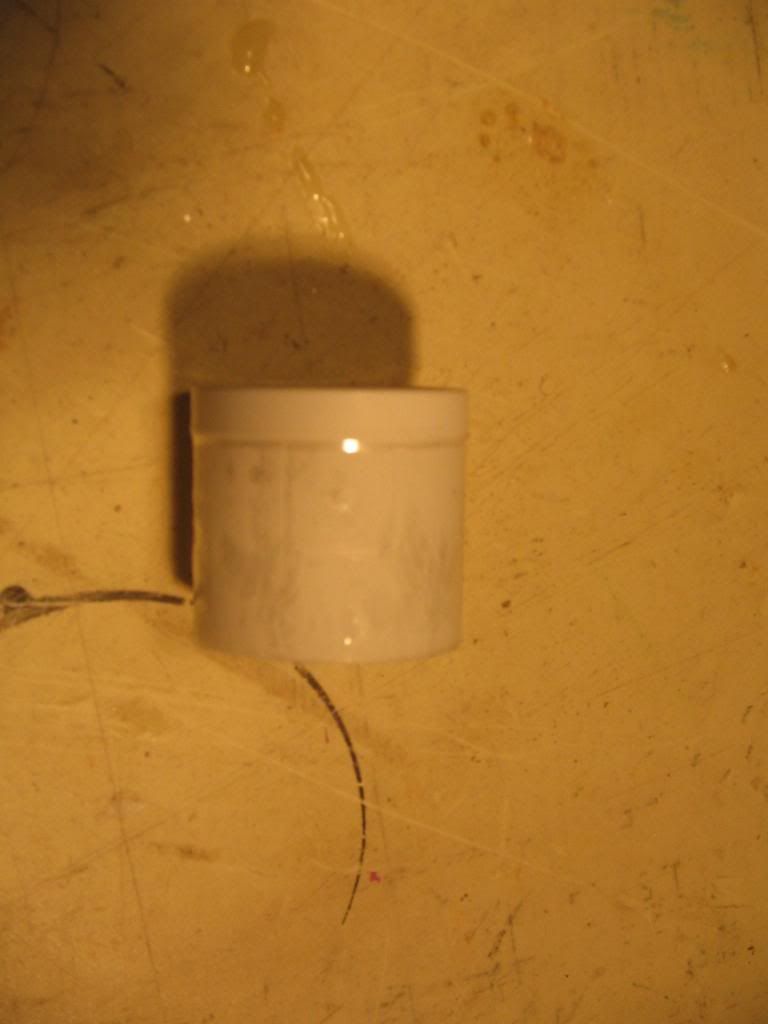
Next goop and screw it into the body of the blaster.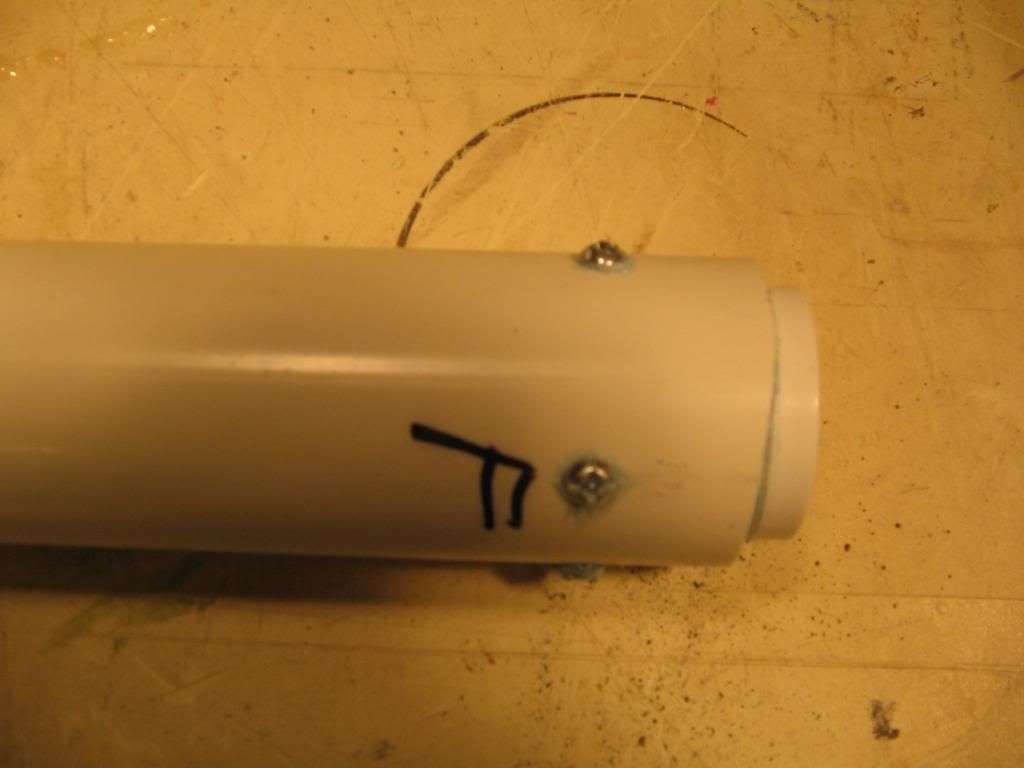
Make a mark at 6"and then at 12." Make lines between the 6" mark and the 12" mark. At 12" make a mark up on the body so it is one inch in length. Then draw a line to the back of the blaster. Make a second line parallel to the one you made. Make it slightly more than 5/8". This is the grove for your piston.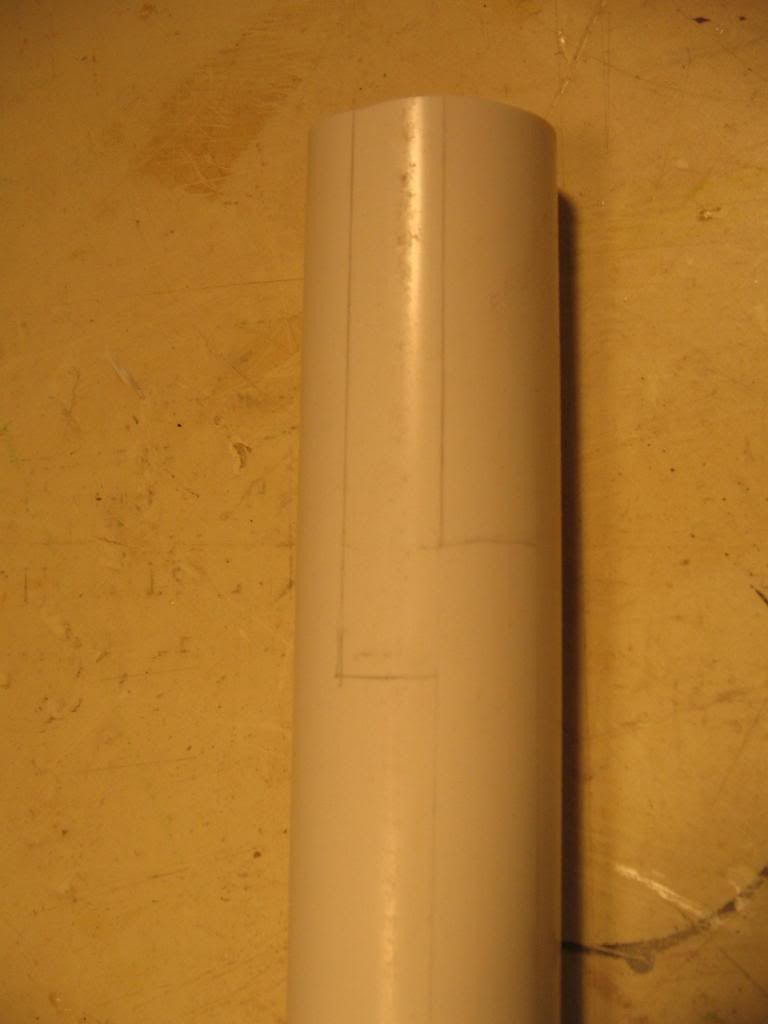
Cut out the lines with a dremel. Make them as straight as possible. Then sand them down to smooth out the edges.
We will come back to the body latter.
Stock
Take your preferred stock length, and glue a 1 1/4" washer to the end of it.
The piston
Cut 6" of 1" pvc
Next cut a piece of 1/8" (sorry blurry picture.)
Dremel the piece of 1" pvc untill your 1/8" piece of 3/4" pvc fits into it snuggly. Then sand it until it becomes flush.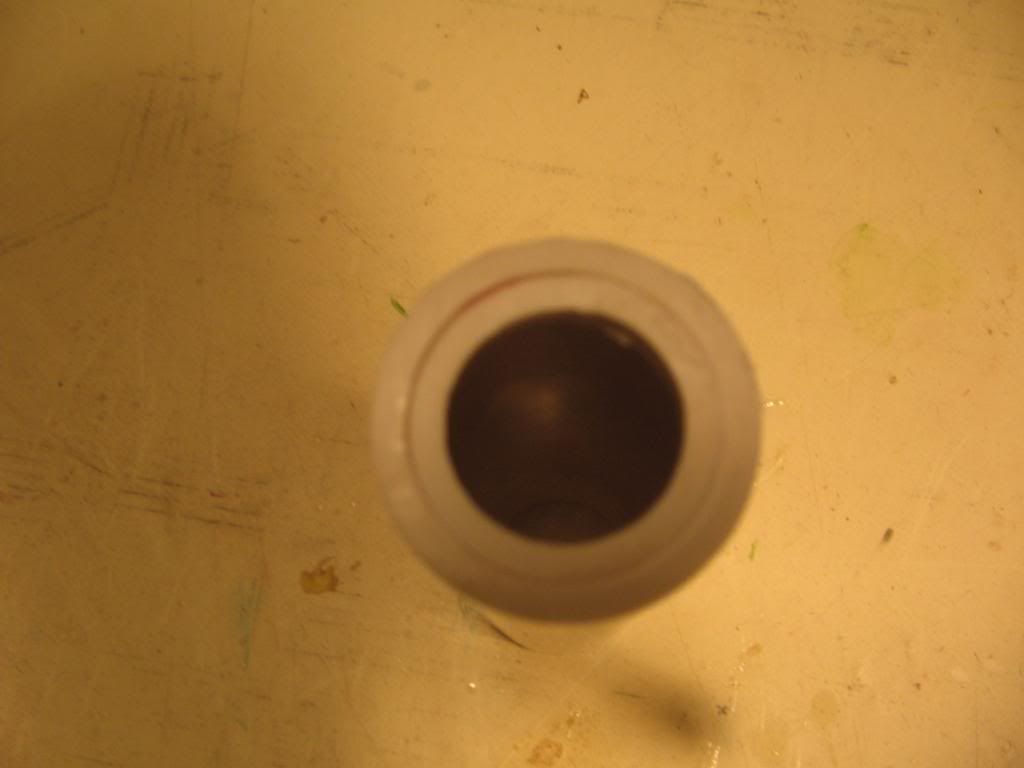
Next glue a 1 1/4" metal washer to that. Then insert a 1/2" 6-32 screw. On top of the washer add a 1 1/4" neoprene washer, a 1 1/2" neoprene washer, in that order. Then put a nut on it and tighten it down. If you have built a superlative plunger head this shouldn't be a problem to build.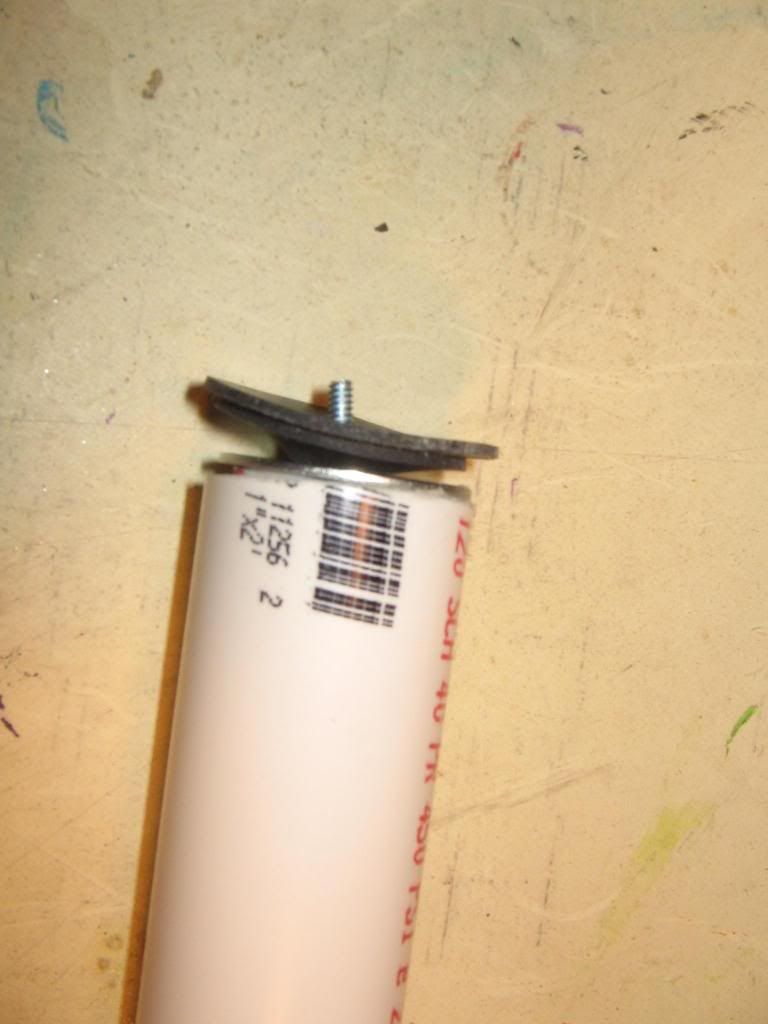
Fill the back of the 1/8" piece with two part epoxy for extra support.
Glue in the 1/8" pvc piece into the 6" of 1" pvc.
Drill a 5/8" hole in the back of the piston. Insert in your piece of dowel. Two part epoxy it in. I recommend 3 1/2" to 4" as a length.
Fill in the back with hot glue.
Trigger See this link for more details on the snap trigger.
Cut your clothespin.
screw your L bracket to the bottom of the clothespin.
Next drill a hole and insert and glue your nail. Make sure it is at a 90 degree angle to the clothespin.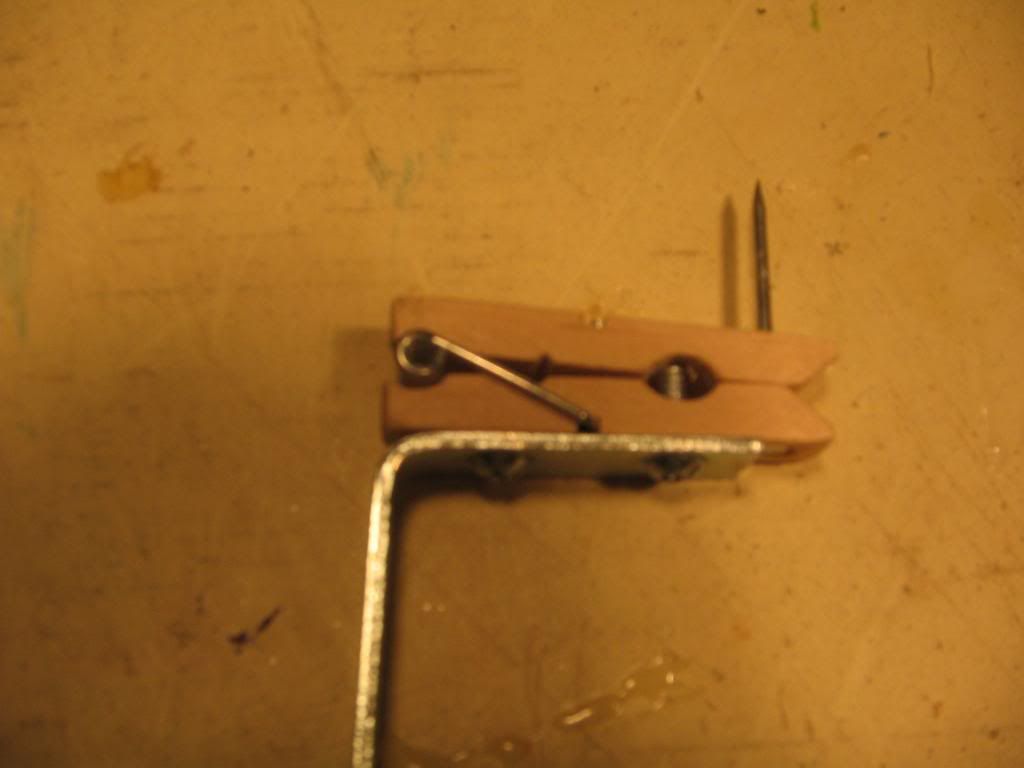
Final Bodywork
Slide your piston into the shell until it hits the front of the grove. Pull it back until you have the mettle washer showing. Push it in a little bit. At that point, find the bottom and drill a hole slightly larger than your nail size into your body and piston.
That is your trigger hole.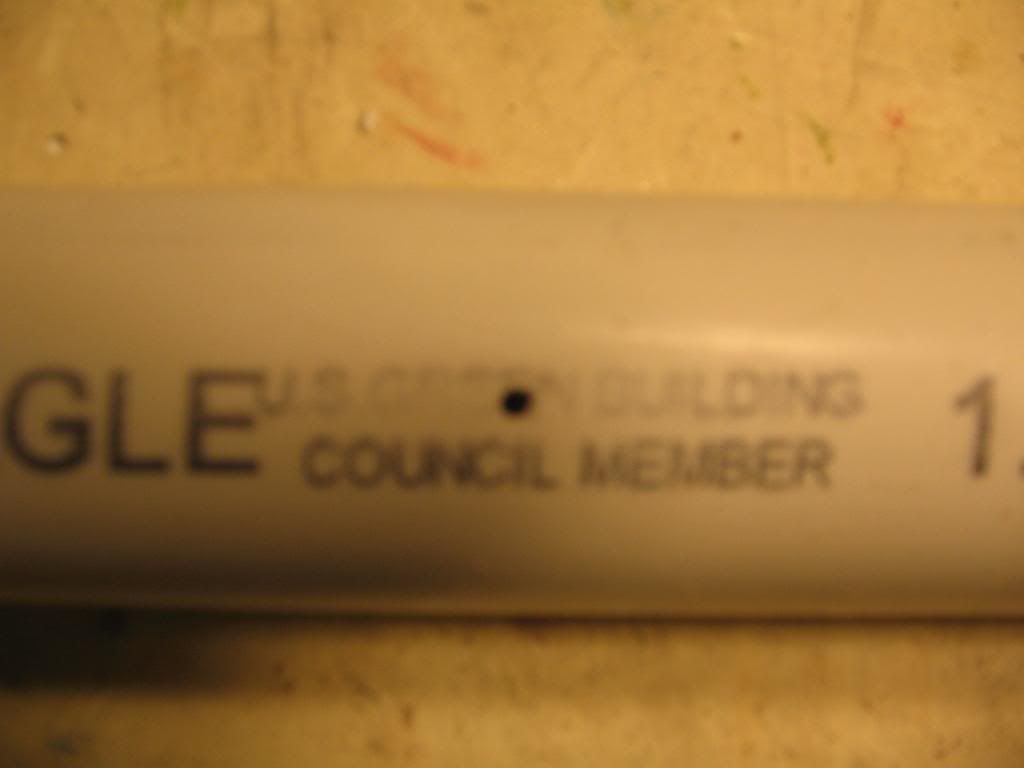
Hot glue the top of your clothespin so the holes line up.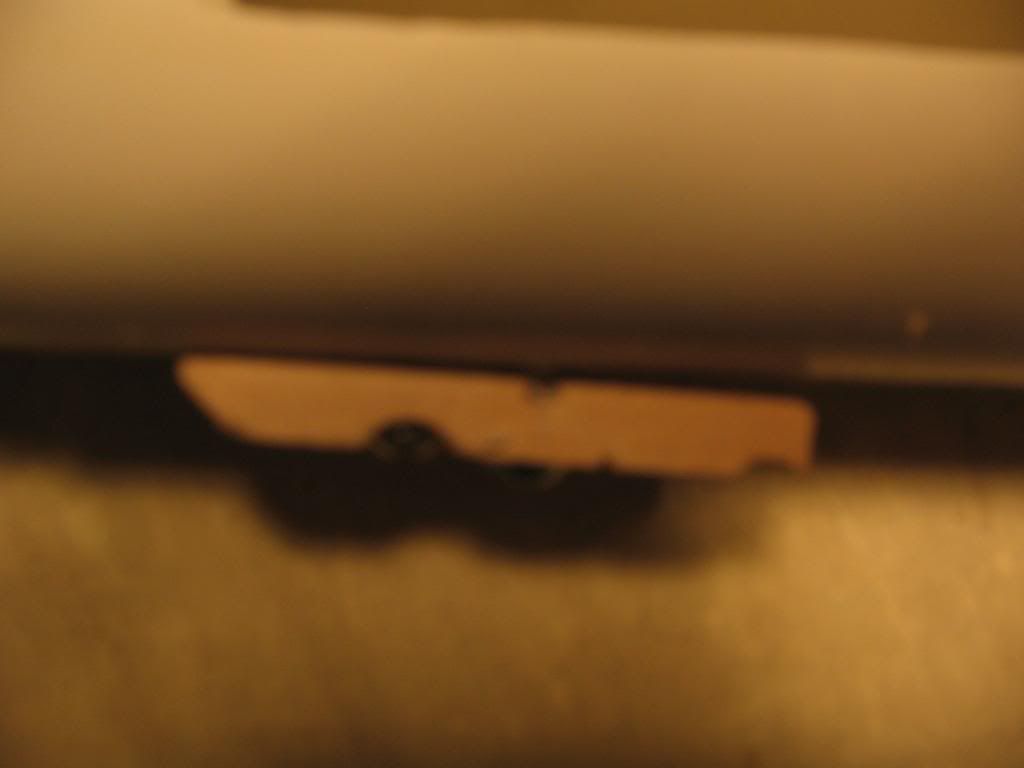
Screw in two screws to attach it to your body.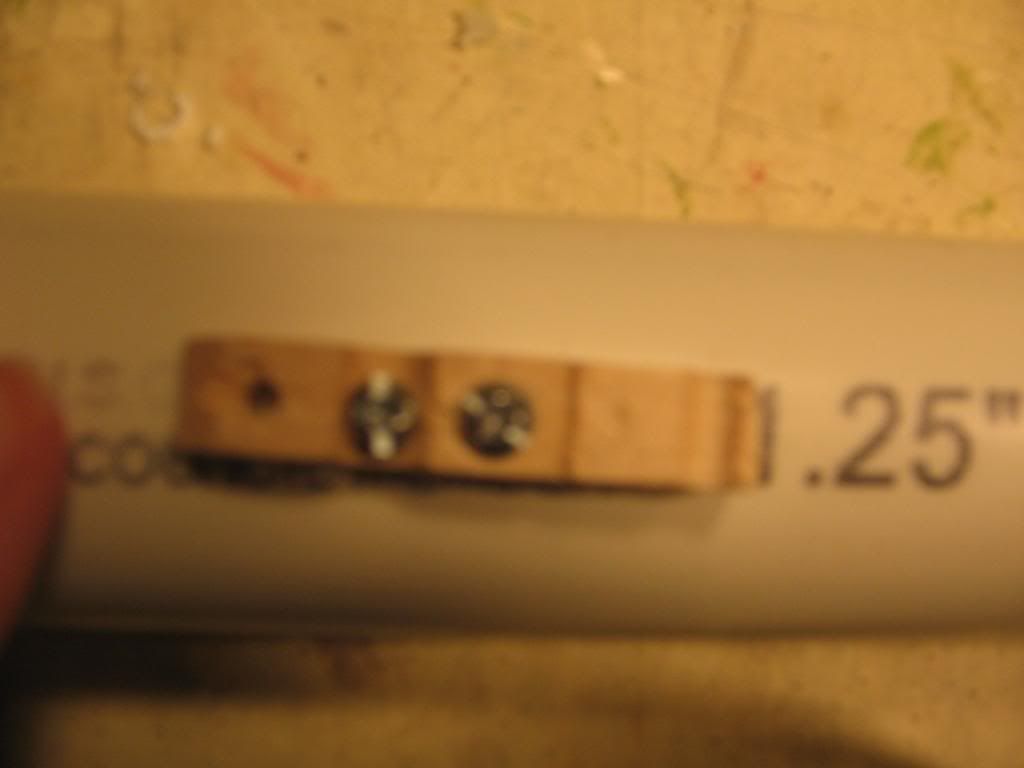
Cut your nail down so it comes 3/8" out of the shell of the blaser. Sand the nail.
Piston Part Two
Make a line right behind your trigger hole.
Cut out the line and glue in a washer. This allows for your nail to not make a grove in the pvc causing for a catch failure. Here is the original write up for that step.
Handle
On my first snap carbine I used a nightfinder handle. On my second one I used a pine wood handle. It is up to you what you want to use. If you are ussing a wood handle, here is a link to a template.
Here is a version of how to attach the handle. If you are using a wood handle you must use wood screws. Usually they come in the package with the L- Bracket.
Cut a piece of 1 1/4" pvc and cut it down so it snuggly fits the shell. Put screws through the handle and the pvc piece.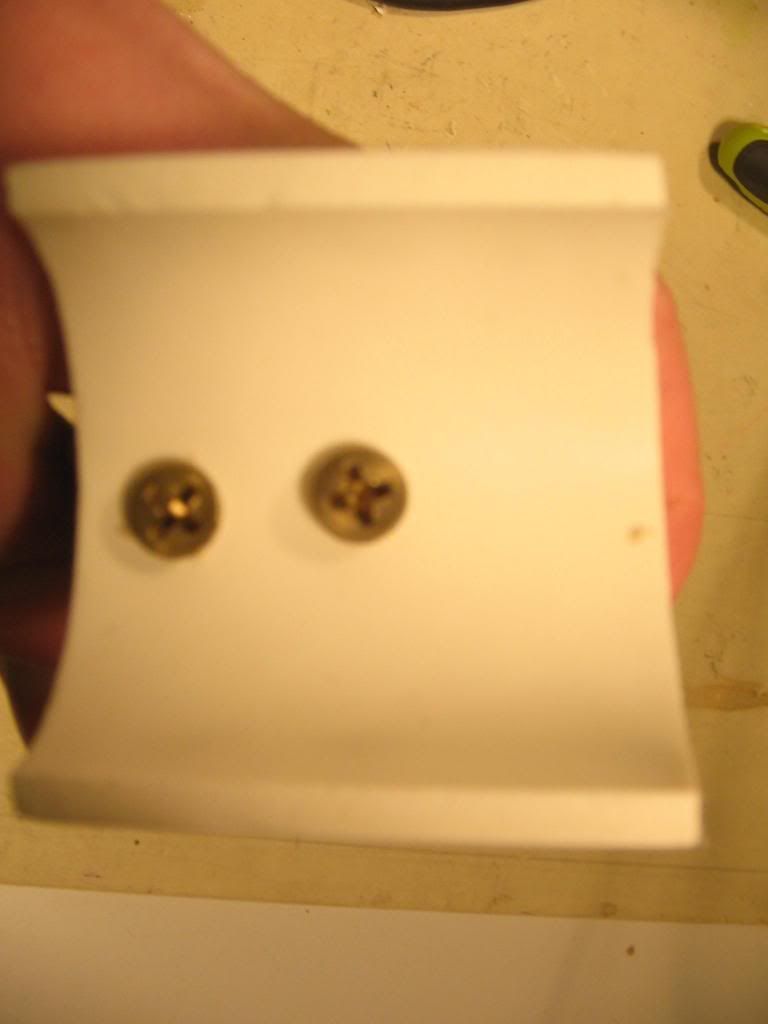
Hot glue it to the body so that when you pull the trigger the nail goes out of the plunger tube, but not as far as to come out. Mount the handle with hot glue. Sand the top of the handle so it snugs the pvc piece. Use hot glue as a temporary holder for the handle. Screw the handle on with four screws.
Assembly Here is a link to a video showing how to do this. (Skip to the end of it.) Credit to NOM.
Get your mom or dad to help you with this step. Have someone sit in a chair put the blaster on the chair with a towel on it. Have your stock, screw driver, and screws ready. Lubricate your internals and trigger. Push the piston to the front of the blaster. Insert your K18 spring. Push down on it with your stock until the stock is 1" inside the blaster frame. Put in for screws evenly spaced around the body. Make a mark so you know where the screws go on our stock so when you go to replace the spring you can easily align the stock.
Optional step Foregrip.See this video for more details.
Take a piece of 1/2" pvc and super glue it to the body. Then cut down your 1/2" cpvc tee and screw it on to the 1/2" pvc. Add another piece of 1/2" pvc and the end cap.
You are now done! Decorate it with some tape or paint it. You should also clean the body with rubbing alcohol to get rid of any writing on the pvc.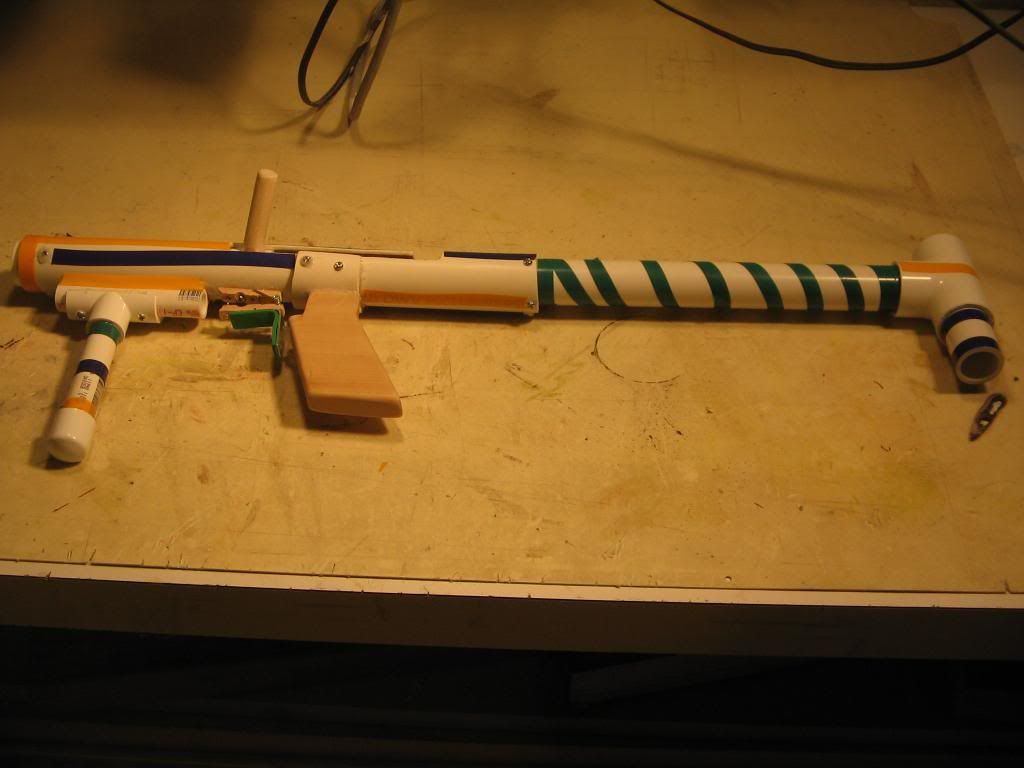
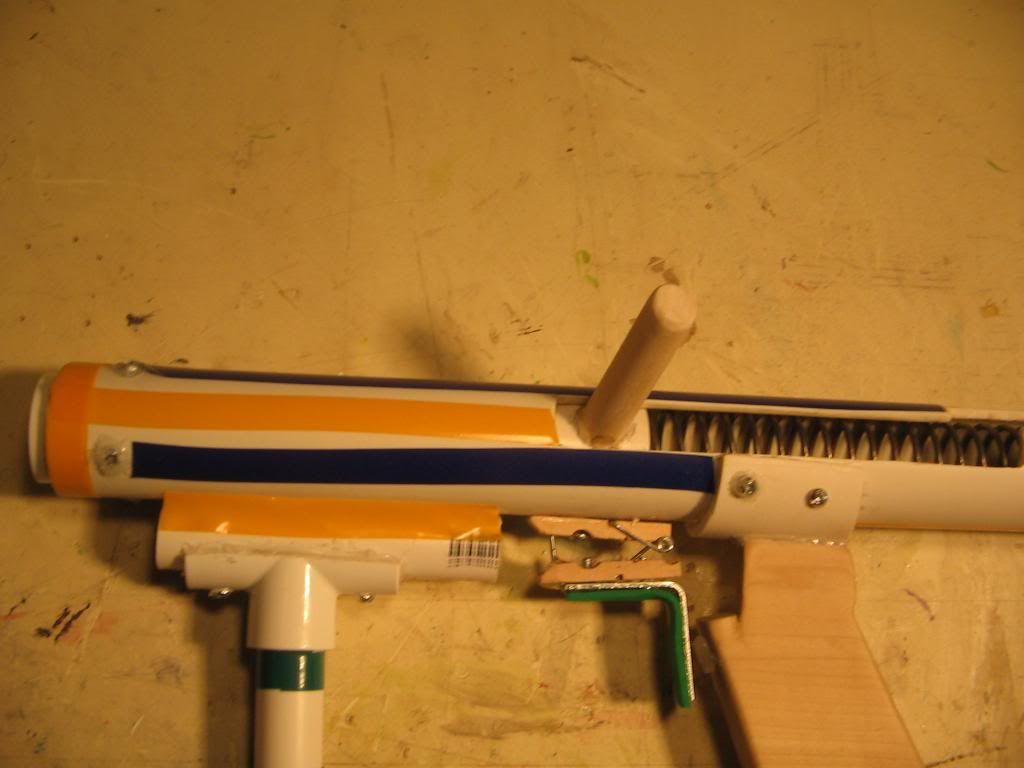
This blaster is relatively inexpensive to make. I buy pvc at bulk, so I had most of the pvc and other parts at home. The most expensive items being silicon grease and the K18. All parts but the K18 and the Silicon grease can be bought at Home Depot.
Ranges:
I have an average of 80 ft flat with a hopper.
I have war tested the MK 2 design at NENO 6. My MK2 has a lot of the same features as my MK3.Here is a video of the blaster in action. Skip to the middle of the video.
Here is my video of the MK 3. Video link
Comments, questions, flames? All would be appreciated.
Edited by Aeromech, 23 November 2015 - 03:04 AM.


