Jump to content


Photo

Spider-bow

a simple air bow with cpvc arms.
homemade wrtieup bow

12 replies to this topic

#1 Spiderbite

Spiderbite

    Member

  • Members
  • 178 posts

Posted 14 February 2014 - 04:42 PM

So I watched The lord of the rings, then I wanted to be Like legolas. So i built a bow. Here is a pic of the finished product since I hate when you have to scroll down all the way just to see what your making.
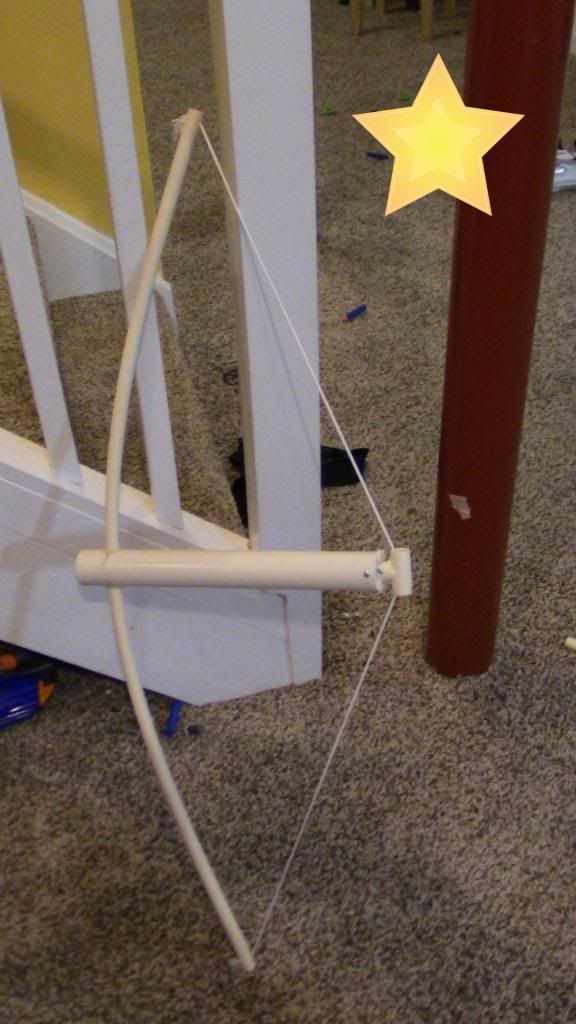
81272be7-e82d-48e9-92f9-b117866b3584_zps

For an experienced craftsman of homemades, this should take you under an hour to build. Like I said, very simple. Alrighty, let's take a journey.

TOOLS NEEDED:
Dremel
-cone sanding bit
-grinding stone bit
-sanding drum
-cutting wheel
Drill
-1/8 drill bit
-1/4 drill bit
-5/8 SPADE BIT
Hot glue gun

Recommended: a pipe cutter to make cleaner cuts than a cutting wheel.

MATERIALS LIST:

Body and arms:
14" of 1 1/4 PVC
3'4" of 1/2" CPVC
1"-1/2" Bushing
[1 1/8" of 1/2" PVC (size is important)] OR [1/2" CPVC coupler]
3/4" PVC Endcap

Plunger Rod/Head:
10" of 1/2" CPVC
1/2" CPVC Endcap
Steel washer, 1/4" ID, 1 1/4" OD.
2 Rubber washers, 1 with a 1 1/4" OD and one with a 1 1/2" OD; Both have 1/4" ID
#10 Finishing washer
1/4-20 Bolt and lock-nut; 1 inch length bolt.
1/2" CPVC Tee

You will also need:
approximately 14ct #6 1/2" Sheet Metal screws (SMS hereafter)
Plumbers Goop
A strong string (experiment with different kinds)

I would also like to give credit to:
Rork, for his Snapbow Mk. V, Revised, upon which this is highly based on
KaneTheMediocre, for his Aabow: Actually A Bow which is where I got the idea.

Start with the body. Measure 14" of 1 1/4" PVC and cut.
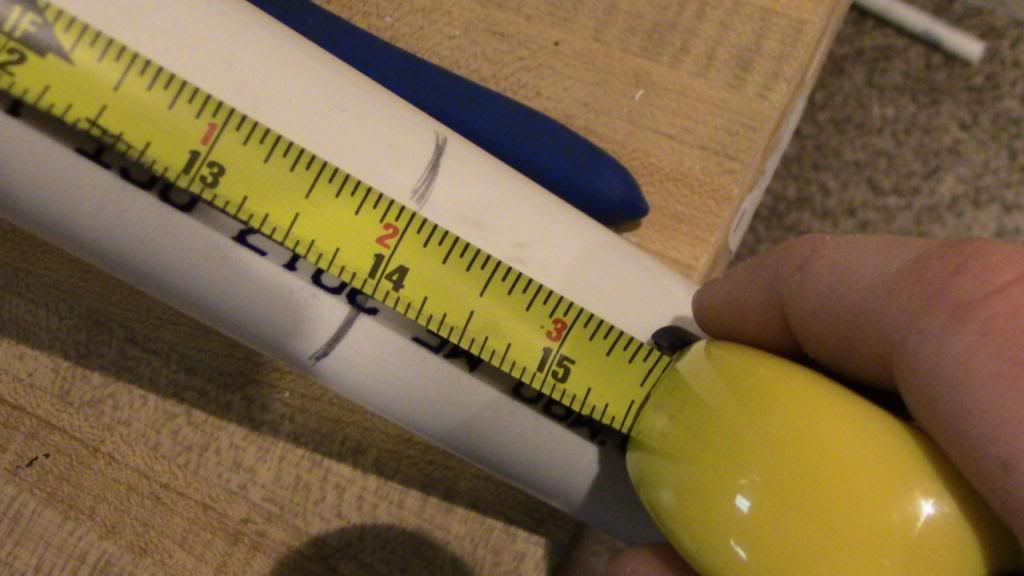
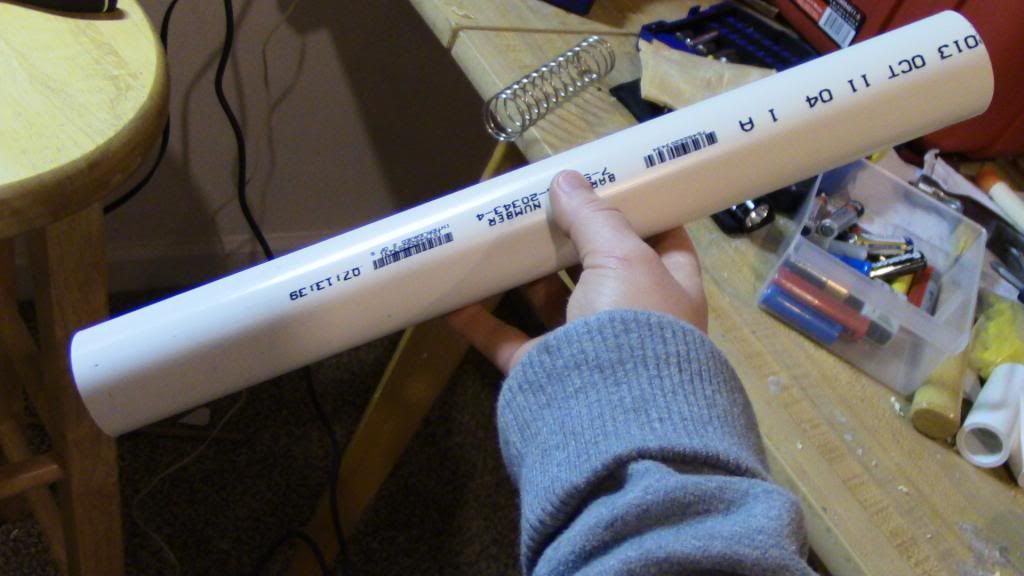
IMG_0109_zpsda78f641.jpg

IMG_0122_zps7d89b80d.jpg

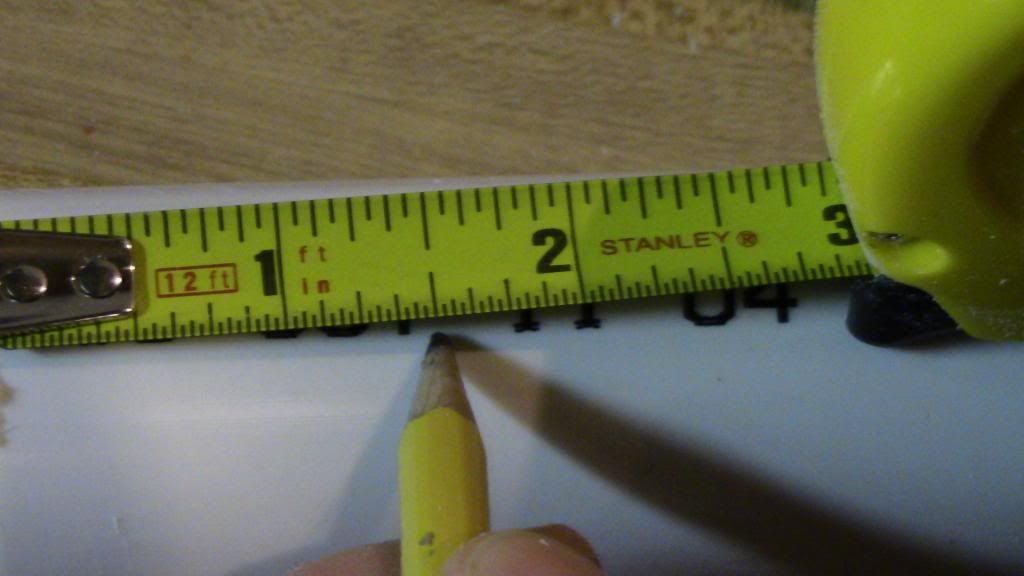
Before you install your bushing, measure for your bow arm holes. Measure 1.5 Inches from the front of the Body then draw a line. Do this on the other side, then connect the dots. laugh.gif

IMG_0137_zps4d4b535c.jpg

Find the exact opposite sides of the PVC, then make a star at each. This is where we drill.
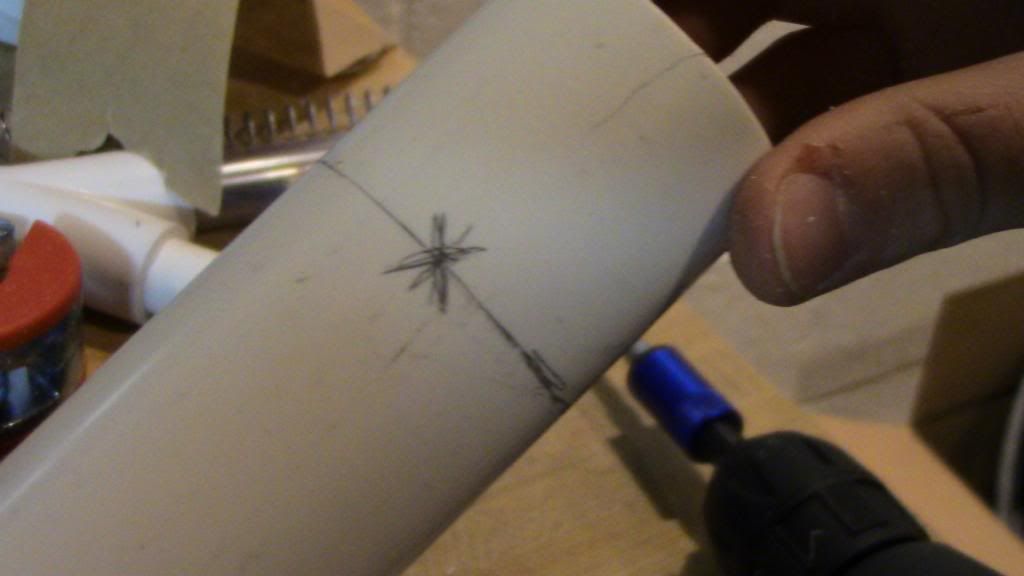
IMG_0141_zpsc05ddeed.jpg

Chuck in your 1/4 inch Drill Bit and carefully drill out both of the marks. Try to get it as centered as possible.
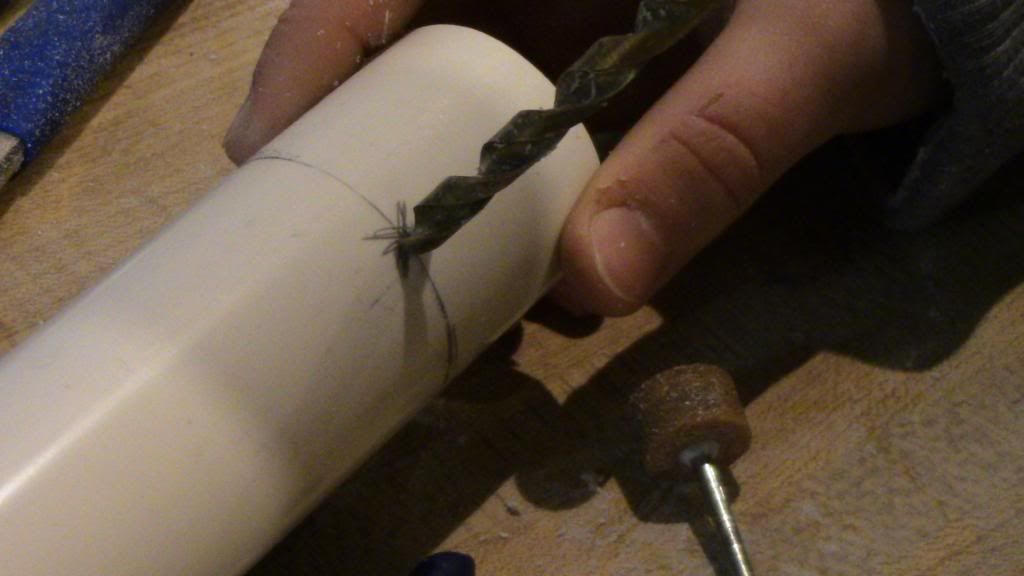
IMG_0143_zps442a4ffc.jpg

Next, take out your trustee dremel and using your cone sanding bit, enlarge the hole.
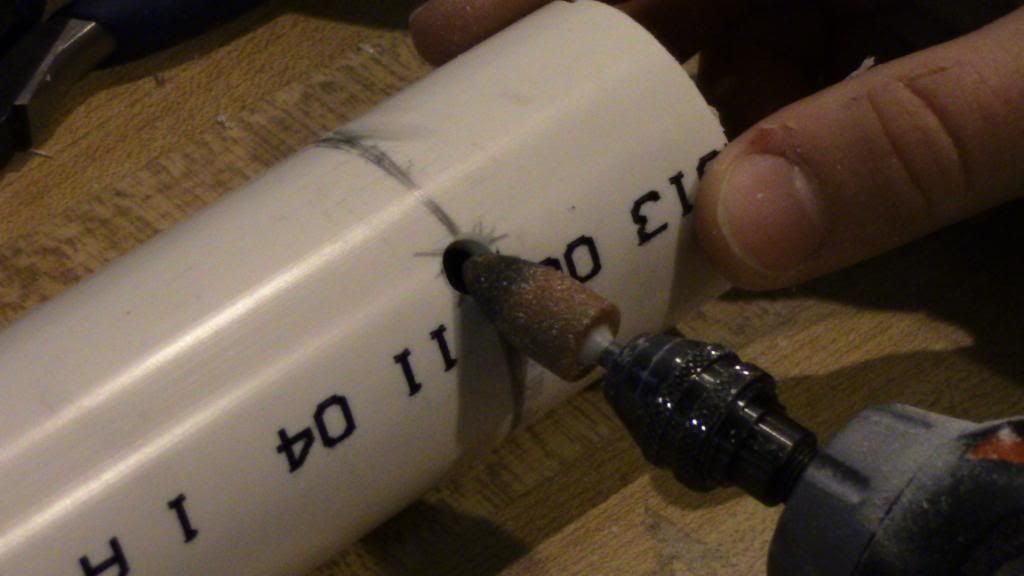
IMG_0148_zps00368738.jpg

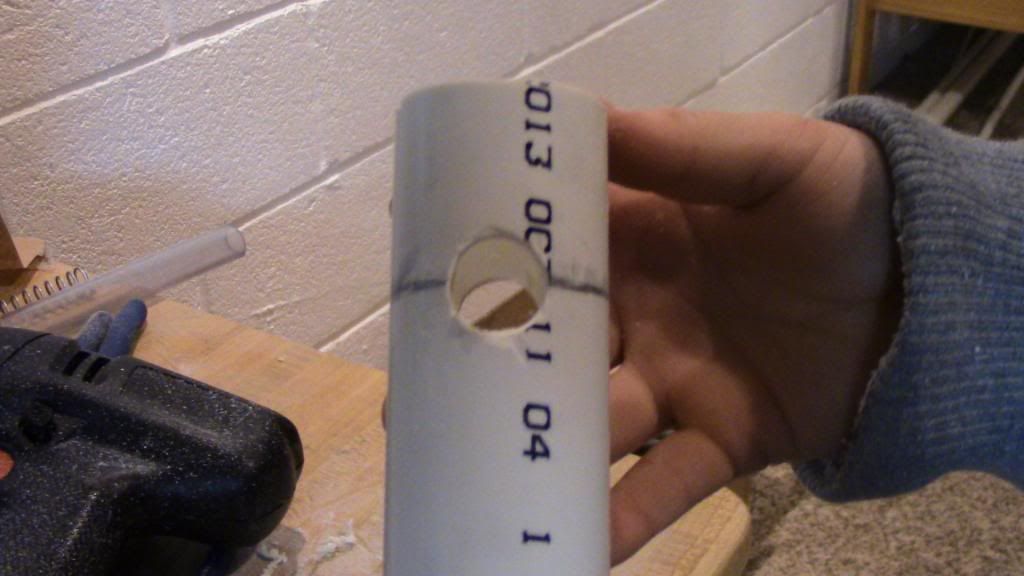
To enlarge the hole just to the OD of the CPVC arms, you want to take out your grinding stone and bore it out till it's even. You will have to work it around a little bit.
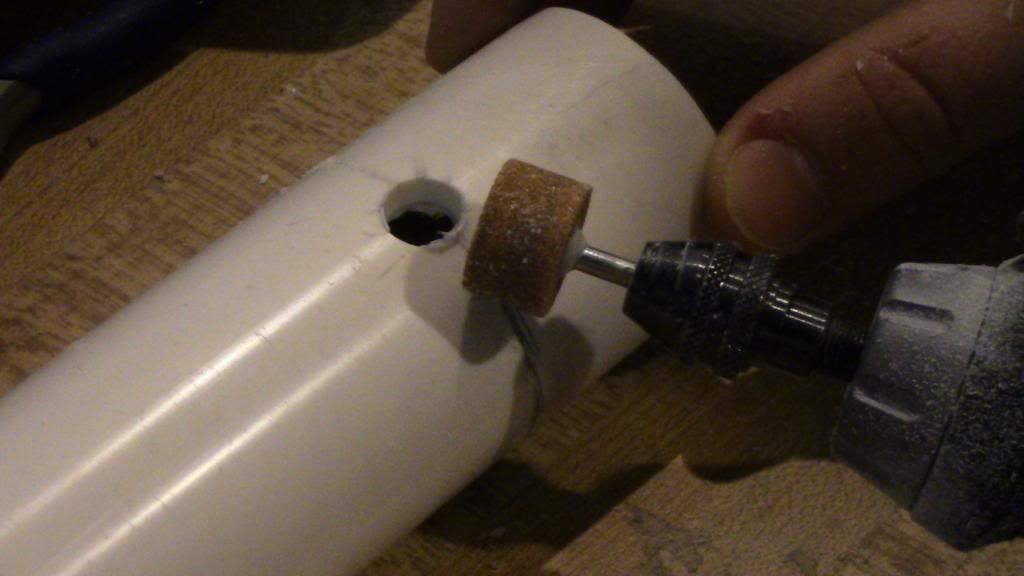
IMG_0149_zps35c0b4b3.jpg

You should end up with this, after doing the same to the other side.
IMG_0151_zps0986adf8.jpg

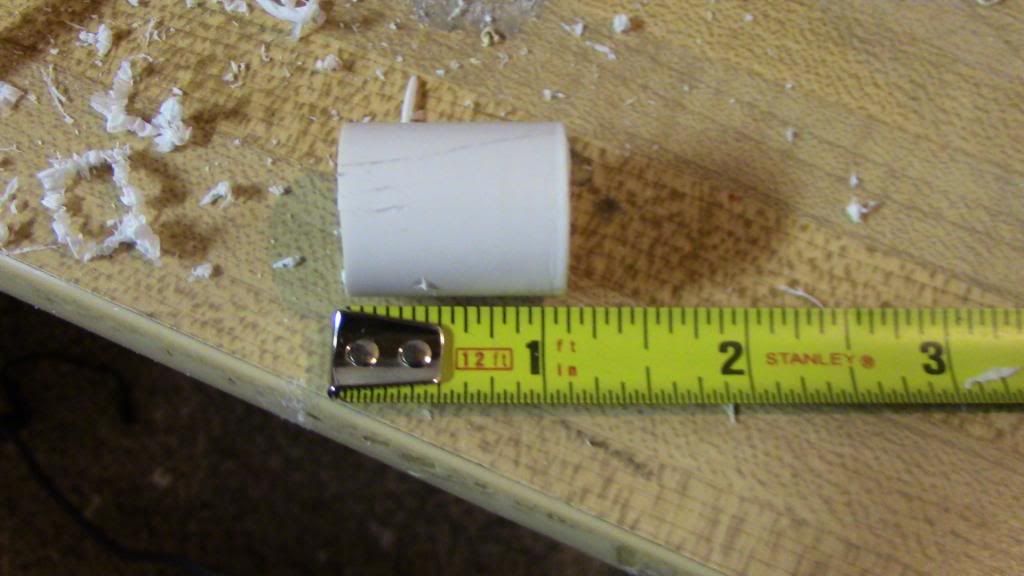
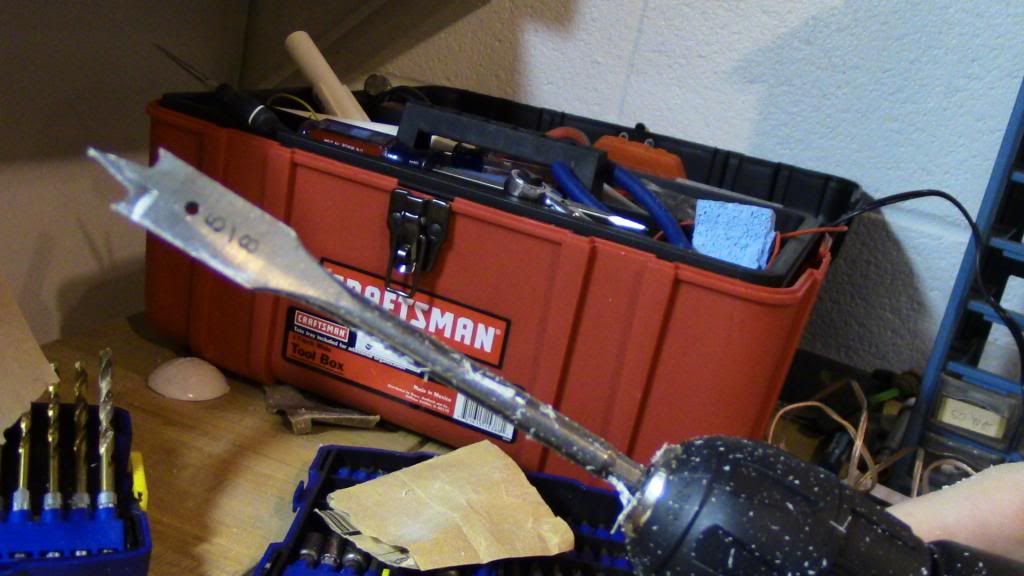
Okay, the holes are drilled, now we need to make sure the CPVC arms are stable on the inside. Take your 1 1/8" long piece of half inch PVC and using a 5/8" spade bit, bore it out. (5/8 is about the OD of 1/2" CPVC)
IMG_0124_zps48ea2b50.jpg

IMG_0126_zps63b2e9c0.jpg

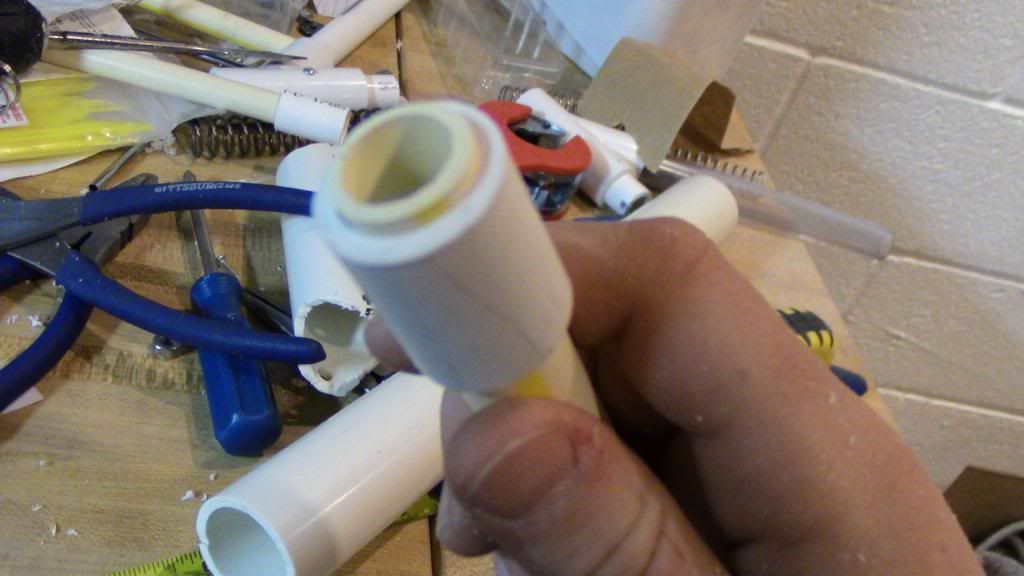
Make sure when you're done, that 1/2" CPVC fits snugly inside it.
IMG_0128_zps382fb6ce.jpg

Now test how it fits inside the Main body (perpendicular).
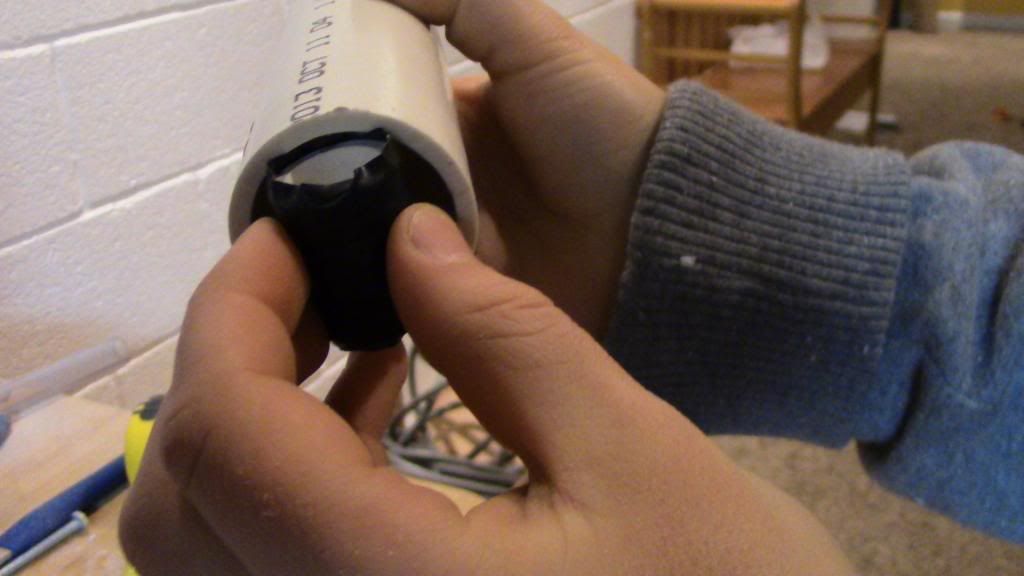
IMG_0133_zpsaa917d01.jpg

I wrapped mine in a little E-tape because it was too loose. Get it to fit snugly, but it will not be a problem once the arms are inside of it.

Speaking of bow arms, let's cut them. (well technically speaking, it's just one long piece of CPVC.)

Cut 40" of 1/2" CPVC.
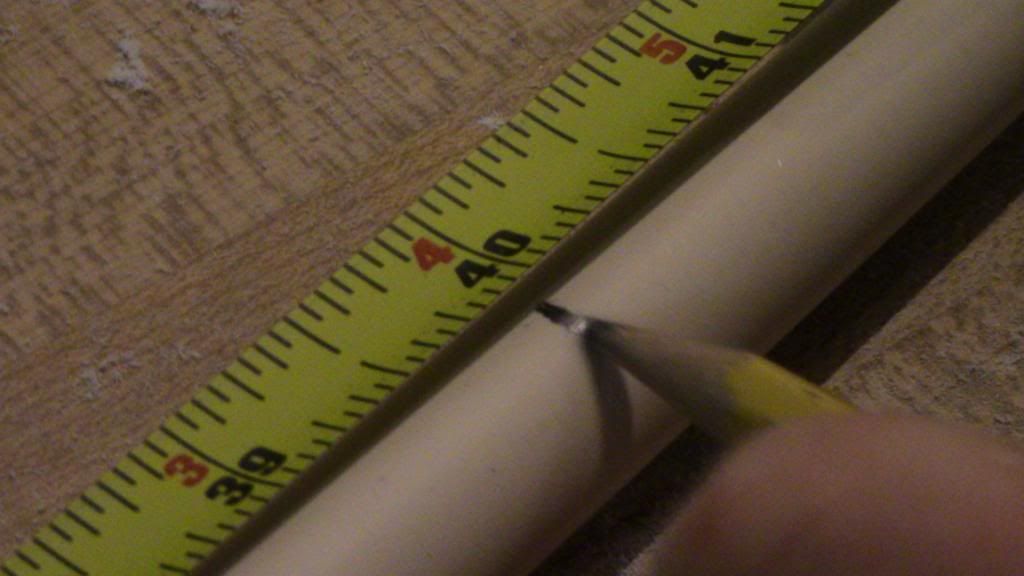
IMG_0153_zpsab5aa2f7.jpg

Heat up your glue gun. Meanwhile, push the length of CPVC through the pipe, sliding it through both the holes we drilled, and the short length of 1/2" PVC. Even out the 2 arms, each should protrude about 18 1/2" from the body.
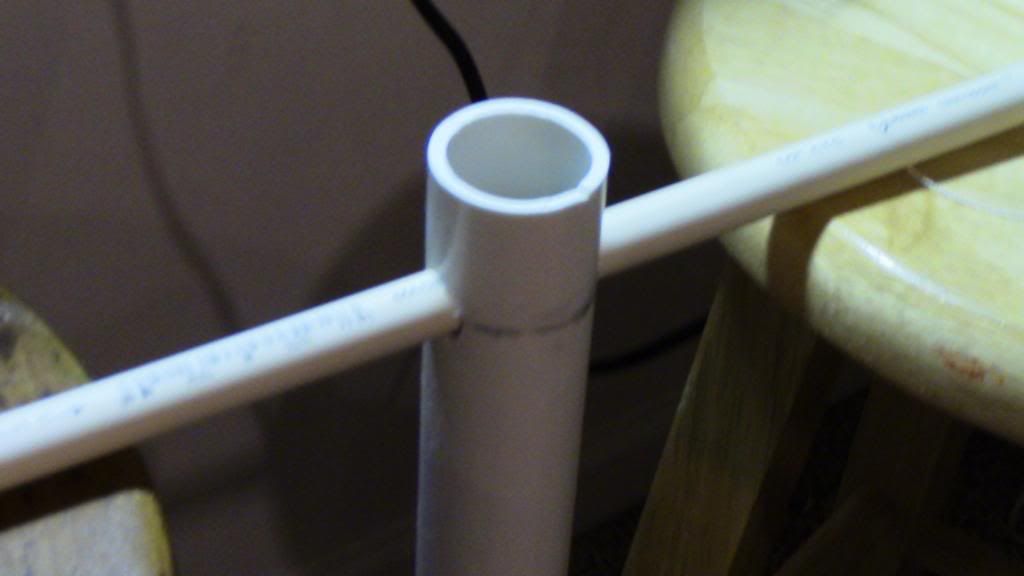
IMG_0154_zps64b2d92d.jpg

If you did it right, The CPVC will stick in place, and you can now do your bushing.

Take your 1" to 1/2" bushing, and sand it to your liking. (Grinding down the lip is optional). Wrap it in E-tape, (packing tape is better though, I had none) until it fits snugly inside the body.
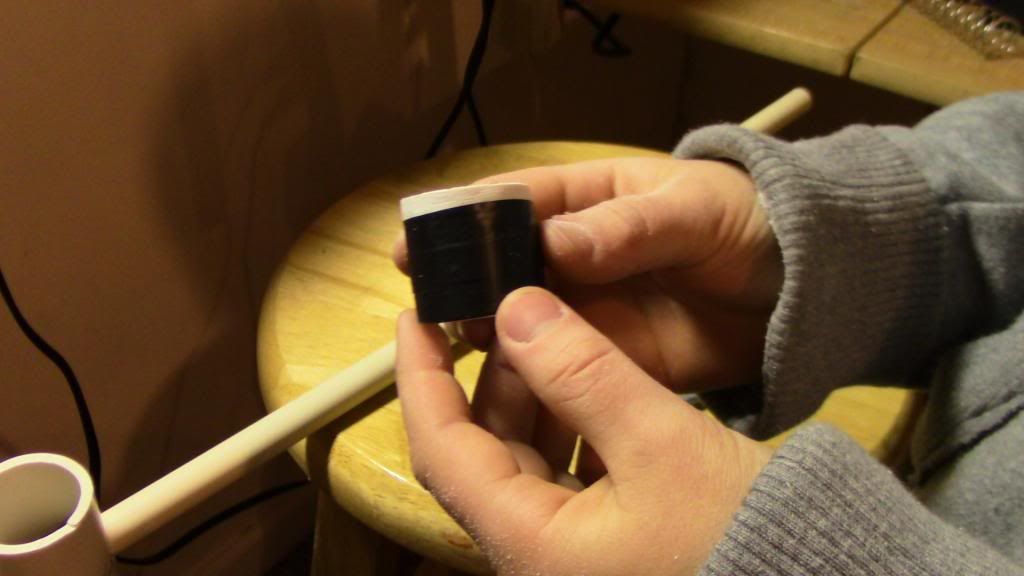
IMG_0158_zpsf708286d.jpg

Put some goop around it, and seat it. Push it in until you hear it hit the piece we installed before. Screw it in with 1 or 2 SMS.

Your glue gun is probably ready by now. The objective of the next step is to fill any empty space with hot glue in order for it to seal. No matter how well you drilled your holes, you must still use hot glue, you just need less.
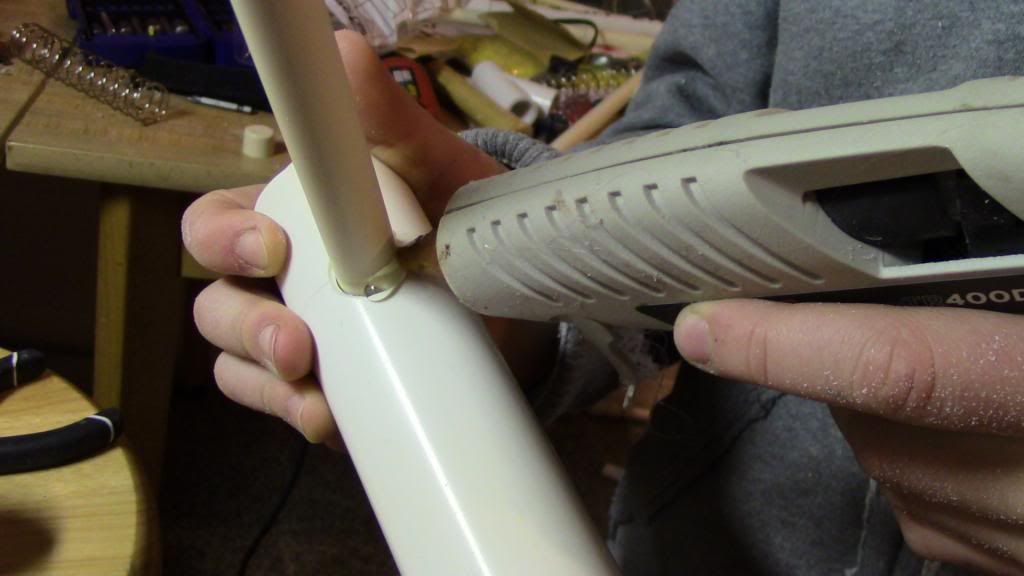
IMG_0159_zps55310e75.jpg

To test your seal, put your hand on the front of the bushing, and blow on the back of the body. It should be hard to blow, however an absolutely perfect seal is not necessary.
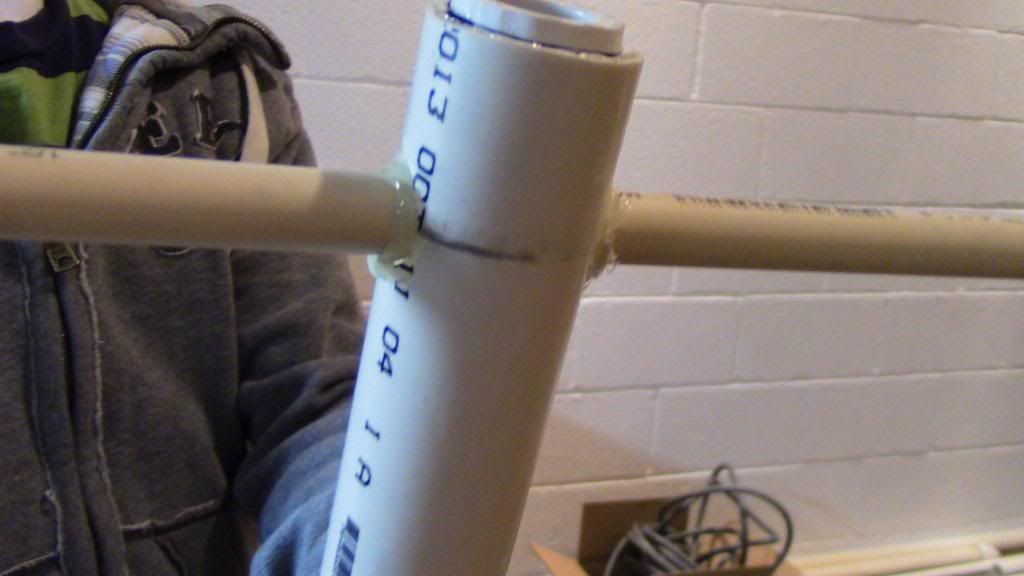
IMG_0162_zps32a6f5bf.jpg

Whew, we're done with the hard part. Now, the plunger.

ASSEMBLY OF THE PLUNGER/PLUNGERHEAD -

Start with your 1/2" CPVC endcap. center and drill a 1/4" hole through the middle. Sand the top if you want.

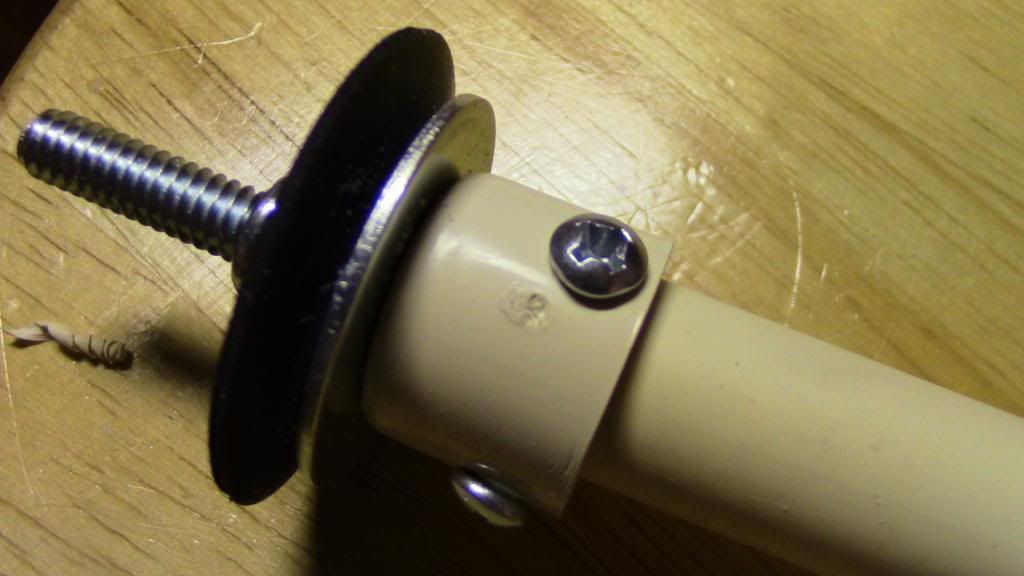
Next, get all your stuff for the plunger head, and assemble in this order.
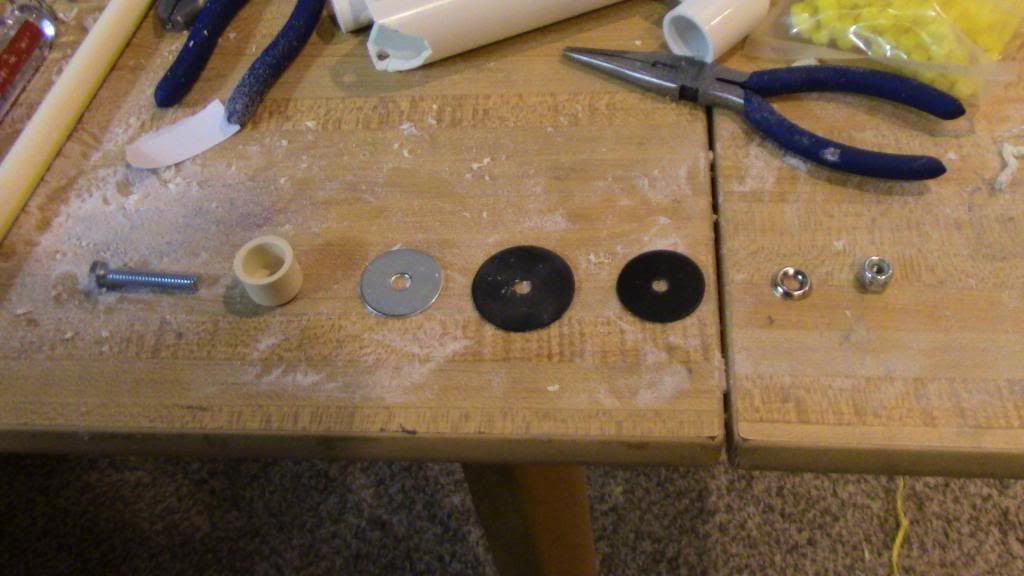
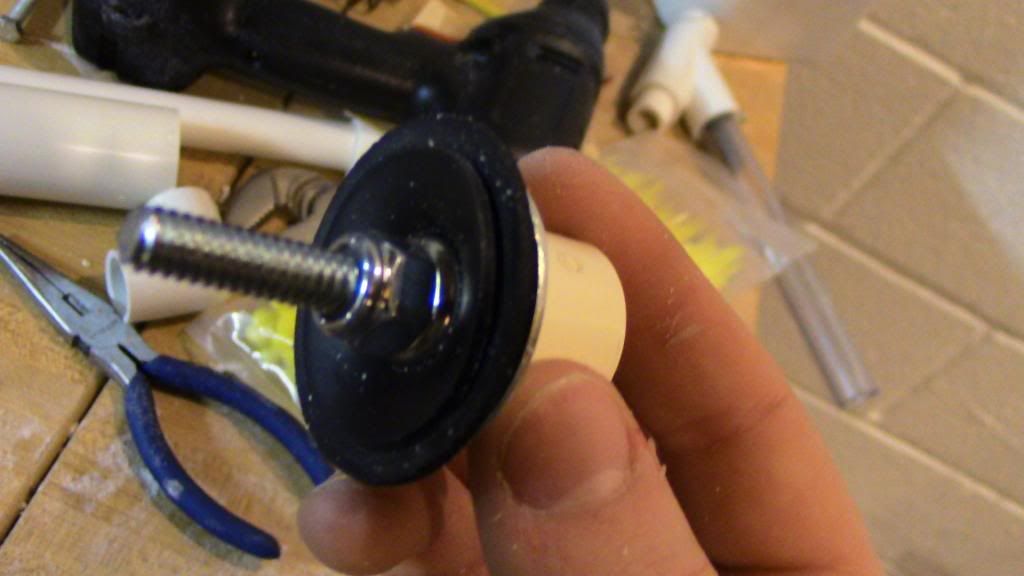
IMG_0165_zps164ecc34.jpg

IMG_0169_zpsf6fda54f.jpg

Remember, your rubber washers should concave, or you did something wrong.

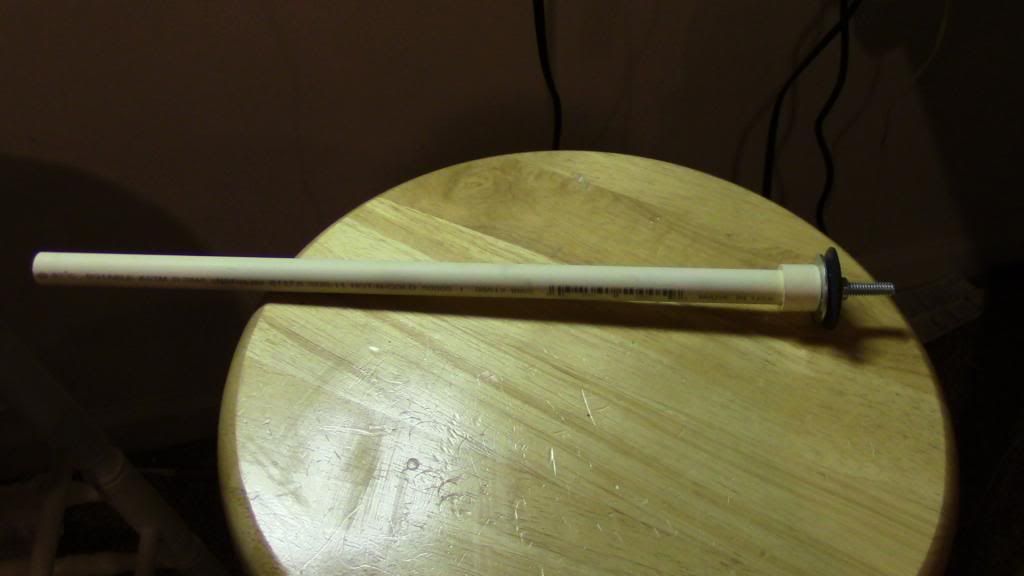
Cut your 10" long rod out of CPVC, and affix your head onto it using 2 SMS.
IMG_0172_zpsc86736ae.jpg

IMG_0170_zps8723a758.jpg

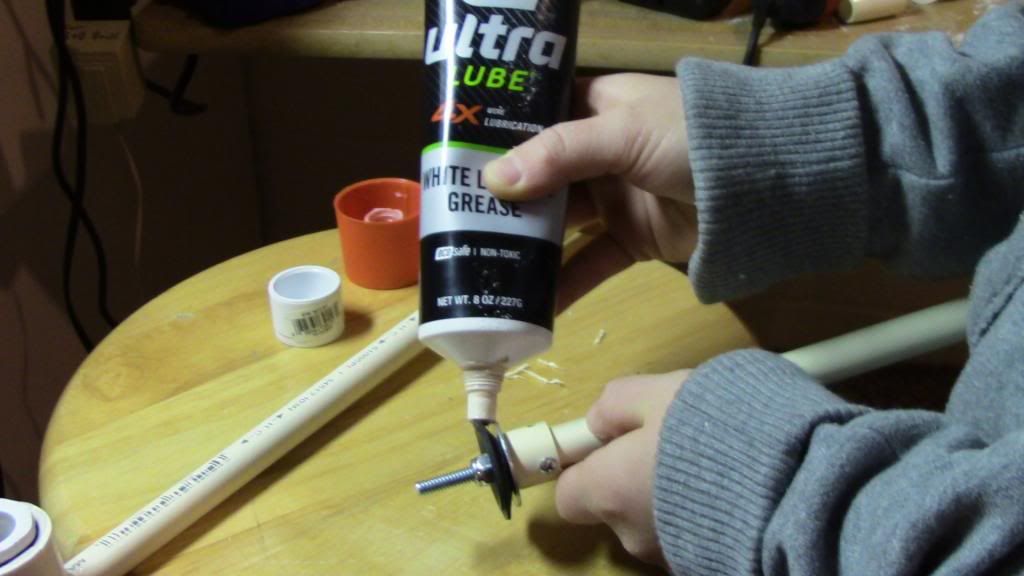
Almost done! Now you want to lubricate the rubber washers. I use lithium grease, but I hear silicone is better. Never given me any trouble though.
IMG_0174_zps5bd12475.jpg

Run it through the body to get both surfaces lubed.

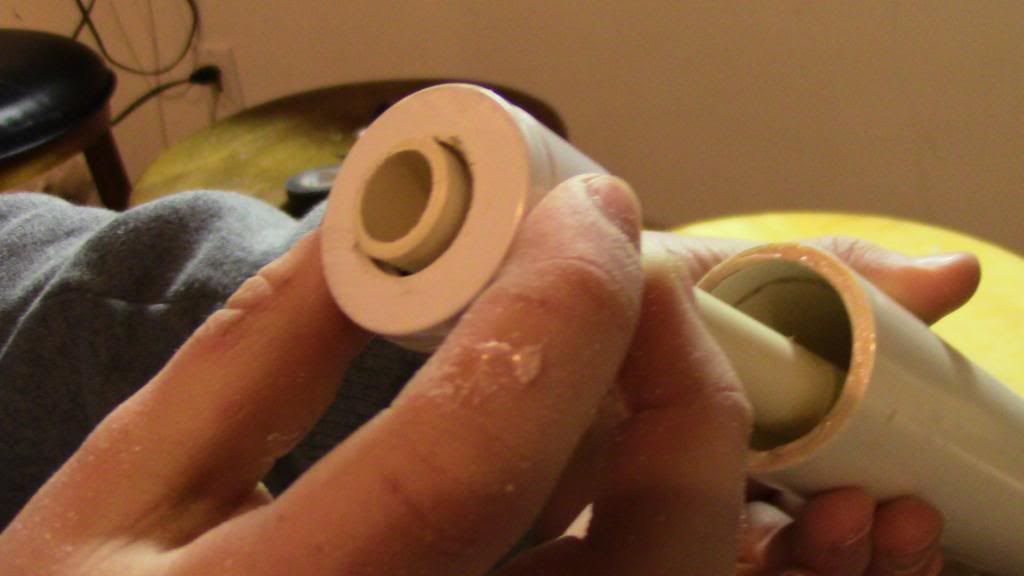
Next, take the 3/4" Endcap and find the center. Drill, and re-drill using the method of your choice. It needs to have the CPVC fit loosely through it.
IMG_0178_zpsd406e10c.jpg

Leave the endcap of the rod, and fit your 1/2" tee on the end. attach with 2 SMS on the side. (top and bottom will hurt your fingers)
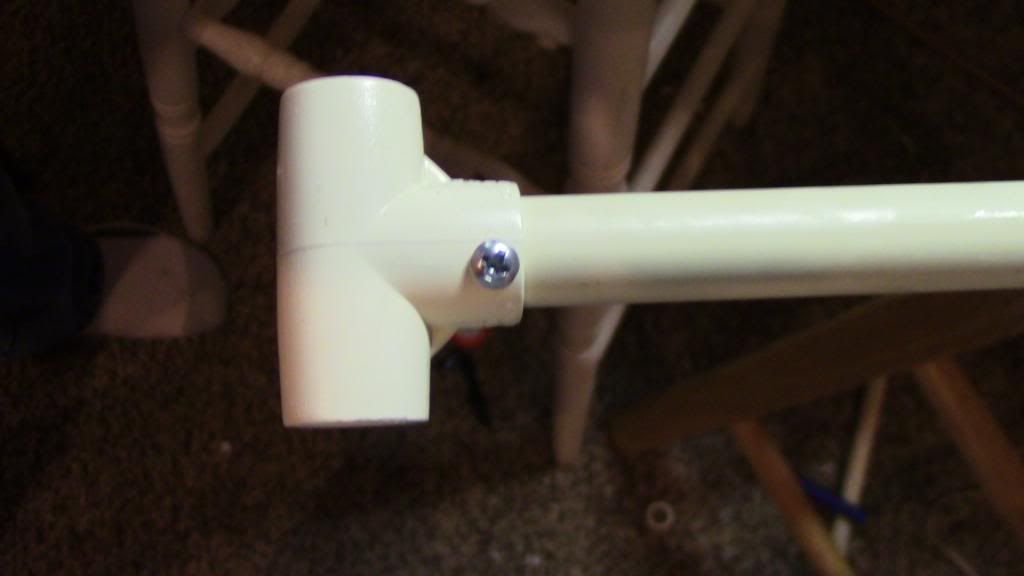
IMG_0181_zps314c3b7b.jpg

Finally, move your cap so it is flush with the body. Affix with 2 SMS.

All that's left is to string it.

Find a thick string (not rope) that will do the trick. A thicker string is better, however a too thick string may not fit in the arms. Anyways, getting back to task:

Using a cutting wheel, dremel out 2 grooves parallel to the body on the ends of the bow arms. Make a knot on the end of the string. Stick this knot over and between the grooves. Run the other side through the hole in the tee, and do the same to the other side. Feel free to add endcaps and screw them in to ensure that the string does not come out mid-draw and kill you. However, if you do not run the string at ridiculously high tension, this should not be a problem.

81272be7-e82d-48e9-92f9-b117866b3584_zps

So, I would love to hear you guys' feedback. As well as suggestions. I haven't range tested it outside, because there's 3 feet of snow. It's not shooting as hard as a snapbow, or something of that nature, but the rate of fire you can pump out on this thing is amazing. Just like Legolas.

Also, If any of you guys make one, with a hopper, I would like to share testing data for what length and material barrel to use. I am new to airguns like this.

Spiderbite


Edited by Aeromech, 23 November 2015 - 03:15 AM.

  • 0

Or hell, Spiderbite has sweet deals on this stuff now, so there's really no reason not to Rainbow.

[k26] springs!

#2 PBZ

PBZ

    Cap'n Whitebeard

  • Members
  • 142 posts

Posted 16 February 2014 - 07:03 PM

Nice write up, well put together with photos.
However, I'm going to be that guy and point this out for you in a friendly sort of way: AA Bow
  • 0
"There's nothing quite like hunting children." -VACC

#3 Spiderbite

Spiderbite

    Member

  • Members
  • 178 posts

Posted 16 February 2014 - 07:57 PM

Nice write up, well put together with photos.
However, I'm going to be that guy and point this out for you in a friendly sort of way: AA Bow


You have a fair point, and i did give credit to Kane, but the point of this is to not have to use a big 'goofy' cross like that.
  • 0

Or hell, Spiderbite has sweet deals on this stuff now, so there's really no reason not to Rainbow.

[k26] springs!

#4 Griever 2112

Griever 2112

    Member

  • Members
  • 439 posts

Posted 17 February 2014 - 08:55 AM

I will give you that is a nice cleaned up version of Kane's AABow... nice twist on it. Simple instructions and easy to follow. My only downside to it that I see is, you really have no place to grip the front. You can hold the arm, obviously, but if it snaps, God forbid, it is going to snap in your hand.
  • 0

Griever 2112 still plays with his alpha trooper quite often despite owning one of the scariest +bows.

My Youtube Page

#5 Spiderbite

Spiderbite

    Member

  • Members
  • 178 posts

Posted 17 February 2014 - 10:11 AM

I will give you that is a nice cleaned up version of Kane's AABow... nice twist on it. Simple instructions and easy to follow. My only downside to it that I see is, you really have no place to grip the front. You can hold the arm, obviously, but if it snaps, God forbid, it is going to snap in your hand.


Thanks for your input. I typically run a low tension (because at super high tensions the arms do not bend). I see no chance of the arms breaking. However, if you do not want to hold on to the CPVC arm, you could theoretically buy a 1 1/4 inch x 3/4 tee, ream out the inside, and slide it on the back butted against the arms. then attach a length of 3/4 PVC and an E-cap and Cement everything in.
  • 0

Or hell, Spiderbite has sweet deals on this stuff now, so there's really no reason not to Rainbow.

[k26] springs!

#6 andrewp413

andrewp413

    Member

  • Members
  • 18 posts

Posted 17 February 2014 - 03:37 PM

Great write up. One problem though, is that you put the bowstring through the tee. Don't do that. It is much easier on the end cap if you drill a hole in front of the tee, stick some tubing through it, then put the string through that. This also allows you to dry fire the blaster because the plunger head doesn't hit the bushing. Hope I could help

-Andrew
  • 0

#7 Blood Angel

Blood Angel

    Member

  • Members
  • 67 posts

Posted 18 February 2014 - 09:29 AM

I think the rate of fire is dependent on the type of barrel you use. If you are making a full seal slide breach barrel, then you have to load each dart individually and your rate of fire would be slow. If you have a hopper, then it fires as fast as you can pull back the plunger tube.

I made one with a hopper. It was a "wye" style hopper. I used 9/16" brass for the barrel and it was 12" long.
  • 0

#8 Spiderbite

Spiderbite

    Member

  • Members
  • 178 posts

Posted 18 February 2014 - 08:13 PM

Great write up. One problem though, is that you put the bowstring through the tee. Don't do that. It is much easier on the end cap if you drill a hole in front of the tee, stick some tubing through it, then put the string through that. This also allows you to dry fire the blaster because the plunger head doesn't hit the bushing. Hope I could help

-Andrew


andrewp413 ,

There really is no risk of dangerous dry fire, as I cut the plunger rod to be short enough to not hit into the inner piece (behind the bushing).

However, I have seen what you said on other bows on this site. Maybe there is a reason other people are putting the string in front of the tee besides harmful dry fire?

I will certainly try out your idea. Probably in a few days after testing, i will post an update on this thread.

In addition, what kind of tubing are you using? The smallest pipe i have is 1/2" CPVC.
  • 0

Or hell, Spiderbite has sweet deals on this stuff now, so there's really no reason not to Rainbow.

[k26] springs!

#9 Spiderbite

Spiderbite

    Member

  • Members
  • 178 posts

Posted 18 February 2014 - 08:23 PM

I think the rate of fire is dependent on the type of barrel you use. If you are making a full seal slide breach barrel, then you have to load each dart individually and your rate of fire would be slow. If you have a hopper, then it fires as fast as you can pull back the plunger tube.

I made one with a hopper. It was a "wye" style hopper. I used 9/16" brass for the barrel and it was 12" long.


Blood Angel,

I'm glad you made one. I would love to know how it turned out. Yes, I designed this for hopper-feeding, and you are right in stating it shoots as fast as you can pull the tee back. Also, I assume you are firing slugs, they are the most common stefans right now, and also I do not know your foam. If you can fill in those two attributes, we can communicate our results more effectively.

I use dense FBR slugs and a 7 inch barrel made of CPVC. I am not an expert on barrels, so I do have one question. Would a looser barrel such as 9/16 brass be beneficial for this particular weapon?

Thanks,
Spiderbite
  • 0

Or hell, Spiderbite has sweet deals on this stuff now, so there's really no reason not to Rainbow.

[k26] springs!

#10 Azrael0987

Azrael0987

    formerly ijackofftomen. Different dude from Azrael.

  • Members
  • 135 posts

Posted 20 February 2014 - 12:51 AM

The diameter of the barrel depends on lots of factors. Some FBR is slightly smaller than 1/2 inch and some slightly larger. The humidity of the region can make the foam swell or contract. The foam will generally swell with humidity and heat, and contract with cold and dry conditions. Using the same brand foam and buying it in larger quantities at the same time helps to keep it more consistent. With cpvc it can have different diameters too. Brass is more consistent. I have some 17/32 brass breeches that have a tight fit with some of my darts while a very loose fit with others due to dart variations. It takes a lot of testing and trial and error to find a good barrel fit for you're foam.
  • 0

#11 Blood Angel

Blood Angel

    Member

  • Members
  • 67 posts

Posted 20 February 2014 - 04:30 PM

Blood Angel,

I'm glad you made one. I would love to know how it turned out. Yes, I designed this for hopper-feeding, and you are right in stating it shoots as fast as you can pull the tee back. Also, I assume you are firing slugs, they are the most common stefans right now, and also I do not know your foam. If you can fill in those two attributes, we can communicate our results more effectively.

I use dense FBR slugs and a 7 inch barrel made of CPVC. I am not an expert on barrels, so I do have one question. Would a looser barrel such as 9/16 brass be beneficial for this particular weapon?

Thanks,
Spiderbite


I didn't make an AAbow or spider bow or whatever. I have have a real bow converted to shoot nerf darts. I use elite streamline darts cut down to 3cm and tipped with velocity tag's .50cal tips (the tips are 1.5g in weight) that I use for the "wye" hopper.

Barrel and darts dart performance and dependent on many factors. Fit (how well the darts fit the barrel), air volume (the amount of air being pushed), air output (the rate at which the air is being pushed), and dartsmithing (the shape, material, and way the darts are made. The idea is to equalize the pressure inside the barrel with the amount of air being pushed at the rate (or speed) the air is being pushed. This can be done by increasing barrel length or by venting unwanted air pressure/output. Generally speaking a looser barrel would be ideal to redirect muzzle burst around the dart. So a telescoping barrel would be best. BUT since you are using a hopper the internal pressures will change after every dart fired, making each shot inconsistent from the last dart fired.
  • 0

#12 andrewp413

andrewp413

    Member

  • Members
  • 18 posts

Posted 23 February 2014 - 09:48 PM

Spidebite

I am sorry for the misunderstanding. I ment to use tubing like in an airgun. Any type will work.

-Andrew
  • 0

#13 Exo

Exo

    Member

  • Members
  • 391 posts

Posted 23 February 2014 - 10:22 PM

You really don't need to sign your names or address your posts. If you use the reply function and quote their post, that's adequate.
  • 0


Also tagged with one or more of these keywords: homemade, wrtieup, bow

1 user(s) are reading this topic

0 members, 1 guests, 0 anonymous users