So I was going through my darts and found a suction dart that was in rough shape. Instead of throwing it out, I got the idea of using it to plug the dead space in my Sharpshooter II micro-dart adapters. I found out about the PVC adapter method from Lord Draconial on Youtube in this video.
I didn't want to permanently rebarrel this blaster like most do because I wanted to track down some decent quality Mega Darts (not the new ones) or make homemades of about the same size and make an easy switch between the two or run one barrel for Megas and one for streamlines (though, I find this blaster LOVES stock Sonic Darts.)
Materials:
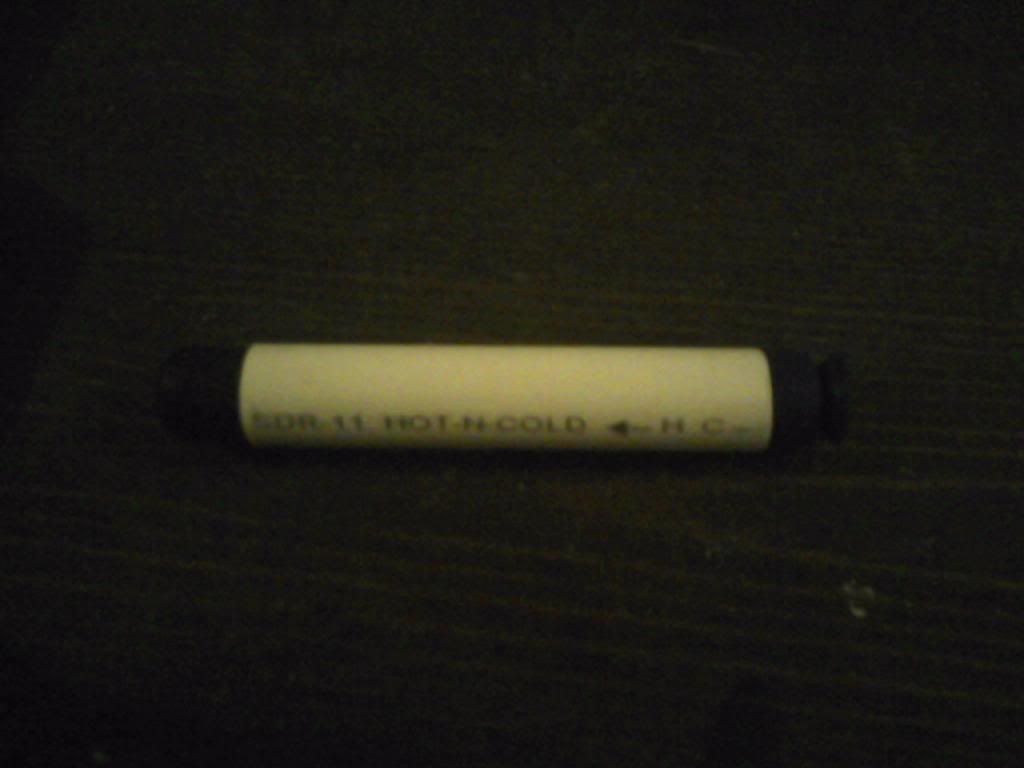
-1/2" PVC pipe
-Electrical tape
-Sacrificial dart
-Placeholder dart (CAUTION: If you aren't careful, you will get glue on this dart)
-Super glue or your choice of adhesive.
Time: Actual working time might be a minute or two. Overall time based on choice of adhesive.
First step was to fit the placeholder dart in, then the sacrificial dart so that the right length of the sacrificial dart would stay on the barrel.
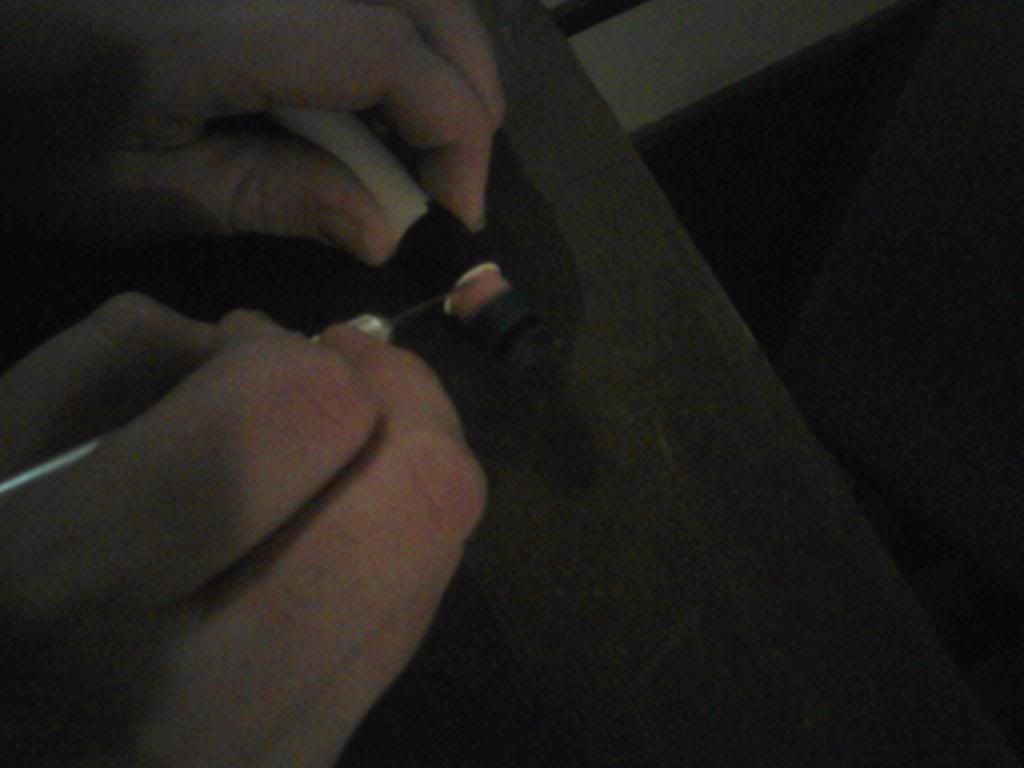
After the right length of sacrificial dart is found, pull the sacrificial dart out, apply a ring of adhesive around the end of it. Place the dart back in until it meets your placeholder dart. Twist the sacrificial dart around to get optimal distribution of glue before removing the placeholder dart. I found out the hard way that if you pull the placeholder dart first, you might accidentally push the sacrificial dart in a little more. Darts on my top barrel stick out a little, might redo this barrel later...

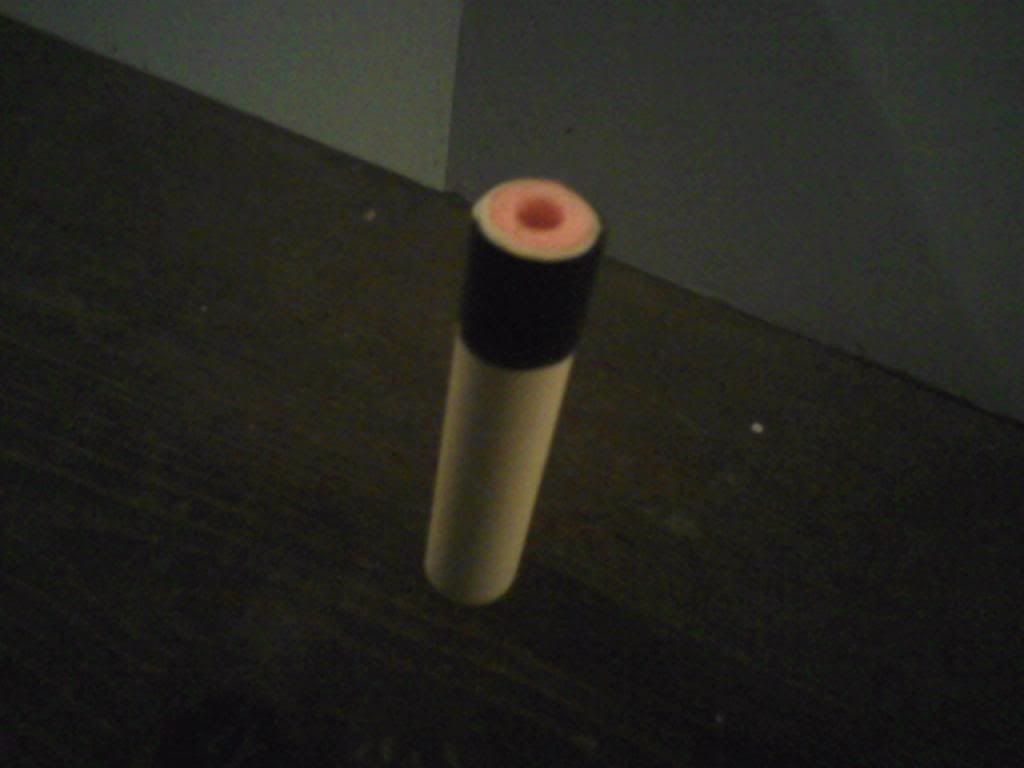
Stand the barrel adapter up and allow the sacrificial dart to sit until the adhesive has dried/hardened enough that you feel confident enough to cut the excess off without messing up its placement. There should be more than enough of your sacrificial dart left over to get the second barrel adapter.
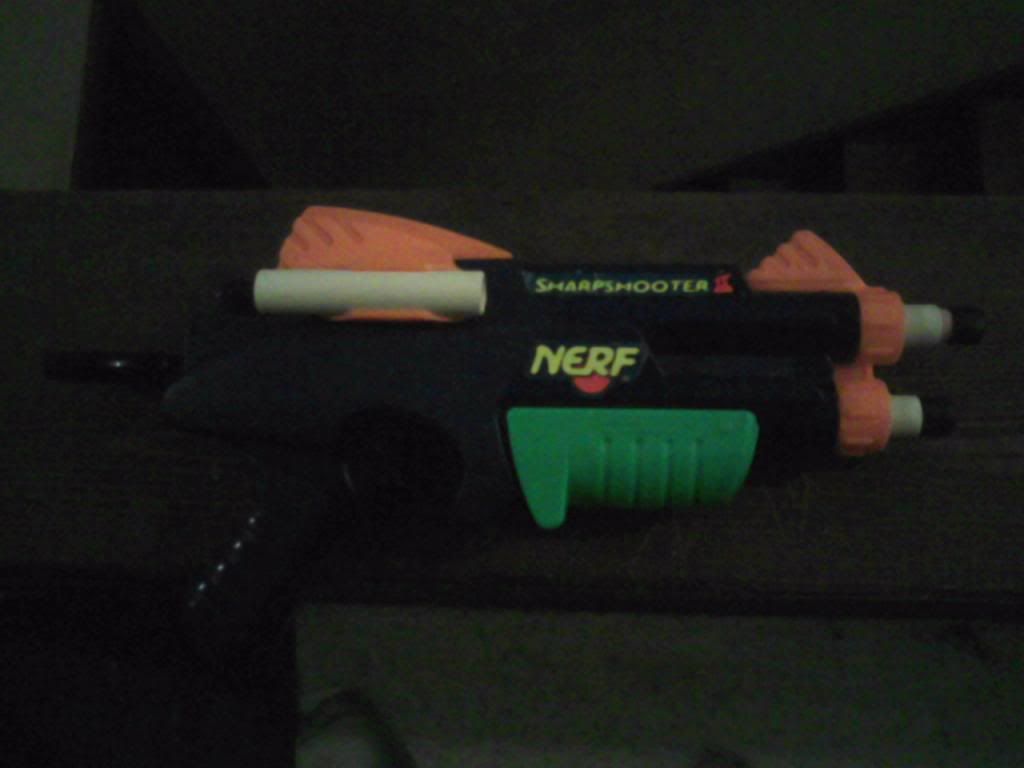
End result:
If these pictures are not sufficient due to my terrible lighting, I will see if I can do mockups of these steps with some better/real light sources.
Edit: Spelling corrections.
Edited by Arvex, 31 December 2013 - 12:44 PM.