Elite Alpha Trooper – Spring replacement and supporting mods
#1
Posted 29 May 2013 - 06:56 AM
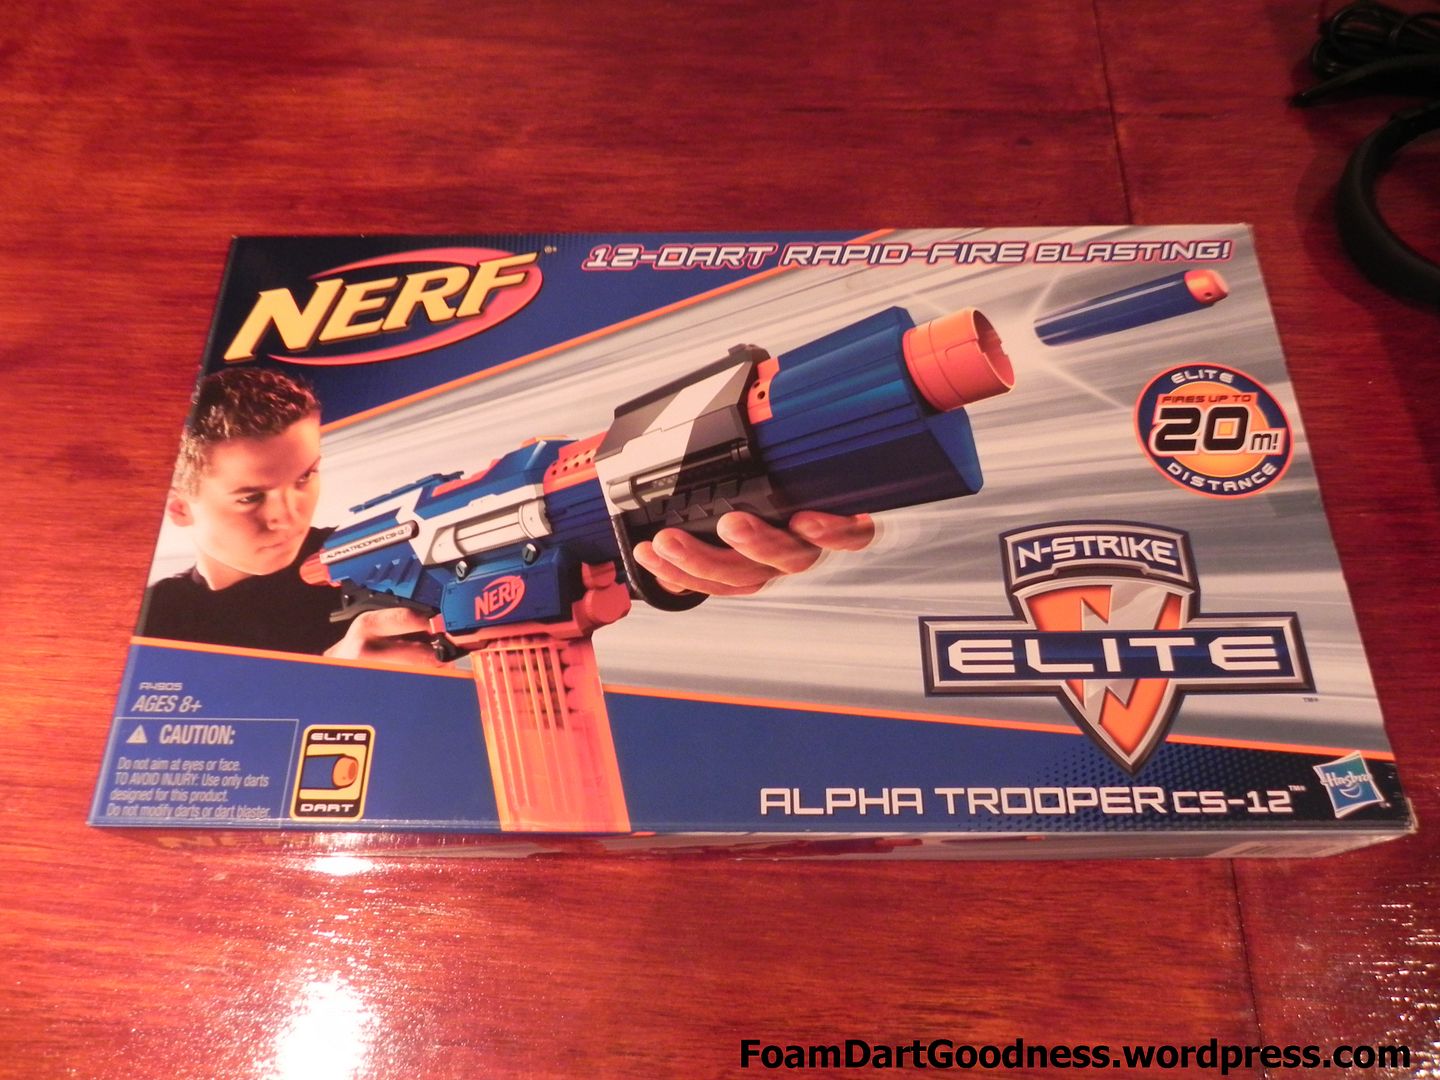
Honestly, I never got the obsession with the Alpha Trooper. It's a solid blaster, but I always preferred the Raider myself. Therefore I wasn't super excited about the release of the Elite Alpha Trooper (EAT) as I already had a few Rampages to call my own. I am however apparently in the minority on this front so I grabbed an EAT to see what we could do with it. Today we'll run through a basic air restrictor (AR) removal and replace the spring. Specifically we'll be using a Black Tactical V2 spring which is quite a bit shorter than the stock spring, which means we'll also need to do a few lock removals as supporting mods as well.
_________________________________________________________________________
Tools/consumables needed
Phillips head screwdrivers
Drill and 6mm bit
A long, round hand file
BTV2 Spring
Stronger catch spring
Small flat hand file/Dremel with cutting disc/small modelling saw
_________________________________________________________________________
The less than amazing Australian spec grey trigger version. Conveniently, we'll be replacing the de-tuned spring with our new BTV2 anyway.
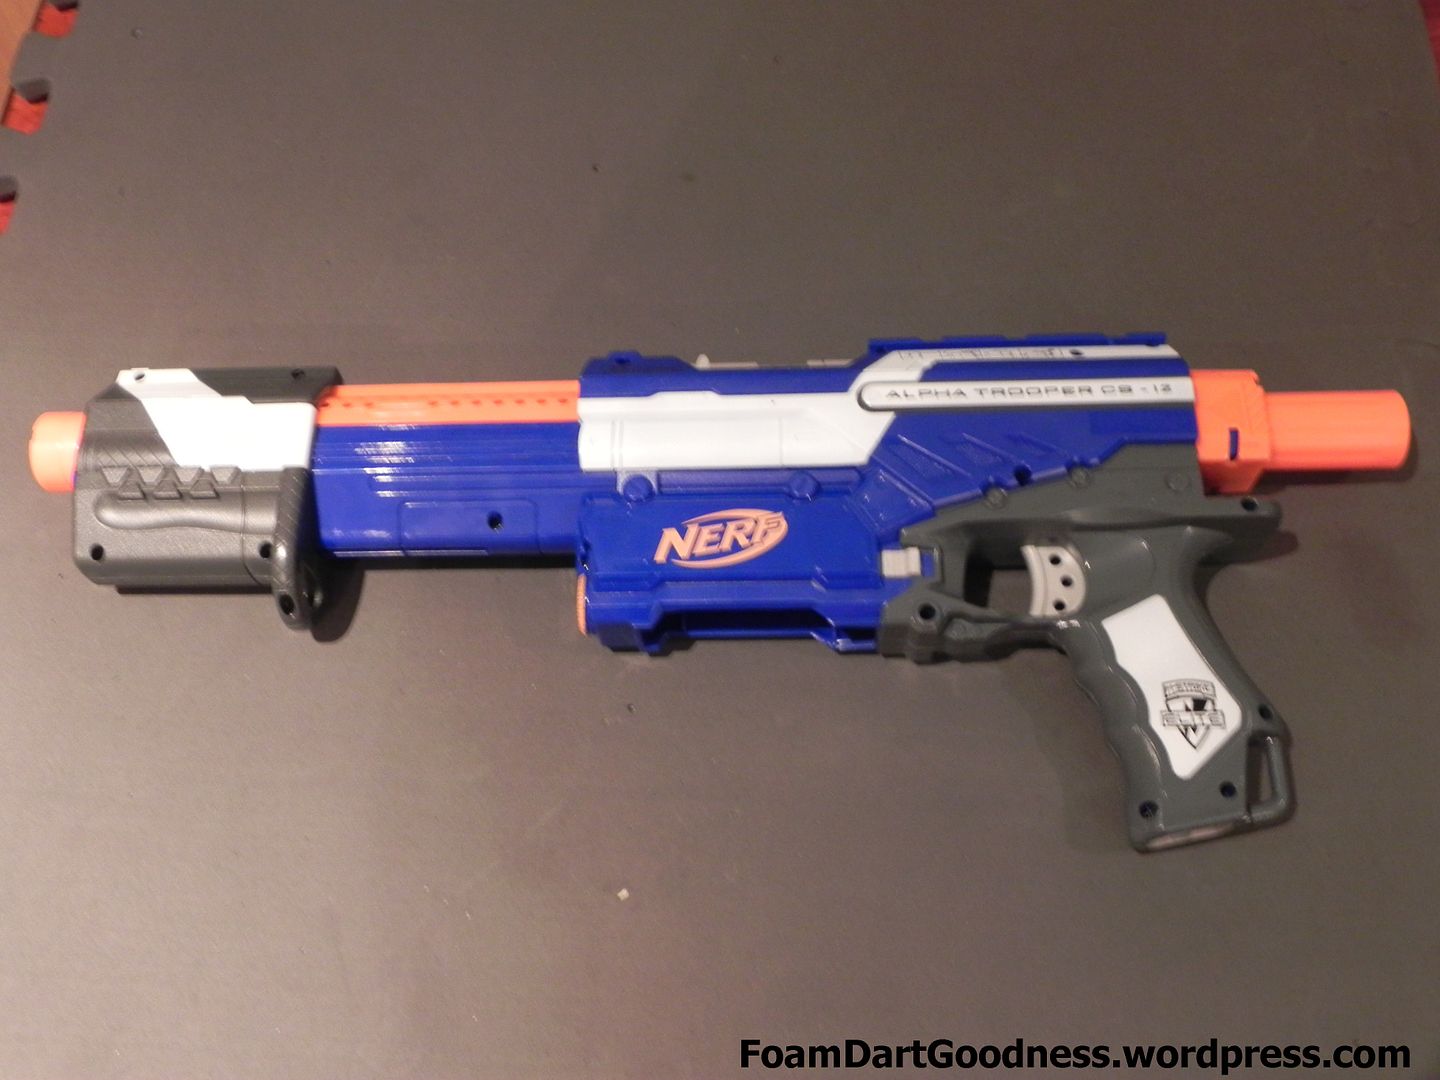
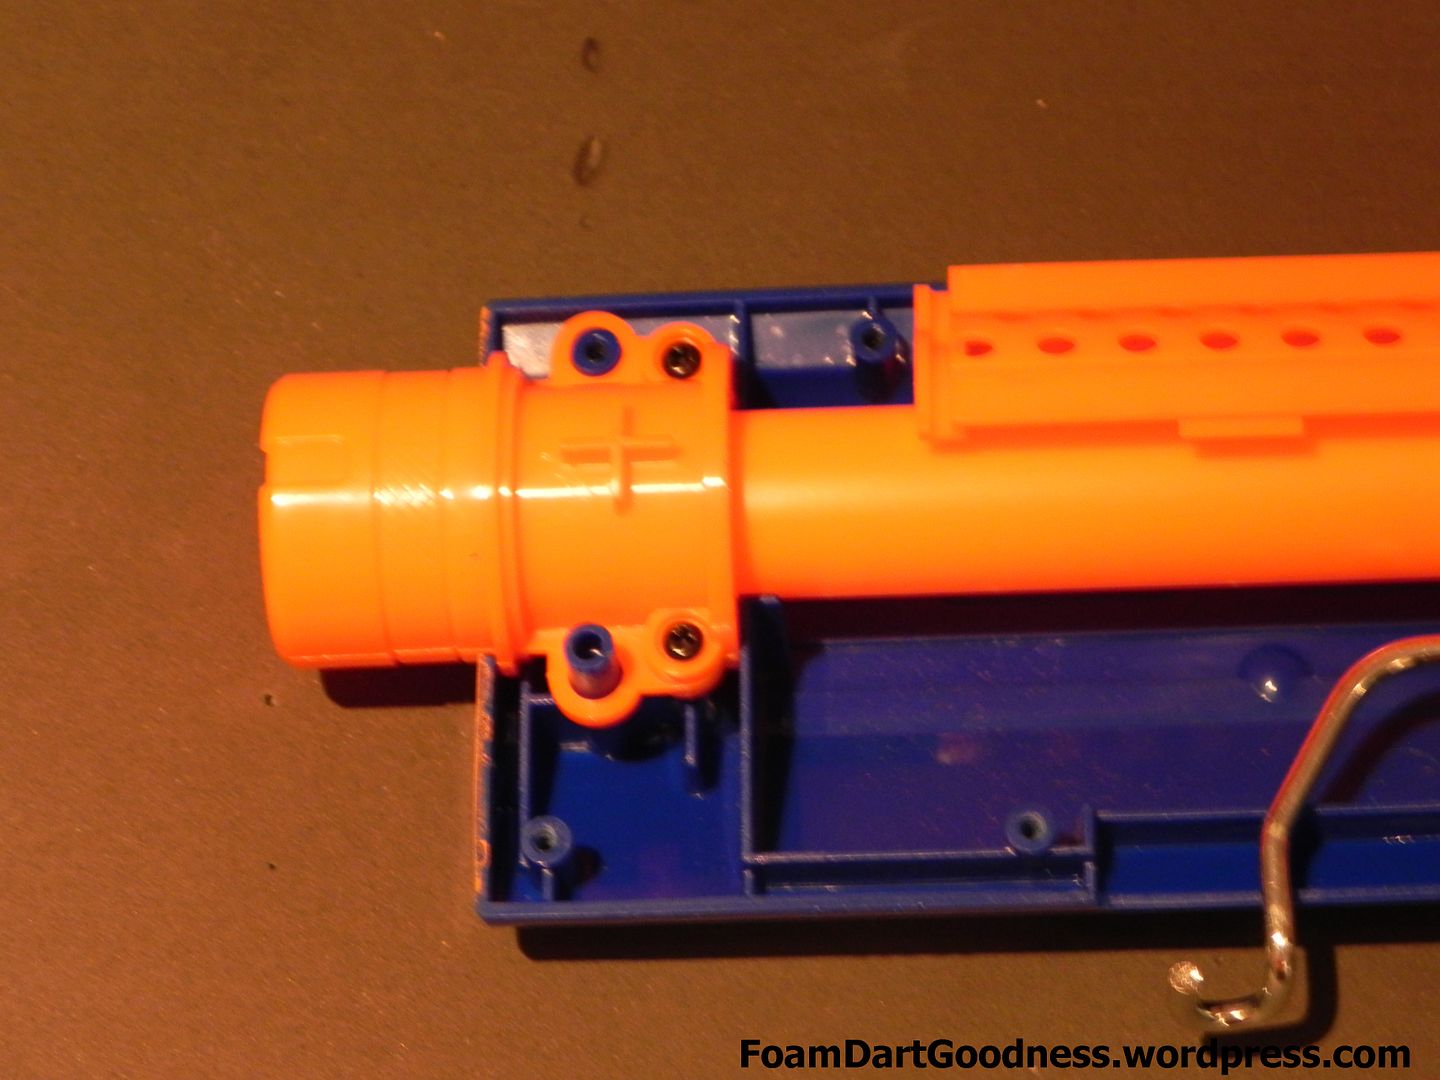
Start by removing the end cap. It's held on with two screws that are thicker than those in the rest of the blaster.
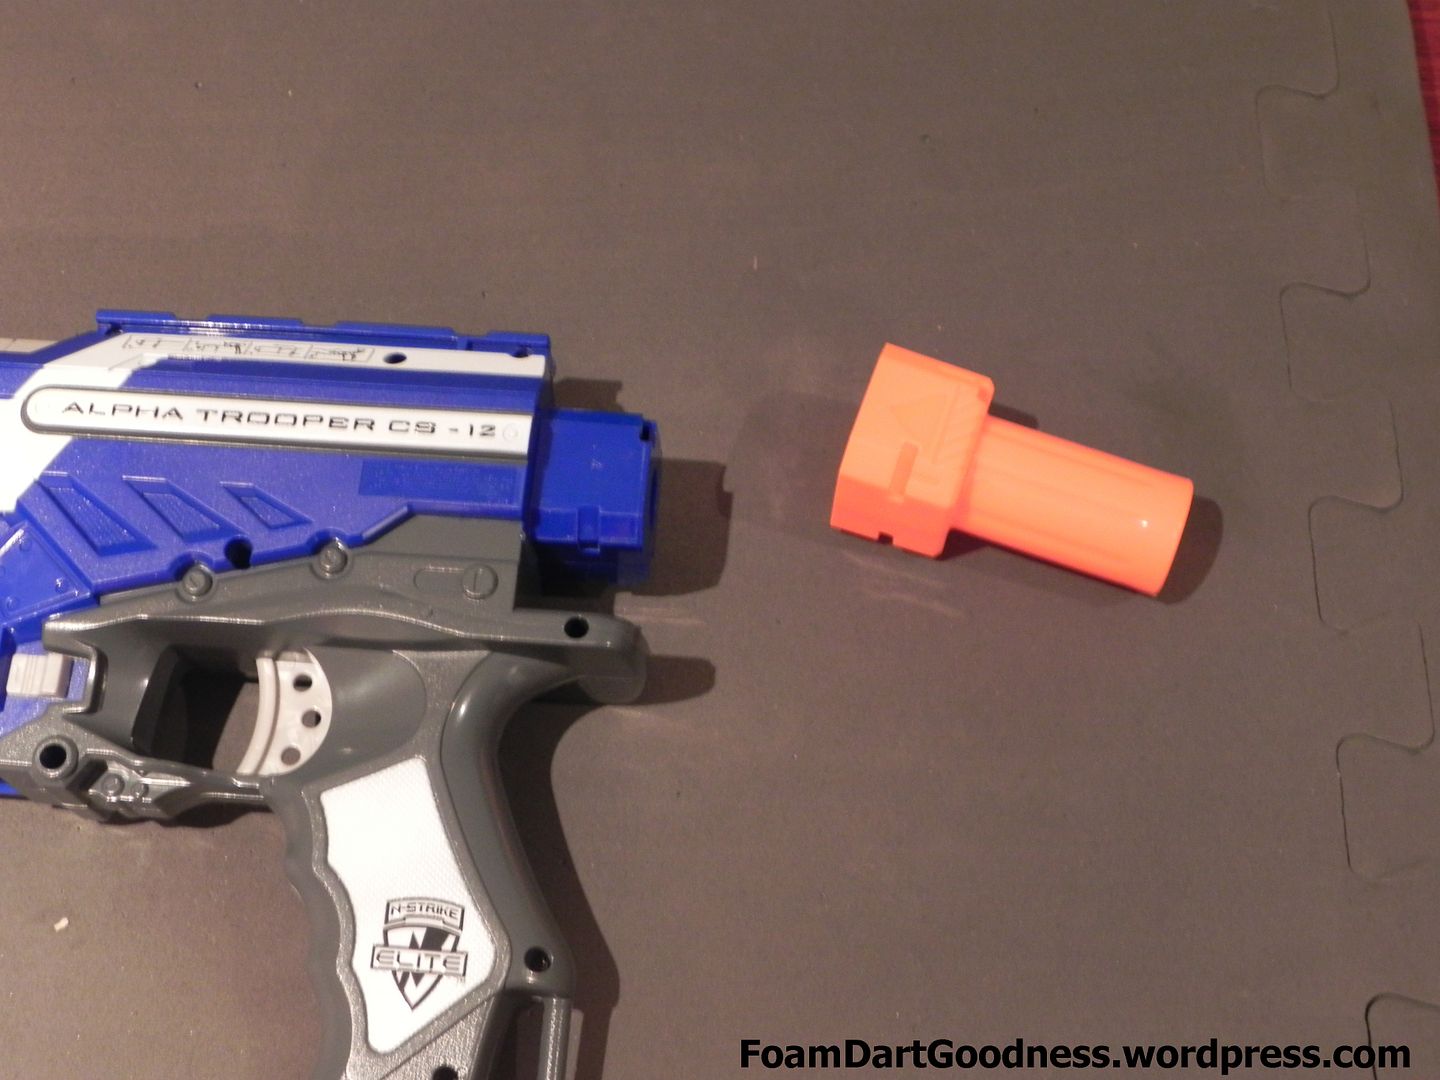
Then the priming grip.
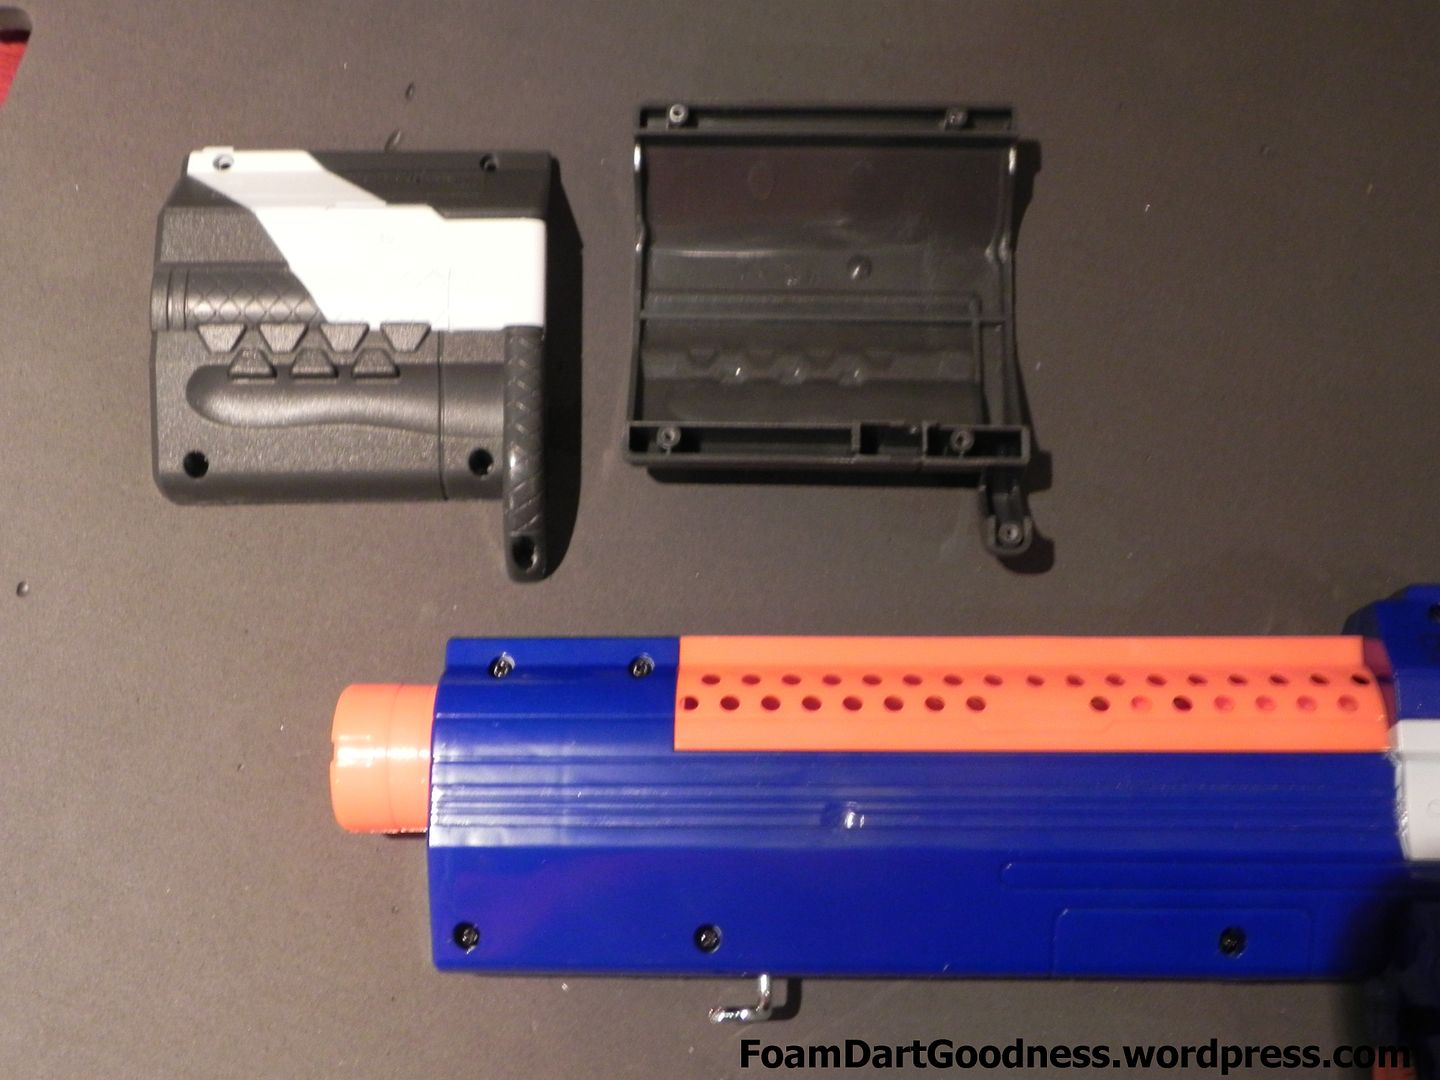
Then the rest of the screws in the shell.
The two on the top here are thinner than than the rest.
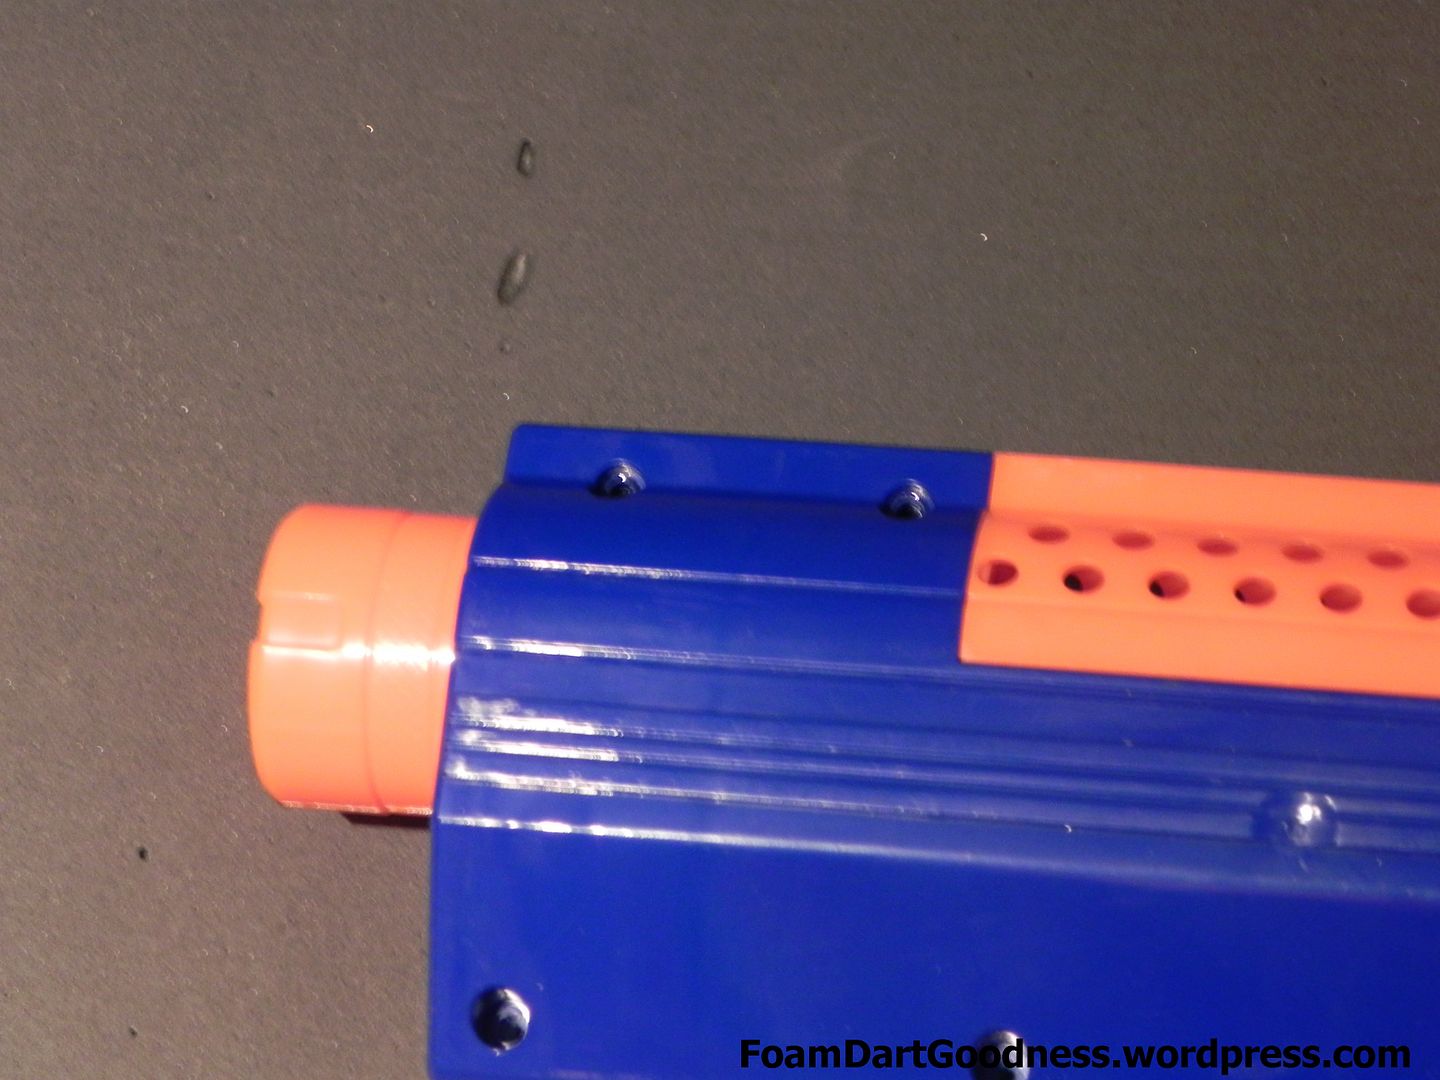
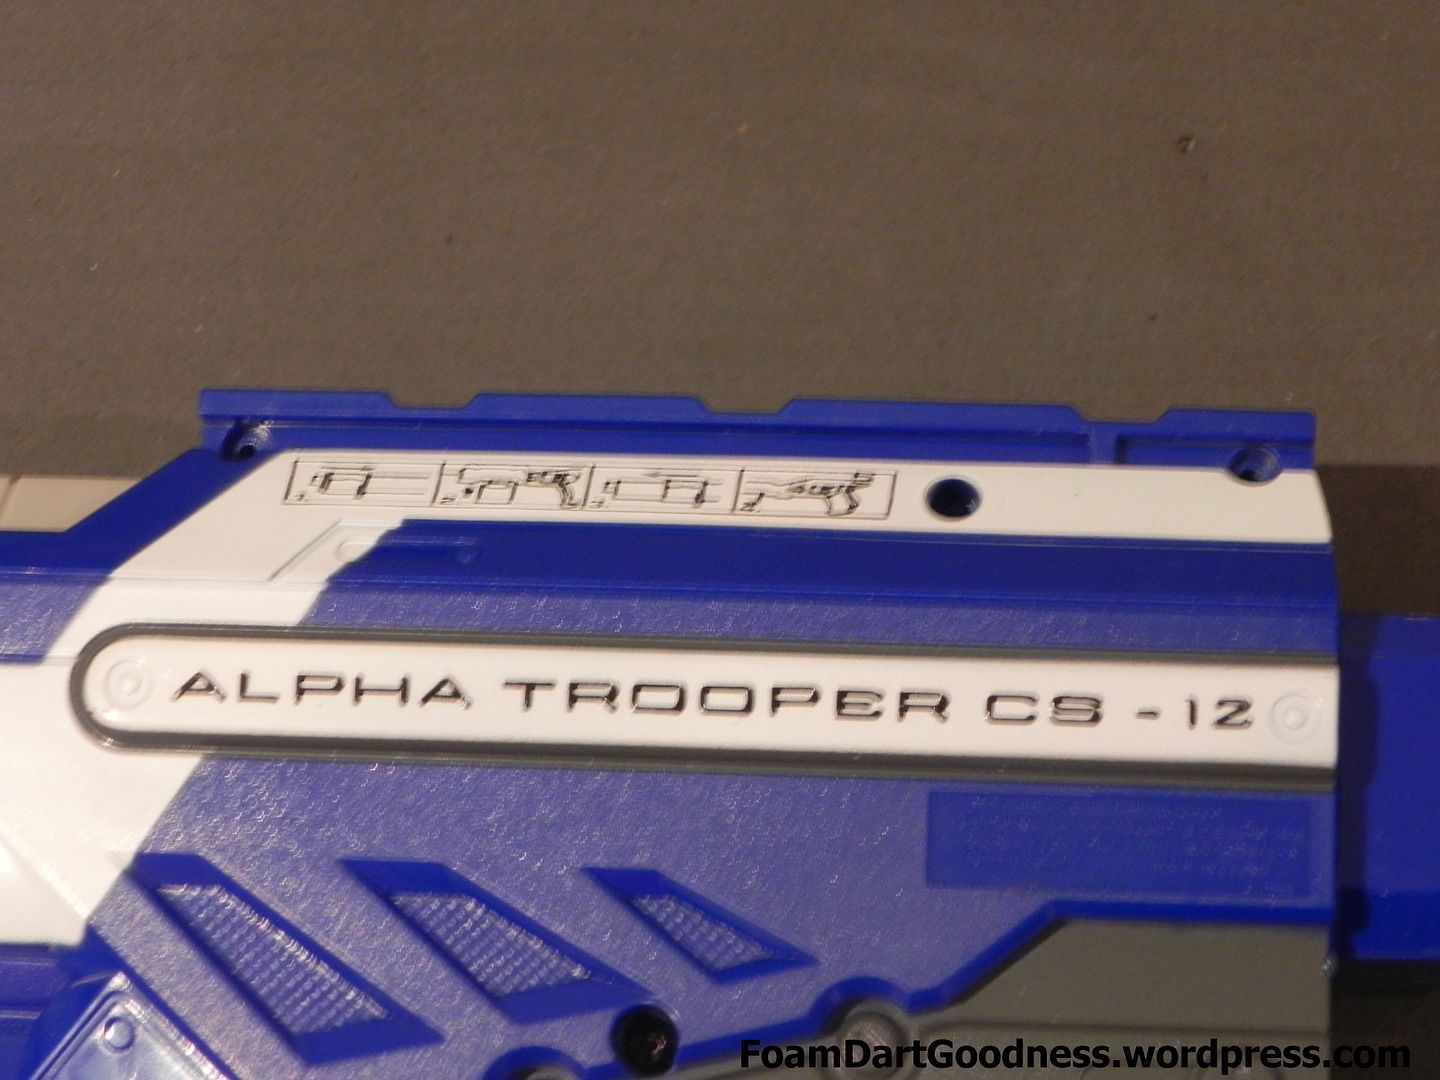
The two on the tactical rail are the same thickness as the standard screw, only shorter.
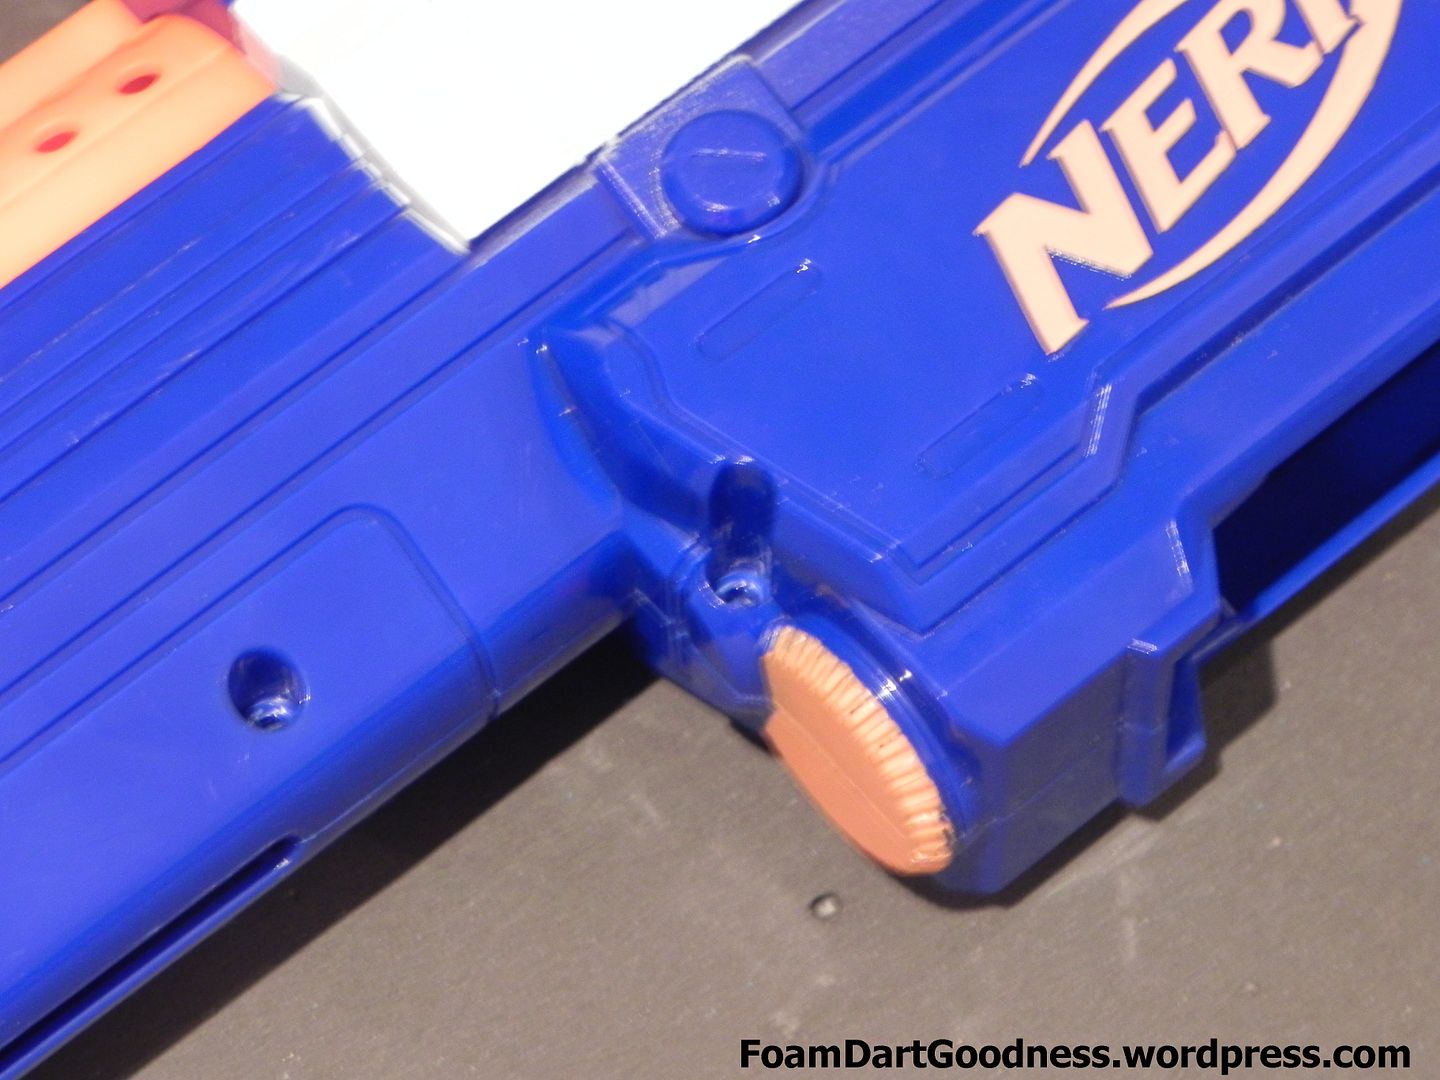
And this one in front of the clip well. Same thickness, just shorter.
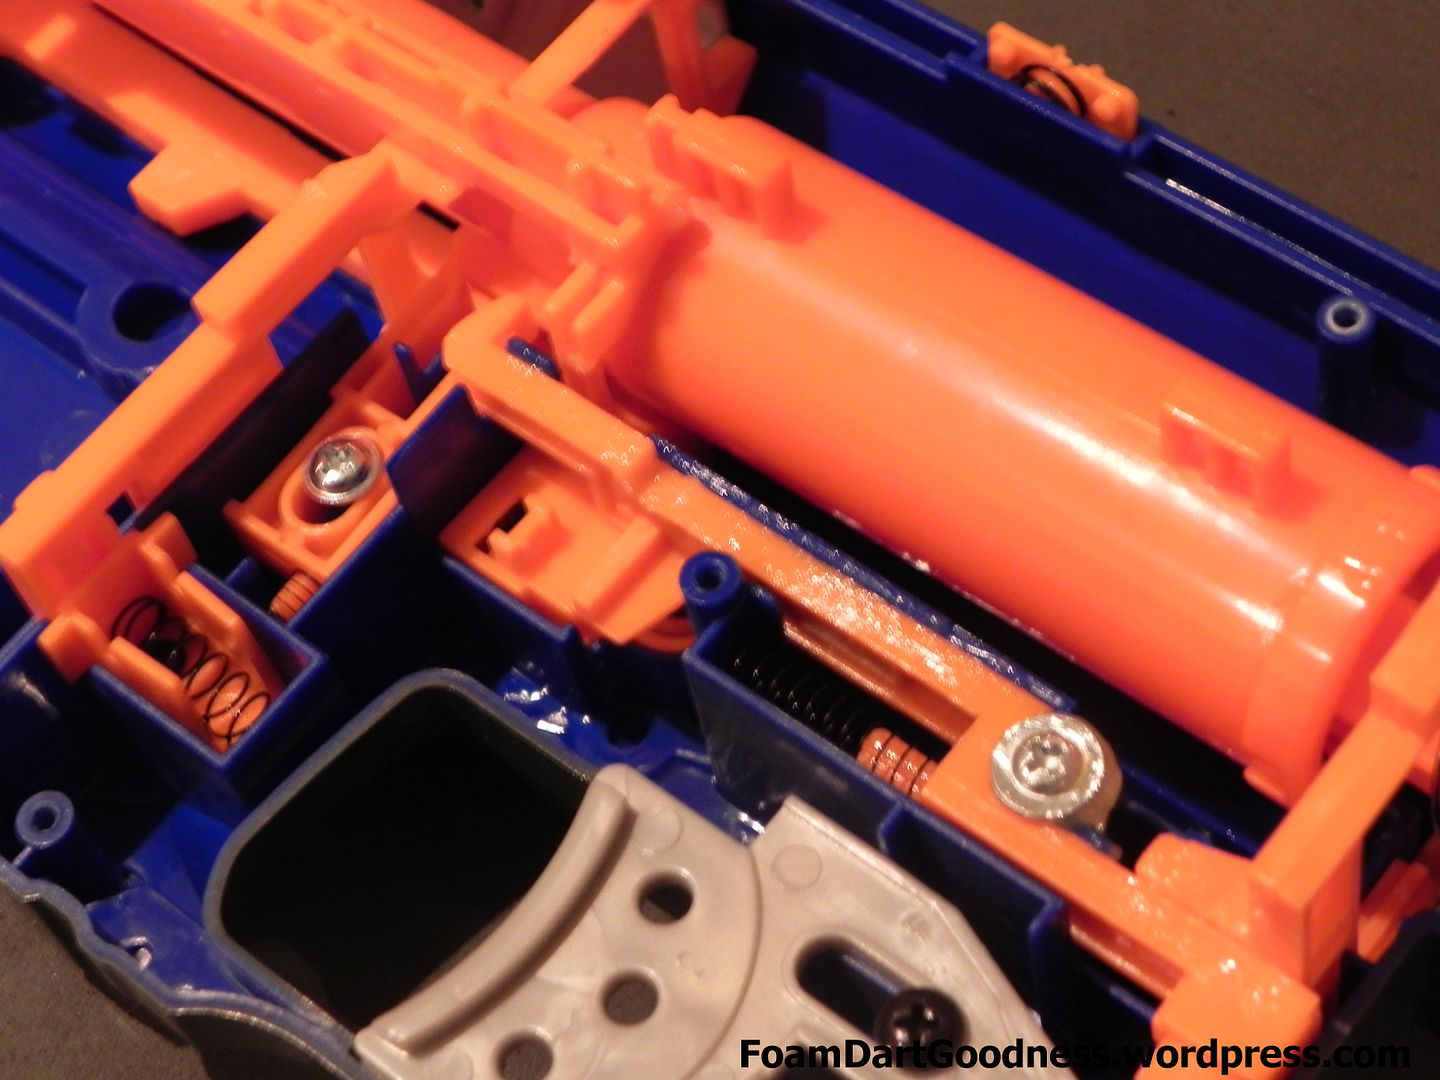
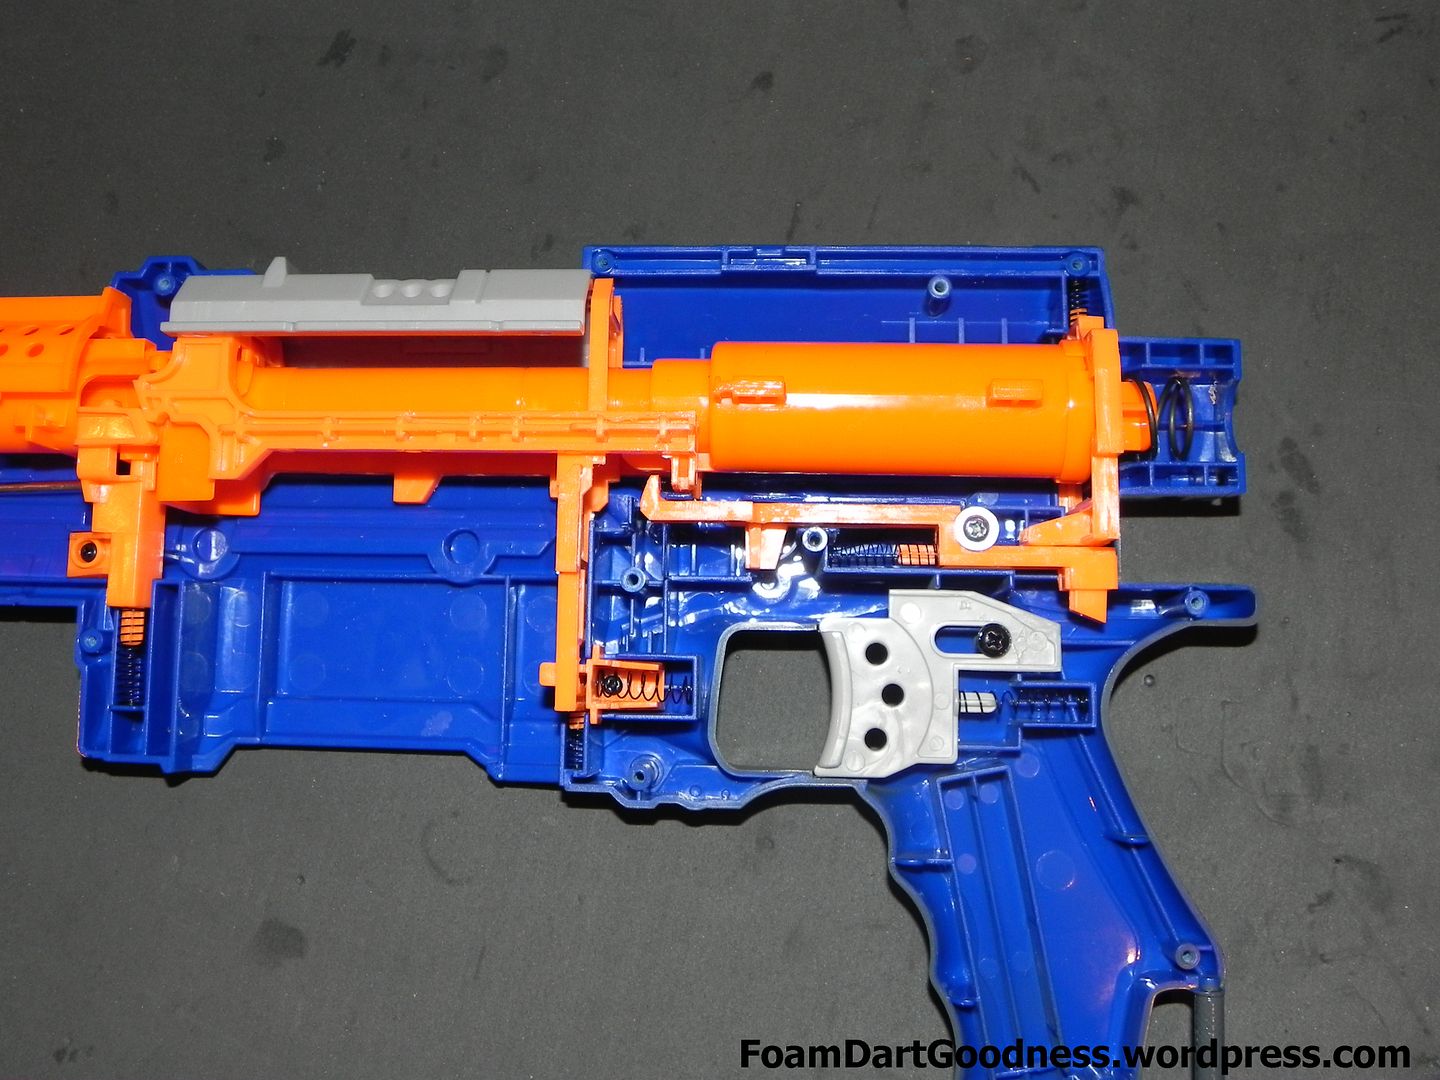
Hooray! The inside of the blaster.
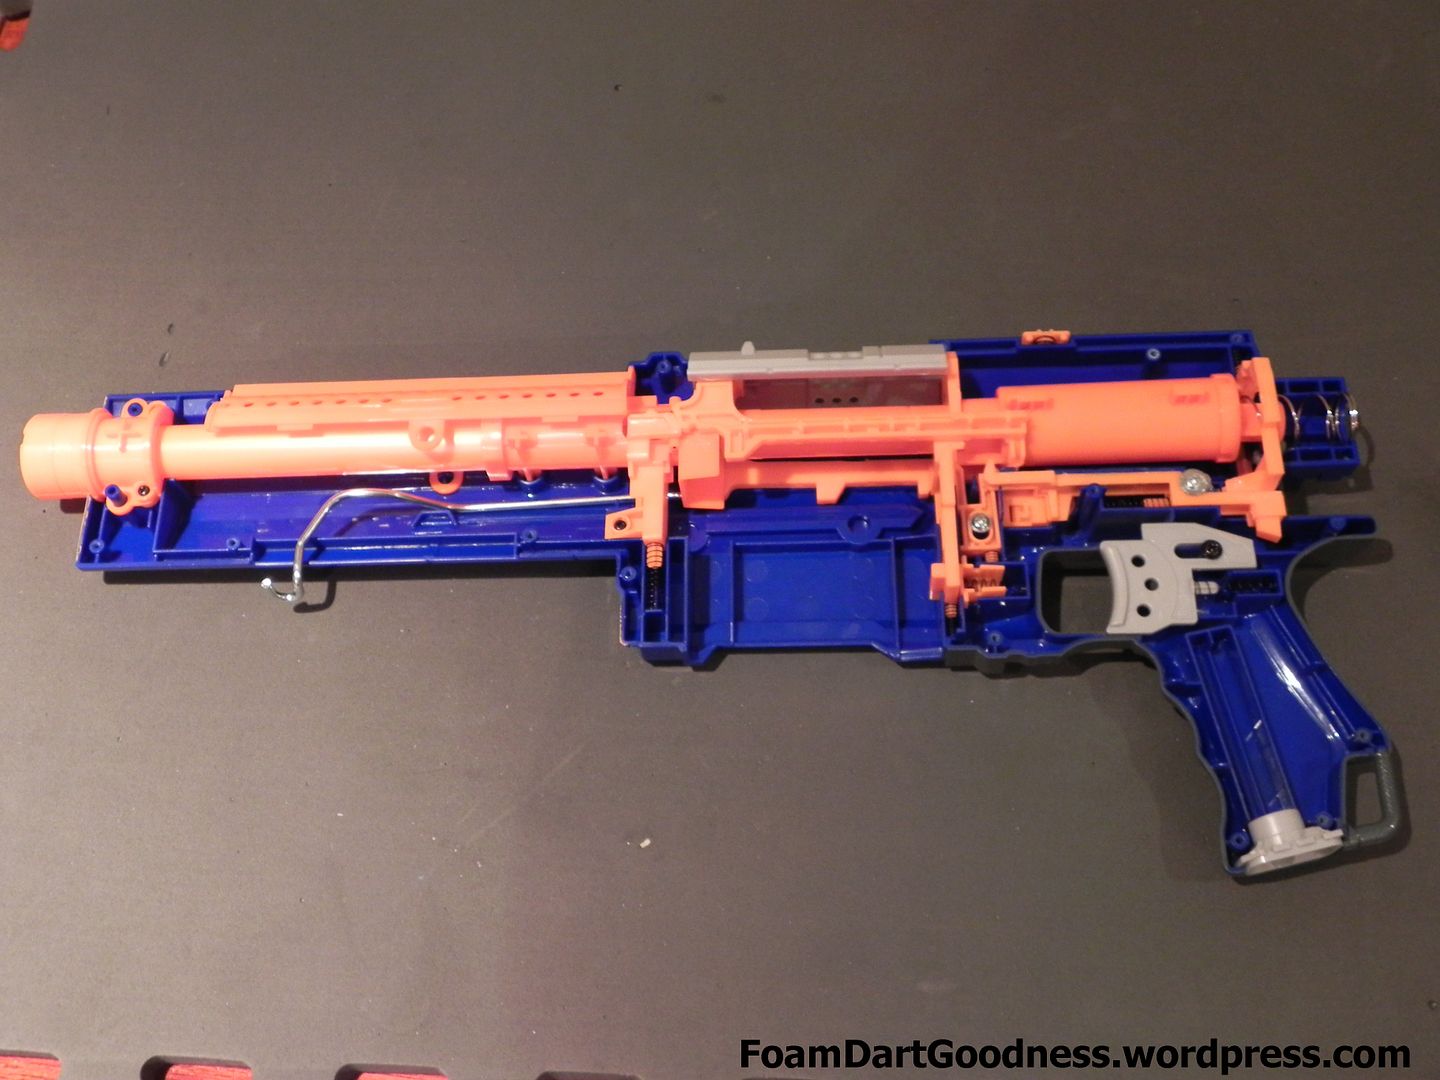
As always, take a minute or two to have a good look around the internals and try to get an understanding of how each part works.
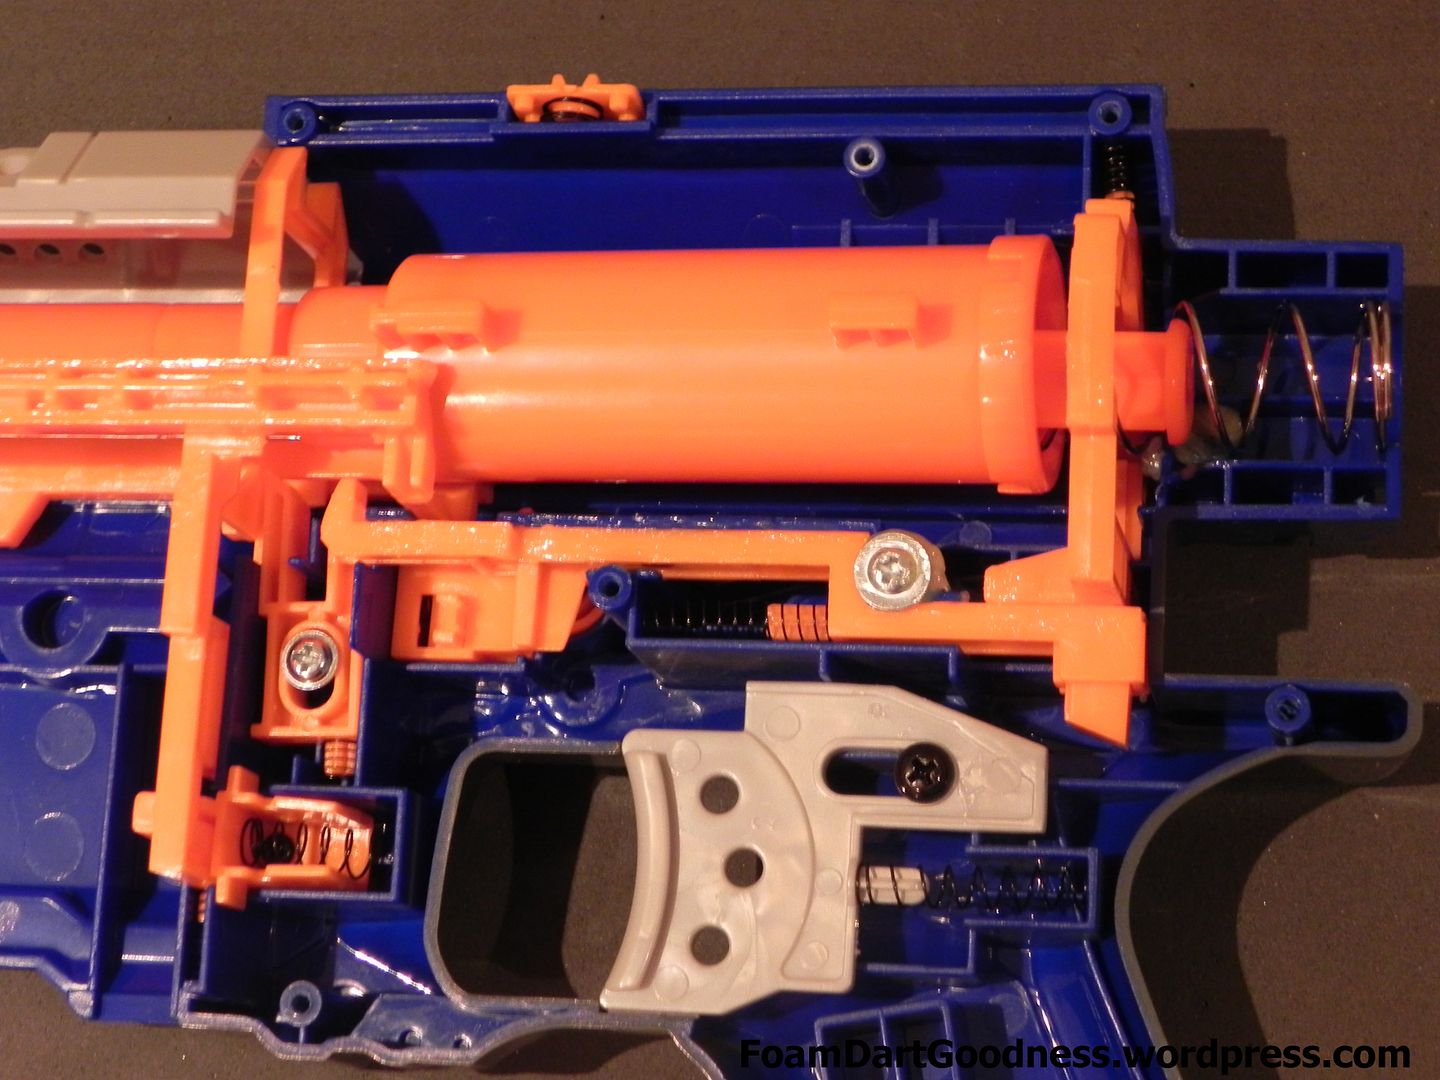
Ok then, on with the dis-assembly. Remove the jam door and the top shroud.
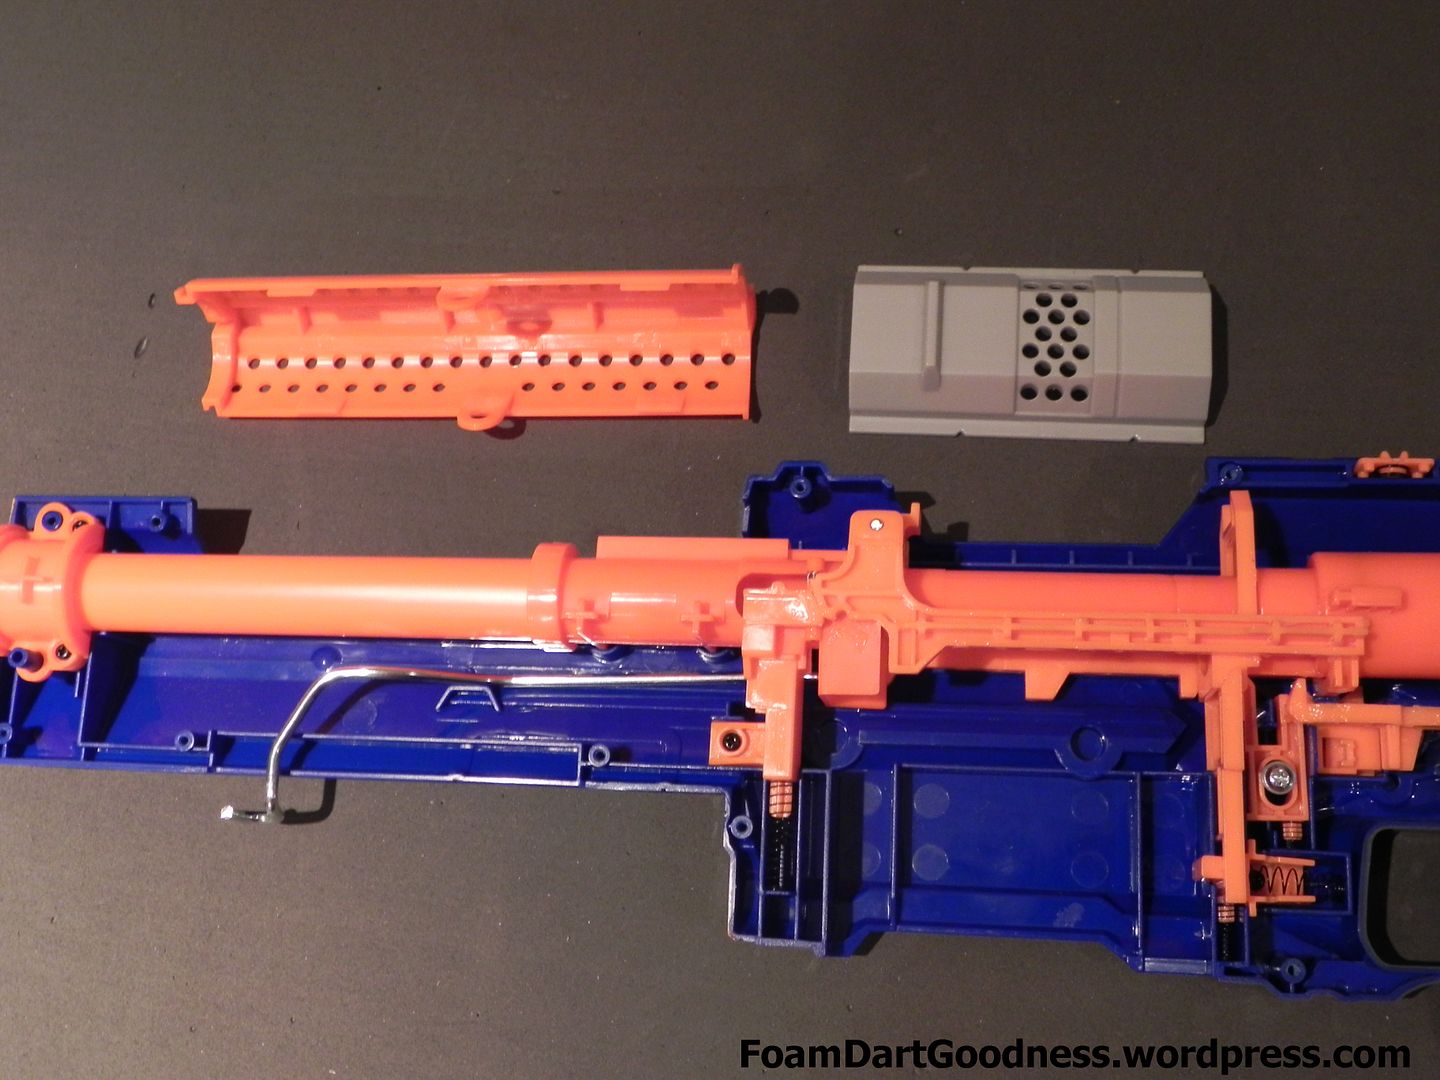
#2
Posted 29 May 2013 - 06:58 AM
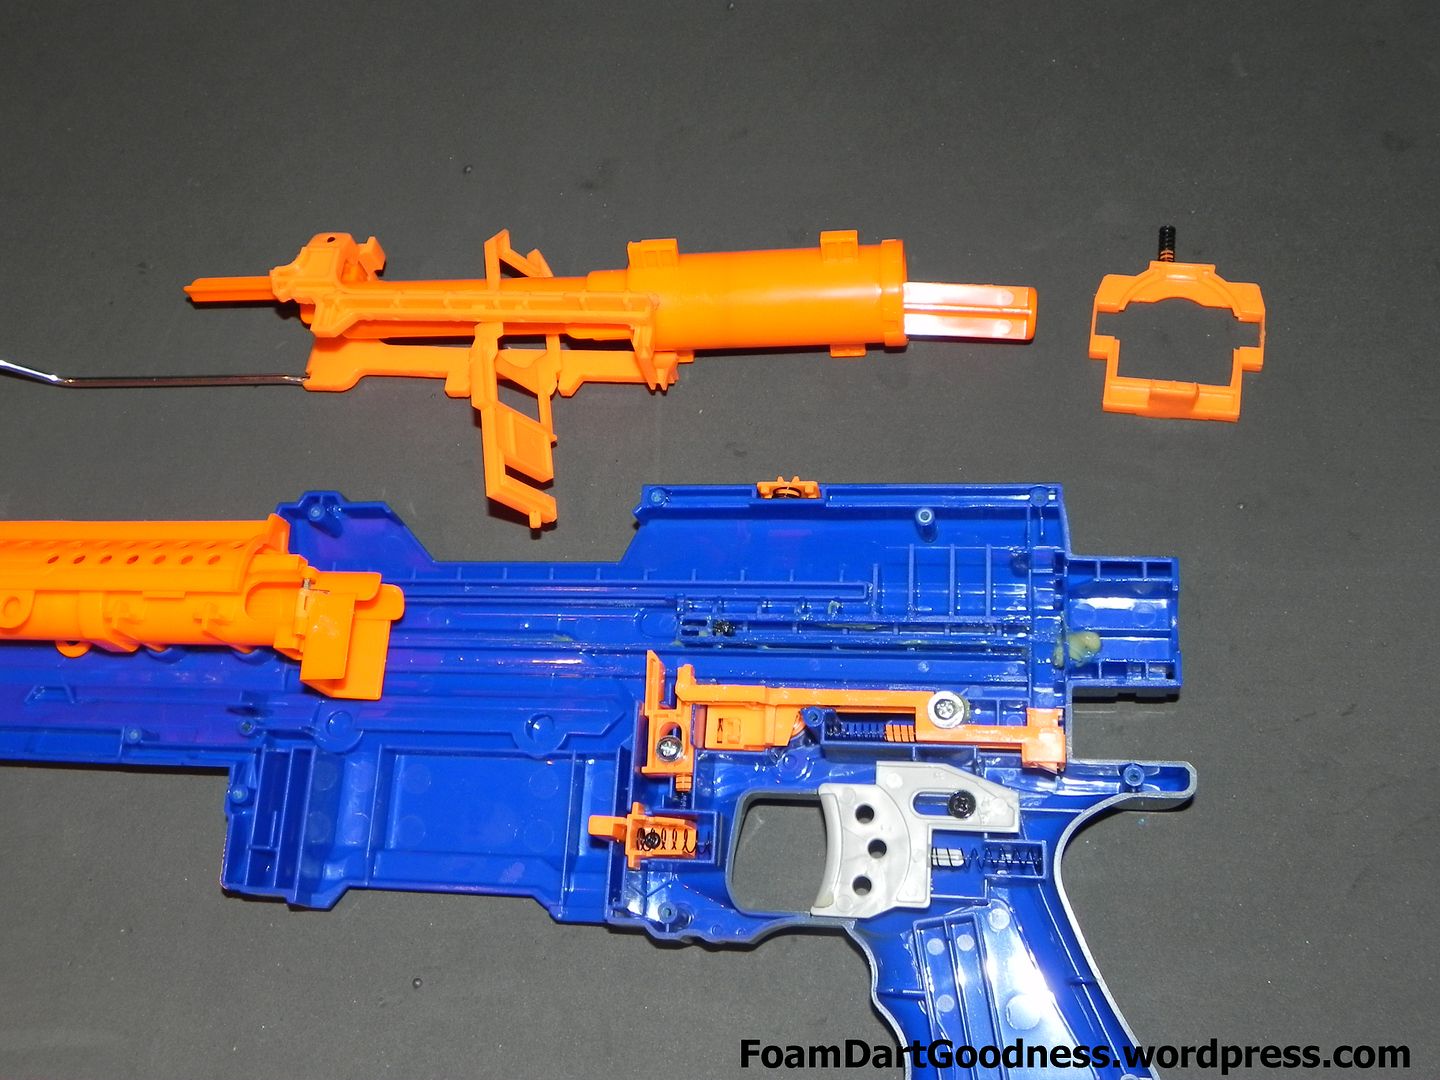
So we can remove the dart tooth.
Then we can remove the whole breech assembly.
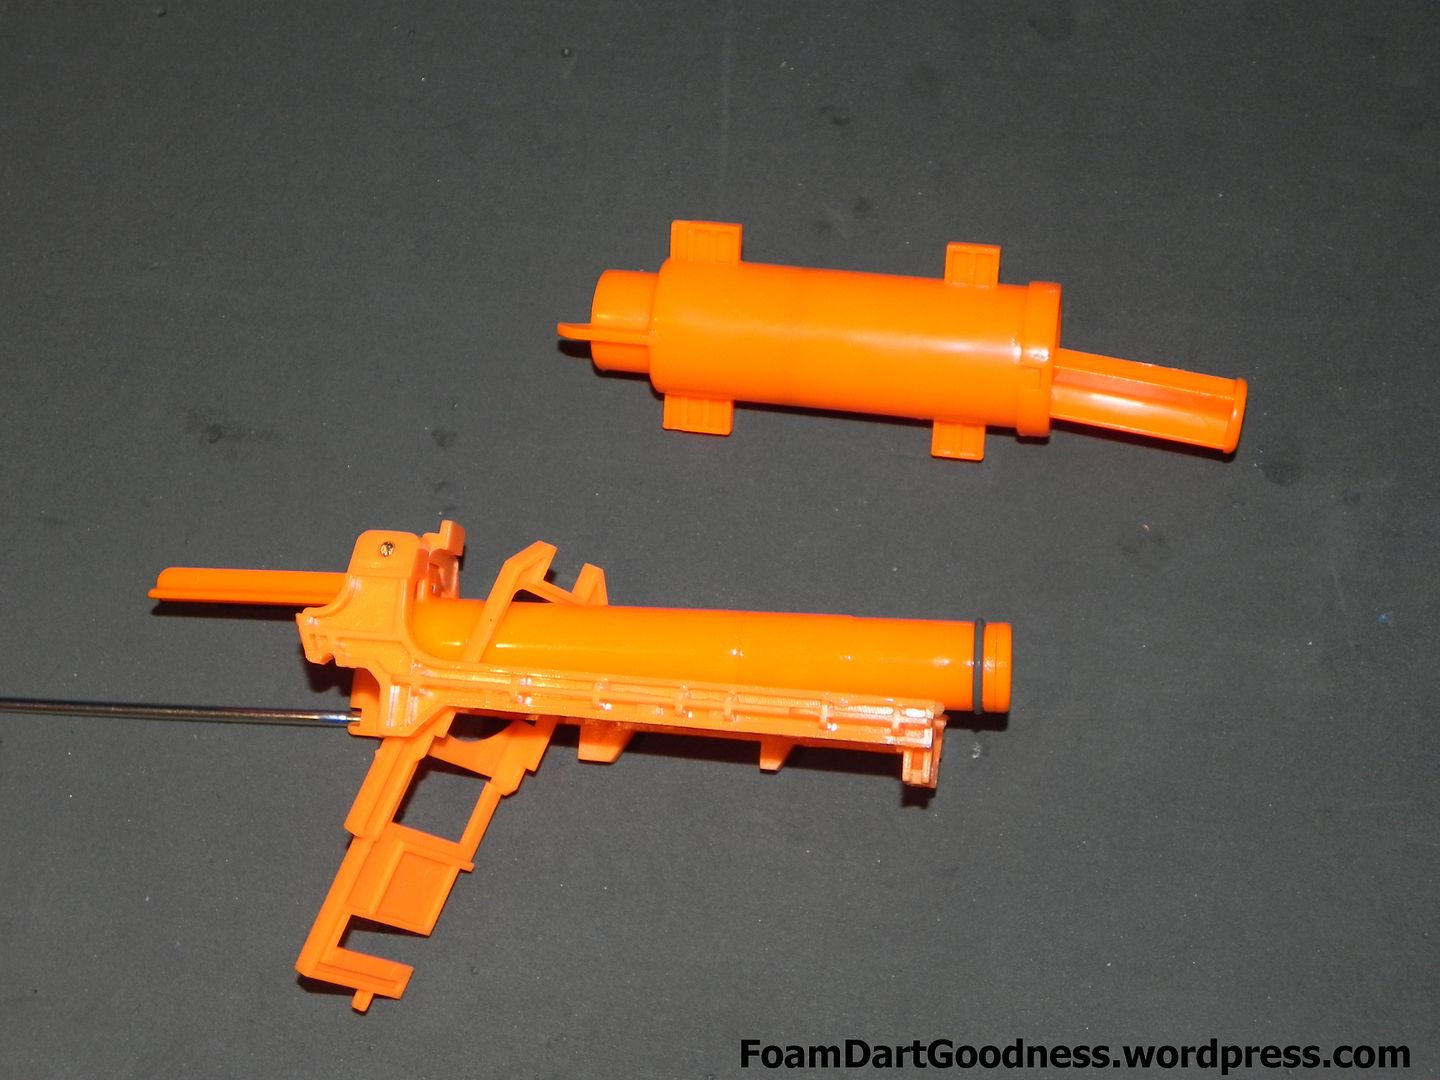
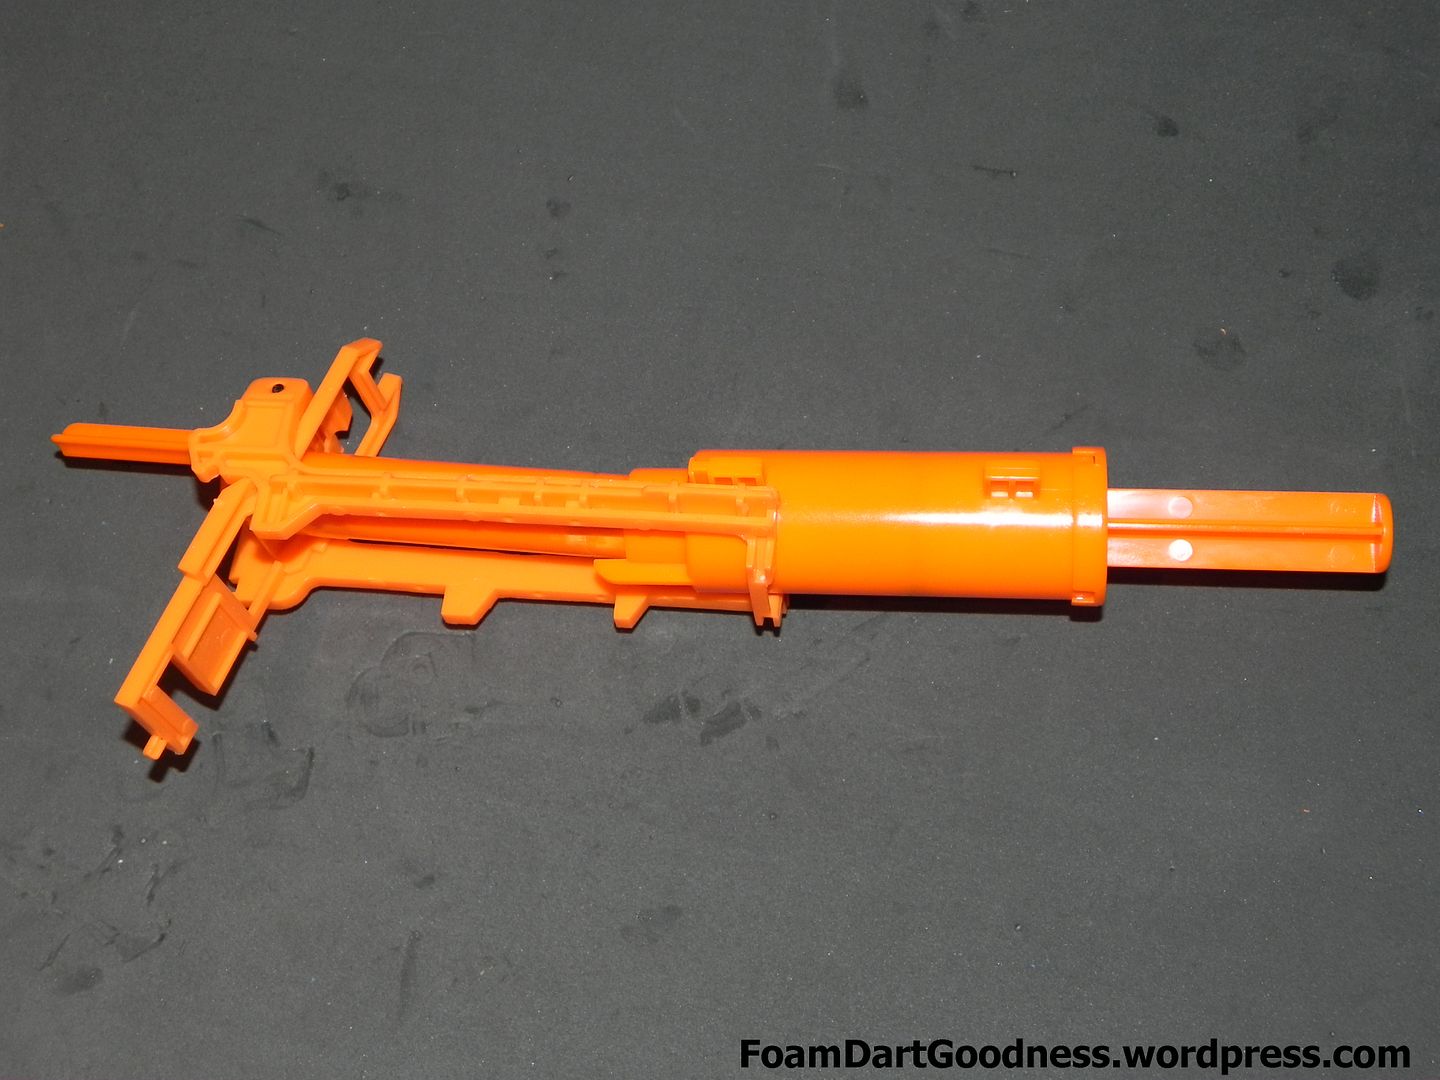
Separate the breech and the plunger.
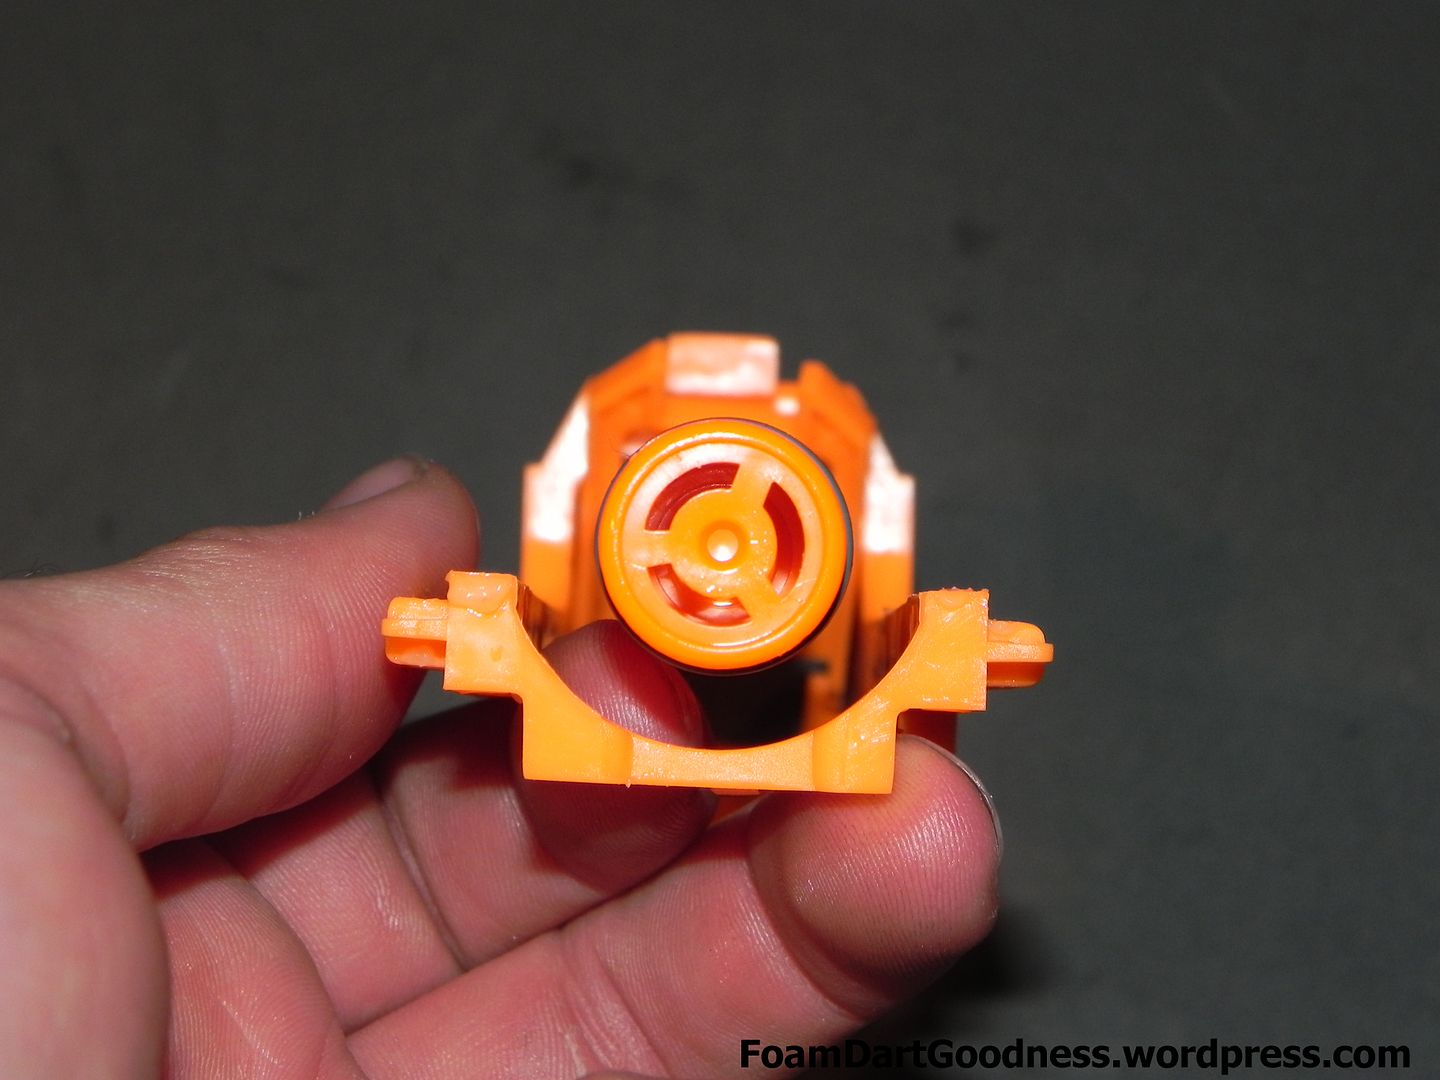
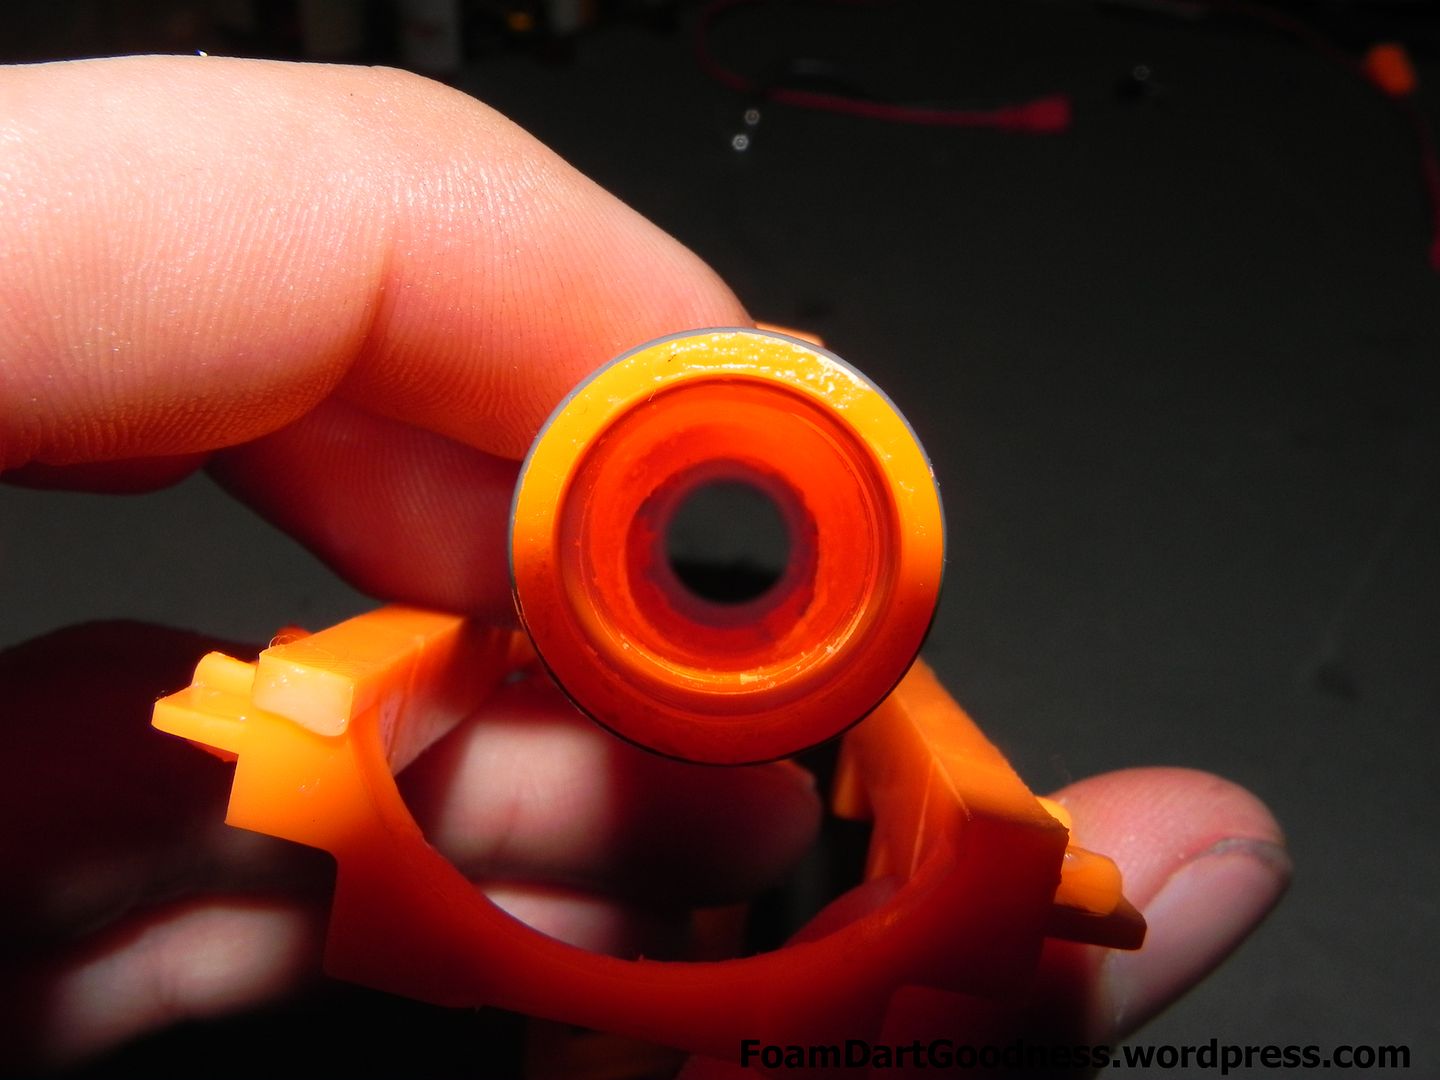
Looking down the back of the breech we should find an AR.
Knock that out with a drill.
Normally I'd recommend separating the breech from the sled but in this case I just could not get the locator pin free. It's not particularly bad if you don't, you just have to be more careful when drilling through that it doesn't grab and break the mounting point between the breech and the sled.
Once that's done, clean it up with a hand file.
Then reassemble.
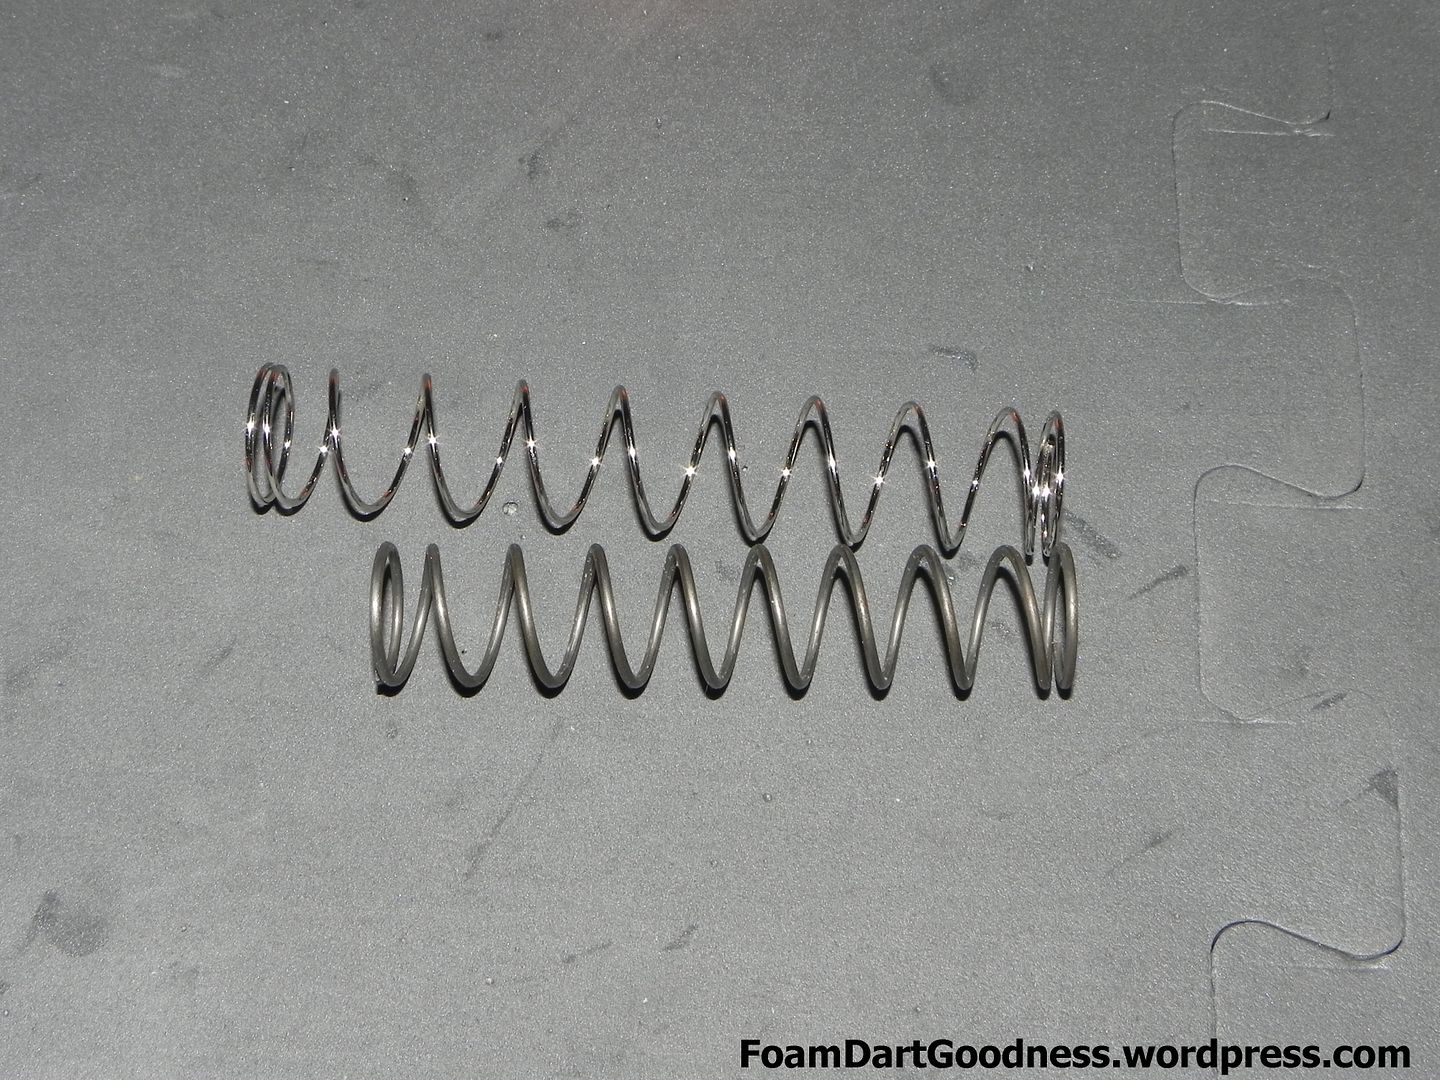
Here's the new beefier spring on the bottom compared to the stock spring on the top. See the difference in length? This causes us some problems.
So, lets get back to the shell.
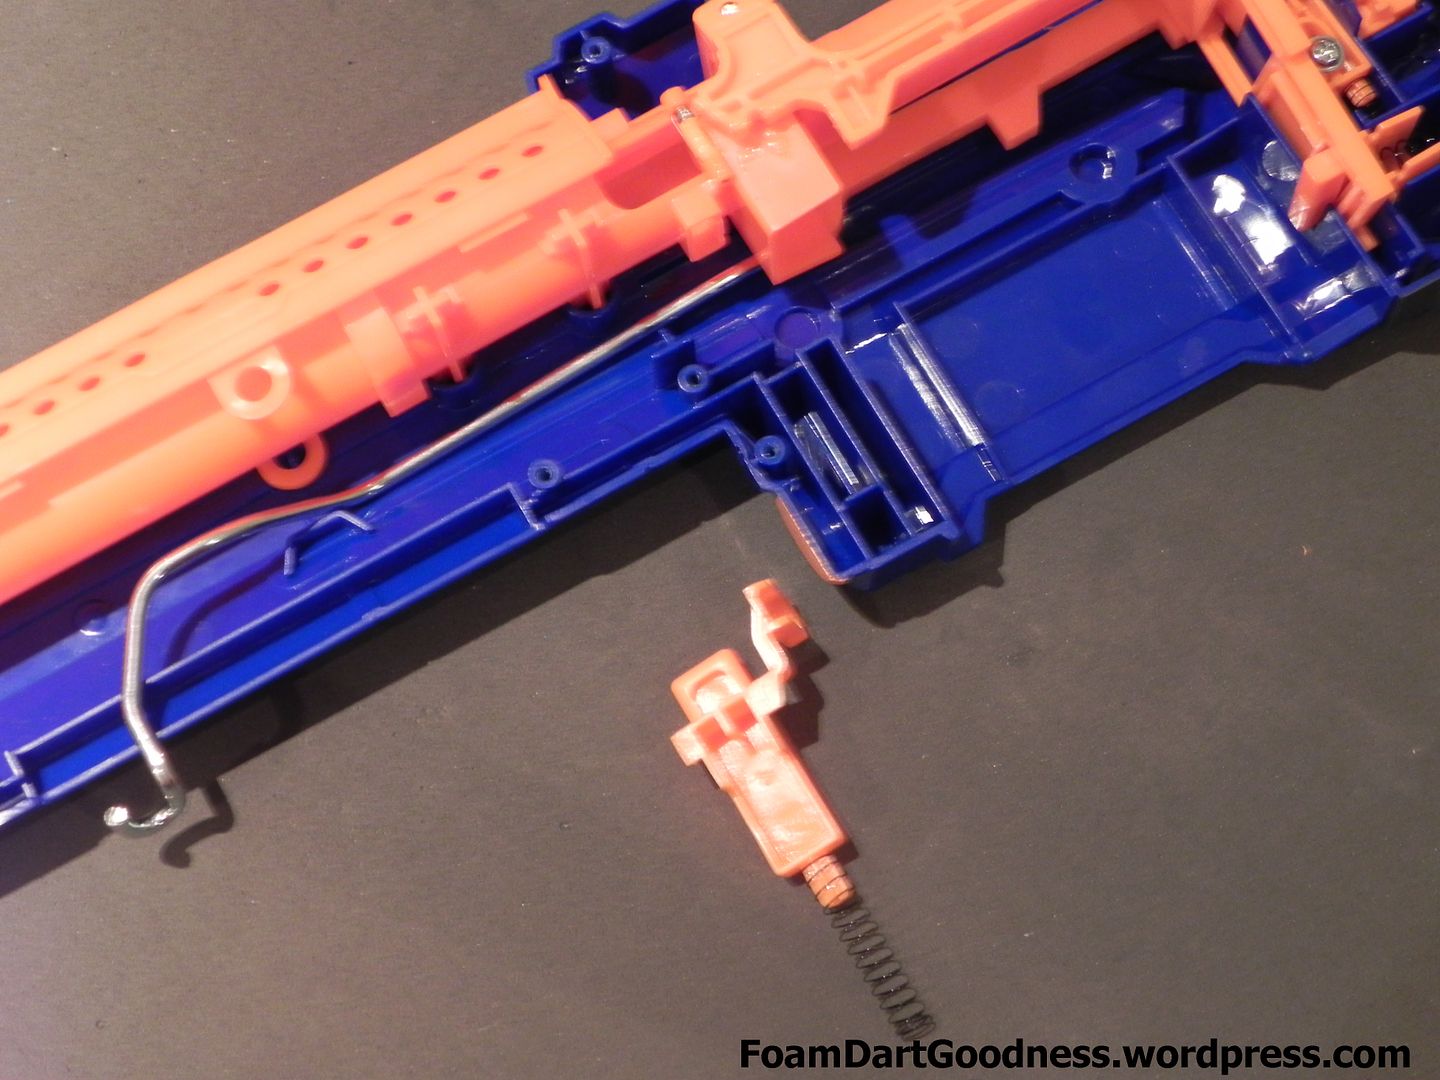
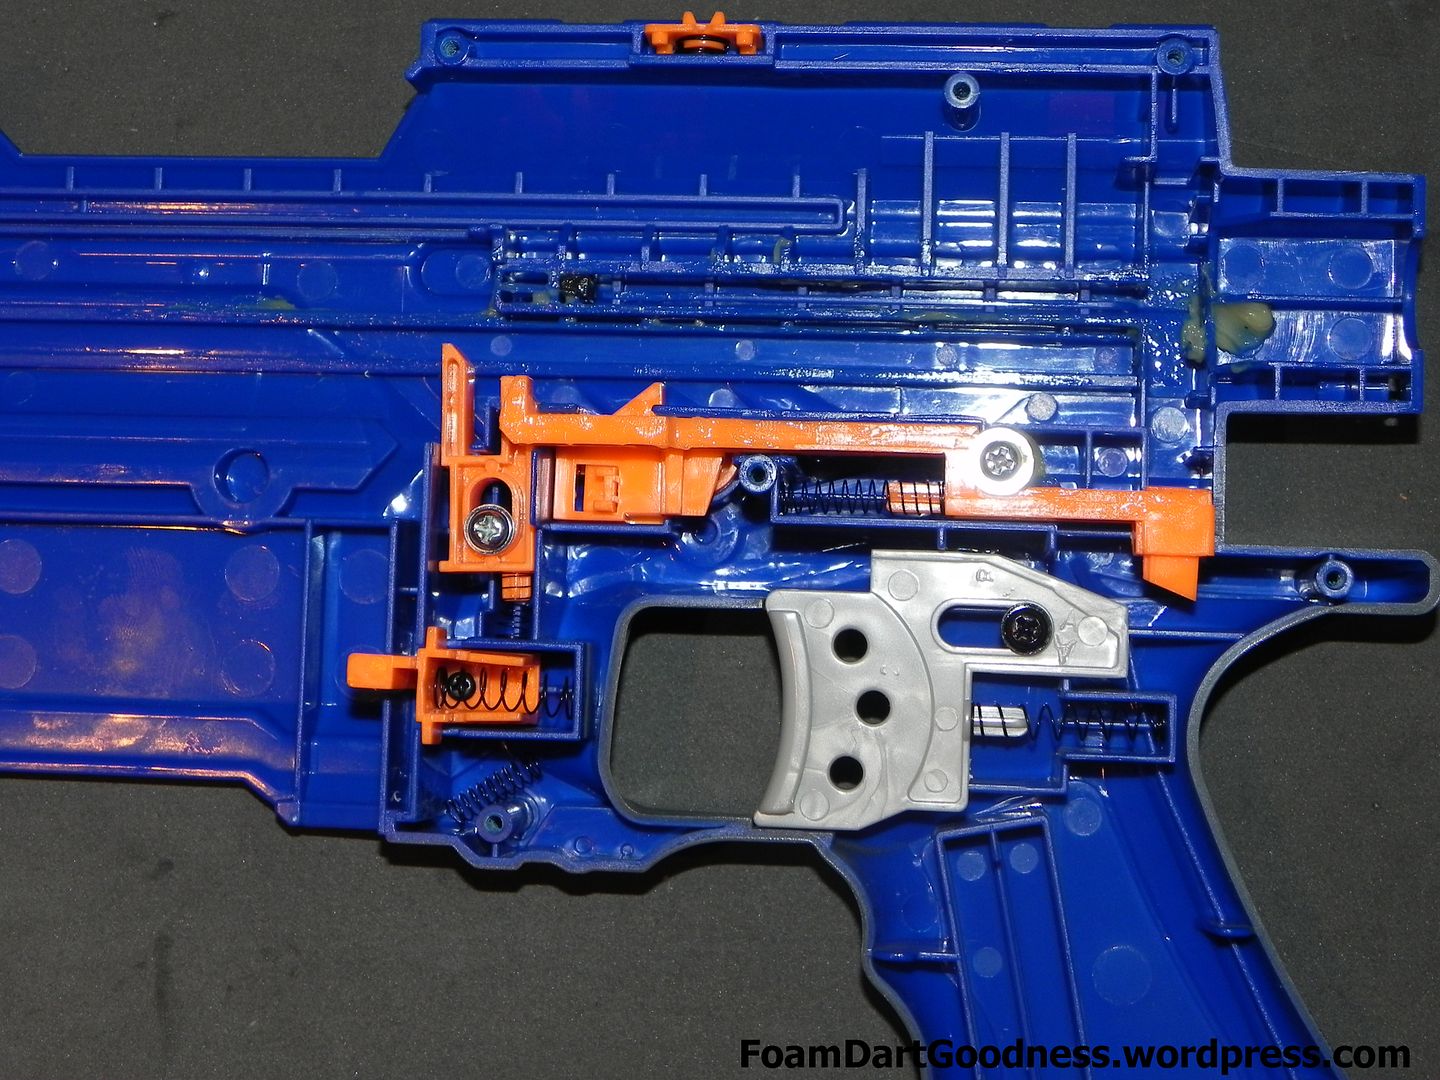
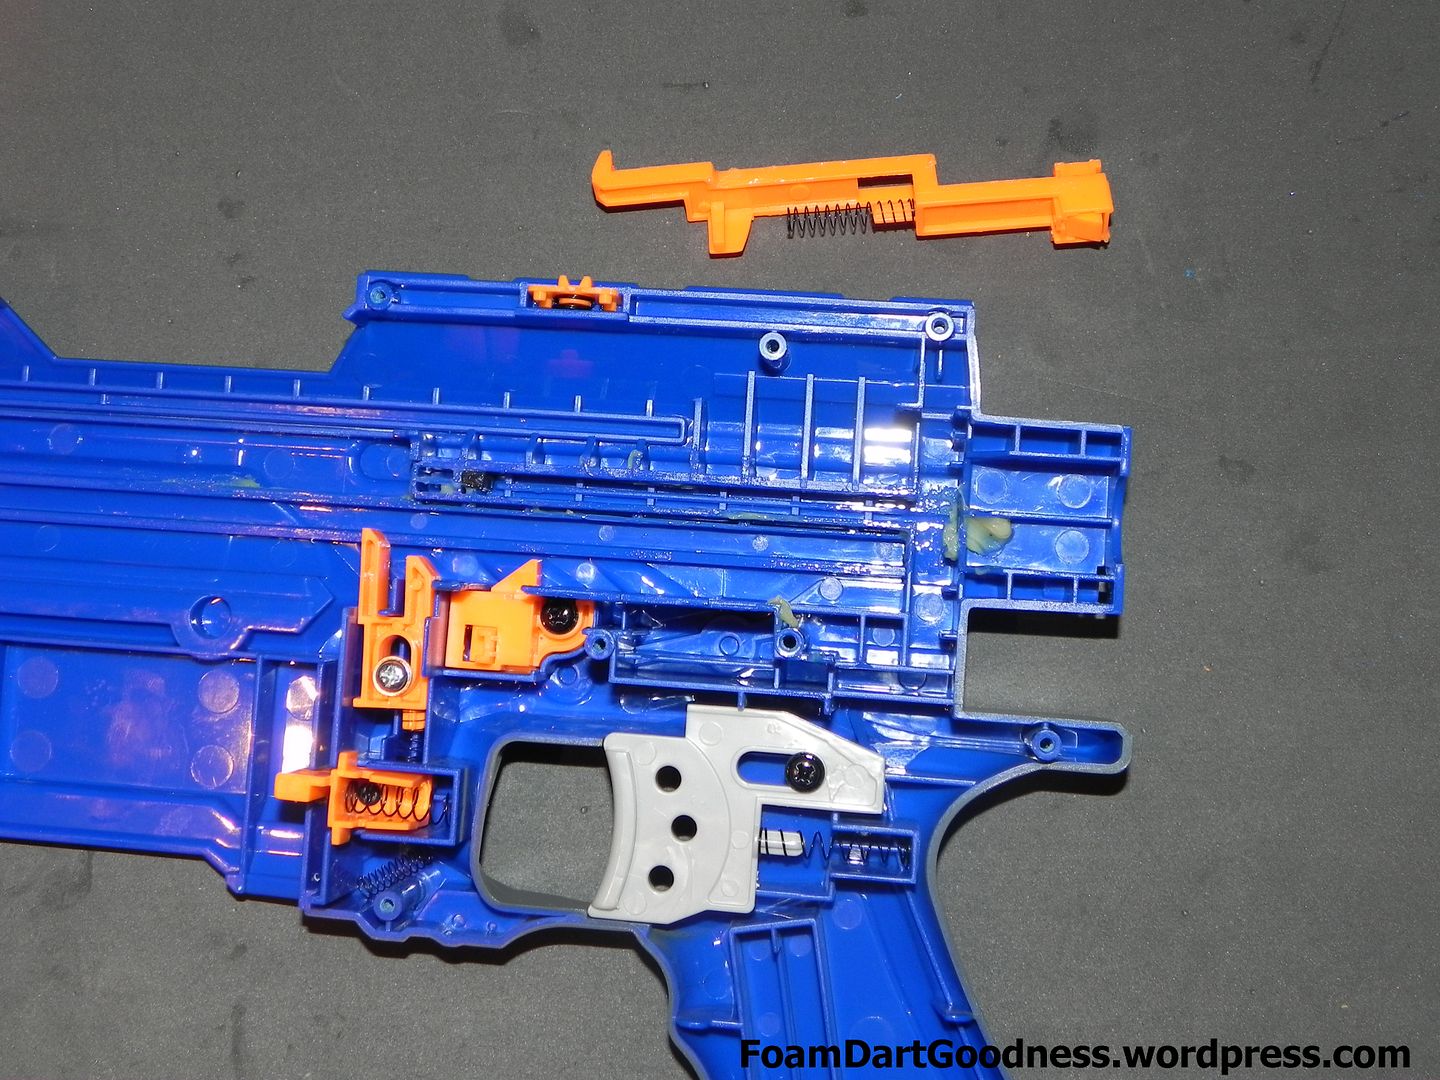
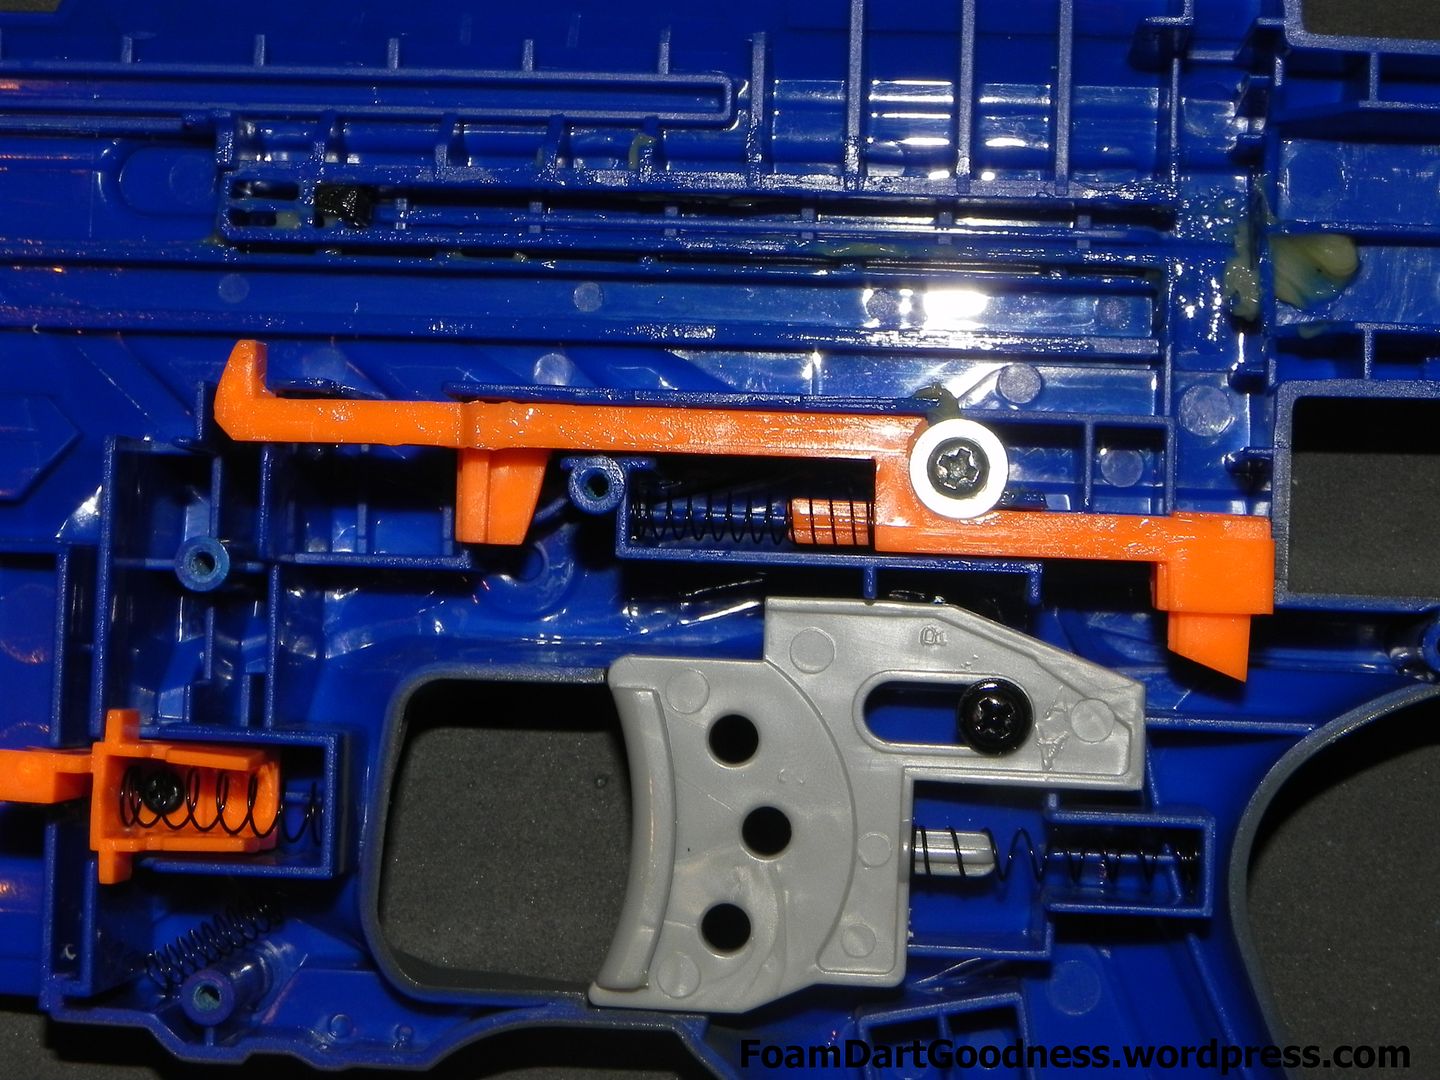
Remove the trigger bar. It's held in by one screw.
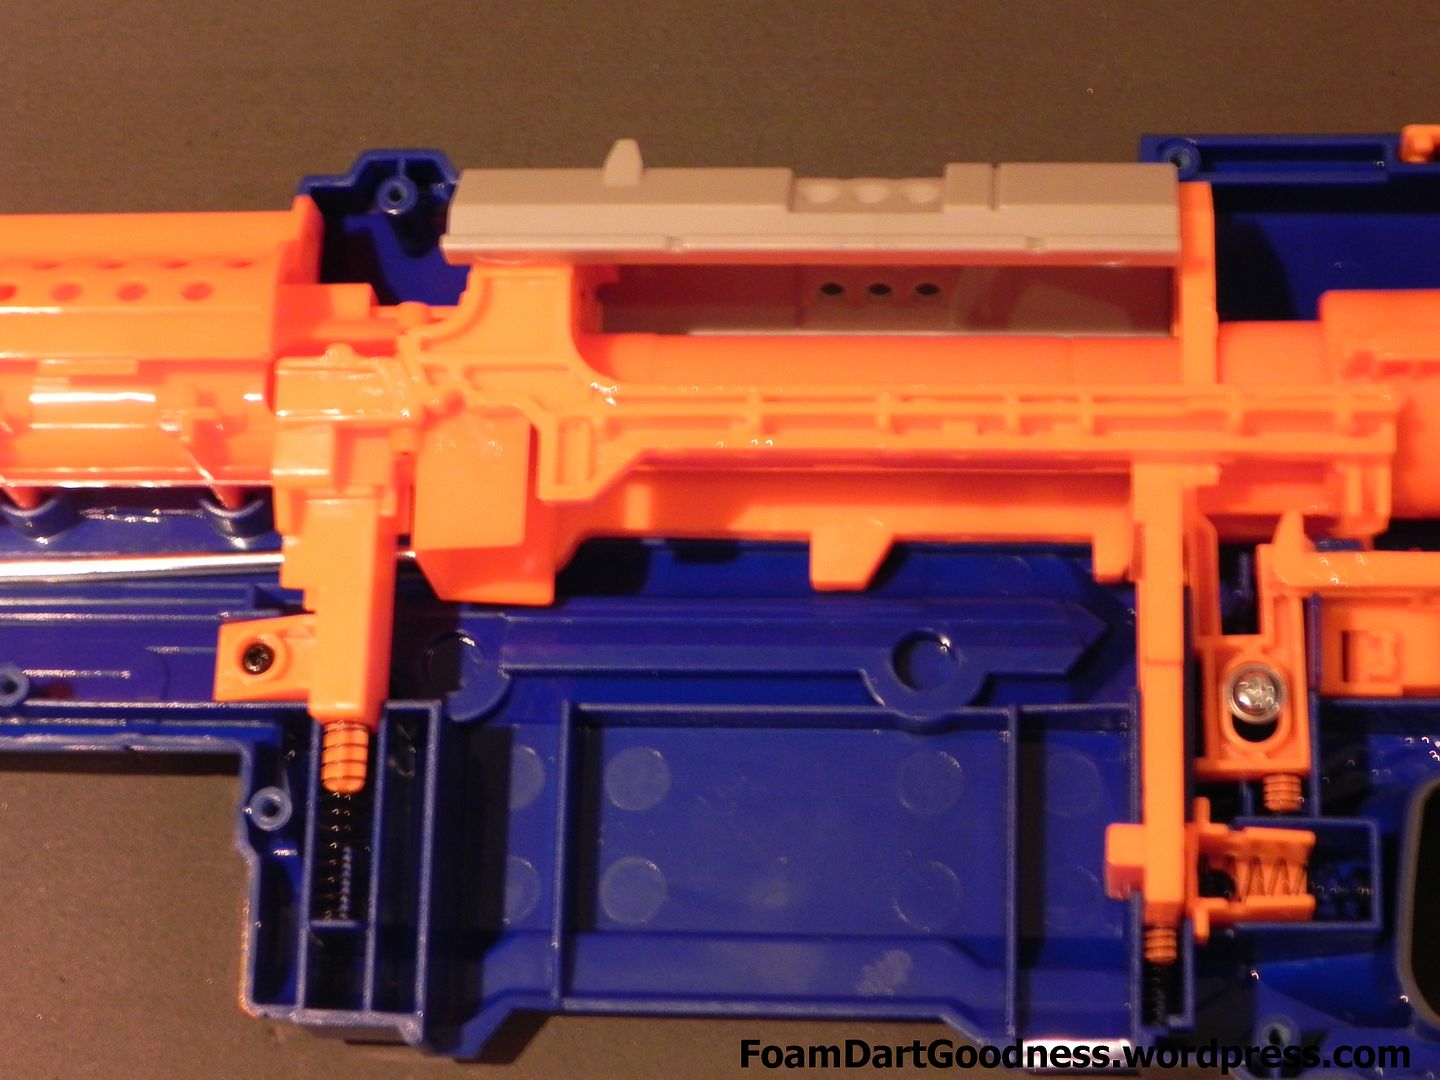
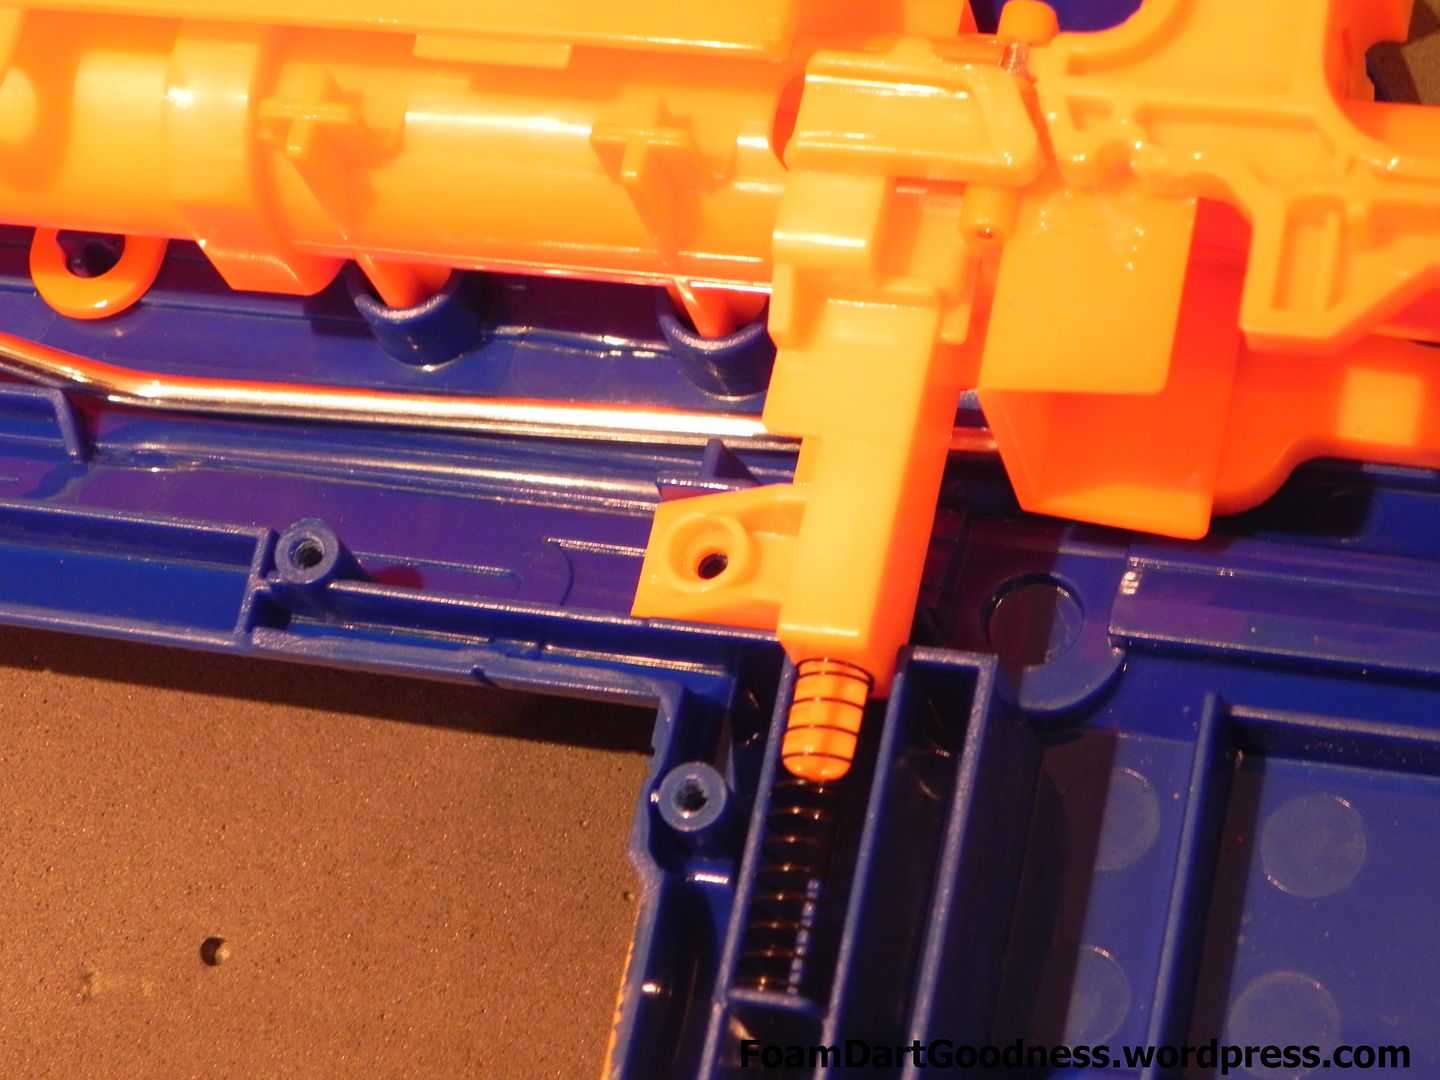
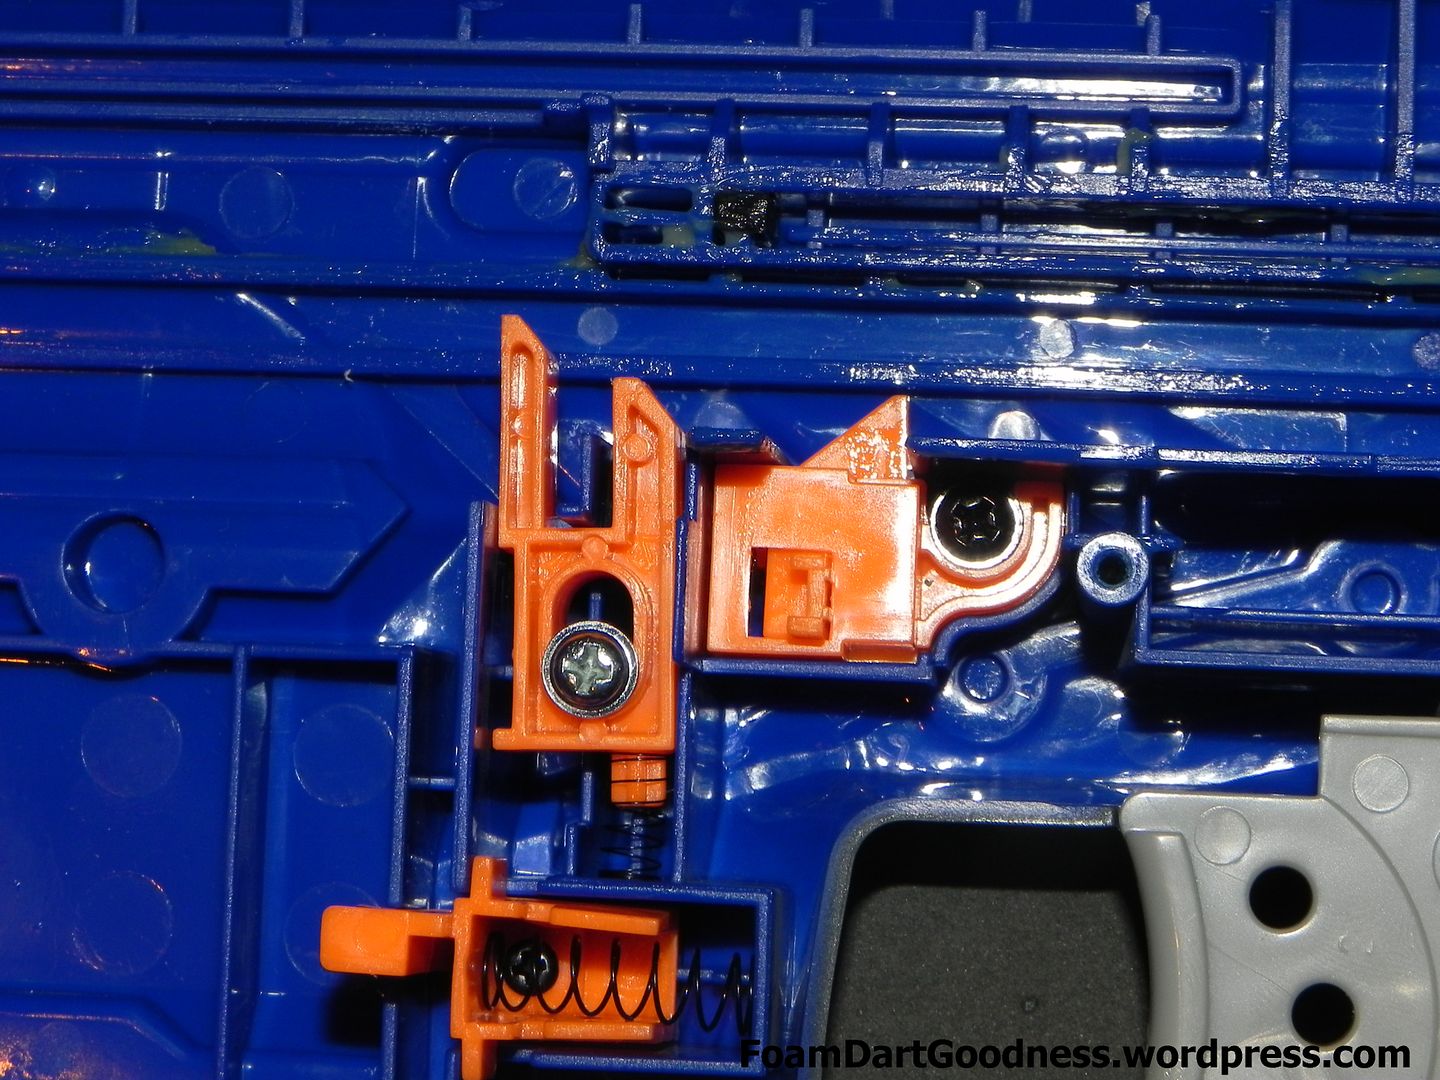
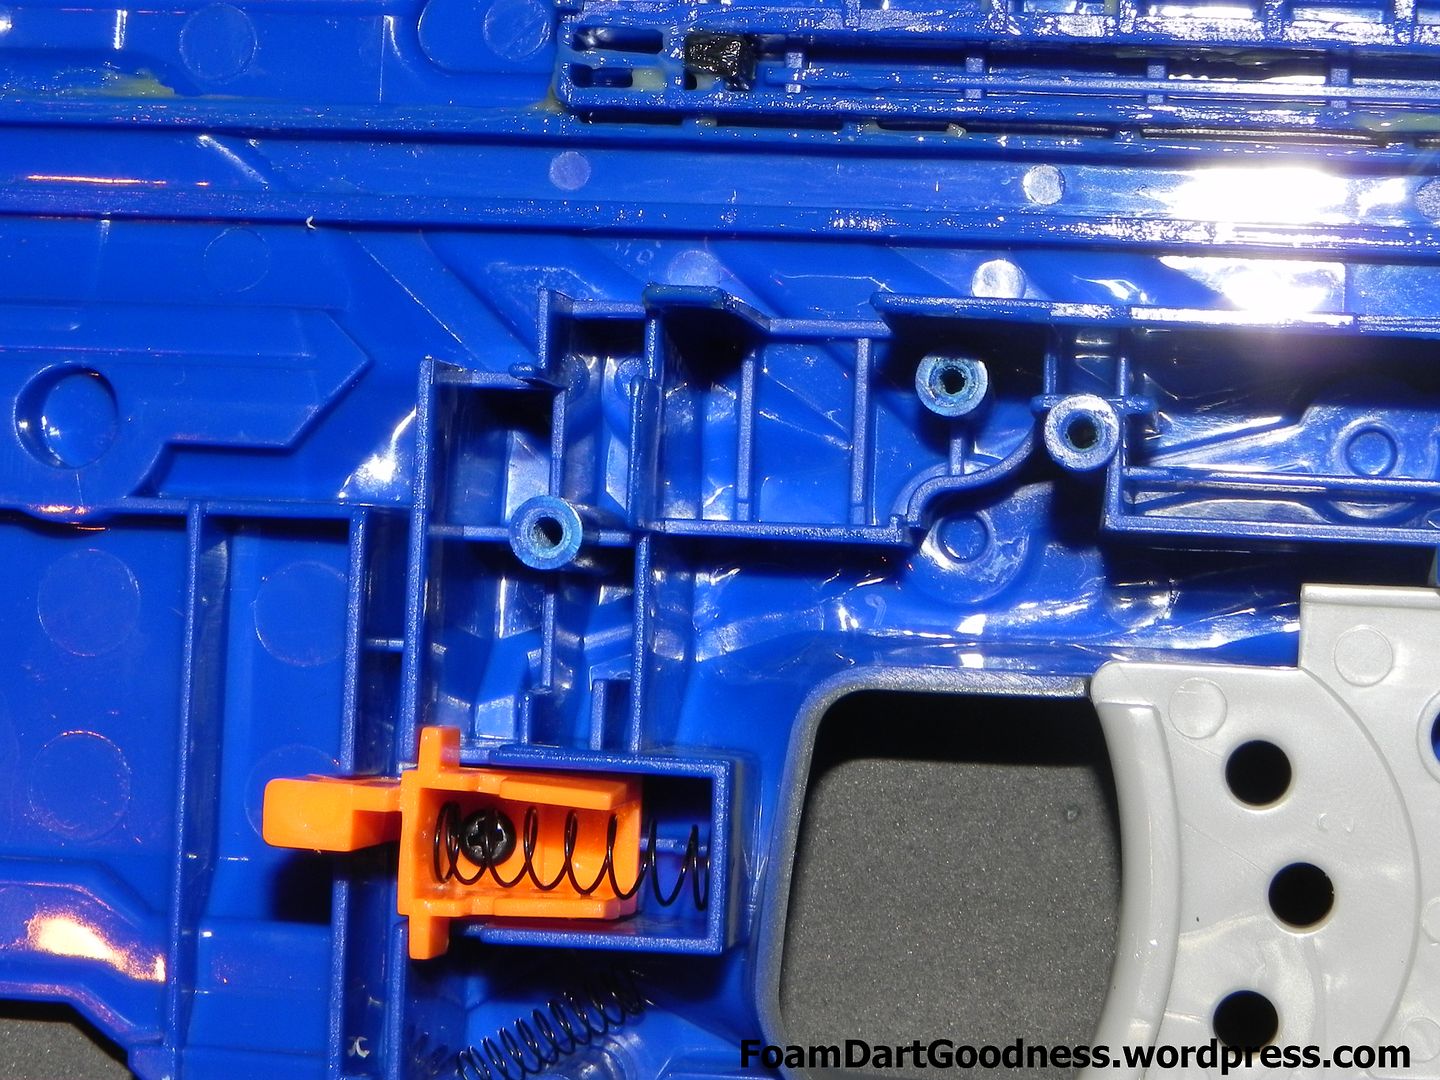
These two locks are the problem.
Remove both of those.
Then replace the trigger bar.
If you're keen you could remove the spring, grind/cut off the front nub, and glue the bar in it's forward position. This would provide added reliability in that when it you pull the trigger, it would fire; but it would also mean the blaster could fire with the breech only half closed, which would cause jams. Provided you're consistent with your priming, and your trigger discipline, you will get improved reliability from your blaster.
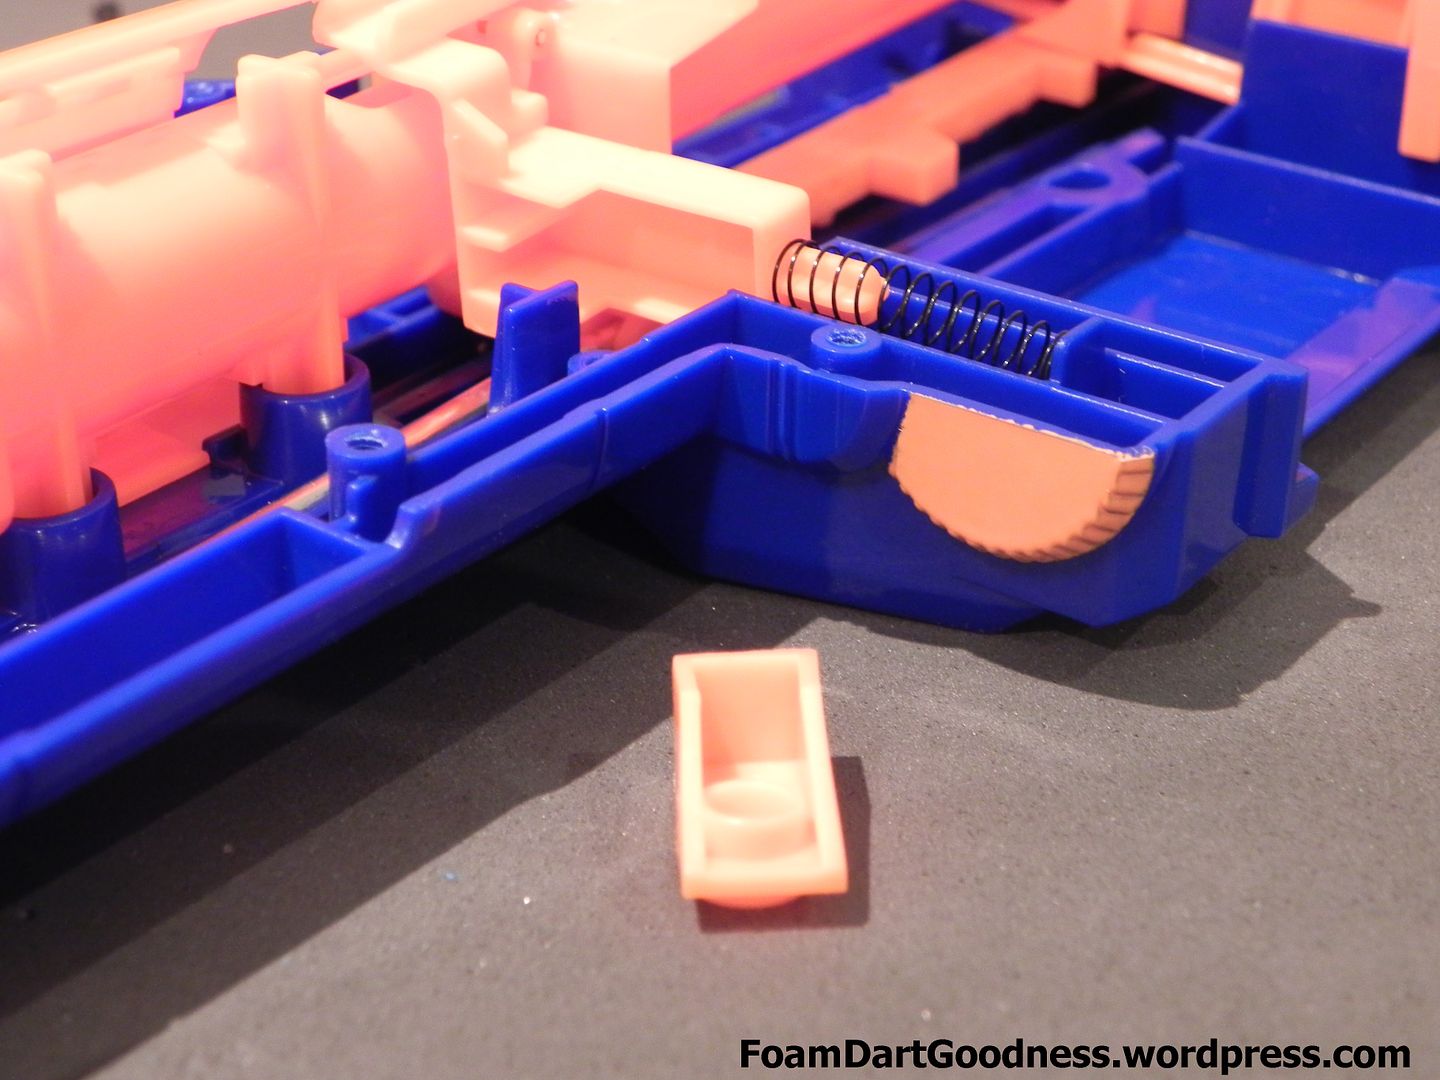
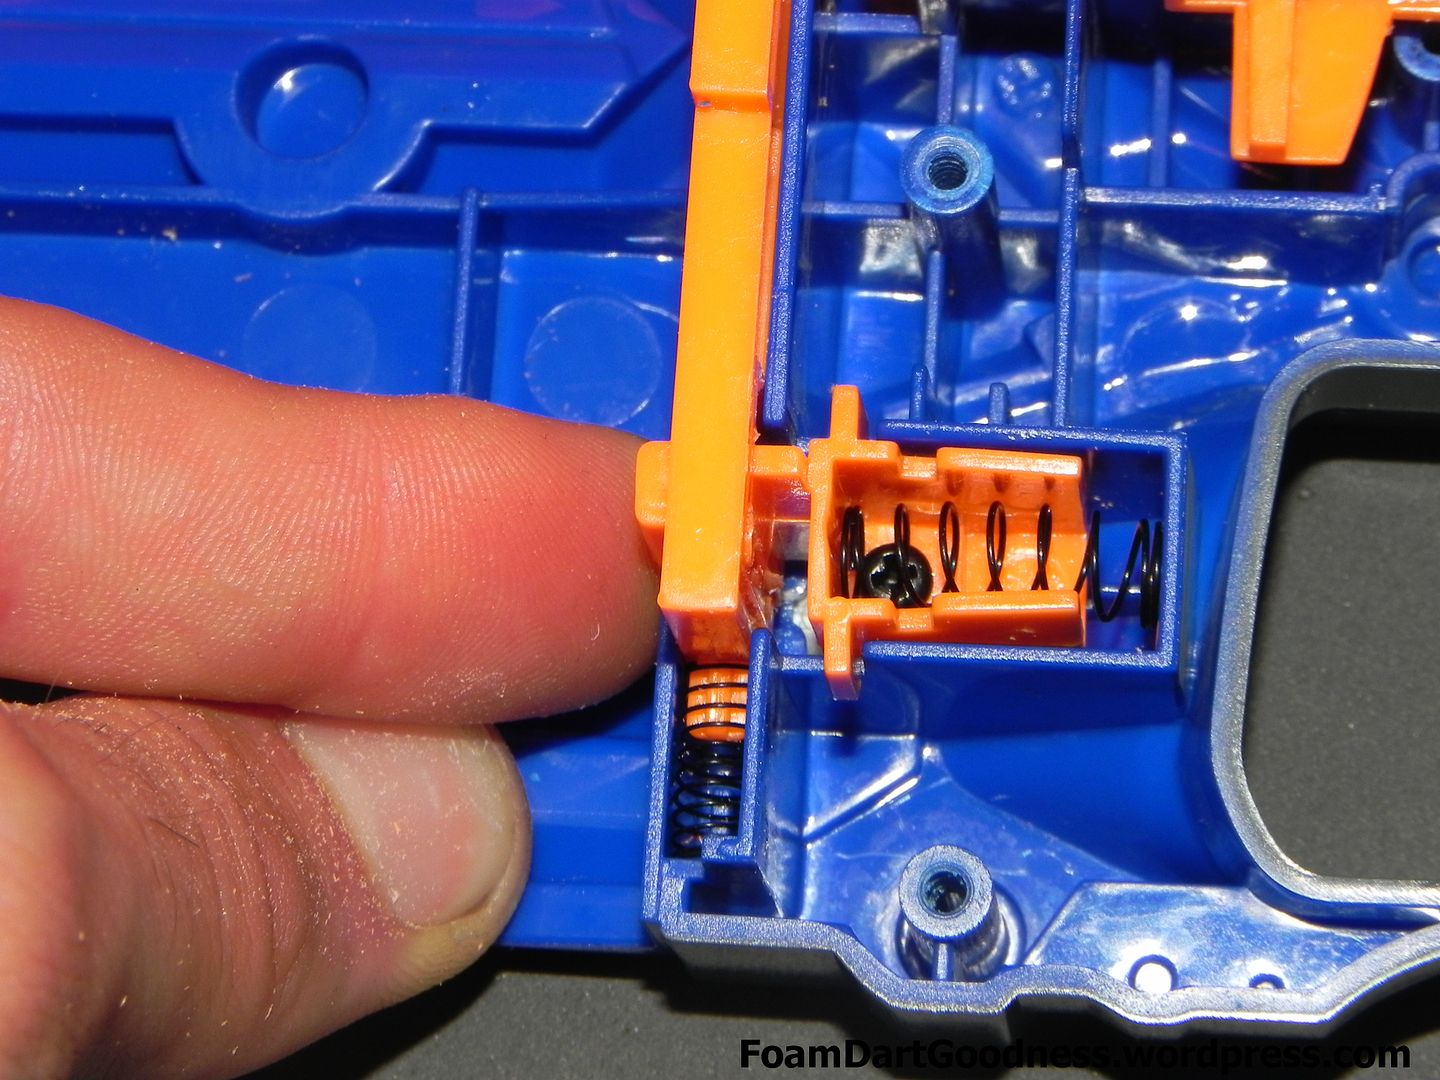
Next up is the clip release lock. We need to grind/cut/file this lip off.
Like so.
Doing this allows us to depress the clip release button, even when the blaster is primed. This is again necessary due to the shorter main spring.
See.
Then reassemble.
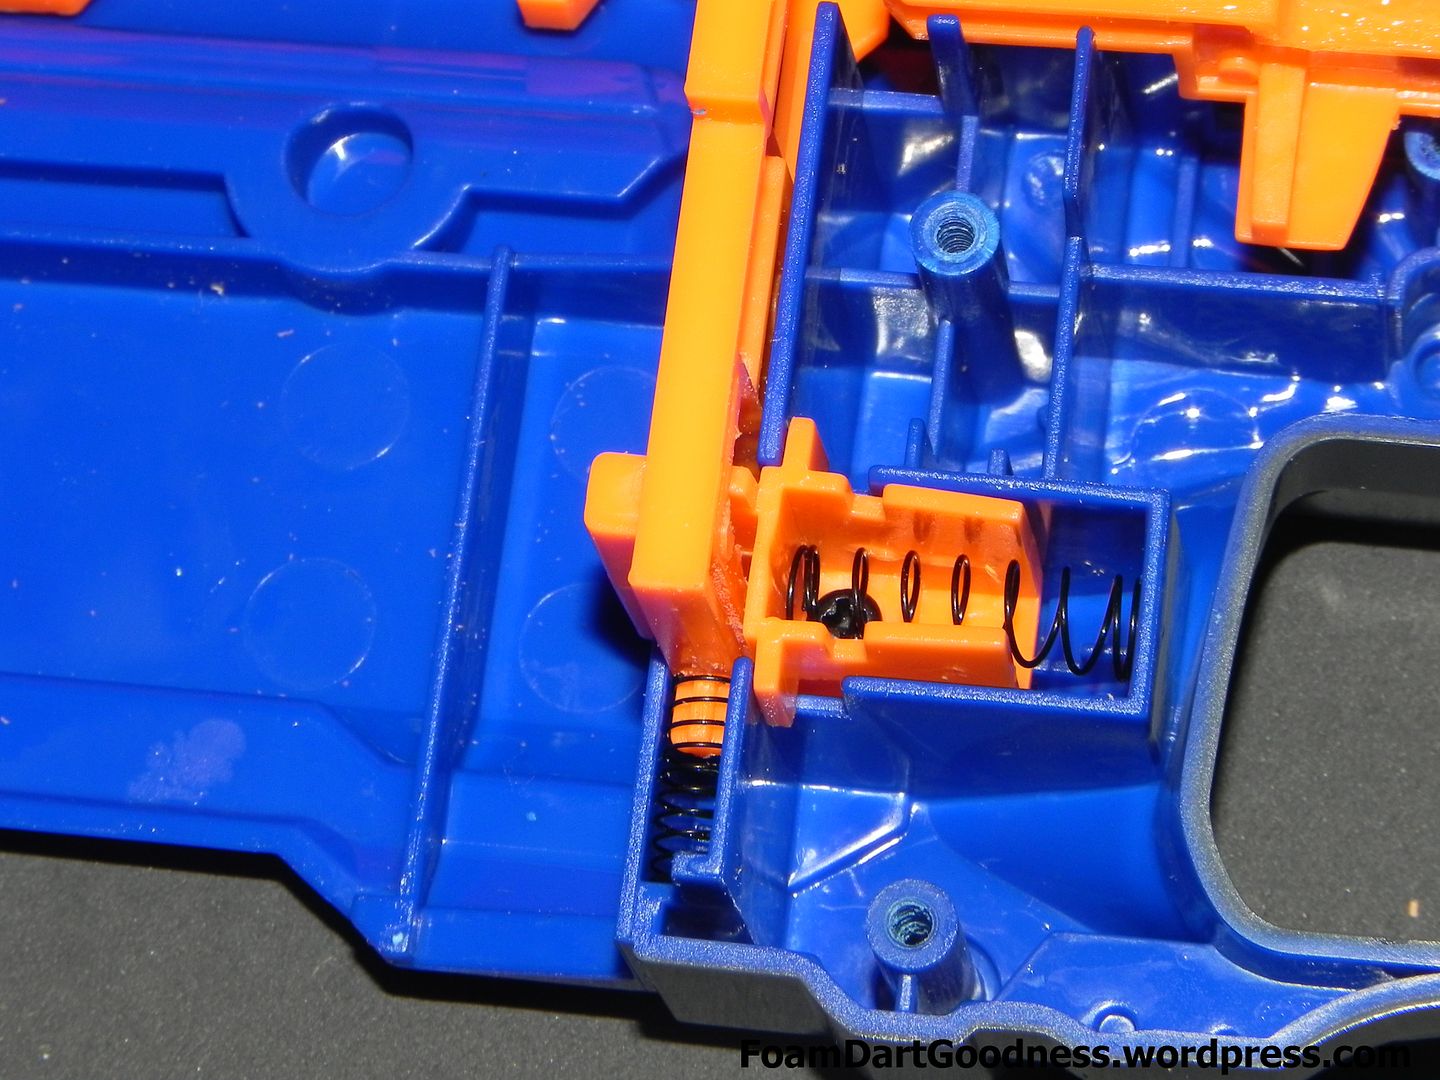
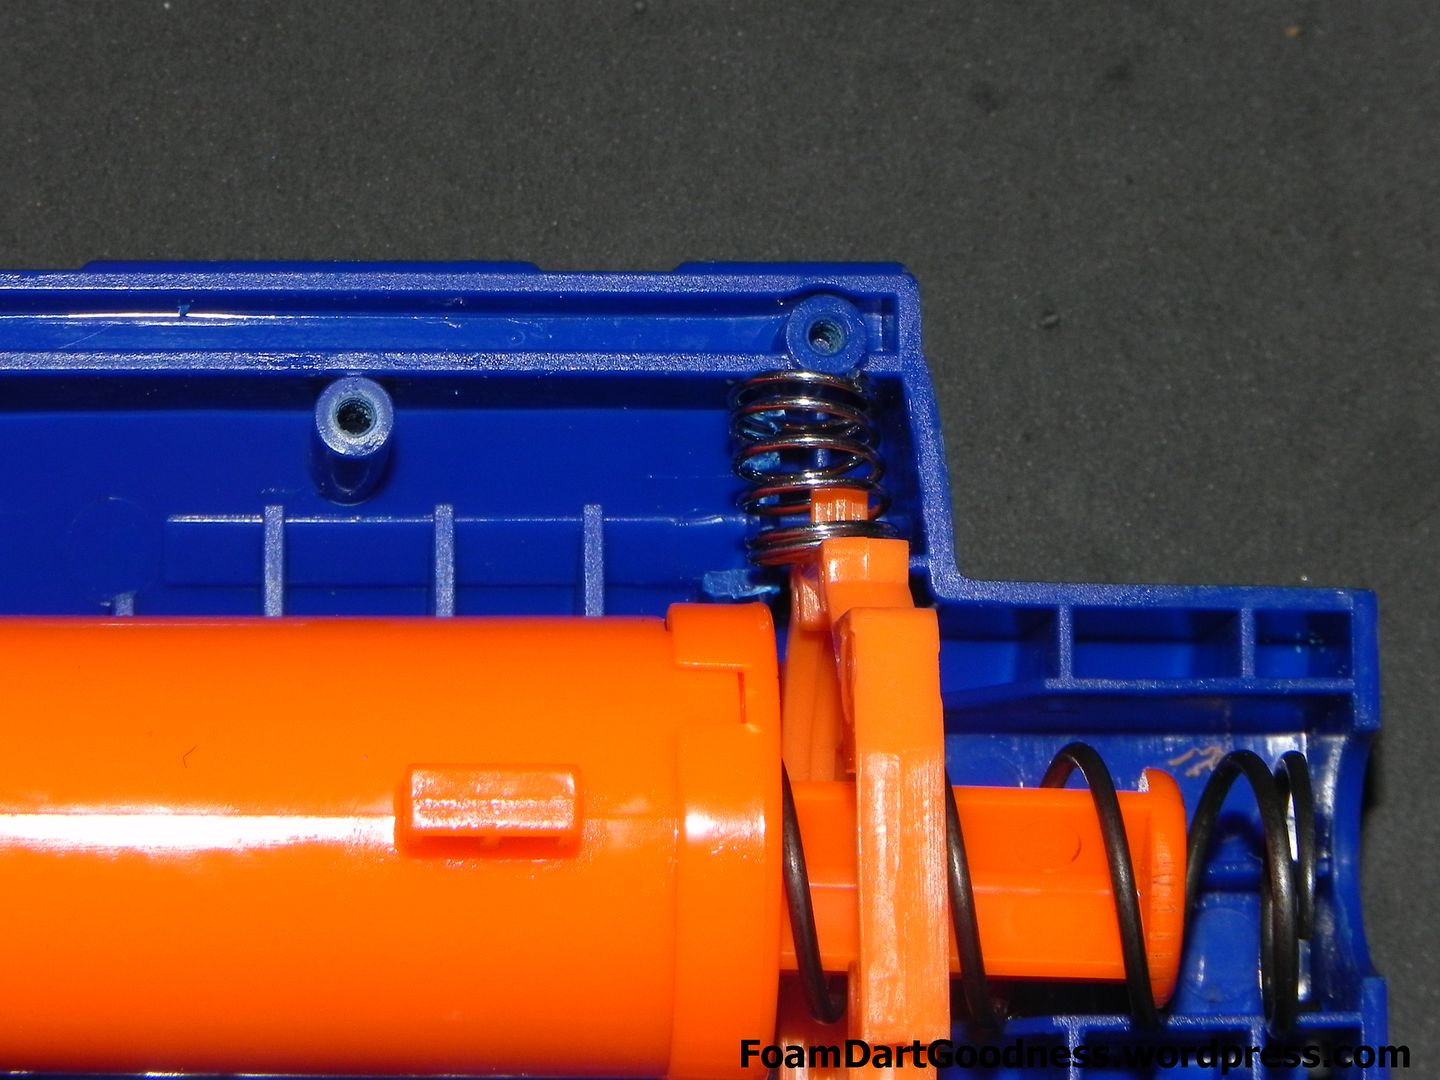
One last mod is a stronger catch spring. The new main spring puts a lot more strain on the catch and we need to improve that.
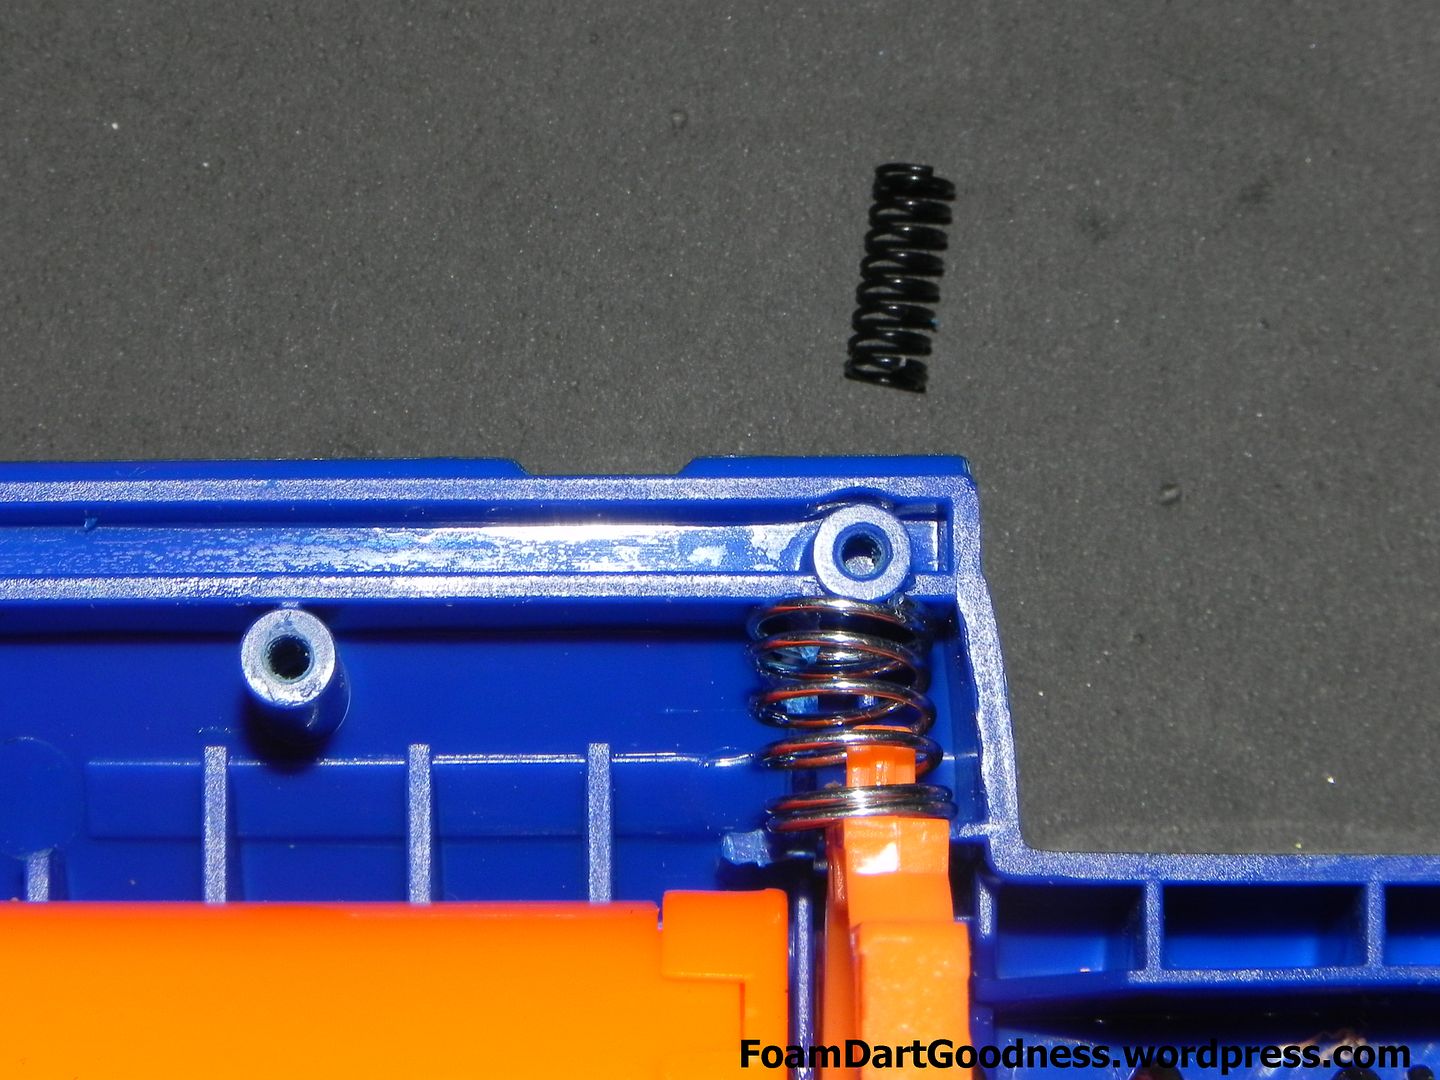
This spring in particular is one I grabbed from bunnings forever ago to use in a Longshot catch. I have no idea what the product number was unfortunately but it came in a pack of three and has a diameter of 9.35mm and an uncompressed length of 17.75mm.
Here it is compared to the stock spring.
Due to the increased diameter I did have to cut away some of the inside of the shell here, but I'm sure you'll figure out your own requirements based on your chosen spring pretty easily.
From here, reassemble and we're done. My camera died right at this point so there's no photos of said reassembly, but I'm sure you can work it out.
#3
Posted 29 May 2013 - 07:26 AM
Question though, why take the time to shave and cut the clip lock, why not just remove it like all the others?
Edited by Griever 2112, 29 May 2013 - 07:26 AM.
My Youtube PageGriever 2112 still plays with his alpha trooper quite often despite owning one of the scariest +bows.
#4
Posted 29 May 2013 - 11:52 PM
Not sure how that would come off whilst removing the AR, but yes, don't lose that.
I didn't completely remove the clip lock as it also functions as the jam door lock and this blaster's new owner wanted the lock in place.
If you wanted to remove it, it would probably be easier.
#5
Posted 30 May 2013 - 01:35 PM
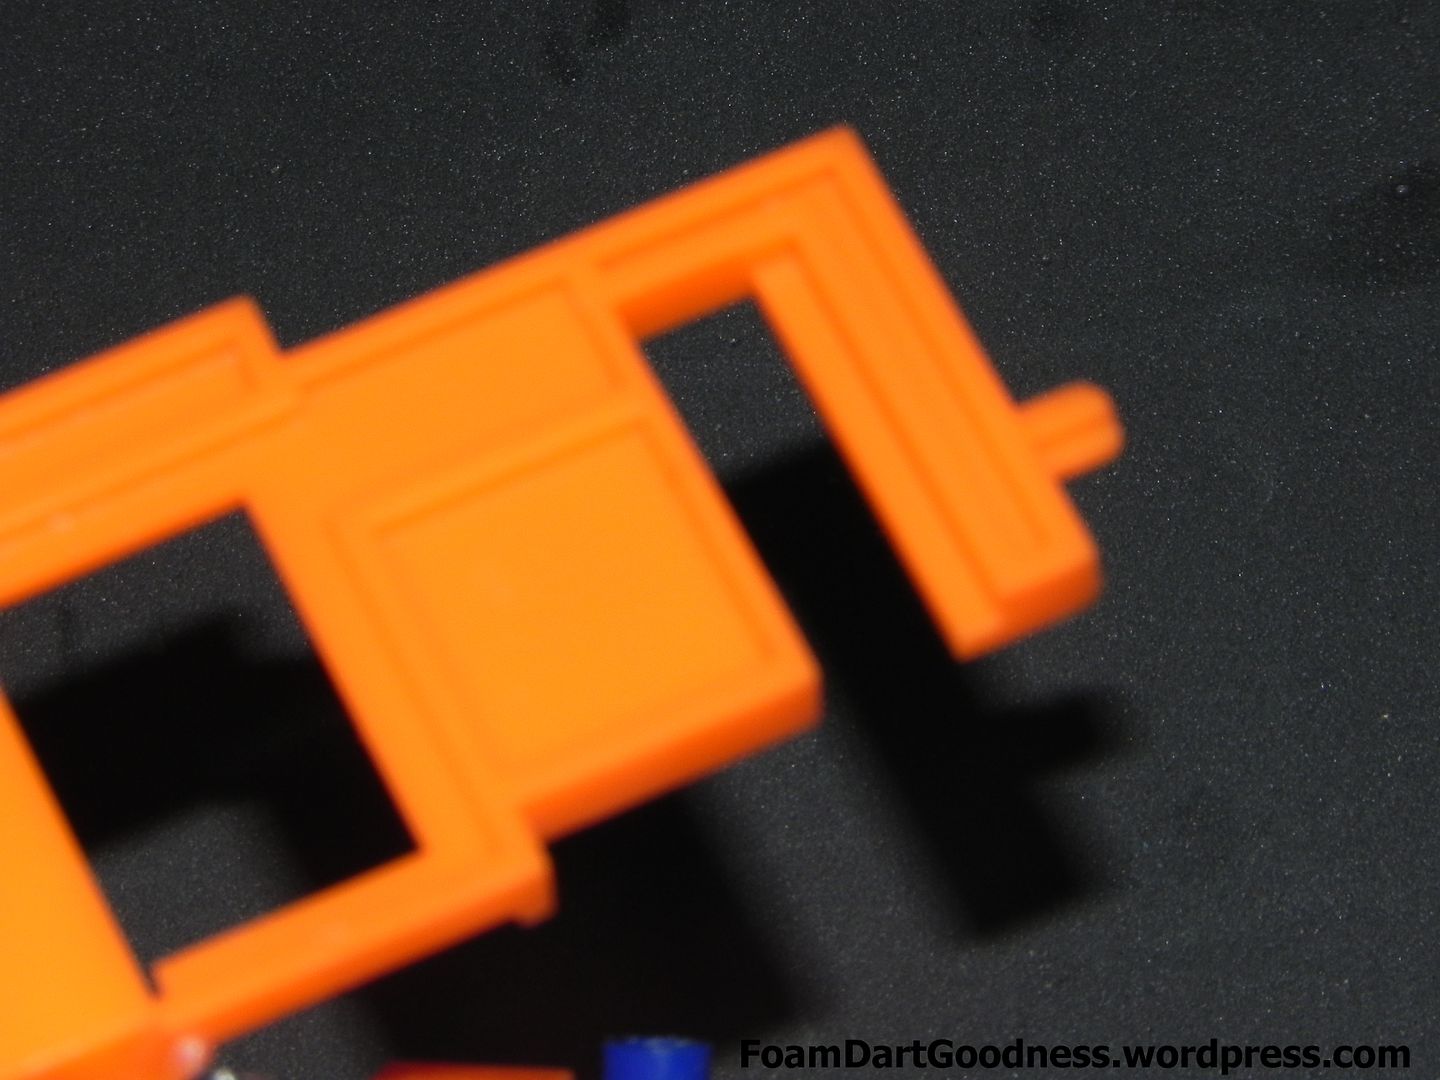
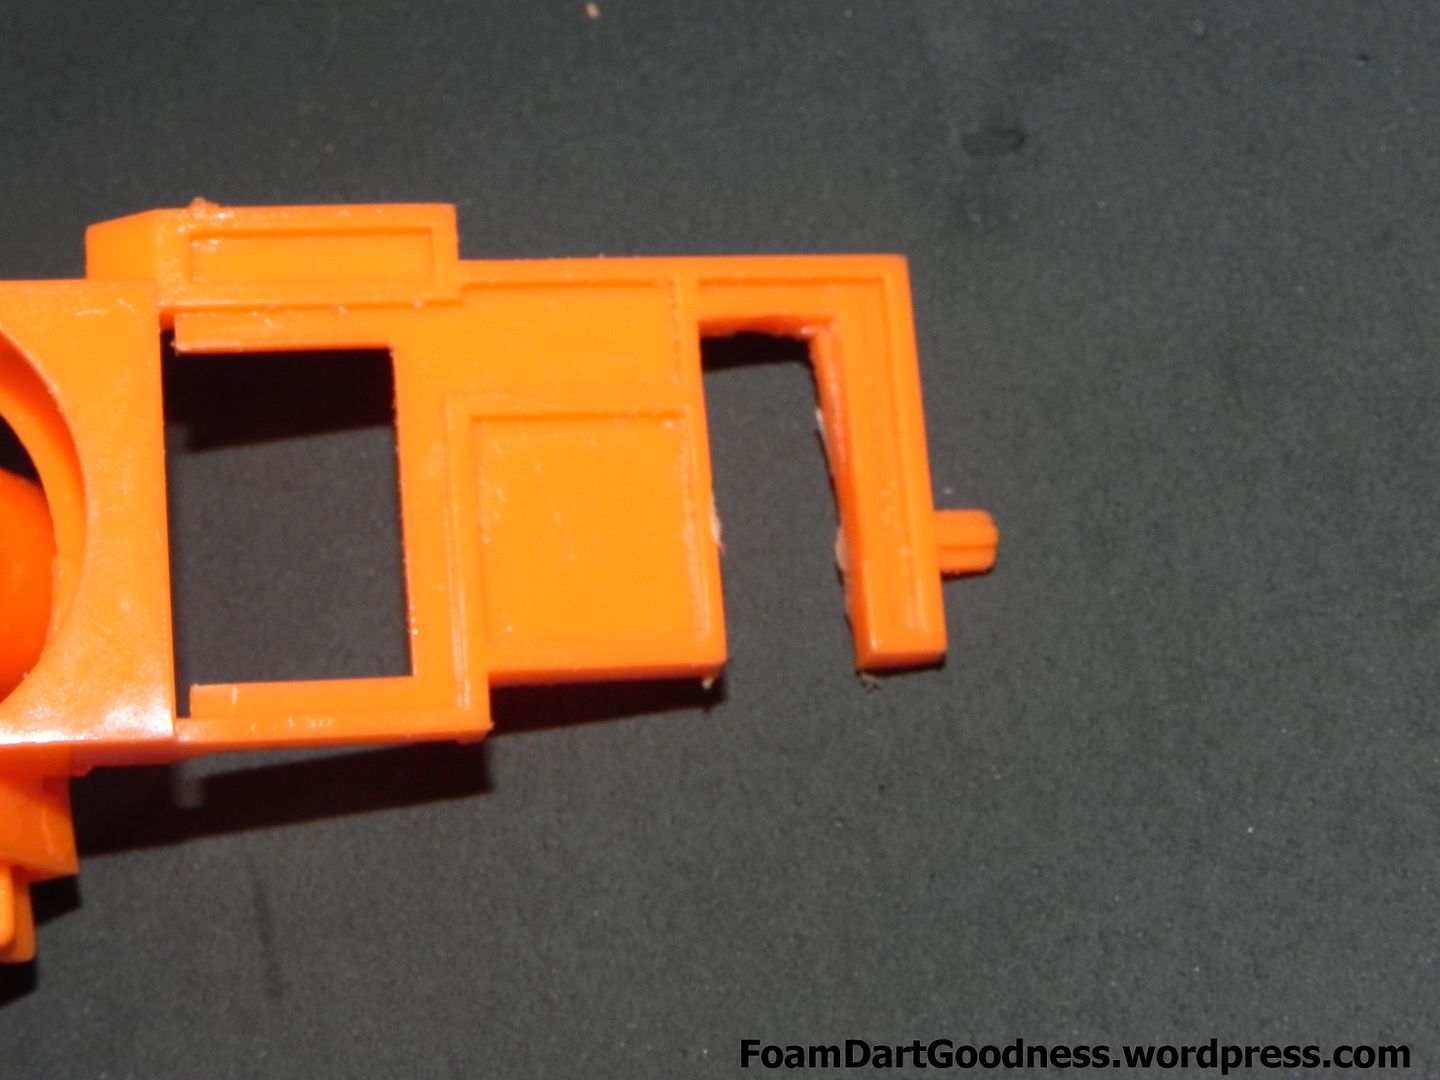
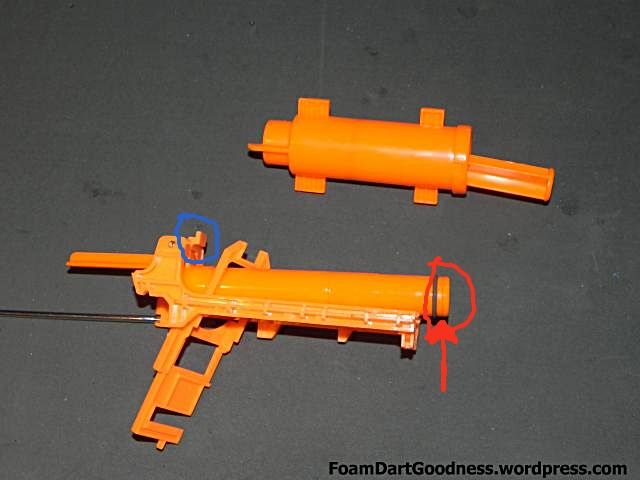
If you look where I have the red circle and arrow, their is a seam there, that is a small ring holding in the A/R, when I was drilling out my A/R that popped right off, and it happened on 2 Troopers. I lost it the first time, and that will prevent the breech from pushing the plunger back far enough to engage the catch.
Also the Blue Circle is the actual Jam Door "lock" as long as that is in tact, and the Jam Door is unmodified, as long as the boltsled is forward you cannot open the Jam Door.
My Youtube PageGriever 2112 still plays with his alpha trooper quite often despite owning one of the scariest +bows.
#6
Posted 30 May 2013 - 09:26 PM
If you look where I have the red circle and arrow, their is a seam there, that is a small ring holding in the A/R, when I was drilling out my A/R that popped right off, and it happened on 2 Troopers. I lost it the first time, and that will prevent the breech from pushing the plunger back far enough to engage the catch.
If you do pop off that ring bit, the solution I came up with is to just fill the top of the plunger-head with a couple of millimetres of hotglue. You just have to be careful how much you add, too little and the catch still won't engage, too much and the breach won't open all the way.
#7
Posted 30 May 2013 - 11:09 PM
Also on further notice, you're right with the jam door lock. Removing it would have been far simpler. Thanks Griever.
#8
Posted 31 May 2013 - 07:23 AM
I see. Didn't have mine pop off but I have only tried one so far. Interesting.
Also on further notice, you're right with the jam door lock. Removing it would have been far simpler. Thanks Griever.
n/p
I am not a 100% sure, but the Troopers I've gotten lately (and not just the Elite ones) I found the bonding agent used in the seams has been super weak... I got the last Original AT from my local Target, and the seam where the A/R is located was separated out of the box. And when modding my new Elite AT's I was able to pop that back ring off with ease on the first one (super careful on the second, but did it anyway) and was able to hand separate the breech to take out the A/R. That's why I try to warn people about that little ring.
I thought of the hotglue idea, but like you said it has to be precise. I just didn't want to have to keep messing with that. As long as you don't loose the ring it can be reattached at least I was able to do so. If you loose it though, then you're in trouble.
Edited by Griever 2112, 31 May 2013 - 07:25 AM.
My Youtube PageGriever 2112 still plays with his alpha trooper quite often despite owning one of the scariest +bows.
#9
Posted 31 May 2013 - 11:53 PM
n/p
I am not a 100% sure, but the Troopers I've gotten lately (and not just the Elite ones) I found the bonding agent used in the seams has been super weak... I got the last Original AT from my local Target, and the seam where the A/R is located was separated out of the box. And when modding my new Elite AT's I was able to pop that back ring off with ease on the first one (super careful on the second, but did it anyway) and was able to hand separate the breech to take out the A/R. That's why I try to warn people about that little ring.
I thought of the hotglue idea, but like you said it has to be precise. I just didn't want to have to keep messing with that. As long as you don't loose the ring it can be reattached at least I was able to do so. If you loose it though, then you're in trouble.
I just thought of an even better and simpler way than hot glue to fix that problem. If the ring bit breaks off the breech, just glue it into to top of the plungerhead. Then you don't need to worry about getting the precise among of hot glue.
Edited by CRCL, 31 May 2013 - 11:54 PM.
#10
Posted 01 June 2013 - 12:41 AM
Edited by Seprest, 01 June 2013 - 12:42 AM.
22- Mods completed
#11
Posted 01 June 2013 - 12:40 PM
FWIW, the easiest way I found to remove the AR was to purposely remove that bottom orange ring, then tap out the supports for the inner AR and let it fall out. Then I super glued the ring back on.
http://nerfscience.blogspot.com/
#12
Posted 01 June 2013 - 08:19 PM
#13
Posted 03 June 2013 - 08:14 PM
http://nerfscience.blogspot.com/
#14
Posted 01 July 2013 - 11:54 AM
I wondered if someone had insight into the benefits of removing the various locks. I used this guide to remove the AR from my EAT, and I'm waiting to receive my 5kg spring. Yay!
But as I observed the internals of the blaster (I primed, unprimed, chambered, etc for about 2 hours with the shell open yesterday) I was left wondering what the actual benefits are for removing the locks. Their functions all seem interconnected enough so that if you remove 1 you may has well remove them all: Magazine/jam-cover lock, sled lock, primer lock.
But they actually seem pretty well justified, so I was curious what the actual benefits are for removing them.
Thanks!
#15
Posted 03 July 2013 - 05:31 AM
The plunger tube has to go all the way forward for the lock to disengage, otherwise you can't reprime the blaster. With the shorter spring, this doesn't always happen.
#16
Posted 03 July 2013 - 09:42 AM
Thanks for the guide Jeo!
I wondered if someone had insight into the benefits of removing the various locks. I used this guide to remove the AR from my EAT, and I'm waiting to receive my 5kg spring. Yay!
But as I observed the internals of the blaster (I primed, unprimed, chambered, etc for about 2 hours with the shell open yesterday) I was left wondering what the actual benefits are for removing the locks. Their functions all seem interconnected enough so that if you remove 1 you may has well remove them all: Magazine/jam-cover lock, sled lock, primer lock.
But they actually seem pretty well justified, so I was curious what the actual benefits are for removing them.
Thanks!
I'm doing a bit of R&D on the Elite AT at the moment, and I'd have to agree with you.
I'm not a huge believer in just ripping out all the locks willy nilly, as some of them serve purposes other than limiting your fun.
In the AT, I remove the big "horseshoe" lock that sits over the breach, but I leave the other 2 in as removing them affects the cocking action.
The old AT was good...the new one is even better.
#17
Posted 24 July 2014 - 10:37 PM
Thanks in advance. If I should start a separate thread for this let me know. I can also provide pictures if that would be helpful.
2 user(s) are reading this topic
0 members, 2 guests, 0 anonymous users