
Materials:
- Roughcut (duh)
- Epoxy
- Epoxy putty
- Dremel or Rotary Tool brand of your choice.
- cutting wheel
- grinding bit
- carving bit (possibly optional)
- 90 degree 1/2" PVC elbow
- 1/2" PVC "T" coupler
Step 1: First thing is the Turret Dissasembly and deconstruction.
First is obvious gut the Roughcut and then unscrew the back plate of the turret. The Turret itself is not needed but the back plate is very useful for holding the couplers and also to reattach to the Plunger tubes.
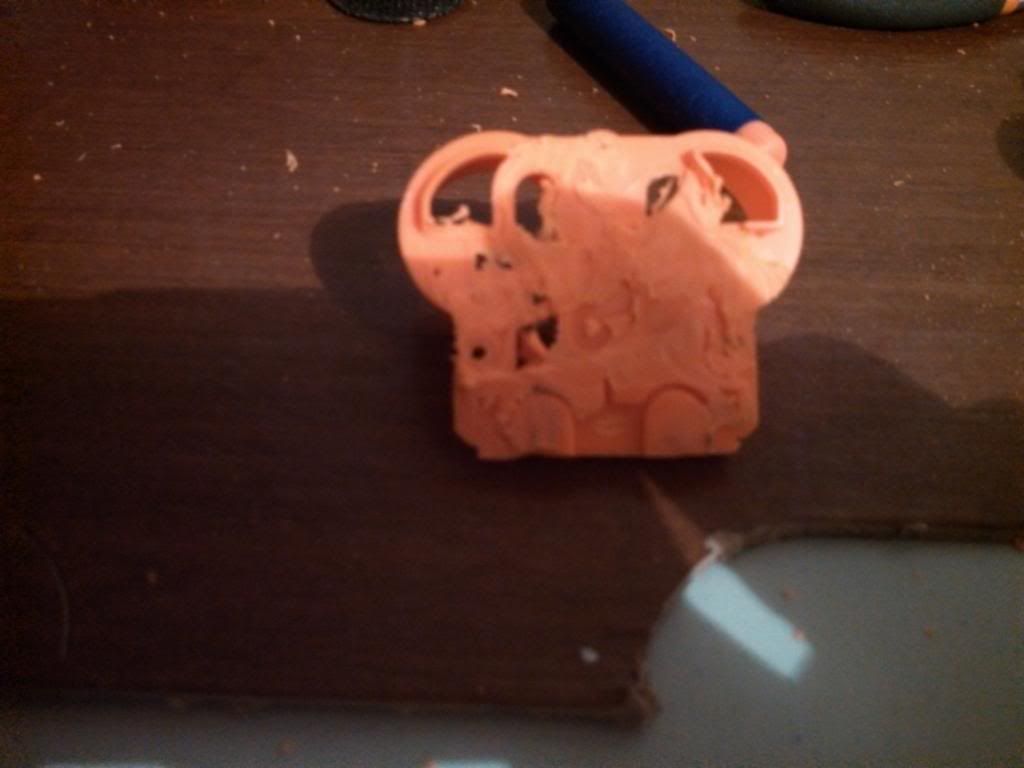
Trimming down the bottom is optional. But with the cutting wheel and grinding but make the surface around the air output ports as flat as possible. The quarter circle pieces directly around the air output are fine to keep. And I highly recommend it because you can use them as guides to hold the couplers in place.
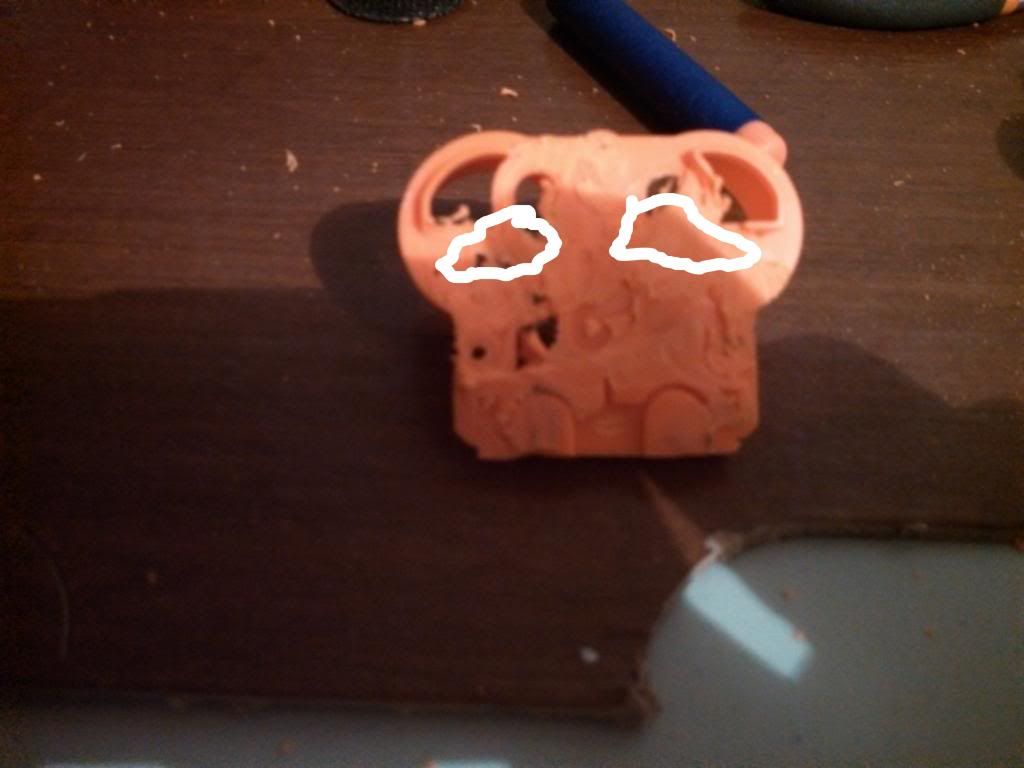
With the carving bit you will need the to open the air output more by carving out these area. If you turn over the piece the back shows where the plastic is thinner. or carve out the whole hole. I left the thicker piece for support for the coupler.
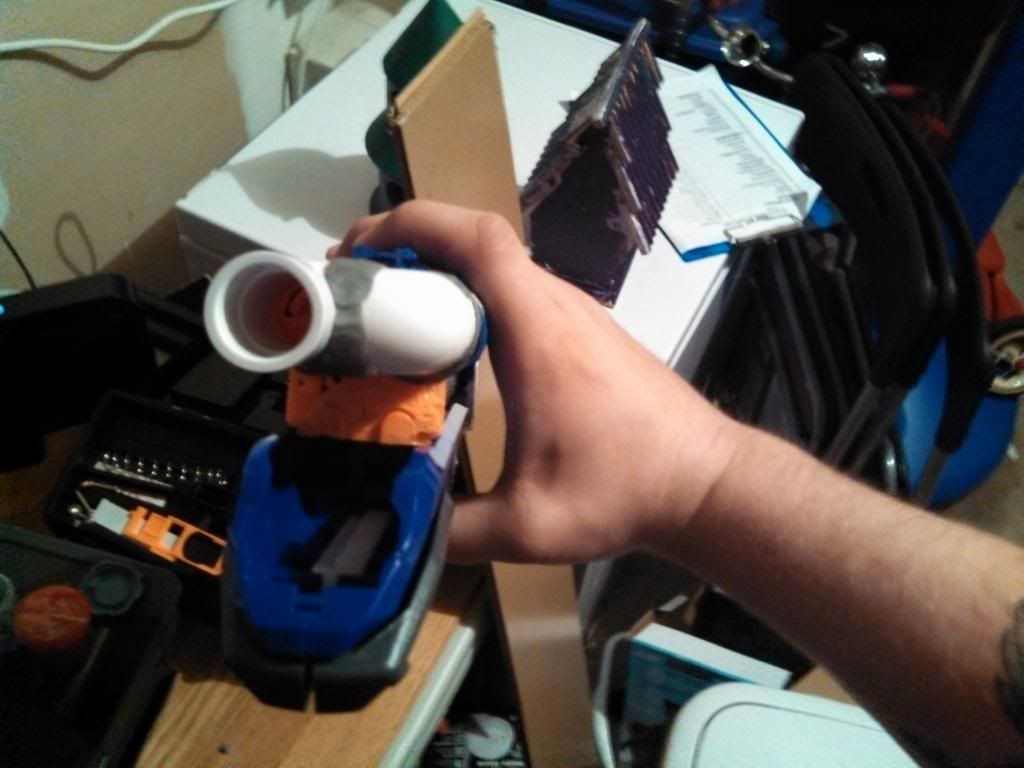
Step 2: The coupler.
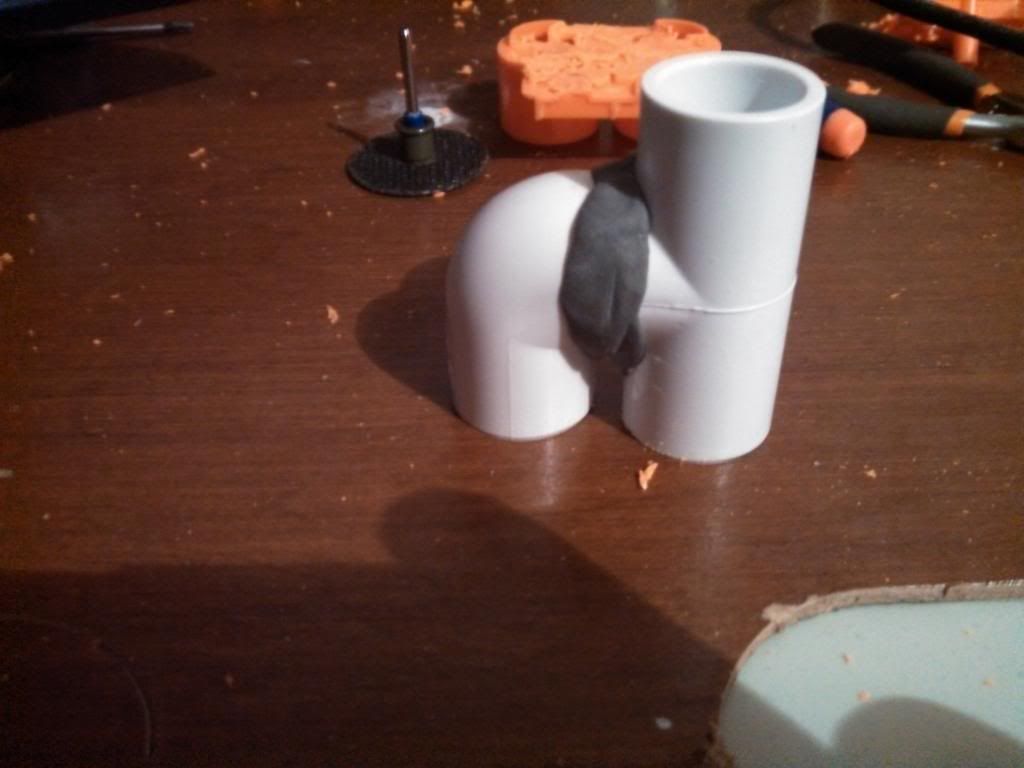
Start by cutting down one side of the elbow joint and bottom portion of the "T". I eyeballed my cutting it's pretty much And kept fitting and cutting using the black plate as my guide.
Once you have your fit. Epoxy the 2 pieces together. Once the set cover the seam in epoxy putty to make sure you have no leaks there, and to reinforce the bond.
Step 3: connecting the two.
(My picture got corrupt, I will retake if I can)
This is the simple part. Put epoxy on the ends of the coupler and set it against the back plate. Fairly straight forward. Once the epoxy is dry then, like the coupler, epoxy putty around the seams for leak protection and stability.
Step 4: Shell modification.

This is the shell before cutting.
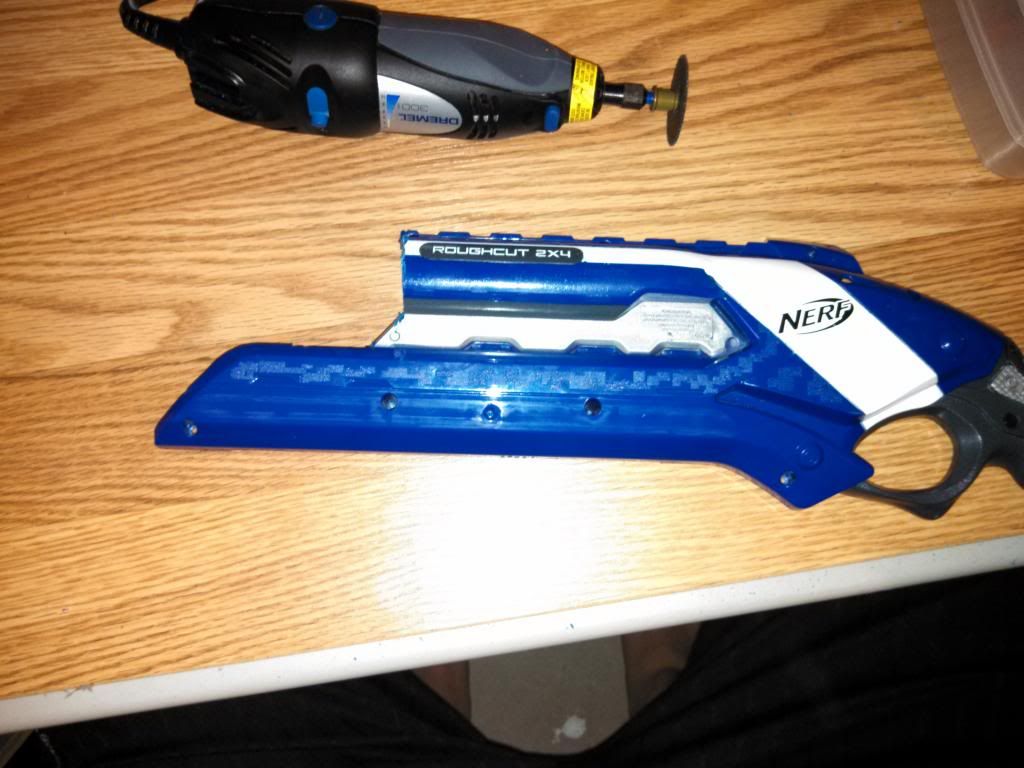
The shell after cutting. It is pretty much a straight line up from the tip of that little triangle. But you will need to angle it just slightly or loose a screw port.
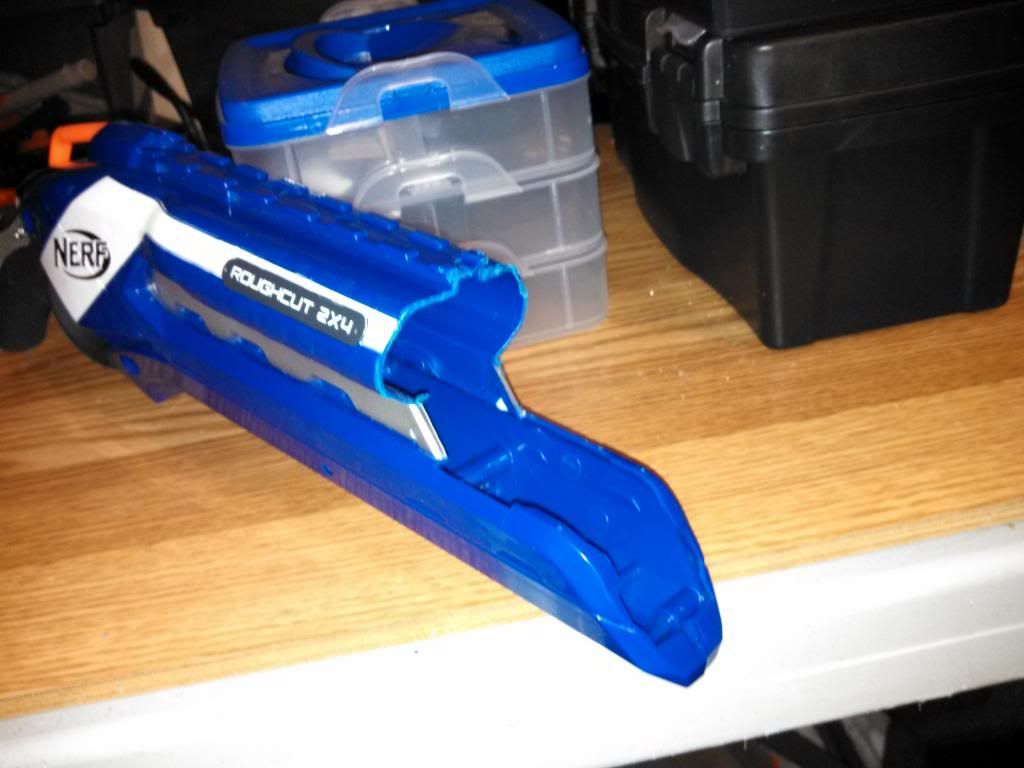
This is what the shell will look like once cut.
Step 5: Reassembly.
The Roughcut is a very easy blaster to put back together as long as you didn't touch the gear assembly. It comes out as a solid piece and goes back in as one. Now take some epoxy and run in along where it connect to the plungers. BE VERY CAREFUL NOT TO GET ANY EPOXY ON THE PLUNGERS!!!!! You can use super glue too. My Advice put the back plate on pull it off a little, not all the way, add a little bit of the adhesive and then push back on. Once it is dry put it back together.
Side View
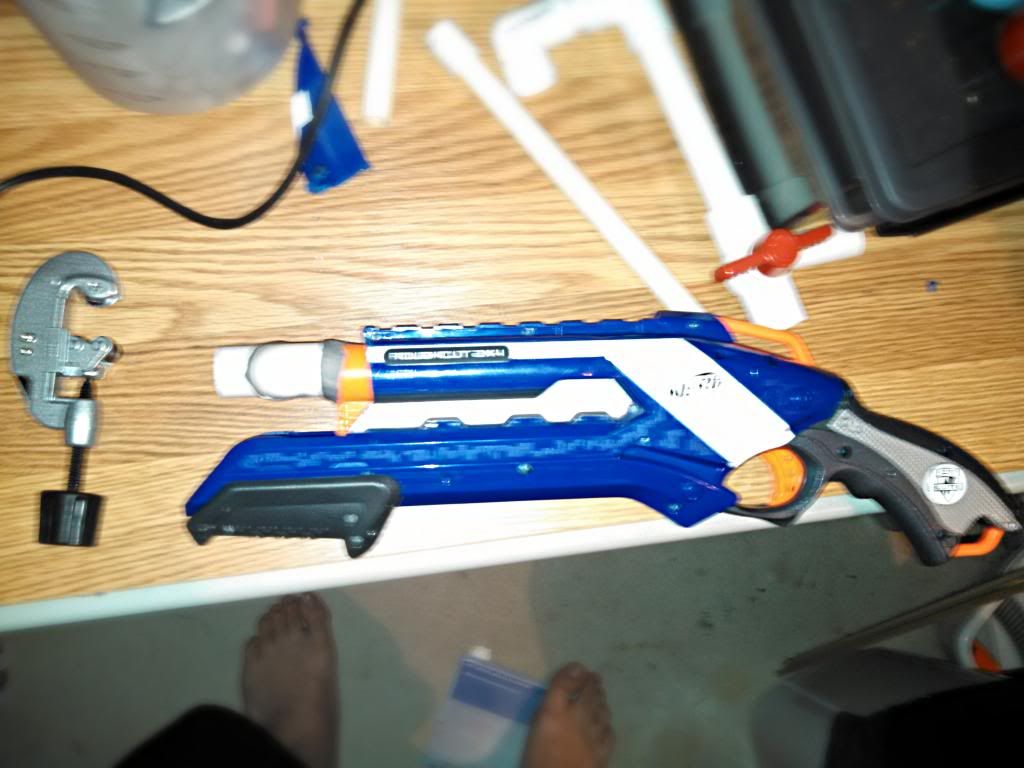
Front(ish) View
Personally I think this look pretty clean, I could probably cover the hole from the no turret, but I got no styrene.
This will fire Stefans from a speedloader, I did try a small RSCB clip but it adds too much dead space for it to fire. I didn't try a hopper, but we will see.


