Jump to content


Photo

DIY Dummy AA Batteries

For electric blasters using UltraFires or similar batteries.

9 replies to this topic

#1 blacklion

blacklion

    Member

  • Members
  • 17 posts

Posted 27 April 2013 - 02:51 PM

Hey guys! Just wanted to share my method of making dummy AA batteries. I recently ordered some UltraFire 14500 batteries so while they arrive, I decided to make these dummies using only materials I already had.

WHAT YOU WILL NEED
  • Used Duracel (or similar) AA batteries (2 per dummy)
  • Tradewinds 3-Function Light and Laser Pen (or similar metal/plastic tube)
  • Dremel (with cutoff wheel and sanding wheel)
  • Soldering iron
  • Solder + Flux
  • Electrical tape
  • 12 gauge (or similar) stranded copper wire
  • Caliper (or ruler, or measuring tape)
  • Hammer
  • Pliers
  • X-acto knife
  • Sandpaper (220 or rougher)
  • Nitrile gloves (highly recommended)

Very carefully peel the bottom plastic from the used AA battery and using the X-acto knife remove the bottom plate. You will need 2 bottom plates per each dummy AA you want to make.
Posted Image

Find a tube (metal or plastic) of similar battery diameter, to be used as the dummy's body. I used the bottom part of this Laser and LED pen just because I had a few of these laying around.
NOTE: If you have never used these, i would advise you to buy a few either online or at Walgreens (2x$5). They are very cheap, the circuitry is very straightforward and compact and include 3 batteries. This is what I add to my guns. Write up coming soon.
Posted Image

Only use the metal bottom part. Save the top part.
Posted Image

Straighten the AA plates using a hammer and whatever you have available.
Posted Image

Measure the thickness of the plates so that you know how long the body of the dummy needs to be.
Posted Image

Measure a real AA battery and write the dimensions. A quick calculation and now you know that the pen shell needs to be cut to ~49.96 mm.
Posted Image

Cut the shell of the pen slightly longer.
Posted Image

Carefully grind to correct length.
Posted Image

Remove the insulation from the tip of the pice of wire you will be using.
Posted Image

With the tip of the X-acto knife scratch the surface of the AA plates.
Posted Image

Add some solder to the plate.
Posted Image

Add solder to the tip of the stripped wire and proceed to solder both pieces together. Note that you should spread the copper wires in order to increase contact area.
Posted Image

Sand around the ends of the pen shell and proceed to solder it to the plate. Try not to leave any empty spaces.
Posted Image

Cut the exces wire (at the other side) to appropriate length and repeat previous steps.
Posted Image
Posted Image

Once done it should look like this.
Posted Image

Now grind the excess material until a "smooth" surface is obtained. Do this on both ends.
Posted Image

Once done, add a ball of solder to the top of one side. This will act as the tip on the positive side of the dummy.
Posted Image

Sand the excess solder from the positive tip, until the desired overall length is obtained.
Posted Image

Wrap with ET, and you're done!
Posted Image

I measured the resistance of the dummy and found it to be very small as expected. (This other guy at this other forum using other other materials obtained similar resistance values).
Posted Image

This is how it looks compared to a regular AA battery.
Posted Image

It fits perfectly.
Posted Image

Yes, you could probably buy the dummy batteries off the internet but it wouldn't be as fun. I have not been able to find the resistance value of a real AA dummy battery. If someone has measured it, please share the result as I would like to compare values.

Hope this helps! :)

EDIT: Fixed image links.

Edited by blacklion, 21 May 2013 - 12:08 PM.

  • 0
blacklion :. 32°

#2 roboman

roboman

    Member

  • Members
  • 489 posts

Posted 27 April 2013 - 06:42 PM

Nice work!

Instead of sacrificing a pen every time, I'd imagine a piece of brass that's about the same size would work just as well, and you could avoid the internal wire entirely, since brass conducts electricity very well. A piece of heat-shrink would probably look better than e-tape, too.
  • 0

Youtube

LS and Retaliator boltsleds are currently available at https://www.facebook.com/RoboM8/


#3 andtheherois

andtheherois

    Member

  • Banned
  • 821 posts

Posted 27 April 2013 - 06:52 PM

This is pretty sweet.

I personally like the "wrap an appropriately sized bolt in tin foil" approach.
The YooToobz
Photobucket

Winning rounds is rewarding, deal with it. We don't play fucking patty cake over here.


#4 therealnerfjunkies

therealnerfjunkies

    Member

  • Members
  • 122 posts

Posted 28 April 2013 - 02:58 PM

This is a pretty good idea but it requires too much work. I'd rather get these, get an appropriate sized bolt, put it in the converter and you have a dummy battery.
  • 0
"You forgot the one rule of making a remake. Don't fuck with the original."

#5 Jeo

Jeo

    Red Team: HooRah!

  • Members
  • 93 posts

Posted 29 April 2013 - 11:35 PM

My method...

________________________________________________________________________

Tools/Materials needed...

Solder and Iron
Drill and an assortment of bits
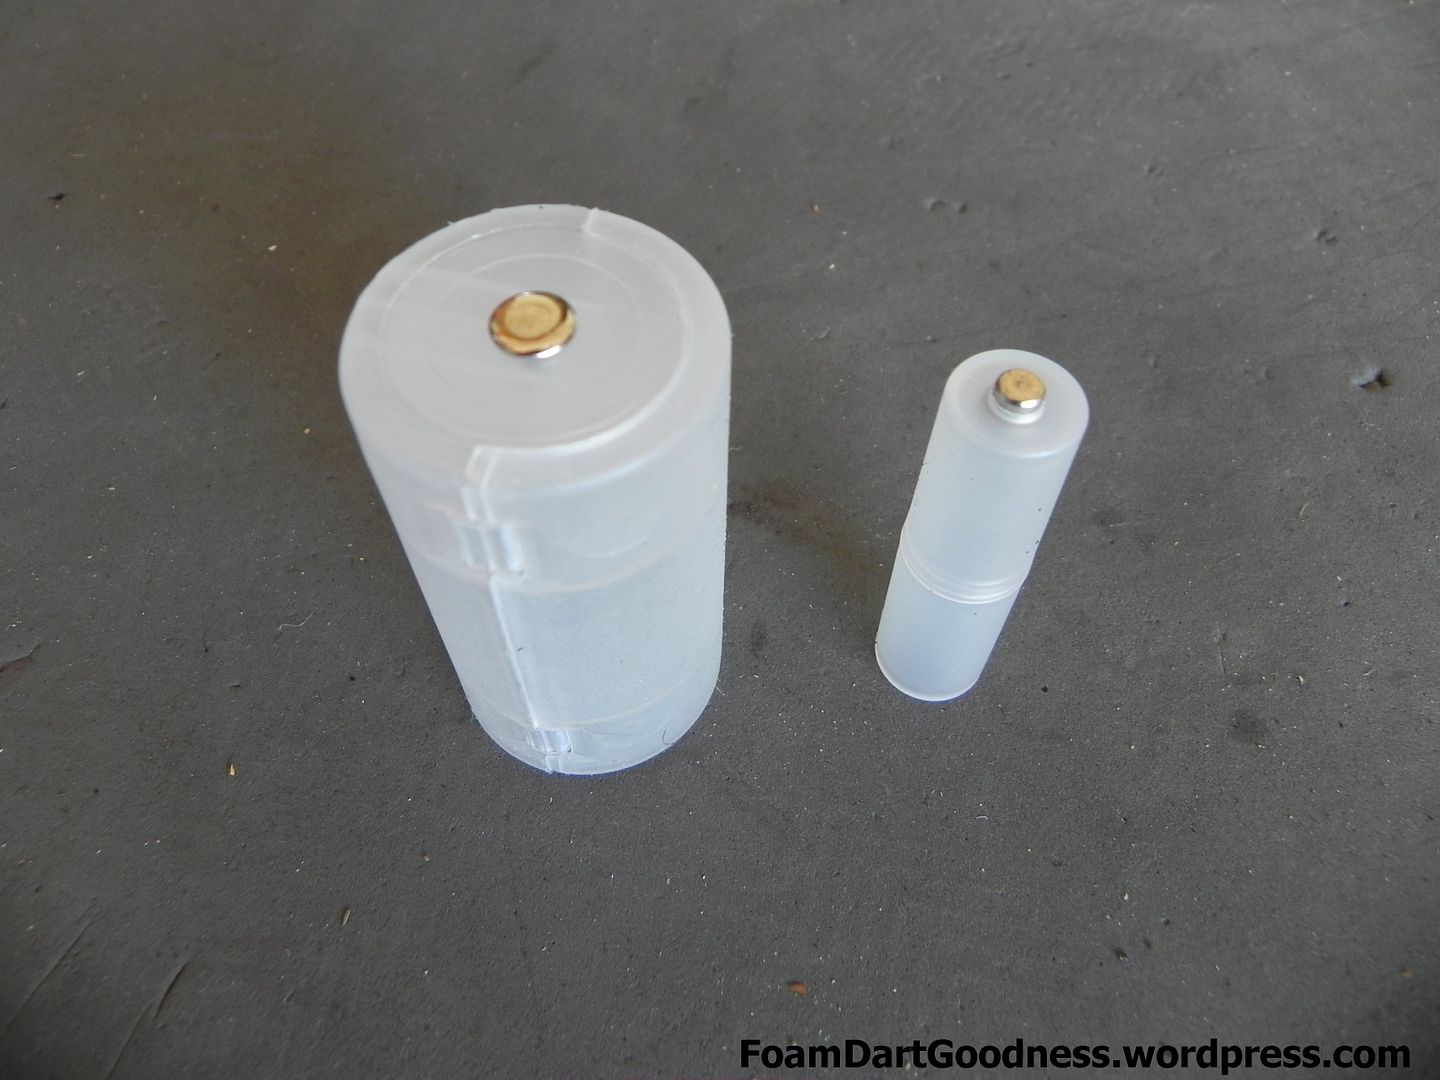
AA-D convertor/AAA-AA convertor
Small length of wire
Wire strippers
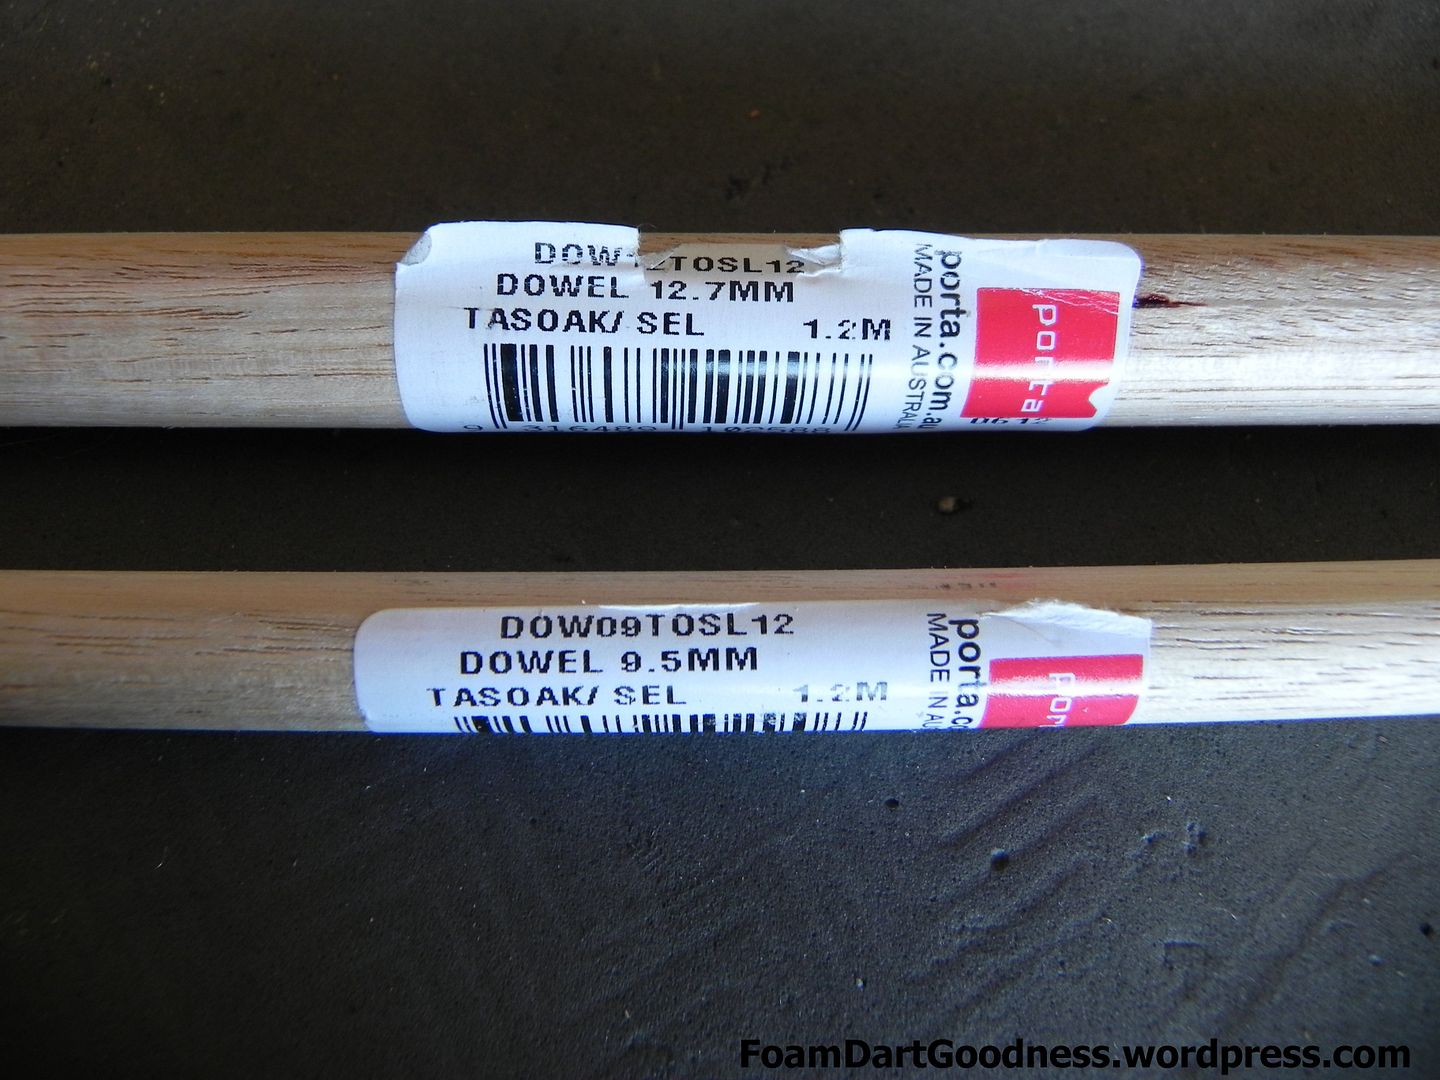
12.7/9.5mm dowell
Something flat and metal (I used the blade of a knife but just about anything would work here)
________________________________________________________________________

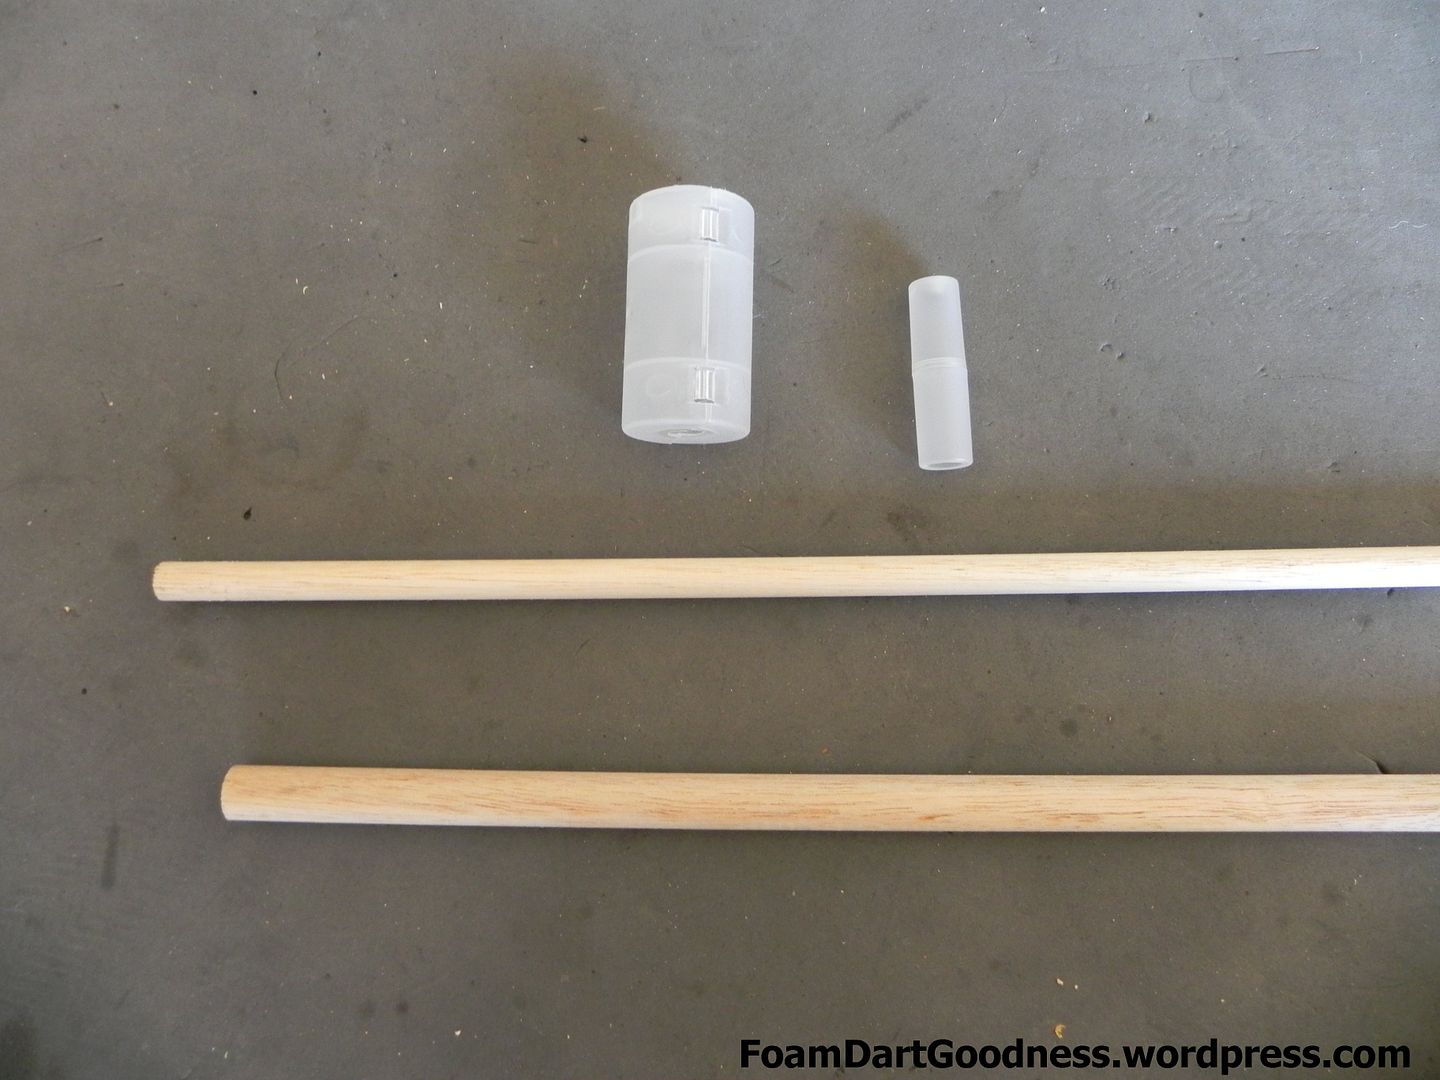
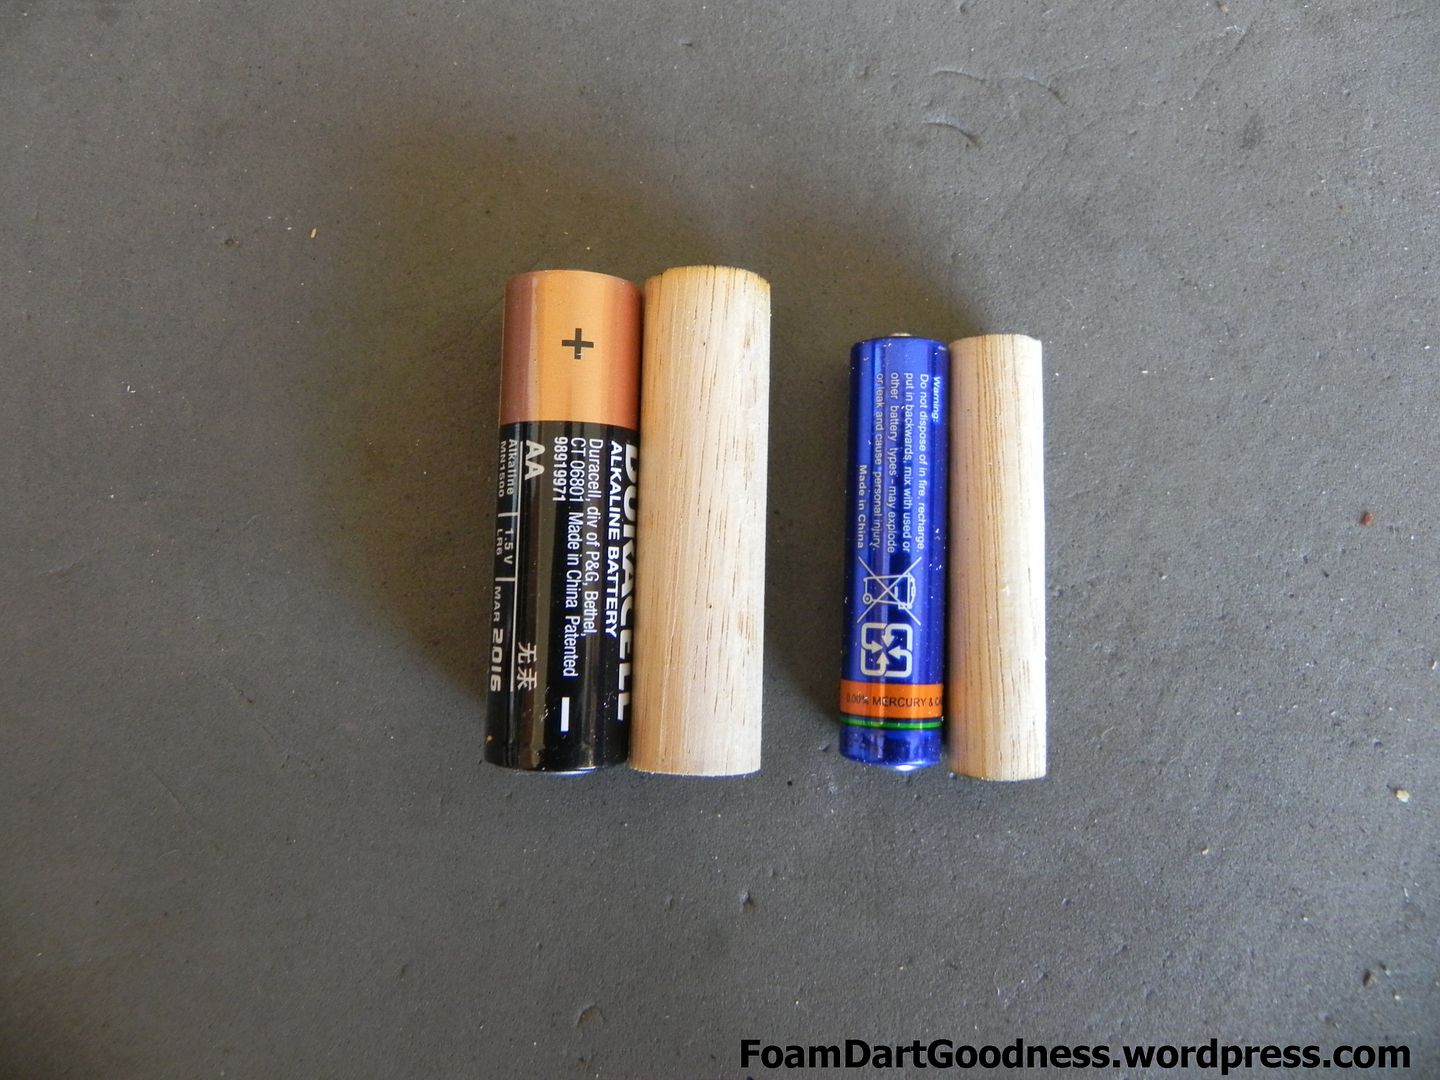
The materials in question
Posted Image

Posted Image

Posted Image

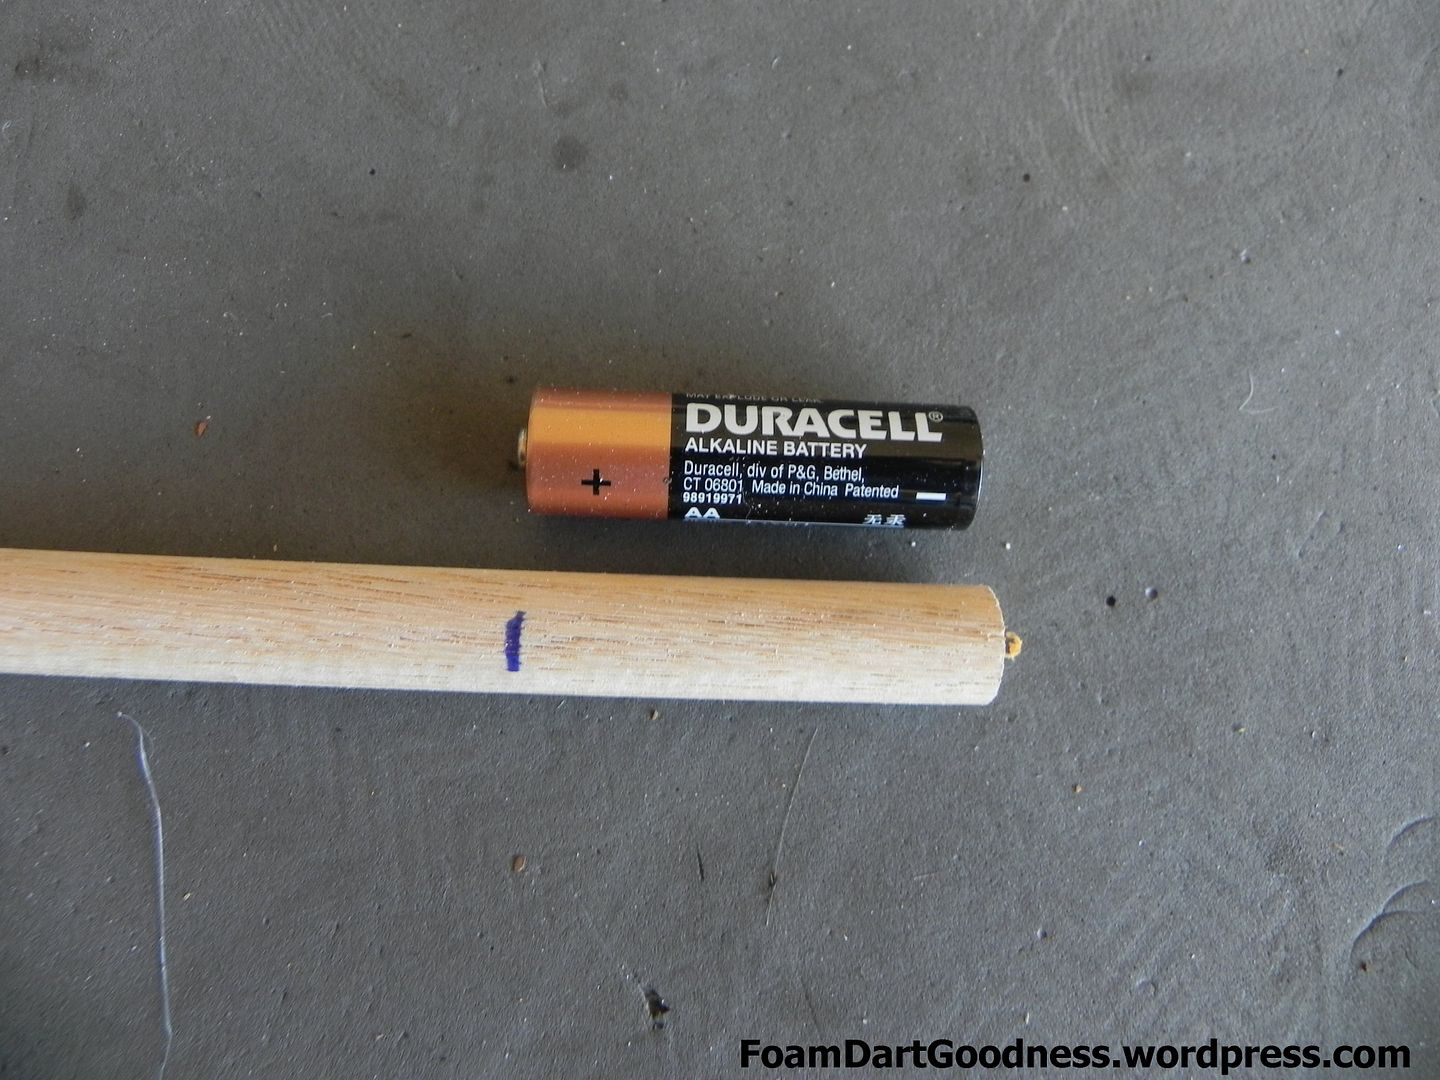
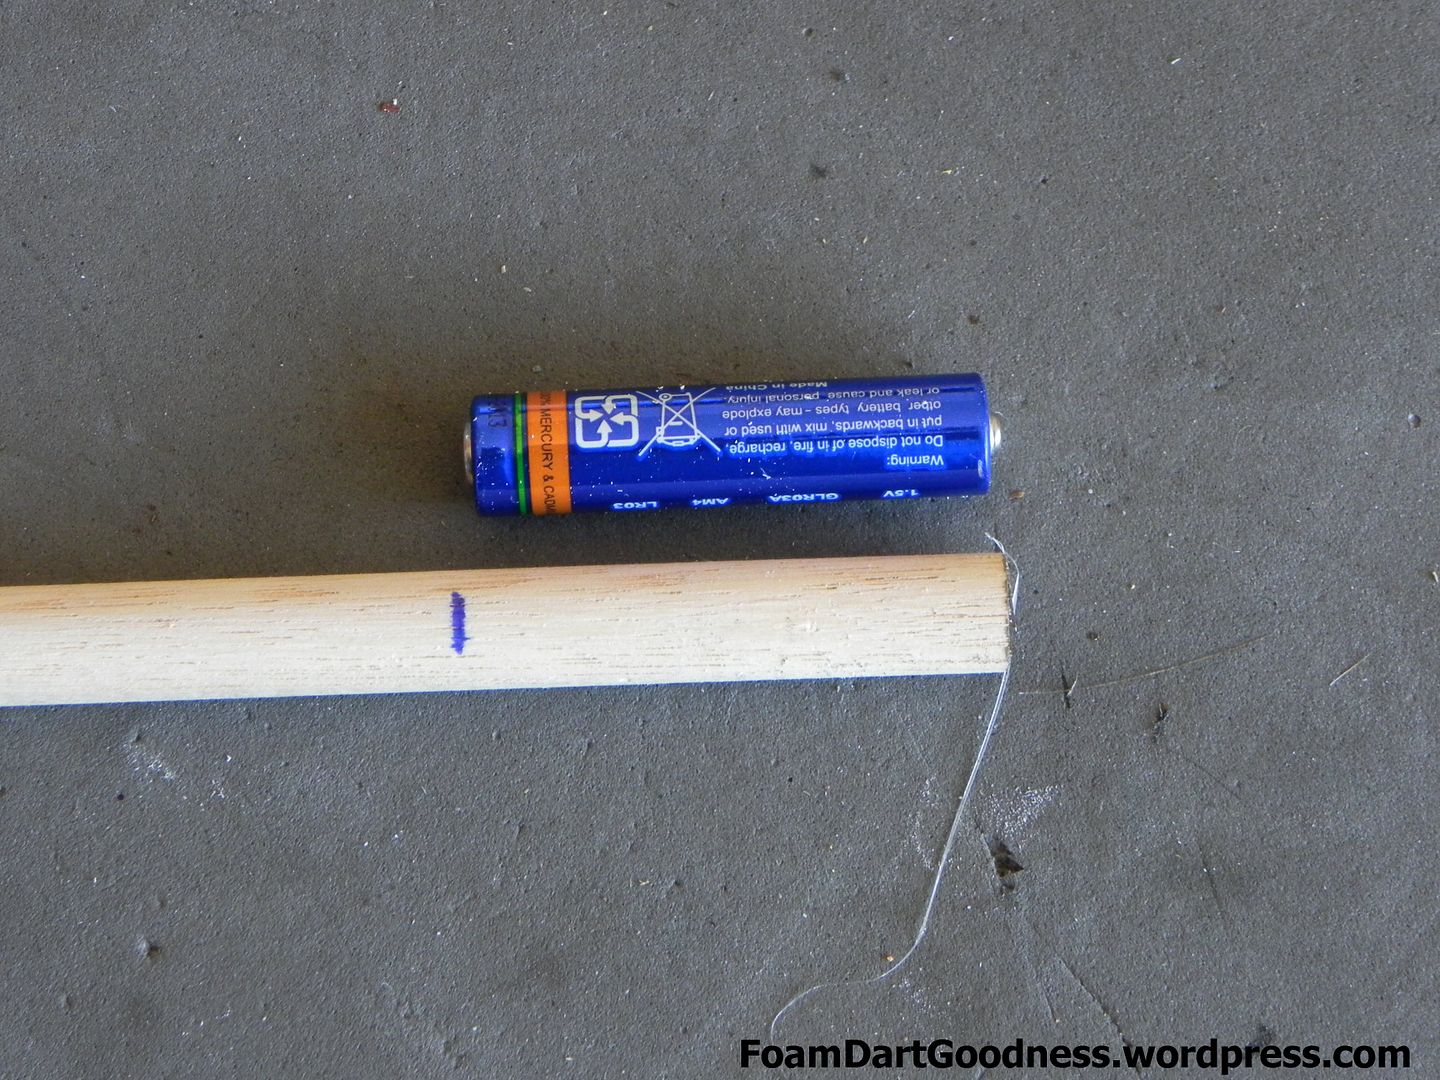
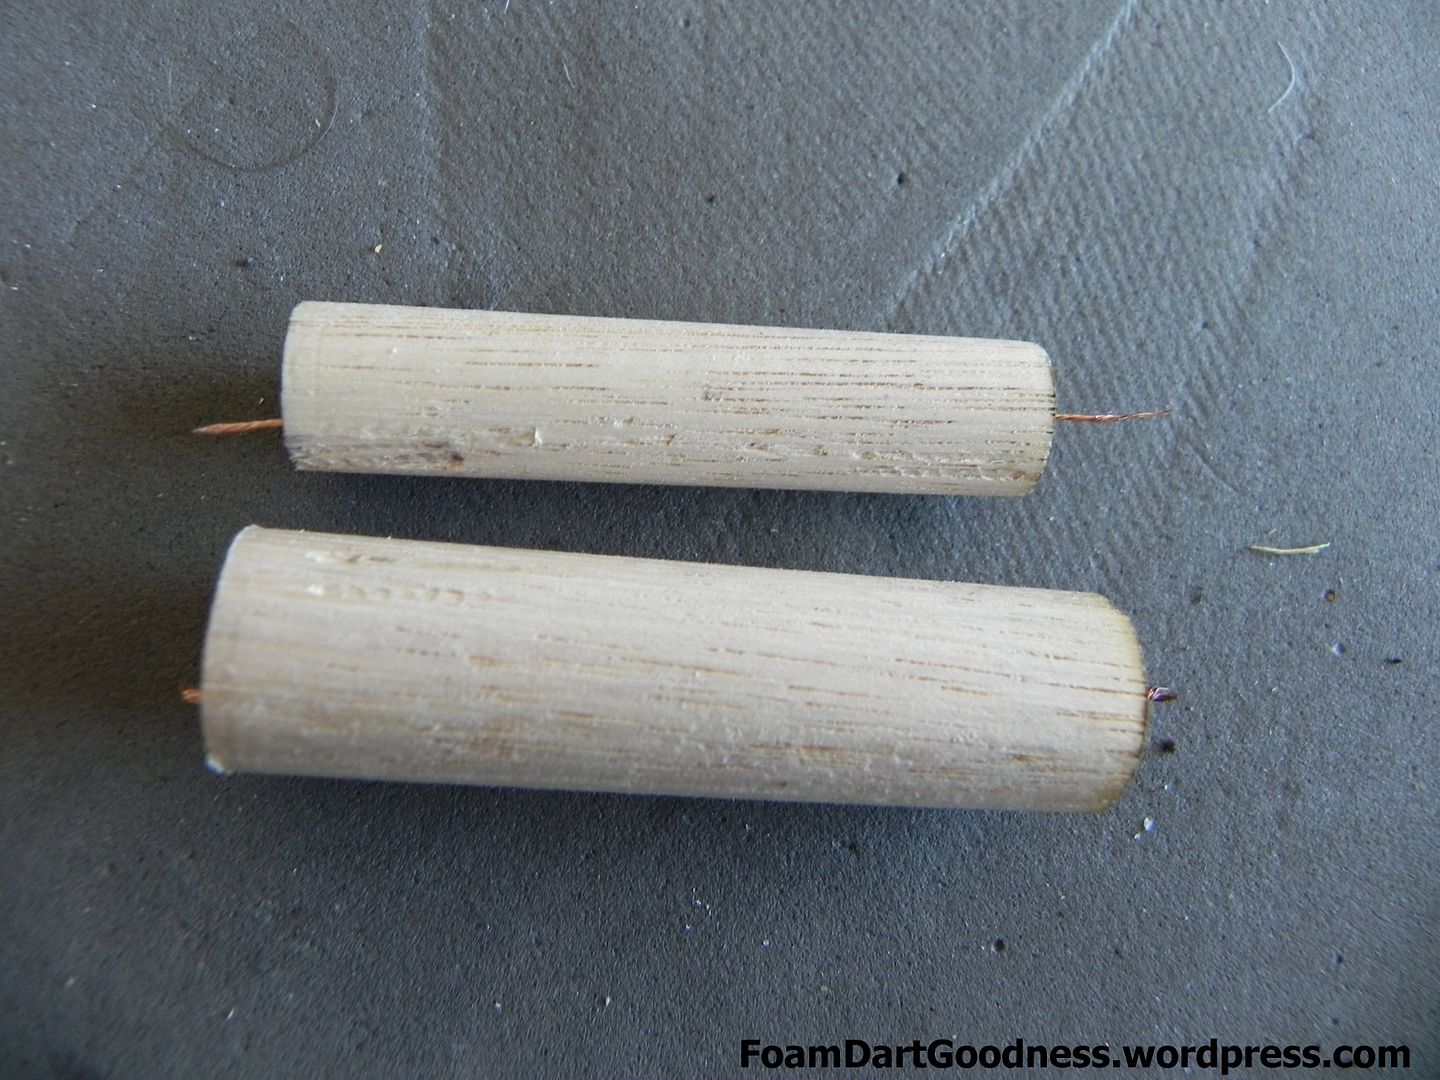
Mark the dowel at the length of a battery.

Posted Image

Posted Image

Posted Image

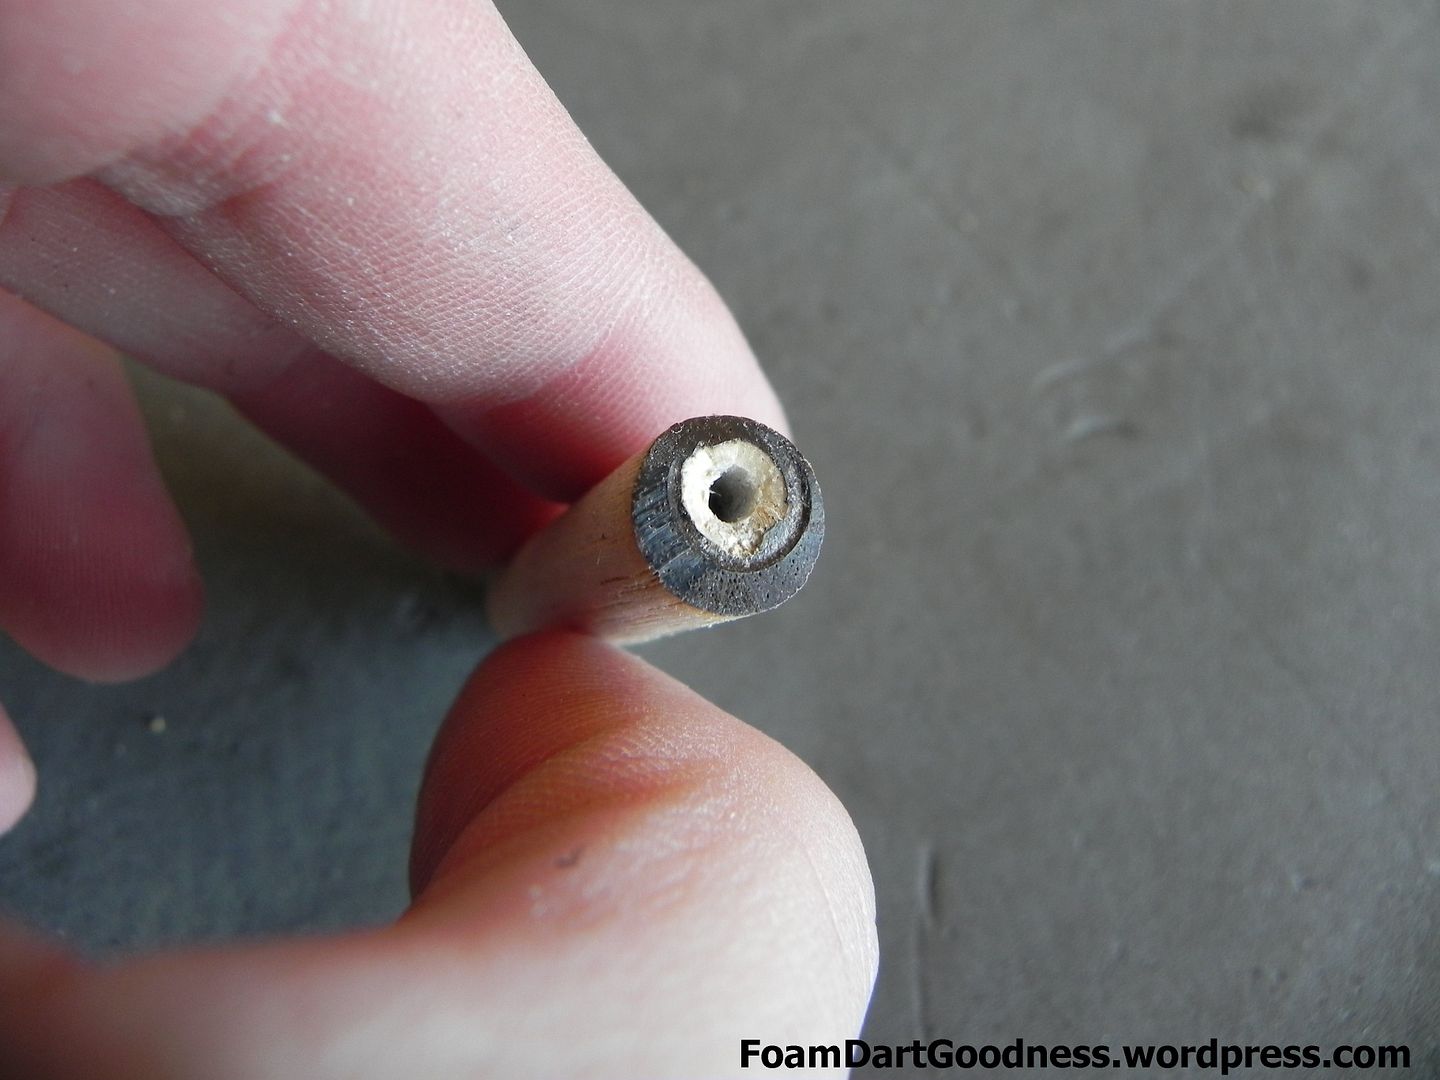
Drill a small hole through the centre of the dowel, then counter sink a small recess in each end.

Posted Image

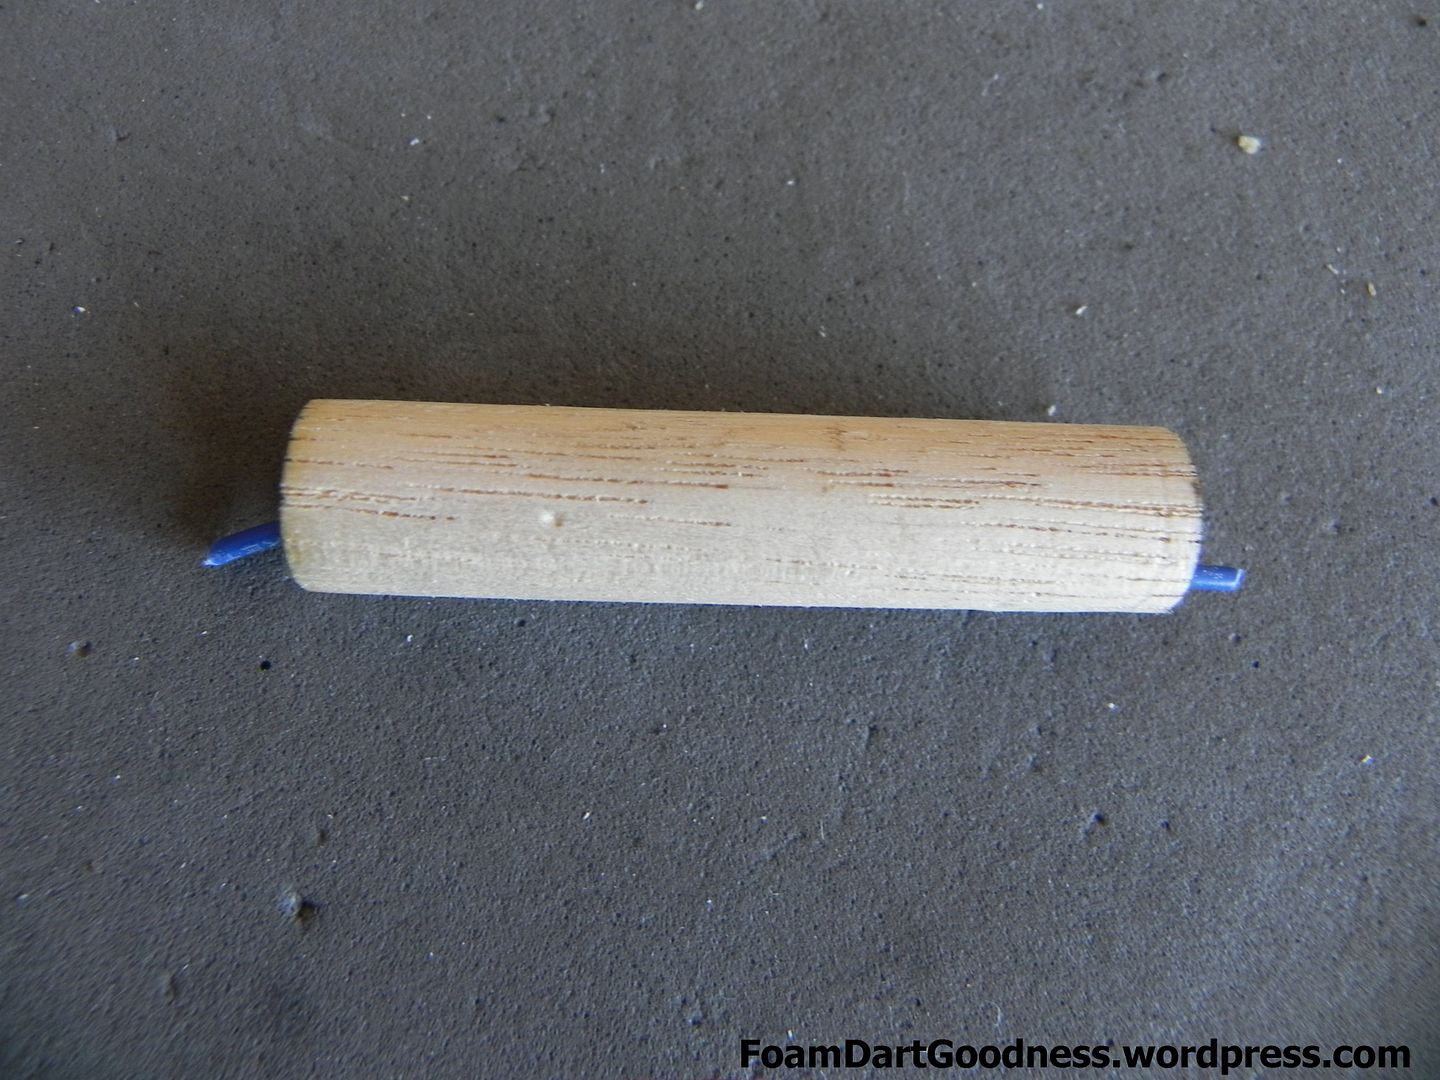
Feed some wire through the dowel and cut it to length. We want a little over on each end.

Posted Image

Strip the end of the wire back.

Posted Image

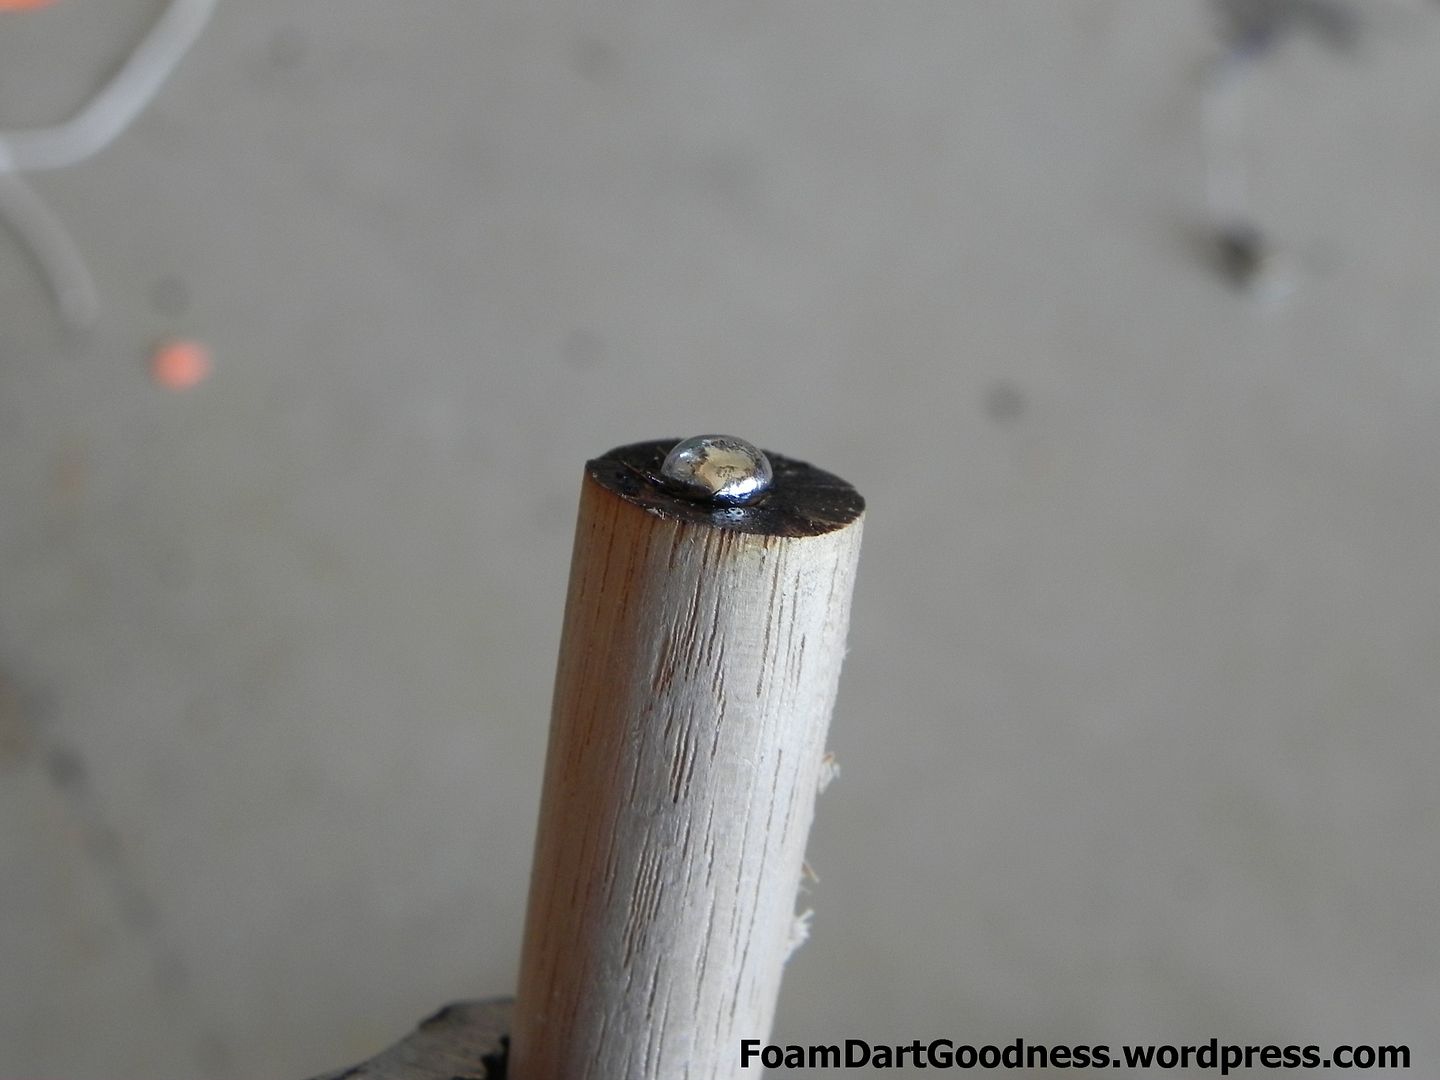
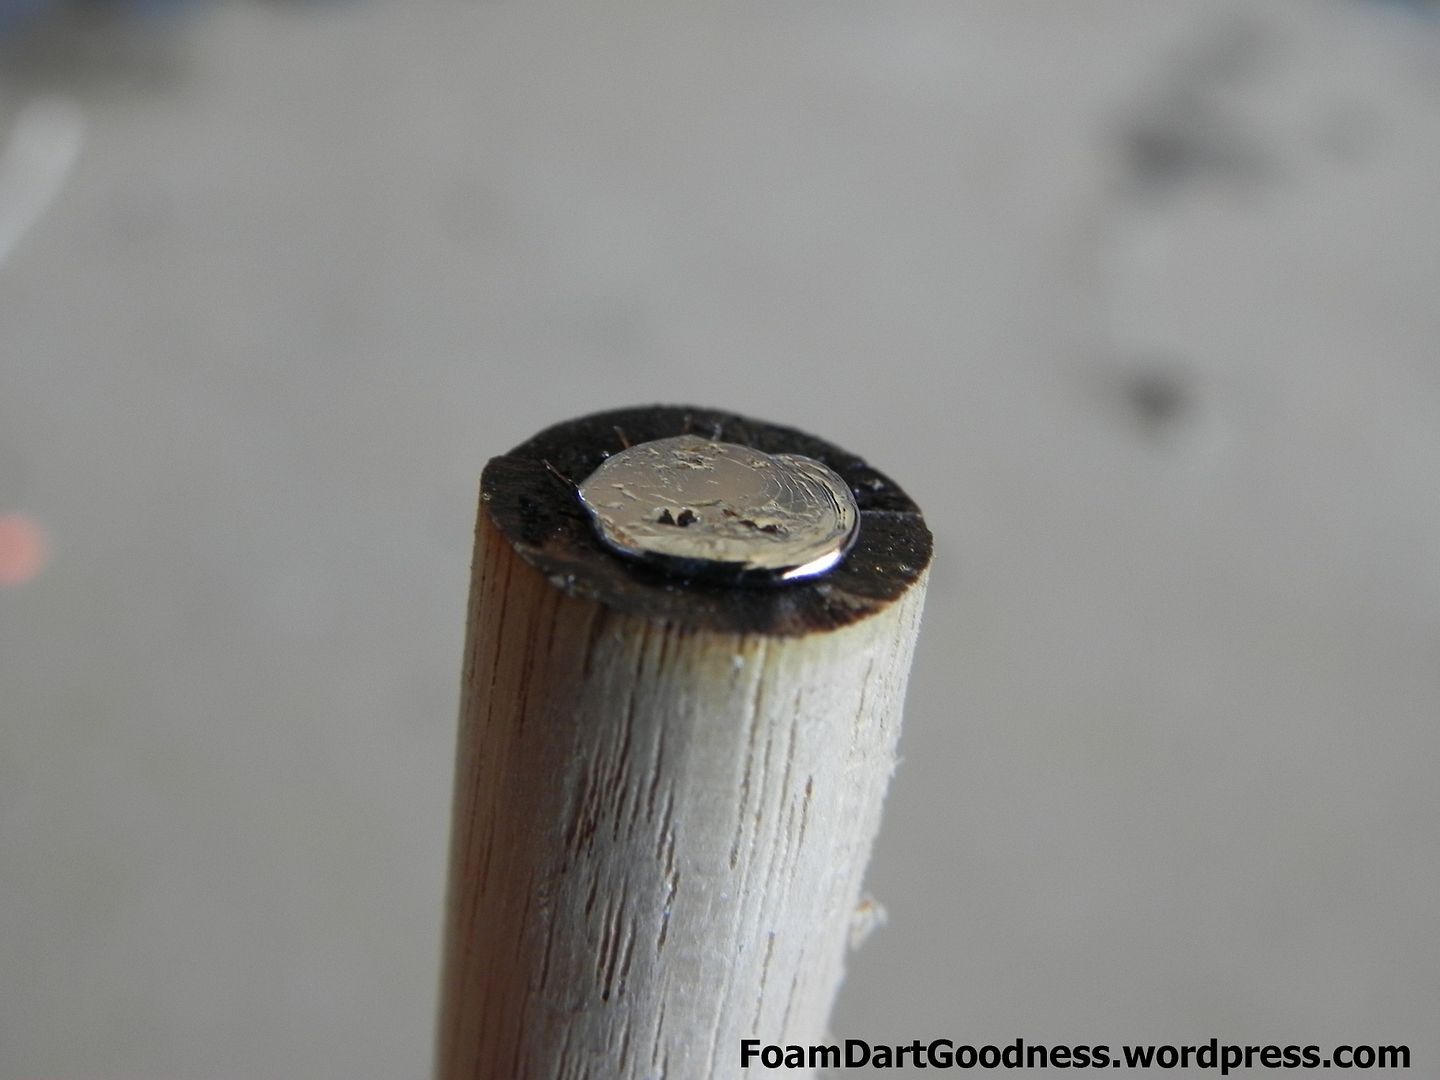
Place a large blob of solder in the small counter suck recess we made earlier, making sure it has a good connection with the stripped end of wire.

Posted Image

While the solder is still hot, flatten it out with your flat metal object.

Posted Image

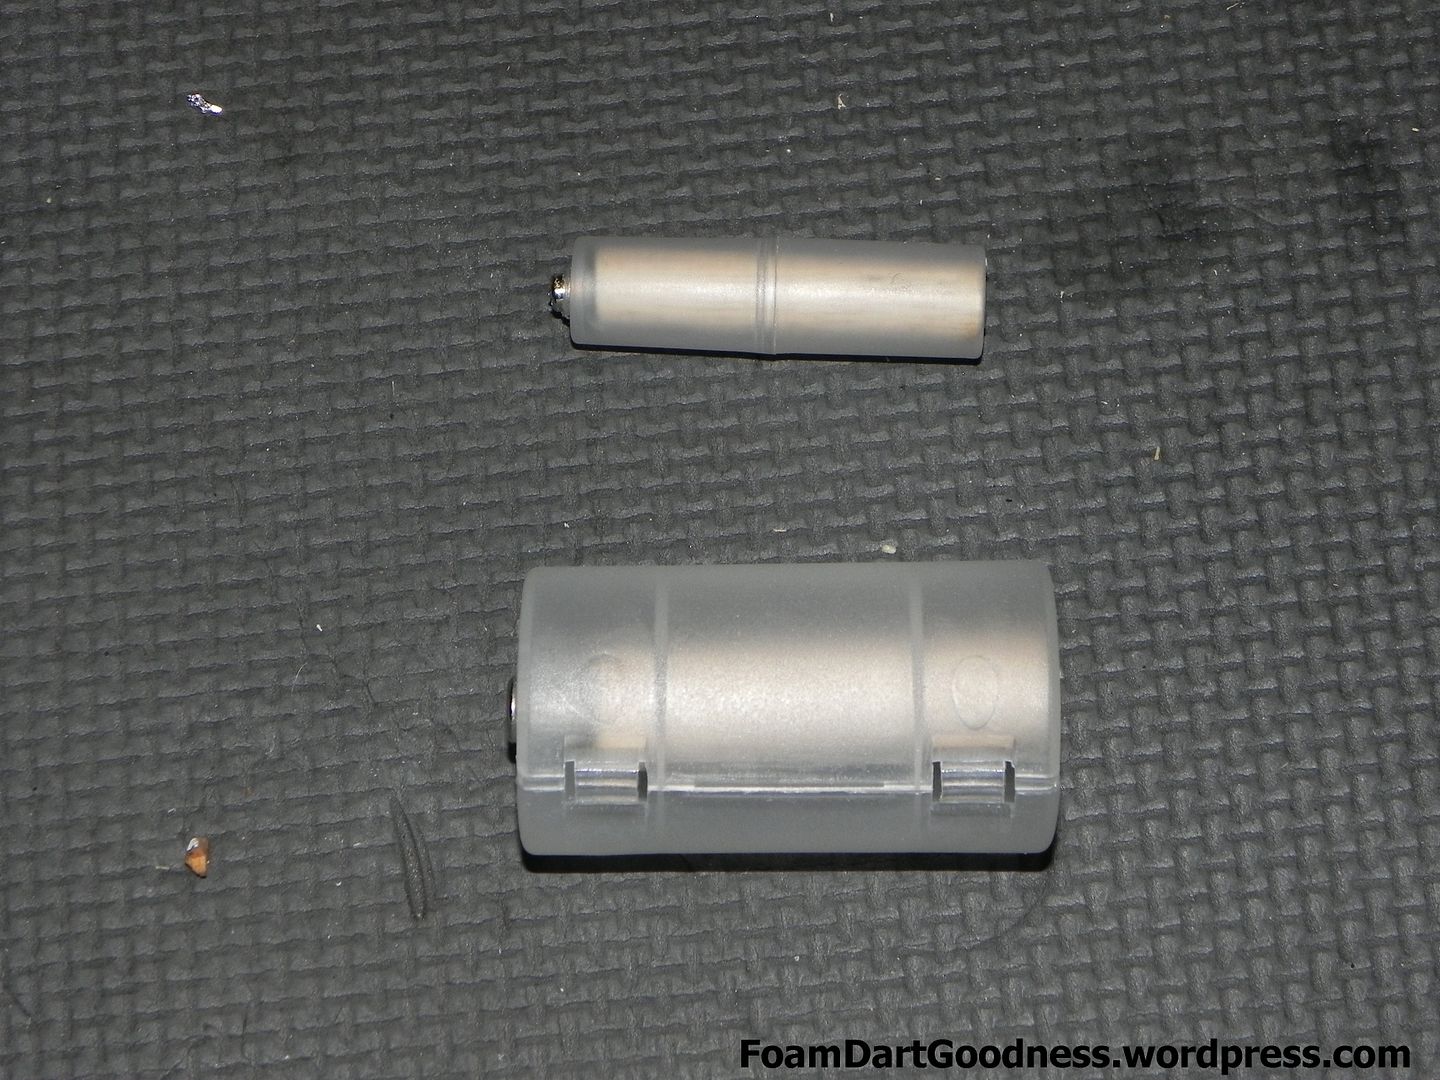
Insert the dowel into the adaptor case and we're done! You now have your very own AA dummy battery and D dummy battery.

Posted Image
  • 0

#6 blacklion

blacklion

    Member

  • Members
  • 17 posts

Posted 30 April 2013 - 12:00 AM

My method...


Looks good too! I wanted to use the AAA-AA converter but since I couldn't find them cheap locally, went ahead and worked with what I had available.

Did you measure the resistance (ohms) of your dummies? I want to compare the available methods with the off the shelf dummy batteries.
  • 0
blacklion :. 32°

#7 Kronos Nerf Mods

Kronos Nerf Mods

    Member

  • Members
  • 153 posts

Posted 30 April 2013 - 05:00 PM

Figured I would just throw this out there:

Posted Image

Posted Image

They are pretty ugly, but have very little resistance, as they conduct the electricity with normal wire.
  • 0
Wyes may take a while...:

My Youtube Channel

#8 DartSlinger

DartSlinger

    Member

  • Members
  • 222 posts

Posted 30 April 2013 - 05:58 PM

Figured I would just throw this out there:
*pictures*
They are pretty ugly, but have very little resistance, as they conduct the electricity with normal wire.

What is the metal part made out of? It looks like dimes.
  • 0

#9 Kronos Nerf Mods

Kronos Nerf Mods

    Member

  • Members
  • 153 posts

Posted 30 April 2013 - 08:55 PM

What is the metal part made out of? It looks like dimes.


Well the wire is metal, and the actual battery shape is 3D printed. No metal, No dimes.
  • 0
Wyes may take a while...:

My Youtube Channel

#10 Jeo

Jeo

    Red Team: HooRah!

  • Members
  • 93 posts

Posted 01 May 2013 - 11:16 PM

Did you measure the resistance (ohms) of your dummies? I want to compare the available methods with the off the shelf dummy batteries.


Haven't checked but I'd imagine it's entirely dependent on the piece of wire you use.
  • 0


1 user(s) are reading this topic

0 members, 1 guests, 0 anonymous users