This write up may seem dumbed down to many of you, but writing this as if someone with absouletly no clue about anything nerf would be able to understand, and follow.
Goal of this mod
-To increase reload times on the Roughcut.
Tools needed
-1 Roughcut, and a few extra Roughcut turrets. This is an ideal mod if you have stripped the gears on your roughcut, or broke it in some other way.
- 1 dremel or similar tool, with cutting wheels, sanding bits and, I personally used a conical grinding bit.
- Various bits of duct tape.
- Water and a device to boil it. (Not required in most cases, but makes some steps easier.)
- sharpie marker, not required but makes cutting more accurate.
- liquid wrench white lithium grease spray. (For the AR's)
- some type of lubricant. silicone grease, white lithium grease, etc. (for the plunger tube. Don't use the spray.)
- patience, and safety glasses if you want them.
I'll be using some borrowed photos for some things as my camera card stopped functioning...
Disassembly.
Start with your blaster obviously and take out all the screws. They are all the same size on mine. Open it up and it should look like this. (Photo courtesy of nerfmodsandreviews)
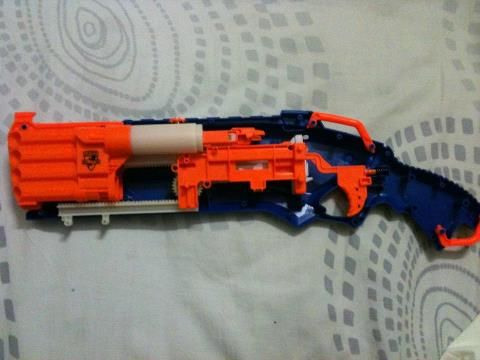
Take out your internals. That's everything that orange or white.
Ignore the paint..my experimental method didn't work out.
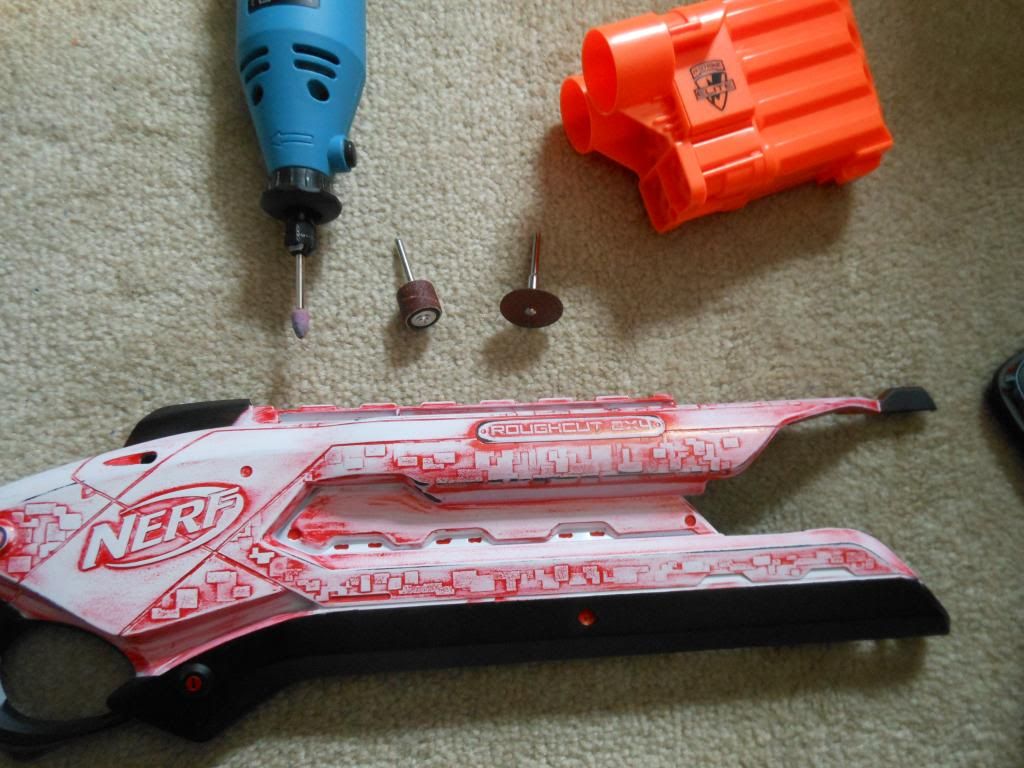
Modifying the shells of the blaster
Now look at the front part where the darts go in. Use your dremel with the cutting wheel and trim off all these parts that are marked with the sharpie.
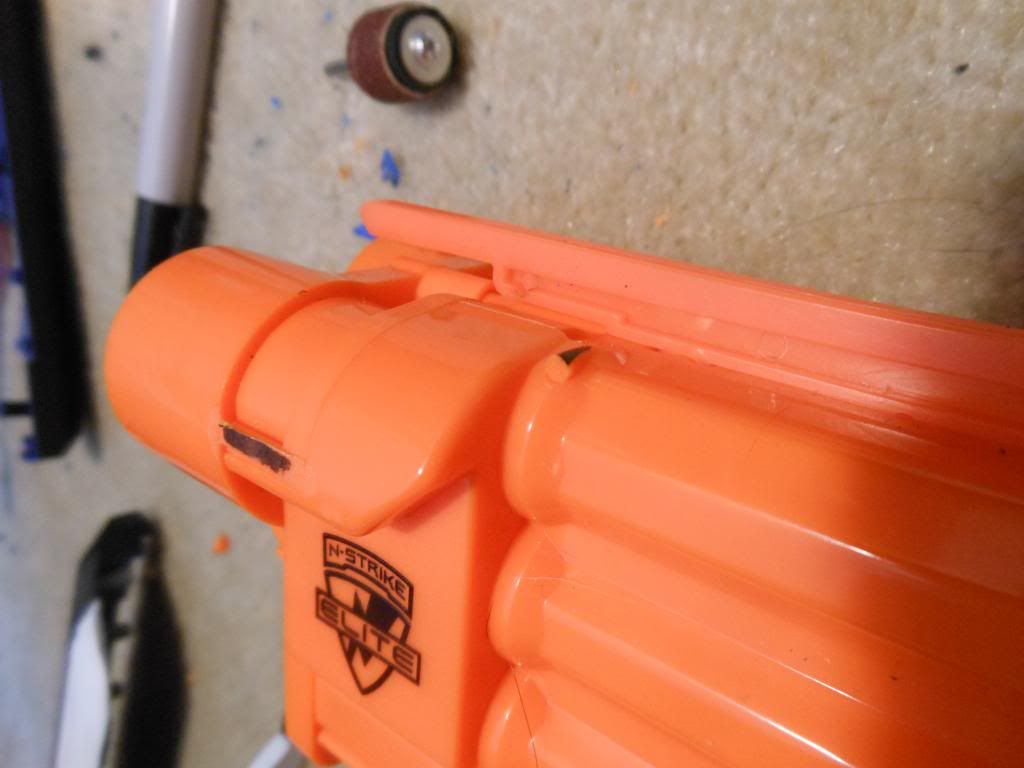
NOOOO! Not the N-strike logo, you moron!
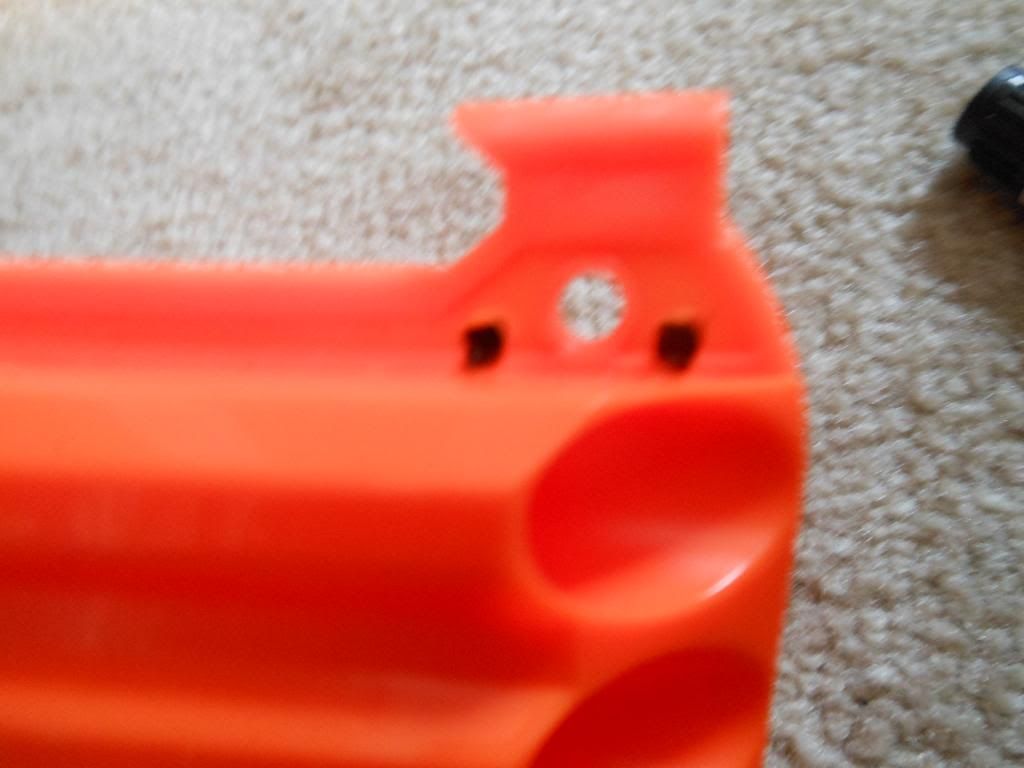
Hers a comparison for what you will be doing to the shell. Left side is stock, right is modified. This is to allow the easy addition and removal of the turret.
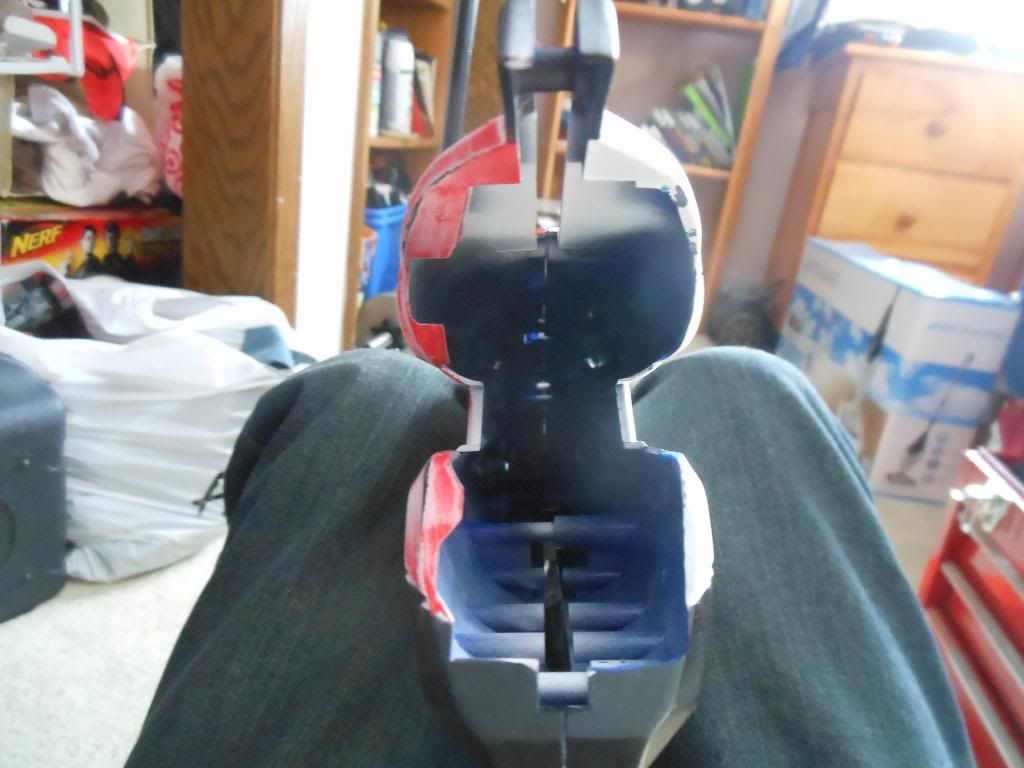
Here is what we will be removing on the Roughcut shell itself. Simply copy the line I drew and cut it with the cutting wheel on the dremel.
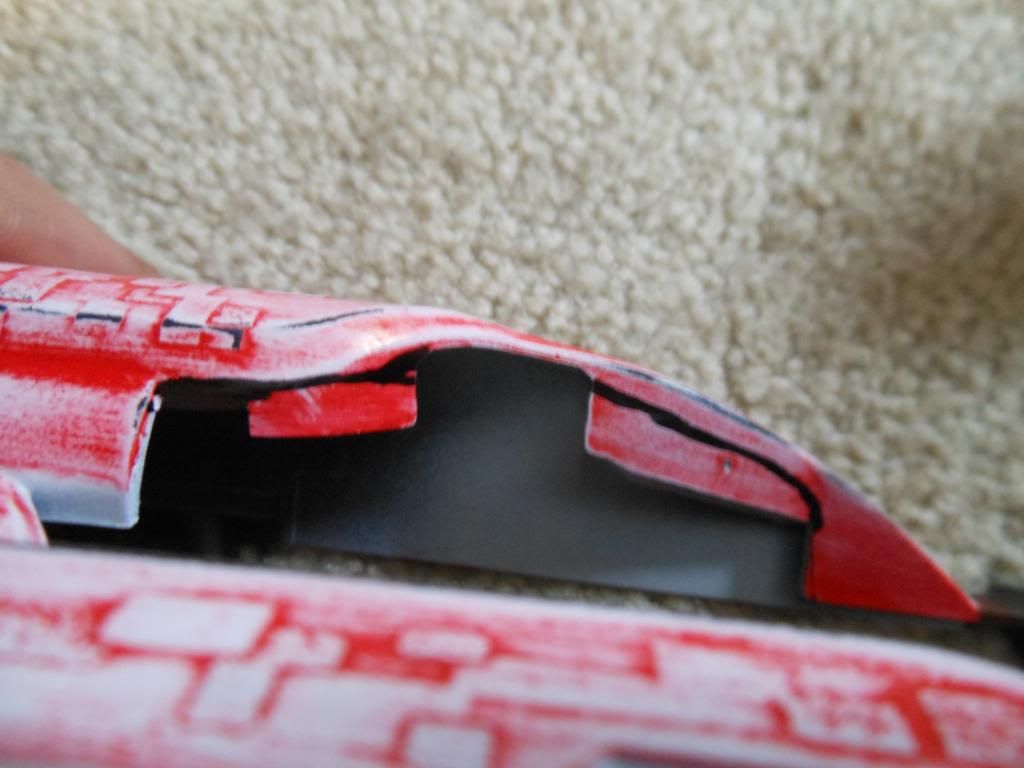
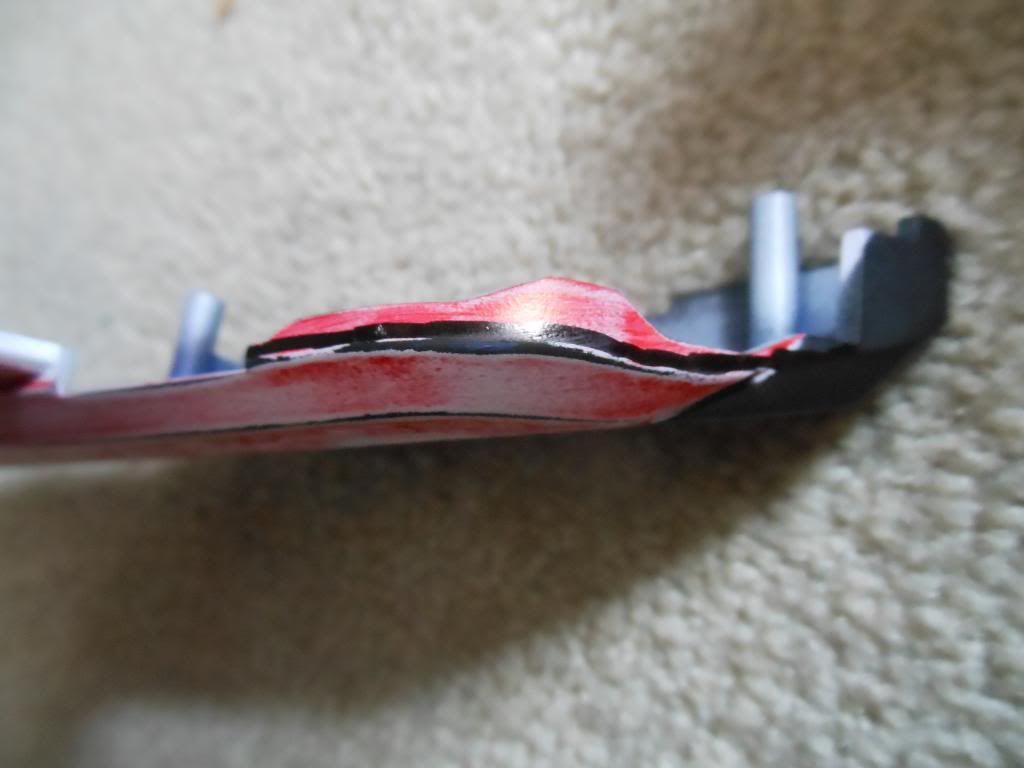
This black line you will want to use either the grinding bit or sanding but, and simply grind the lip flush with rest of the shell. This will really aid in the addition and removal of the turret.

Now use the sanding bit to curve the front edge of the shell like this.


You are basically done with the shell now. Now there are some small things to do to improve the functionality of this blaster, and enhance this modification.
Here is a video to explain some things I couldn't quite explain with text or pictures. I uploaded it to photobucket, so the image quality is crap.
http://i1297.photobu...zpscad9df6b.mp4
Increasing the air seal-
Disassemble your turret. Here is an exploded view. There are 4 screws holding it together, and the rest is friction fit, but I was unable to separate so I boiled some water and briefly dipped it in, then immediately pulled it apart with my pliers.
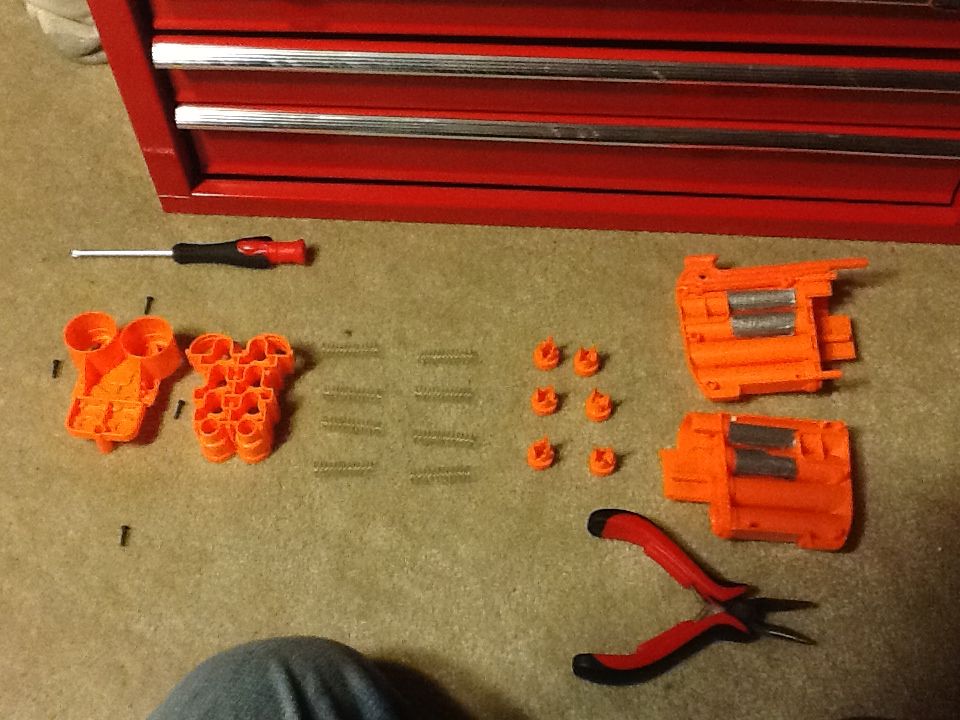
I Got this idea from coop. Put some duct tape over the air release holes in the barrel, and dab some hot glue onto these two holes in the front.
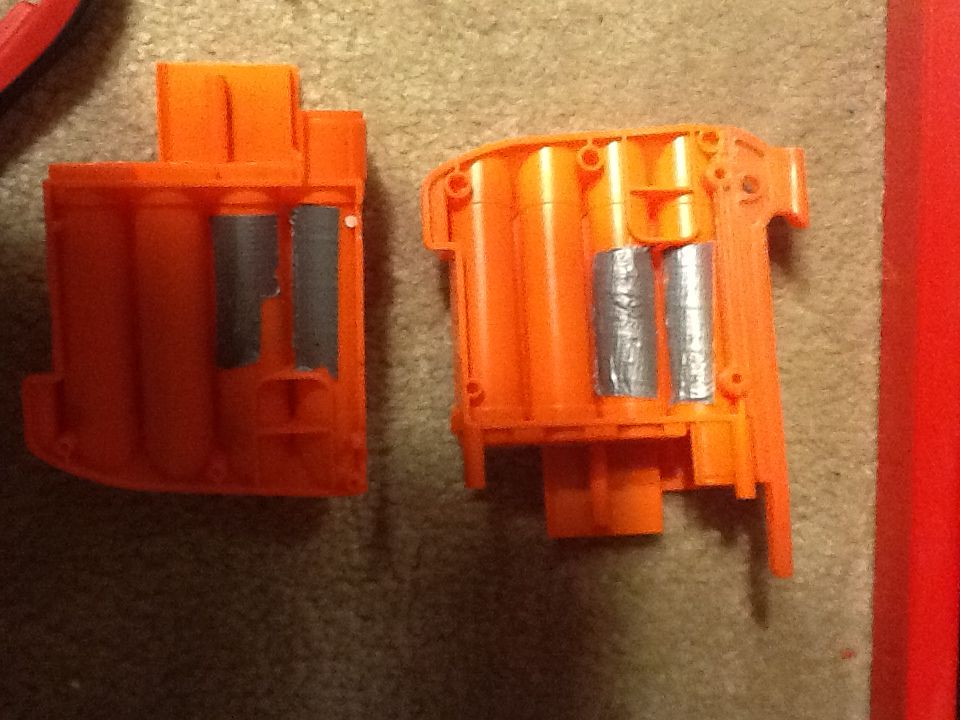
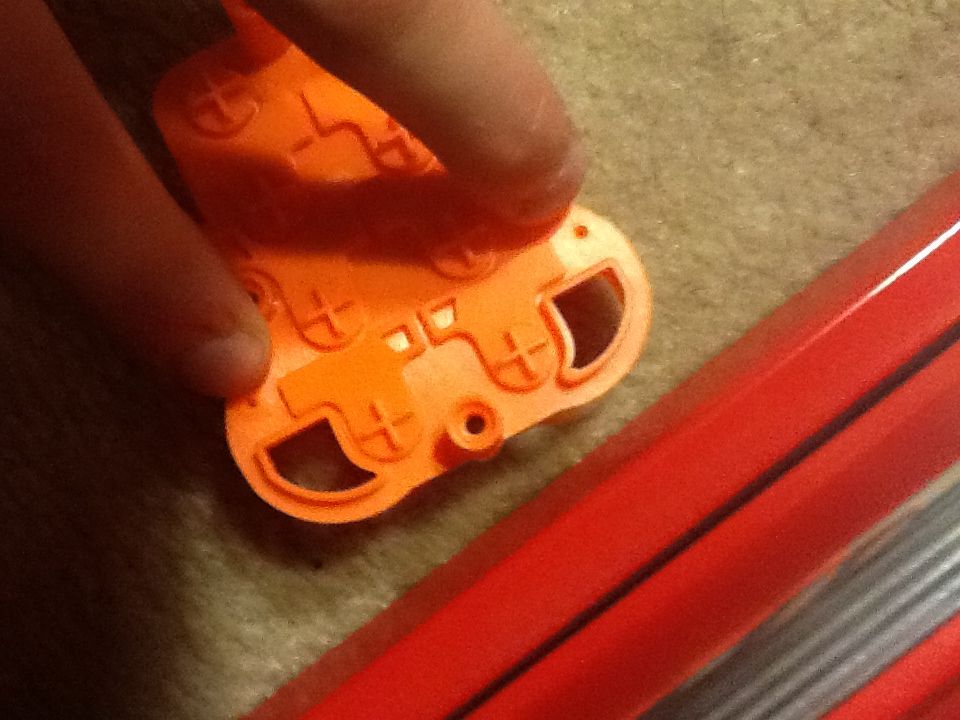
Now assemble the turret, and make sure your AR spring are in there, unless you want an 8 shot- shotgun.
Add some grease, or liquid wrench spray to this area. Tis will make the replacing, and removing of turrets much smoother, as it is such a good seal it tends to pull the plunger tubes a little. I went with the liquid wrench, as its lower viscosity.
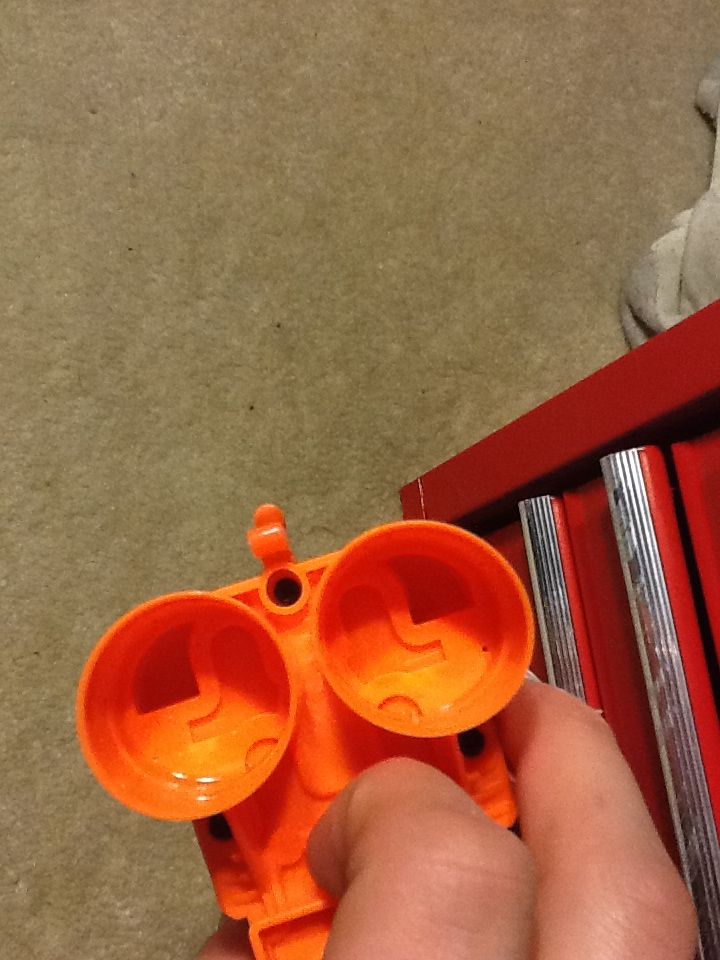
Reassemble your blaster, and screw everything together. I loosened the front two screw which, in theory should make it easier to remove and replace the turret.
Here's the video on the function.
http://i1297.photobu...zpseaef11d1.mp4
As always, comments and questions are welcome.
Edited by 481IceDragon, 15 March 2013 - 08:25 PM.


