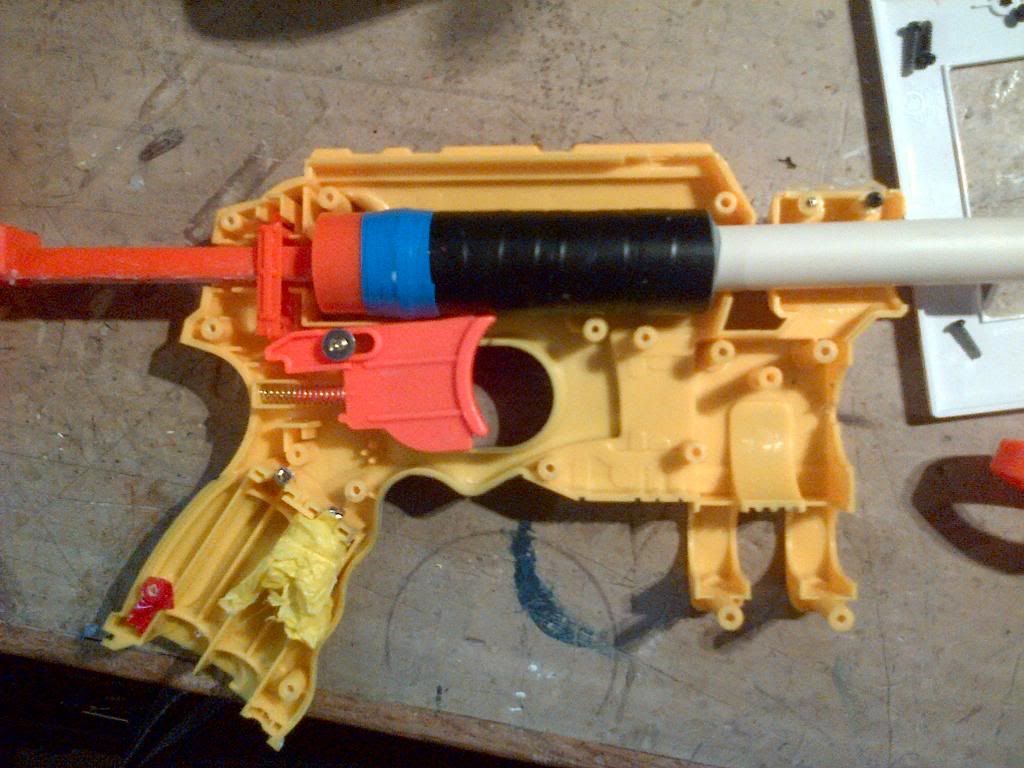
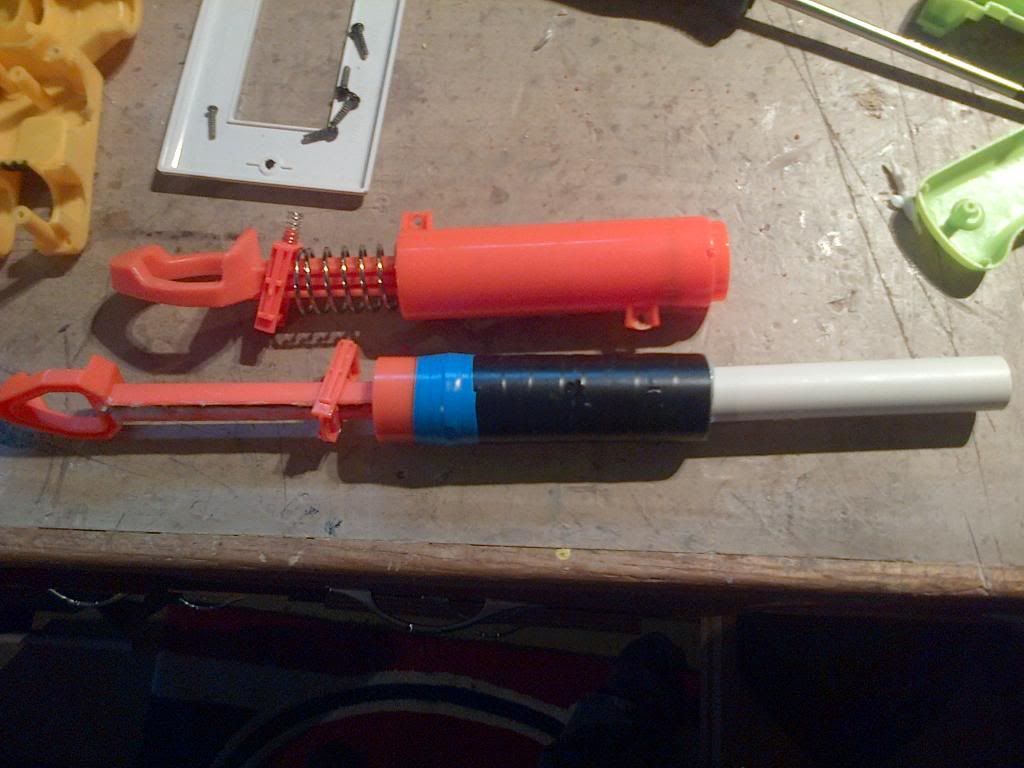
If anyone from the US would be interested in this toy, let me know, I might be able to ship it to you for under 5$. Of course, at that price I recommend getting a Nitefinder though.
Contact me to diapo.pro@gmail.com
Keep in mind that this is a 2$ gun at the dollar store. I think 65' is pretty decent.
Write-up is under a PDF form which was easier for me to make. Have fun!
Air Blaster write up.pdf - 13.03 MB
*EDIT*: Content now in the post itself.
Hello, this is my first write up. Original idea : http://canadiannerfe...c/31/Knock-Off-
Star-Wars-Rebel-Troop-Blaster-Optimizati#.UUEkeflLNUs
First of all, I'm Chuck. I have been into Nerfing for several years and I have quit 2 years ago.
Recently, one of the kids of my neighborhood started playing nerf too. I saw him last week shooting
outside a trusty old stock maverick. Since I still had all my stuff, I gave him everything that wasn't just
garbage. Then I was gonna throw everything else away when this caught my attention. And this is how
I got back into modding. I didn't remember how much I liked it, but now I do. I'm also working on a
breach setup for a BuzzBee belt blaster (which I no longer have the shells for).
Anyhow.
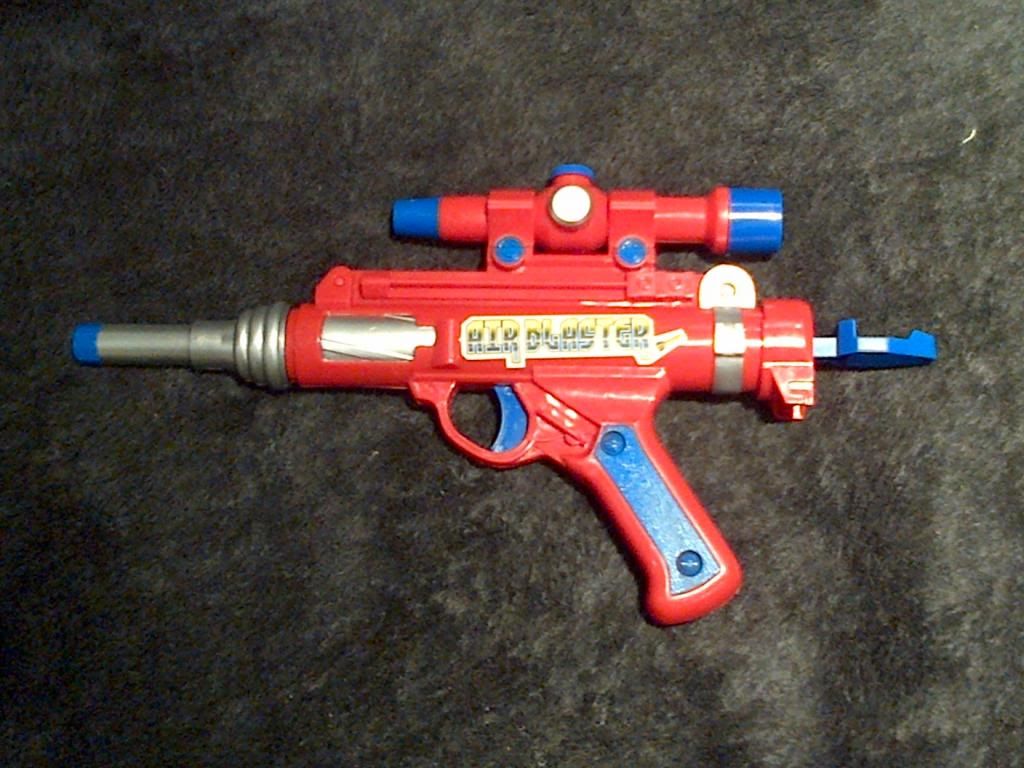
This is with what we will work. THE DOLLARAMA AIR BLASTER.
A note on the product:
This is a toy that can be acquired at Dollarama for 2$. Dollarama is a Canadian dollar store franchise
operating nationwide. I do not think there is any of them in the US, but still, if any of you ever
encounter one, you'll know what to do. This version shot arrows (a bit like BBB arrows). It had a range
of 20 feet angled.
This mod will consist of a Barrel replacement (CPVC in this case, but you can use whatever you want),
a rod reinforcement and adding an extra spring.
Let's begin.
1st Step: You might want to play with it a little before modding it to see how much it sucks stock. This
way, you will think this is the greatest mod in the world afterwards.
2nd Step: Let's open the beast.
Screws are located on the right hand side. Unscrew all of them.

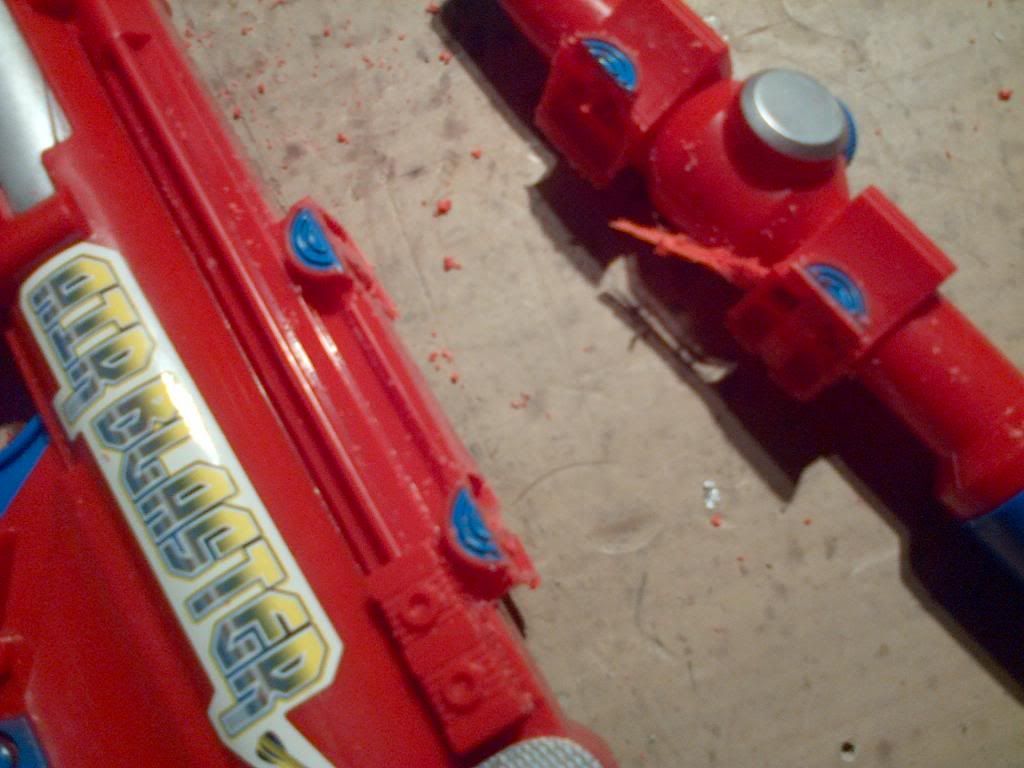
You might also want to cut off the “scope” like I did since it is probably going to be more trouble
keeping it. I used a hacksaw.
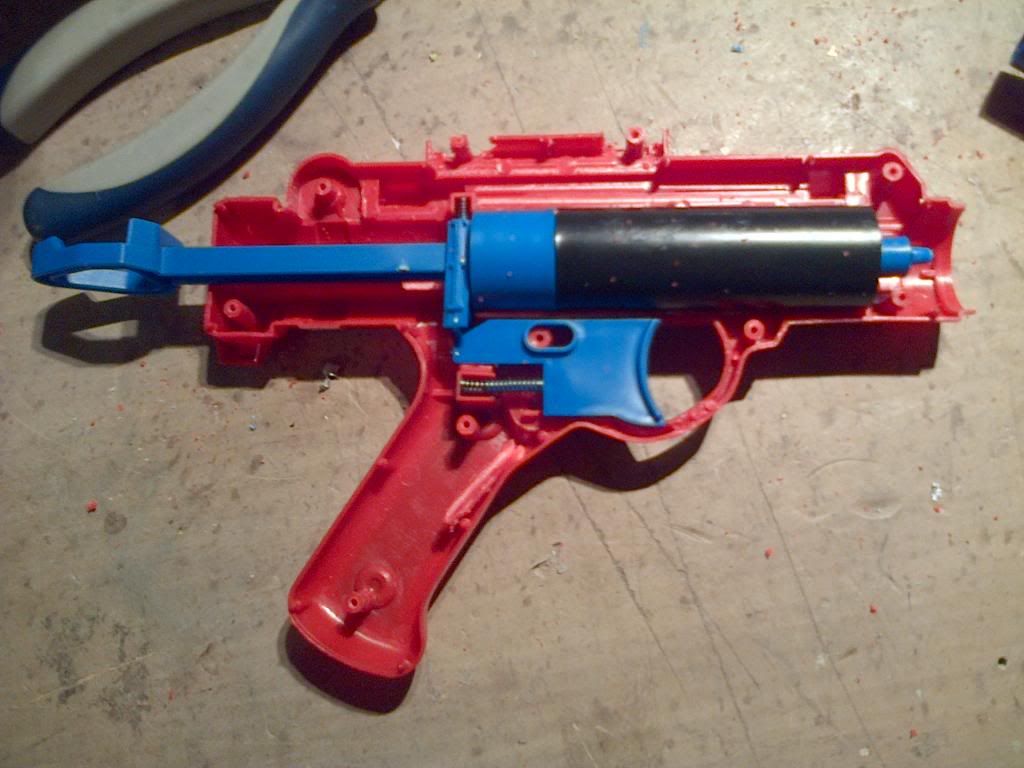
It should give you something like this once opened:
Take note that I already removed the stock barrel on this picture, normally, it should still be there.
4th Step: Cutting off what seems to be an AR.
Before:
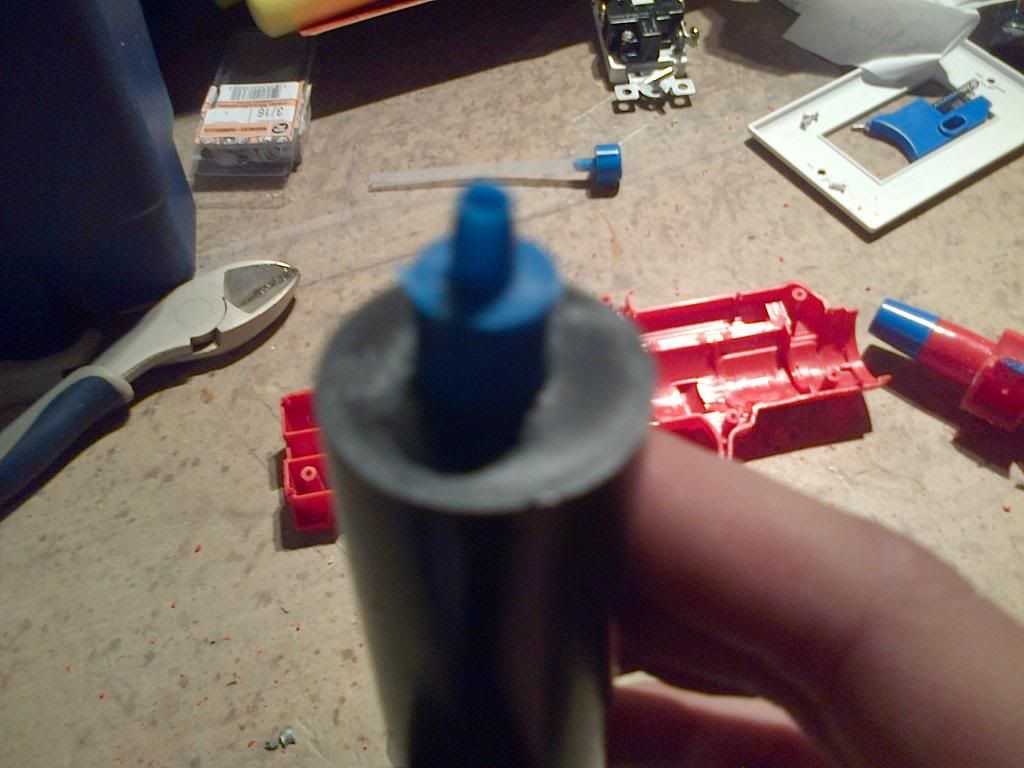
After:
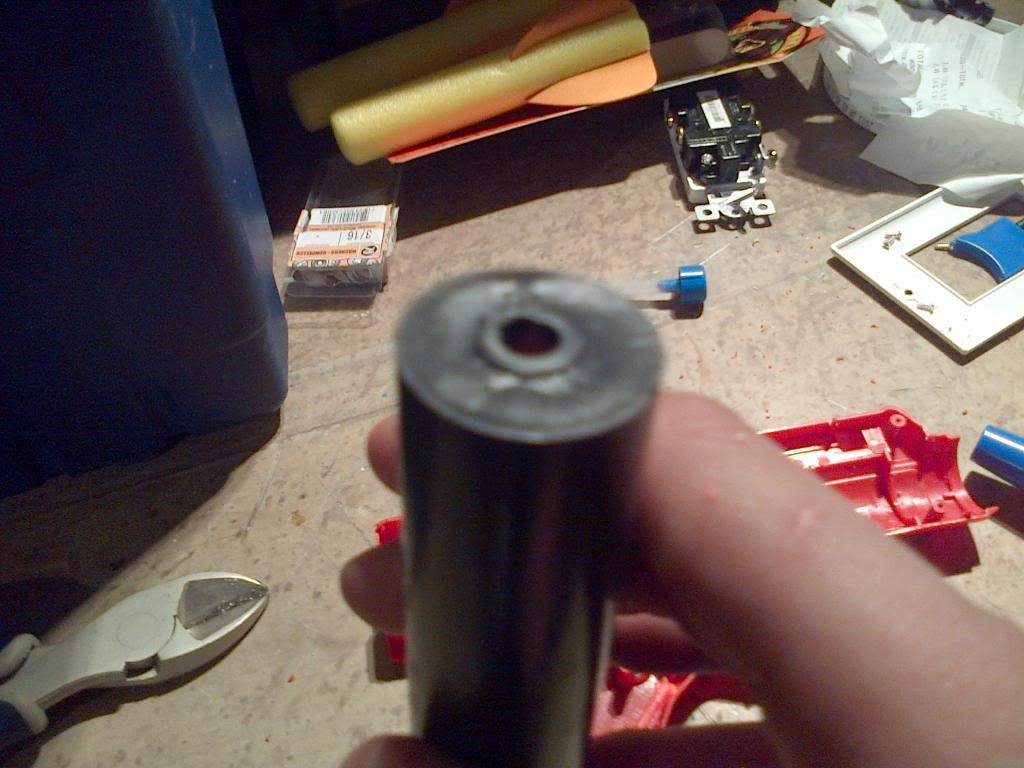
I used the little cutter you see on the left of the picture.
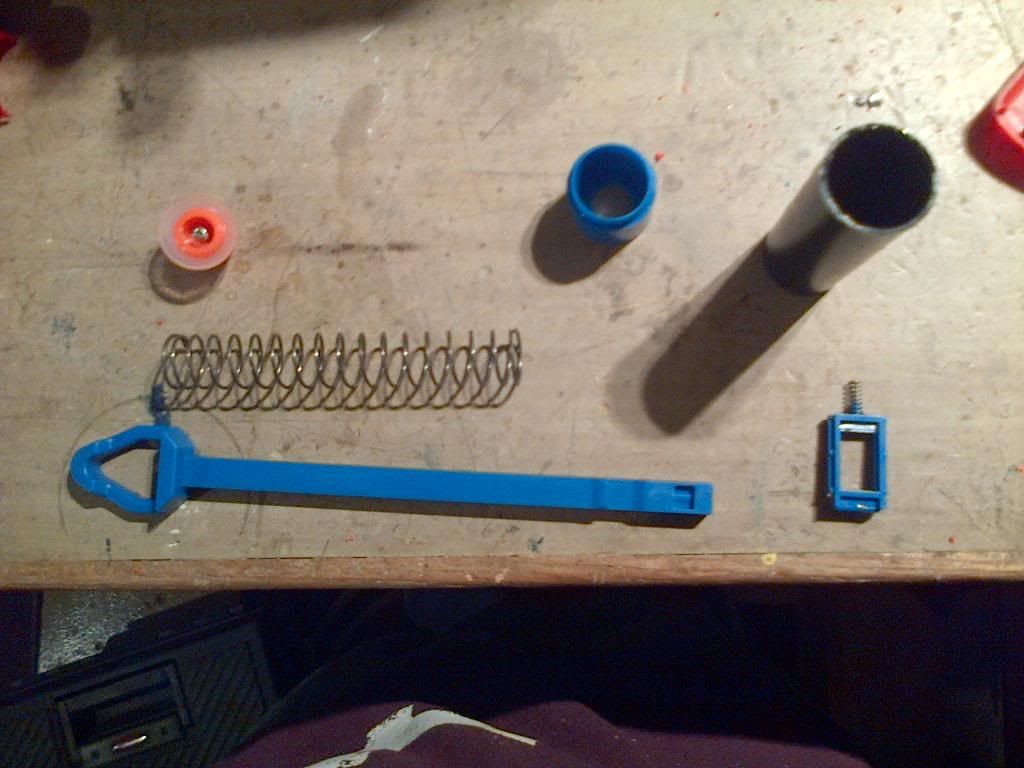
5th Step: Plunger tube's disassembly.
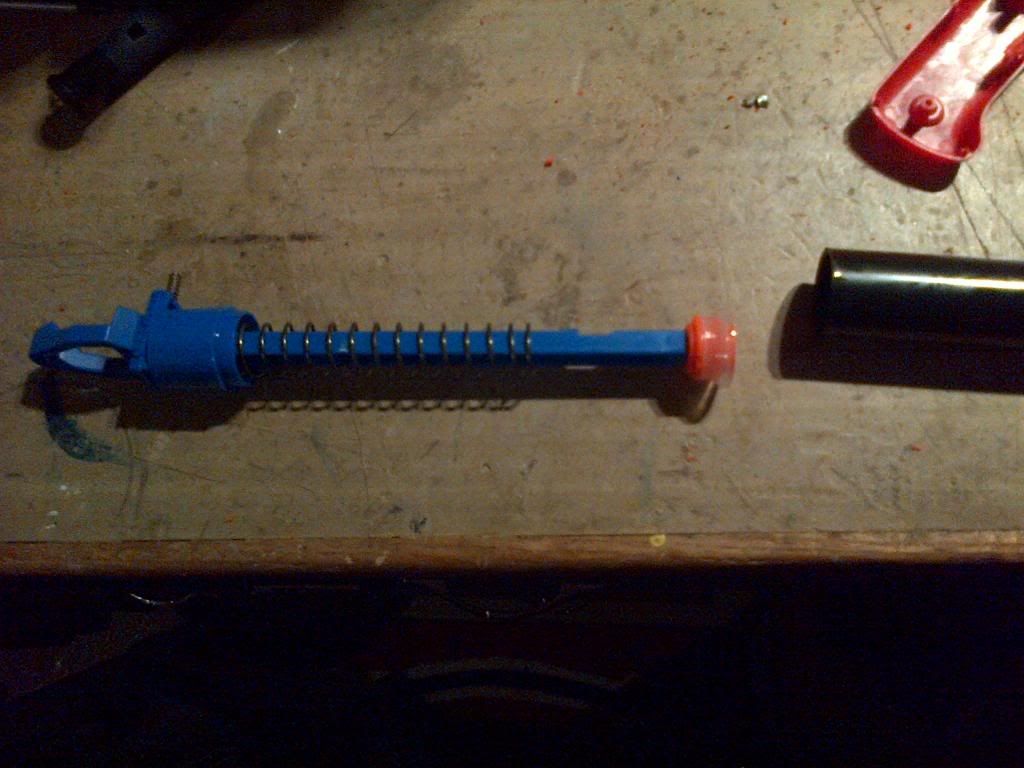
There is a screw on the head of the plunger tube. Unscrew.
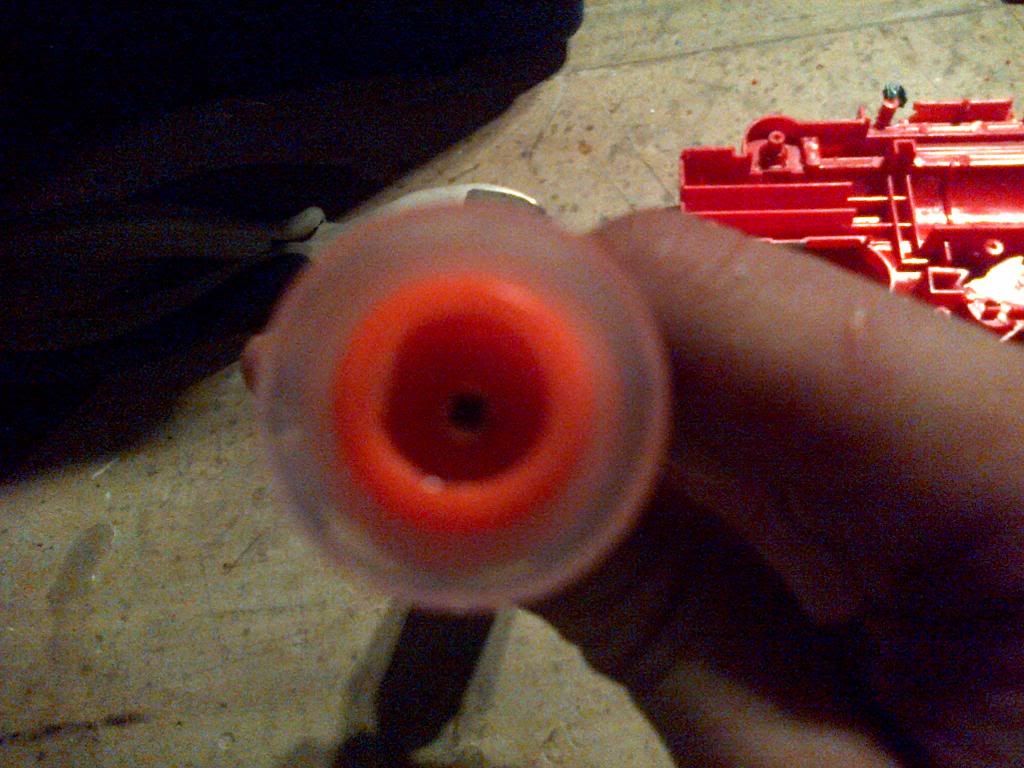
What you should have now.
6th Step: Reinforcement of the cocking rod.
Since it is very weak (your grandma was stronger than that) I decided to call in a little friend on this
job.
Dude, there is a Gorilla on the syringe. It's surely strong. (I was going to use Hot glue until I saw the
gorilla's face @ walmart. Them bastards, they surely know how to touch my feelings.)

I'm also going to use two of these big nails. Good stuff.
So pour a bit of glue in the rod, then put in the nails like this.
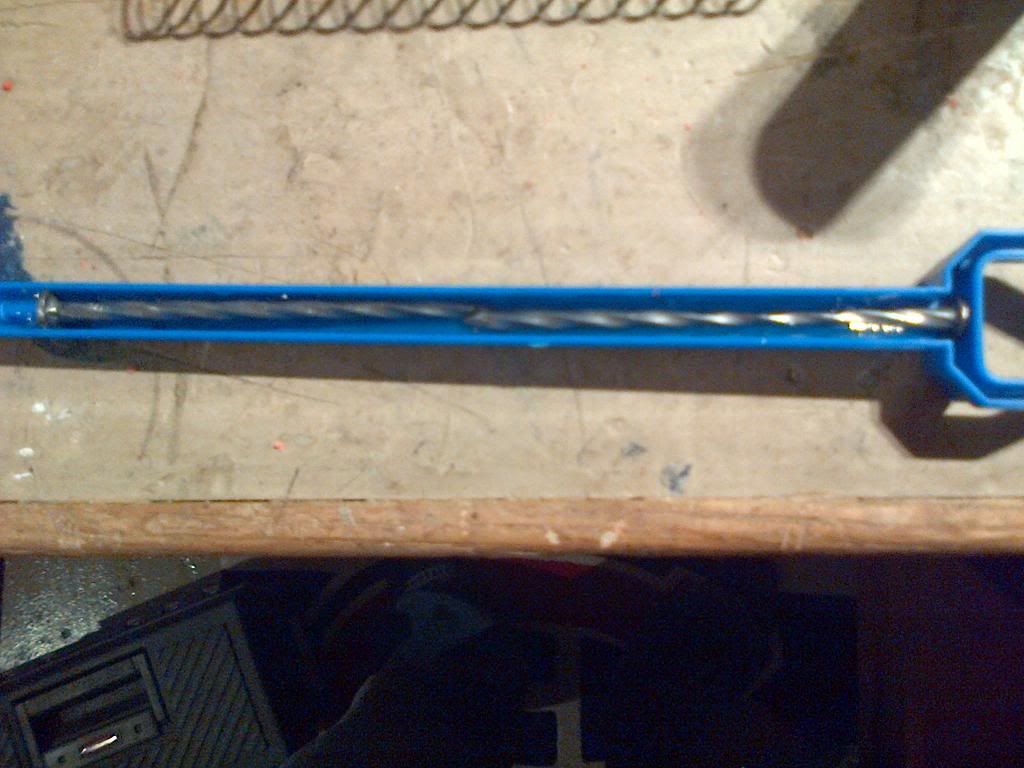
7th Step: Go start writing this up while it dries. Or you could cut you barrel.
8th Step: Here I will introduce to you Sketchy. Sketchy is an awful spring to work with. If you have
anything better (I really took what I had under hand and I have no clue what it is) you might want to
put it in instead of Sketchy.
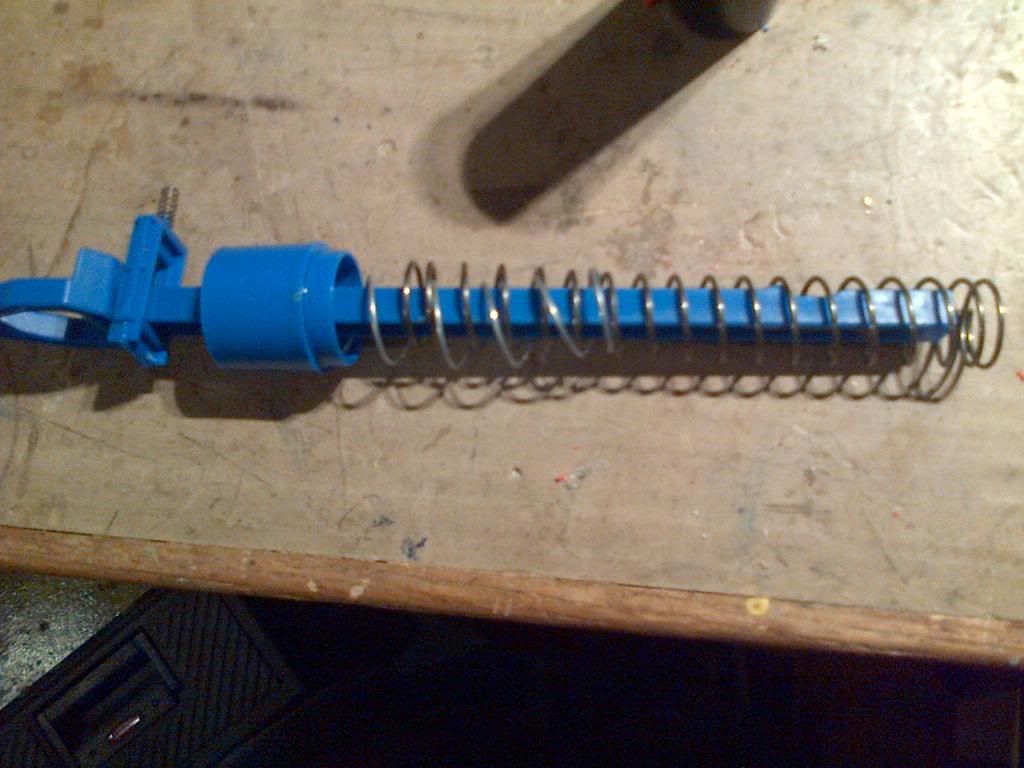
Sketchy + original springy.
9th Step: better seal of that plunger. *EDIT* Don't do this. I'm a cheap old bastard that didn't want to go get O-rings and didn't want to spend on lube either. I thought it was an OK idea, but DartSlinger and Carbon told me otherwise.
Classic method, just e-tape the head of the plunger so it gives you something like this:
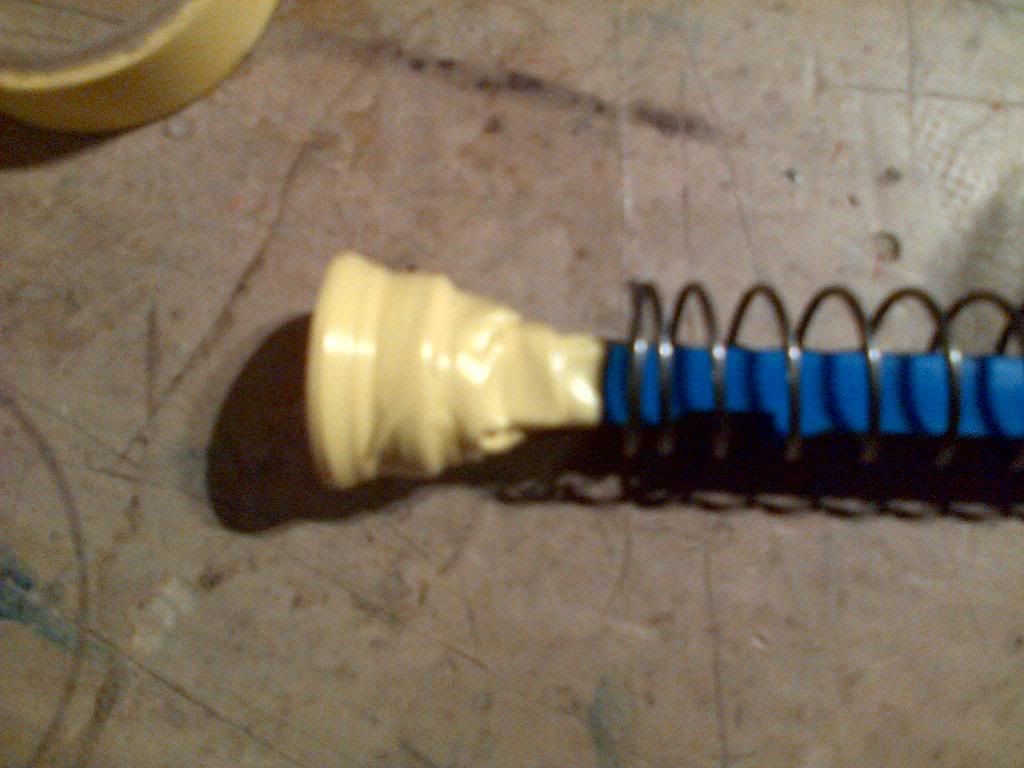
Now add some kind of lubricant. I like Vaseline much.

10th Step: Do a barrel roll.
11th Step: Put everything back together. In my case, since Sketchy didn't want to stay in, I had to tape
the tube.
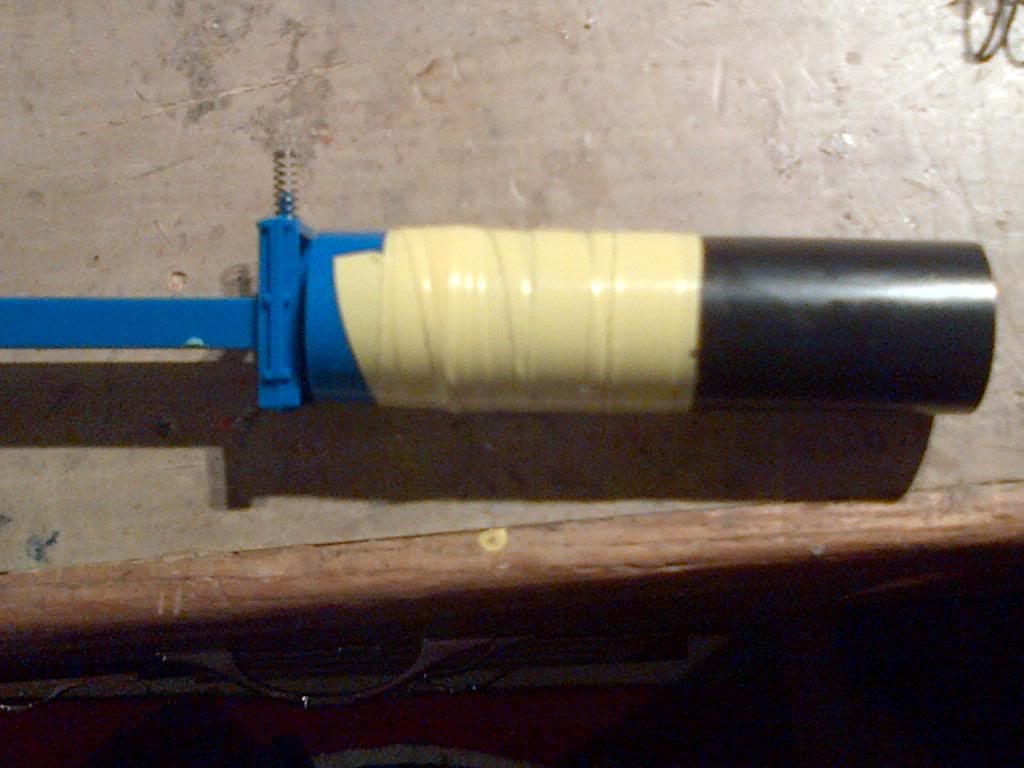
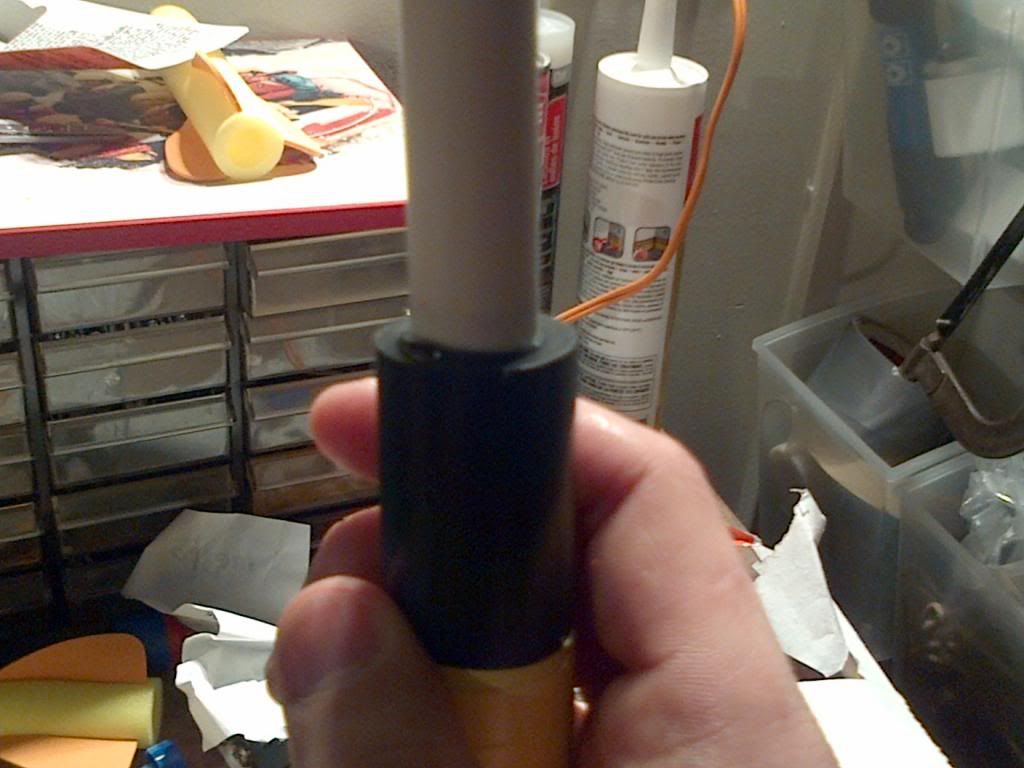
12th Step: Glue your new barrel at the end of the plunger tube. I used hot glue there. Gorilla glue would
have seemed excessive to me. But heh, banana.
13th step (the unlucky one) : Put everything back in the shell and hope you haven't lost anything (like
that |(!/”?& catch spring). Then just screw the shell back together. I added E-tape to make sure it
doesn't come apart too. Stupid chinese toy.
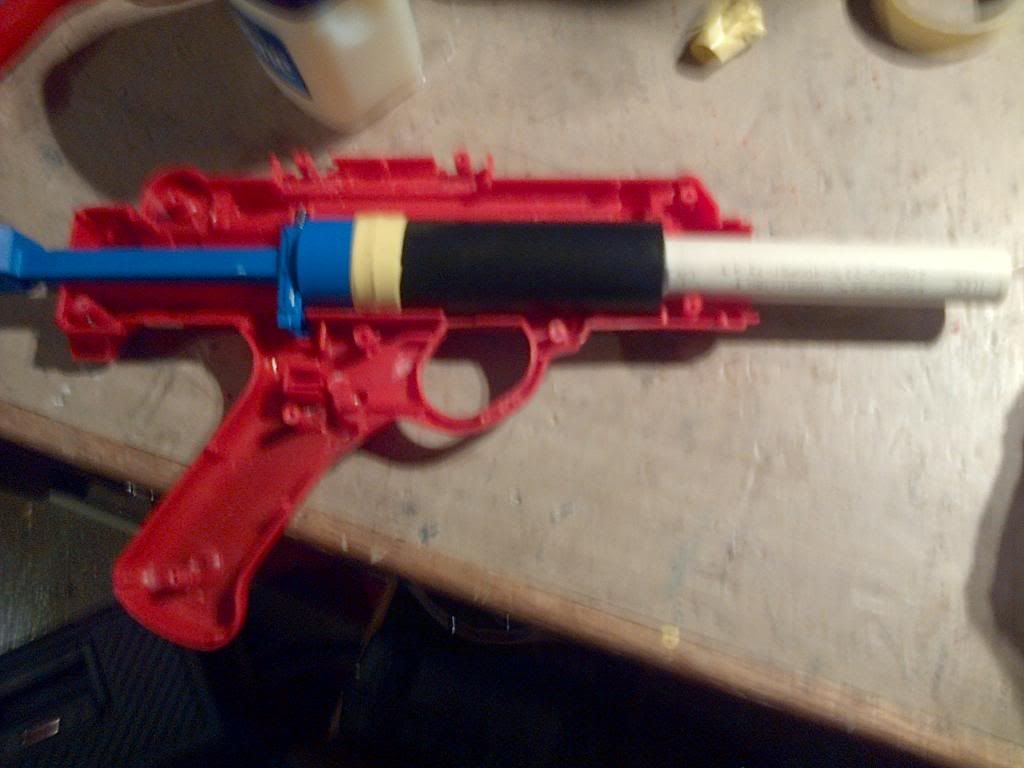

Voilà, you are done. I estimate that everything cost me less than 4$. I get ranges of 18 meters
consistently. To add some power, you could add some bungees/rubberbands like to a Nitefinder but I
don't guarantee you the handle will be strong enough. Also, I don't think this toy will handle more than 500 shots in its lifetime. Its made very cheap, so I don't expect to much out of it.
Edited by Chuck_dee, 13 March 2013 - 11:50 PM.


