Table of Contents:
Tools Needed
Materials Needed
Stryfe Modification
Rayven Shell Integration
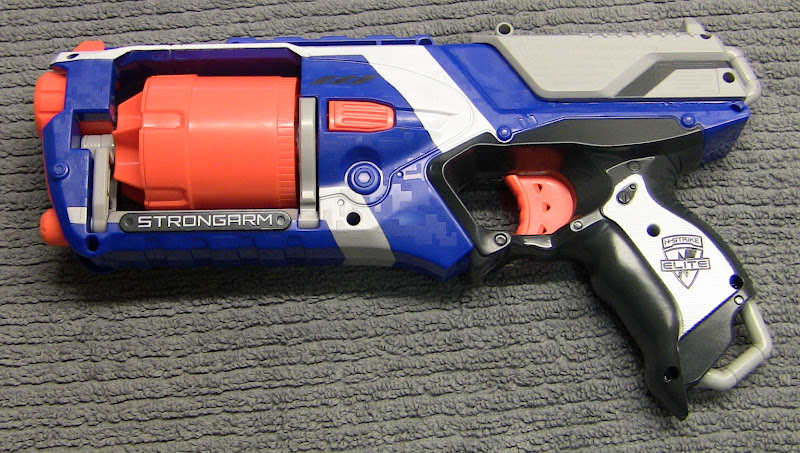
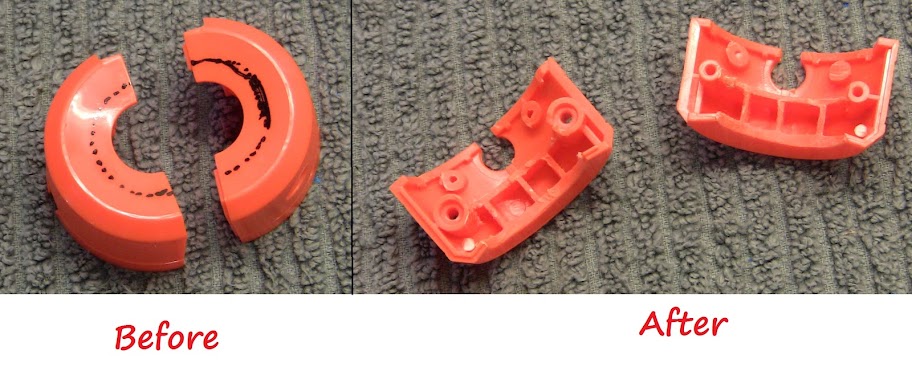
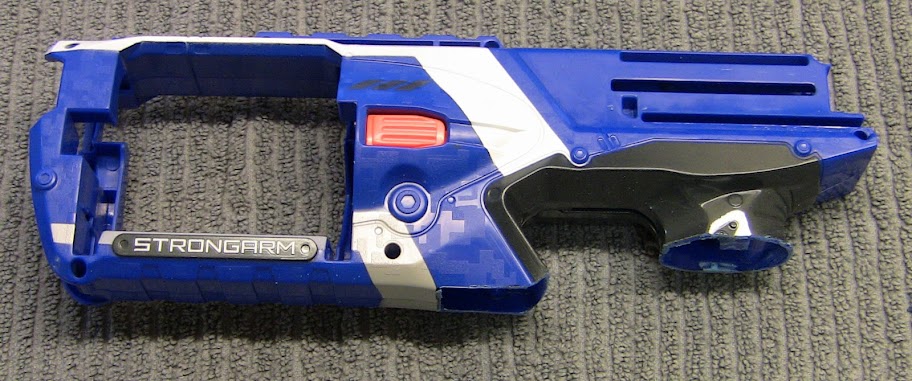
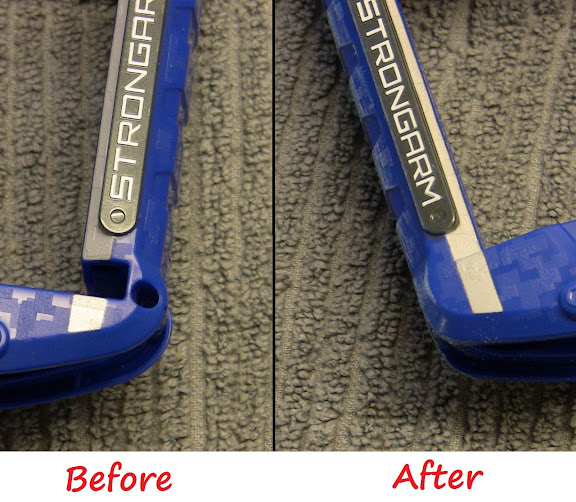
Strongarm Modification
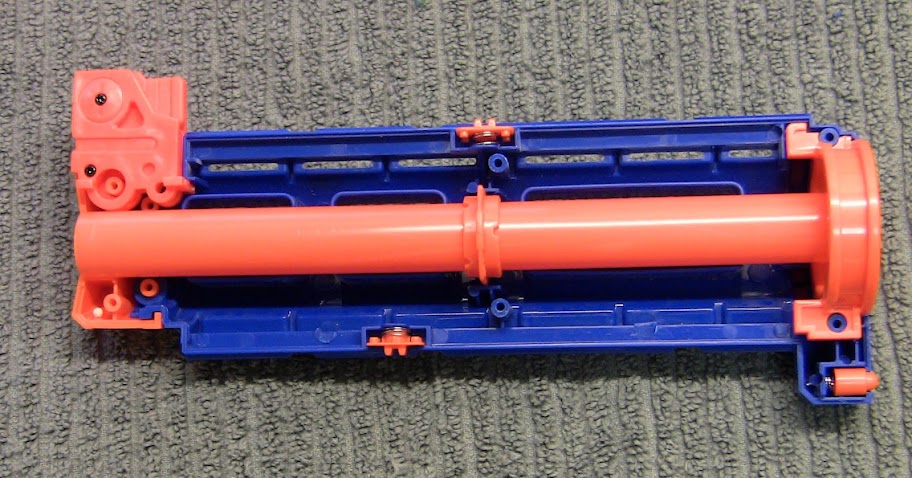
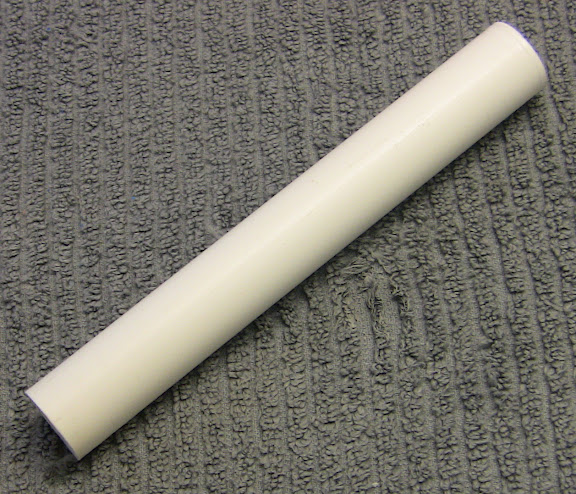
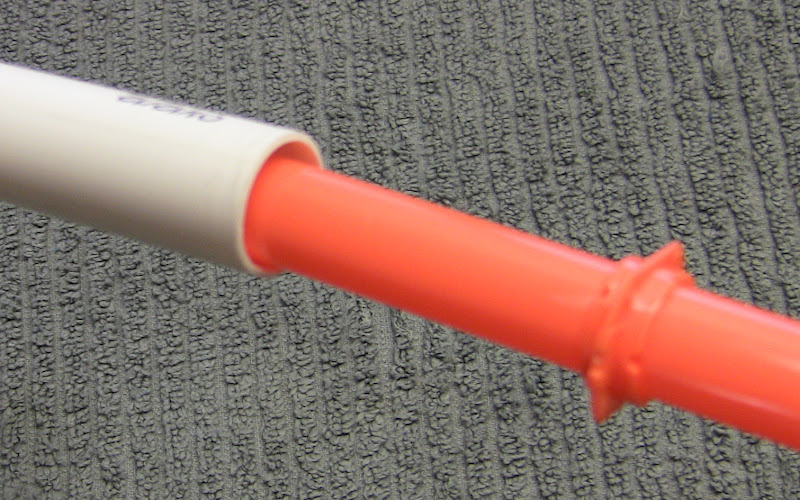
Retaliator Barrel Modification
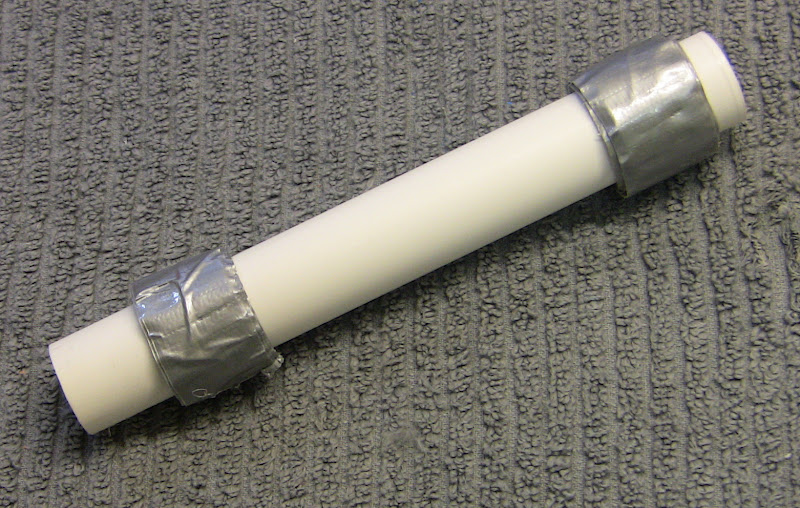
Strongarm/Retaliator Integration
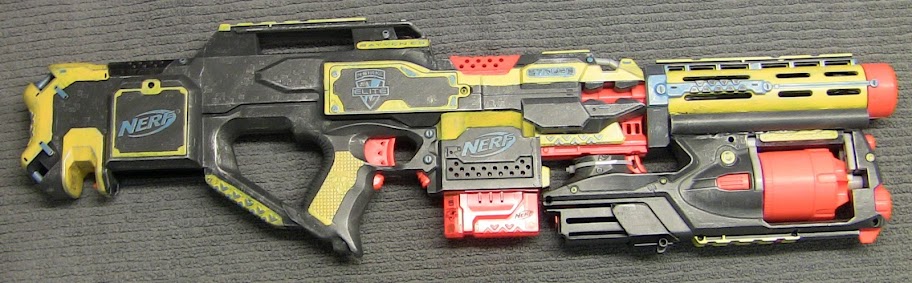
What this write-up will lead to:
Tools and Materials Needed (expand)
Spoiler
--------------------------------------------------------
Stryfe Modifications:
I have another Stryfe write up here if you'd like to check that prior to reading this write up.
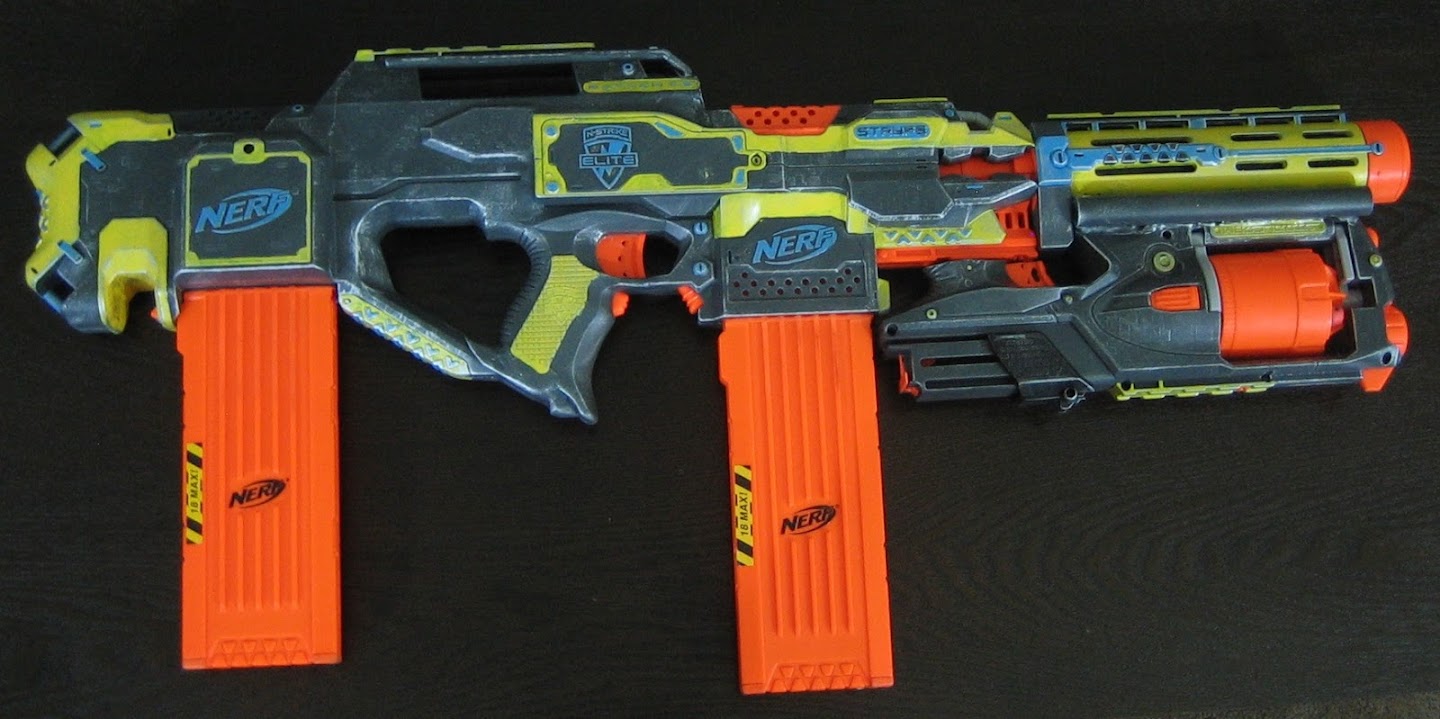
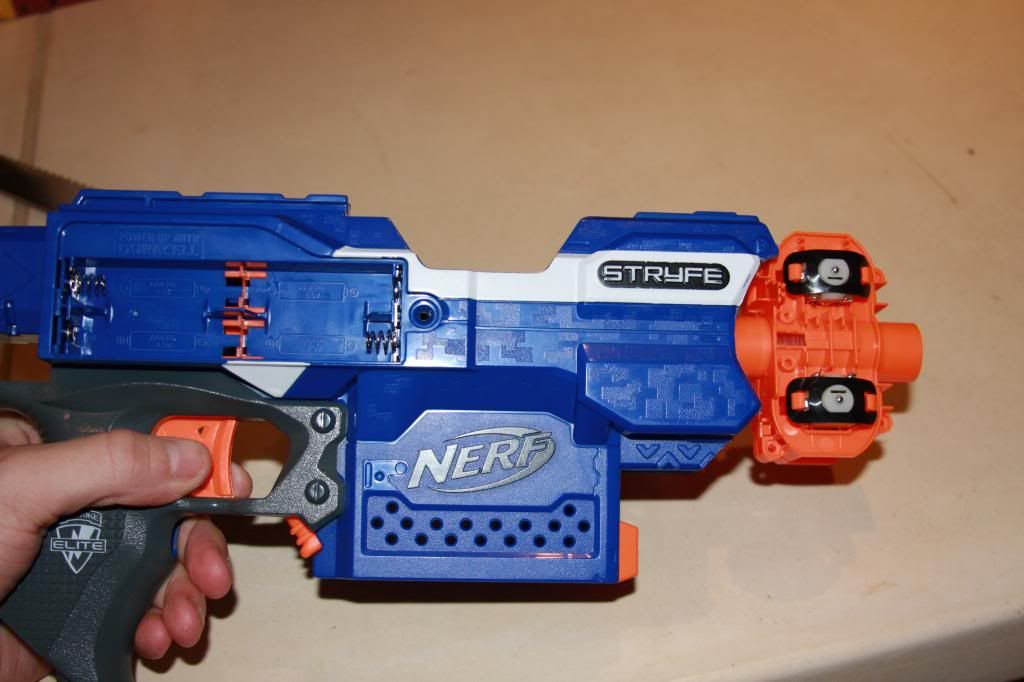
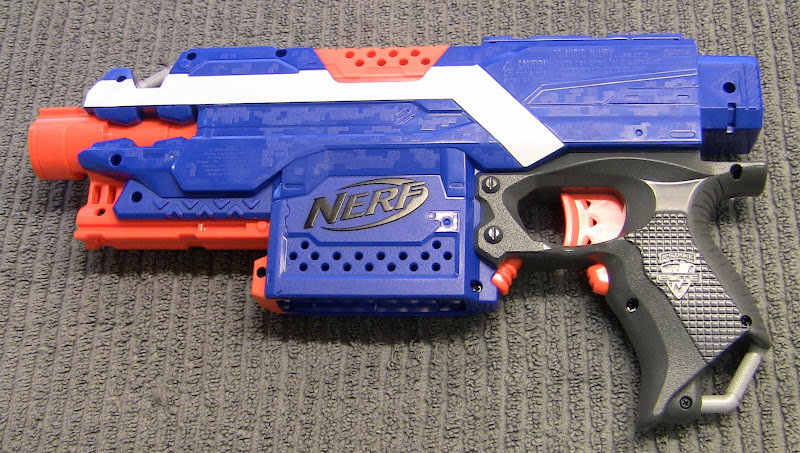
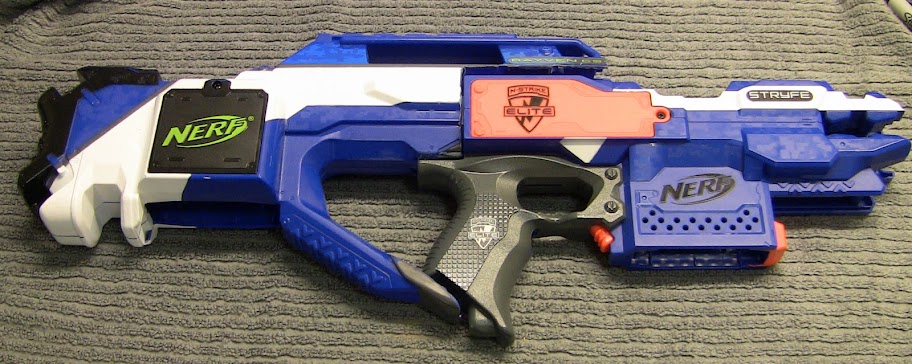
Stock Stryfe
Open the Stryfe
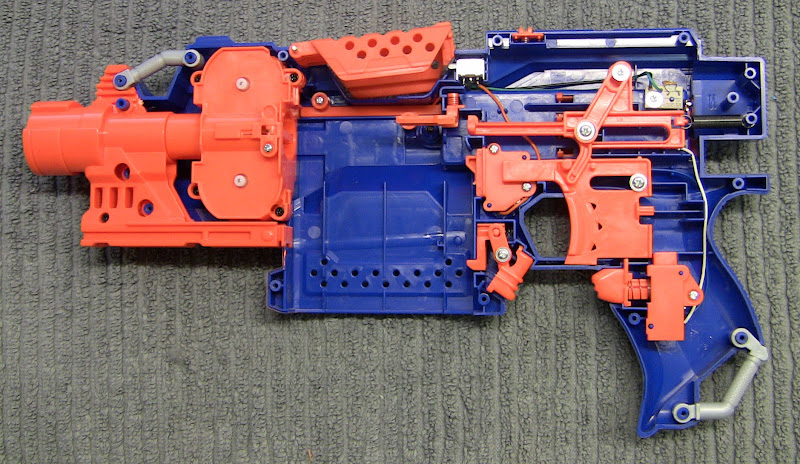
First I'll cover where some of the internal locks are and what they do. I don't think the primary components require pointing out, so I stuck with the smaller items some newer guys may be confused by.
Mechanical Stuff
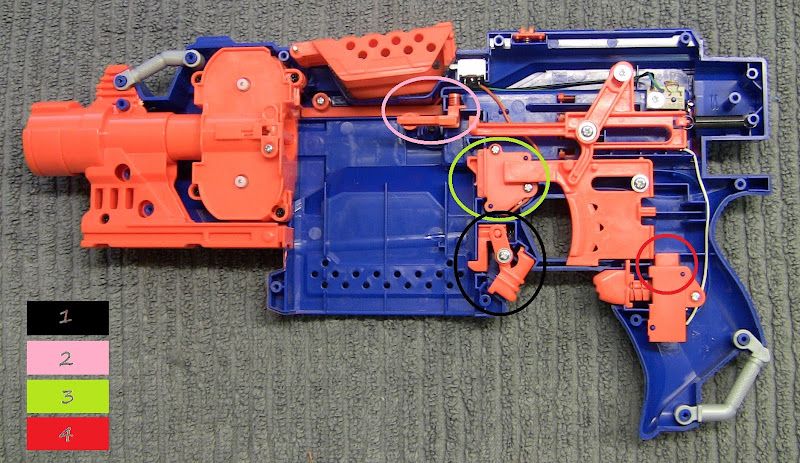
1) Magazine release - This holds the magazine in place while firing. I wouldn't suggest taking this one out.
2) Dart lock - This lock prevents you from pulling the trigger if there is not a dart loaded in a magazine. This component slows the max ROF down a little bit by locking up under fast firing. I would definitely suggest taking it out. You can just pull it out, it takes less than 2 seconds and is nearly impossible to fuck up.
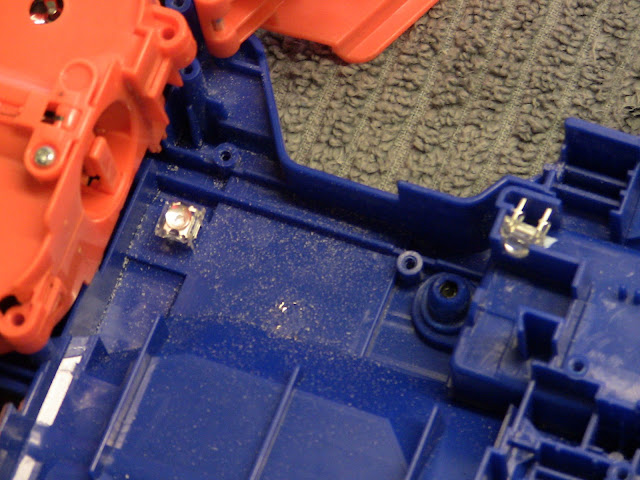
3) Magazine lock - While this isn't a mechanical lock, it's a physical piece that interacts with an electronic lock. This piece is pressed in from a magazine and closes your circuit by pressing a switch located under the little orange plate. Note: if you just remove this lock and don't rewire the circuit, your switch will always be open and not allow the blaster to fire.
4) Trigger lock - This is a lock preventing you from pulling the trigger if you are not revving the motors. This is is to prevent you from pushing a dart into the fly wheels while they are not spinning. If you're a retard, you may need to keep this lock in place to prevent jams. But if you don't pull the trigger for the LOLs while you're playing, you should be fine to take it out.
Electrical Stuff
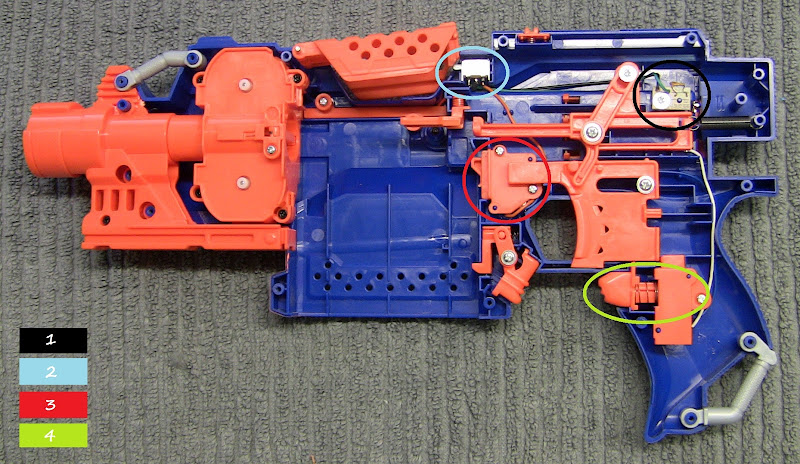
1) Thermistor - this will shut down your circuit if there is too much power introduced. This little bastard is what will disable your Stryfe if you try to use four UltraFires with it out of the box.
2) Access door lock - This switch/lock will prevent you from revving the motors if the access door is not shut. This is to prevent kids from sticking their fingers into the flywheels while they're spinning.
3) Magazine lock - This switch is closed when a magazine is in the magazine well which bumps into the orange piece of plastic covering it. This switch will not allow you to rev the motors unless a magazine is in place.
4) Primary switch - This is what allows you to activate your motors at will. I wouldn't suggest taking this one out or your blaster will be revving all the time. While that would be nice since you'll always be ready - you'll be really fucking loud and your batteries will die pretty fast.
Okay, now that you know what all these things are, let's take some shit out! You can remove the dart lock, magazine lock, trigger lock, access door lock, and the thermistor unit. All of these components are rather easy to get out. I also have a tutorial here in case you need more pictures/details. Here is the shit you don't need.

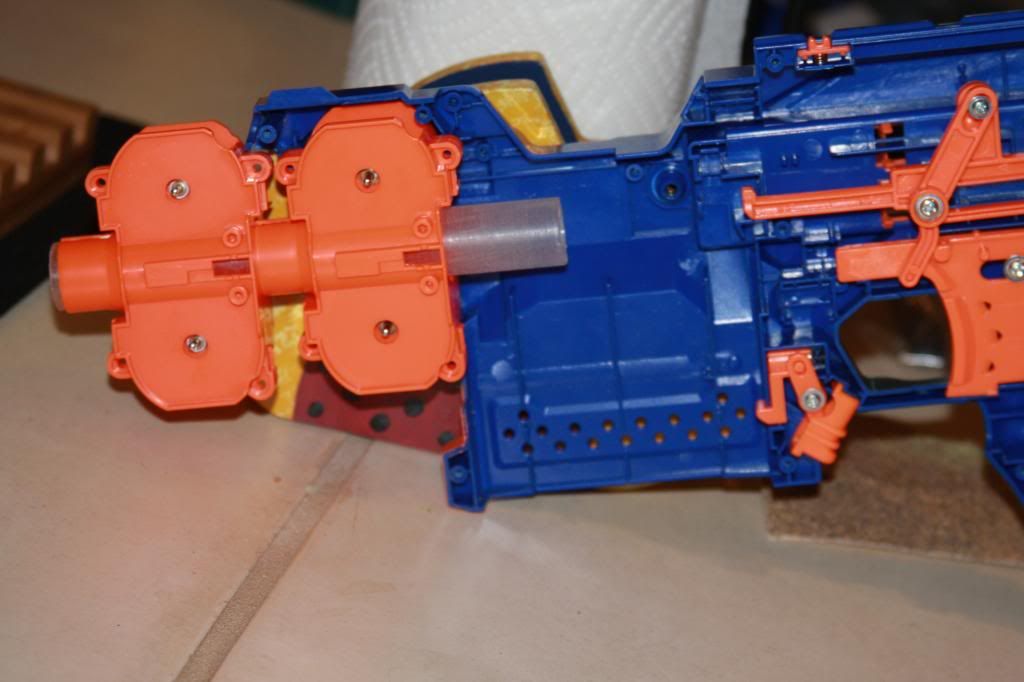
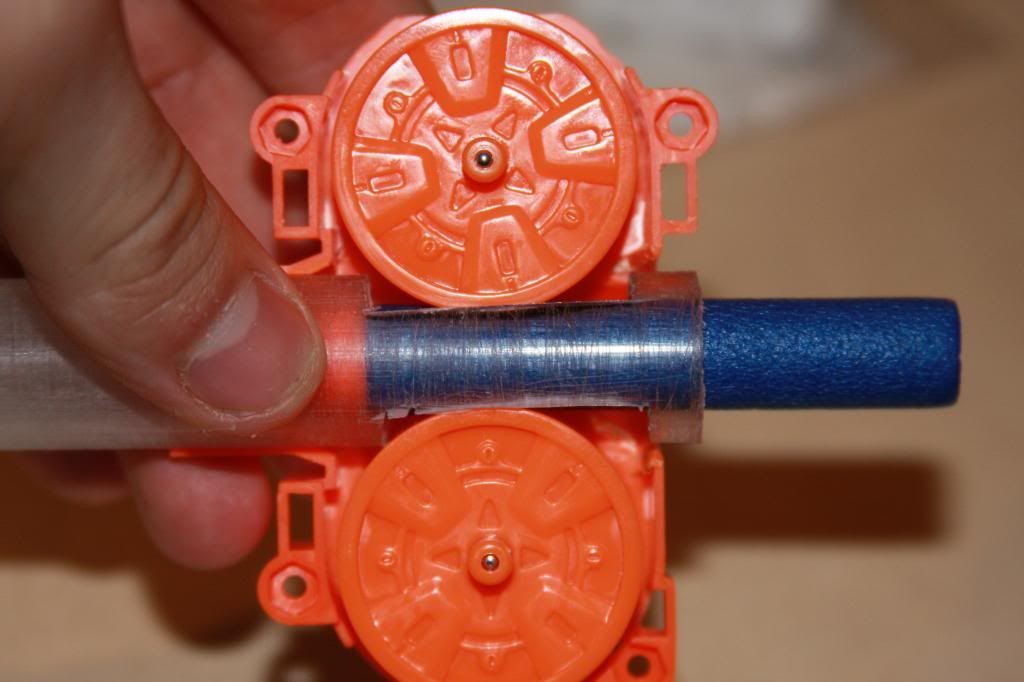
Now remove the four screws holding in your flywheel unit. Pull it out, this is what it should look like.
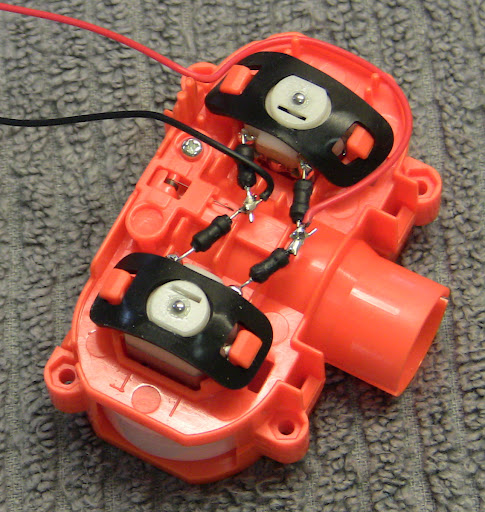
I have tried numerous motor replacements and have tried to find ways to increase traction on the flywheels, but I am not satisfied with anything to the point of adding it to this tutorial. So we're just modifying the stuff that is already in the blaster rather than replacing it. So, cut off the resistors attached to the motors.
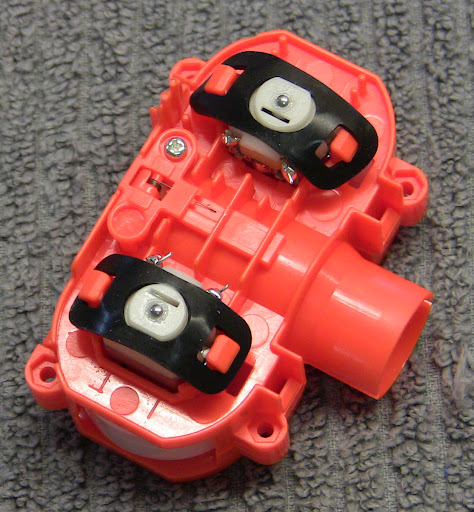
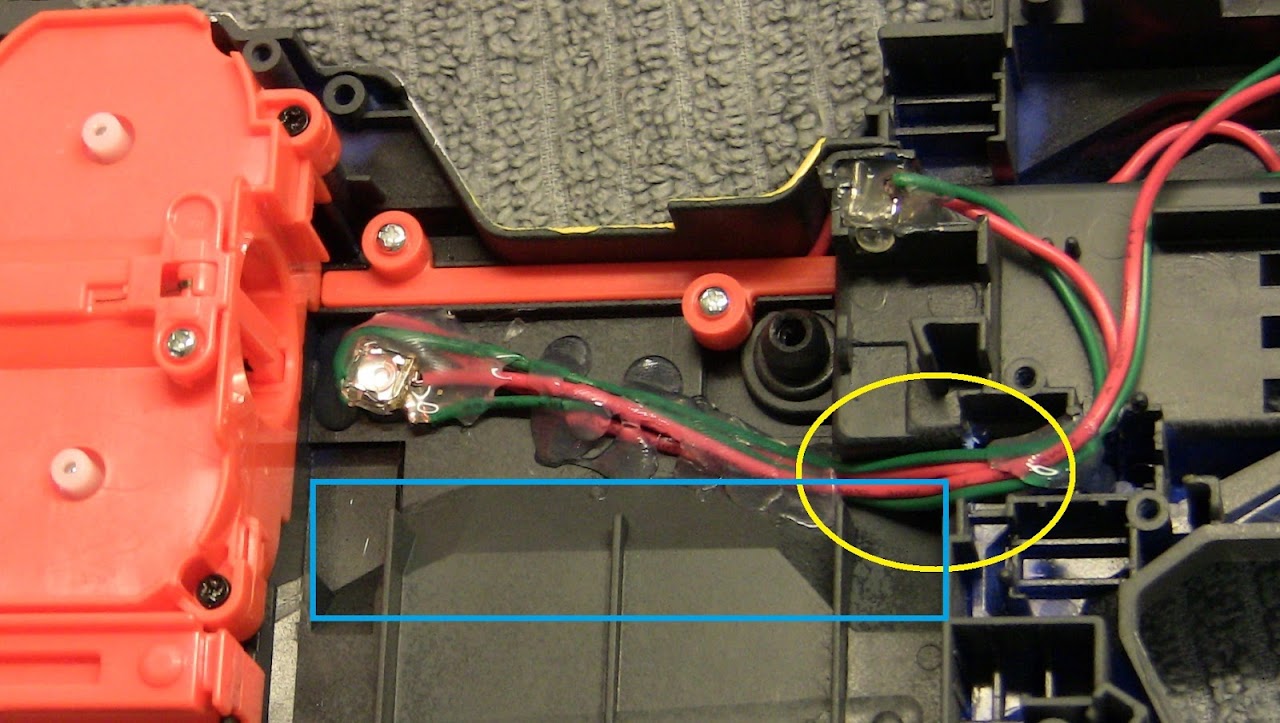
Now solder on fresh wires in the same configuration minus the resistors.
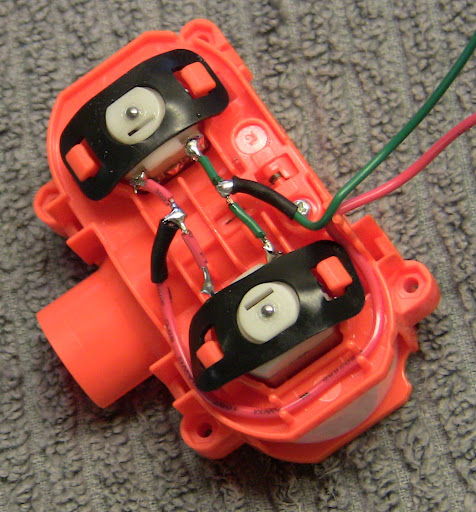
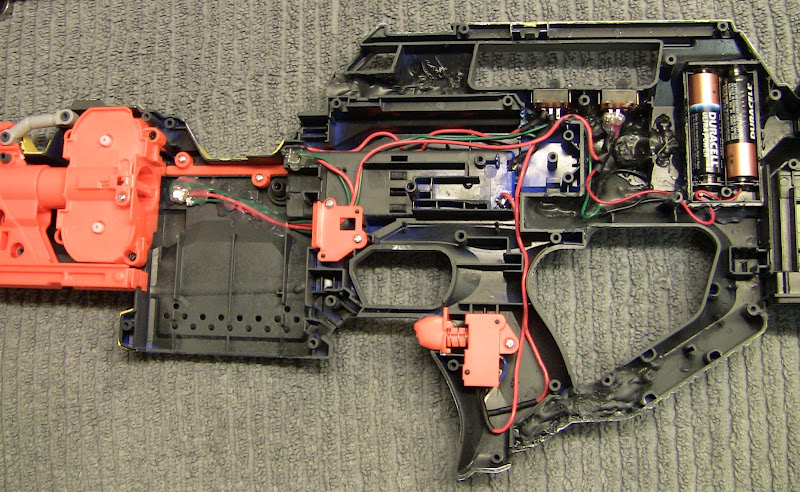
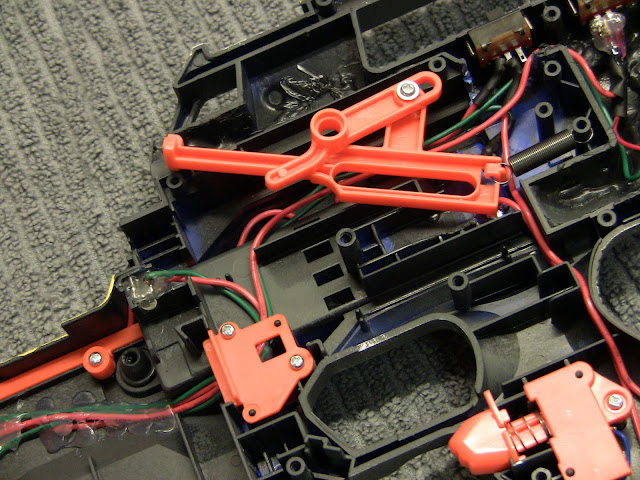
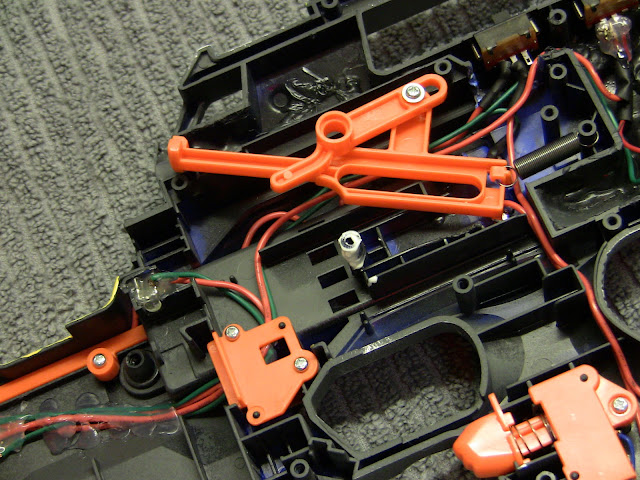
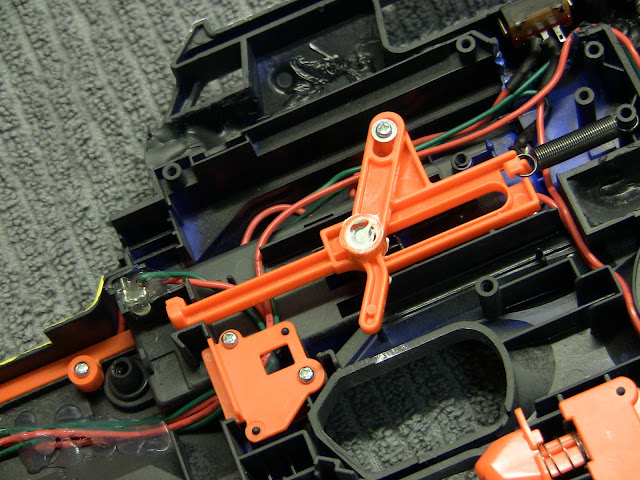
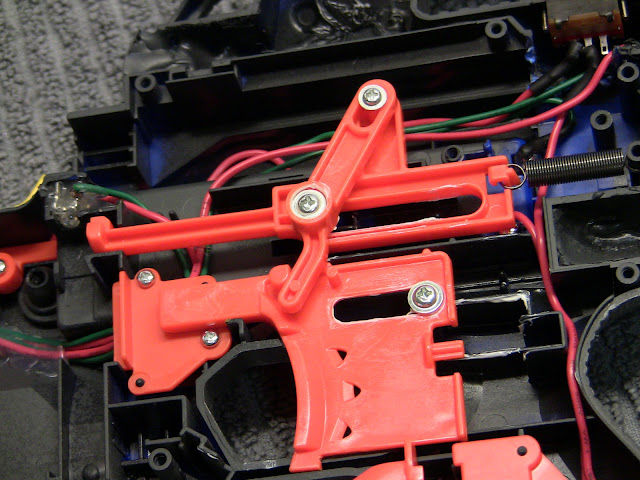
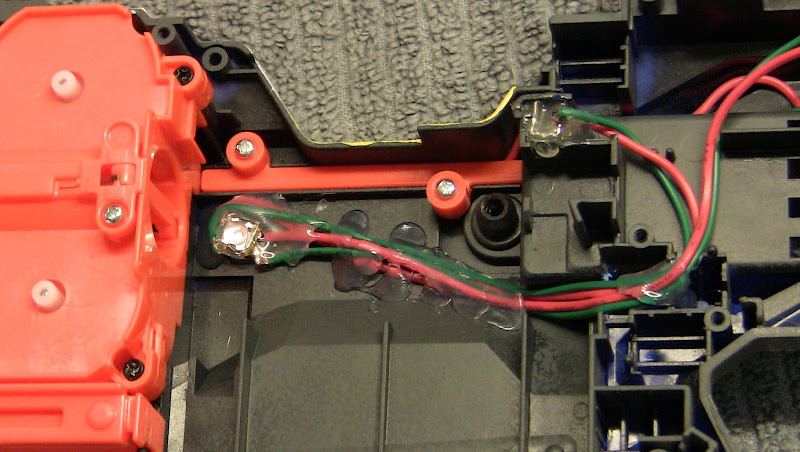
Be sure to cut the wires long enough to reach back to the battery tray. I usually cut a few extra inches just to be sure. Re-install the flywheel unit and rewire the blaster. Remember that you just took out a lot of electrical shit that you don't need. So, you don't need to take the same wiring route that was originally there. Copy my wiring if you don't know what you're doing. Red is positive, green is negative. (I was out of black wiring). Keep in mind, this photo shows the wiring for the DIY Firefly tech lighting as well. Also, I added an extra switch for the Stryfe under the carry handle to prevent myself from bumping my motor rev switch when I'm not playing.
This trigger modification will allow you to fully pull the trigger without activating the motors at the very end of the pull. It's not a big deal to have the motors rev, but I find it annoying.
Before
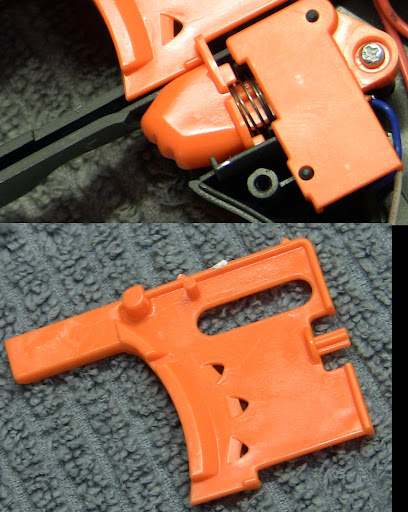
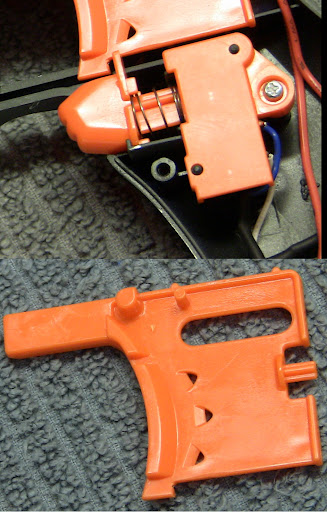
Now cut along the bottom of the trigger to prevent the plastic from pressing the little catch on the switch button. I used a dremel with a cutting wheel but you could probably manage it with scissors (LOL)
After
Lubricating the Stryfe trigger will make it way more comfortable to fire. I used white lithium grease which can be found at most hardware stores. It's mad cheap so feel free to go ape shit with the lubrication. Keep in mind, lube harms paint jobs so be conservative if you're painting or have painted the blaster.
Stock
Apply generous amount of lube
Lube on the area where the screw contacts also makes the trigger pull smoother. After it's applied, pull the trigger a few times to make sure it spreads all over the major contact points.
Also, lube the area that the trigger contacts as well. Be careful around the trigger guard or it will spill outside and ruin your paint over time.
--------------------------------------------------------
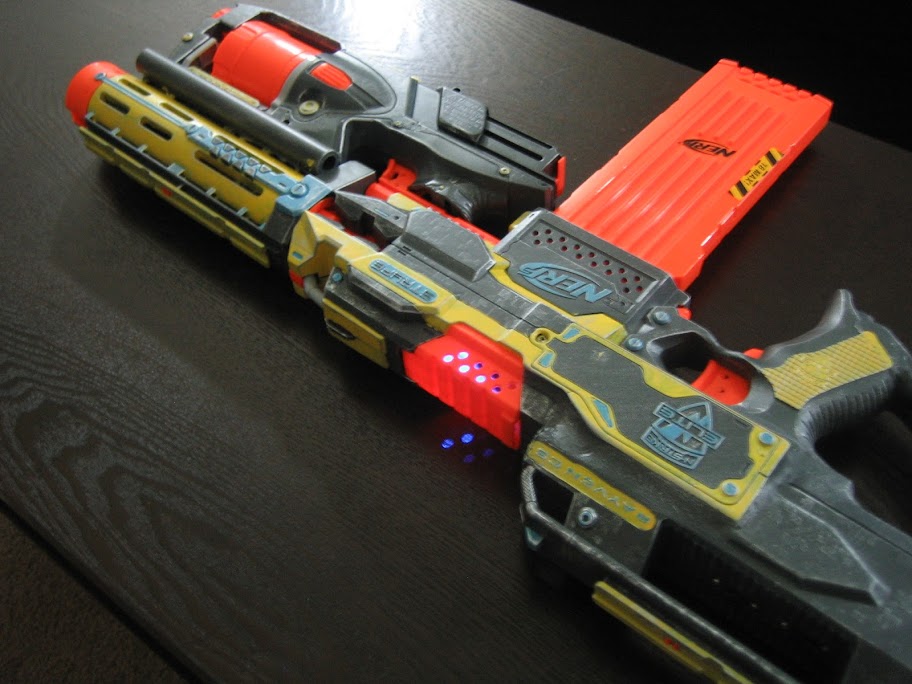
DIY Firefly Technology!
I like using the glow in the dark darts but I don't like the added bulk or weight (from the batteries) of using the special magazines. So, I added LEDs to the inside of the magazine well. Now you can load the glow darts into standard magazines and get them to glow.
These are not special LEDs or anything and they don't have to be. They are blue in color because that's what worked the best in my testing. I purchased these LEDs from superbrightleds.com
I'm aware this post was published prior to my thread, but I've been chatting with people about doing this for months. I did not copy that thread, but I feel it would be tacky to not mention it and pretend that I stole the idea.
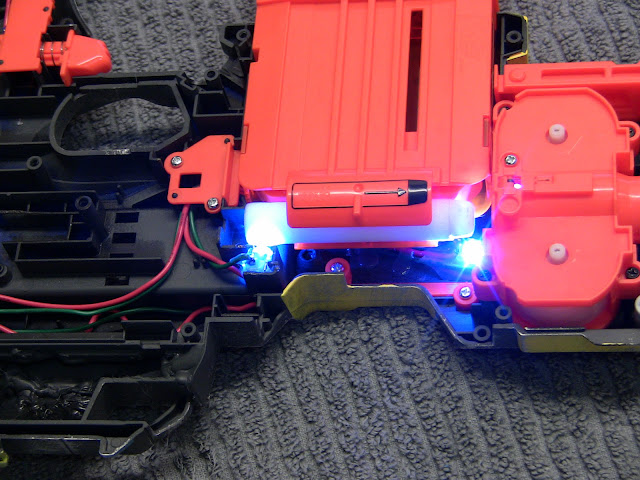
The LEDs will go here. The more LEDs you use, the better your darts will glow. A slower rate of fire will also make the darts glow better because they'll be exposed to the light for a little longer.
Now just hot glued them into place. This isn't the cleanest way to do it, but the Stryfe magazine well is super wide and there is plenty of space for the wiring and glue.
I put my batteries in the back of the shell. I'm running two AA batteries without a resistor because my LED specs will allow it. I also put a switch below the carry handle to turn them on and off. I didn't want to post too many photos of that because many users will like a different battery or switch location.
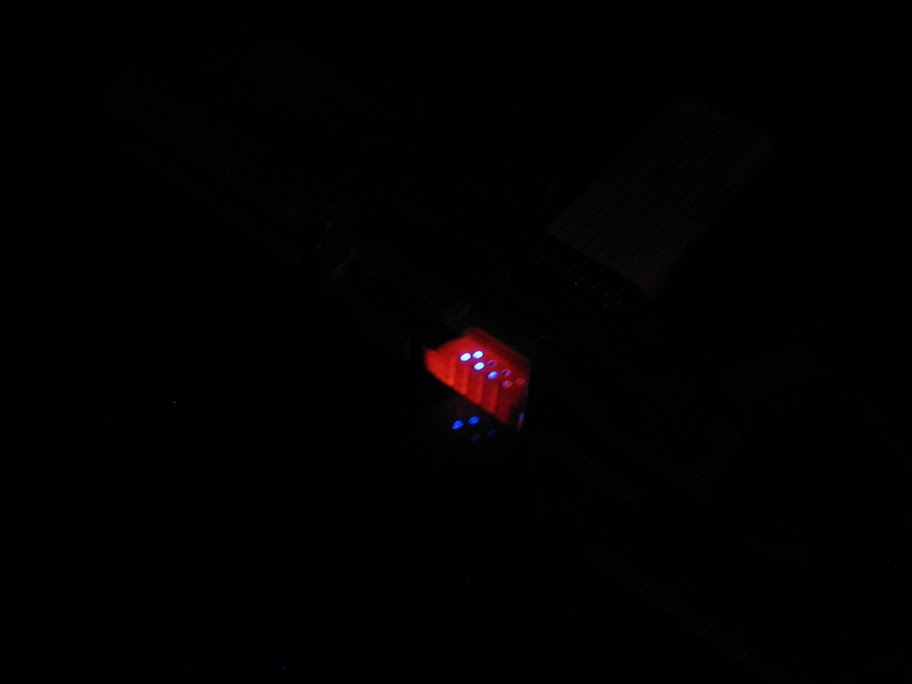
Glow, bitch. GLOW!
Now reassemble and check your wiring. The Stryfe is now done.
--------------------------------------------------------
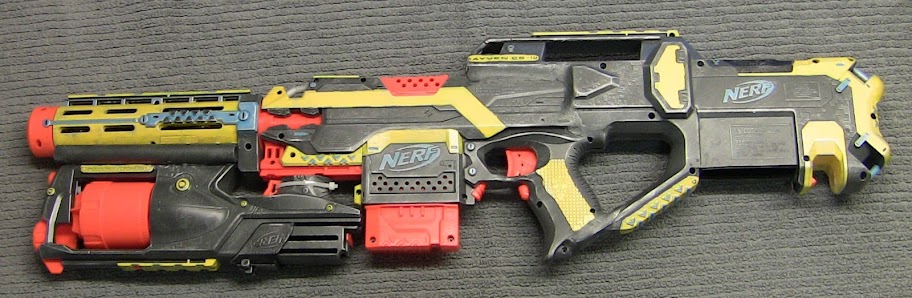
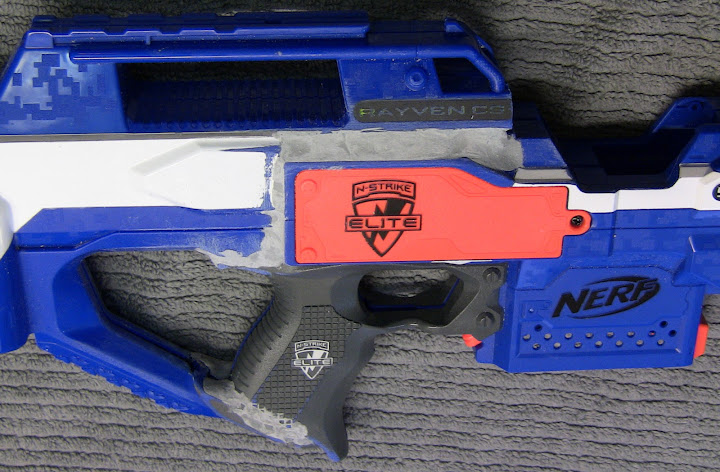
Rayven Shell Integration
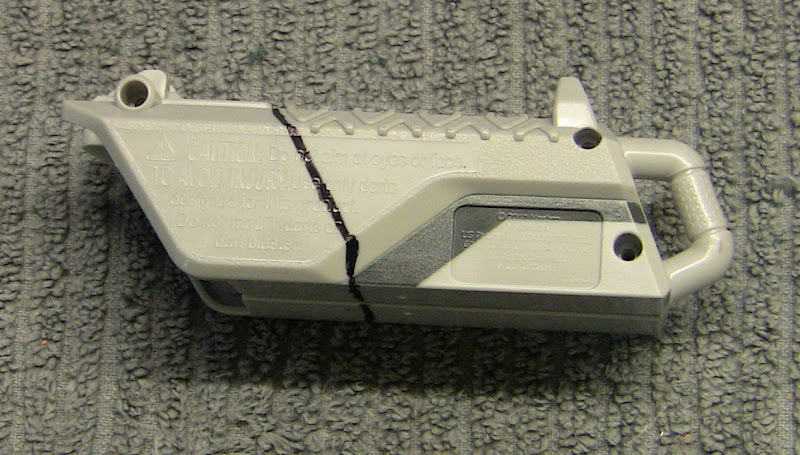
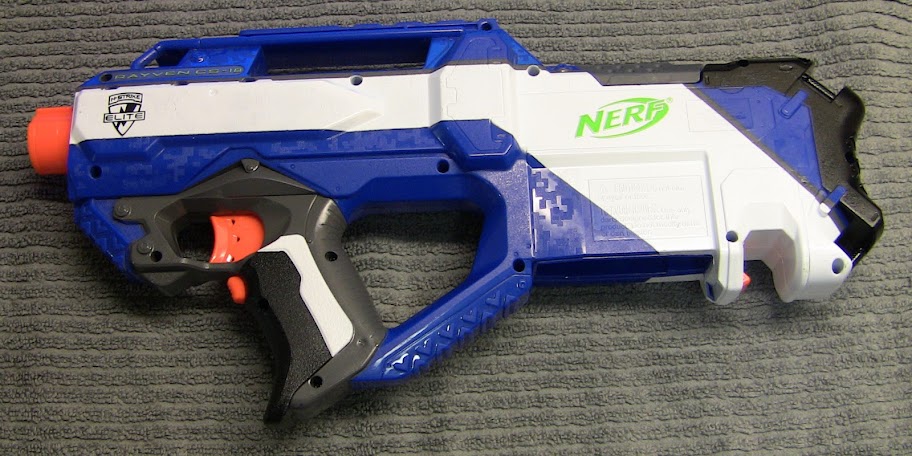
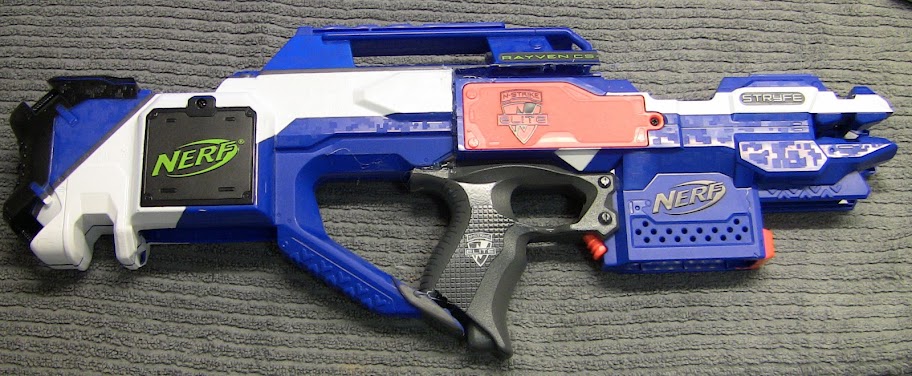
Stock Rayven
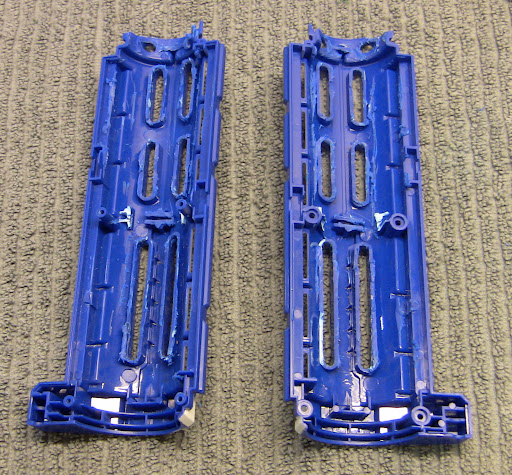
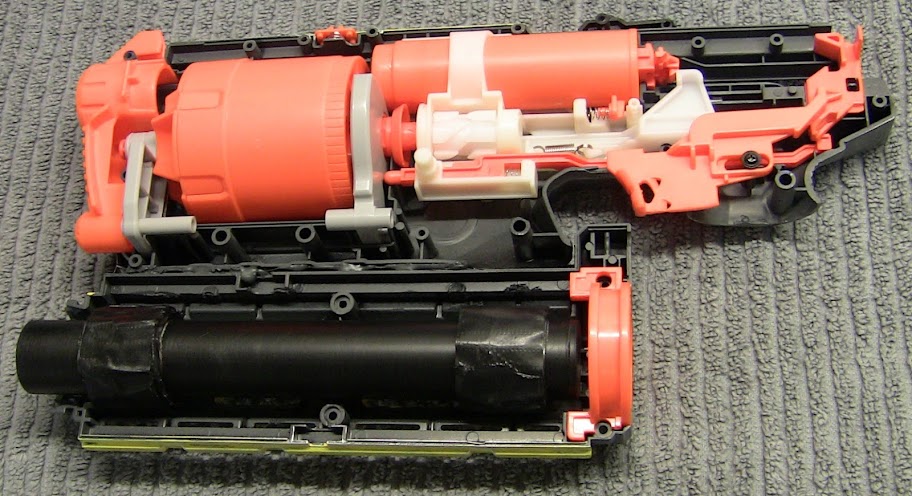
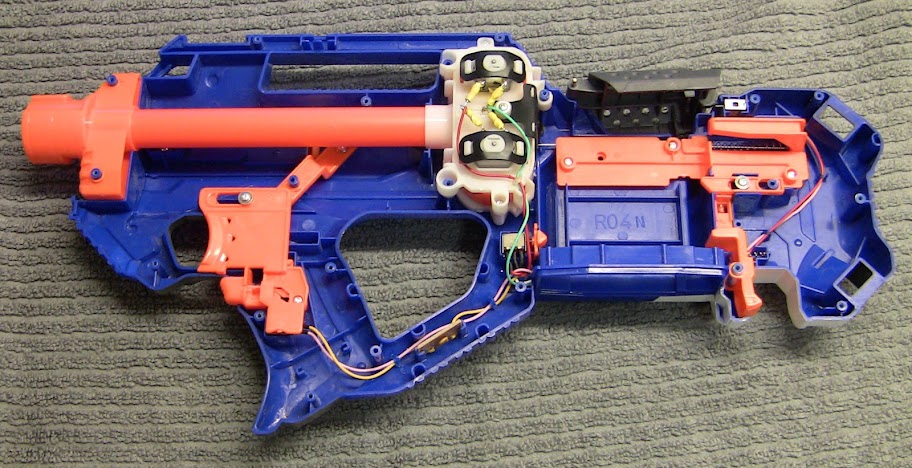
Open the Rayven and clear everything out. You only need to keep the magazine catch, magazine well liner, and access door. The other components can be trashed or kept for future projects.
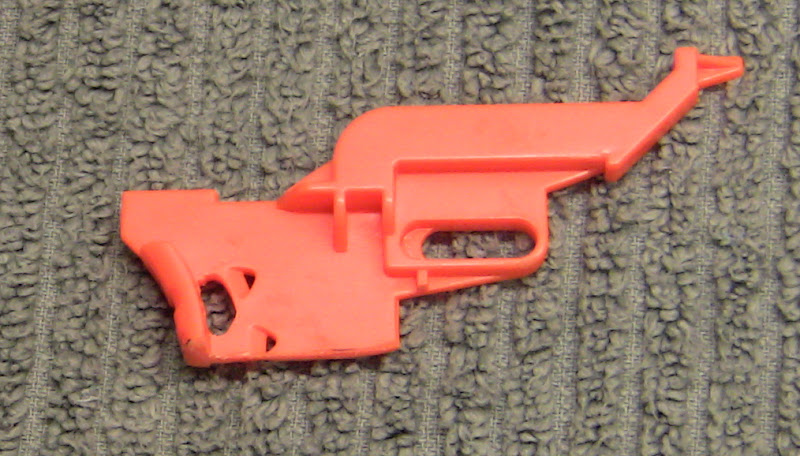
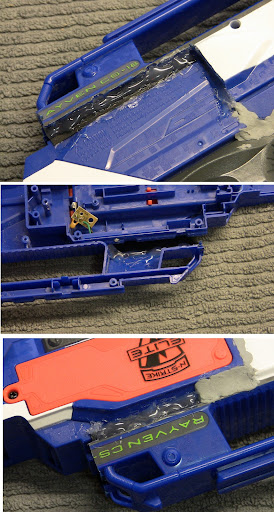
Cut along these lines.
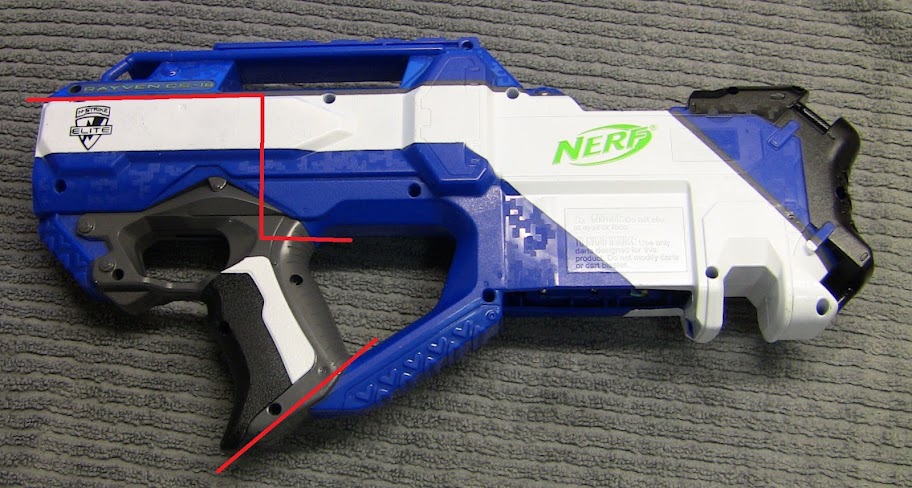
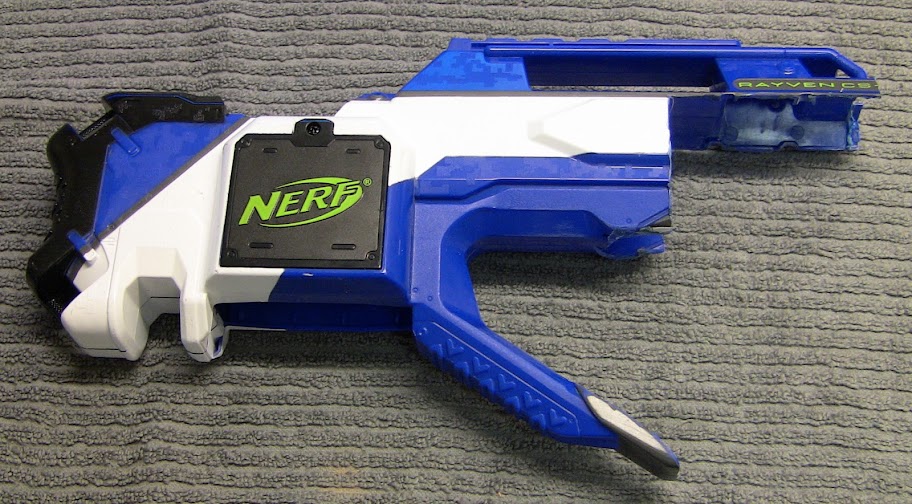
So it looks like this.
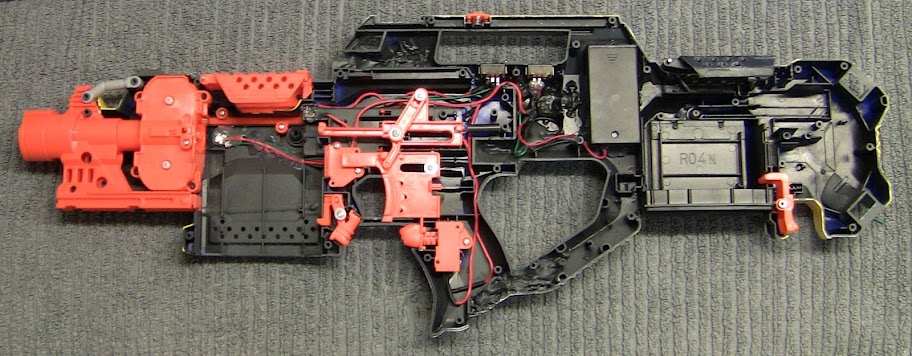
You don't actually need to cut the Stryfe at all. Test fit the components and sand/dremel any pieces to get a snug fit.
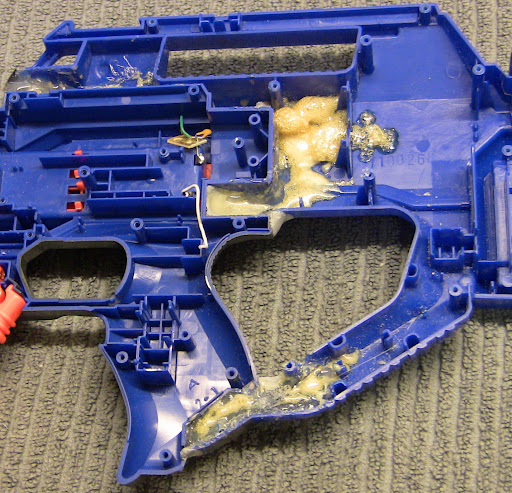
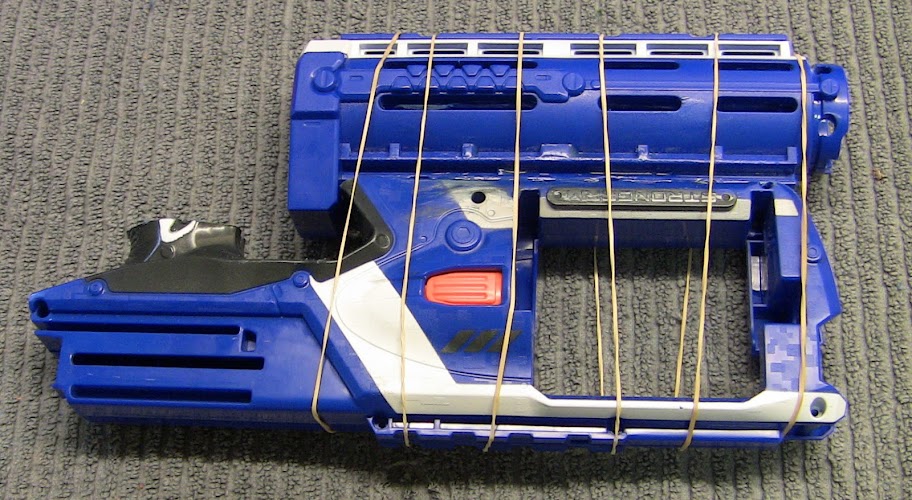
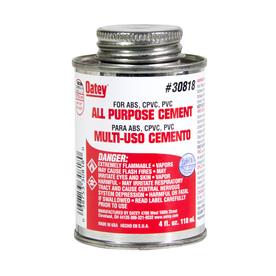
Now sand both mating surfaces and apply your adhesive of choice. I used an all purpose cement which bonds plastics very well. This is just the initial bonding, it doesn't have to be mad strong or anything. Just be sure the parts stay together while adding the other adhesives.
Some areas are very large and difficult to apply epoxy putty. It would be a waste of putty to fill these areas. So get thin plastic sheeting or a notebook like this one for its cover.
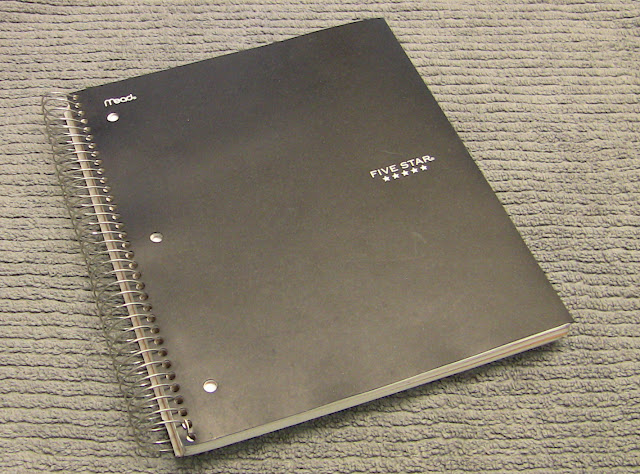
Cut the plastic or notebook cover and hot glue these pieces into the large gaps. The purpose of these pieces is to lessen the area where the epoxy putty has to fill. This will make sure the putty doesn't deform, cave in, and grow weak over time, too.
After the sheeting is in place, cover the shell gaps with epoxy putty and sand smooth.
Edited by Coop, 06 March 2013 - 04:44 PM.