
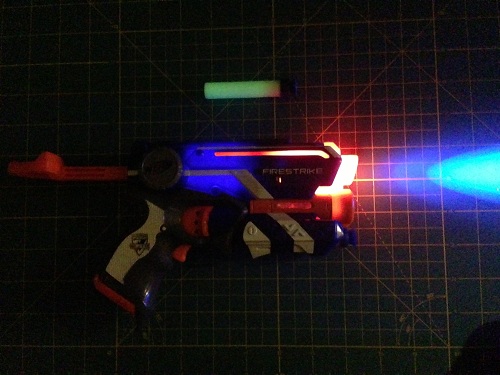
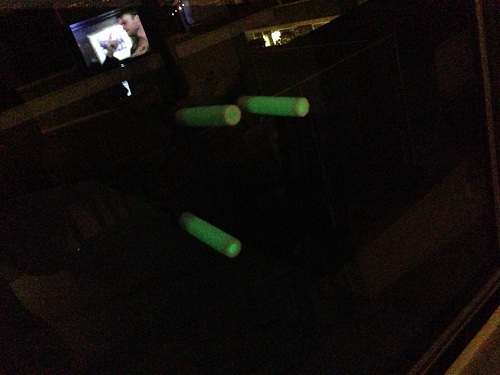
This modification makes the Firestrike function with glow-in-the-dark foam darts. It was motivated by my (and my cat's) enjoyment of playing with this blaster in a dim room where the red targeting LED and the glow darts really stand out.
Materials required:
- Nerf Firestrike
- Glow darts
- Blue or UV LED
- Insulated wire, 22 gauge
- Drill or Dremel with small drill bit for wire holes
- Snips and wire stripper
- Solder and iron
- Hot glue and gun
- Screwdriver set
All of the electrical components and tools can be purchased at Radio Shack. Fry's Electronics also has a nice selection if you live in CA. Here are two options:
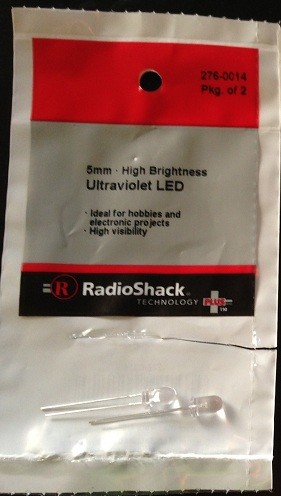
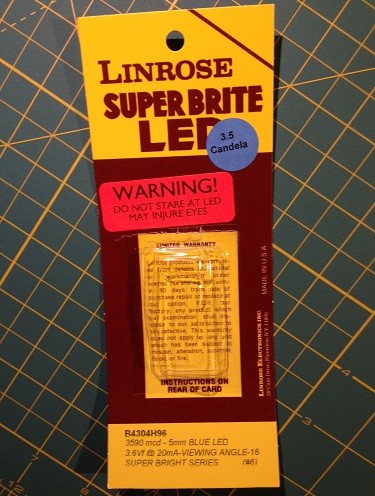
First some safety and considerations regarding the LEDs, if you decide to perform this mod. Only bluer wavelengths trigger the phosphorescence. White LEDs work but are full spectrum and therefore waste a bunch of light. The best are blue and UV LEDs, but each has pros and cons. Blue LEDs operate at safer wavelengths (455 nm), but you'll want to buy the maximum brightness you can find to charge up the glow dart. This means that the LED will light up the inside of your gun (cool effect) and turn your barrel into a blue flashlight, but will be too bright to point it at any person or cat face for long (especially at night). UV LEDs operate closer to the sunburn UV-A region (410 nm) and can cause serious eye strain if you stare at them too long, but work better at charging up the glow dart. There is also less gun glow and flashlight effect, but I actually prefer this as it allows the Firestrike red targeting LED to stand out more. In either case I recommend hooking the blue or UV LED up to the trigger function in the Firestrike, so that it is only on when you are targeting with the red LED and a glow dart is loaded and charging in the chamber.
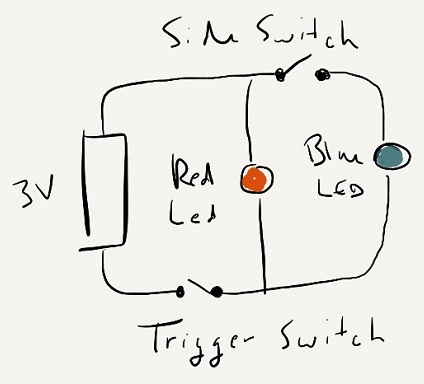
1) First step is to take the hardware you've purchased and build a quick bread-board of the circuit so that there are no surprises. Make sure the two 1.5V AAA batteries in the Firestrike can turn on your LED. Leave your LED on for a minute and make sure it doesn't get hot. You're going to put this LED in parallel with the red targeting LED so that both have 3V. Here is the basic circuit diagram (side switch is optional):
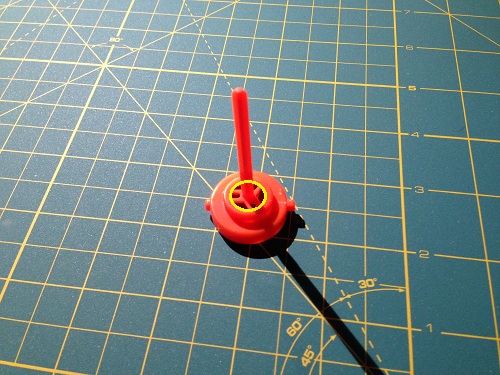
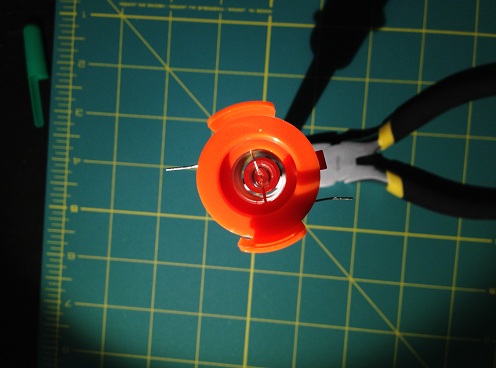
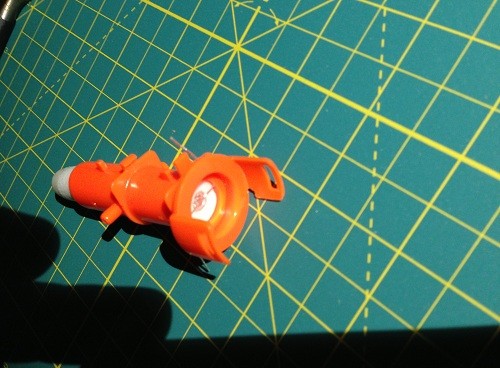
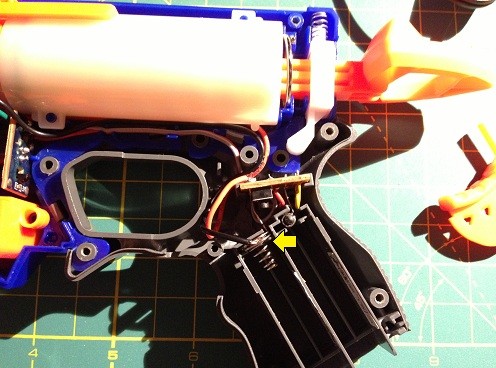
2) Next disassemble your Firestrike and remove the air restrictor from the barrel. There are already lots of published articles and videos on how to do this - I followed the Venturi Effect mod. At the very minimum you should remove everything inside the yellow circle I've drawn in the image below and the three prong part that goes inside it.
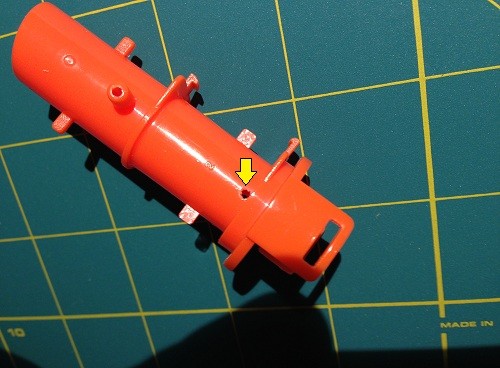
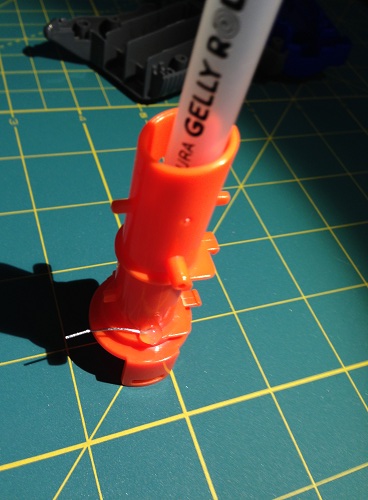
3) Now take the barrel and drill two small holes, one across from the other, as shown:
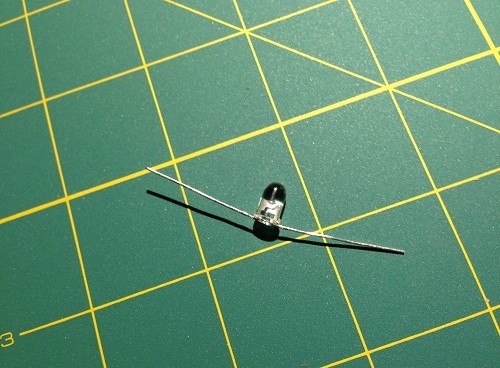
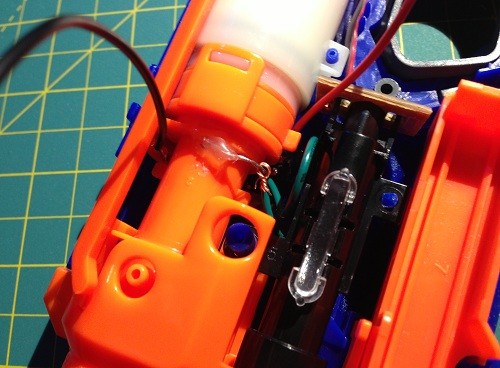
4) Bend the leads of your LED to opposite sides, keeping track of positive and negative, and insert into the barrel:
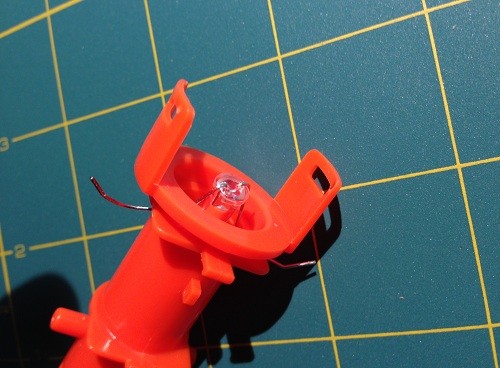
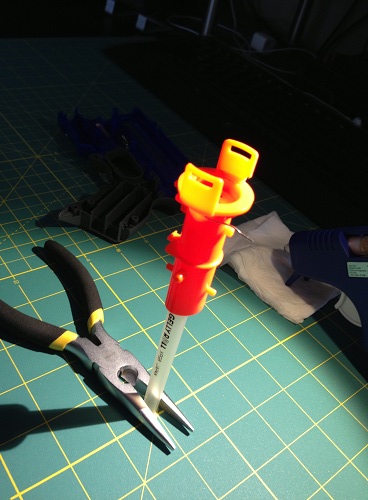
5) Pull the leads as tight as you can through the holes. I used an empty pen tube to keep the LED centered and pointing down the barrel. Fold the leads back and glue into place, making sure to get under the leads and completely seal the holes you drilled.
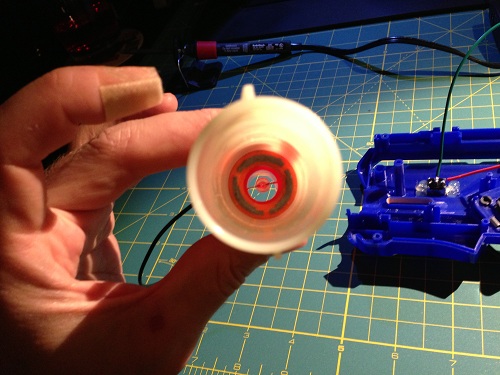
6) At this point it wouldn't hurt to do some dart fit and circuit checks:

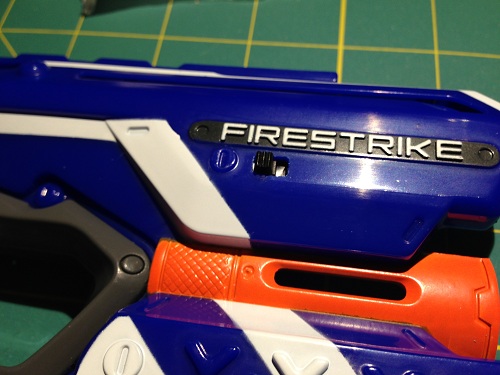
7) Optional Step. While not required, you can install a switch on your Firestrike if you'd like to toggle the glow LED on and off. It is useful if you're worried about shining the blaster in faces, as your glow LED should be pointing directly down and out the barrel. Some pics of how I did this are shown below. If you follow my method, I recommend installing the switch below the "E" rather than the "R" in "FIRESTRIKE" as it is a little too close to the plunger tube where I have it (I actually had to remove some extra material from the barrel to get it to fit at my location). The switch is the smallest I could find at the local radio shack (sub-mini slide switch 275-0409).
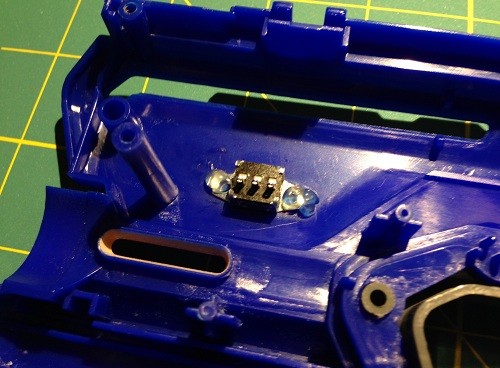
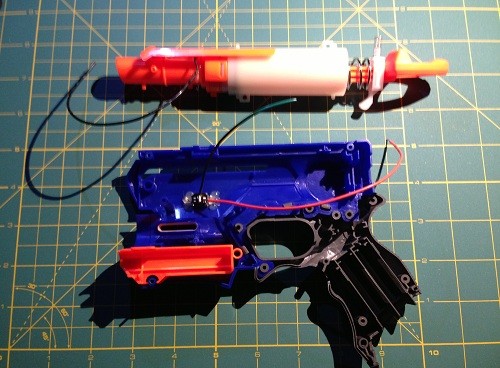
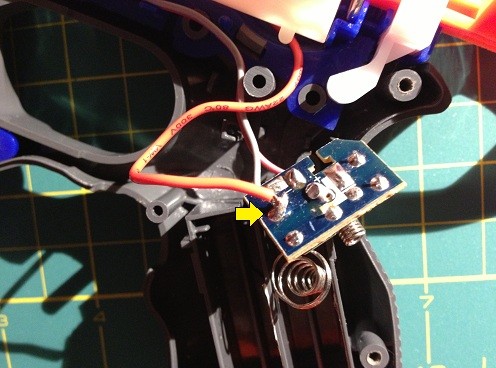
8) Re-assemble your blaster. I tried to do as little soldering as possible so that I could easily take it apart if need be. Some shots of how things went together are below, including the location on the trigger switch board you need to connect to to use the trigger with your glow LED.
Lots of ways to do the wiring, including hooking everything up to the red targeting LED board. I chose to run wires all the way back to the batteries. For the trigger switch to work with the glow LED, I soldered the positive lead here:
For the negative lead I just forced it in-between the battery spring:
Done!
Things to watch out for include how you route the wiring around the main firing switch and how big your solder nests are. Unfortunately space is very tight around the built-in circuit boards. Fit check and test everything before you make it permanent.
Performance gain is in night-time dart visibility, gun appearance, and fun, and is compatible with the common Firestrike air restrictor removal and spring upgrade modifications. I tested this configuration with several different springs. Replacing the stock spring with an 8 kg Swarmfire spring from Orange Mod Works yields a noticeable ringing or pinging every time the gun is fired, I believe from the LED vibrating in the barrel; however, the LED has never failed. The sound is reduced with less powerful springs and for indoor ranges are probably preferable.
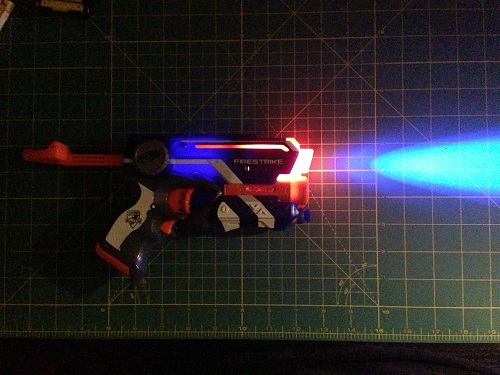
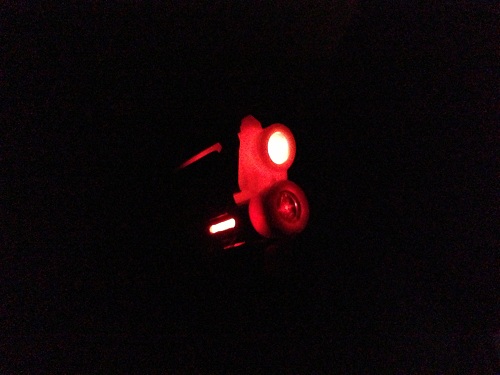
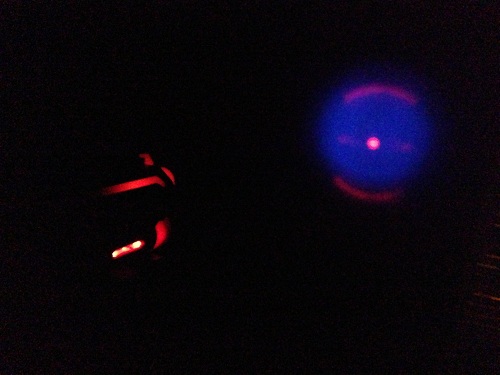
Here are some action shots using a blue LED:
(the back end of the blaster lights up when the gun is cocked)
These instructions are also posted on my UrbanIso blog.
Range test data collected since this post:

Edited by UrbanIso, 16 March 2013 - 12:23 PM.


