Including the usual
- size 1 to 0 screw drivers of the Phillips variety.
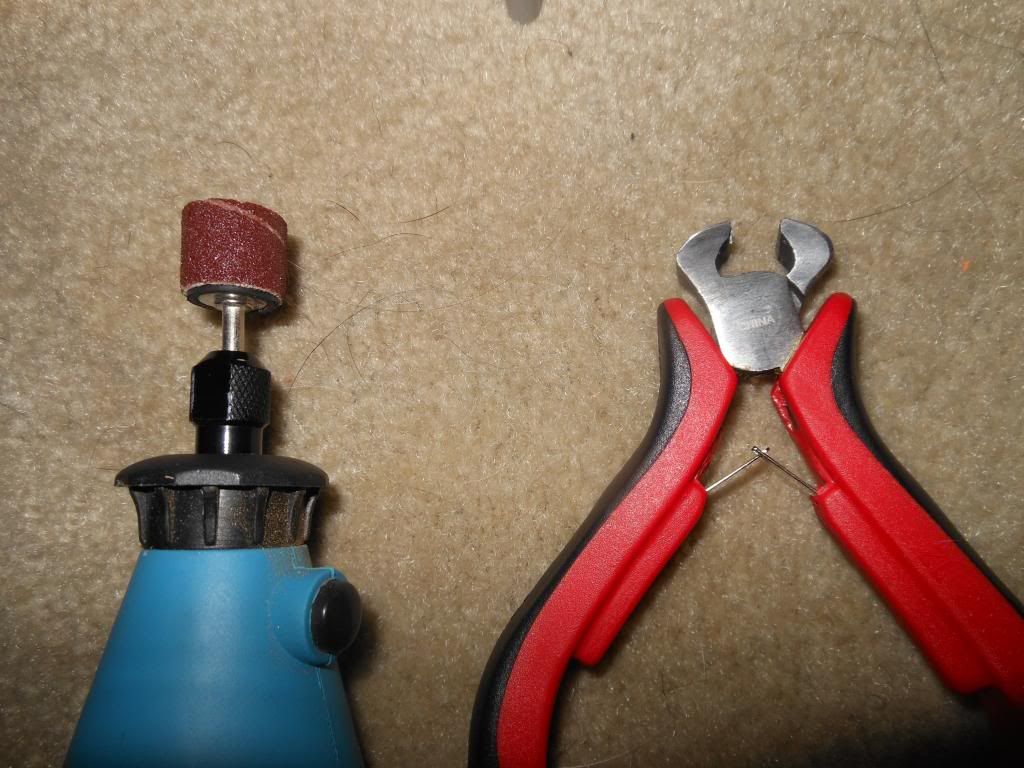
-dremel with cutting or sanding bit.
- cutting pliers ( not required, but I used em)
OPTIONAL
- L00000000000000b (silicone, lithium grease etc)
- epoxy or solvent ( for sealing the air release hole)
To start off, I chose not to remove my air restrictors. I think the blaster out performs the darts, and the ranges it gets for a pistol are just fine to me.
BUT if you wish to do so, and are unsure of that process there's a great write up RIGHT HERE., but I highly recommend Coop's (Coop772 on youtube) video tutorial, as he explains some things, and has some great nuggets (hehe) of information in his video. In all seriousness, check them both out before you do the removal, and decide which you prefer after you viewed them.
MOVING ON.
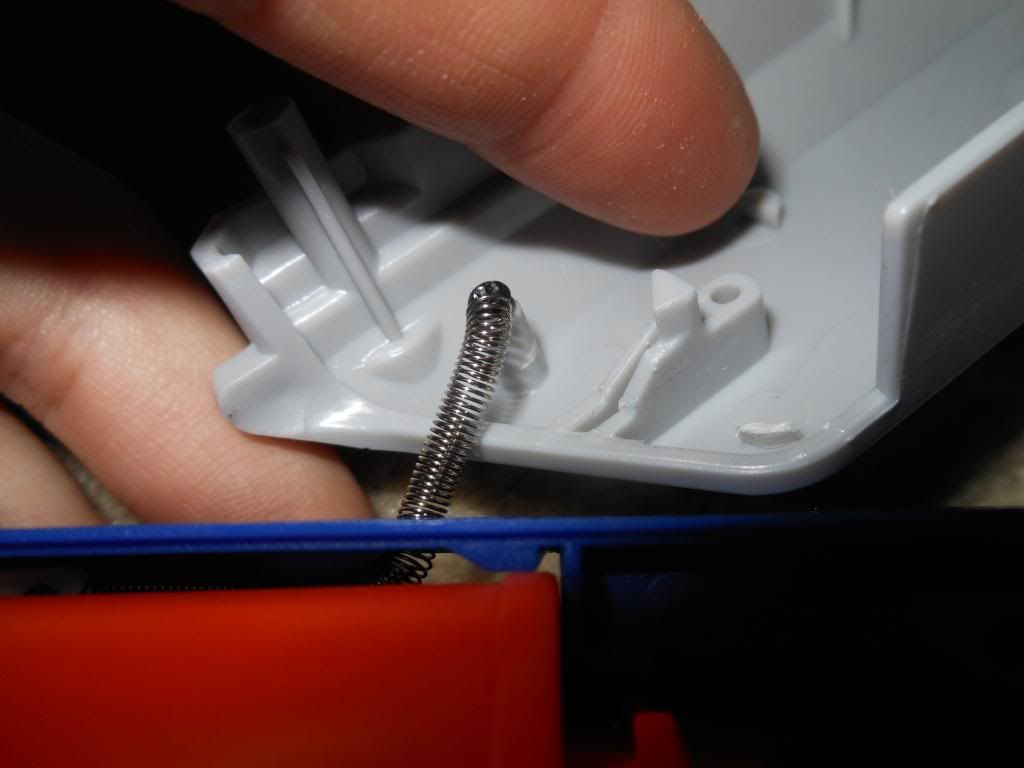
Take your blaster apart, butterfly it open
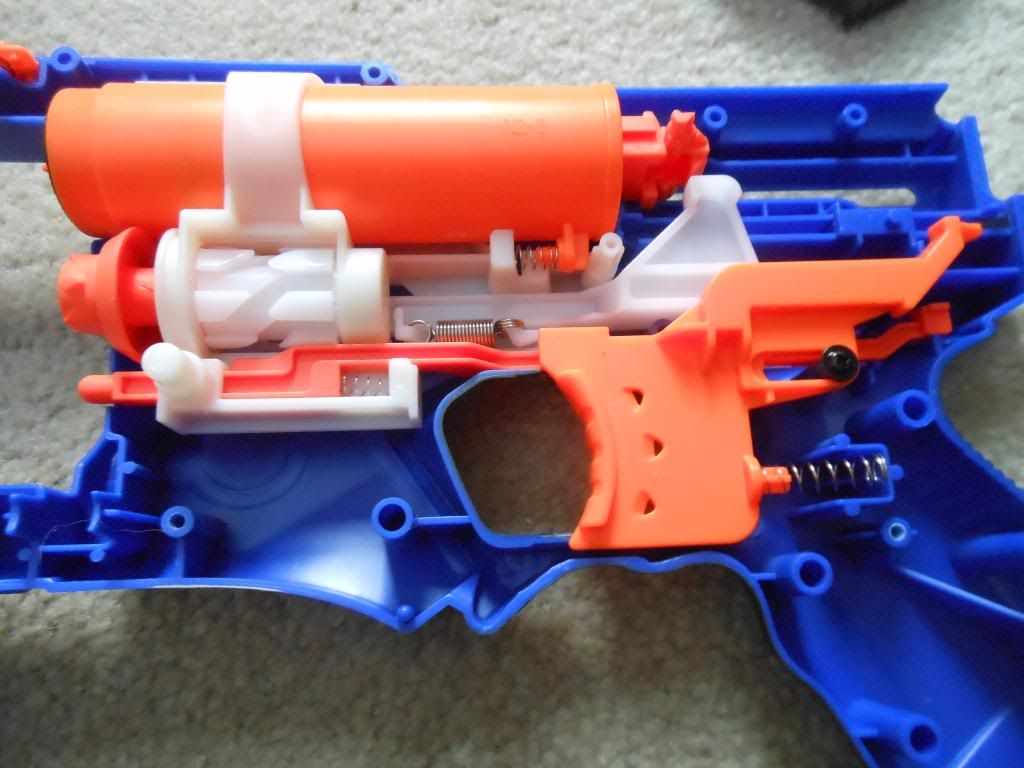
Take off your priming handle first and hold this orange priming indicator down while you open the shell as there's a pesky spring underneath that lies to pop out.
First thing I'm removing is the turret lock. This prevents the blaster from being fired without the turret in place. There's really no need to remove it, but I friggin hate locks.
Now pop out your turret
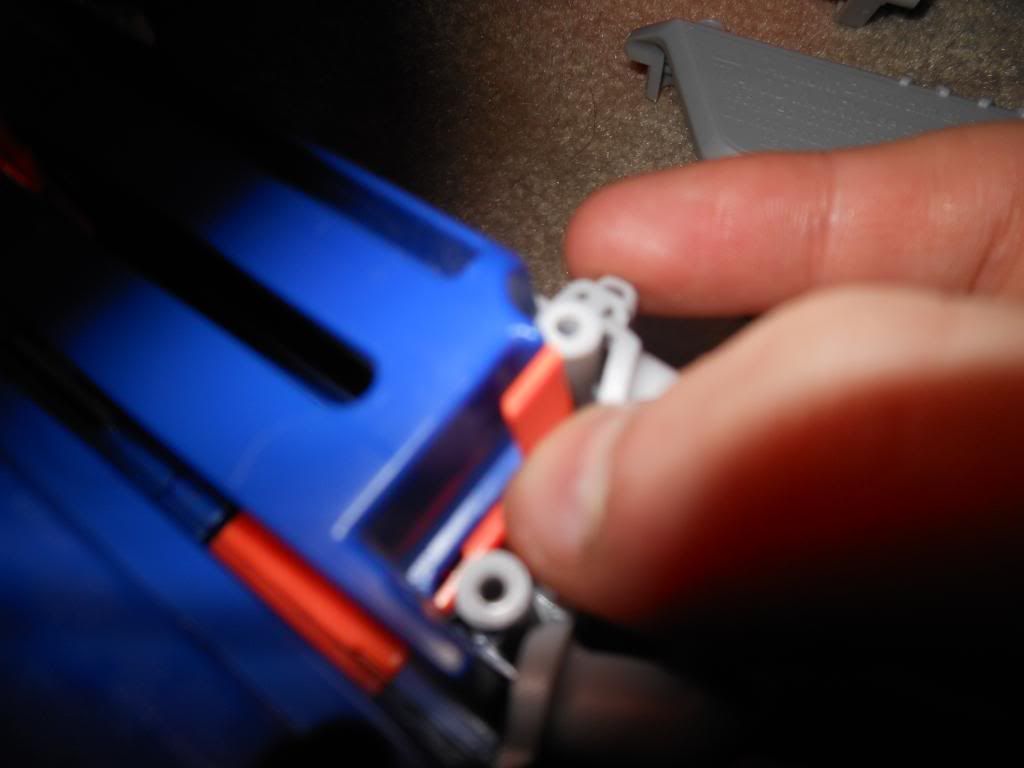
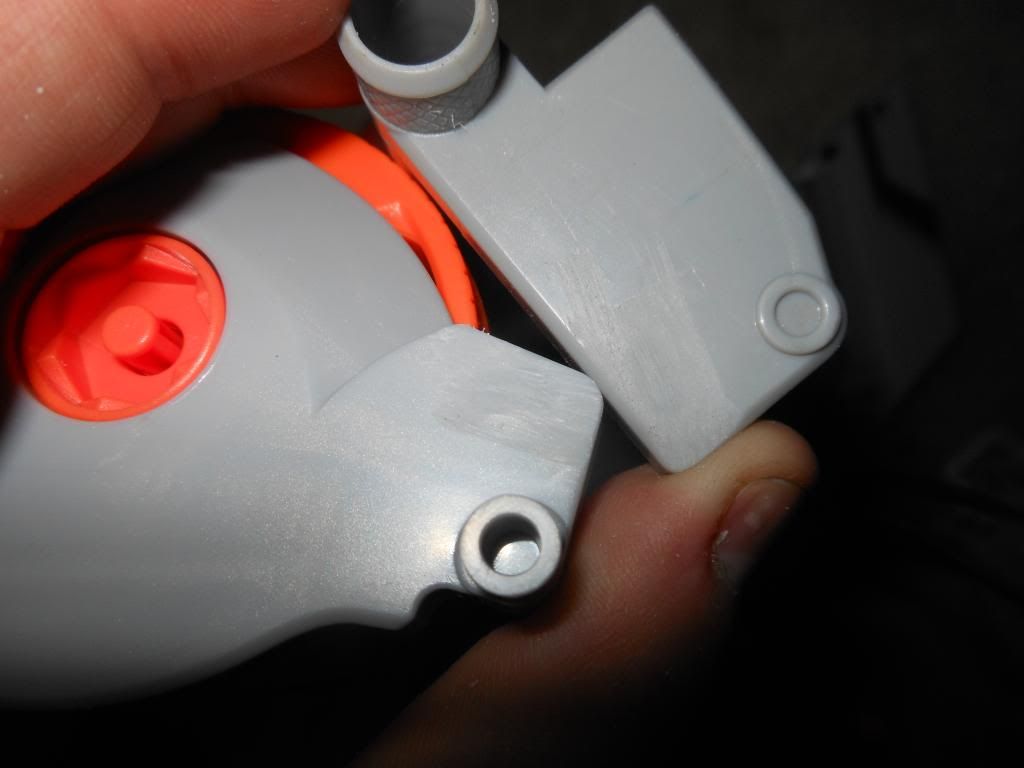
The front piece you used to have to pry off on the maverick just pops off. Remove these two nubs..
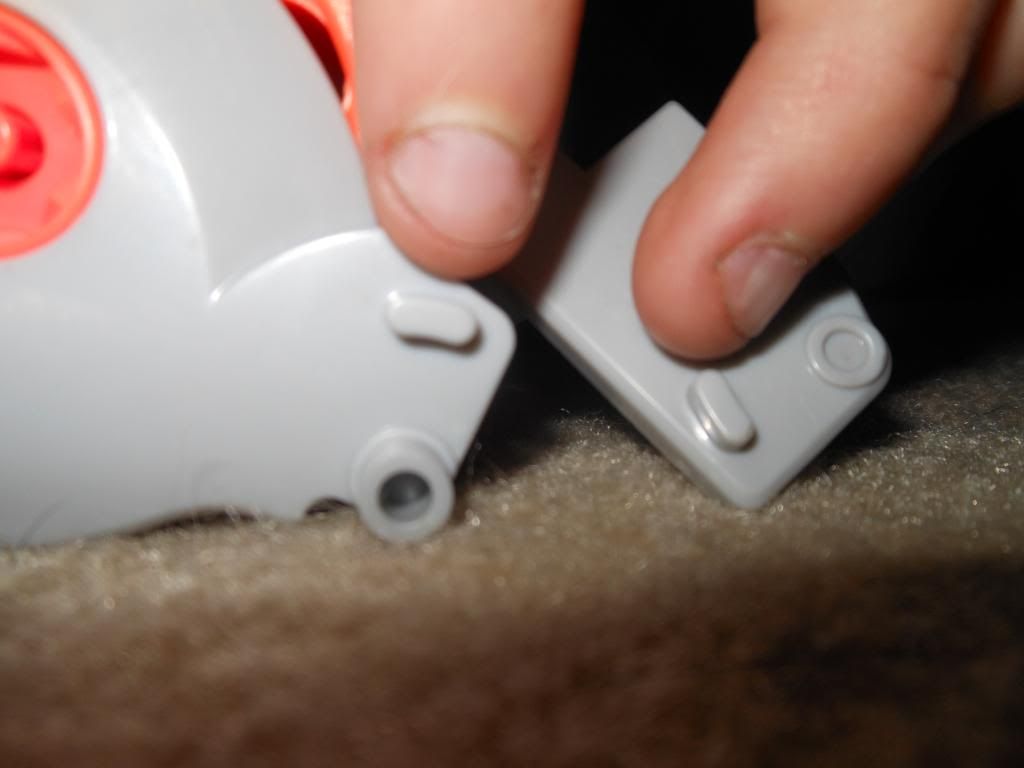
I cut as much off with the pliers first, then sanded it with the dremel and finsished it off with some 220 and 400 grit so it's nice and smooth
 j
jLookin good!
This would be the point where you-
a) remove your AR
 seal your air release hole
And C) relive your O ring.
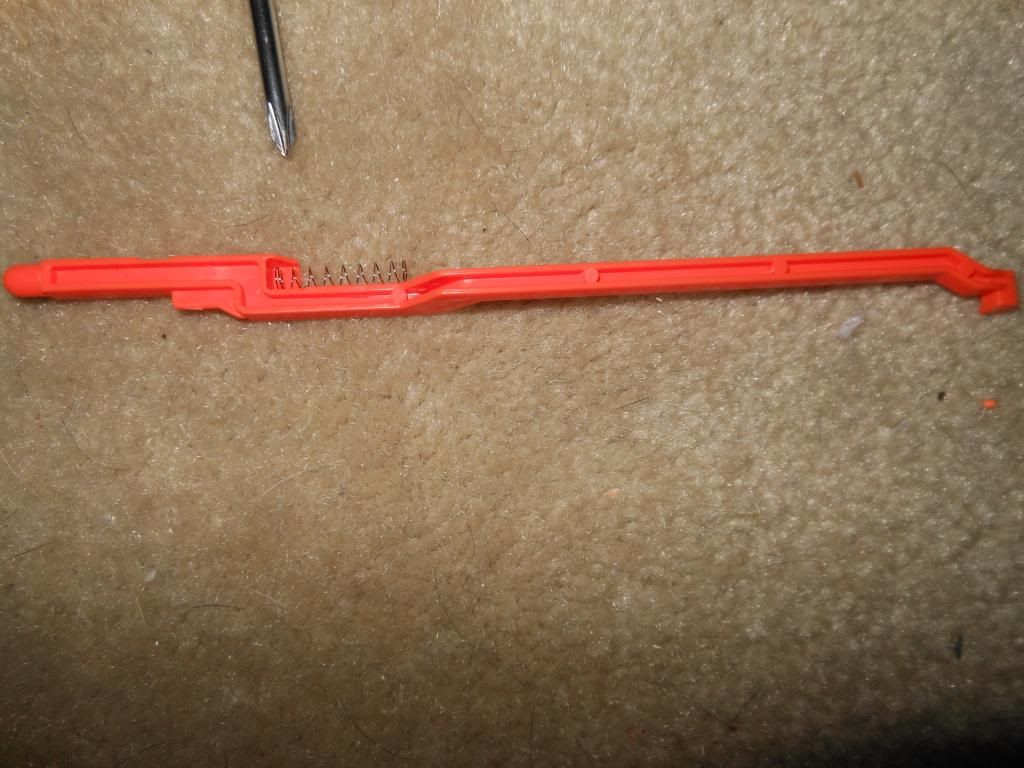
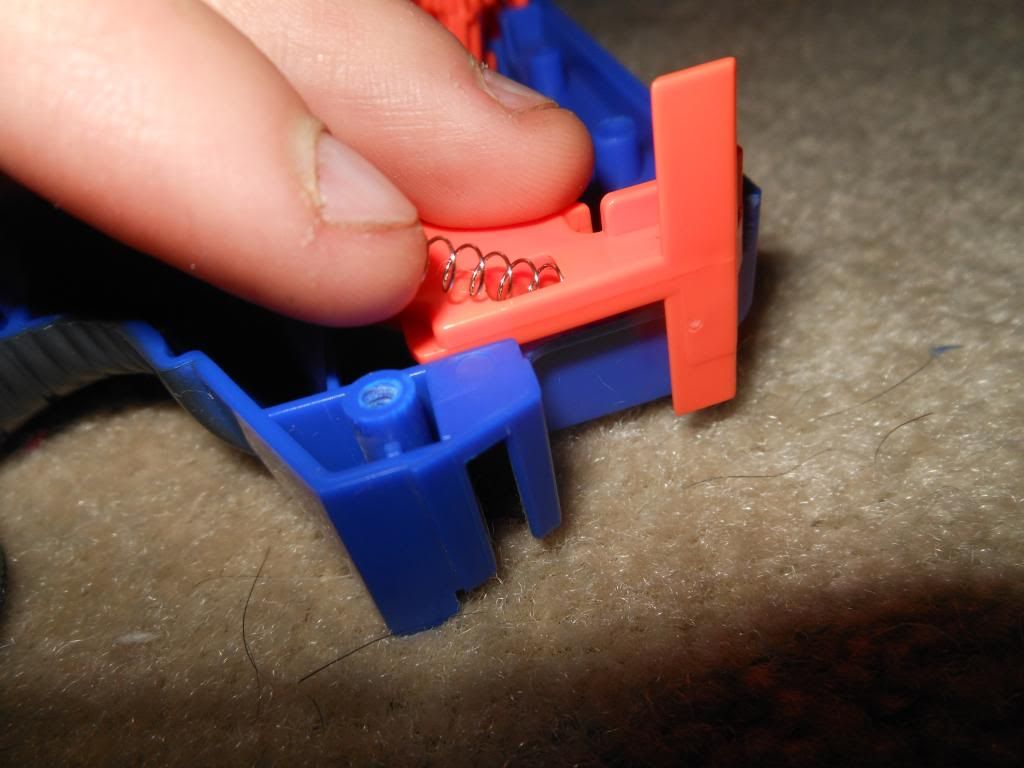
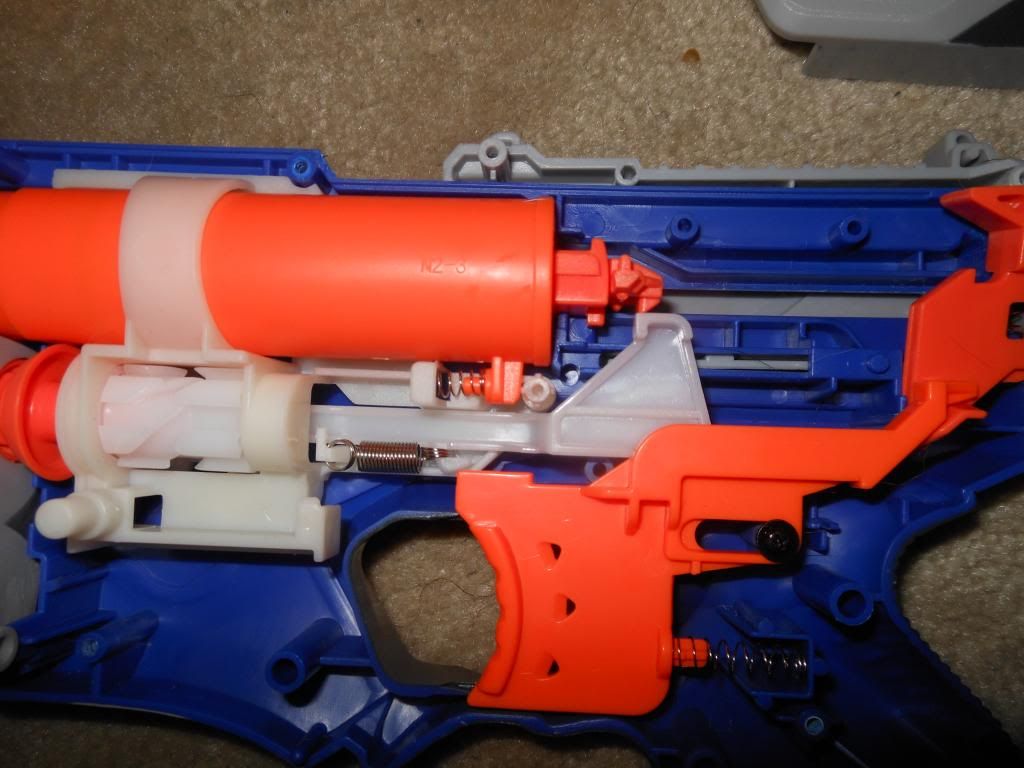
Now put your catch back in and put you catch spring in like this, it's much easier then trying to wedge it in and hope it stays.
Put your return spring back on if you took it out.
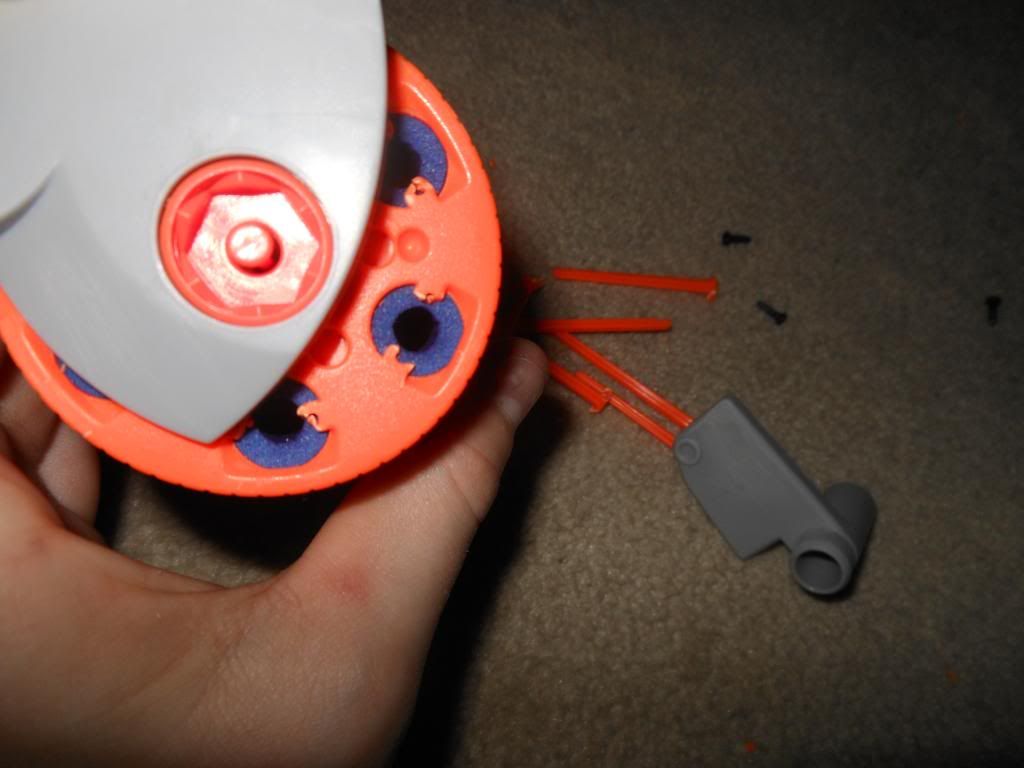
Remove your dart pegs, Yeah mines sloppy, I did it with pliers, and don't mind if its sloppy as of now. I'll go back with a dremel and clean it up
It should now look like this!
A front view to show the extended drop
[IMG]http://i1297.photobucket.com/albums/ag38/icedragon481/DSCN2484_zps3ade27a1.jpg[/IMG
Not really necessary but here it is with no safety
[IMG]http://i1297.photobucket.com/albums/ag38/icedragon481/DSCN2485_zps2798fbb9.jpg[/IMG]
And the rear again
[IMG]http://i1297.photobucket.com/albums/ag38/icedragon481/DSCN2486_zpsd3b2b9f0.jpg[/IMG]
And hasbros crappy painting skills
[IMG]http://i1297.photobucket.com/albums/ag38/icedragon481/DSCN2489_zpsc5615e3d.jpg[/IMG]
I'll have a video up on my youtube channel reviewing the blaster, not that it hasn't been done yet, and of the modifications I did.
Comments?
Edited by 481IceDragon, 26 February 2013 - 09:53 PM.