tools needed:
-Dremel with a cutting disc and sanding drum
-Drill
Supplies:
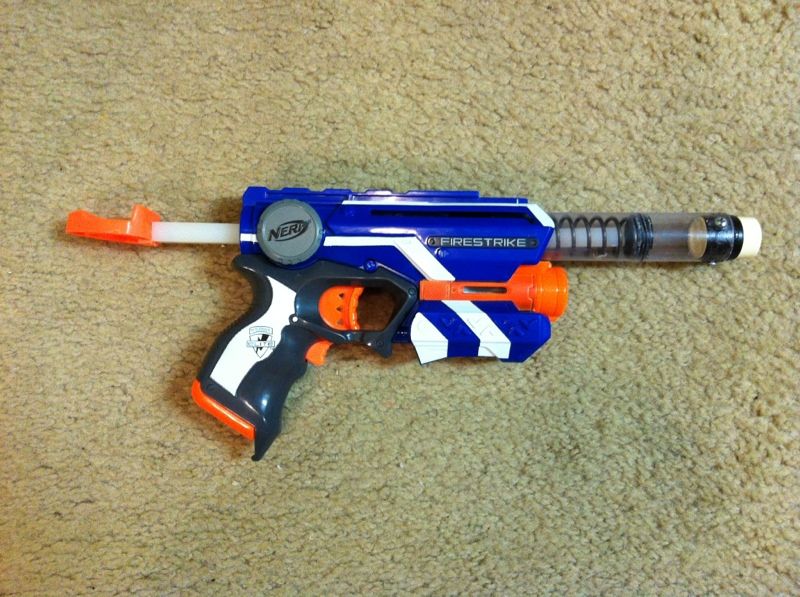
-Firestrike
-Nitefinder (yeah, its cheating. The Firestrike plunger head is a bit big for the PETG and I sort of already had the NF rifle parts done)
-Screws (with corresponding tap) I used 8/32.
-1" PETG. I get mine at PETCO in the aquarium section.
-1/2" cpvc coupler
-lubricant
-E-tape
-Sharpie
-8732K13 3/8" square nylon bar. You'll only need a foot. I used about 9.5".
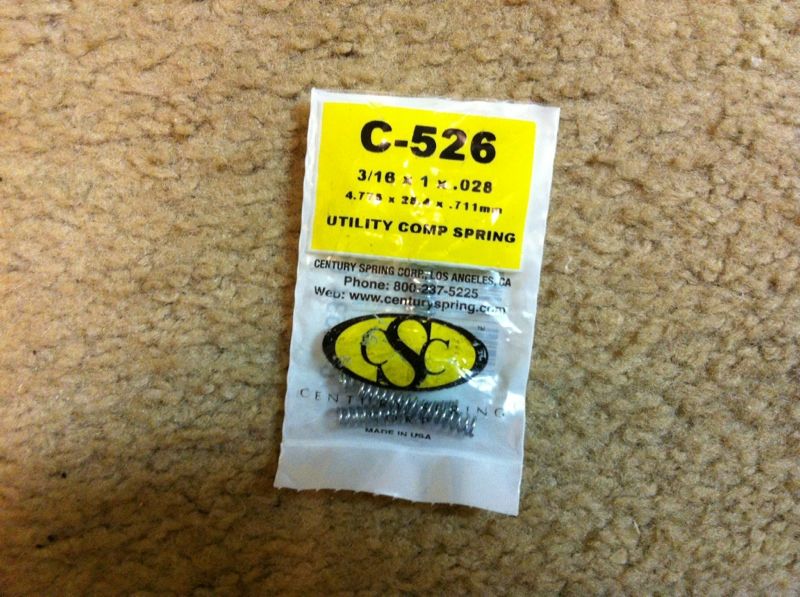
-[k26]
Writeup:
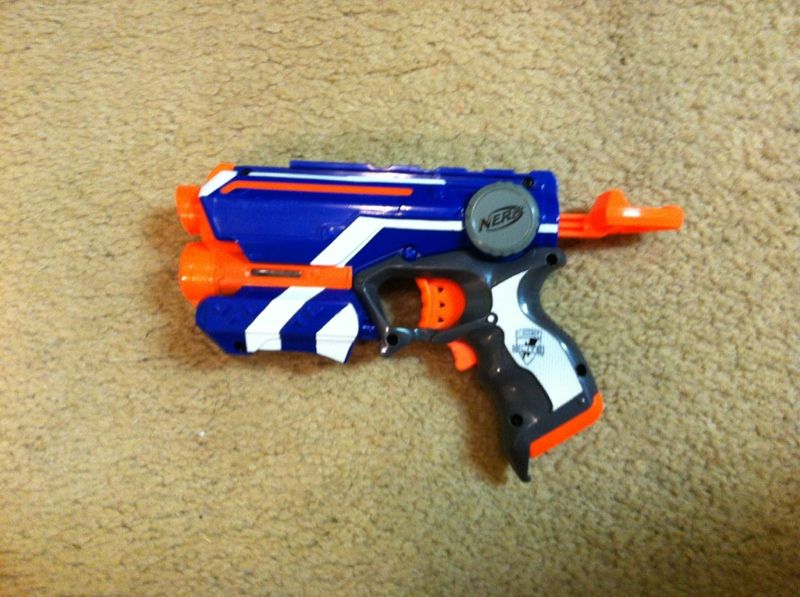
Open up your firestrike. You'll see this.
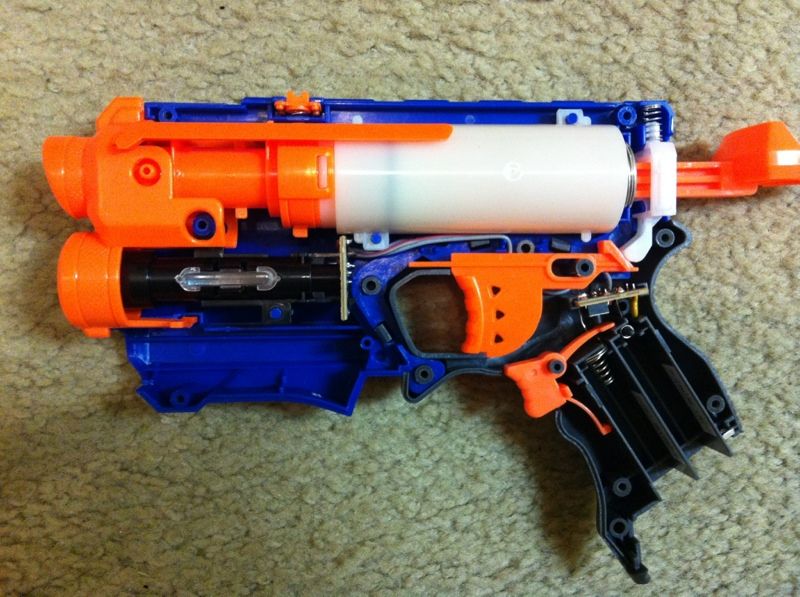
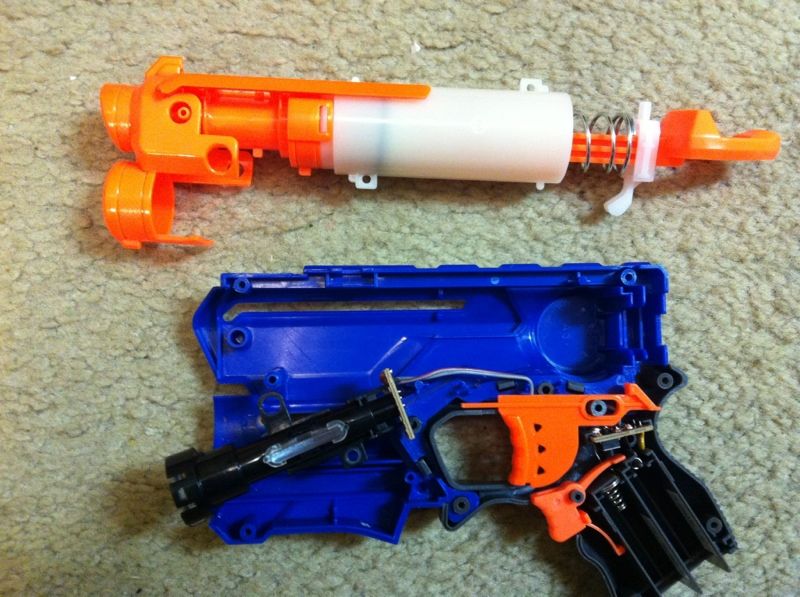
Lift up the LED light and lift the plungertube and the front pieces out of the shell. It'll all come out as one piece.
So, uh, like I said, I already had the NF rifle parts built, so I don't have in progress pics of it, so hopefully I can explain it well enough. Its very straight forward.
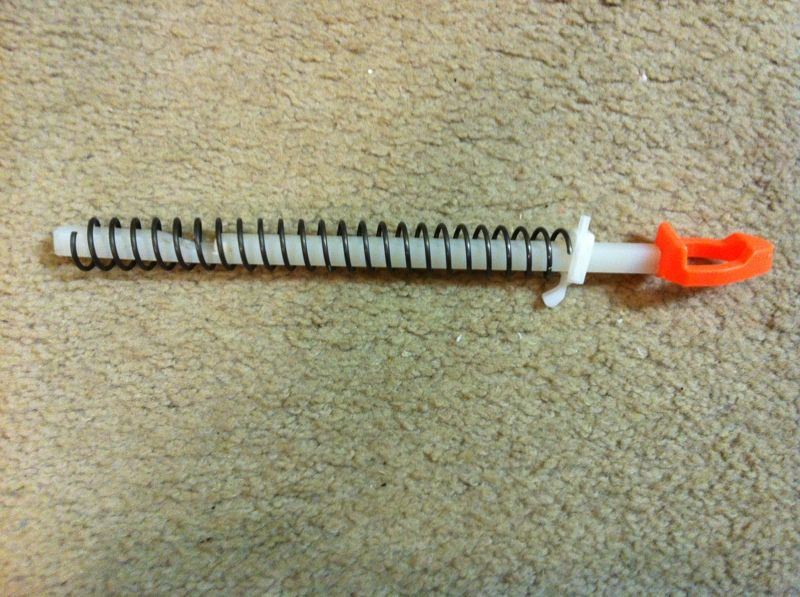
Take apart your nitefinder. All you need is the plunger assembly. Take the plunger head off, take the screw out, and set it aside. Carefully drill and tap a hole in the center of one of the ends of your nylon rod. Enlarge the existing screw hole in the Nitefinder plunger head if necessary, then screw the NF plunger head onto the nylon rod. You can kinda see it here.
Set that aside and go back to the firestrike assembly. Take the plunger rod and cut it at the back. Take care not to damage the catch.
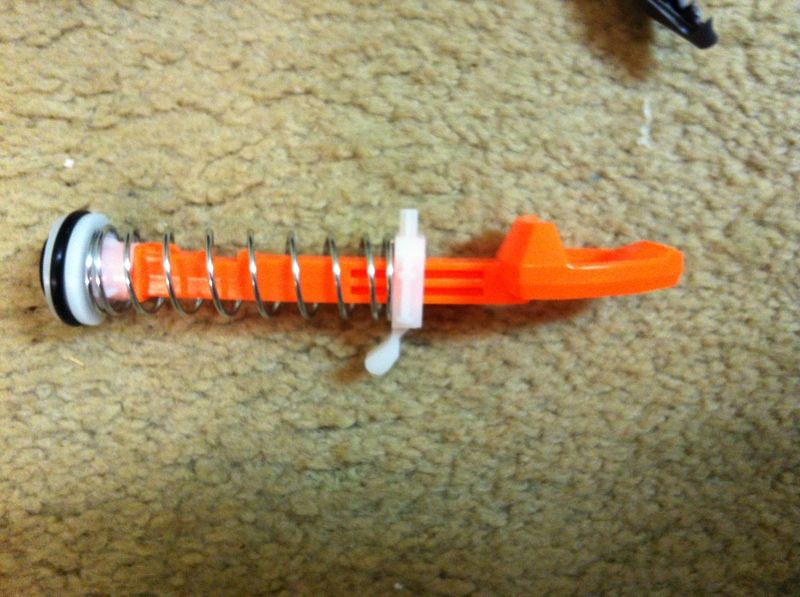
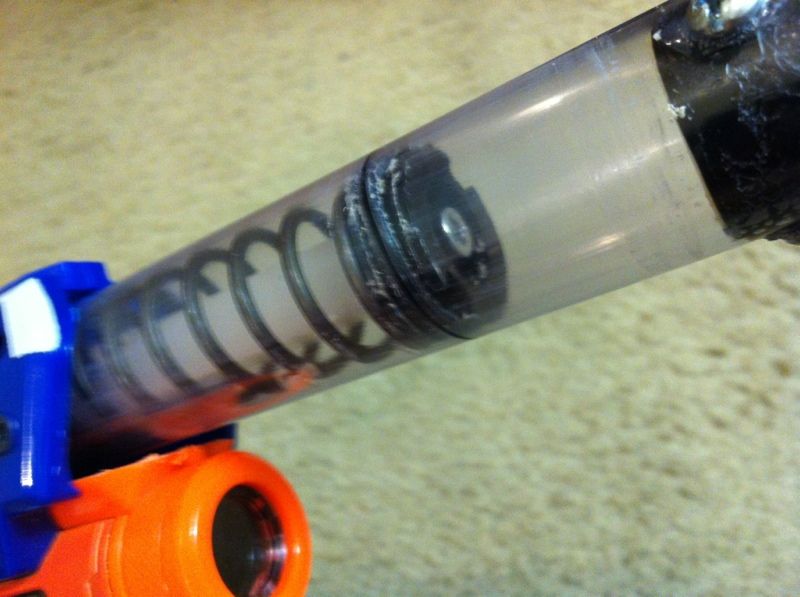
Take the catch off and don't lose it. Toss the rest. Now you need to decide how long you want your [k26]. Some people like to use full springs, but personally, I think that makes the PT a bit long, so I usually cut them down to somewhere around 7". That decision will affect how long your 1" PETG PT will be. Cut the PETG 1-2" longer than the spring. Wrap your 1/2" cpvc coupler in E-tape until it fits in the 1" PETG, surround it with goop, and insert it about halfway into the PETG. Take your drill and screw in three screws to hold the coupler in. They also act as a dart stop, should you vacuum load. Slip your [k26] onto the nylon rod, then drop the firestrike catch on top of that. Lube up your plunger head and gingerly insert it into the 1" PETG.
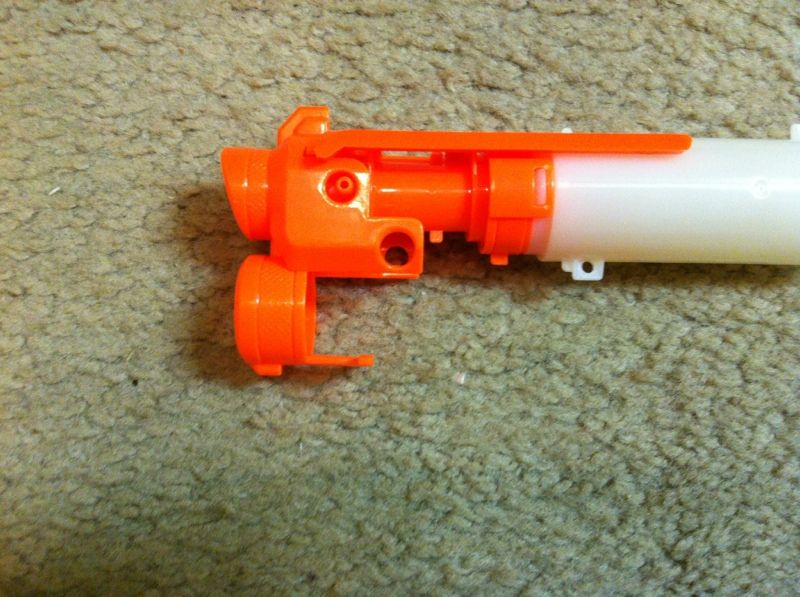
Now look at your firestrike shell. There are little nubs on each side. Sand them down. Also cut about half of the hole on the light off.

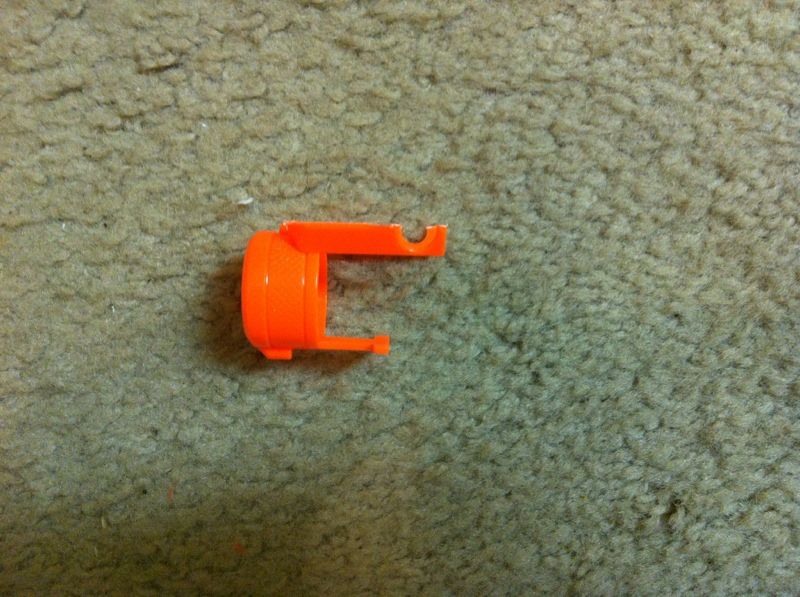
Now align the nitefinder rifle plungertube assembly you've made into the shell. Close up the shell. You should probably screw it together. Now pull the nylon rod as far back as you can and mark the nylon rod with a sharpie right next to the shell. Open the shell back up and take out the plunger tube assembly. Take the plunger out of the tube and take the spring off the nylon rod. Put the rod back into the tube and align it back into the firestrike shell. Pull the nylon rod out to where the mark you made is right at the edge of the shell, where it was when the spring was at full compression. Mark where the catch is when the plunger rod is in this position and cut it out with a dremel. Note the shape from this picture.
Now wrap your 1" PETG plunger tube with E-tape until it fits snug behind the screw port. Take the front piece from the firestrike and cut off the part that covers the light halfway where it sits on the screw ports like so.
Fit it back into the shell beneath the plungertube. All you need now is a catch spring. I used one of these cut to size. You may need to shave the spring guide on the catch down a bit.
Now close up the blaster. It is complete, but alas, it doesn't have a priming handle yet. Decide how close you want the priming handle. Make sure you push the plunger rod all the way forward when you measure. You can go two ways here. You can either screw on a tee or a piece of cpvc or you can cut off the back of the Nitefinder plunger rod and drill a hole and screw it into the back of the Nylon rod. Its a matter of preference - they're the same, performance wise.
And you should be done.

Again, apologies for not having pics for a good writeup for the standard nitefinder rifle stuff, but its pretty easy, so yeah.
Now make yourself some speedloaders (I use 9.5" ones) and you have a great backup primary or loaner. Ranges are juuust over 100'. Standard NF rifle range in a smaller, newer package.