I've omitted any pics of the shells unprimed, just to avoid any issues from the varying styles of prepwork. Personally,
I use 80 grit paper on an electric palm sander to scuff up and remove as much factory paint as possible. I then use more
80 grit by hand to get to the areas too small for the sander to access. Finally, I use a medium grit foam sanding sponge to
smooth out any major scuff marks, and soak the pieces in warm soapy water for around 5 minutes, before giving them a
final rinse, and allowing to dry. I don't do any inter-coat sanding due to the layered nature of spraying camo patterns.
After exhausting test and trialling of various paint brands and types, I've settled on a cheap brand of enamel paint called
"Australian Export". It's inexpensive, comes in a reasonably decent array of colours, and they also make a specific primer in grey
and white. I also have a variety of spray caps sourced from a grafitti store, along with male to female can adapters. These caps give
a little bit more control over pressure and fan width, which helps particularly with stencilling. As well as these caps, I quite often
put the rattle cans in the fridge or a bucket of warm water to vary the amount of pressure : paint volume ratio.
So, on to the pics. I apologise for the bulk nature, but this seems to be the simplest way to show my technique...
Shells prepped, and dried. I apply two coats of primer.
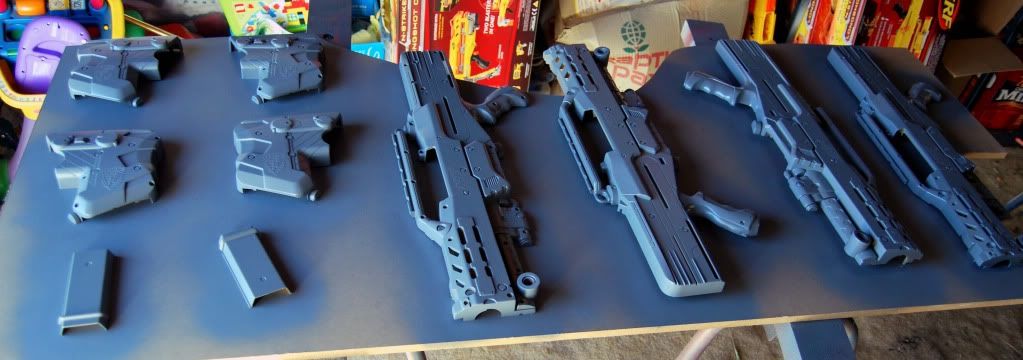
Depending on the colour scheme, I often use a base coat of white to enhance any lighter-shade colours.
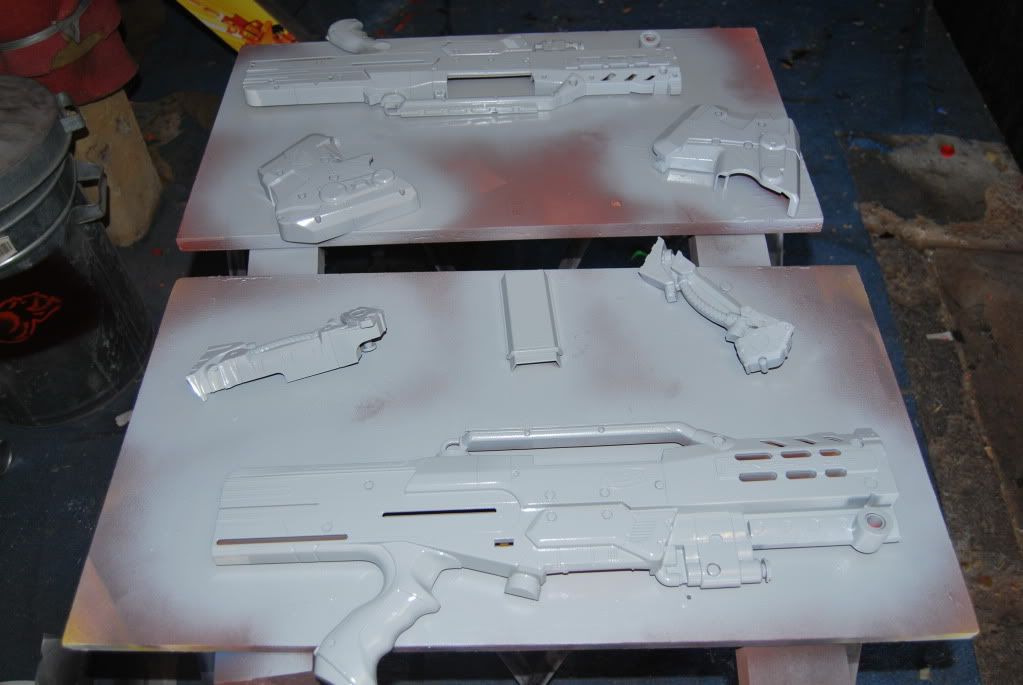
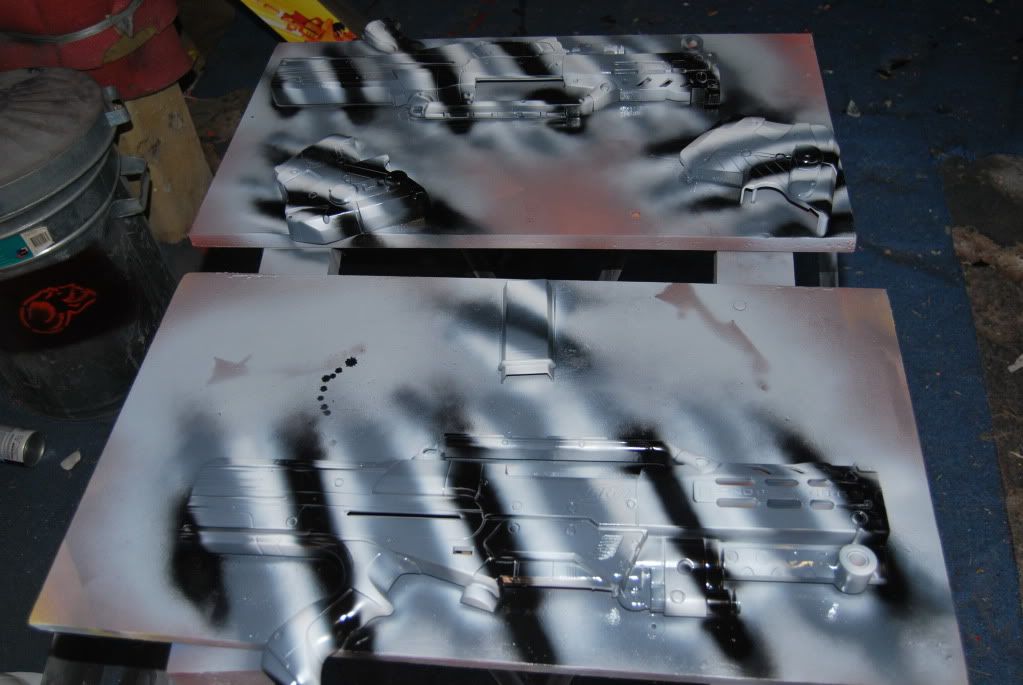
Next step is diagonal lines of the main colours.
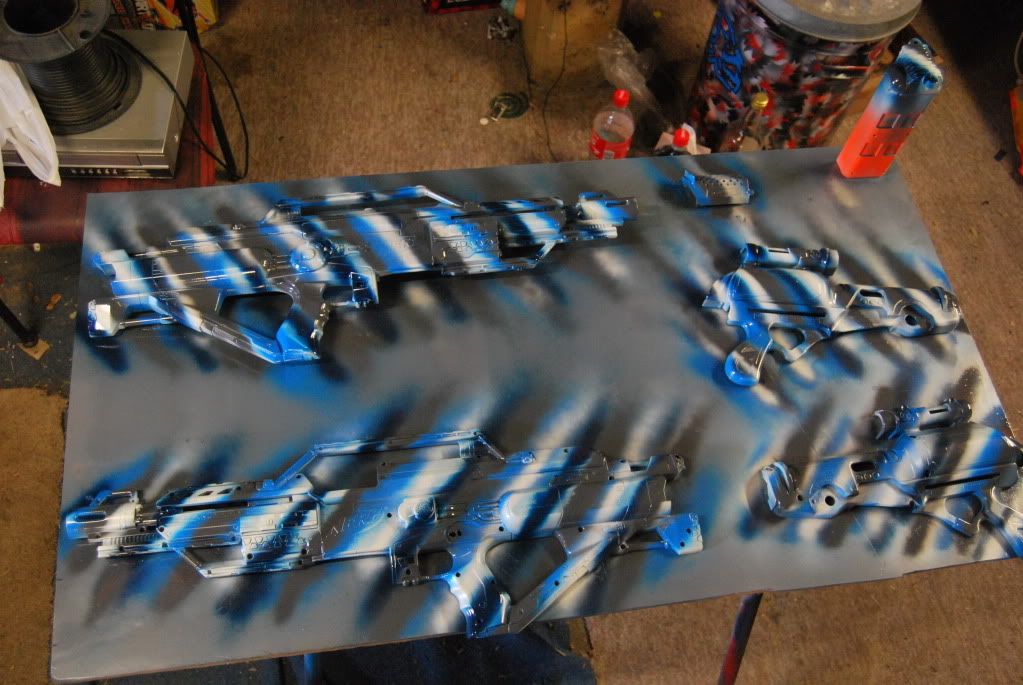
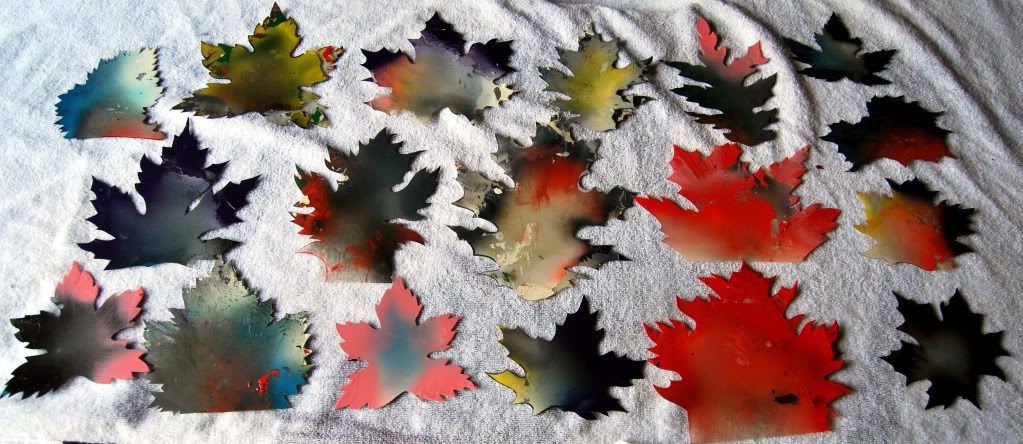
These are the leaf stencils that I use - made from overhead projector transparency sheets, and cut out with a hobby knife.
Using the stencils, begin to blend in the diagonal stripes, using one colour at a time. The only way to get good at this is by a lot of
practice. I've found better results by holding the stencil on the shell, and spraying from the back of the stencil towards the tips - you get less overspray, and fewer chances of getting runs. I also wipe the stencils down with scraps of material (towelling works best) to prevent excess build-up of paint.
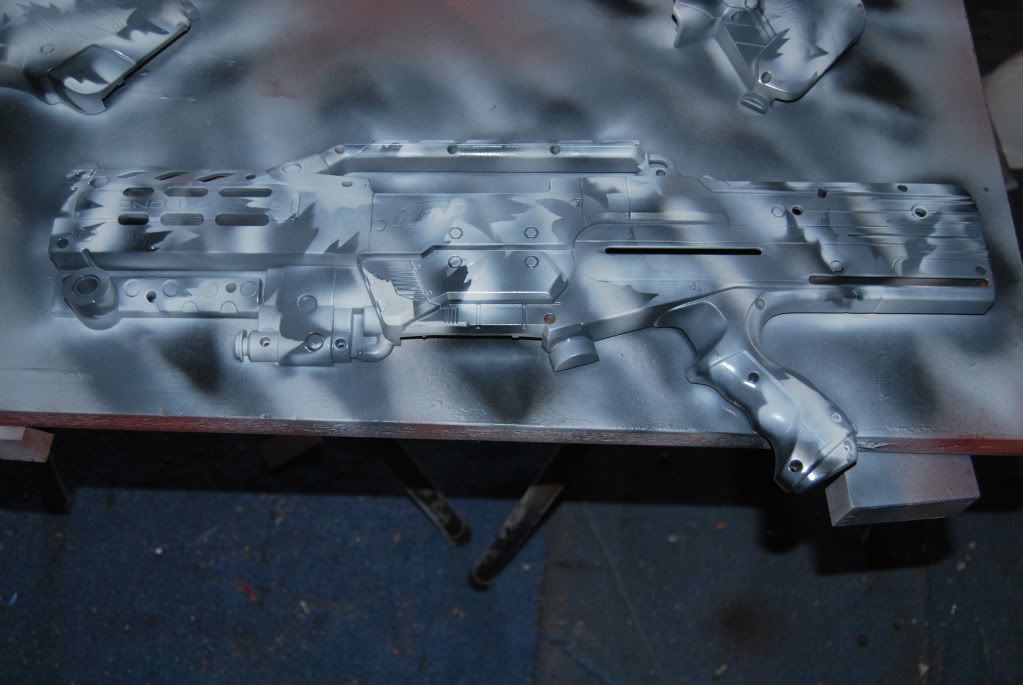
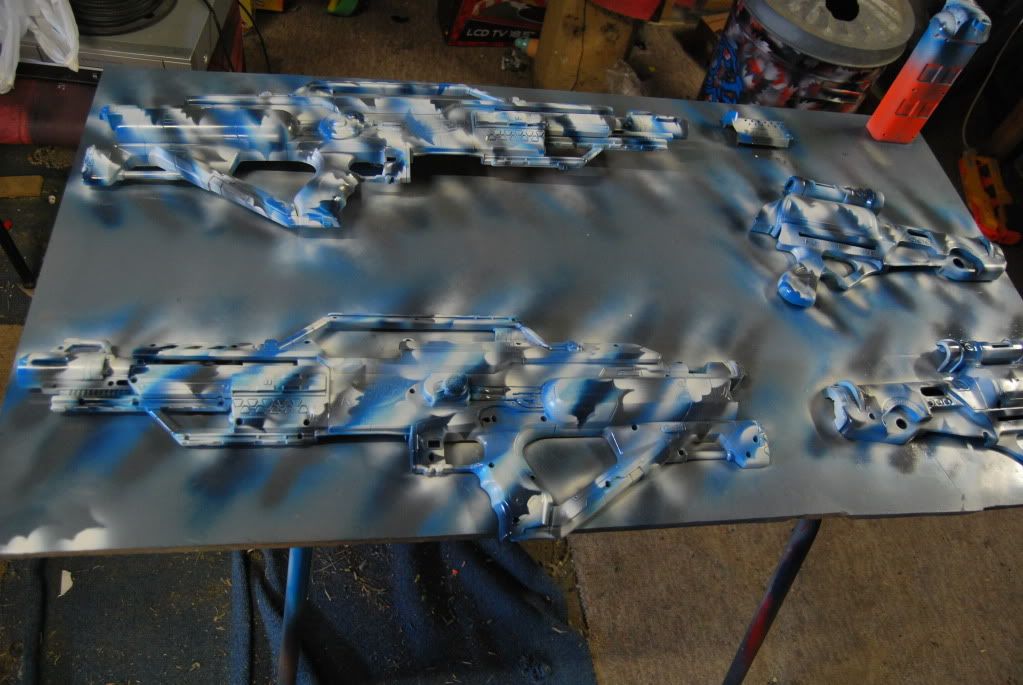
Start with lighter colours, before building up to the darker shades. Remember to use different parts of each stencil and at different
angles to achieve the random effect of camouflage. Typically I'll use 2 different stencils for each colour. Common sense dictates that
you'll need to wait for each colour to dry before starting the next, otherwise the stencil will smudge the wet paint on the shell. The more experience you get will allow better technique. As is the case for me, I can usually spray two colours, then wait for them to dry, as I don't let the stencil touch the shell when I'm painting - but this does take a fair bit of practice to do.
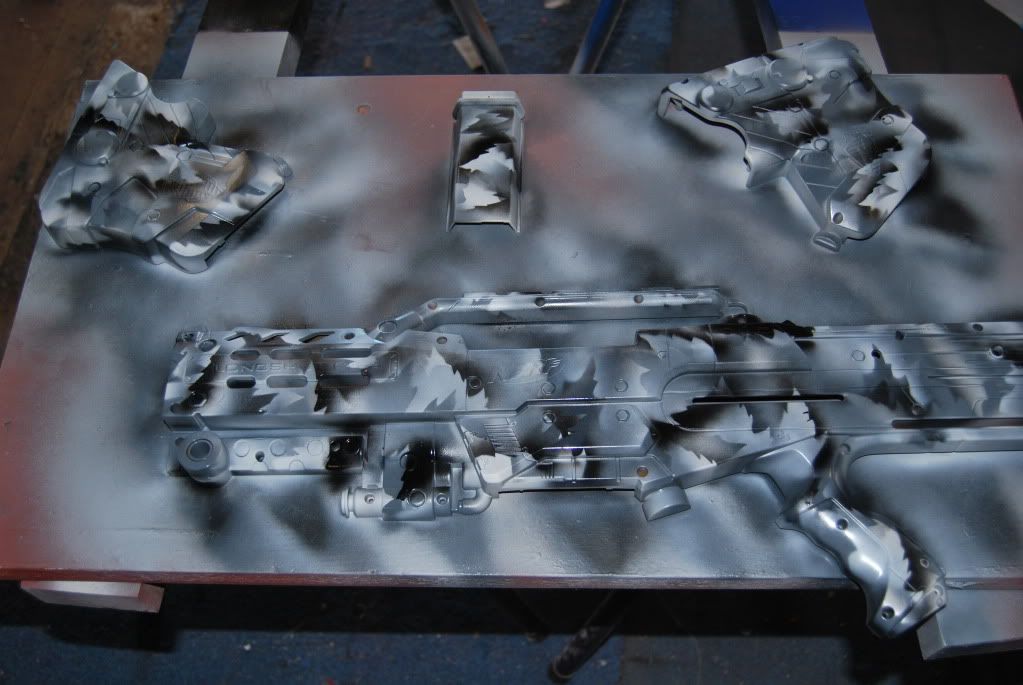
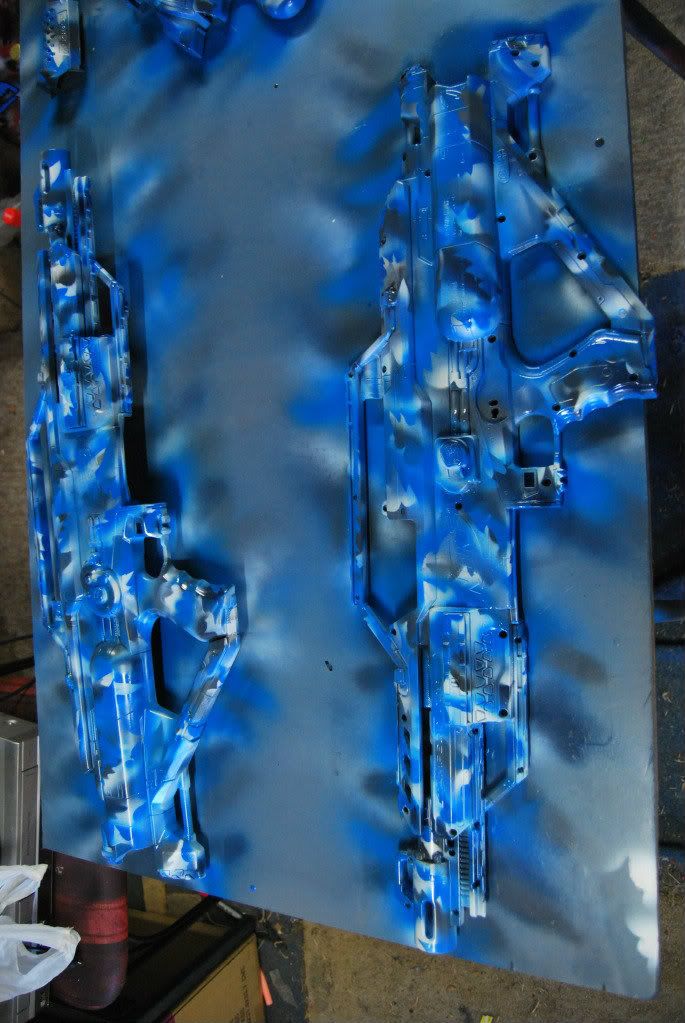
If you're using a lighter shade colour that's quite contrasting, you need to over-compensate to allow for covering with the final
highlights.
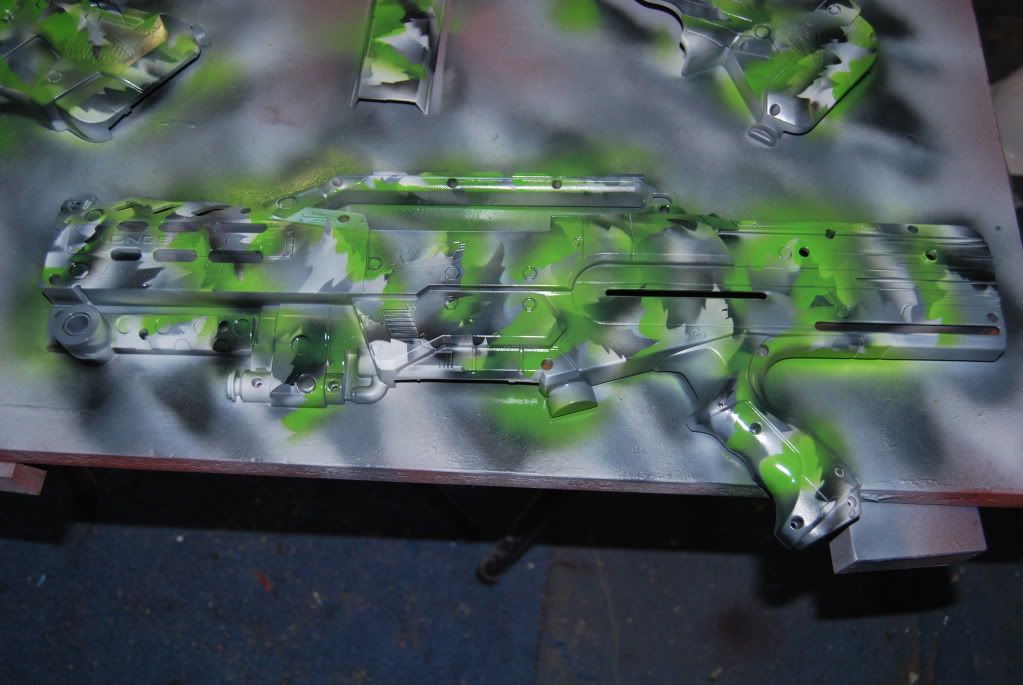
Now on to the highlights. Obviously shades of black/white need to be left until last. Black can become quite over-powering, so use it sparingly, otherwise you'll destroy all the hard work you've already done. Most of this technique comes down to trial and error to begin with, so don't be disheartened with your first few attempts. In the past, I've had to completely strip a couple of paint jobs back to bare primer, and start again. It gets frustrating, but with more experience, this becomes less of an issue.
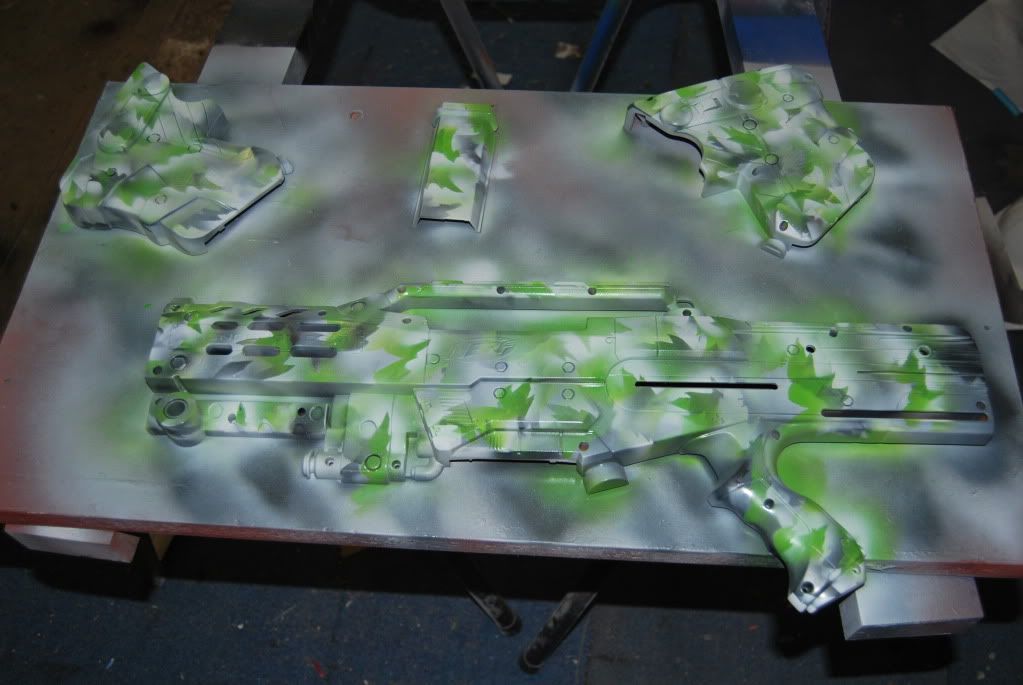
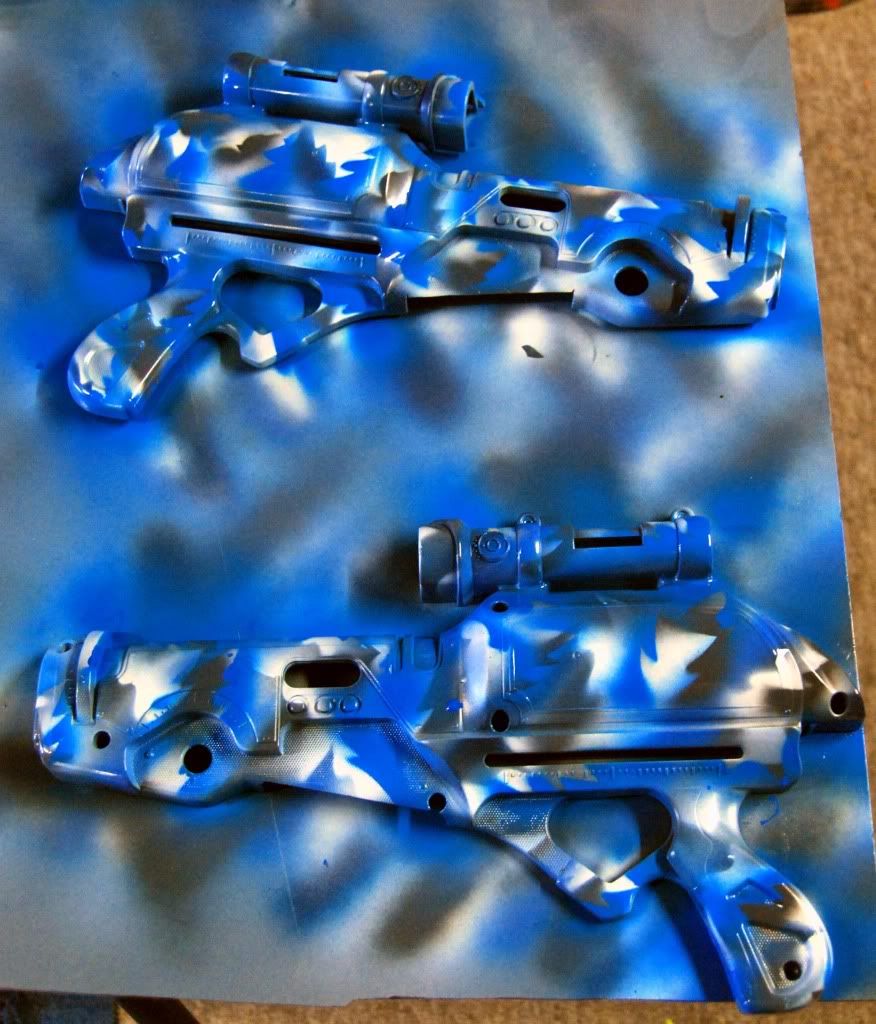
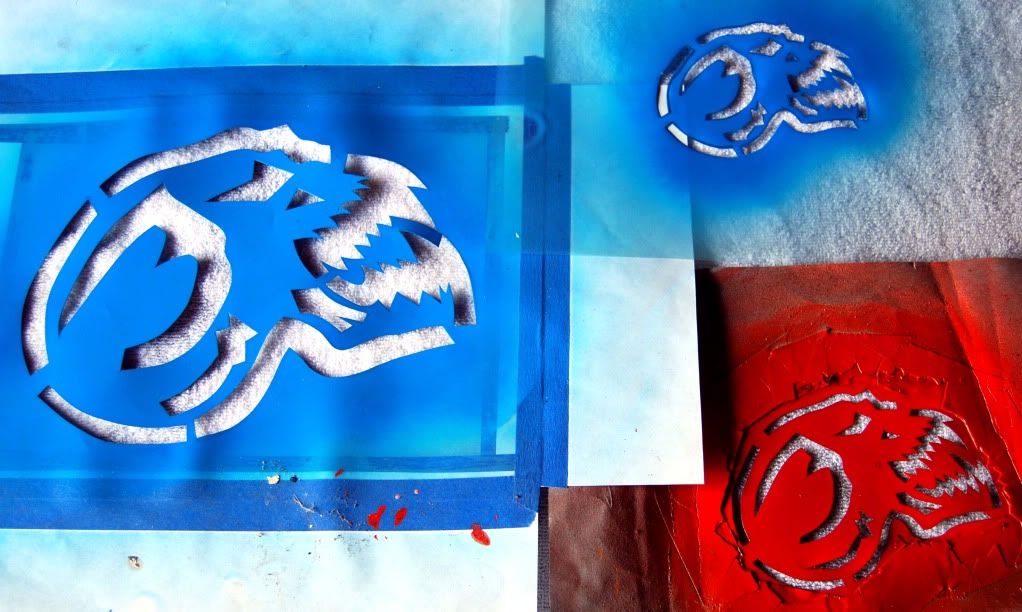
It may be necessary to add some finishing touches after the highlights, just to ensure a decent colour distribution/ratio. This comes down to experience and artistic ability. Once I'm happy with the finished paint job, I allow it to dry fully, before adding my signature logo. Same as the leaves, this is cut from transparency sheeting, which I then tape to a mask made from paper to prevent any overspray.
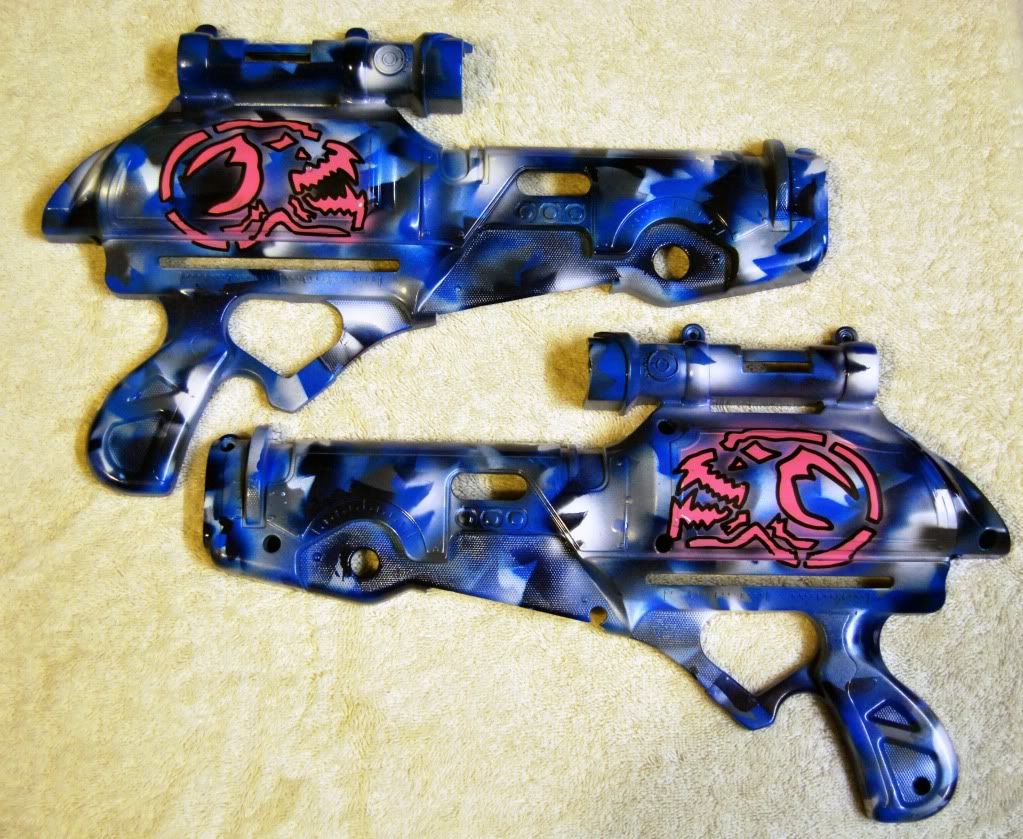
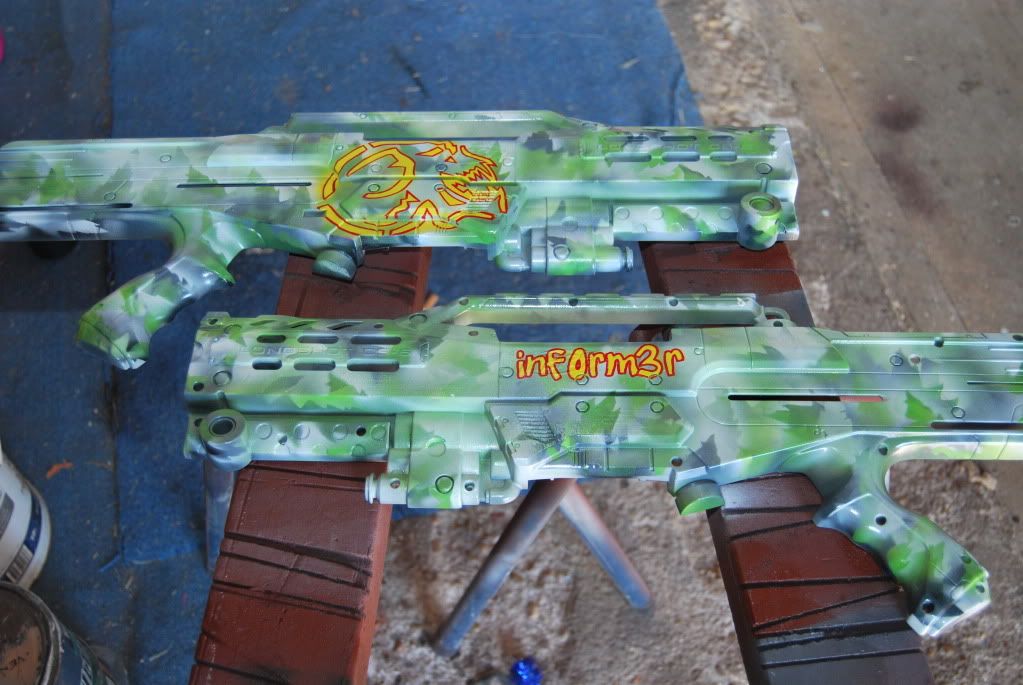
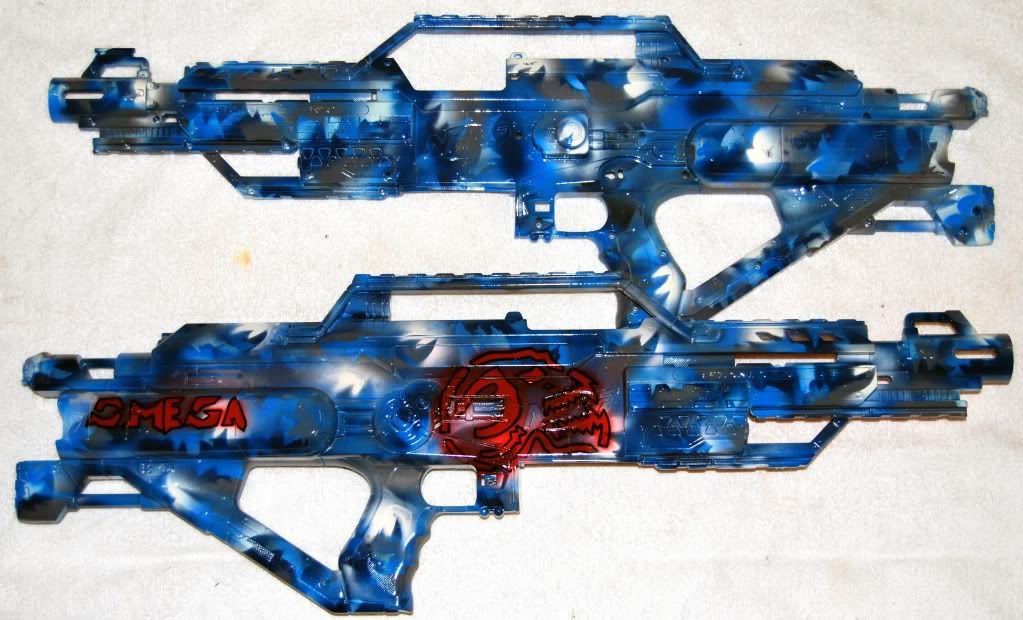
I use these Molotow acrylic markers for the outlines: http://shop.molotow....ONE4ALL-Marker/
Being acrylic, you need to wait for the enamel spray paint to be fully cured before outlining, otherwise the tips will gum up, and give all
sorts of issues. The option is there to use enamel paint markers as well, but I have to order these online, and anything enamel-based that needs to be posted here in Oz attracts a dangerous goods surcharge, which is quite expensive.
Once that's been finished and is dry, I spray a number of coats of clear lacquer to protect the paint. I use a gloss finish, as I don't have access to matte lacquer, but that's all personal preference. Typically I spray 3 thin coats over the entire shell, and an additional 3 thin coats over areas that will be handled frequently - grips, rails etc. Heavy coats of lacquer can have adverse effects on lighter shades, particularly white, which will change to a nasty off-yellow colour, so best to spray multiple light coats to prevent this.
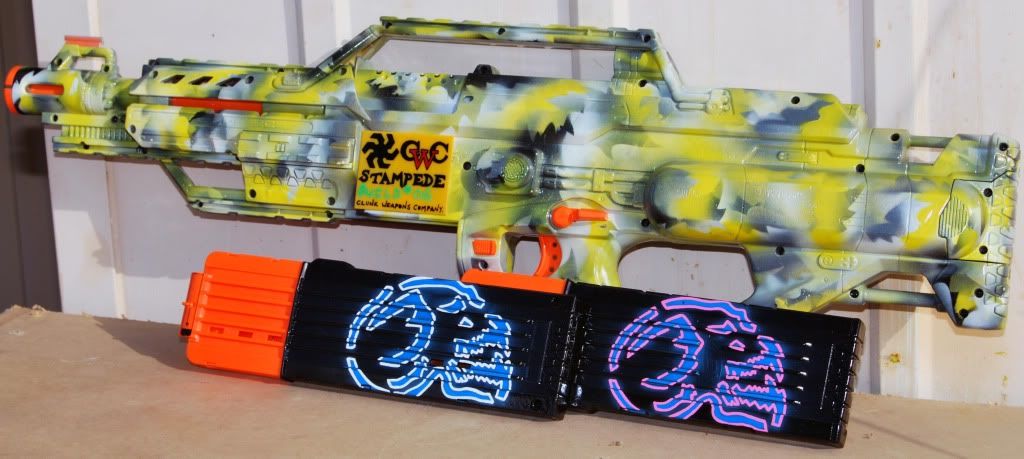
Leave the shell to sit for an appropriate curing time (24 to 48 hours is best) then re-assemble, and you have the final product.
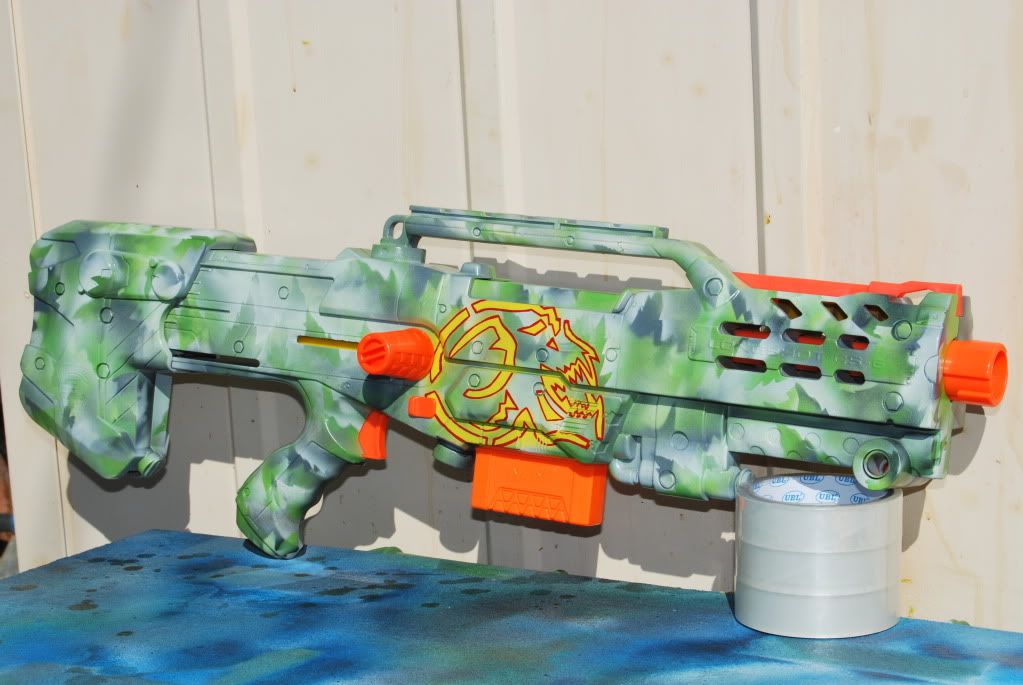
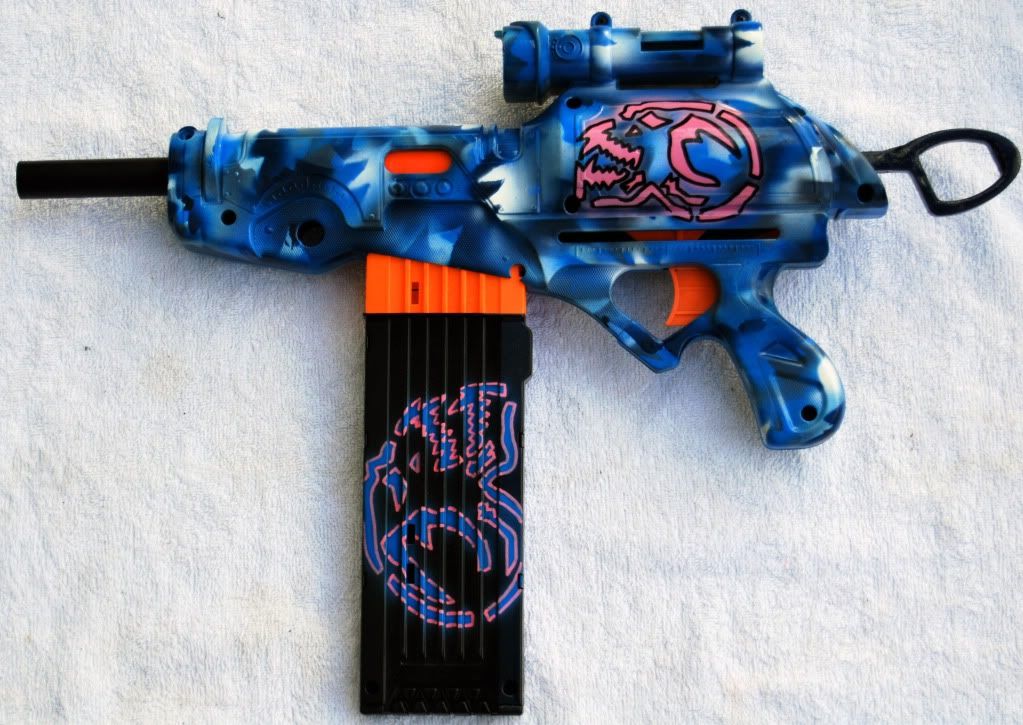
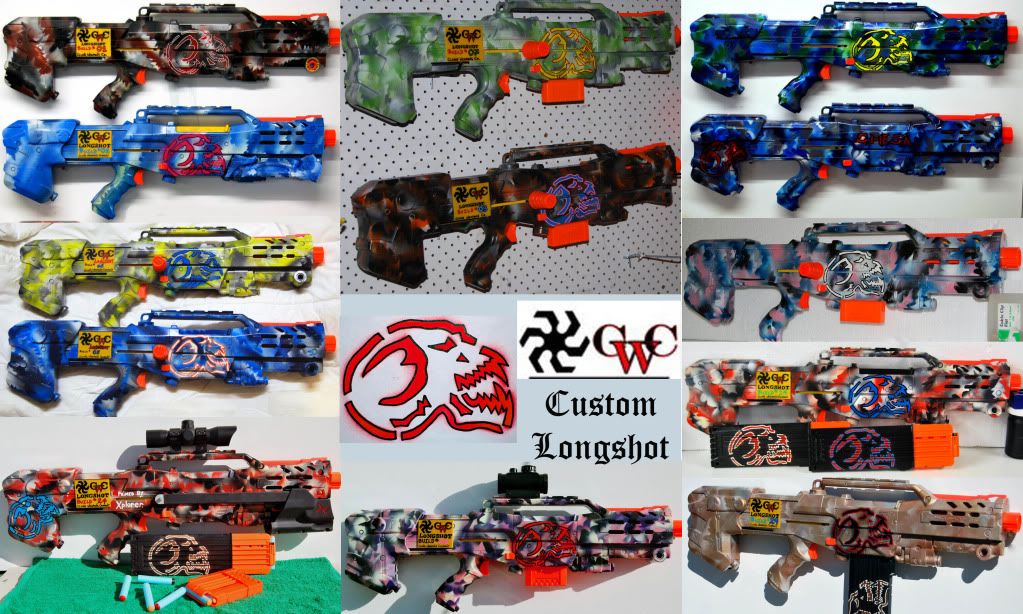
As you can see, it's a fairly simple process that doesn't take up a great deal of time. And, the colour combinations are virtually endless:
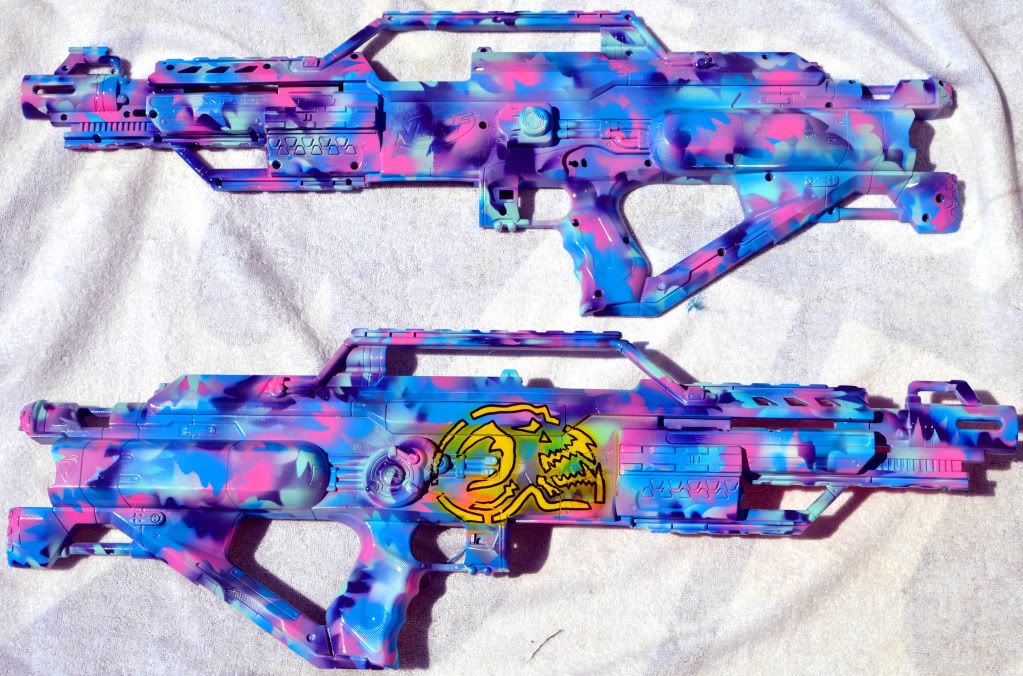
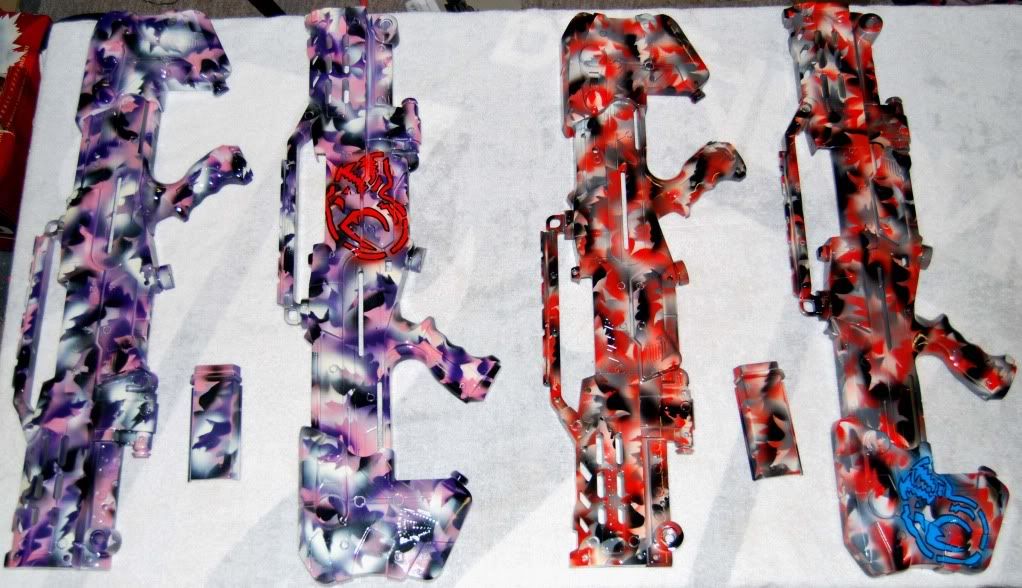
Cheers,
Edited by clunk07, 21 September 2012 - 07:44 PM.


