So these only arrived in Australia a few weeks ago but I still took my sweet time in grabbing some. As a result I haven’t actually had a chance to use one in a real game, only messing about with my housemates around the house. Initial impression is that the Jolt is good, fun, simple blaster. It probably won’t ever be a main-stay, but it’s pretty well ideal for stuffing around.
I've done an AR removal on a few, but for this post we're going to tackle a little more advanced job on our pocked sized friend; we're going to replace the barrel with something a little tighter. Specifically I've used 16mm conduit, but you could easily substitute your preferred barrel material.
_________________________________________________________________________________
Tools/Materials required...
Phillips head screwdriver
Dremel with cutting and grinding attachments
Chosen barrel material
Needle nose pliers
Hot glue + gun
_________________________________________________________________________________
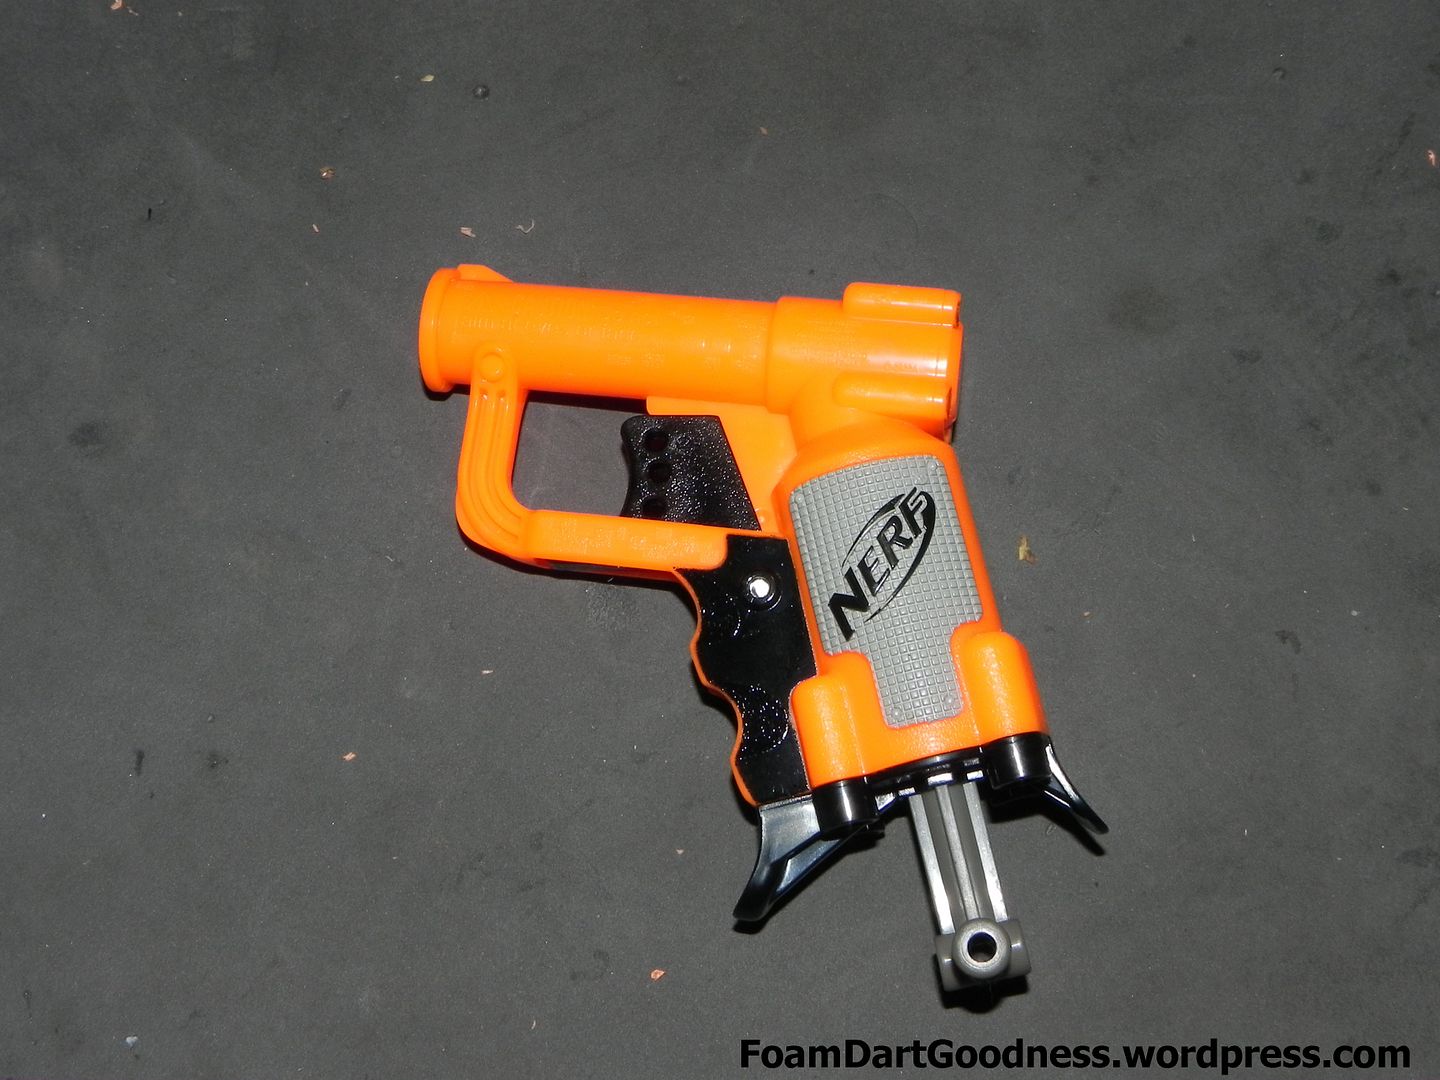
To begin with, one Jolt.
Remove the four screws on the bottom to remove the spring and plunger.

Oooo, an AR...
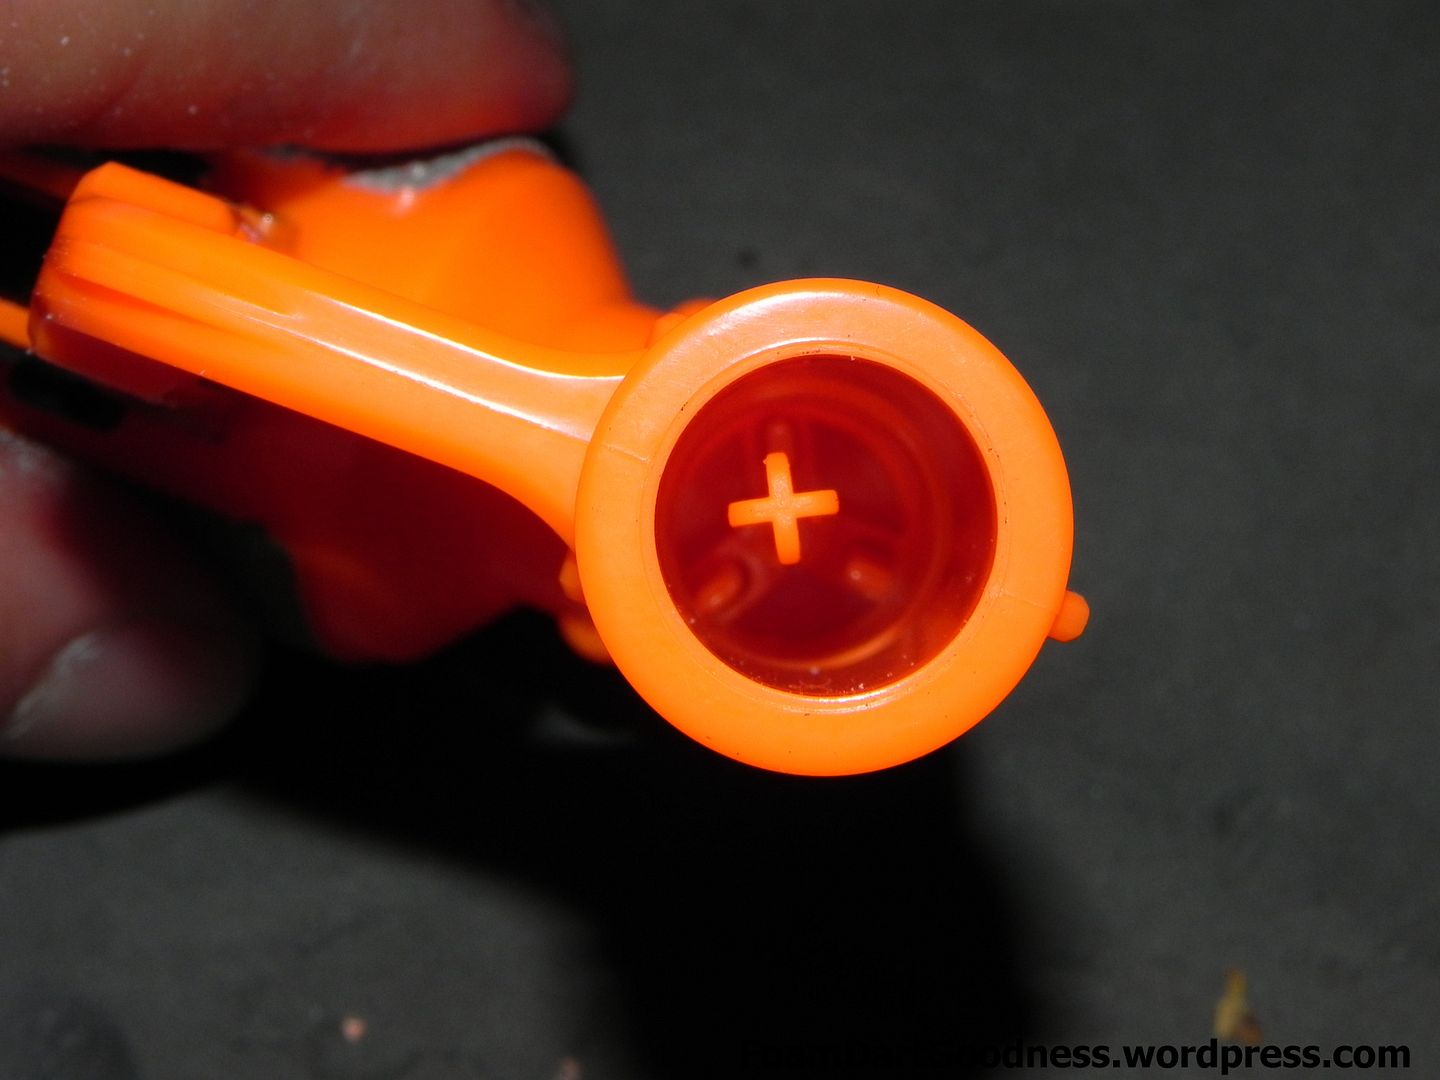
Here's the back of said AR as seen from the plunger tube.
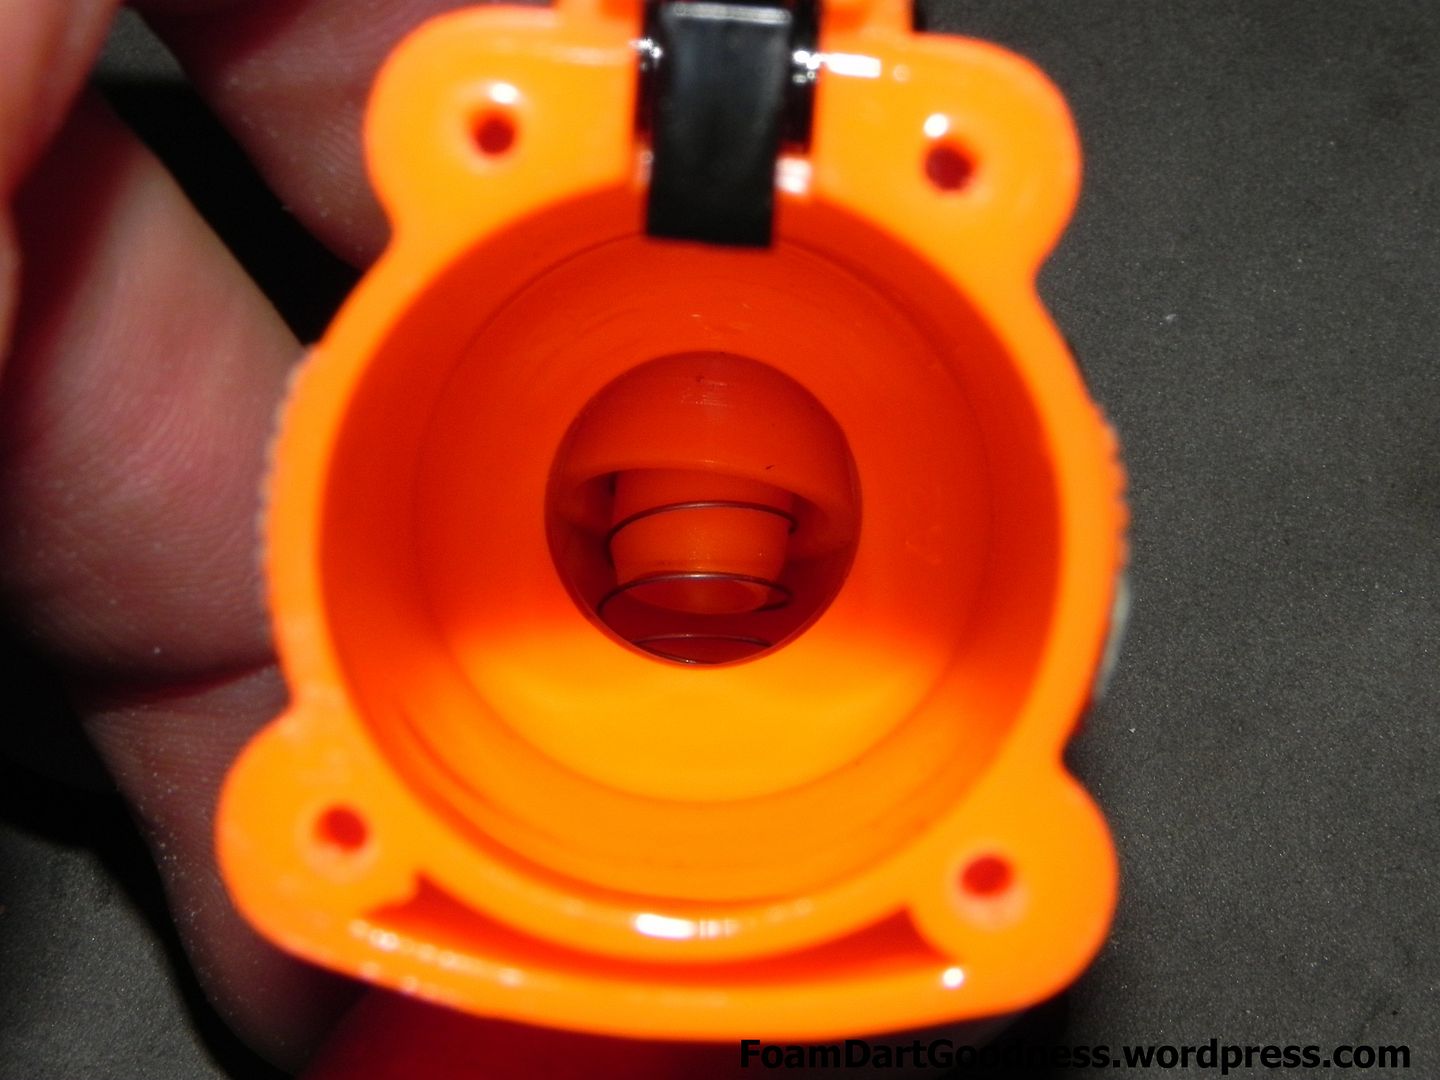
What the AR looks like when it's pushed back, say like a dart would.
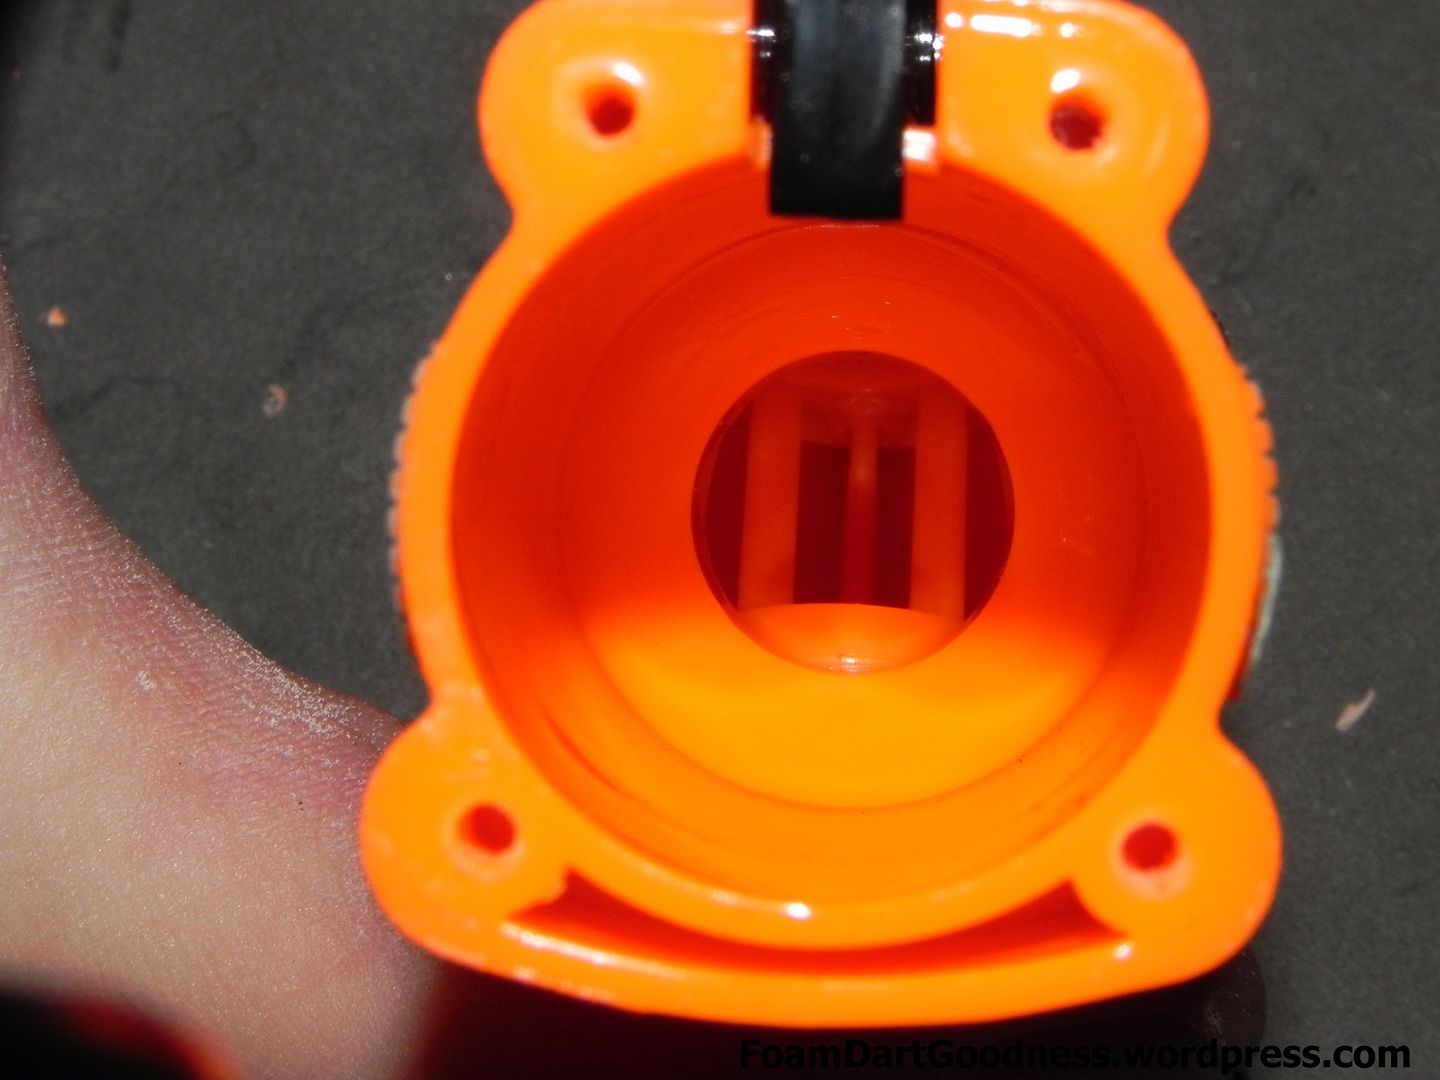
Grab your pliers and twist the dart peg off.
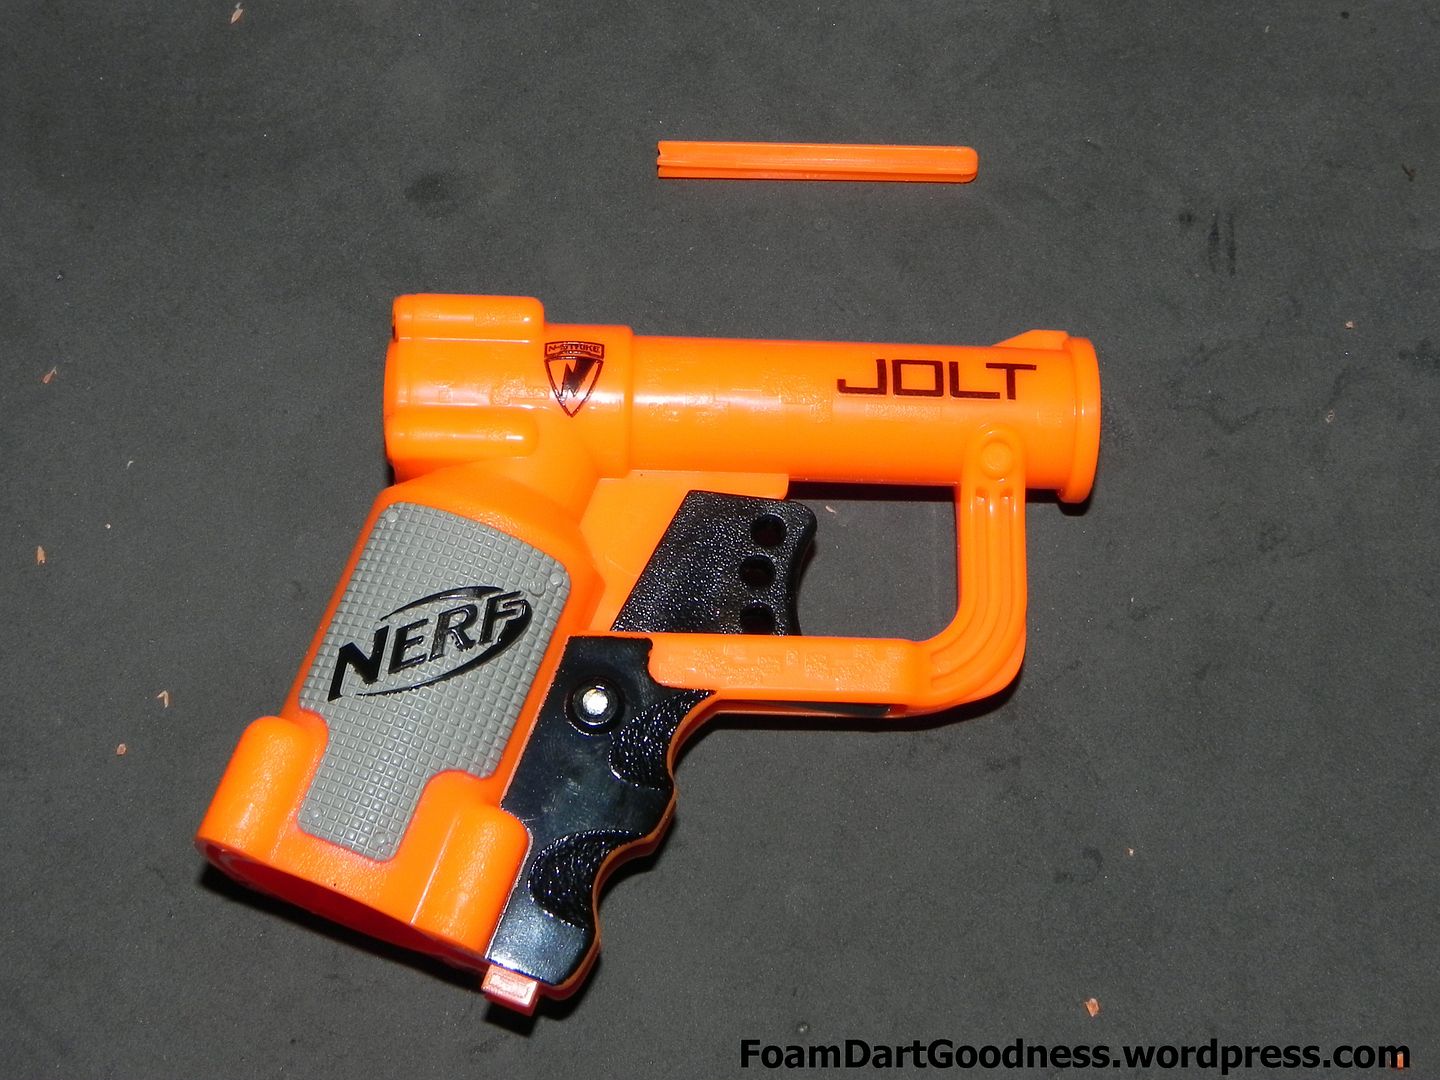
Then cut through the barrel at the point where it increases in diameter.
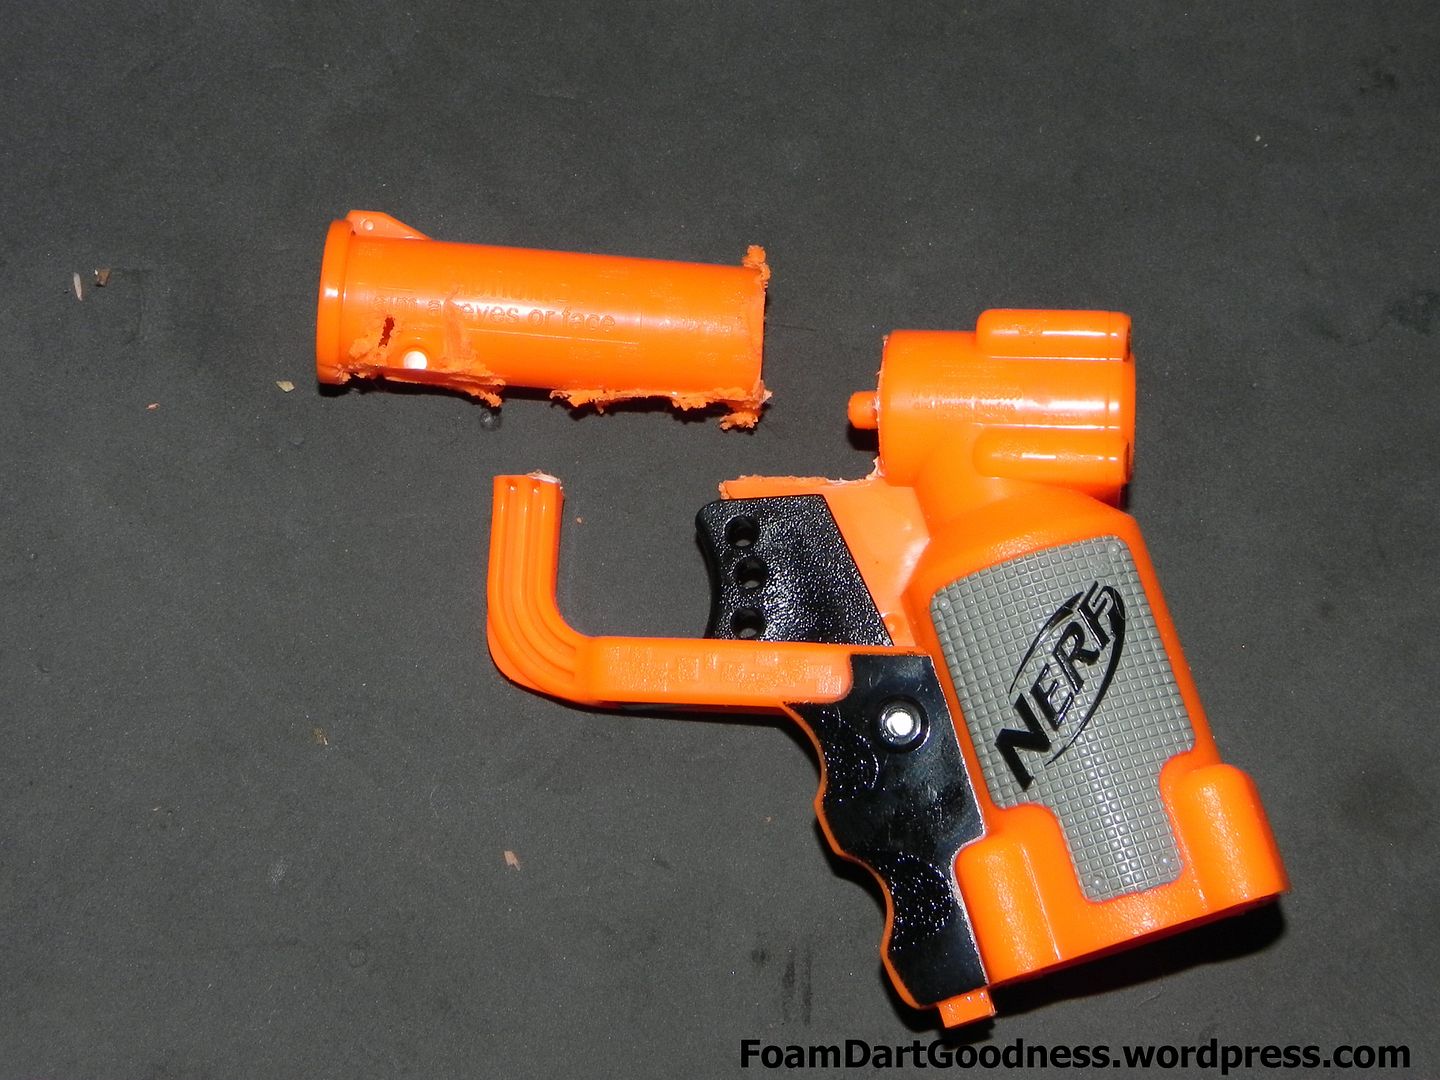
Damn it, still got an AR.
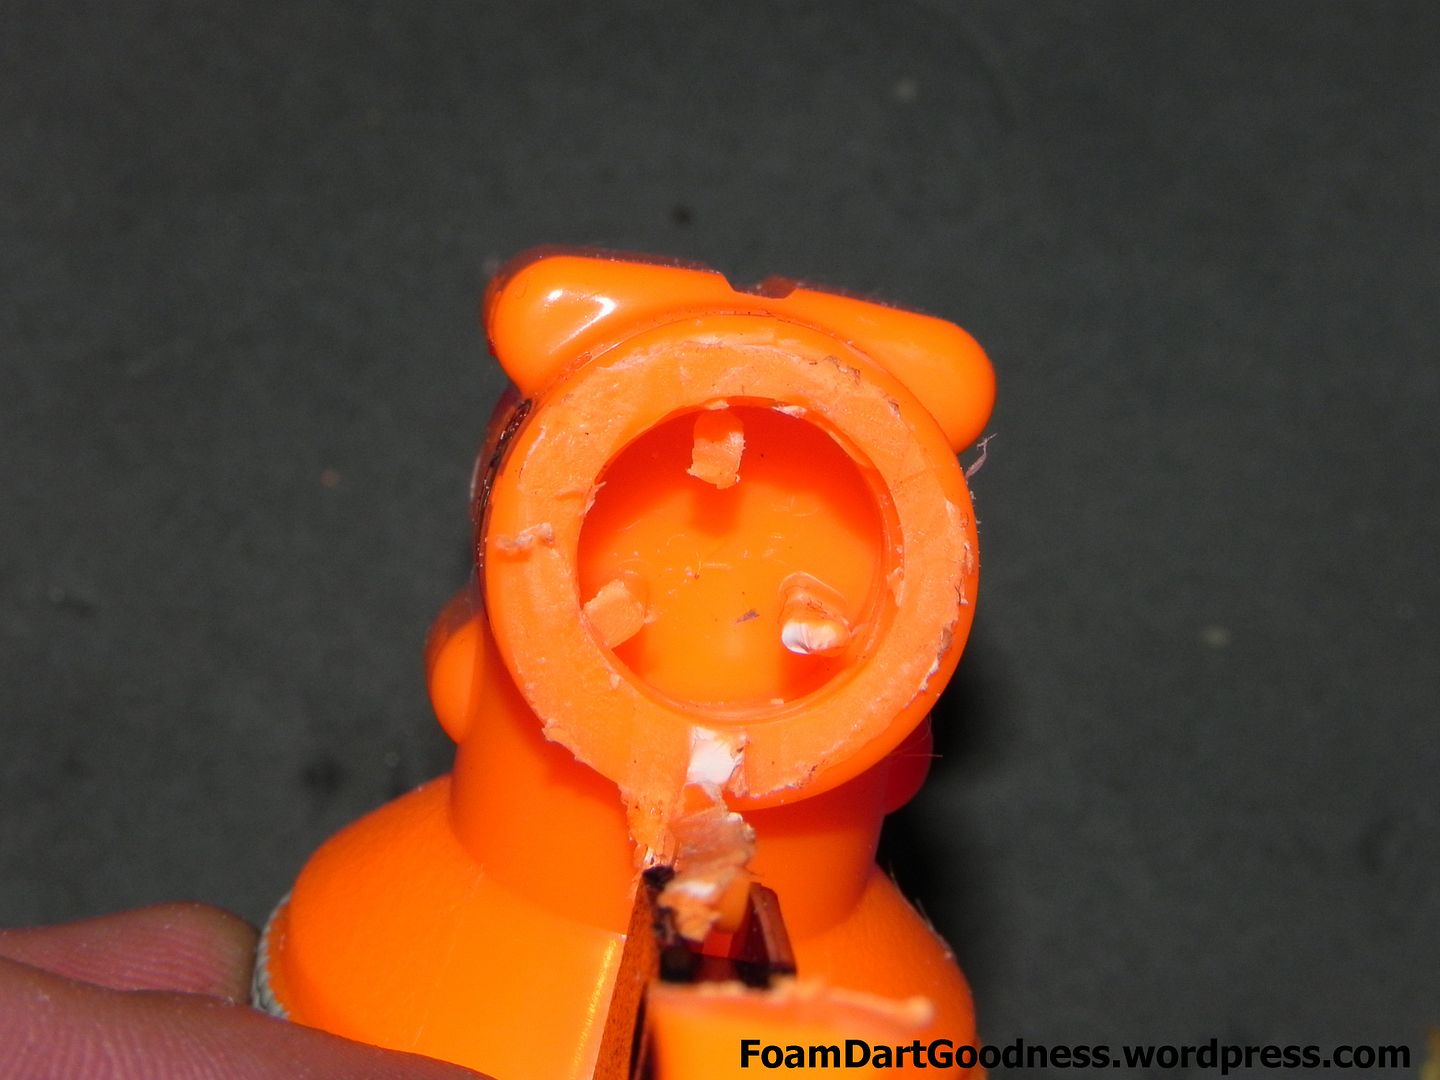
Ok, so I lied above. Cut 1-2mm past where the diameter increases and the AR should just fall out,
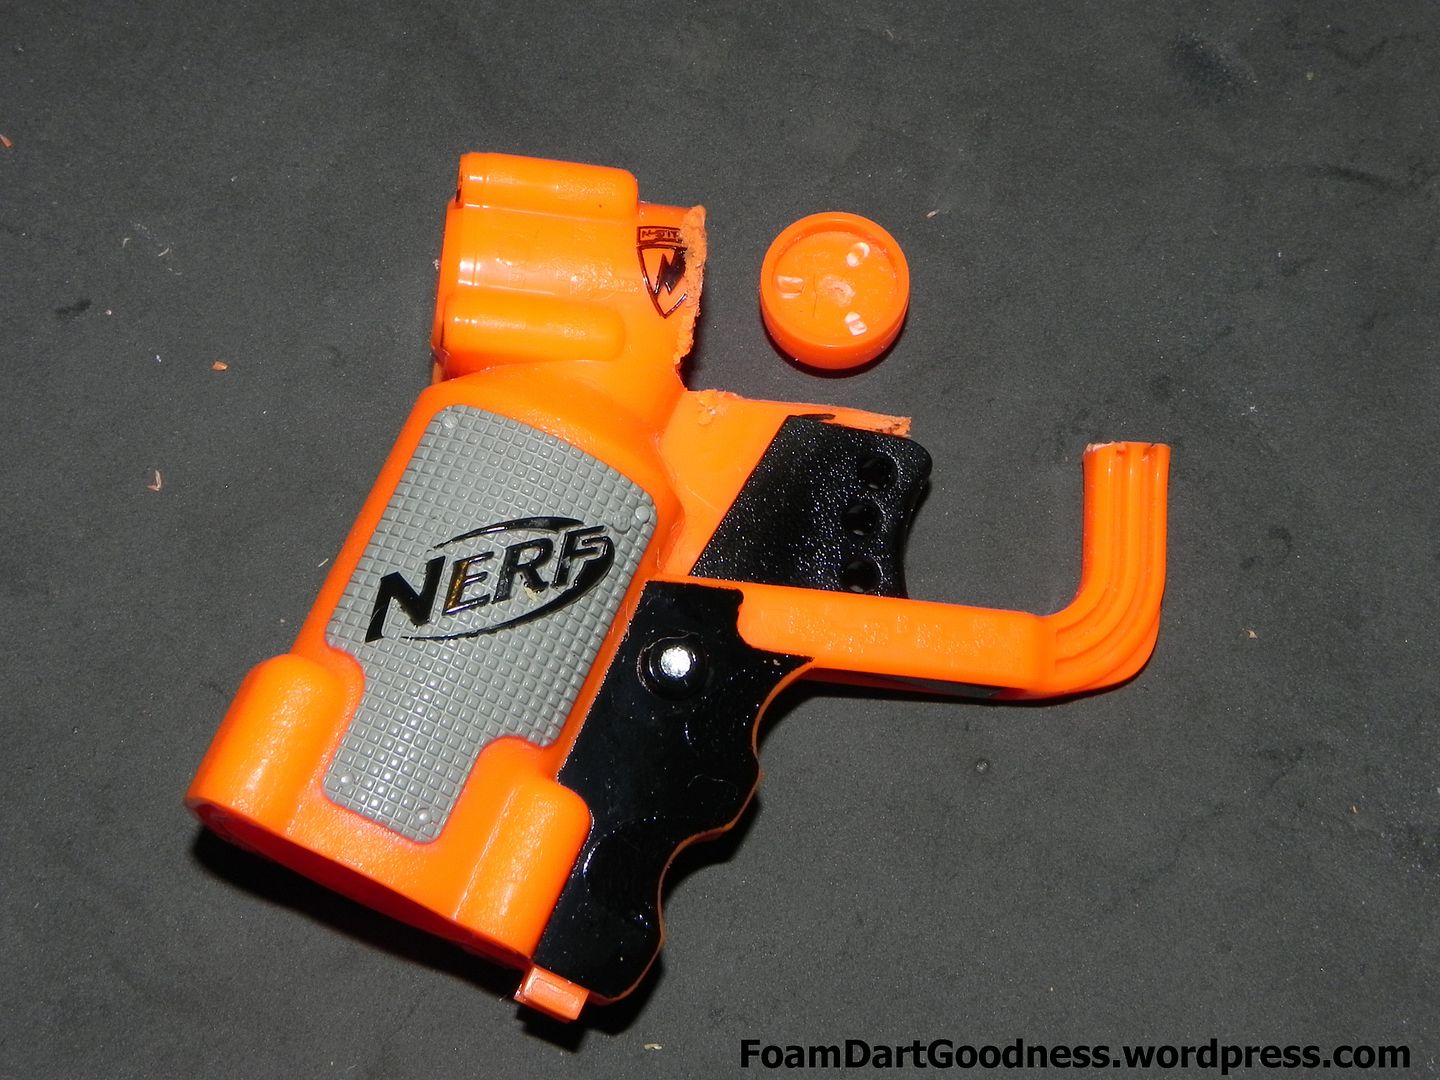
Leaving you this dead space at the back of the barrel.
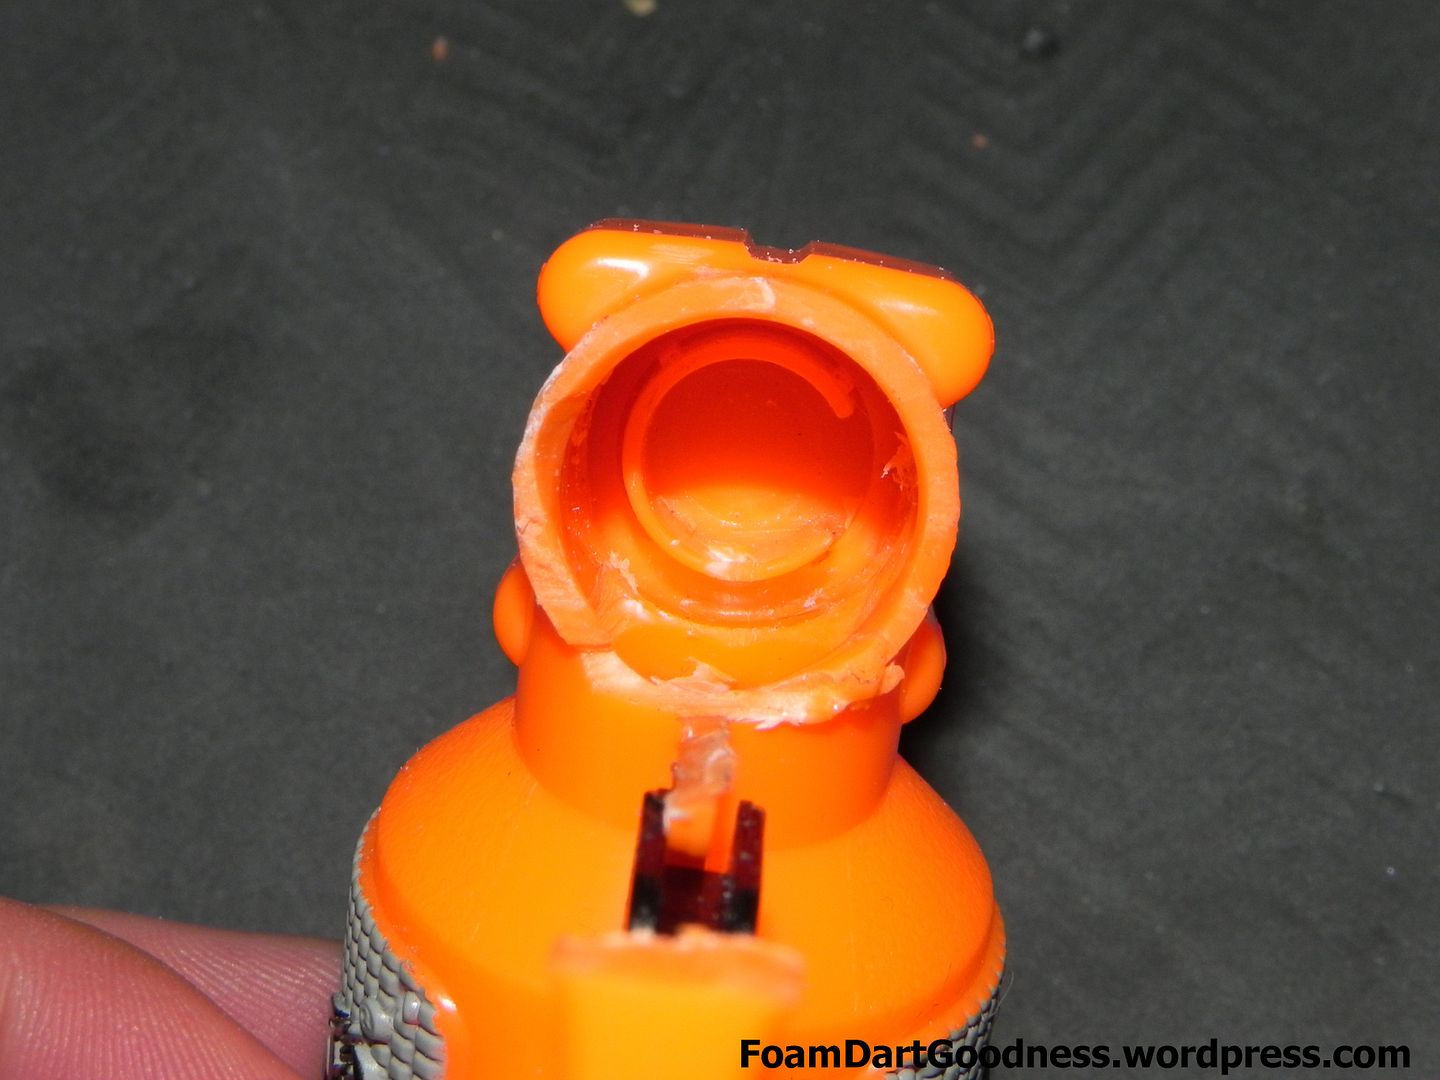
Looking from the plunger tube, you should now have a clear light of sight through to where the barrel will sit.
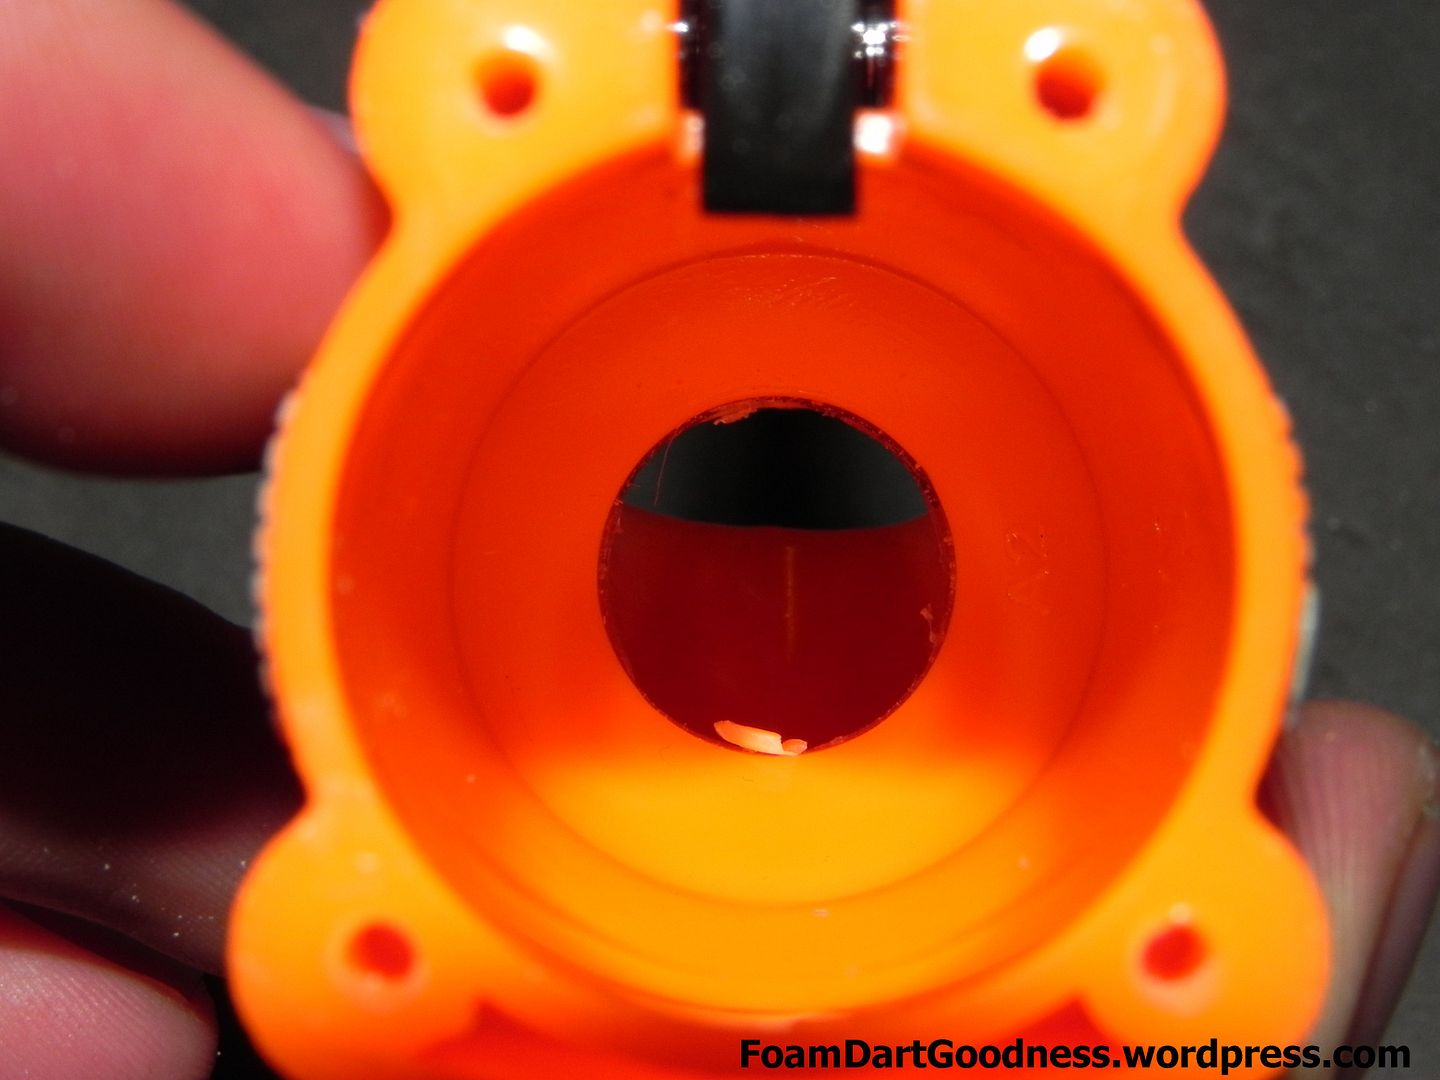
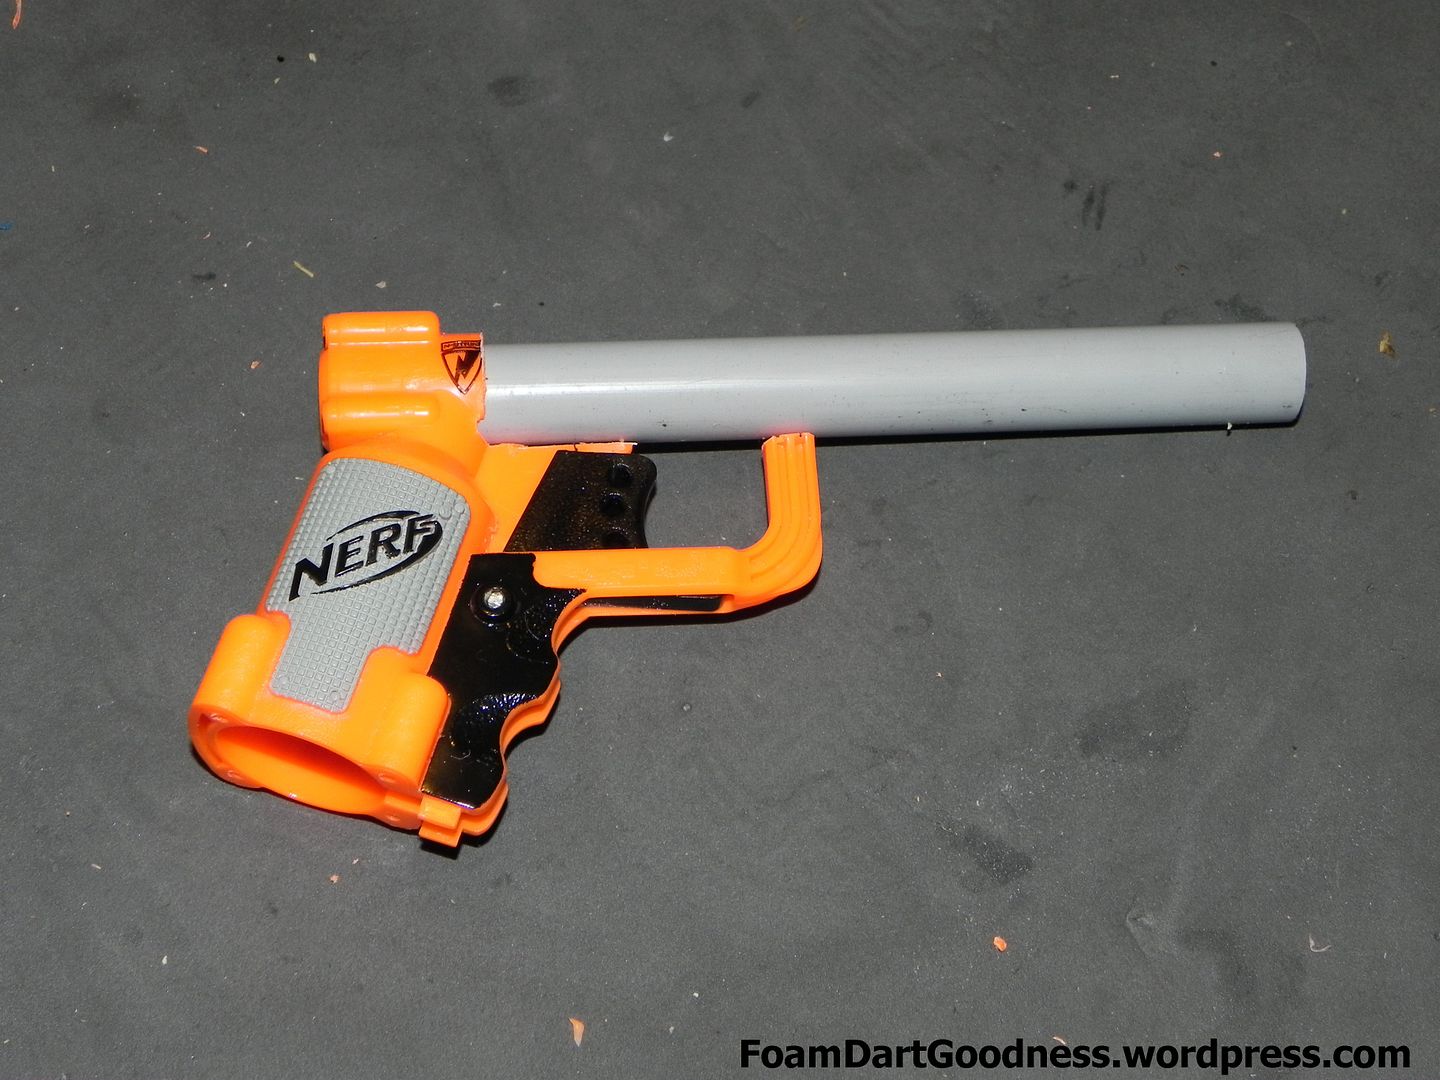
Grab a length of 16mm conduit and push it as far back as it goes. The inner diameter of the back of the stock barrel is almost exactly the same as the outer diameter of the conduit, so no further cutting/grinding should be needed at this stage.
You can see here that I started off with a significantly longer barrel. I knew this would be too long before I started, but ti's far easier to removed excess length than it is to add more. After it was completed, I discovered that the ideal length for 16mm conduit on a Jolt was around the 80mm mark.
Mark the outline of the conduit from the plunger hold with a pen, then remove the barrel from the blaster.
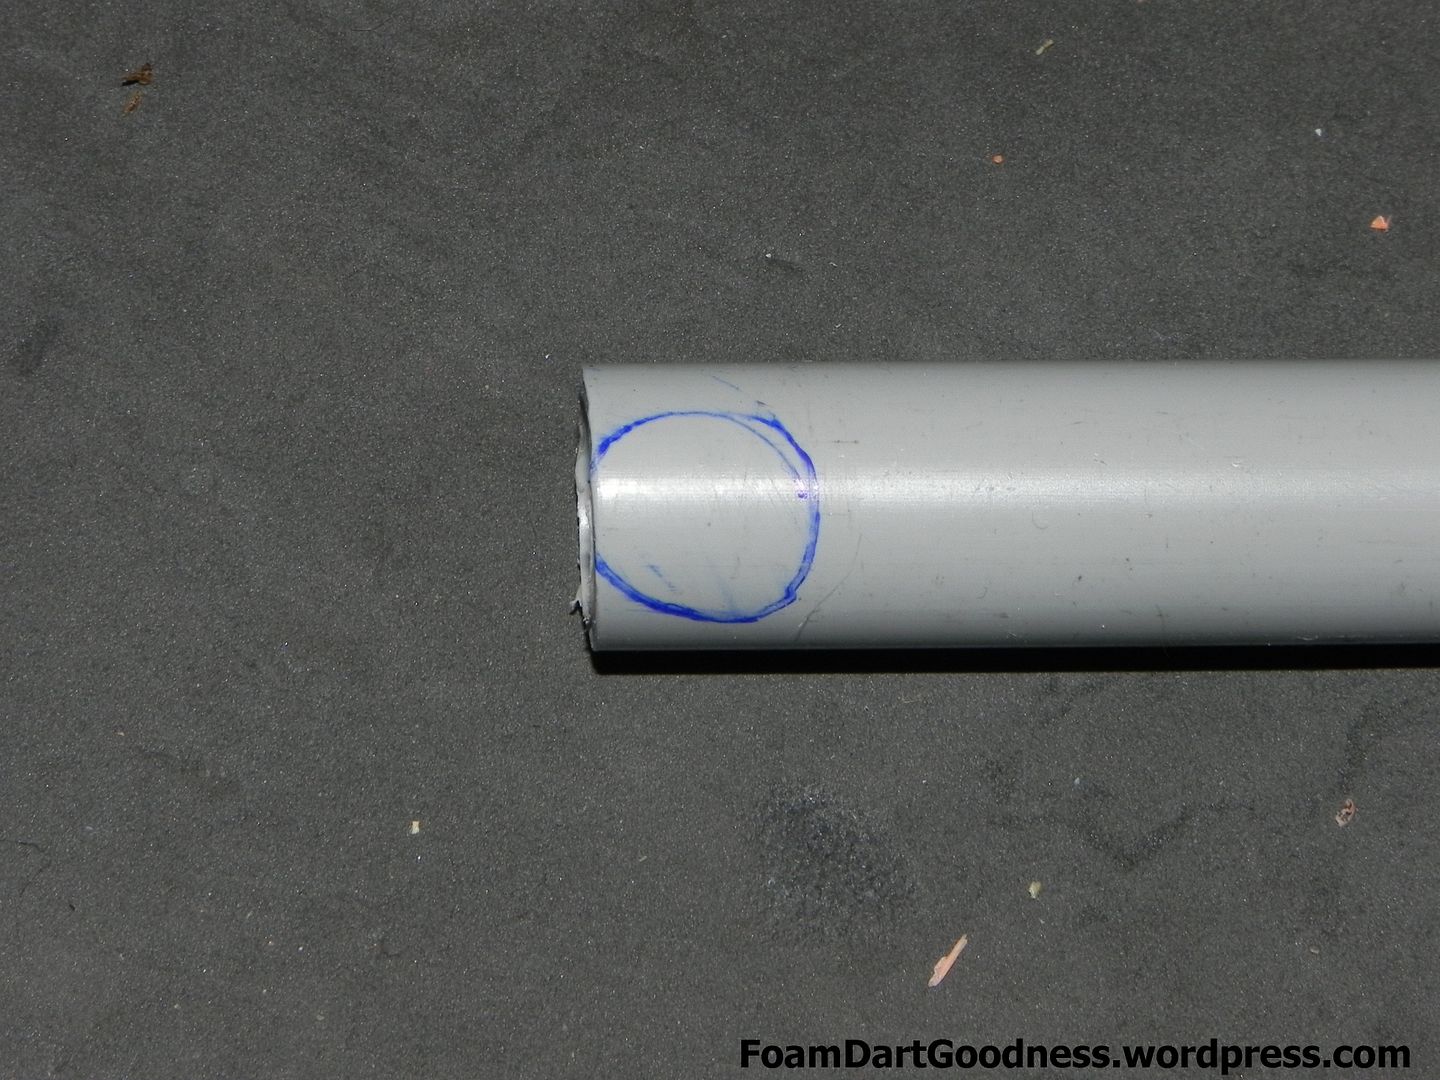
Grind away.
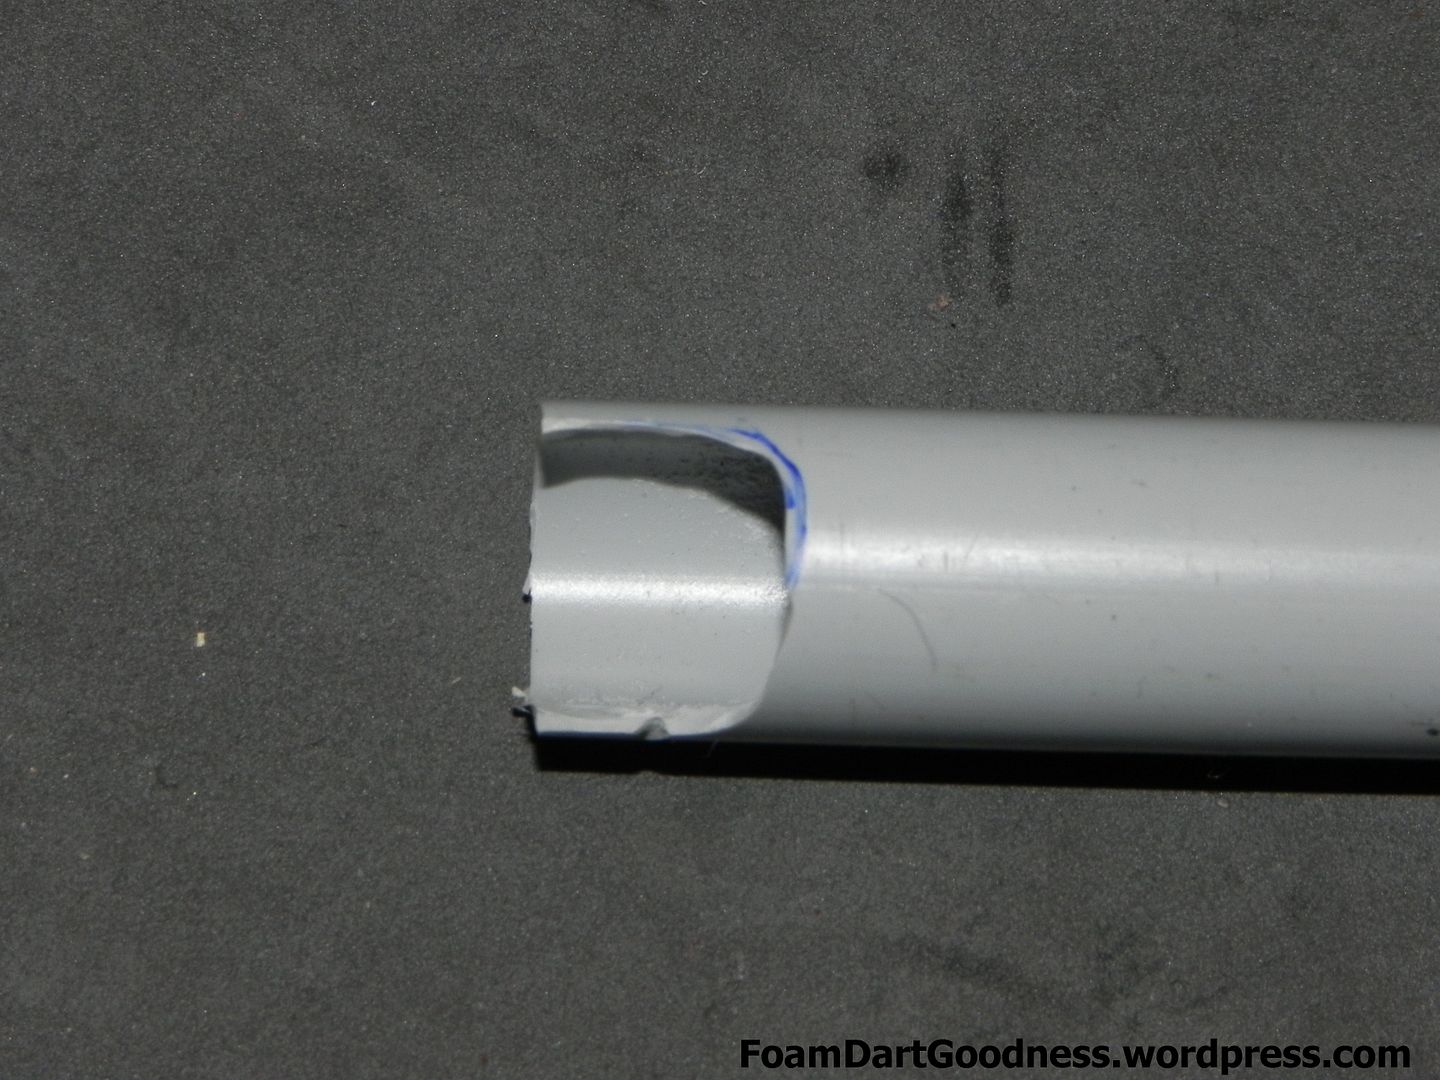
Reinsert the barrel as far as it can go. With the cut out, you should now be able to get it another ~7mm further. Remark from the plunger tube and remove the barrel again.
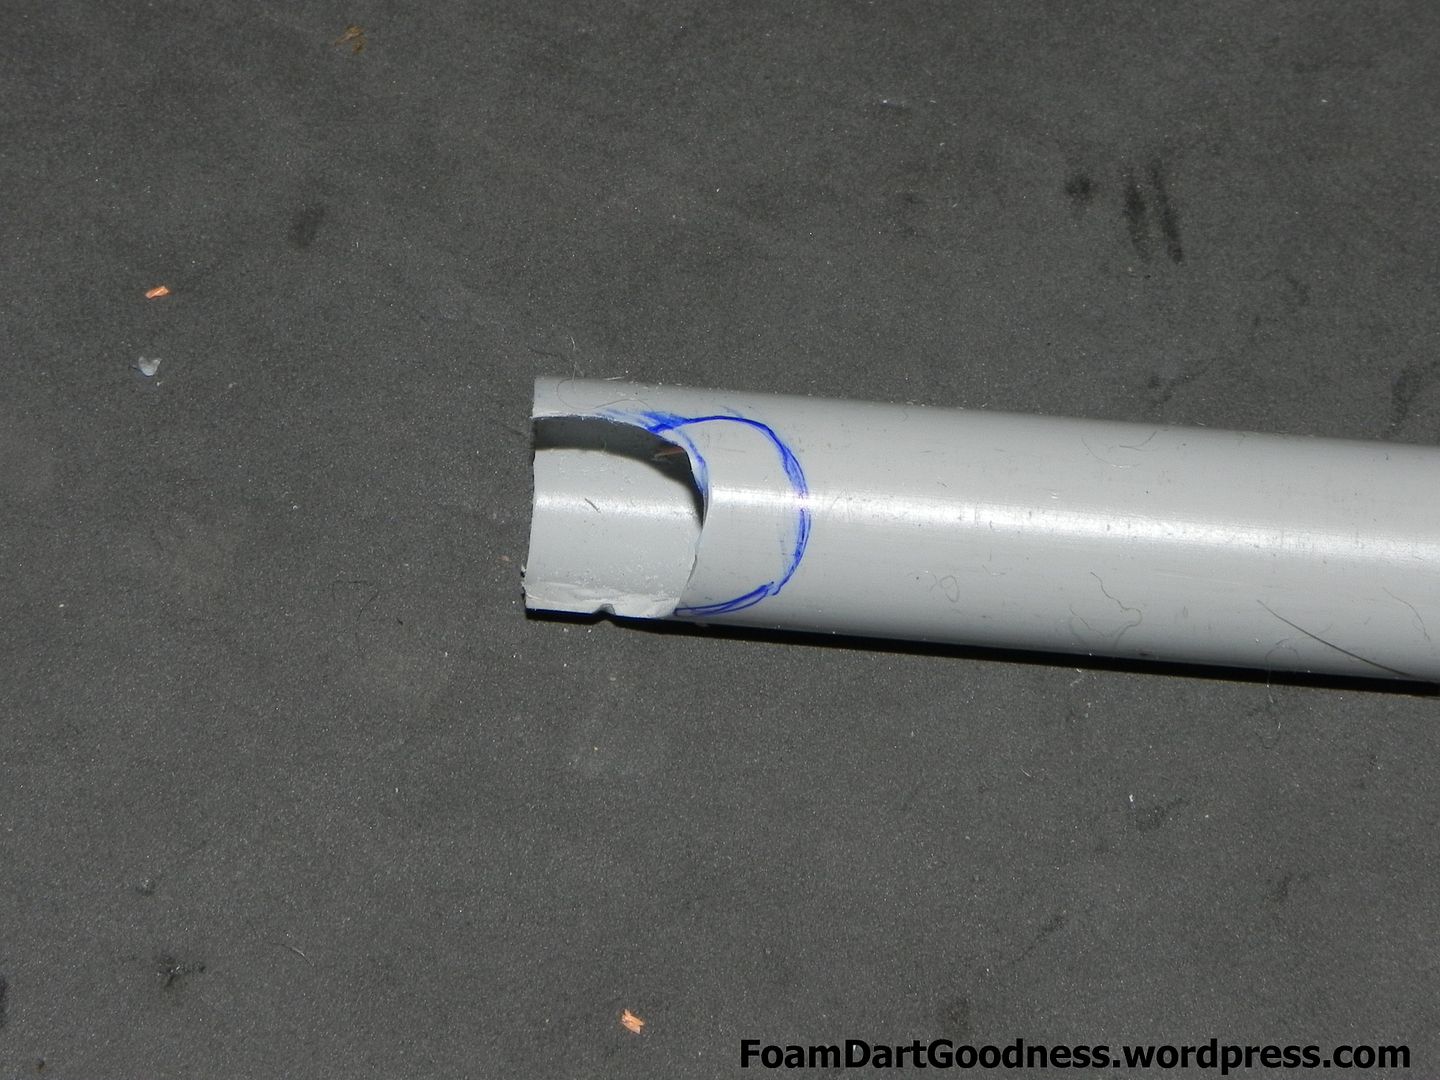
Grind away.
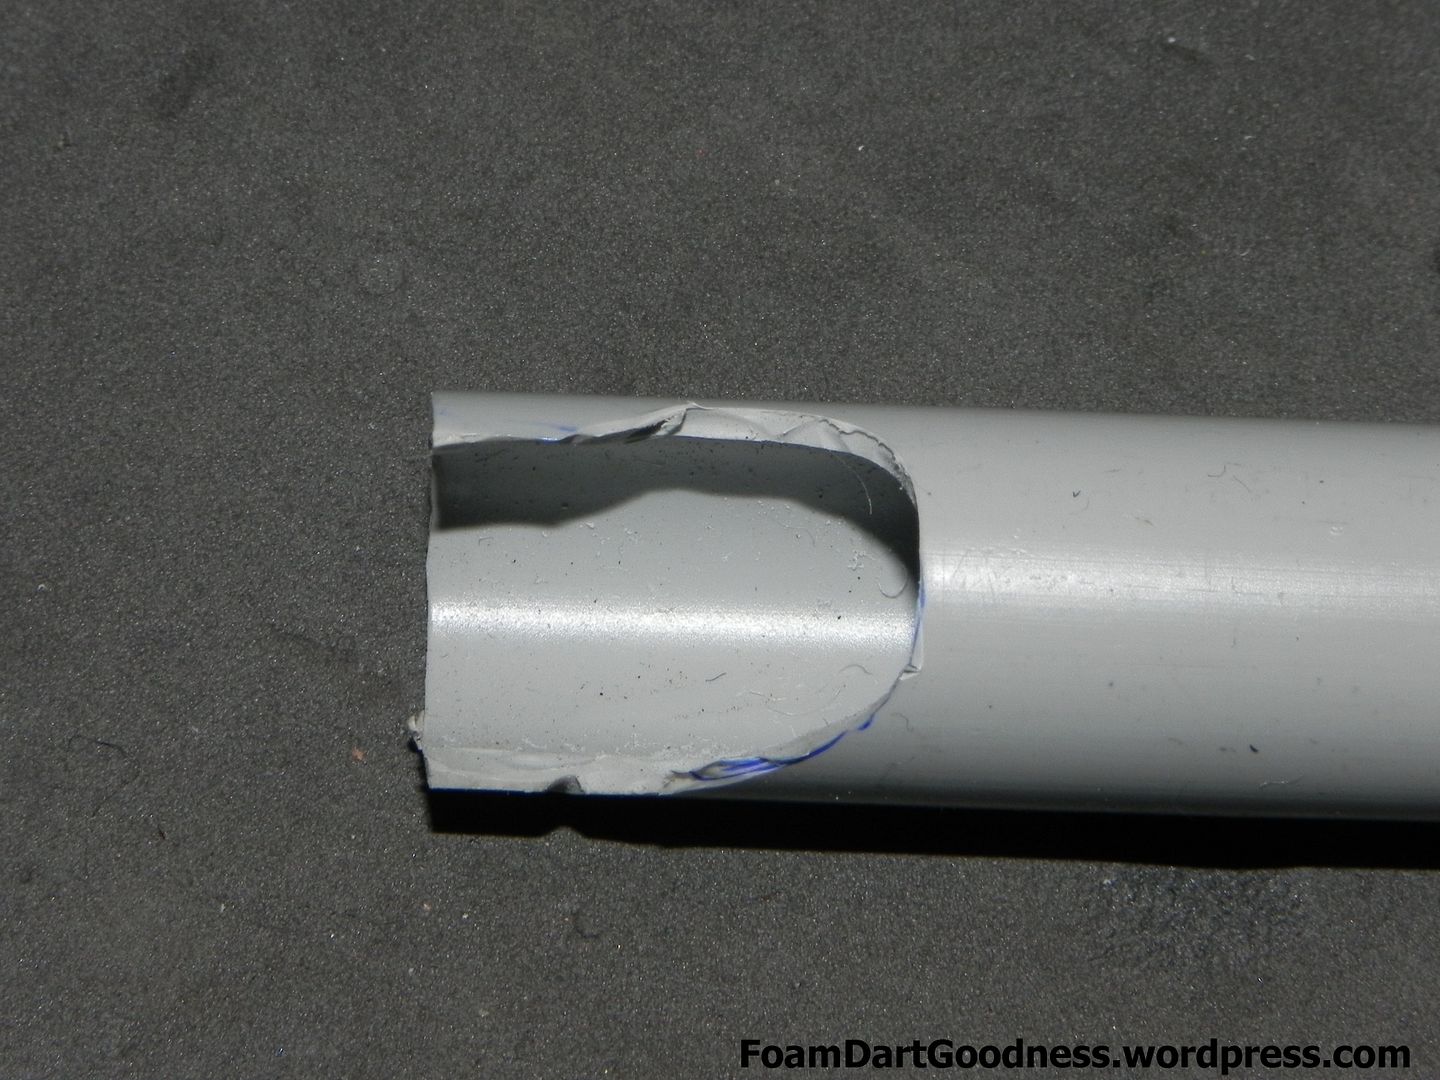
Then put it back in the blaster. Looking from the plunger tube you should see a clear path for the air to flow. This is ok, but it could be a little better. Clean up the conduit with your grinding wheel to get it as smooth as possible.
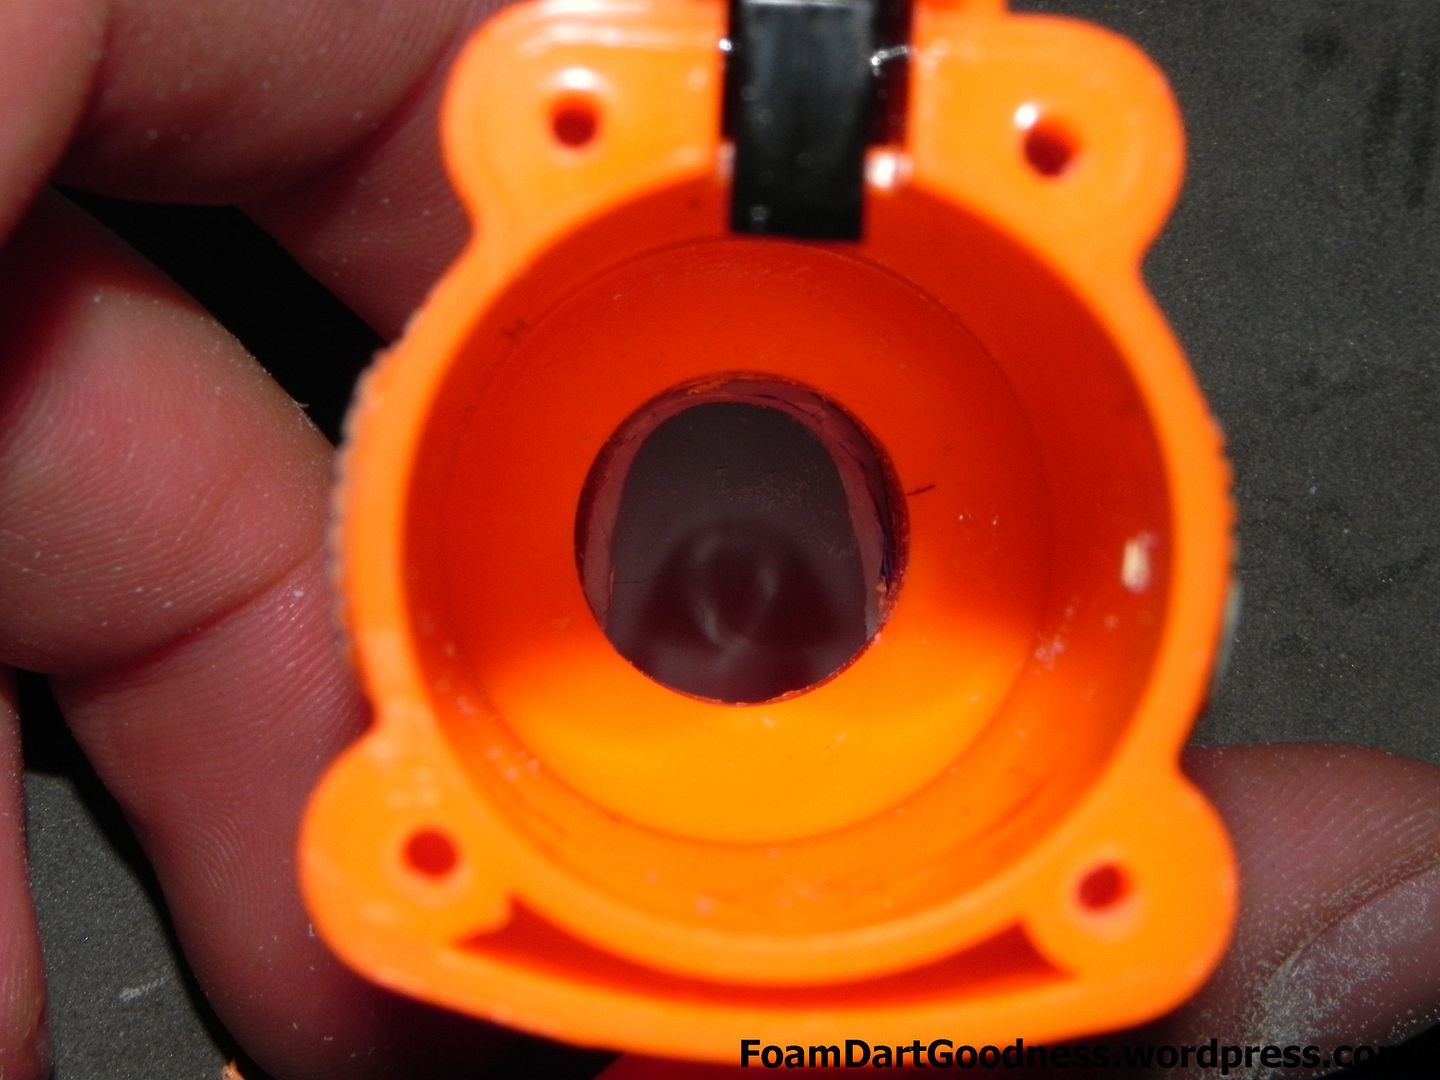
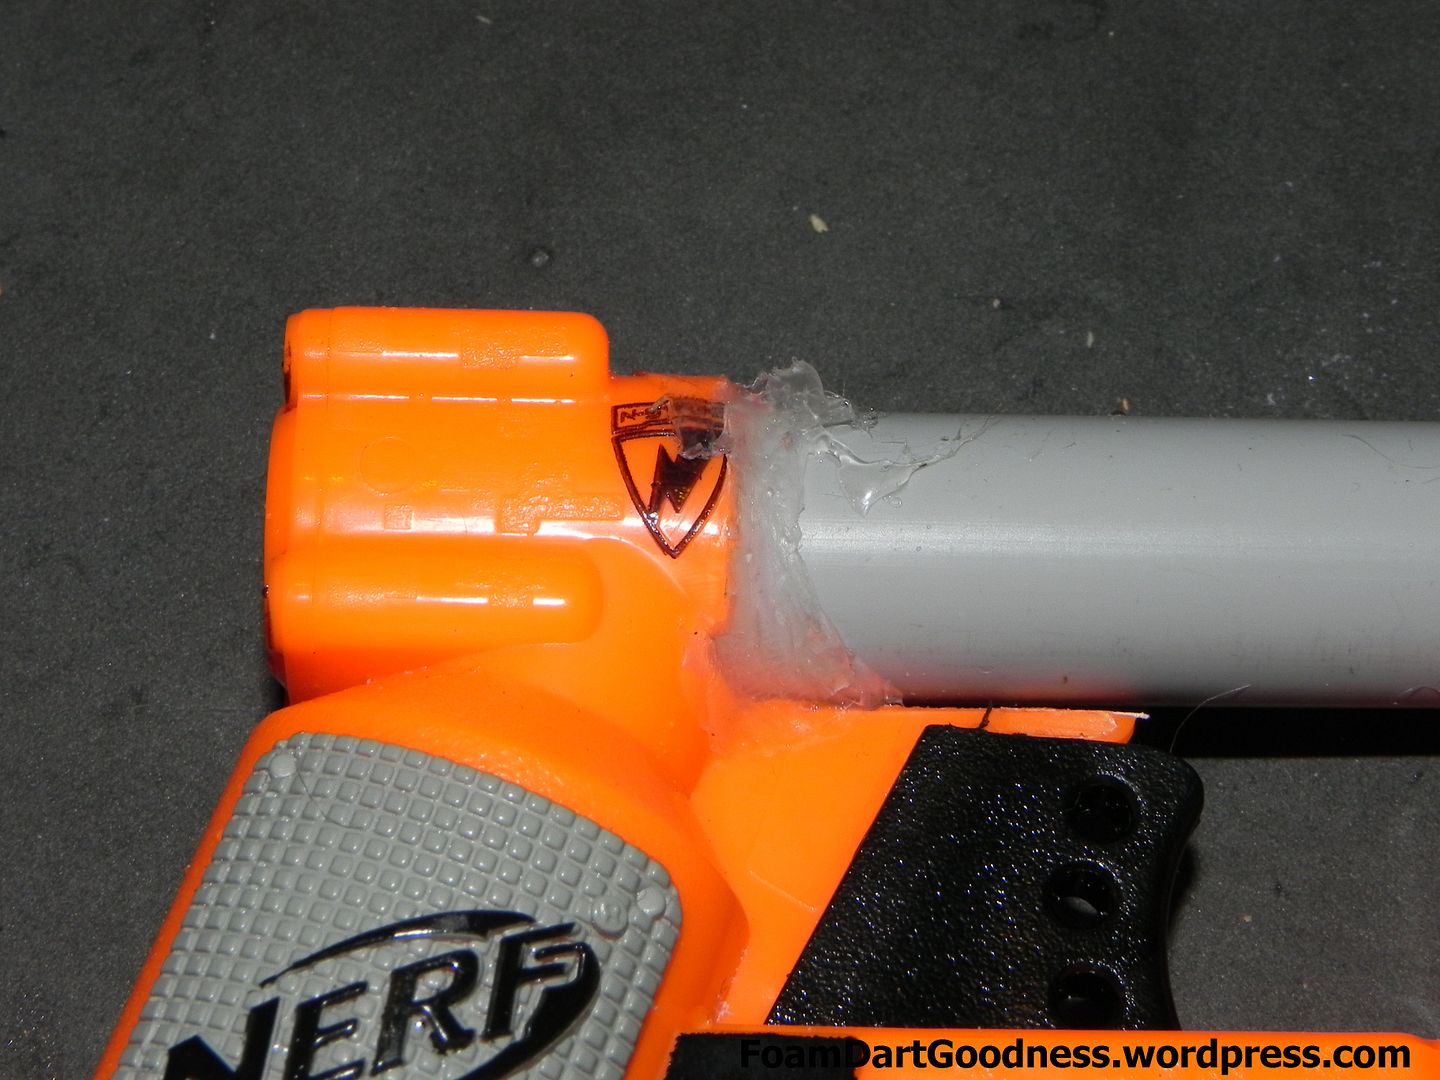
Once you're happy with it, apply some general adhesive (I used Tarzan's Grip) to the end of the barrel and insert it in the blaster. Once it's in, then apply a thin bead of hot glue around the edge to ensure the seal is tight.
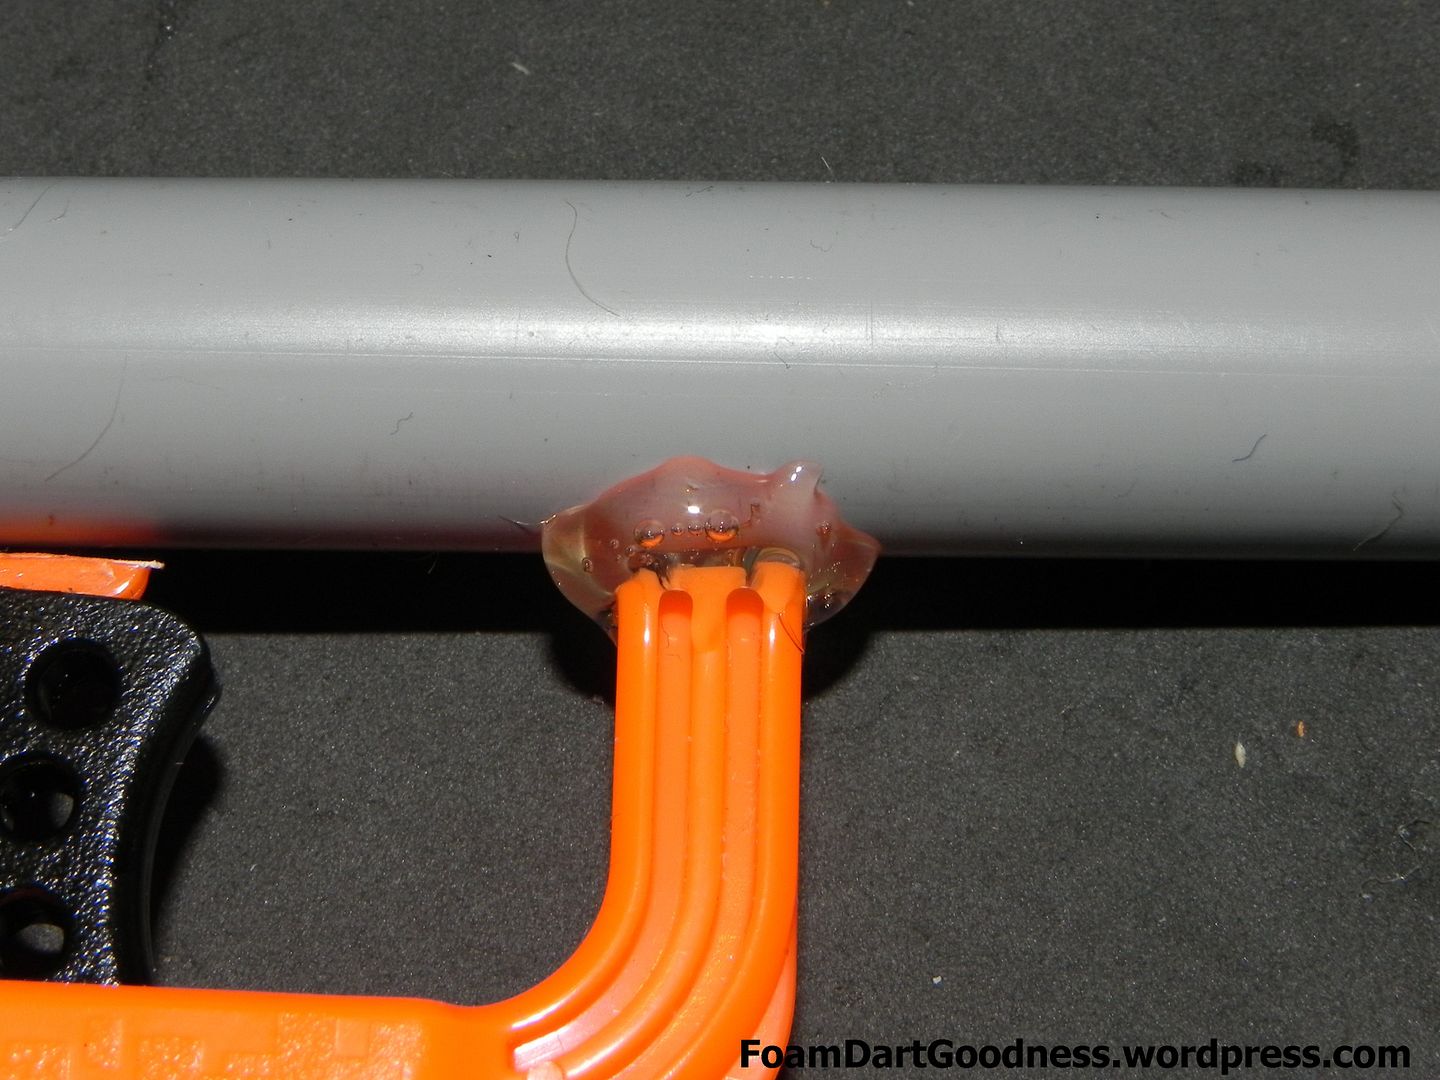
And a small bob at the front of the trigger guard.
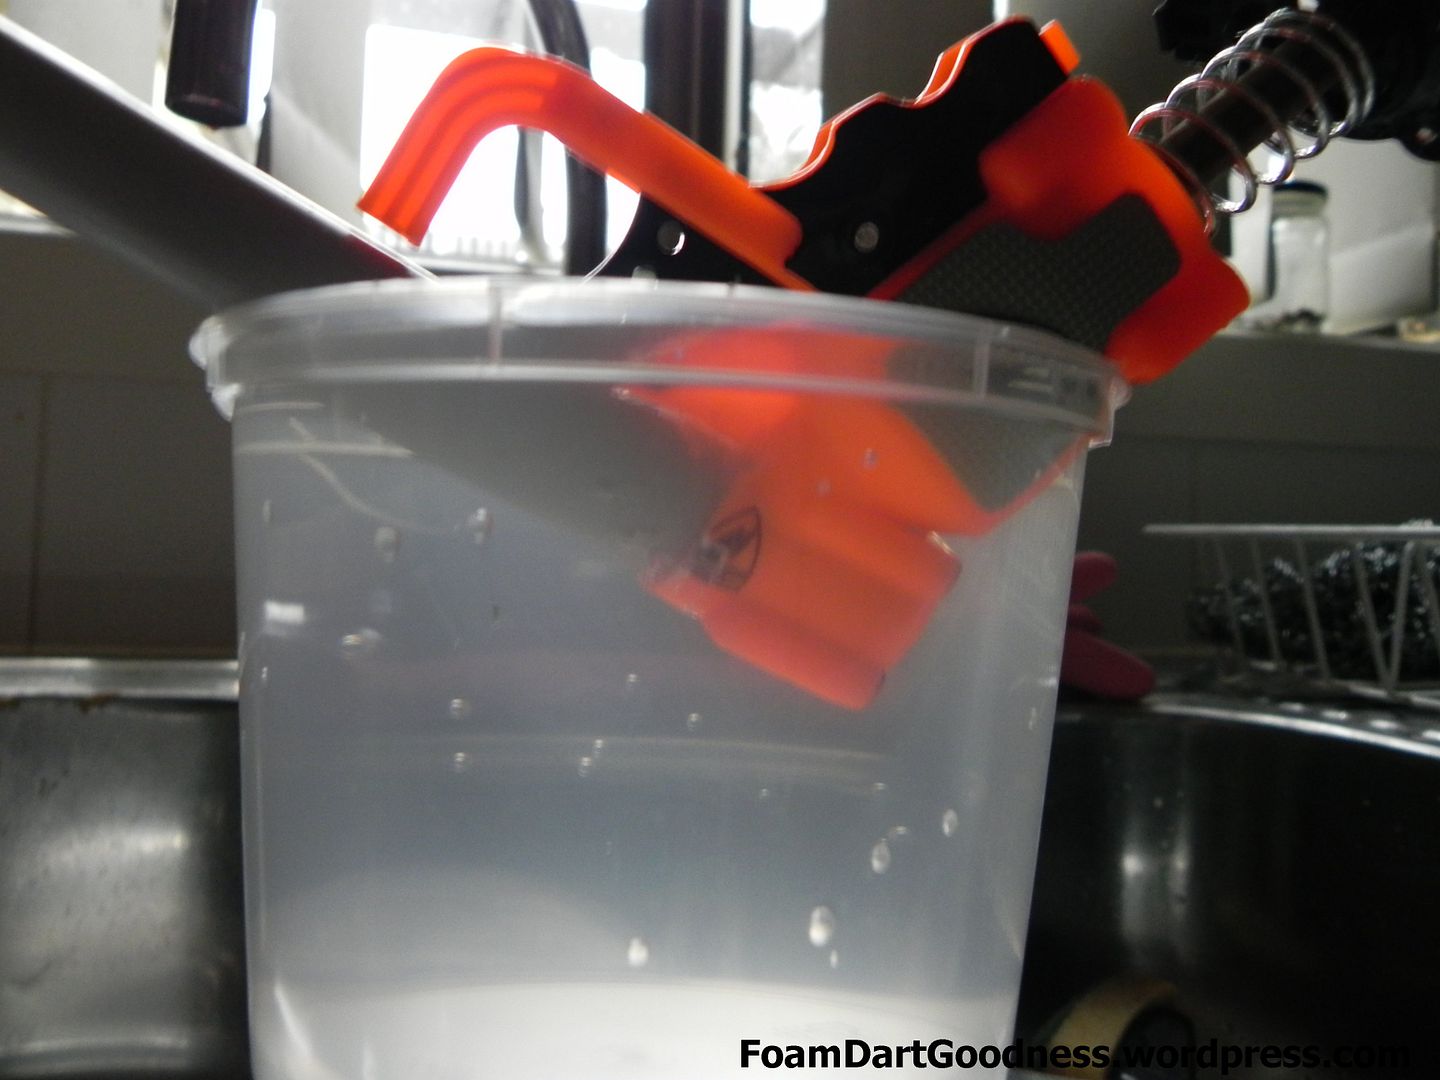
Submerge the join in water, hold the plunger in, then blow down the barrel. If there's an air leak, plug it. If not, we're good!
Tada!
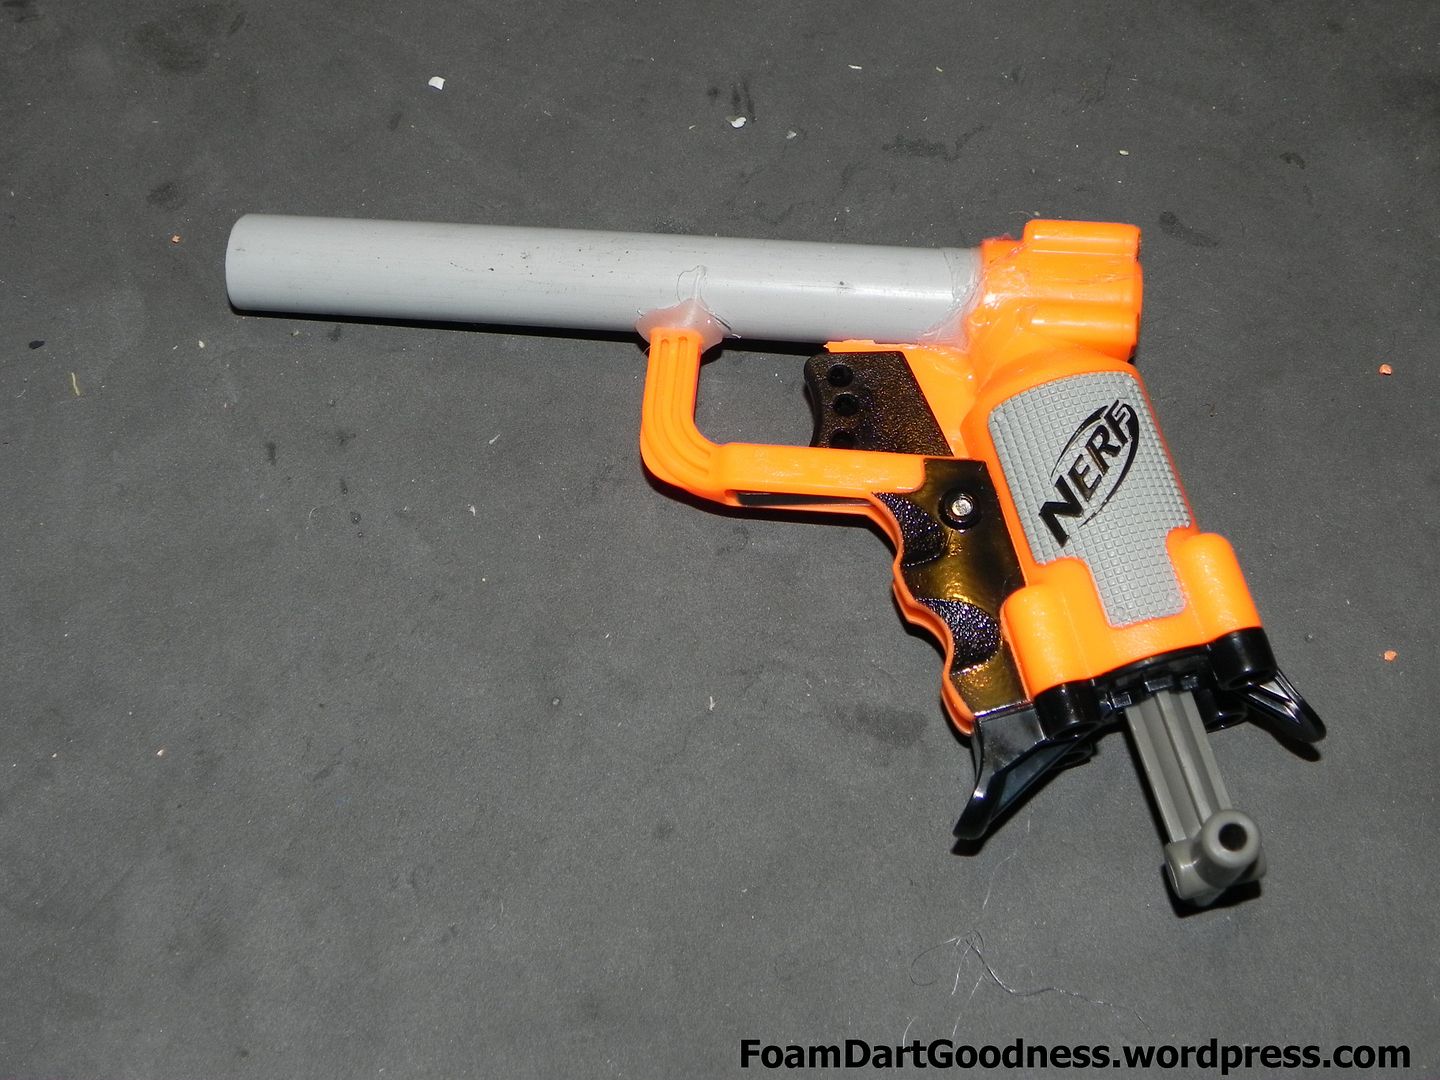
Like I said above, it took some trial and error to find the ideal barrel length. Mine worked out being a little longer than a streamline.
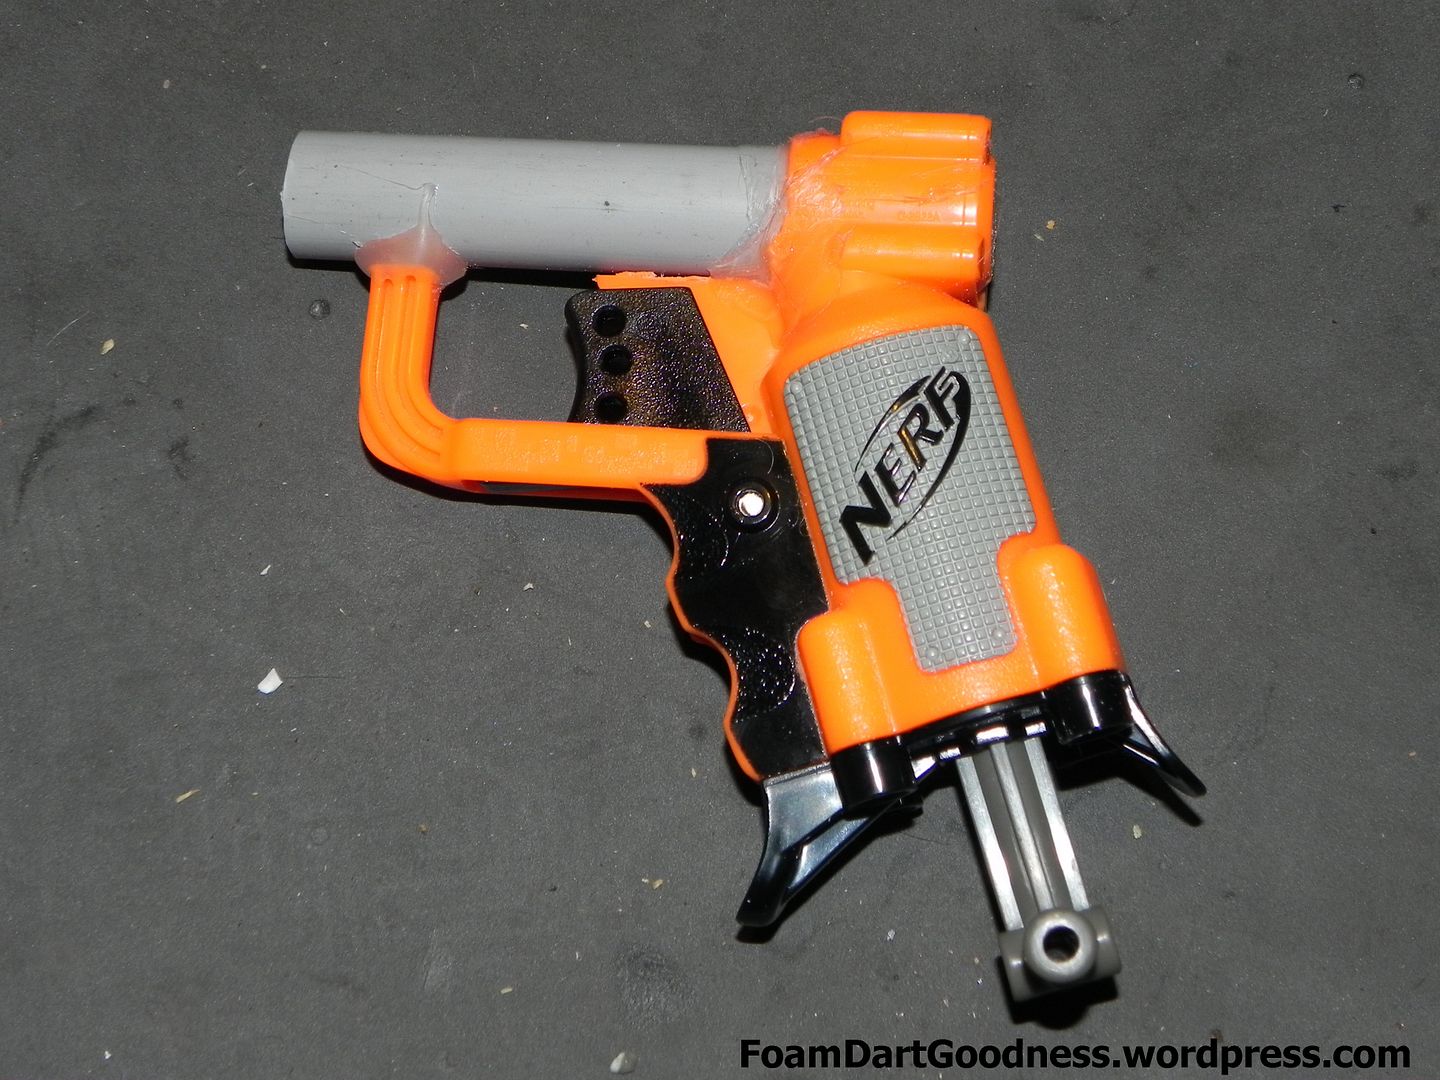
And there we have it. One barreled Nerf Jolt. All in all, a very straight forward mod that provides marginally better results than just the AR removal.
Edited by Jeo, 03 July 2012 - 10:51 PM.


