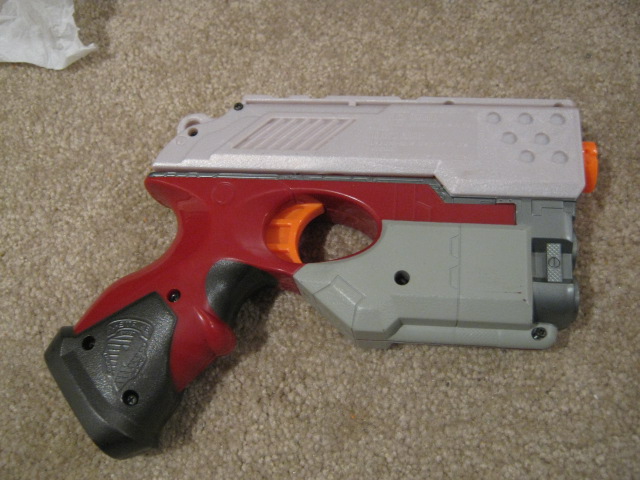
This is what I initially believed would be the ideal sidearm. It's got a great shape, but performance is lacking. Sadly, there's not much I will be able to do to this blaster because it is a reverse-plunger system blaster. Re-barreling is supposed to be really easy, so once I get some CPVC and stefans, this will probably be the first mod I'll do.
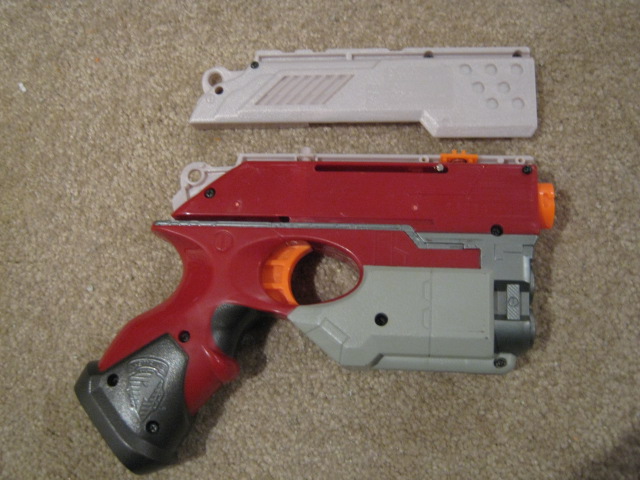
Start by unscrewing the cocking handle. There are four screws, and if I remember correctly, half are one size, half are smaller.
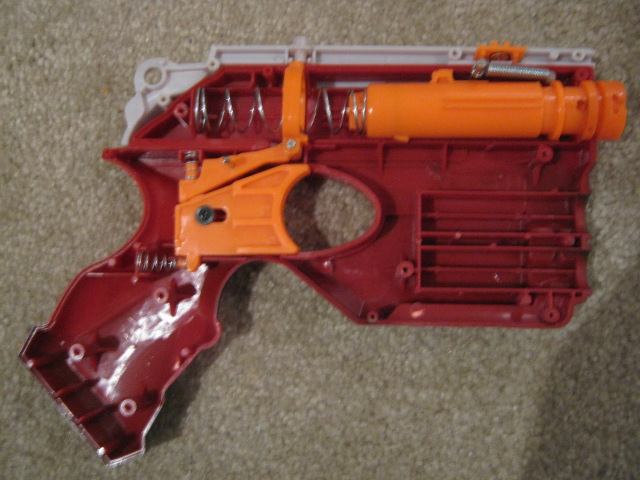
Open up the other shell now. There are another eight screws, with six being the regular size, two being smaller. Basic internals, nothing too difficult.
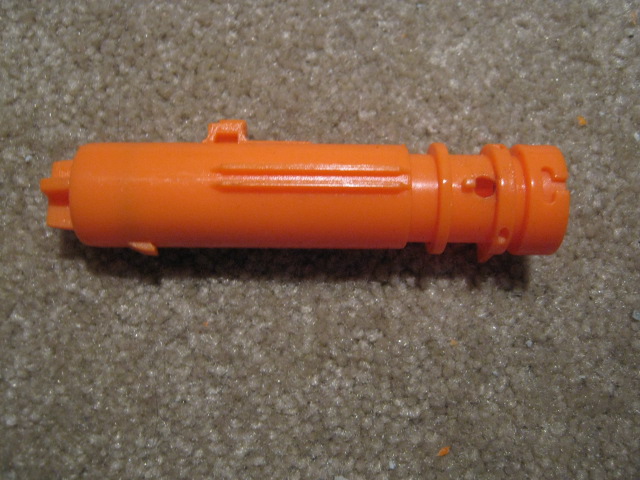
Focus on the barrel/plunger tube for now. You can replace the spring, but re-inforce the cocking mechanism if you do. You can also but dimes behind the spring, but I said fuck it after the bastards wouldn't stay in place.
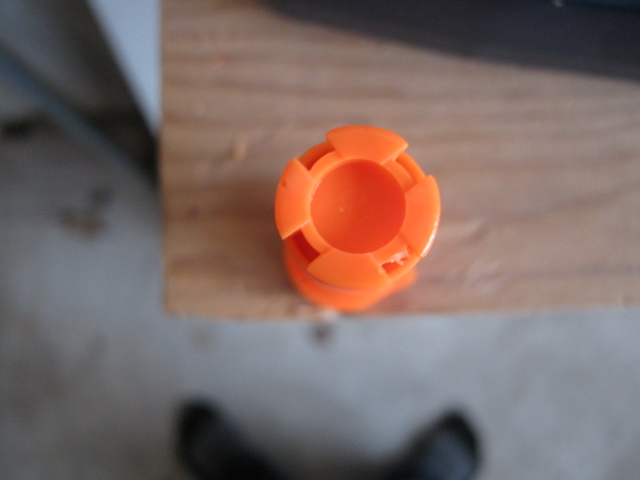
Look into the back of the barrel. See this? Get rid of it.
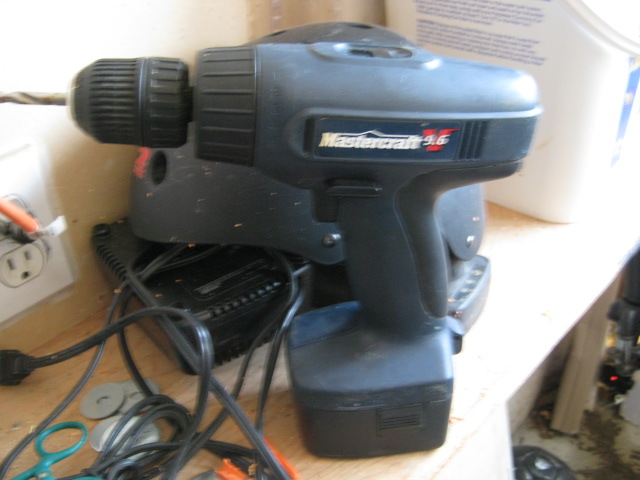
I'd like you all to meet "Culo grande", the main doctor in the operation.
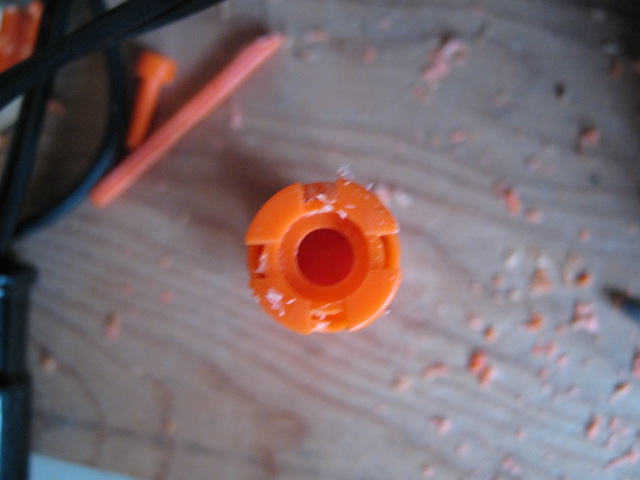
I used Culo grande to drill a hole in the back of it, but discovered that there's no way I could get the air restrictor to come out this way. It will not come out of the front, so through the back is the only way.
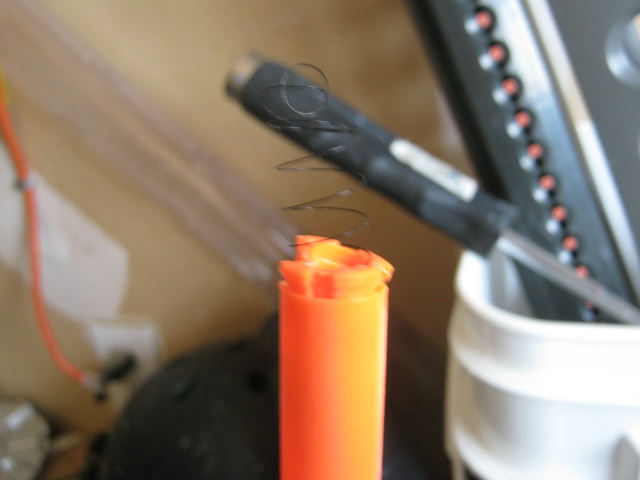
What ended up happening was that I removed the o-ring that I will use in future projects, and completely ripped out the back area where the o-ring sits, effectively destroying the seal, but releasing the air restrictor.
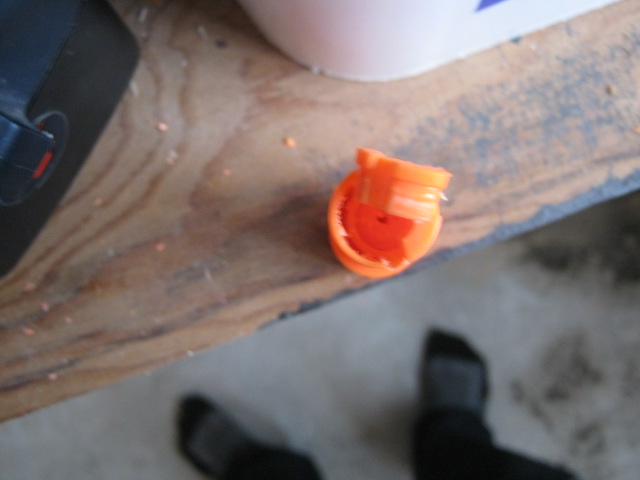
Here's a good view of it right now. I just ripped it out, and the air restrictor slid out. Unlike in most blasters, the air restrictor peg is a seperate piece and is not glued to the barrel. It has its own base, which is a bitch to get out.
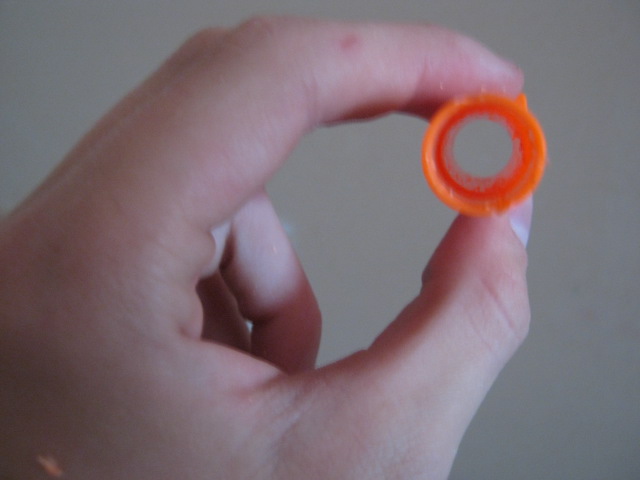
There should be a straight shot through right now.
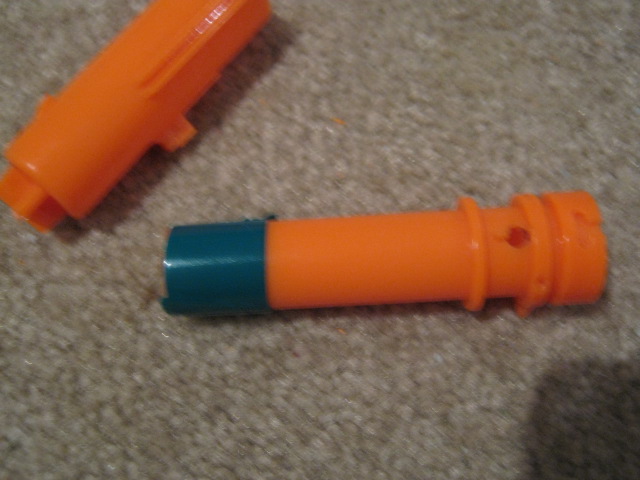
To make up for the lost seal, I took some electrical tape and went over it just one time. Do not do this, just use regular tape, or else the thing will not work. For some reason the seal was too good on the blaster, and it would not allow me to cock it. So, just go over where it would be with 1-2 layers of regular tape.
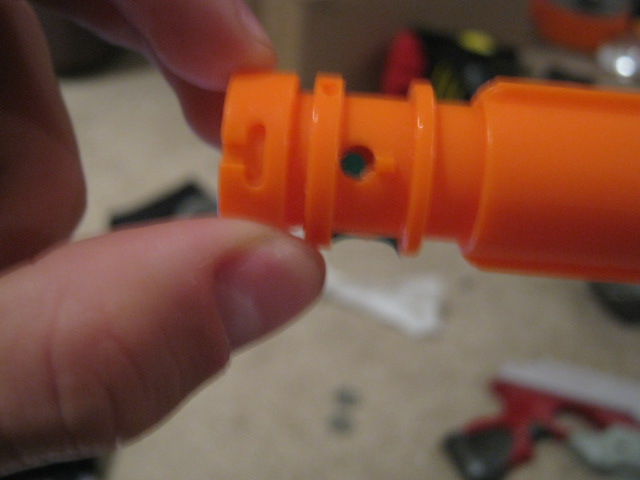
There are two holes in the side of the barrel. Since we are not disposing of the barrel in this mod, it's best to fill both holes.
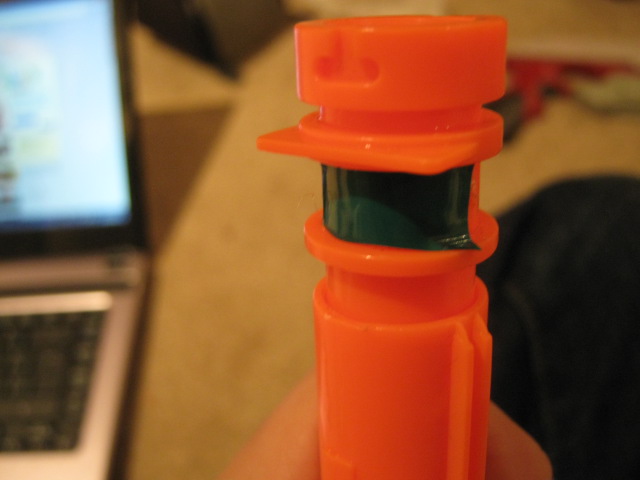
Go over the both with one layer of electrical tape. This should help.
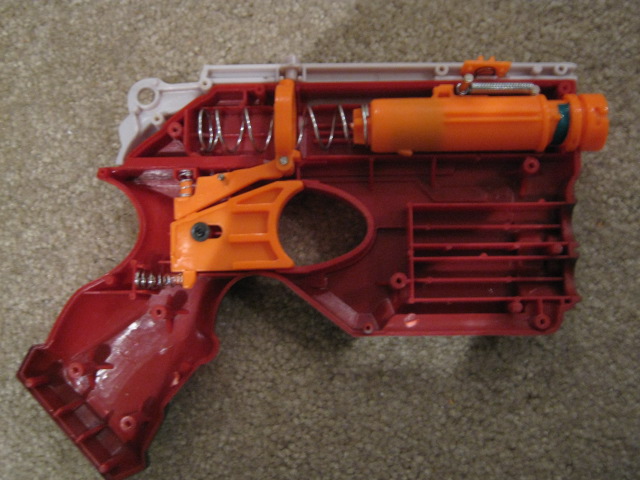
Put everything back together, and carefully make sure it will catch correctly.
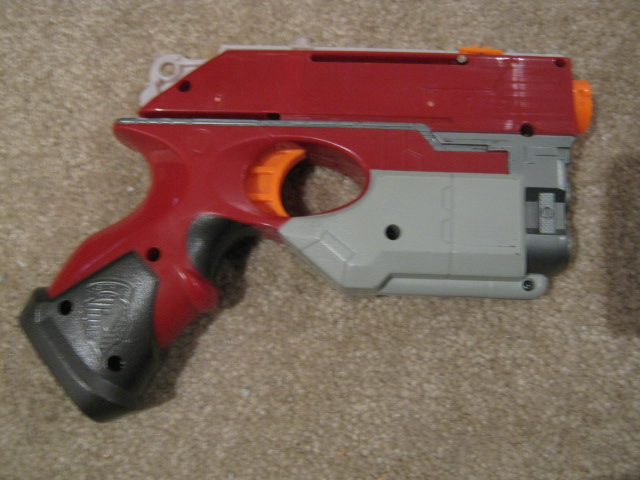
Slide the cover back onto the blaster and screw it back on.
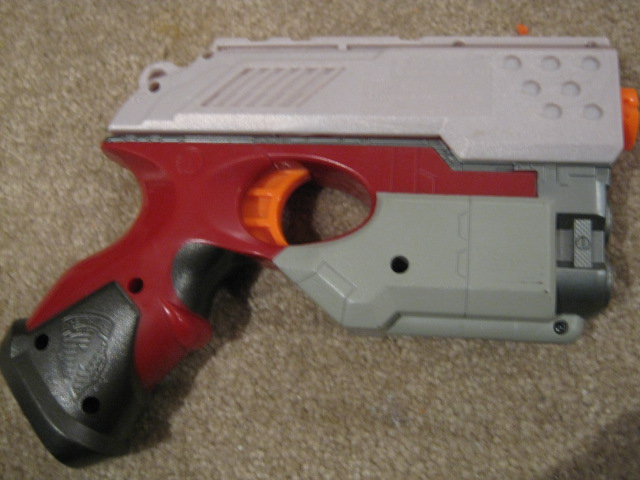
Place the cocking handle back on, and make sure everything goes back into place. If you've done it and it fires, you've done it correctly. Unfortunately, the ranges are barely an improvement. I estimate 30-35 feet, possibly a little more. It can fire stefans now, though, which is an advantage. It's best to re-barrel this blaster, but I just wanted to show you the most basic mod you could do to this blaster. Thanks for reading.


