Jump to content


Photo

Switchshot EX-3 Modification

Basic mods, like usual. Part 1.

11 replies to this topic

#1 Gage

Gage

    Member

  • Members
  • 31 posts

Posted 03 June 2012 - 08:21 PM

The Switchshot EX-3 is the left-out one in the EX class. The Nite Finder and Jolt are both really popular, the Element has some fans, while I've never seen the Switchshot get the attention that it should get. It's a good blaster stock, and even better when modified. I own the blue, rarer kind, the one that comes with N-Strike Elite. I love holding this thing, and priming it is so smooth. This one is one of my favorites in my collection (out of 44 blasters) and it makes a great integration blaster due to its size. Anyways, onto the modification. Be warned, I do not do anything very large in my "part one" mods, mainly because I do not have access to a hot-glue gun or PVC/CPVC/Brass yet. Yet being the key word.

Posted Image

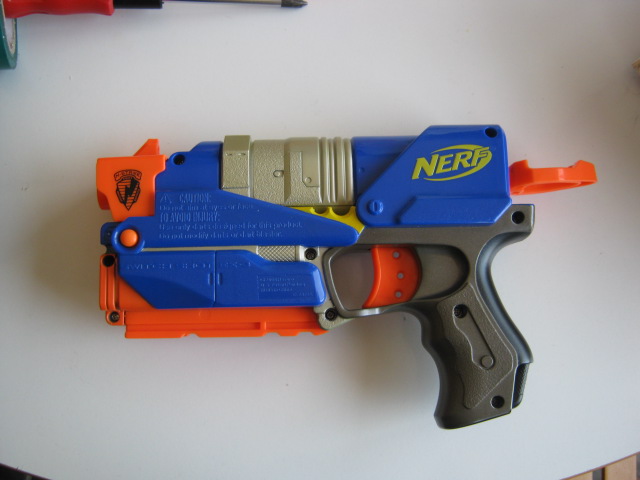
Here's the blue bastard. It looks like a Nite Finder with a Recon's handle and a reversed Tactical rail, but performs better then you may think it will.

Posted Image

However, unlike the Nite Finder, you can disassemble this blaster to remove the actual blaster-function and use it as a Wii accessory. But, let's be honest, who would buy this for the Wii function? Apart from Rick Perry, I don't think I can think of anyone stupid enough to do that. The actual blaster part of the gun performs well for its size.

Posted Image

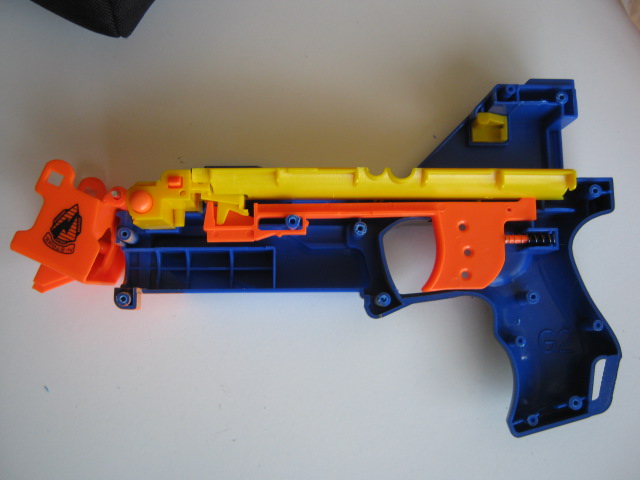
In case you're interested, here's the handle's internals. Nothing too special happening here. I don't advise doing this as there is no point, and good luck getting it back together.

Posted Image

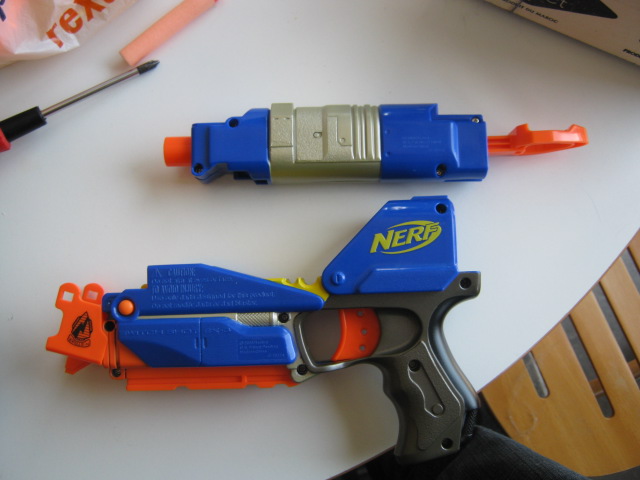
Open up the blaster and you'll discover remarkably simple internals. This ought to be a piece of cake to modify.

Posted Image

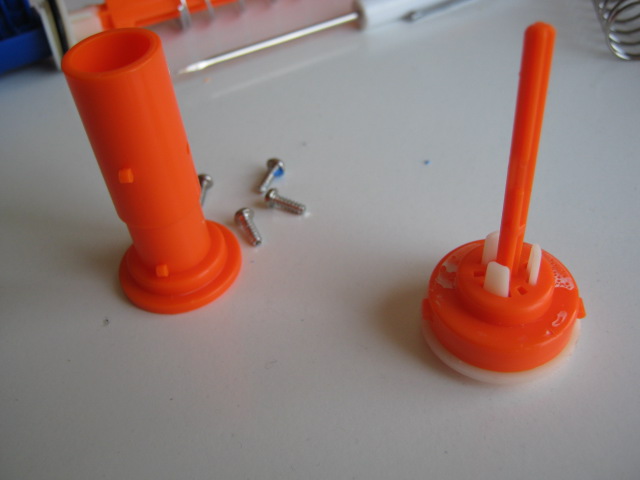
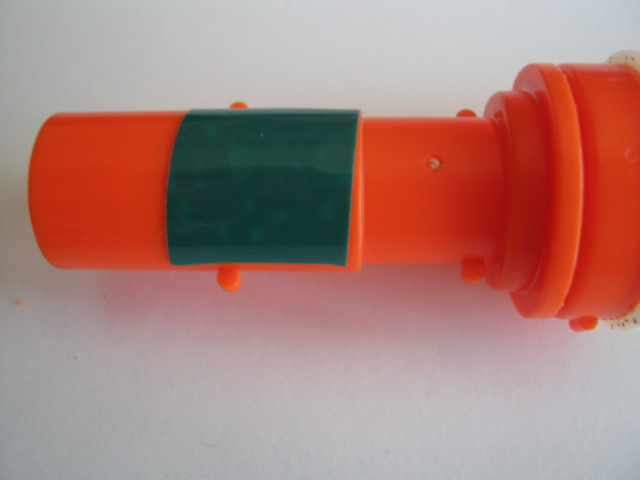
Take the barrel of the blaster and open it up. You'll find it easily comes apart into two pieces, although the other parts are glued together. Damnit!

Posted Image

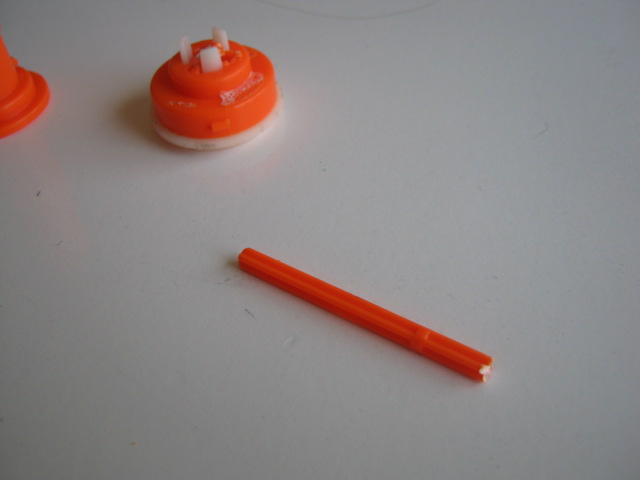
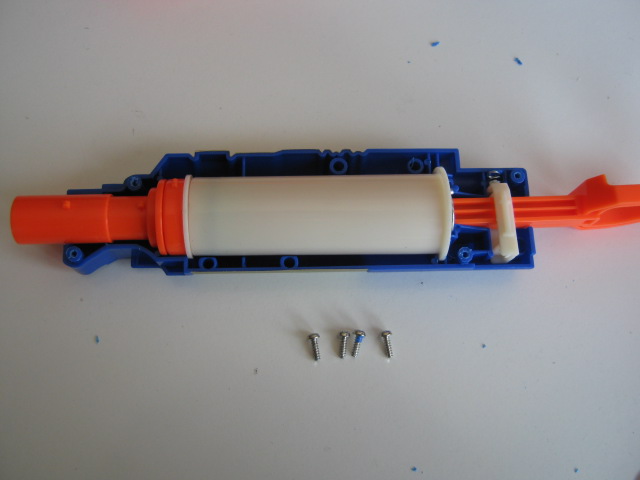
Rip the peg off of the assembly. This can now be discarded.

Posted Image

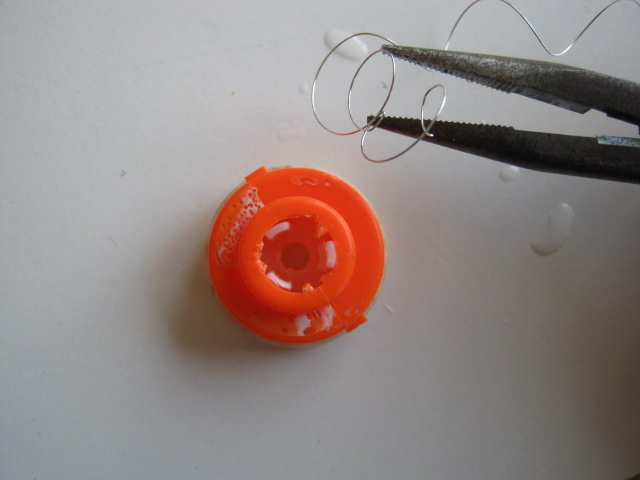
Knock out where the peg was, revealing the air restrictor.

Posted Image

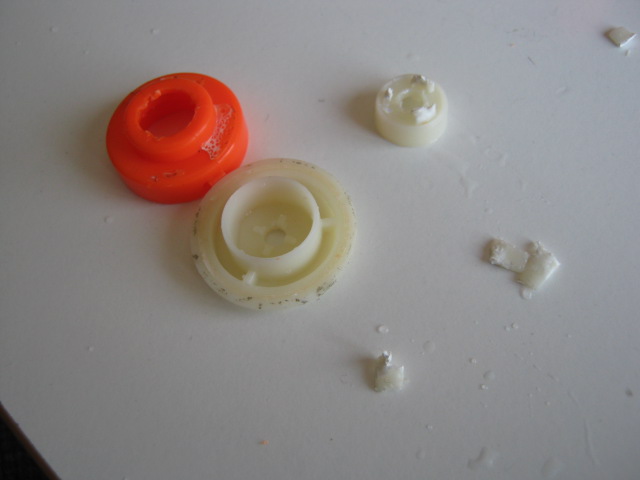
Somehow find a way to break the hotglue seal and get into the bottom. The air restrictor and spring should pop out, if you didn't already remove them.

Posted Image

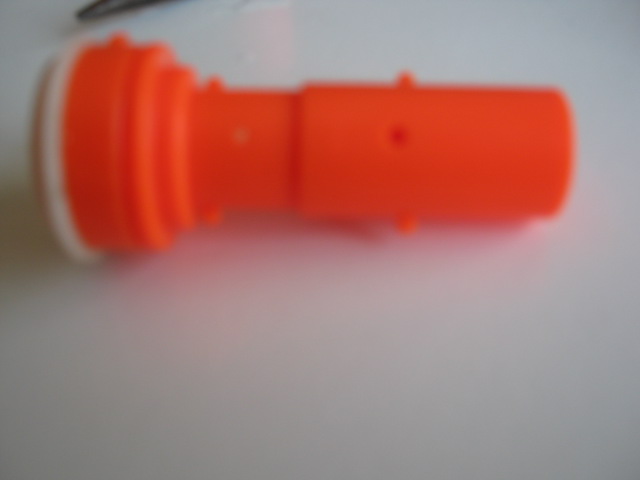
(Sorry for the blurry picture) See this?

Posted Image

Get some tape on on so that the air does not leak out of the hole.

Posted Image

Put everything back into the blaster, and fit everything in place. The catch spring might jump out at you, like what happened before. I never found that spring, I think the vacuum might have eaten it.

Posted Image

Screw everything back together and make sure everything's catching well. If not, go back and try to mess around with it until it does.

Posted Image

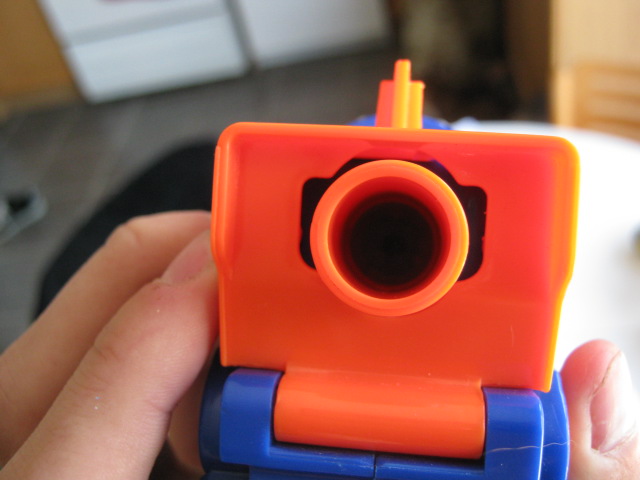
You should now be able to see straight through the blaster to the screw within the plunger rod.

Posted Image

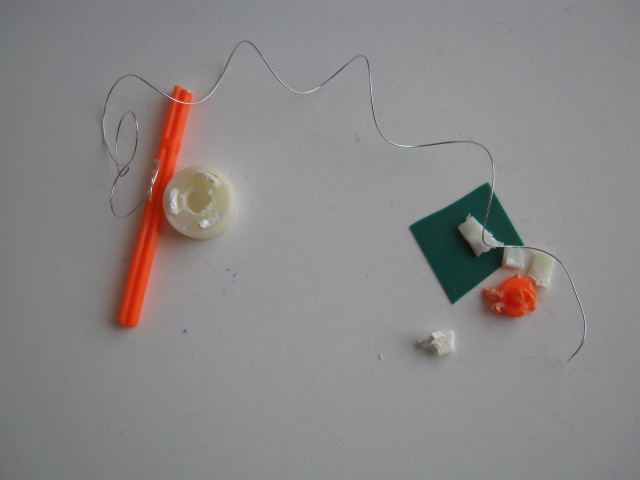
Now dispose of the evidence. Throw out the trash, although I highly doubt you made as big of a mess as I did. Well, I hope you enjoyed the write-up. I will make better, more experienced modifications in the future, when I get access to the right tools. Until then, enjoy my write-ups for what I want them to be; quick, simple, easy mods with clear pictures to help you follow along. If I succeeded at doing that, I'm pleased with the outcome. Until next time, thanks for reading.

Edited by Gage, 03 June 2012 - 08:21 PM.

  • 0

#2 idleninja

idleninja

    Member

  • Members
  • 24 posts

Posted 04 June 2012 - 12:16 AM

The SwitchShot is left out and has less potential because the PT is slightly smaller than that of a NF's. You can't fit a [k25] into a SwitchShot PT.

The SwitchShot shell is really easy to paint, the internals all lift out in one piece. You can also salvage the rail/dart holder and put it on another gun.

Sweet mod, clear pictures are always nice. And it does have a super-clean prime.
  • 0
Sig?

#3 Exo

Exo

    Member

  • Members
  • 391 posts

Posted 04 June 2012 - 12:28 PM

This is a good write-up, and I'm glad that some people are doing them.
  • 0

#4 Gage

Gage

    Member

  • Members
  • 31 posts

Posted 04 June 2012 - 03:15 PM

idleninja - I thought that it was a similar size to the Nite Finder's plunger tube, but thanks for the information. Also thanks for the feedback!

Exo - Thanks! I'll try to put out a write-up as often as I can, and I try and do it to relatively unheard-of blasters. Thanks again!
  • 0

#5 Daniel Beaver

Daniel Beaver

    HQRSE CQCK

  • Moderators
  • 2,097 posts

Posted 04 June 2012 - 03:18 PM

However, unlike the Nite Finder, you can disassemble this blaster to remove the actual blaster-function and use it as a Wii accessory. But, let's be honest, who would buy this for the Wii function? Apart from Rick Perry, I don't think I can think of anyone stupid enough to do that. The actual blaster part of the gun performs well for its size.

Rick Perry's IQ is not pertinent to the hobby of nerf. Don't post political shit.
  • 0

#6 Gage

Gage

    Member

  • Members
  • 31 posts

Posted 04 June 2012 - 06:21 PM

Rick Perry's IQ is not pertinent to the hobby of nerf. Don't post political shit.


I'm sorry, it wont happen again.
  • 0

#7 ktcookie

ktcookie

    Member

  • Members
  • 12 posts

Posted 11 June 2012 - 09:54 AM

Actually really funny, my dad bought the switch shot, with the game, mainly, for the Wii function, because we never found a good Wii gun, and plus it was like 2 in 1, one year later, after he bought it, i started getting into Nerf. I love the feeling of the handle, the smooth prime, the endless hours of fun. just about a month ago, I pulled the switchshot out, and decided to mod it, it took be forever to take out the AR's. i finally got it out... I wish.. i just found this....when I was modding, nice job too.
  • 0

#8 hamoidar

hamoidar

    Member

  • Members
  • 367 posts

Posted 11 June 2012 - 10:40 AM

Nice writeup! I may have to get one of these. (it looks like there is enough room for a PT replacement :D) I am guessing by the drops on the AR parts that you used hot water to get it apart?
  • 0
NerfHaven > Your control panel > Profile > Change Signature > Inserts dumb sig > What! No pictures! > Inserts next best thing: http://nerfhaven.com...howuser=114052' class='bbc_url' title='External link' rel='nofollow external'>Best thing on Nerfhaven!

#9 Gage

Gage

    Member

  • Members
  • 31 posts

Posted 12 June 2012 - 03:50 PM

Nice writeup! I may have to get one of these. (it looks like there is enough room for a PT replacement :D) I am guessing by the drops on the AR parts that you used hot water to get it apart?


Thanks! Actually, I used the water to get rid of the excess "dust" that happens when I use the drill. But that would be a better solution, since it is glued on!
  • 0

#10 Whiteboy

Whiteboy

    Member

  • Members
  • 4 posts

Posted 13 June 2012 - 09:29 AM

This gun reminds me a lot of the nightfinder. But I feel it has less potential due to the fact that it has a smaller area to work with. Compared to the nightfinder it's harder to get as creative with it. Great write up though. Love the pictures.
  • 0

#11 Daniel Beaver

Daniel Beaver

    HQRSE CQCK

  • Moderators
  • 2,097 posts

Posted 13 June 2012 - 09:50 AM

This gun reminds me a lot of the nightfinder.

I believe the plunger tubes are dimensionally very similar (similar to the stormfire).
  • 0

#12 Whiteboy

Whiteboy

    Member

  • Members
  • 4 posts

Posted 13 June 2012 - 03:46 PM

I believe the plunger tubes are dimensionally very similar (similar to the stormfire).


Yes, its just the trigger on the stormfire is different. Almost to complicated.
  • 0


0 user(s) are reading this topic

0 members, 0 guests, 0 anonymous users